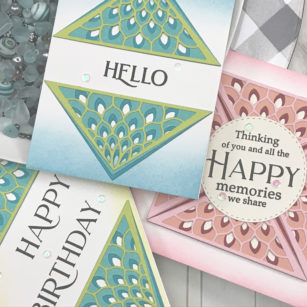
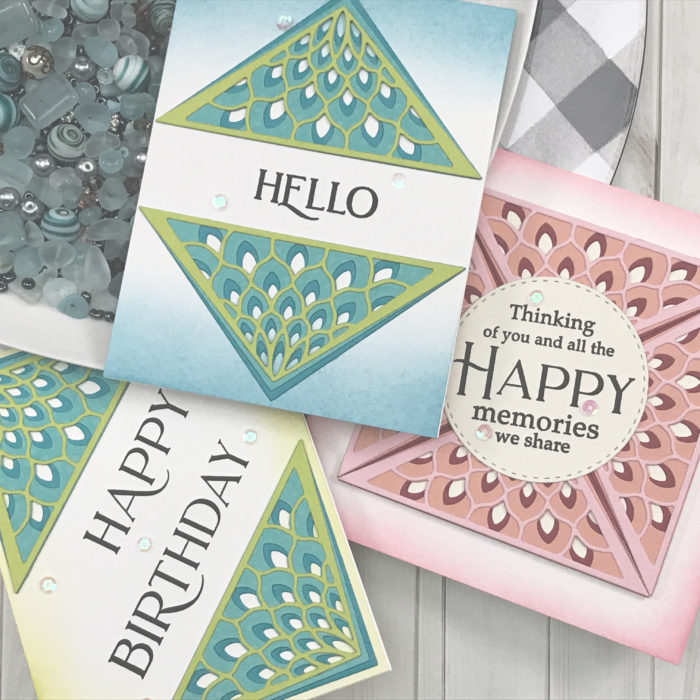
Hello Everyone and Welcome Back!
For today’s project lets have some fun with the Petal Triangle Layering Die Set! Just by setting your layers in different angles we can get many cards just from one die…

Let’s get to cutting our die cuts – and there will be lots of them! I settled on two color families, a warm and cool! Then of course we need to get all these wonderful die cuts together, and yes, we do that with our liquid adhesive!
I then cut two panels measuring 4 ¼ in x 5 ½ and one panel measuring 4in x 4in and another 5 ½ in x 5 ½ in and grabbed three of my oxide inks and a blending brush. Each panel was ink blended in a different way based on how I was going to place the triangles.

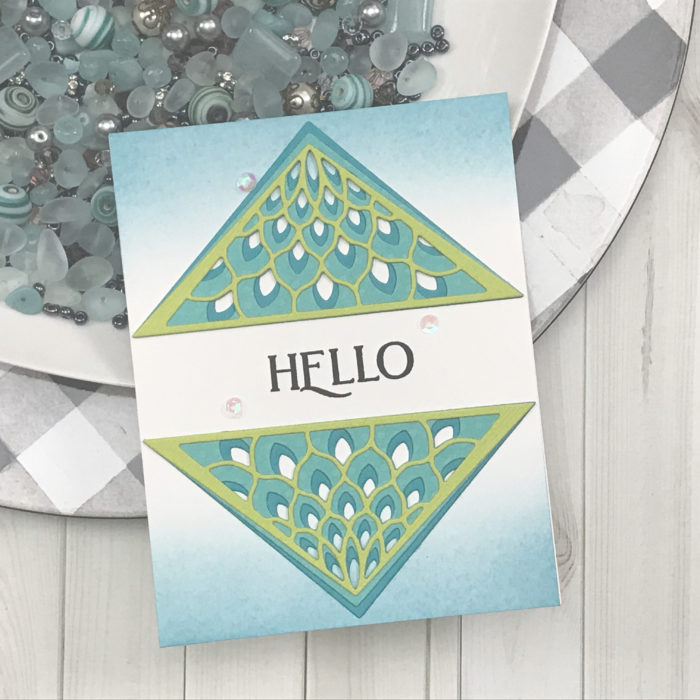
For our first card, let’s place the triangles on the top and the bottom of the card front! I made sure the ink blending was along the same edge of the panel… before I attached my triangles, I made sure I stamped my sentiment,


For our second card, let’s place the triangles in opposite corners of our card front! Made the ink blending a little heavier on those corners as well! Got the sentiment in place again before I attached my triangles…


For our final card… just a little more was added… I took the larger panel and ink blended around all four edges. I then used the small panel to place my triangles together to actually make a square! The design is absolutely gorgeous when we match each of the layered triangles together! I stamped my sentiment onto a separate piece of card stock and placed in the center of the panel…
As always, I hope you enjoyed today’s project… and if you want to see more details just click on the video below and see how these projects come together step by step!
Make sure you stay tuned for more wonderful projects coming soon! Have a great day and always remember… Be Creative!

Supplies
