

Hello everyone. Amanda Wilcox from Twiddler’s Nook here and I’m so excited to be joining Birch Press Design Creative Team. Today I have my first card share for you. It looks a little involved but it really is simple. Let’s get started.
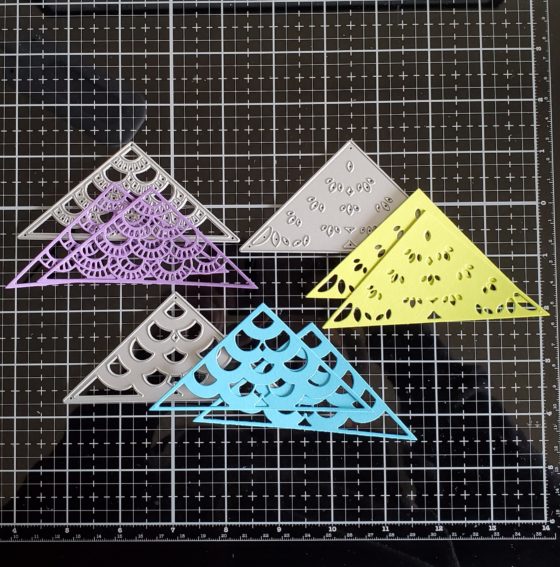
I die cut each of the layers for the Frilly Triangle twice and glued them together.
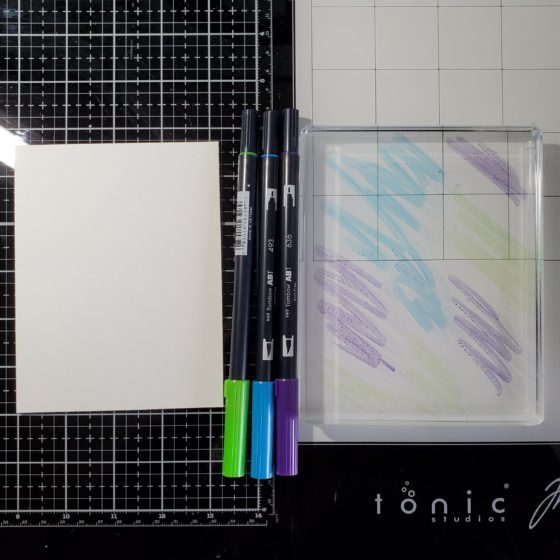
Next, I moved on to ink smooshing my background. This is a fun technique that gives a great effect. You just color Tombow, or other water based markers, on a clear block, spritz with water and smoosh your paper on it.

After the first round, I used a heat tool on it and smooshed it on the liquid that was still on my block for a layered effect.

And a quick tip: If you have a laminator, run the panel through that once it’s dry to flatten it back out. It really helps.
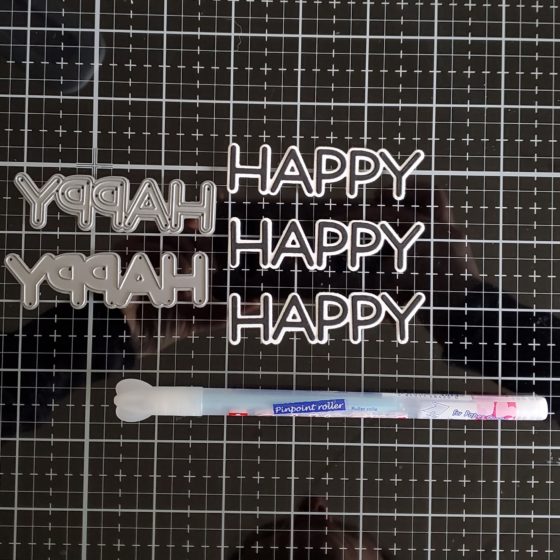
Next, I moved on to my sentiments. I die cut the Big Lingo Happy 3 times – the shadow from white and the letters from black. I used my Quickie Glue Pen to adhere them together. This pen is great for skinny little spaces and keeping your fingers out of the glue.
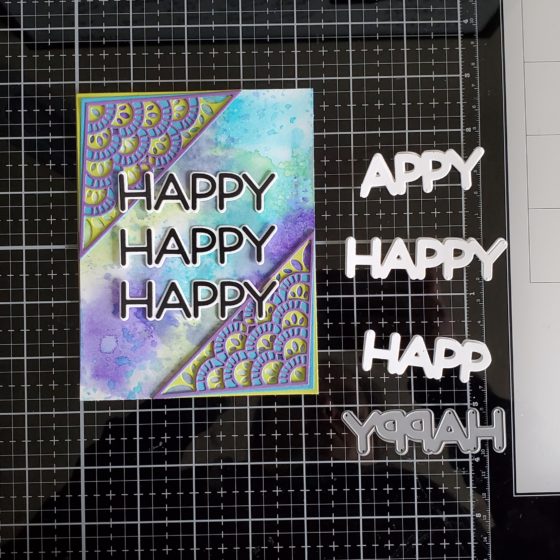
For assembly, I adhered the smooshed panel to a card base and the frilly triangles to opposite corners. Then, I die cut the happy shadow 9 more times from white cardstock. See how the letters will overlap the triangles? We need to raise parts of the word up to meet those. So I cut the “H” off of 3, left the middle 3 alone and cut the “Y” off the last 3. Then I adhered everything together and then to my card.

Last, I stamped the Happy Birthday sentiment from Awesome Ticker Tape Messages and cut it out. This is popped up with foam tape on the middle Happy.
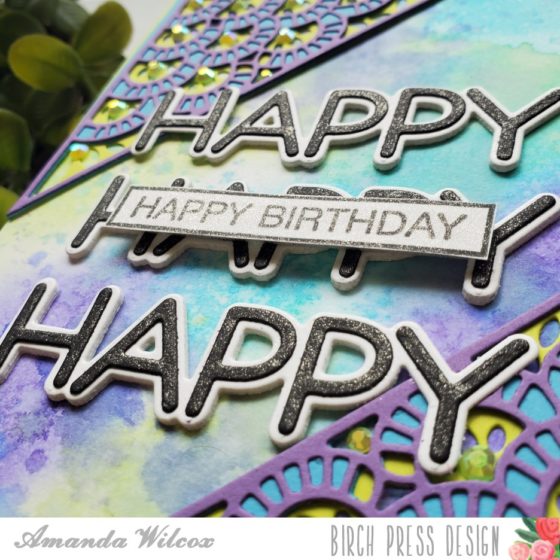
For finishing touches, I added Wink of Stella glitter brush pen to the banner sentiment and the die cut letters and some gems to both of the frilly triangles.
I hope you enjoyed today’s card and found some inspiration to create something beautiful.

Supplies


