
This card has been created to hold a small gift. It’s a great way to present “a little something” extra inside a card such as a tea with a packet of honey, or a package of seeds, necklace, small pen, or notepad – anything that is about 1/4″ thick.
Today I’m going to show how each section of the gorgeous Enchantment Plate can be used to carry the design all the way from the outer sleeve to the inside of the card as it is opened by the recipient. Be sure to check out the video below to see this card in action. I’ve also prepared a written/photo tutorial below for those who prefer to read instructions.
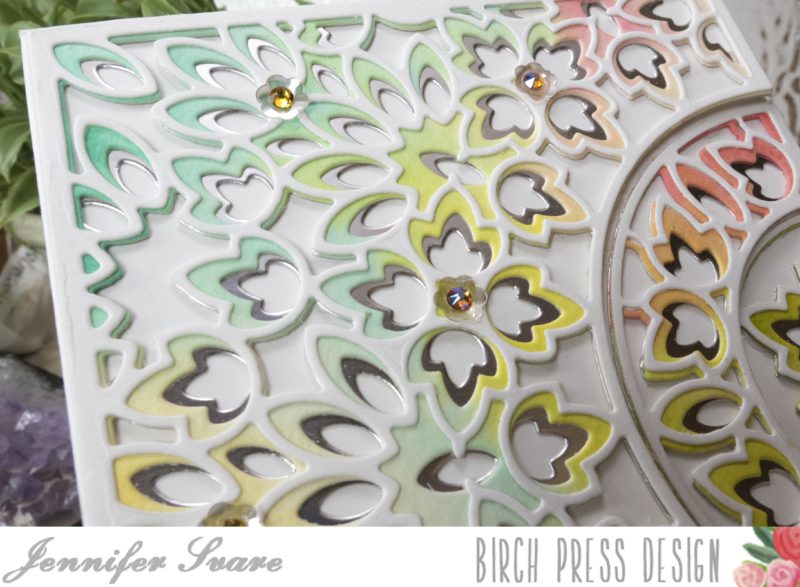
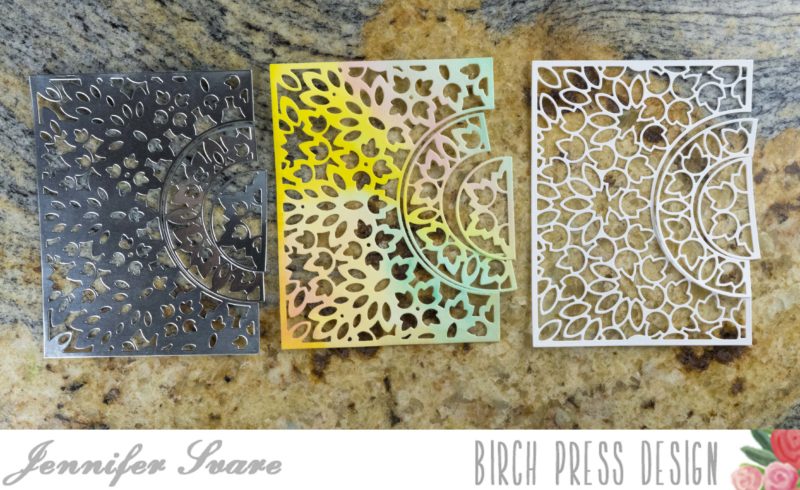
I used silver for the background, watercolor wash for the middle layer, and white for the top layer. The Enchantment Plate design looks good in any orientation.
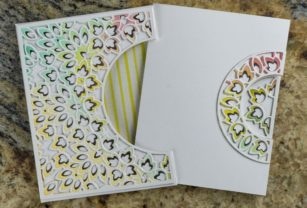
The main exterior of this card is actually a sleeve that holds an inner card. The design’s sections have been distributed between the outer sleeve, the inner notecard, and the inside of the notecard.
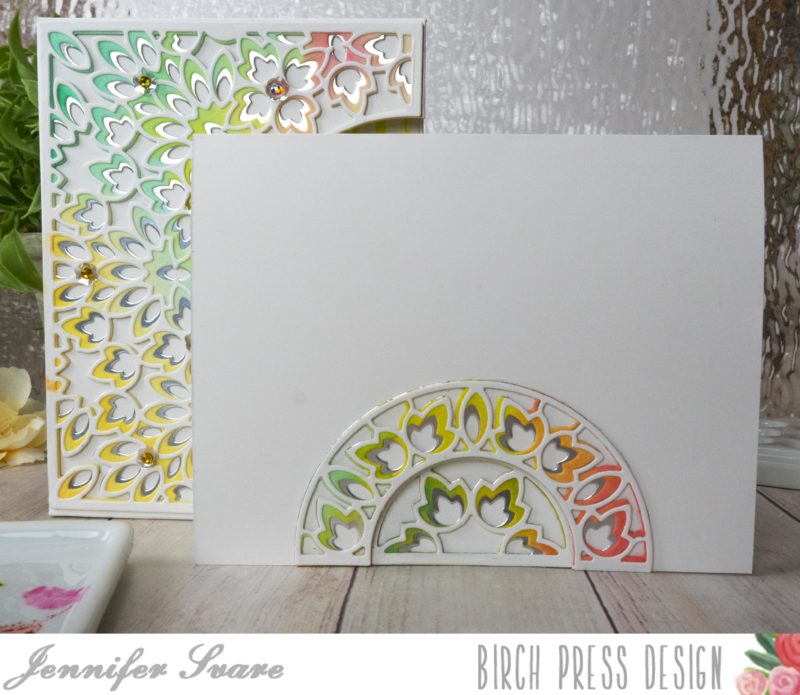
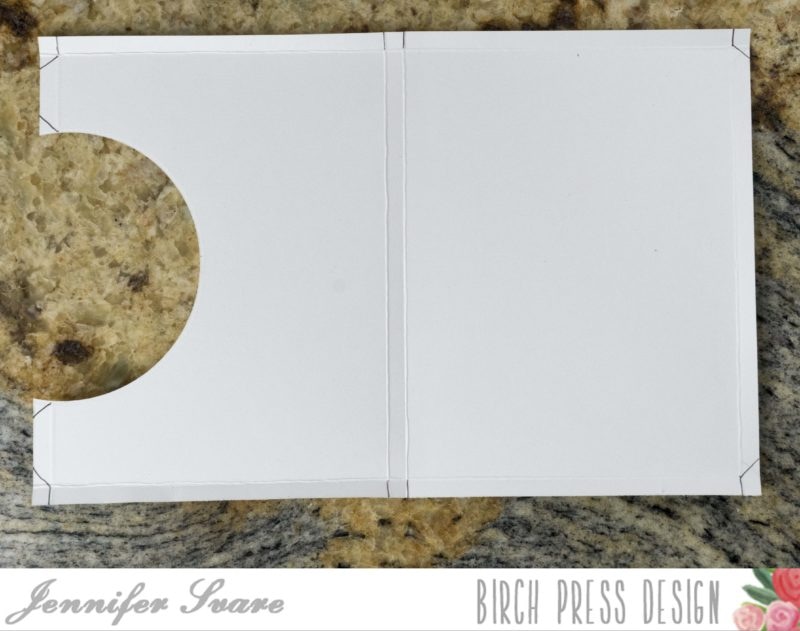
Here is a photo of what the sleeve looks like with no notecard inside. I love the patterned paper background made from Memory Box Springtime Bouquet – so pretty!

Here’s a link to a step-by-step video of how I made this card. For a photo and written tutorial, please scroll below the video. If you don’t see the video below, it can be viewed by clicking here. All products used are also linked below. Have a great day!
TUTORIAL:
First off, each plate from this set die cuts 3 “sections.” This offers enormous possibilities with mixing colors.
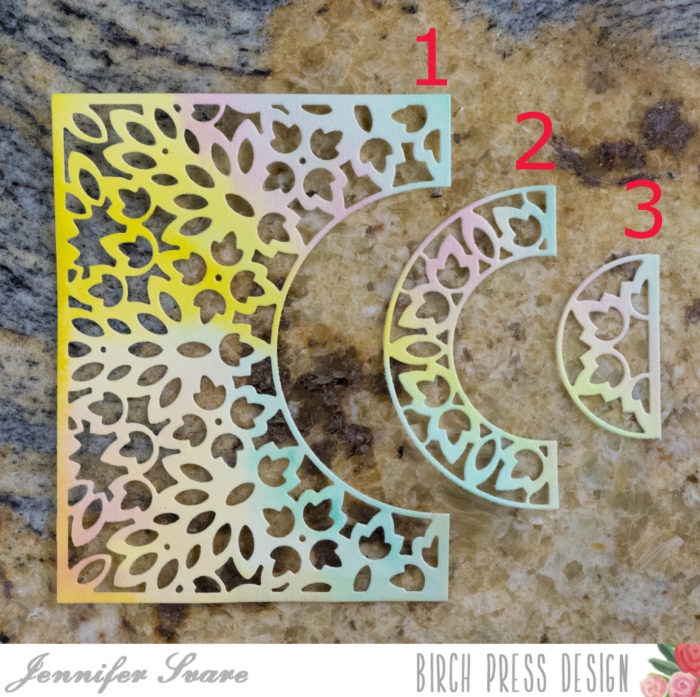
As we go along, I’ll refer to each of these sections as outlined in the below photo: Section 1, Section 2, and Section 3.
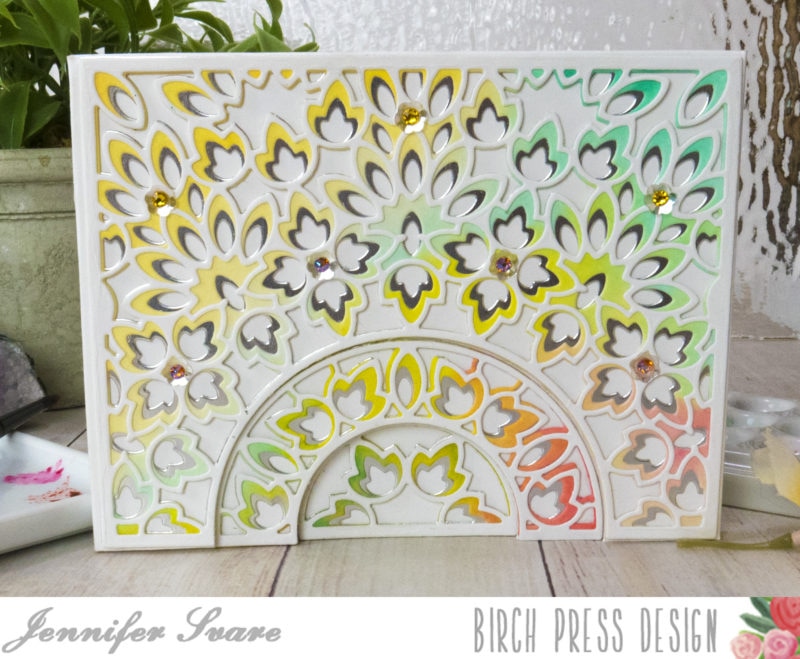
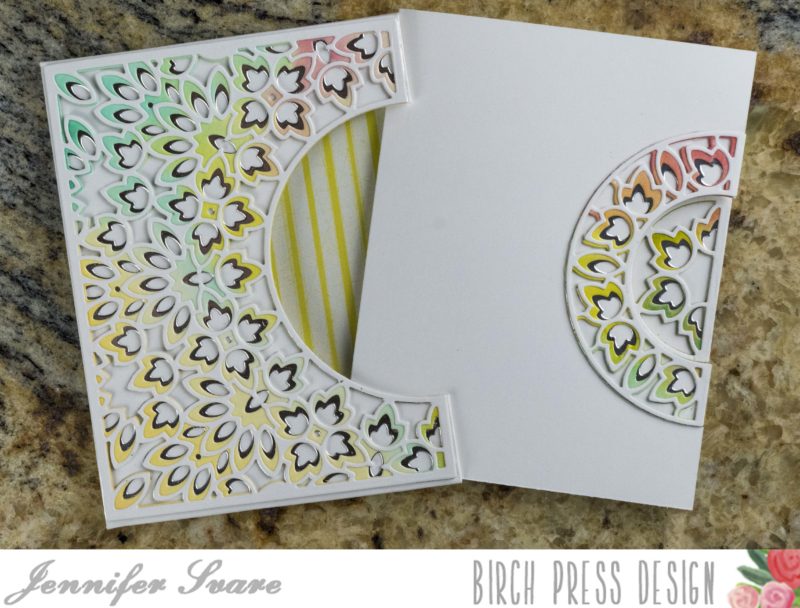
When looking at this card straight-on, the entire design is visible.

When the recipient pulls it out of the sleeve, Sections 2 and 3 are attached to the notecard. When the notecard is opened, only the small section 3 shows, and still gives a nice design when the card is opened.

See the wonderful depth this creates between the card sleeve, the card, and the inside of the card when something bulky is inside?

The sleeve and notecard are cut from two pieces of white card stock. The first measures 9-3/8″ x 6-1/8″. The second is a standard-sized A2 card base, which measures 8-1/2″ x 5-1/2″ (scored down the middle for a normal side-folding notecard).
As shown in the photo below, I needed a quick wash of color for the middle layer. I used the new watercolor paper (available here at Birch Press Design) which is a beautiful, thick, 140-lb. paper. It holds all the water needed to create beautifully blended backgrounds. I wasn’t too particular, and this took no time at all.

While the watercolor background dried, it was time to score the outer sleeve that will hold the notecard. Using the larger piece, I scored 1/4″ all the way around.
Once it was scored all the way around, with the longer edge against the top of the scoreboard, I needed to score right in between two of the grooves of my scoreboard, which isn’t possible. To get around this, I made a tick-mark at the non-scorable section between 4-1/2″ and 4-5/8″ as shown in the below photo:

Then I bumped the mark over to the next groove on the right so I could score it there. I then scored two spaces over (1/4″).

Once all the scoring was done, I laid the piece out so one of the short edges (6-1/8″ side) was on top. To make the space for the design of Section 2 to show through, I made a template from a spare Section 1 and placed it where it will be on the card. Once placed, I traced where the half-circle needed to be. (I used a circle die that happened to fit perfectly from a nested circle set in my stash. This could also be done by hand with scissors.) Notice below that the top of the template only goes to the scored line; not to the top of the card. The very top will be folded under for extra reinforcement, so that’s not going to count.


Time to do the same thing with the notecard. Since the notecard will open up to the smallest section of the Enchantment Plate, I included the base plus Section 2 of the plate. This served as my template to mark where the smaller half circle needed to be cut.


That was all that was needed for the notecard – easy! Now, getting back to the larger outer shell, I creased all folds and cut the flaps as shown below:

I then glued each flap of the outer sleeve to form a very skinny box. Notice how the flaps fold from the top toward the back so there are no glued edges showing?

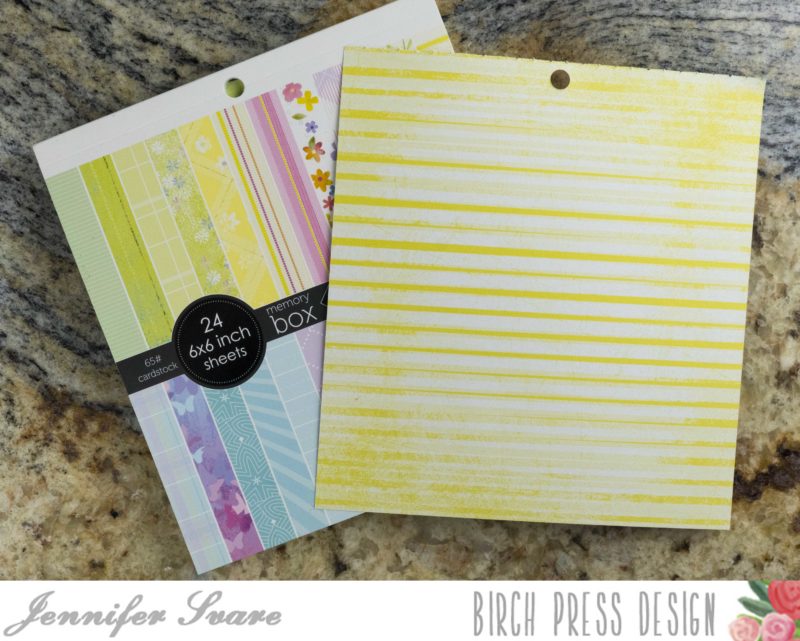
As can be seen in the photo above, the top flap is glued to the base on the inside for extra strength of the top rim. Left alone, it is a visible seam when the card is removed from the sleeve. To hide this and also provide a pretty backing, I chose a piece of patterned paper from the Memory Box Springtime Bouquet 6 x 6 pad, cut it to just a hair under 4-1/4″ x 5-1/2″ and glued that down.
After gluing each of the layers together, I adhered them to where they needed to be on the sleeve, outside of the notecard, and inside of the notecard. This would be a great project to make several of to have on hand for those quick “need a little something to give” cards.
I hope you enjoy this project! It is a very simple way to give a wonderful gift. It’s fast, and it’s fun!

Supplies


