Happy Friday everyone! It’s Amanda from Twiddler’s Nook joining you for a fun Christmas card and ornament combo today! Be aware though, this project is contagious and I can’t stop creating them in all the colors now!
Let’s get started with how I processed this fun project!
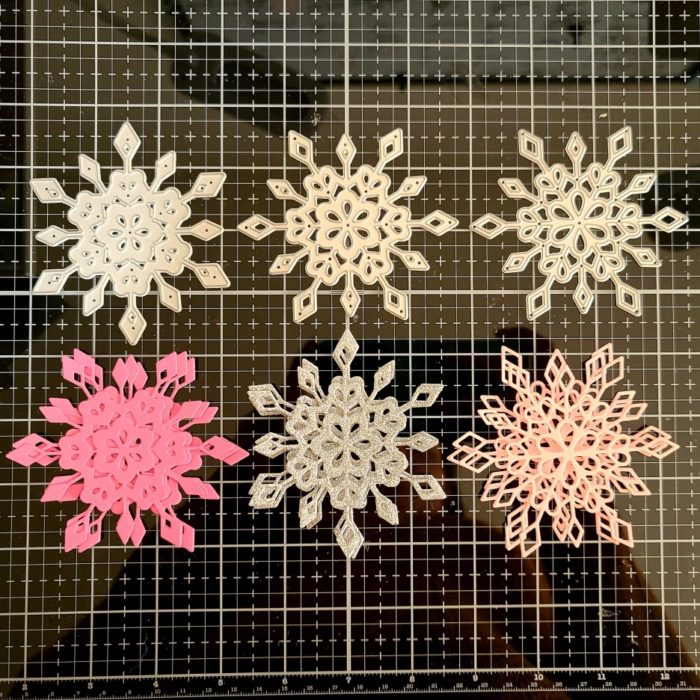
I started by die cutting my snowflakes – 3 of each layer of Frosty Flake and glued them together. I did lay clear blocks on them to help the dry flat because they are a little delicate.
While those were drying I worked on my background panel. I started with a 4.25×5.5 inch panel and inked it up with spun sugar and shaded lilac distress oxides.
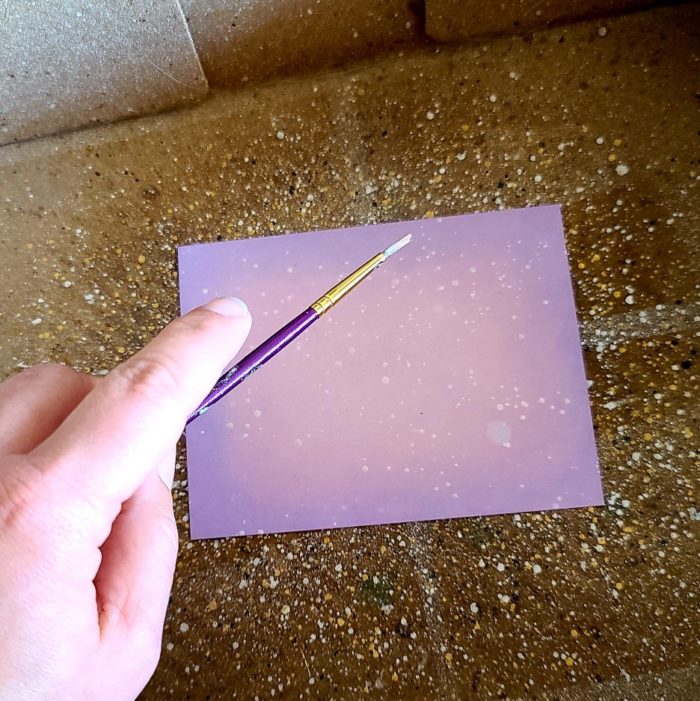
I put it in my splatter box and spritzed it with water and flicked pearl watercolor on it for some shimmer too!
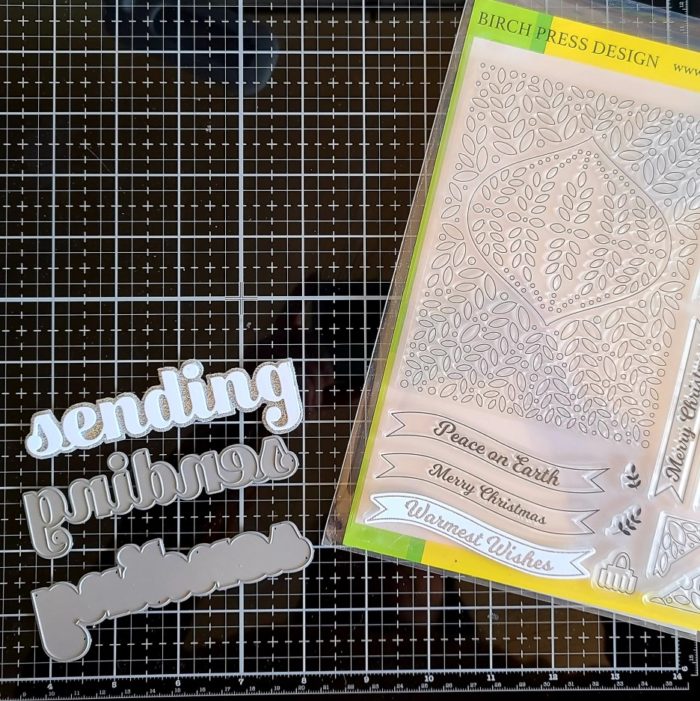
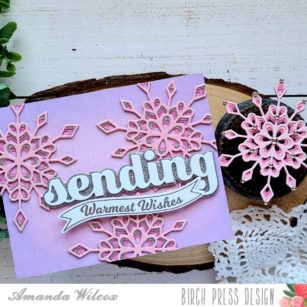
While that dried, I moved on to my sentiments. I die cut the letters for sending from white cardstock 4 times and glued them together. Then I adhered them to the silver shadow. Next, I stamped and heat embossed the warmest wishes banner from Christmas Ornament and Labels in silver so it all tied together.
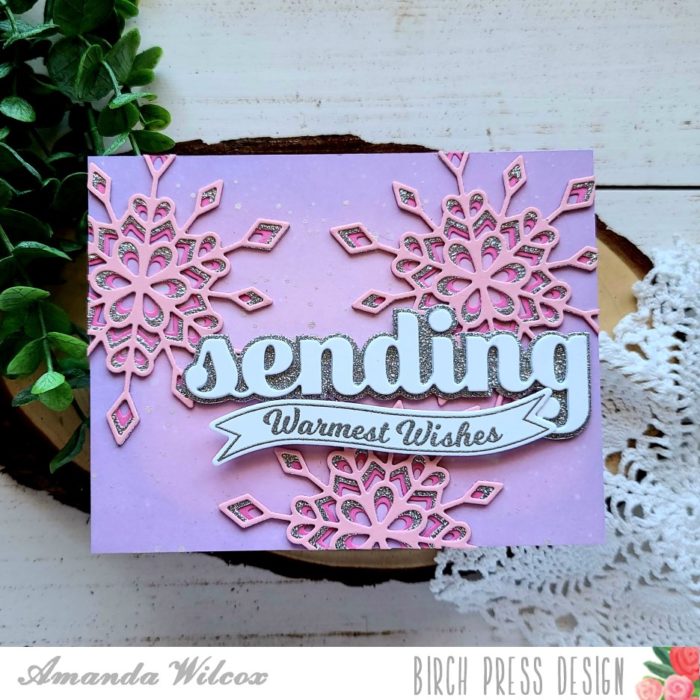
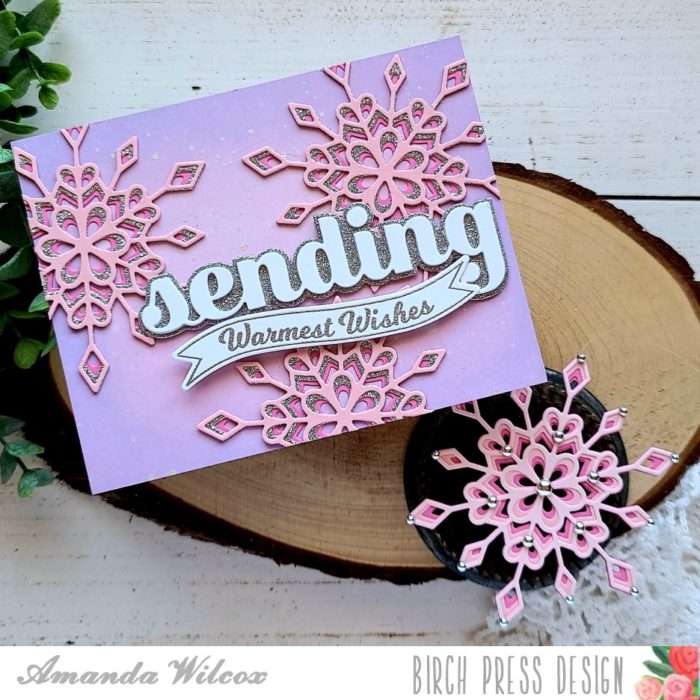
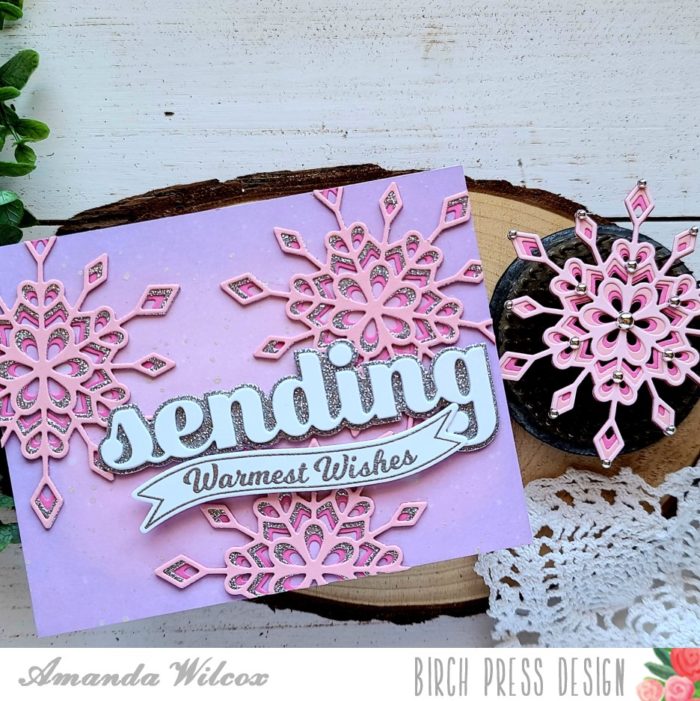
Assembly was simple, I used liquid glue to adhere my snowflakes. I let them dry for a minute before trimming off what was hanging over the edge. Then I also used liquid glue to adhere the sending word die cut. I used foam squares to pop the banner in place and my card is all finished.
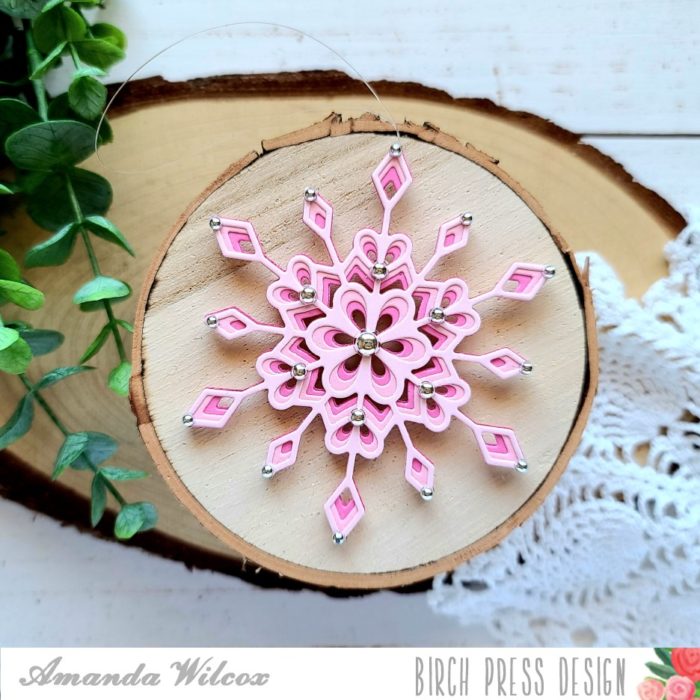
For my snowflake, I die cut the layers 2 more times – so I had 6 pieces total making 2 snowflakes. I put them back-to-back and glued them together. I stuck some fishing line at the top of one point and held it together with tweezers while it dried. After a couple of minutes I glued some silver baubles to both sides so it doesn’t matter which way the ornament hangs, it’s beautiful.
I am truly making a rainbow set of these snowflake ornaments. They were so much fun to create! I think they would be a wonderful gift. Don’t you?
I appreciate you sharing your time with me. Have a fabulous day!

Supplies

