Hello Everyone and Welcome Back!
Today’s project will be featuring the Petal Egg Layering Die Set! Grab some thread and let’s get gluing and stitching!
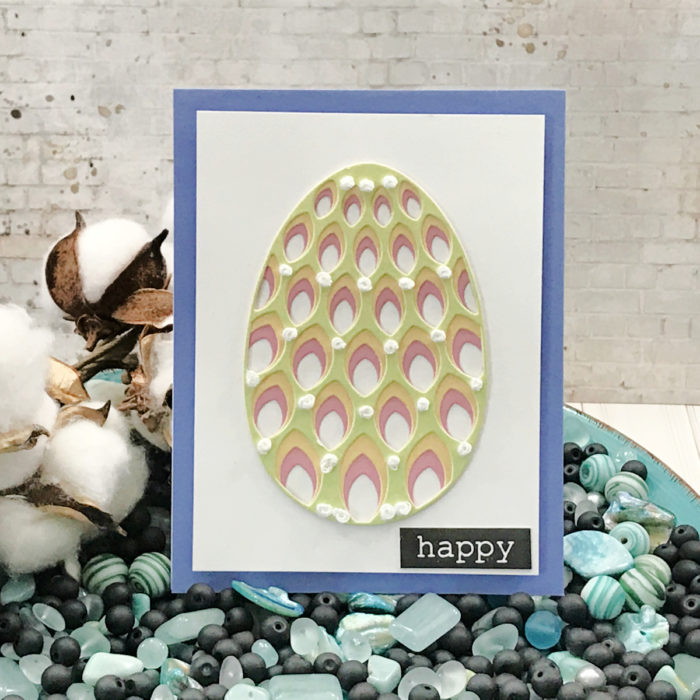
Ok as always, let’s get started! So, I started choosing my colors from the Memory Box 6×6 Solids Card Stock Pads, I went with soft pastels in yellow, green and pink. Die cut my pieces and layered them together using my liquid adhesive!
When these layers are together you can see a pattern of dots… There are perfect for hand stitching! I dug into my stash of 6 stranded floss and chose a white.
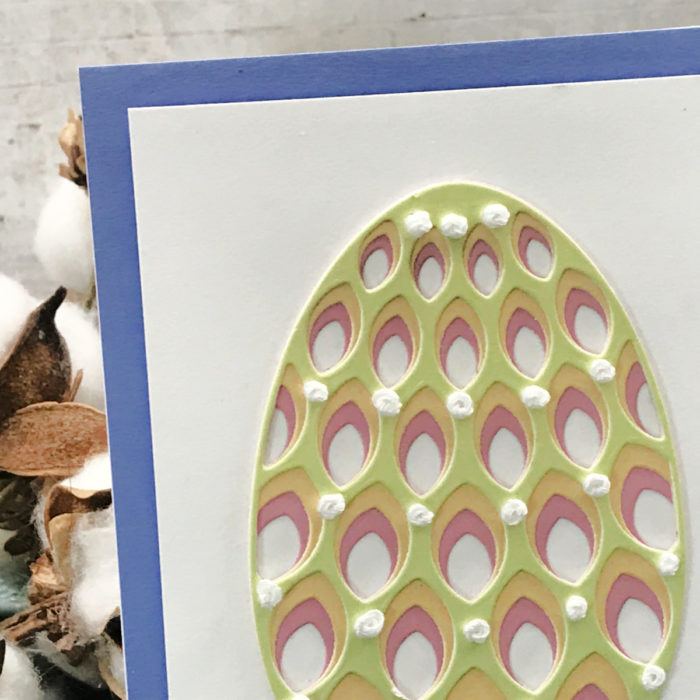
Usually, I would use the cross stitch but since the holes are not next to each other I went with a French Knot!
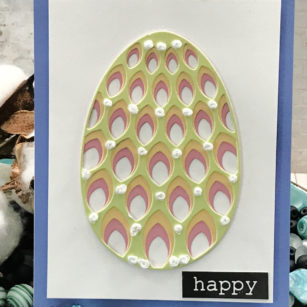
Once I was done my stitching, I placed my image on a white 3 ¾in x 5in panel and cut a matt 4 1/4in x 5 1/2in and set my design onto a standard A2 size (4 1/4in x 5 1/2in) top folding card panel.
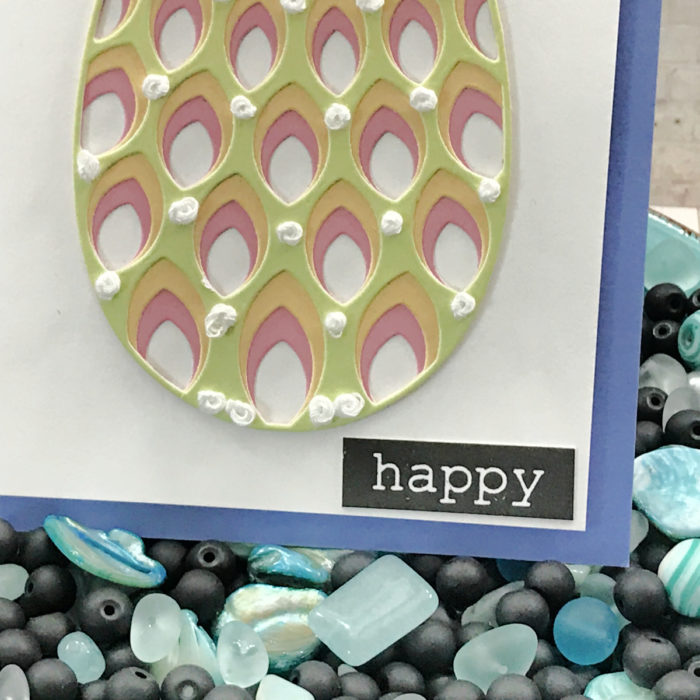
My sentiment I chose is simple ‘happy’…
As always, I hope you enjoyed today’s project… and if you want to see more details just click on the video below and see how these projects come together step by step!
Make sure you stay tuned for more wonderful projects coming soon! Have a great day and always remember… Be Creative!

Supplies


