Hello Everyone and Welcome Back!
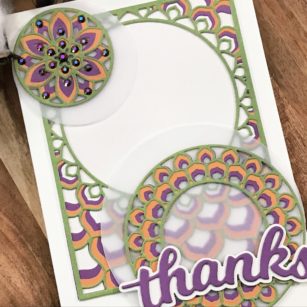
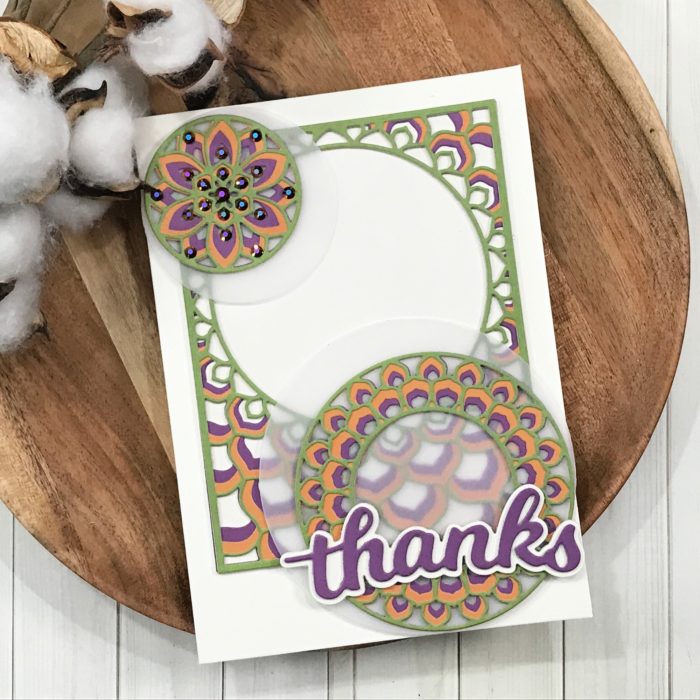
Today I am featuring the Epiphany Plate Layering Die Set! We do not have to use our dies only one way, let’s look beyond what they are capable of! With this set we get a plate, ring, and a medallion. So many ways we can arrange these pieces. Let’s get started!
First let’s get our die cutting done and layer our sections together, let’s include our sentiment at the same time!
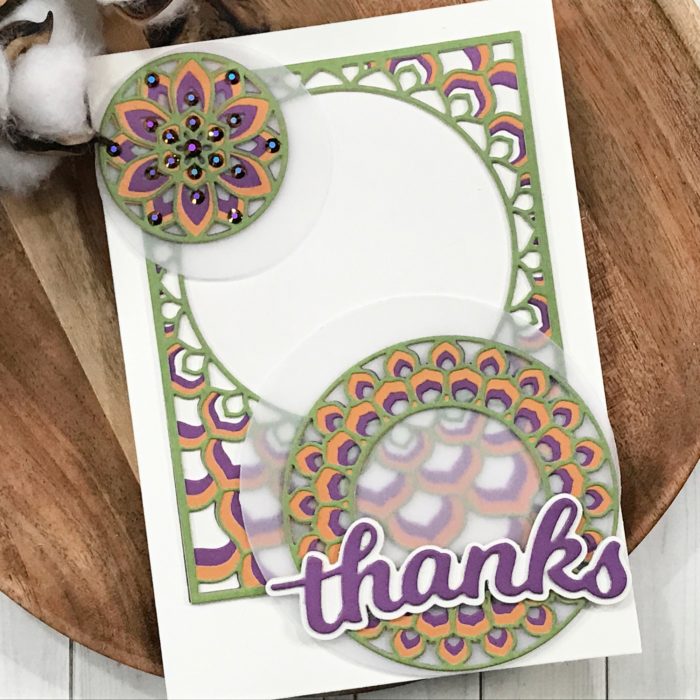
I also cut a 4.25 inch x 5.50 inch panel to place behind our main layering panel. I grabbed a circle die to cut two panels from vellum card stock! These will be placed off-set behind our ring and medallion.
For our card we are going to use a 5 inch x 7 inch card base setting our main panel in the center towards the top. Our medallion is placed in the upper right hand corner with the vellum edge hanging over the opening and the ring is placed at the bottom right corner the same way!
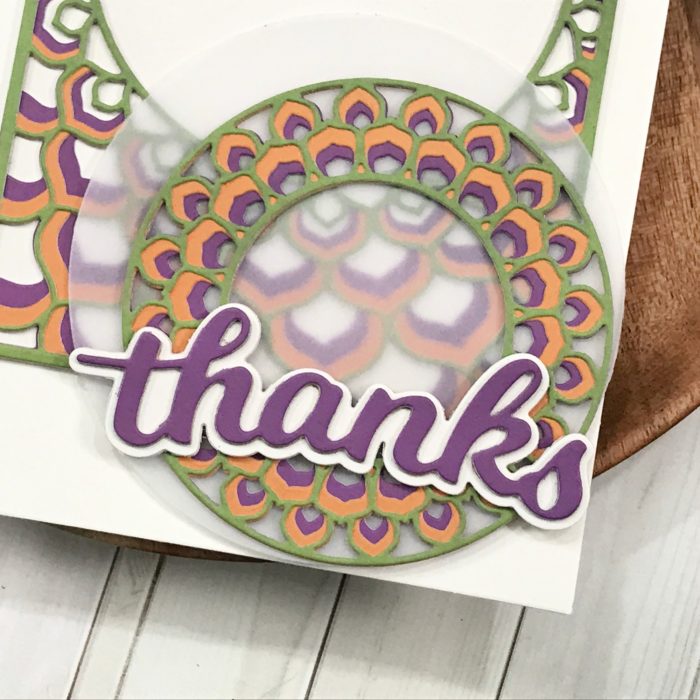
Next we place out sentiment die cut along the edge of the panel showing through the ring die.
This will give us a great geometric shape to our design!
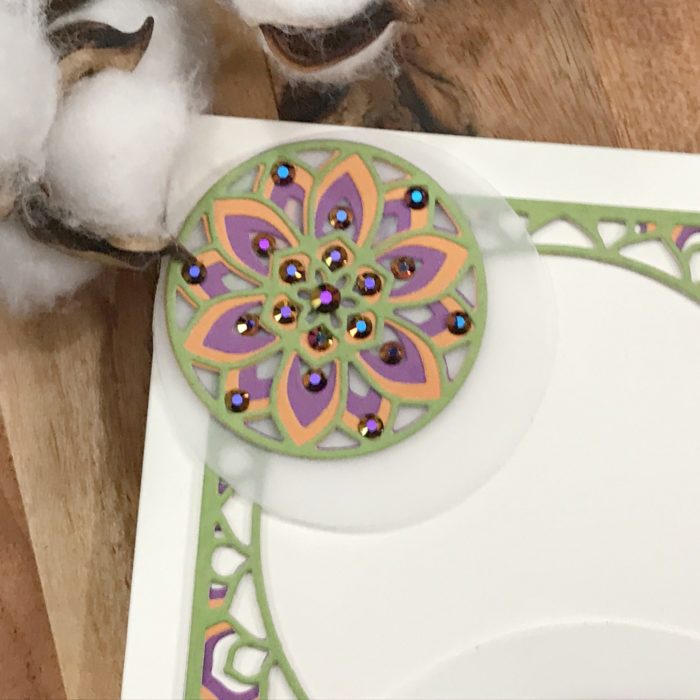
For the final touch we always need to add some bling with some gem embellishments!
As always, I hope you enjoyed today’s project… and if you want to see more details just click on the video below and see how these projects come together step by step!
Make sure you stay tuned for more wonderful projects coming soon! Have a great day and always remember… Be Creative!

Supplies


