

Hello Everyone and Welcome Back!
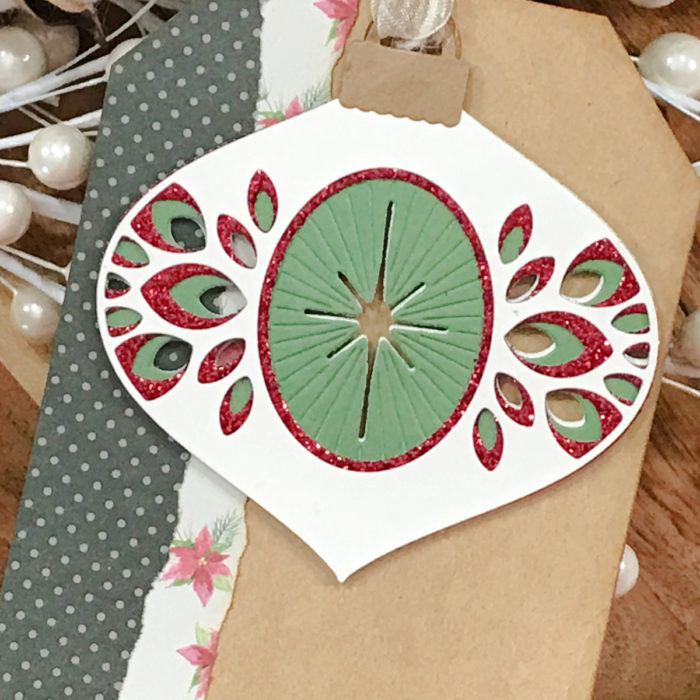
Today let’s dig into out stash and grab those ornament layering dies! I will be featuring the Tinkle and Radiant Ornament die set and even pulled out the Floral Star, just so you can see any layering die will work with this technique. Let’s get started!
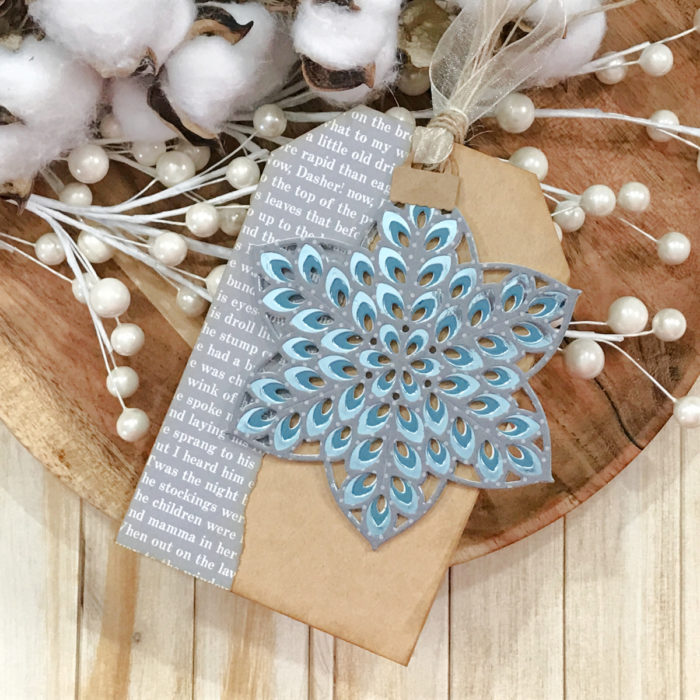
As always we are completing our die cutting first! I dug into my scrap pile since I was using colors on one side and a solid color on the other, just to save on card stock!
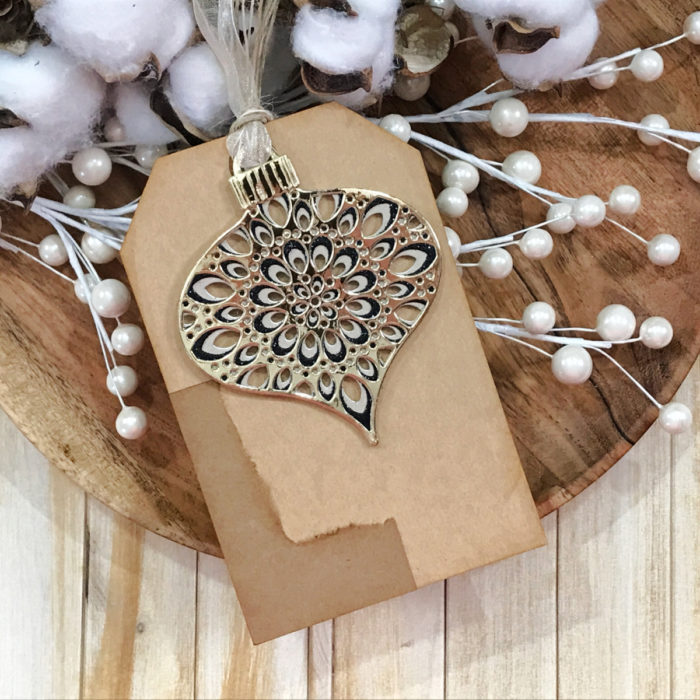
After my ornaments were together using liquid adhesive, I set those aside to dry and grabbed my kraft card stock to create my tag shape. I cut 6 rectangles measuring 3 ½ inches x 5 ½ inches. I snip one corner and turn it over to the other side so my tag will be even on both sides.

For 3 of the tag shapes, I used my score tool to score a line 1 inch down from the top of the tag and then glued another tag shape without the score together. The score line allows the tag to function like a top folding card!
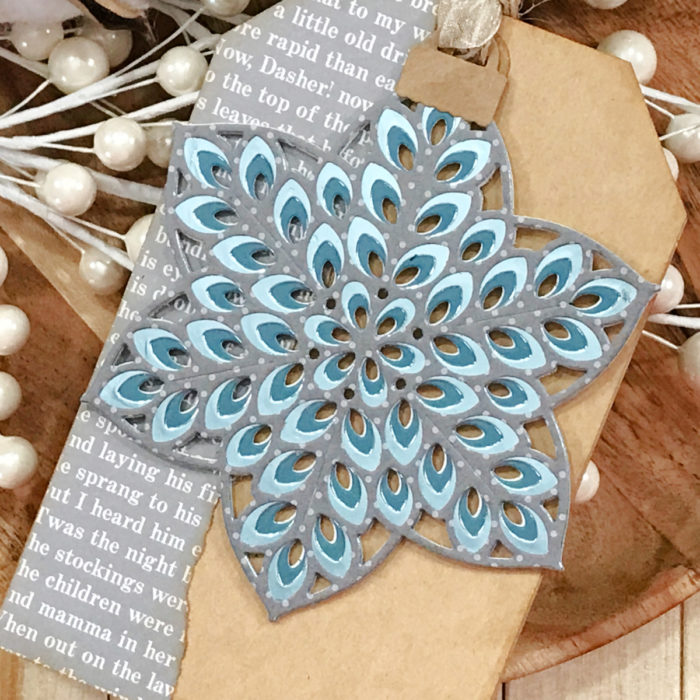
I used some torn scraps for accenting my tag shapes along one side and used vintage photo ink around the edges…
Grab some twin and ribbon and create your tassel for the top of the tag shape. Make sure you create an ornament hanger and attach that to you ornament first. Then gather the rest of your twine to strong your ornament and tag together!
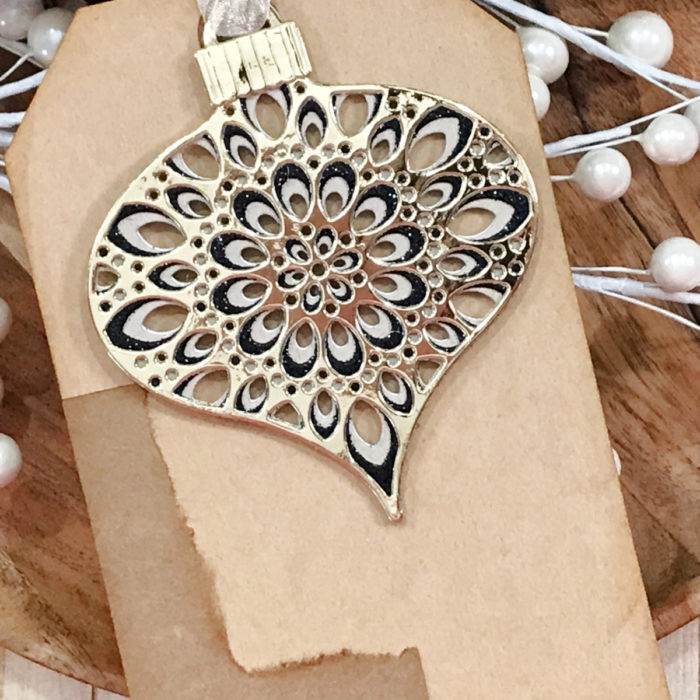
You see in one project we can create a tag, a card and even make it a gift!
As always, I hope you enjoyed today’s project… and if you want to see more details just click on the video below and see how these projects come together step by step!
Make sure you stay tuned for more wonderful projects coming soon! Have a great day and always remember… Be Creative!

Supplies


