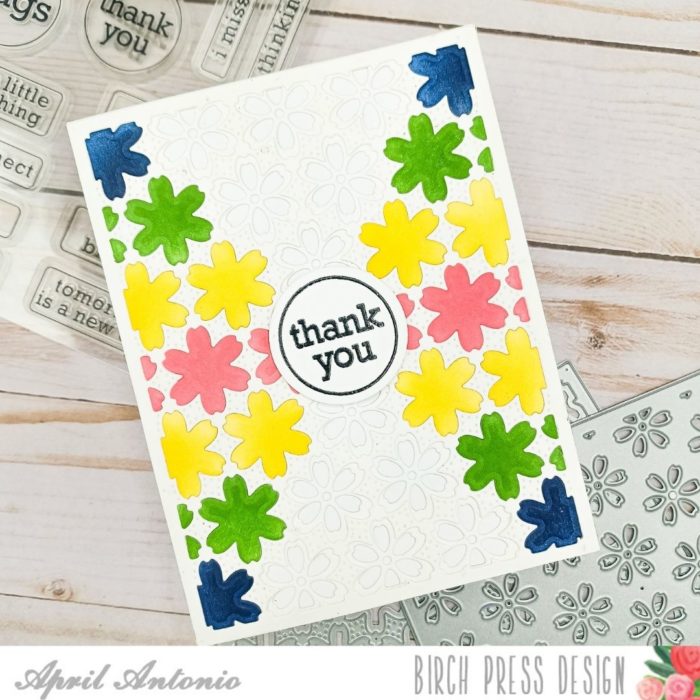
Happy Wednesday everyone! You’ve made it to the middle of the week and perhaps it’s time to show yourself a little self-love. How about starting with taking a break to checkout today’s card by new DT member April Antonio, created using the beautiful Flora Plate Layer Set.
Card dimensions: This card is A2 size or 4 1/4″ by 5.5″
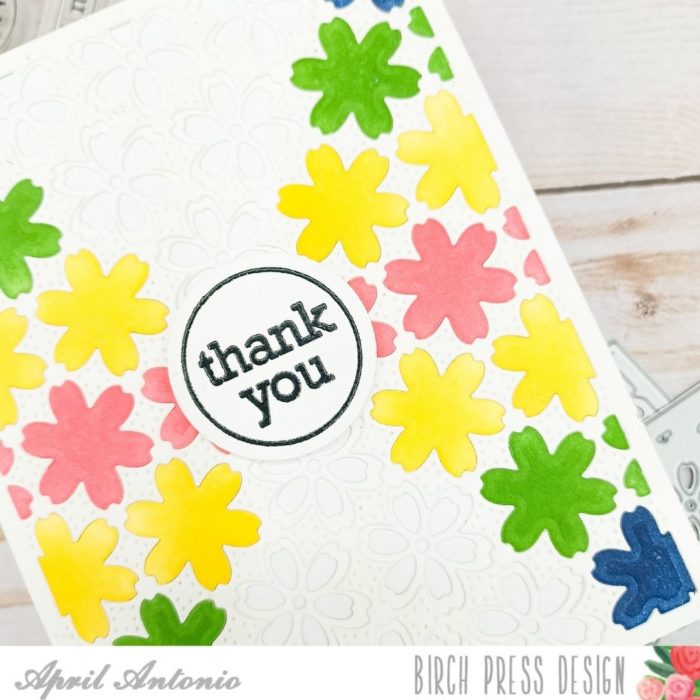
Card creation: I used Flora Plate Layers A and B and cut them each one time from heavyweight white cardstock (110# cardstock). I made sure all of the pieces from Layer B (the bottom layer) were removed and then adhered it to my A2 card base.
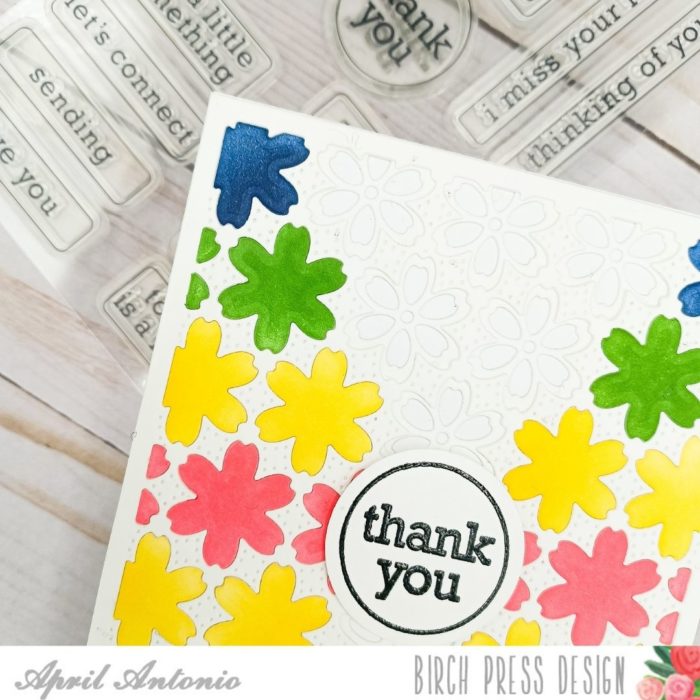
Next, I decided I wanted to use some of the diecut flowers from Layer A to glue back into the layer — a technique called diecut inlay. I decided on a triangle shape on each side of the card. I then only removed the flower pieces from Layer A that I was not going to be using for the diecut inlay technique.
I took each flower piece I was keeping and smooshed them into an ink pad color of my choosing and let the ink dry. After they were dry I used liquid adhesive to piece them back into each space to create the diecut inlay look. The pieces were very easy to pop right back into the spaces they were originally cut from.
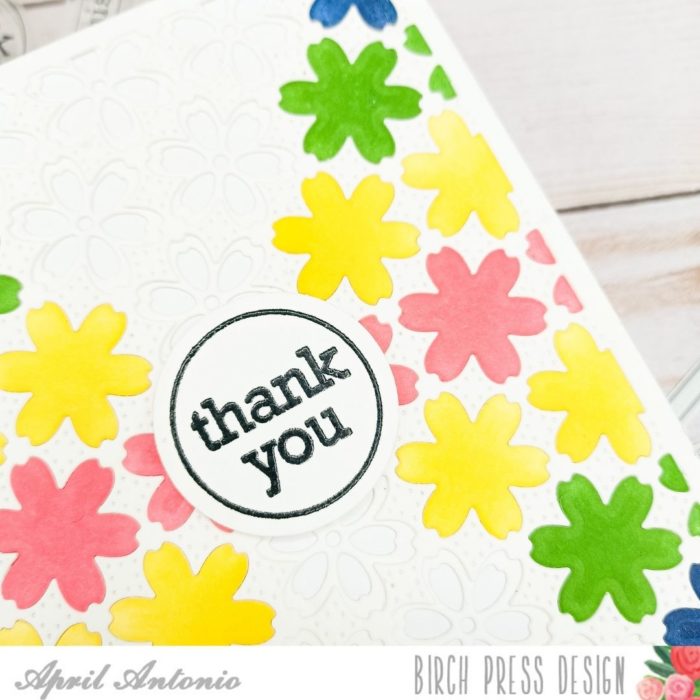
Sentiment creation: Now I had a beatifully colorful and background and wanted a simple and elegant greeting to go with it. I used the Contempo Greetings clear stamp set to stamp ‘thank you’ in black pigment ink, and then heat embossed over the words with clear embossing powder.
I used the coordinating Contempo Die set to die cut the sentiment out. Lastly, I ahdered it in the center of the card with a small piece of foam tape.
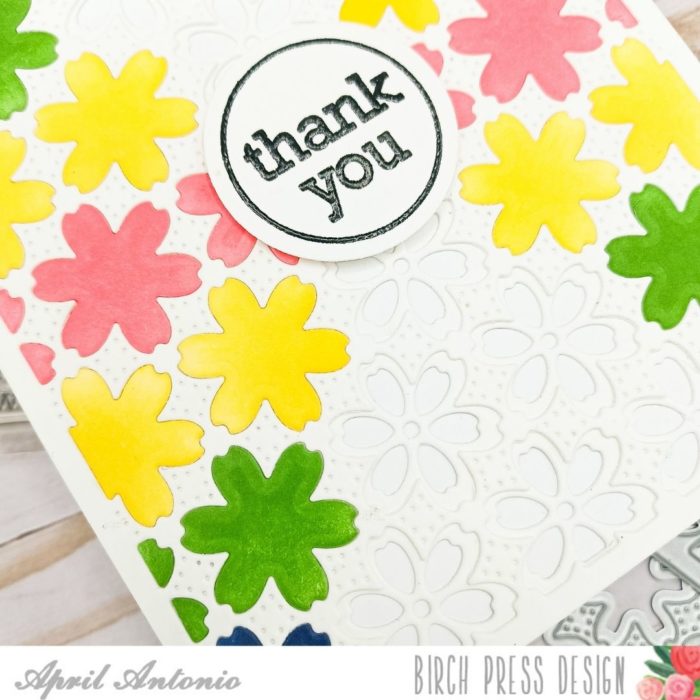
I love how the Flora Plate Layer Set can be used with all three layers, two, or even just one to create beautiful cards.
Thank you for visiting! I hope you enjoyed this post, and will try the Flora Layering plate set for yourself.

Supplies

