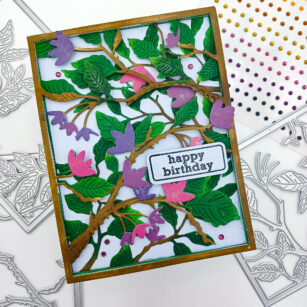
Happy Saturday, and welcome back to the Birch Press blog! Today I am excited to share a card using the Forest Canopy layering die set. Each layer of this beautiful set can be used one it’s own or layered together as you will see in the following card.
To start this card I first took each layer and cut it twice from white cardstock. Once for the card, and a second time to either make a second card later or in case I made a mistake with one layer while crafting.
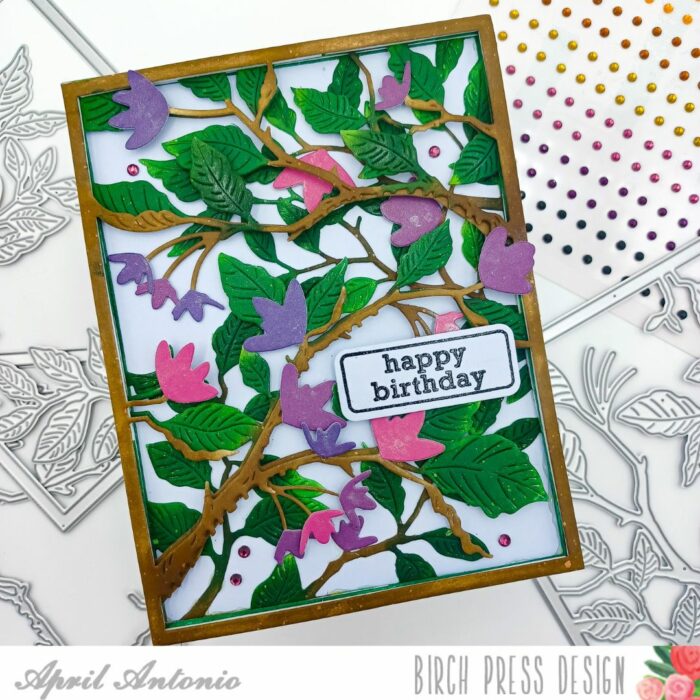
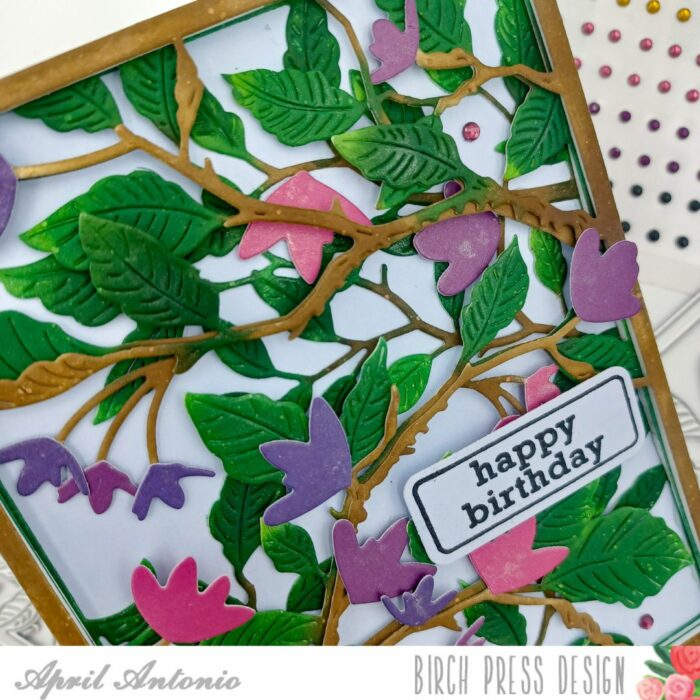
I then used ink blending brushes to ink each layer with shades of brown and green for the branches and leaves. To help avoid mess I used a non-stick craft mat for my ink blending.
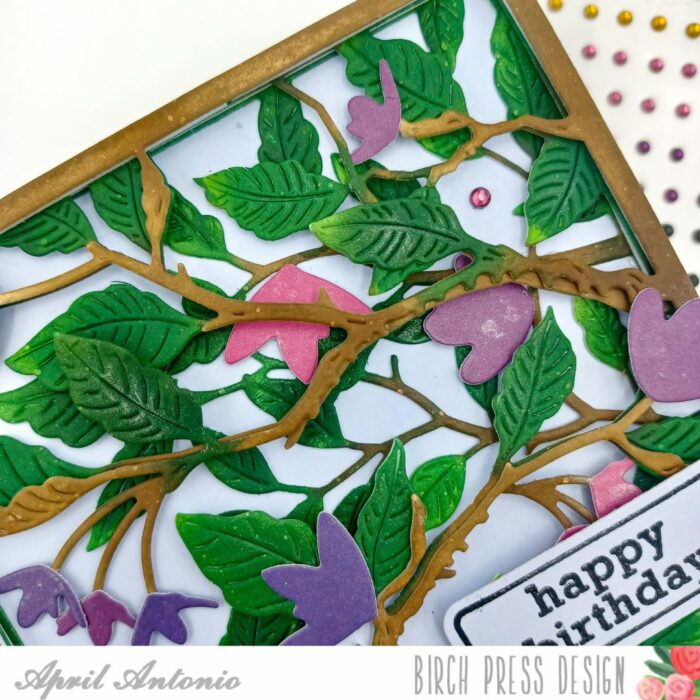
TIP: for more realistic looking ink blending on foliage, use lighter colors towards the top and darker colors towards the bottom. Also, it helps to use 2 or 3 colors to add more realism and dimension.
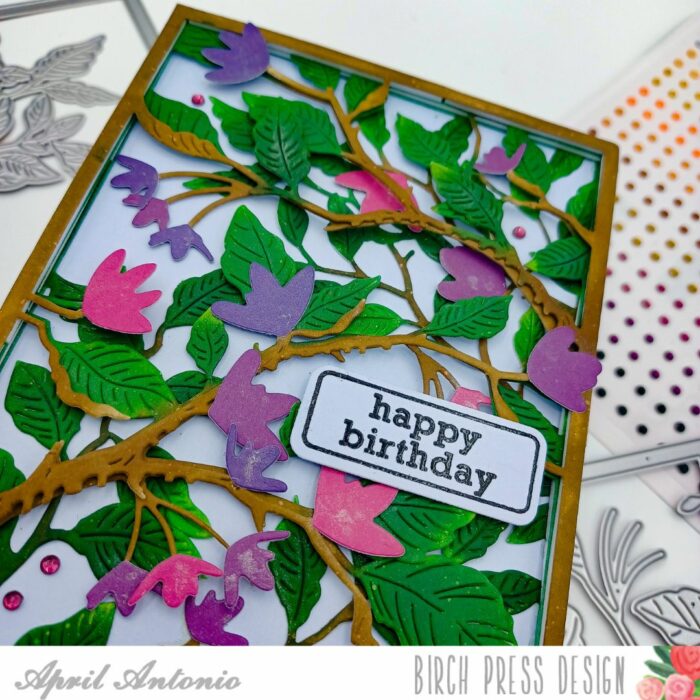
Next I decided to create a sort of shadow box effect, so used thin layers of foam to adhere each layer together.
To give the entire card background a ‘sky’ look I used blue cardstock from the Memory Box Ocean Blue cardstock pack and cut it to A2 sized, and glued it to a white card front. I then glued all three layers that I had adhered together to the front of the card.
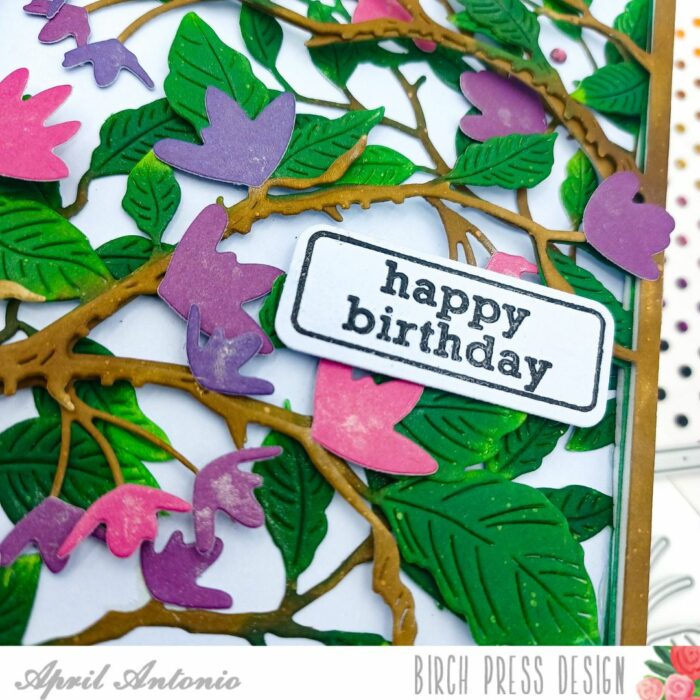
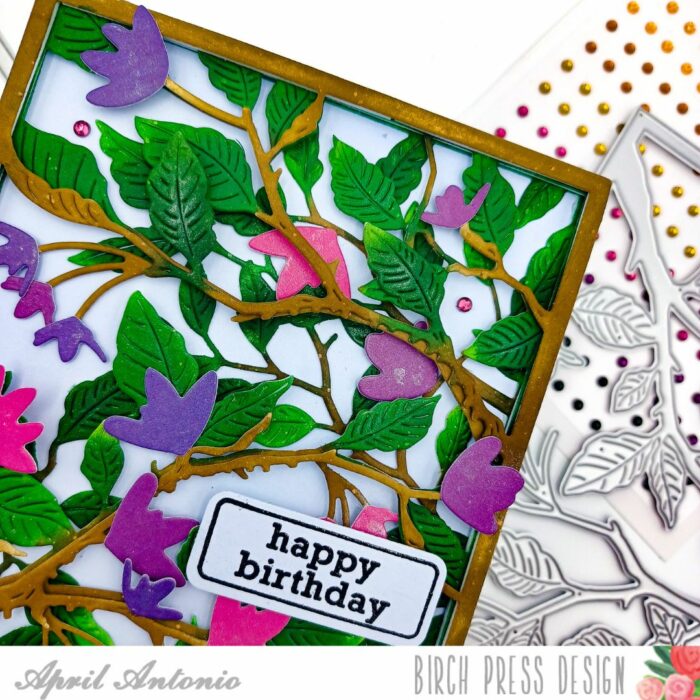
The set comes with some berries, but I really wanted to have sprouting flowers, so used flower dies from the Tiny Tuft Flowers & Leaves die set. I cut the flowers in three different colors from the Vibrant Violet card stock set.
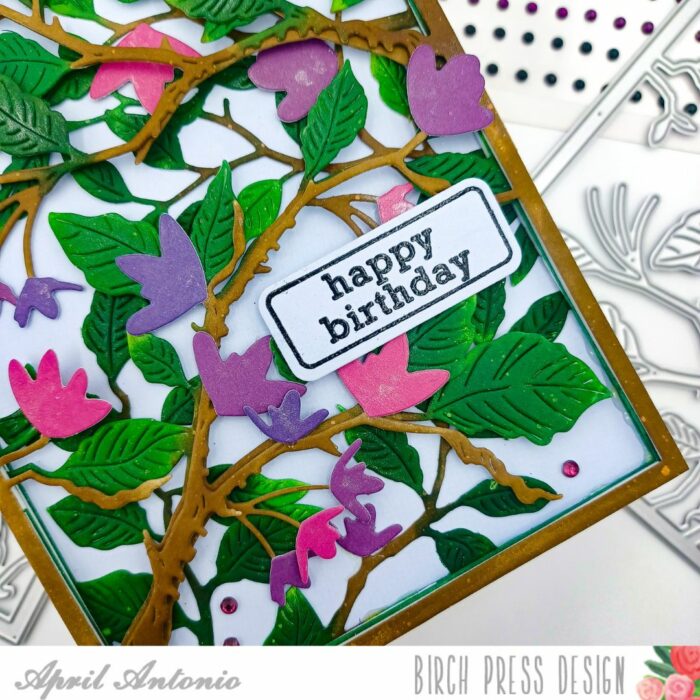
I then glued the flowers all over the card front, making sure to add some to the back layers as well as the top layer.
Lastly, I added some powder shine and also jewels from the Autumn Fairy Jewels set.

Supplies


