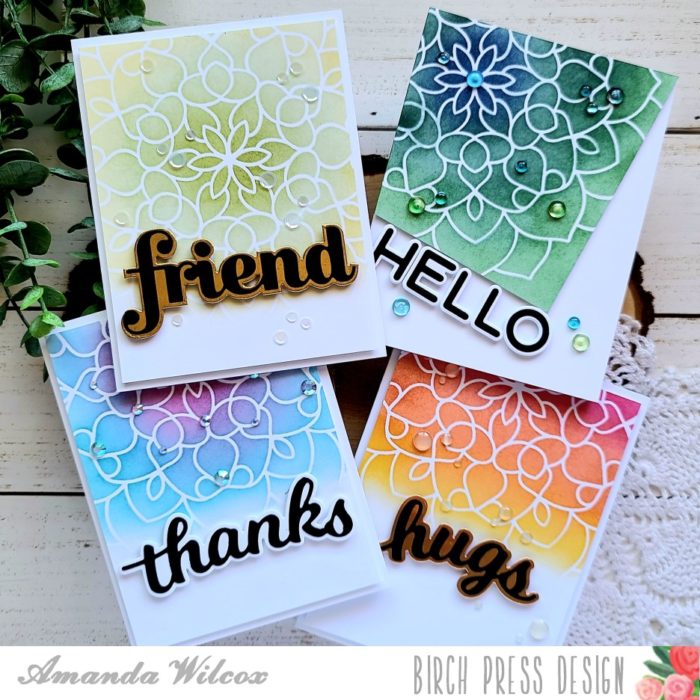
Hello everyone. It’s Amanda from Twiddler’s Nook joining you again. Today I’ve got a set of 4 cards that I made fairly quickly and would be a great design to mass produce or pull together if you needed something in a flash.

Here’s a peek at all of them. But let’s back things up and I’ll show you how I created them.

I used removable adhesive on the back of my panel and stuck it to my glass mat. Then I used post-it tape to tape my stencil in place.

Then I used blending brushes and dye inks to ink up my panels one at a time. I did them all back-to-back, assembly line style.

Here is a look at all of the panels before I trim them down at all.

I trimmed the 3 panels down to 4×5.25 and trimmed the one along the stencil lines. Then I backed them all with foam tape. Next, I grabbed my sentiment dies and cut the shadow and words from various cardstock and adhered them together with liquid glue. Then I added foam tape to the back of these as well.

At this point I popped all the panels on white card bases and also added the sentiments that I chose.

I went through my stash of embellishments and chose a different one for each card, adhering them differently for each design.

This card is my absolute favorite from today. Something about those colors together and the simple confetti bits adding interest here and there.

And I love how different this one turned out as well. So many possibilities with this simple design. Did you have a favorite?
I appreciate you sharing your time with me. I hope you have been inspired to create something wonderful. Have a fabulous day!

Supplies


