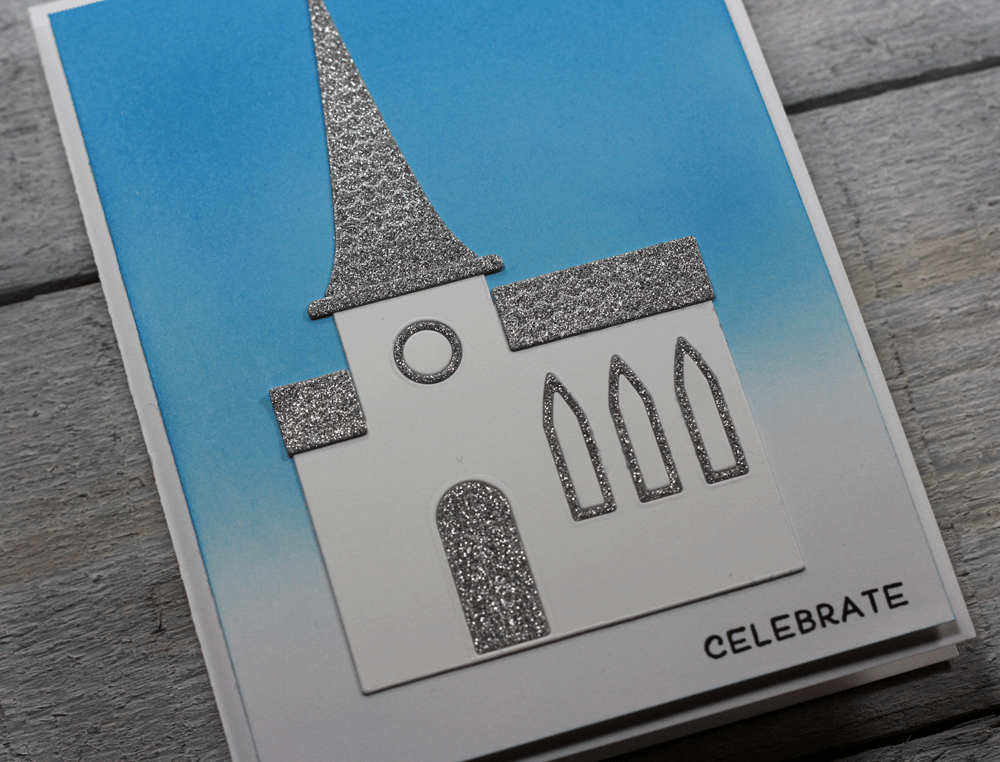
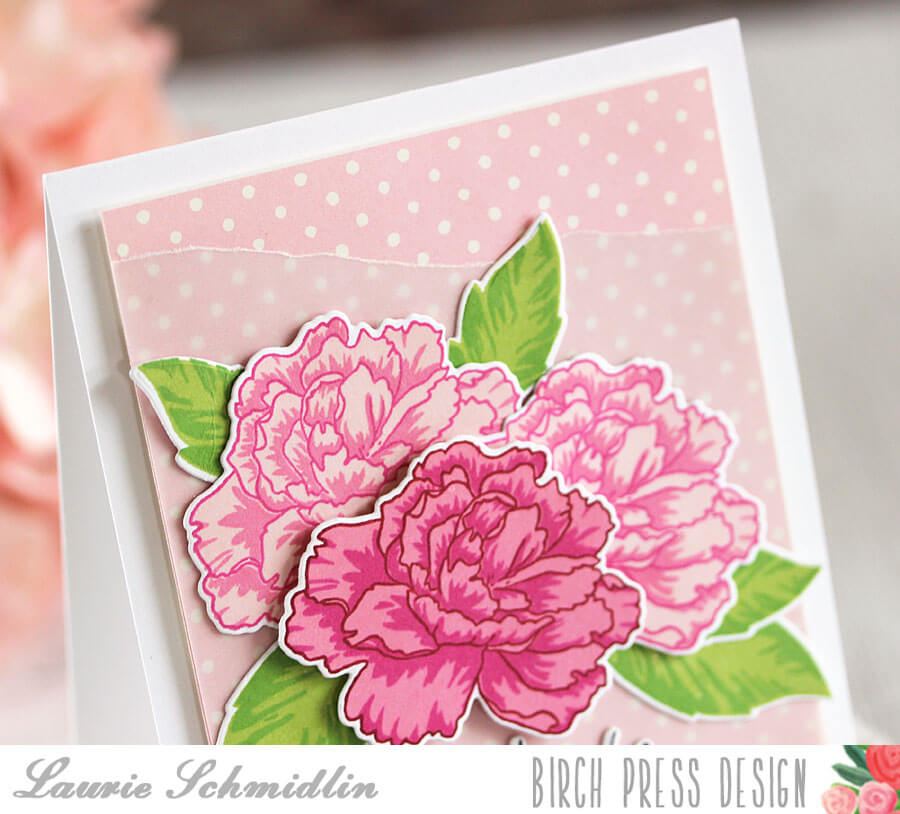
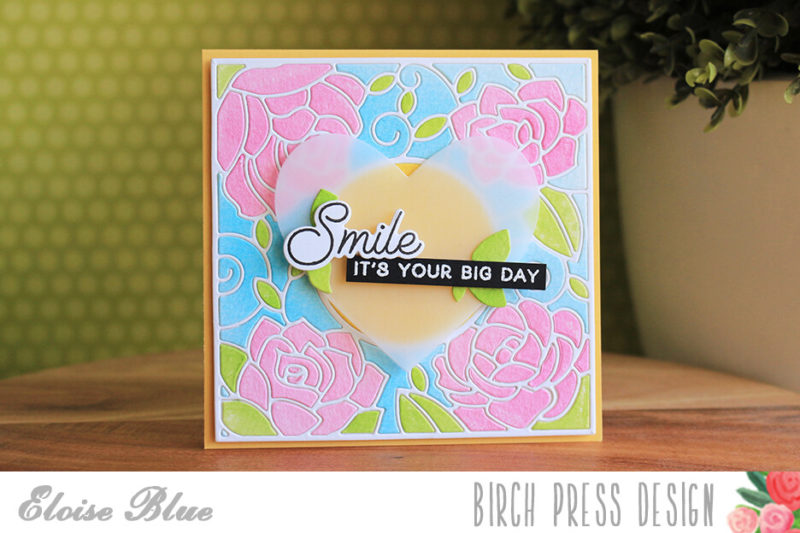
 I hope you’re having a great day! Today I’m sharing a pretty in pink wedding congratulations card made with lots of goodies from the Birch Press Design Store. Here’s a peek at the finished card…
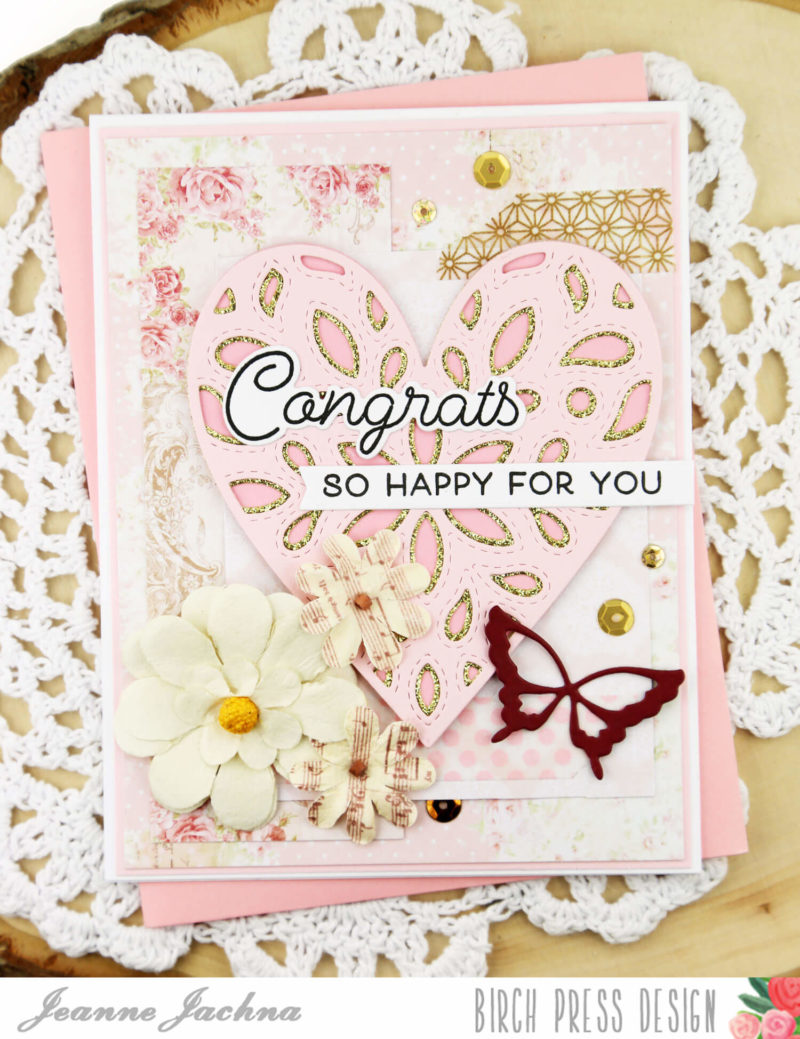
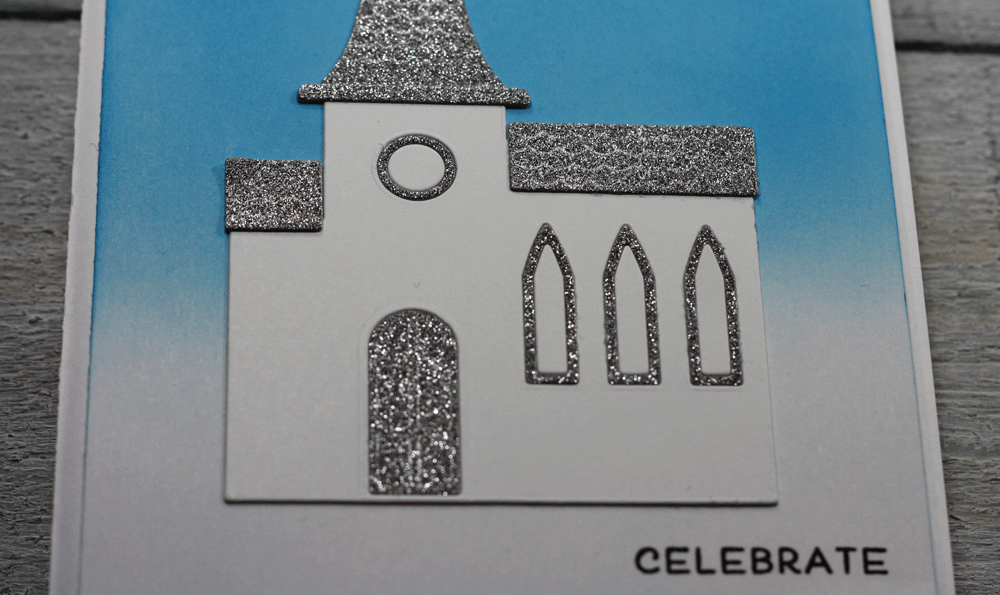
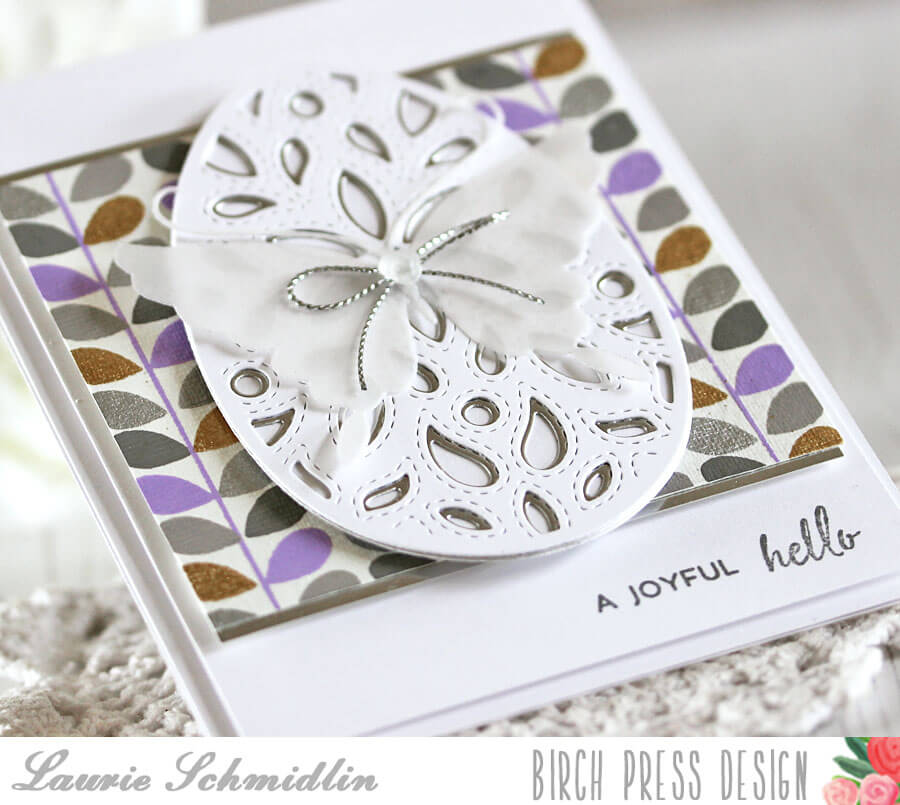
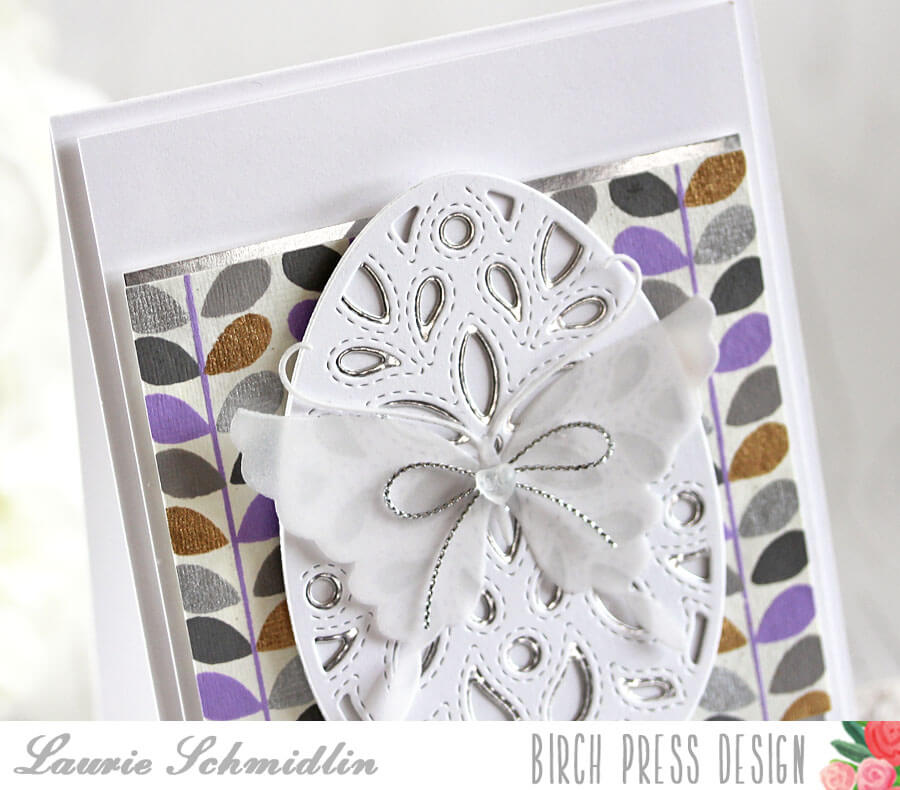
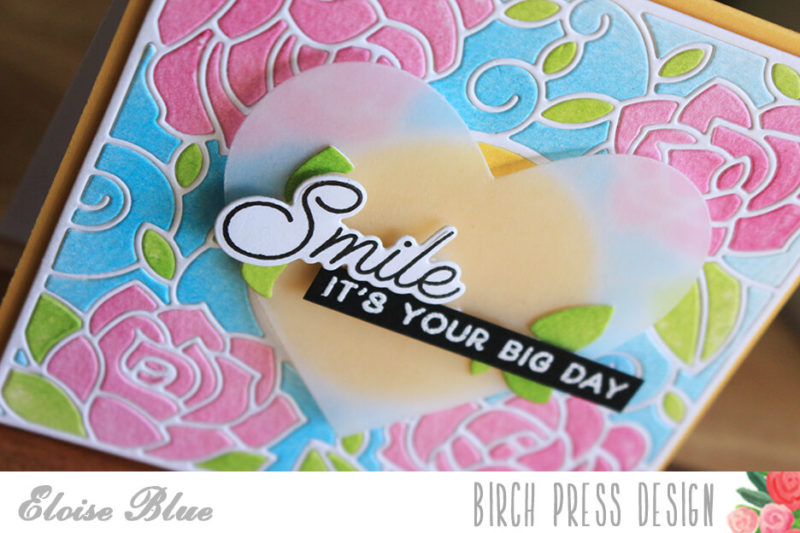
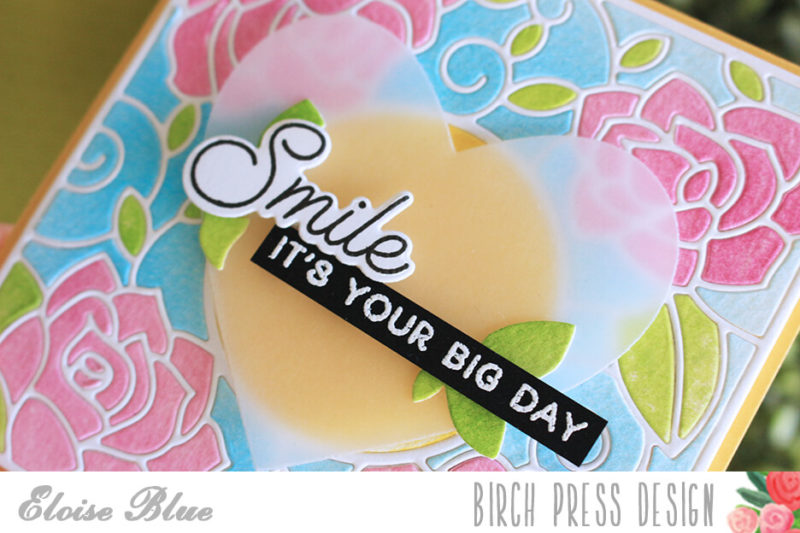
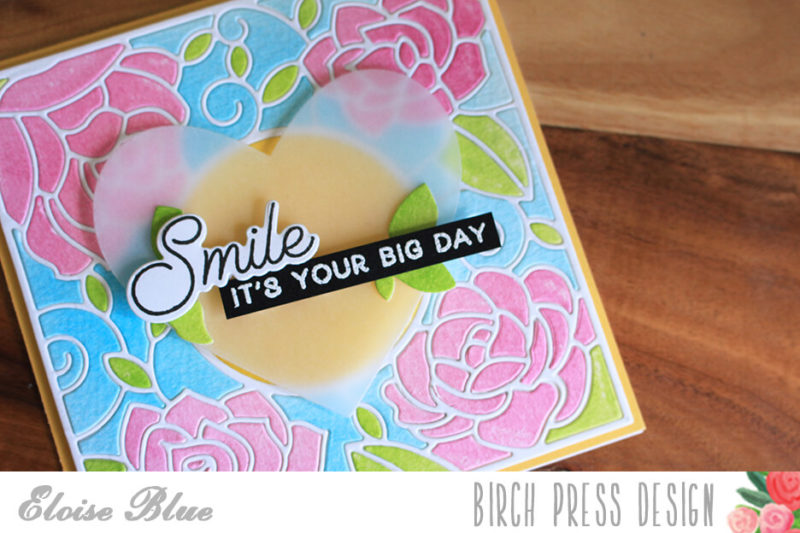
I started with the FIORI HEART Layers B & C die cuts from pink and gold. I didn’t use layer A because I didn’t want to cover up the pretty stitched design. When working with layered dies gold is always a beautiful accent layer. It adds sparkle and elegance to any project.
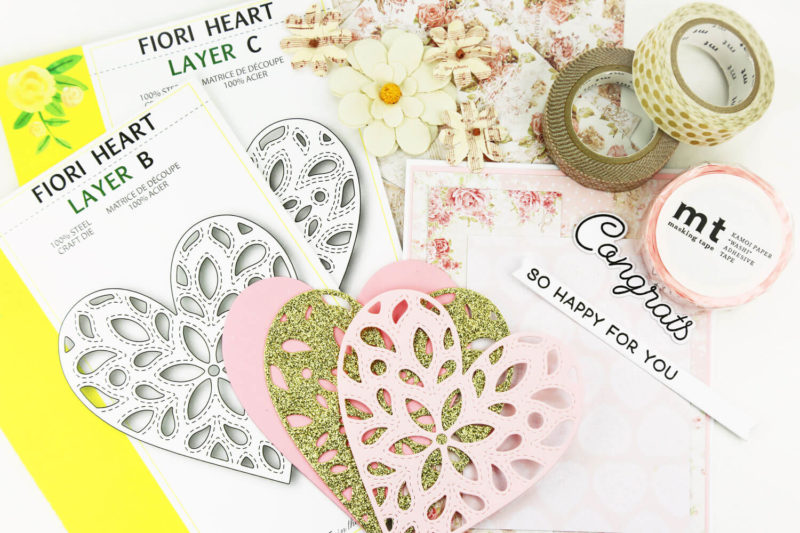
I layered LOVE STORY paper from the store on a card base before adhering the FIORI HEART die cuts.
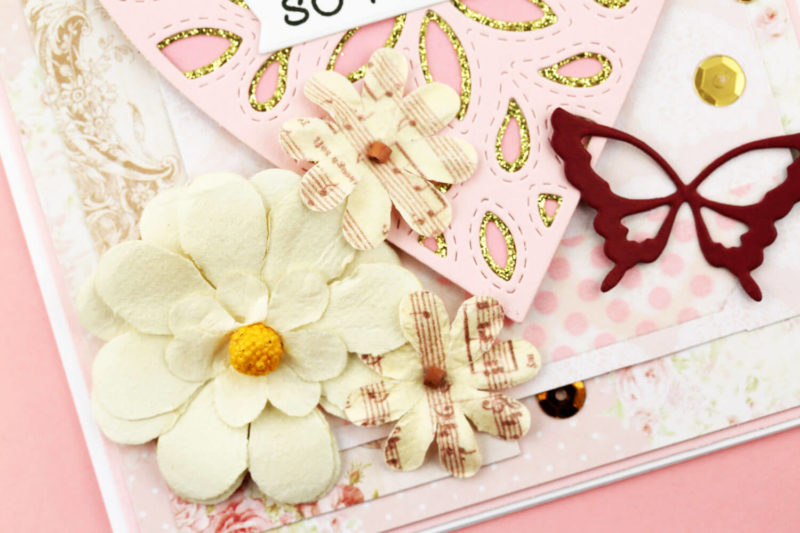
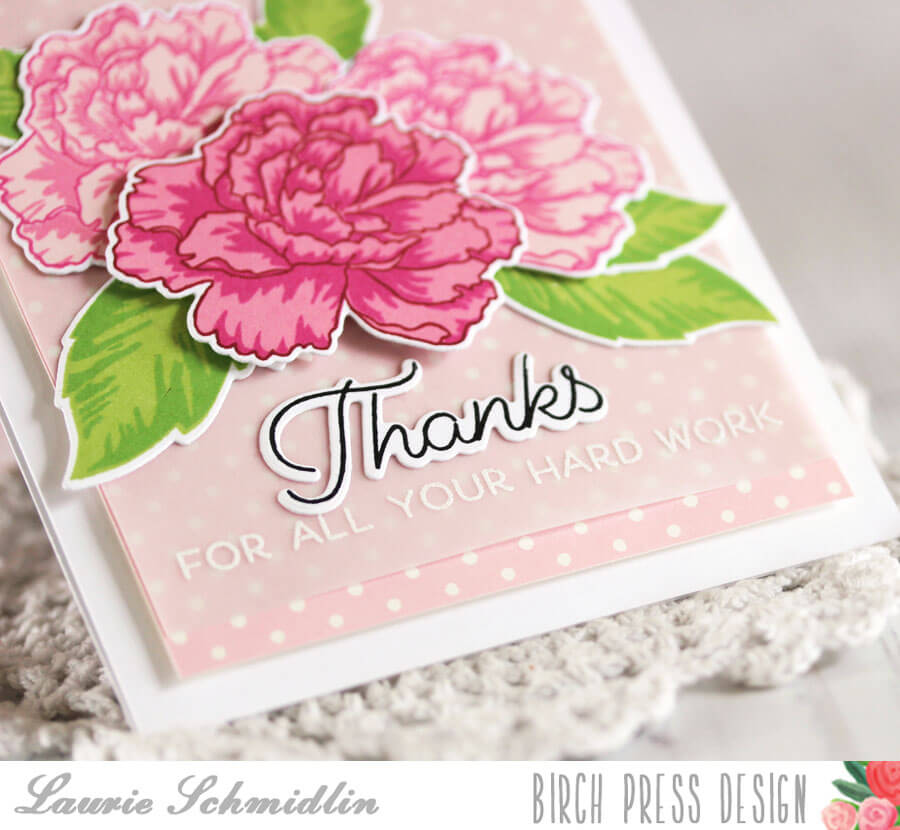
There are lots of beautiful embellishments in the store, like these paper flowers. Can you spot the sprinkle of NOT SO HEAVY METAL Sequins? The “Congrats” sentiment comes from the HOORAY FOR EVERYTHING stamp set, and of course coordinating dies are available.
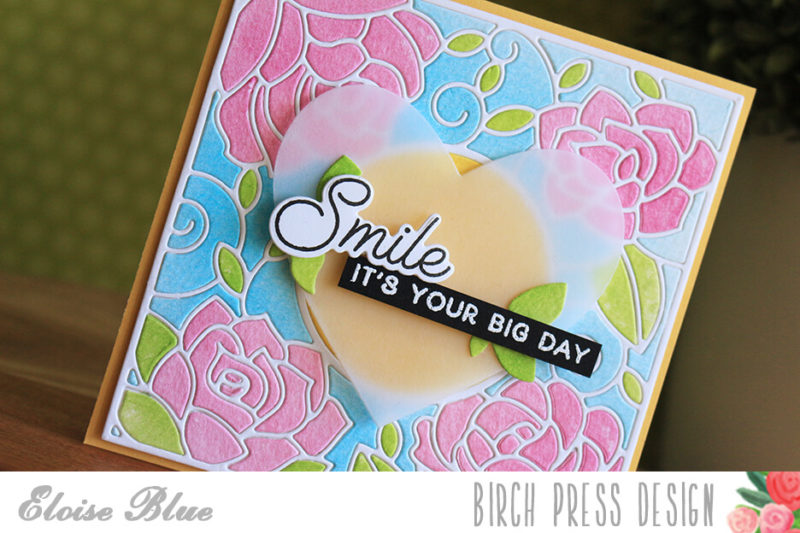
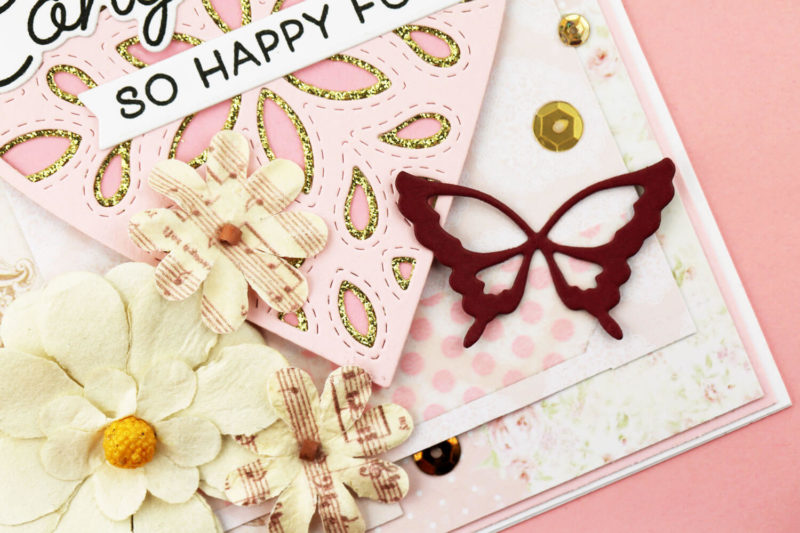 A GENEVIEVE BUTTERFLY makes a pretty accent. This butterfly is available in 3 layers – but each one looks amazing “as is” no stacking required. It’s really not necessary to have “all the layers” of each design to make something beautiful.
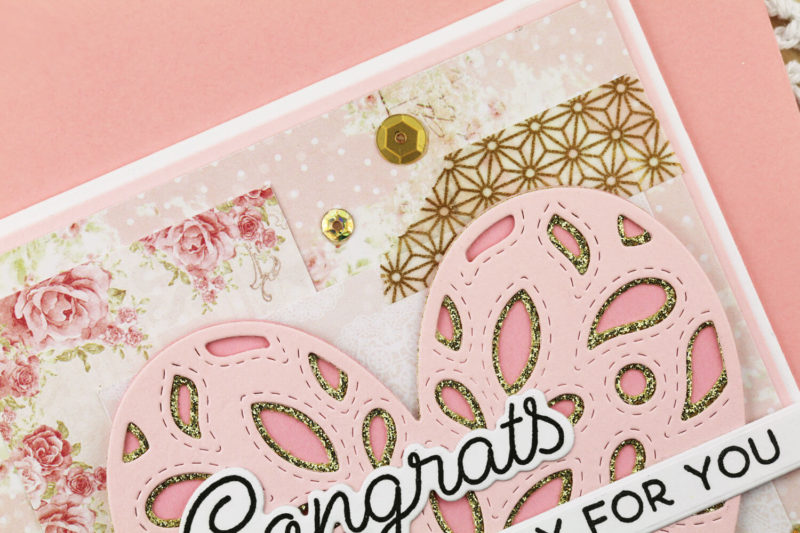
I’m loving the new Washi in the store too. The MORNING FIELD BRASS washi adds a pretty metallic accent that picks up on the gold in the FIORI HEART. Can you spot the STRAWBERRY MILK Washi? When working with pattern paper I like to add washi where there are seams from adding layers.

I know you’ll love working with all the craft supplies in the shop. They’re the very best quality that are always a pleasure to work with!

Finished Size 4.25 x 5.5″
 Fiori Heart Layer CBPD |
 Fiori Heart Layer BBPD |
 Hooray For Everything BPD |
 Hooray For Everything Dies BPD |
 Genevieve Butterfly Layer BBPD |
 Love Story 6″ PaperBPD |
 Mine FlowersBPD |
 My Favorite Story FlowersBPD |
 Not So Heavy Metal SequinsBPD |
 Dot Strawberry Milk TapeBPD |
 Morning Field Brass TapeBPD |


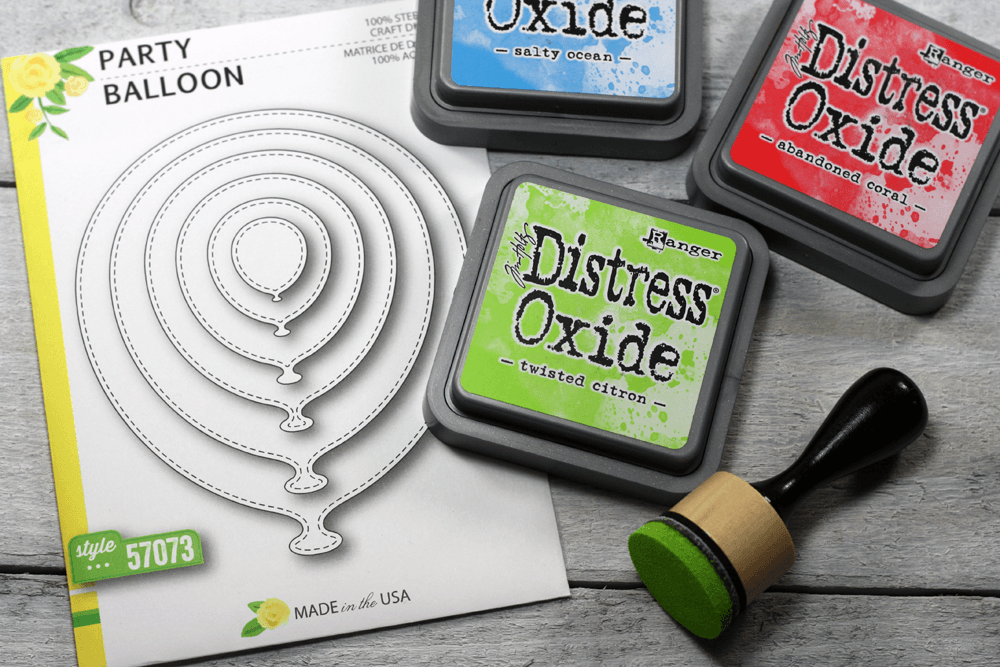
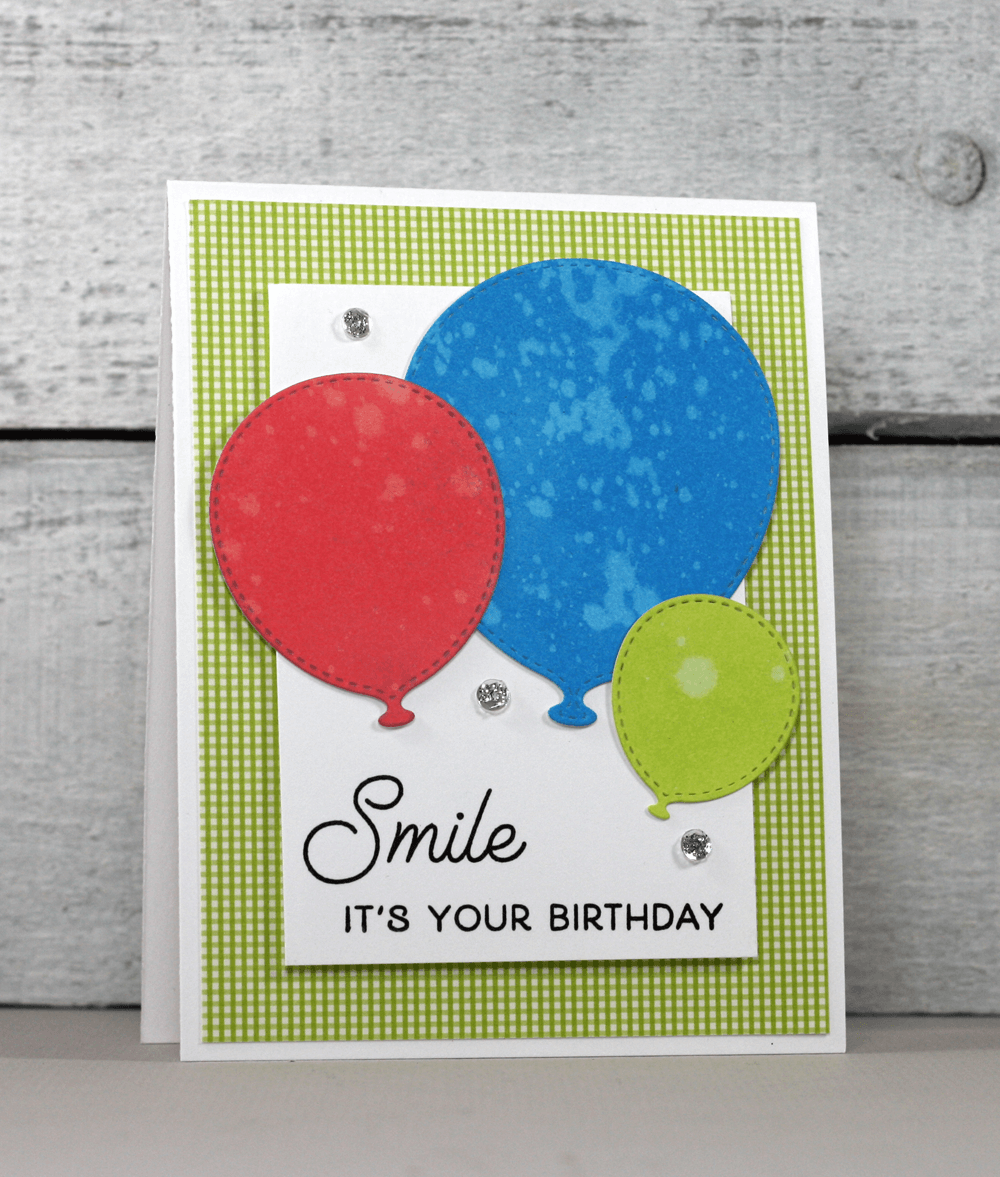
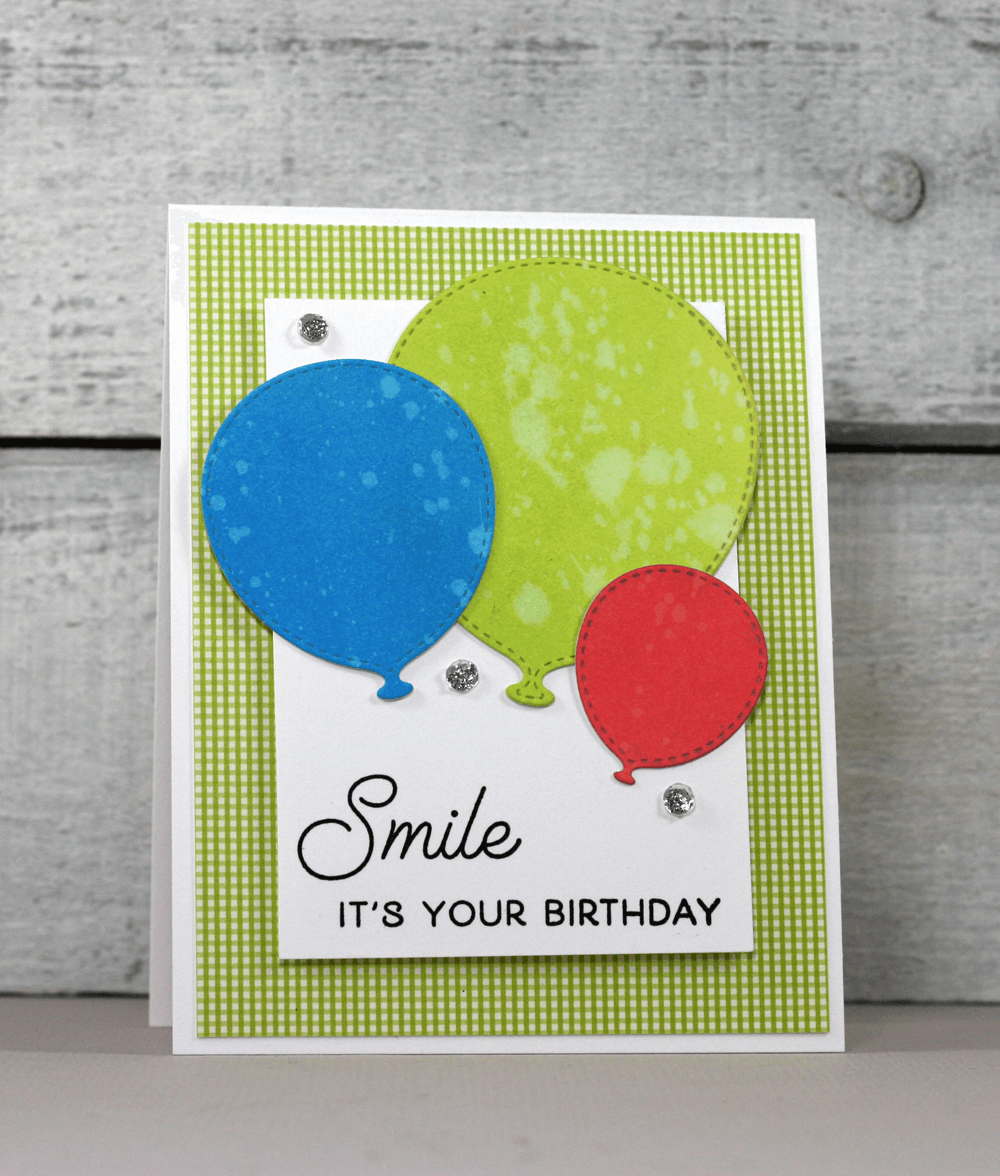
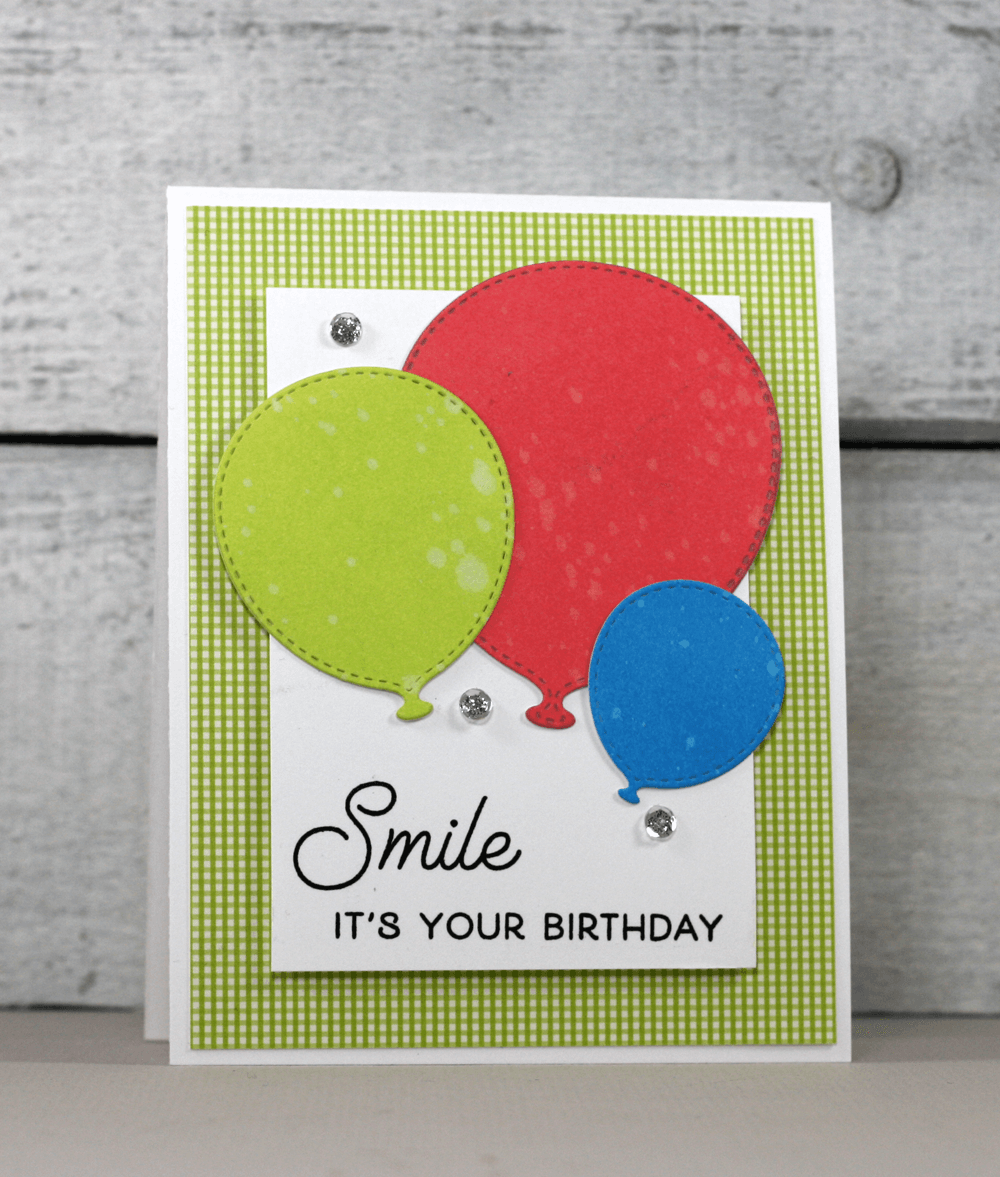
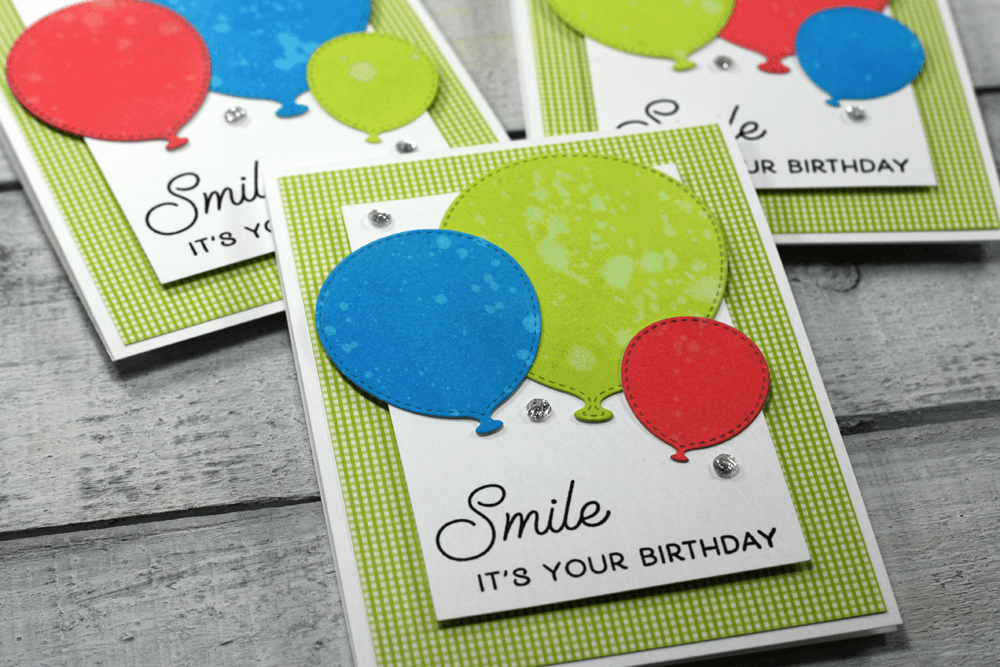 Welcome back for another inspiration post at Birch Press Design. Tracey here today with another post about stretching your supplies. When you purchase a set of craft dies, whether single dies or set that has multiple dies, it always feels good to make good use of your dies. If you are anything like me you never seem to have enough birthday cards on hand. In today’s post and video tutorial I am using the Party Balloon craft die to make three birthday cards.
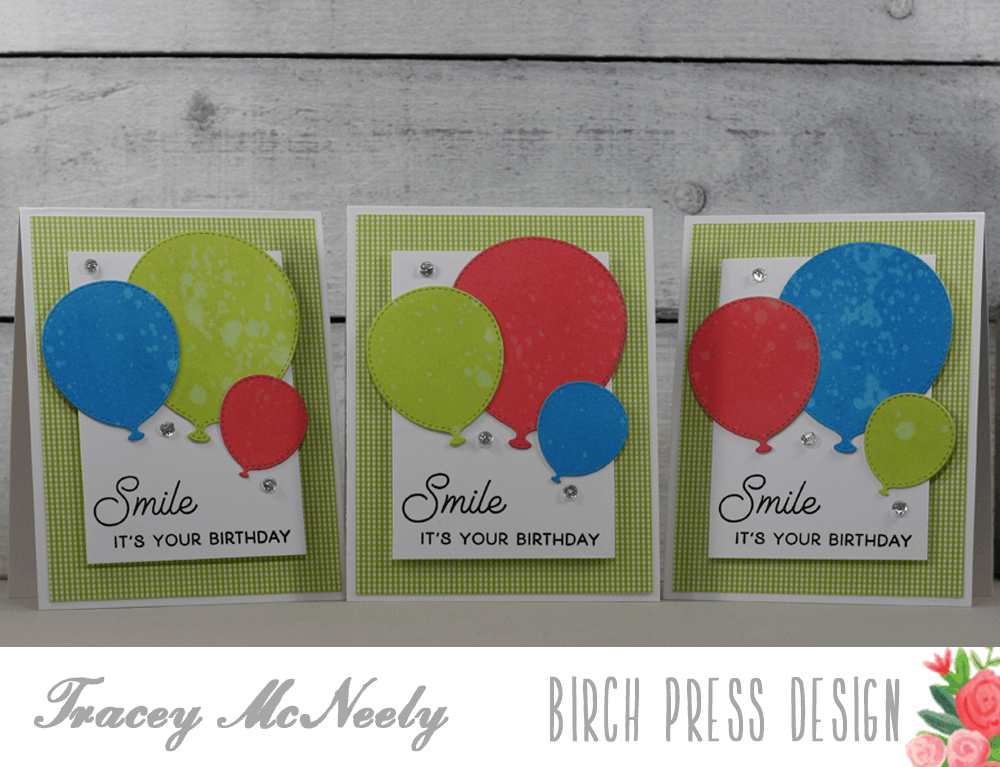


 Here is the video of my process: