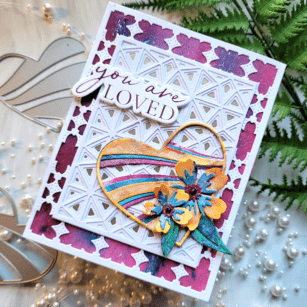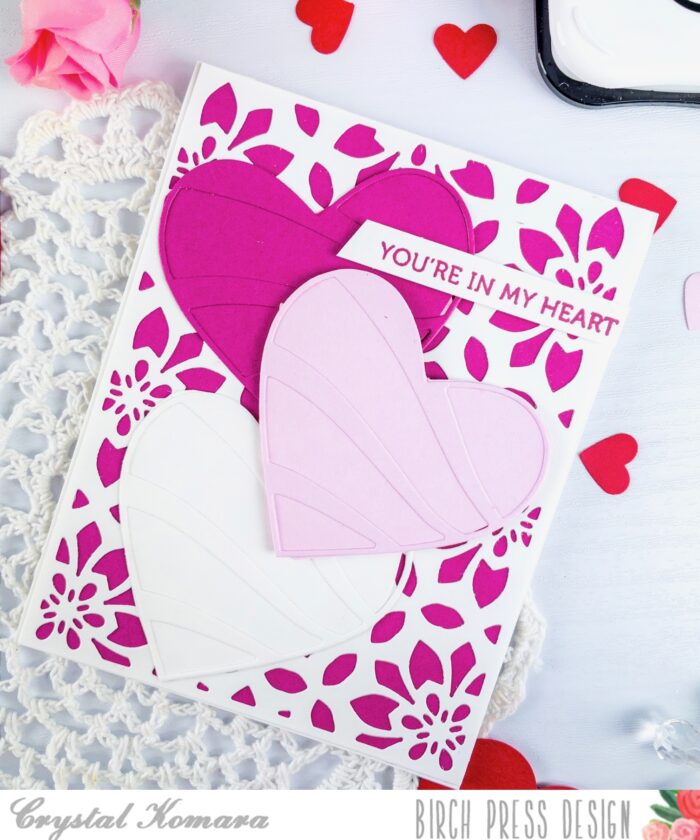
Hello Birch Press friends, I am excited to be back up on the blog today sharing a fun and easy card using the Banner Heart Layering die set! So let’s get started!
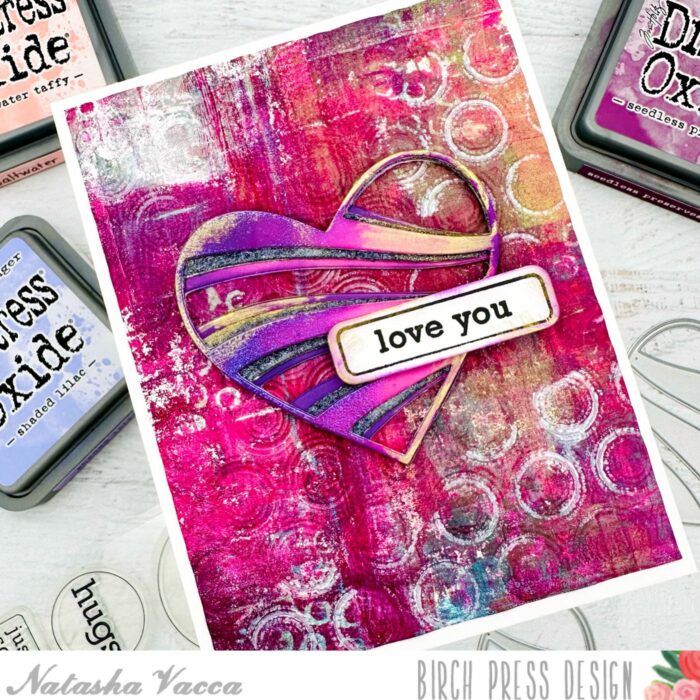
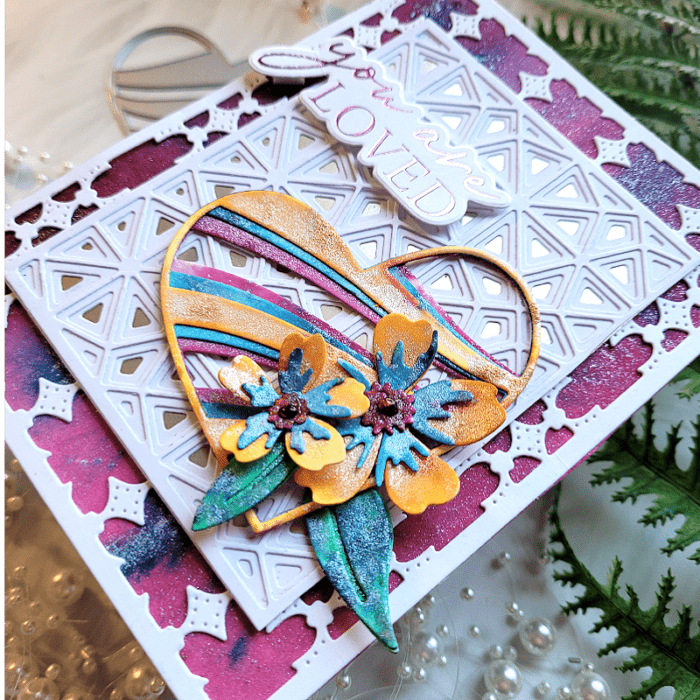
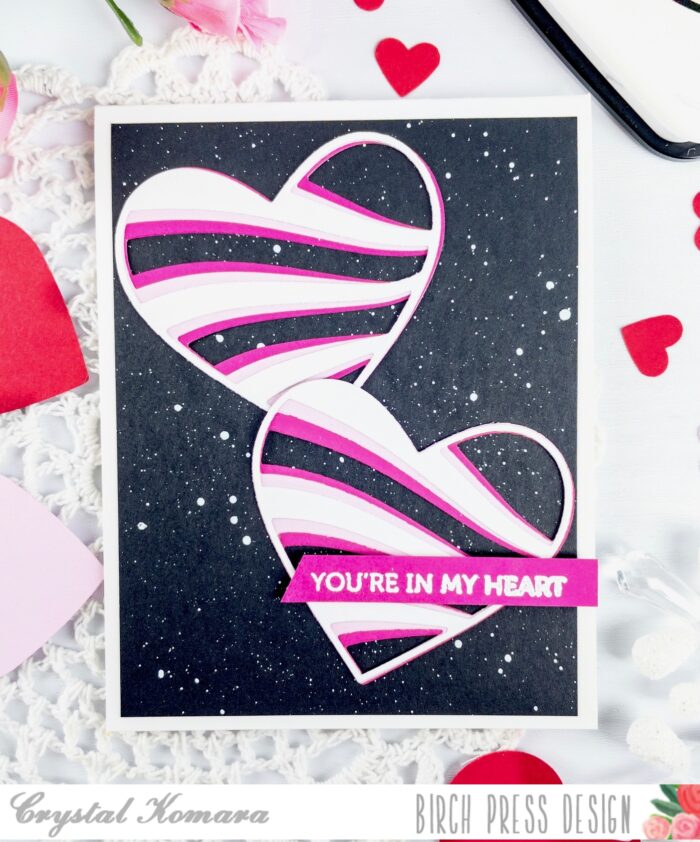
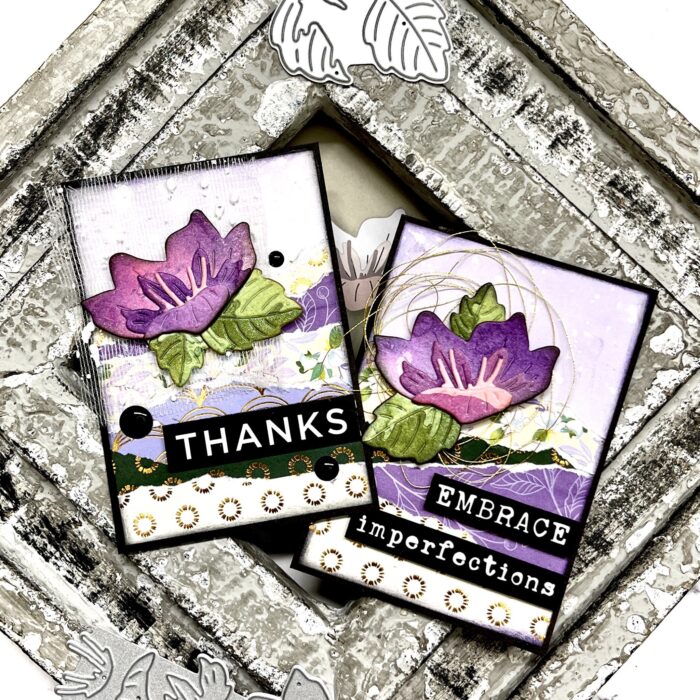
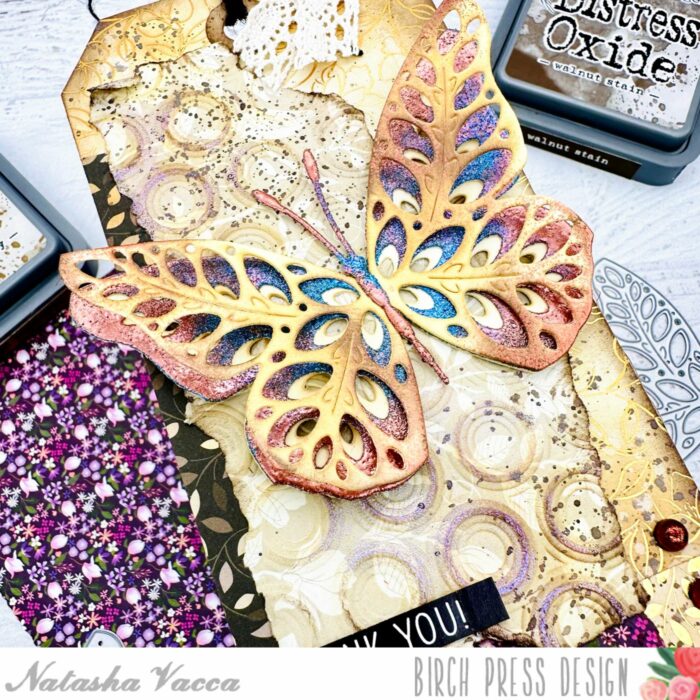
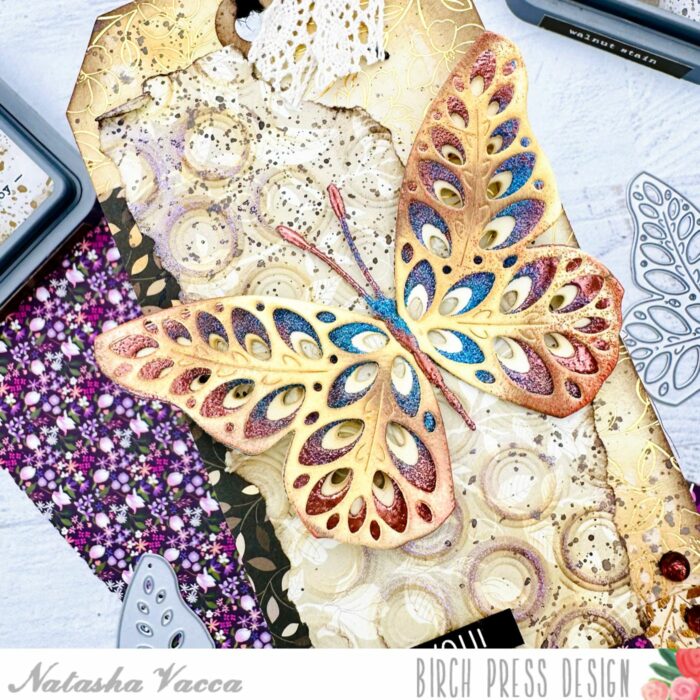
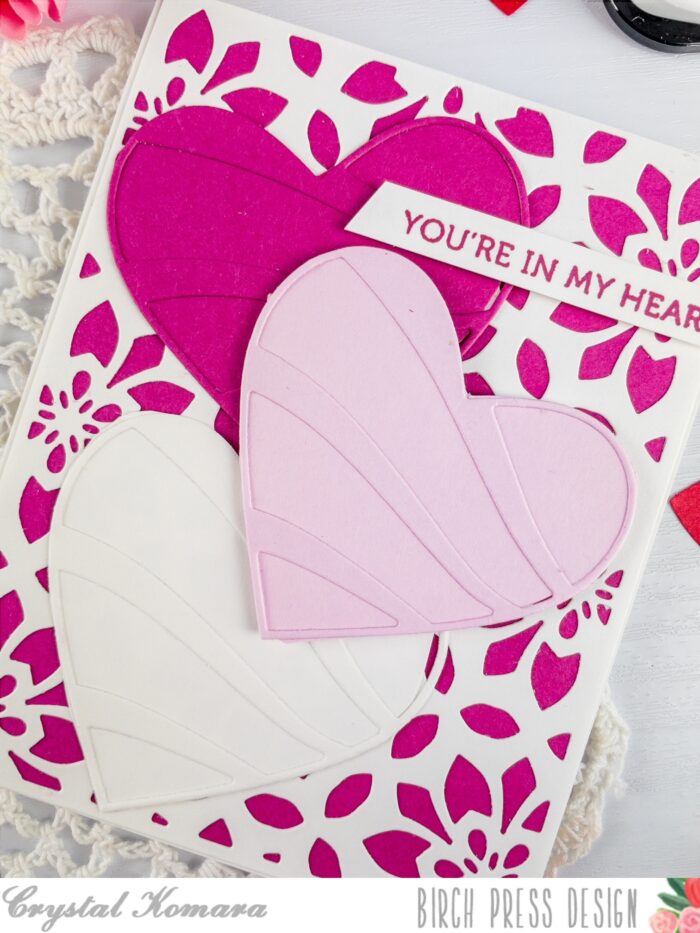
For today’s card I started with the Banner Heart Layering die set. I die cut layer A and C using white card stock. I then die cut layer B using the Festive Glitter paper pad. For the glitter layer I chose a dark blue shade from the paper pad. I then ink blended layer A and C using Distress Oxides. I used a combination of Distress Oxides: Saltwater Taffy, Picked Raspberry, Seedless Preserves, Shaded Lilac, and Villainous Potion. Once the layers were ink blended I set these aside to dry.
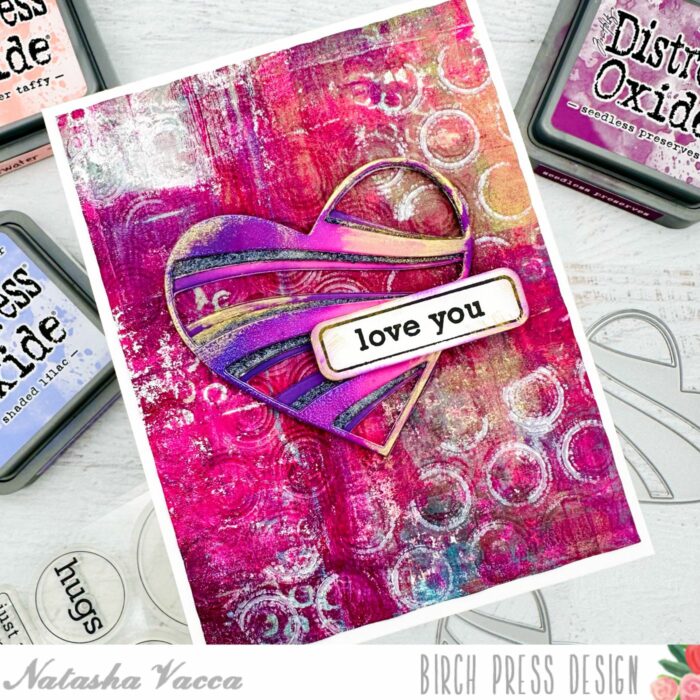
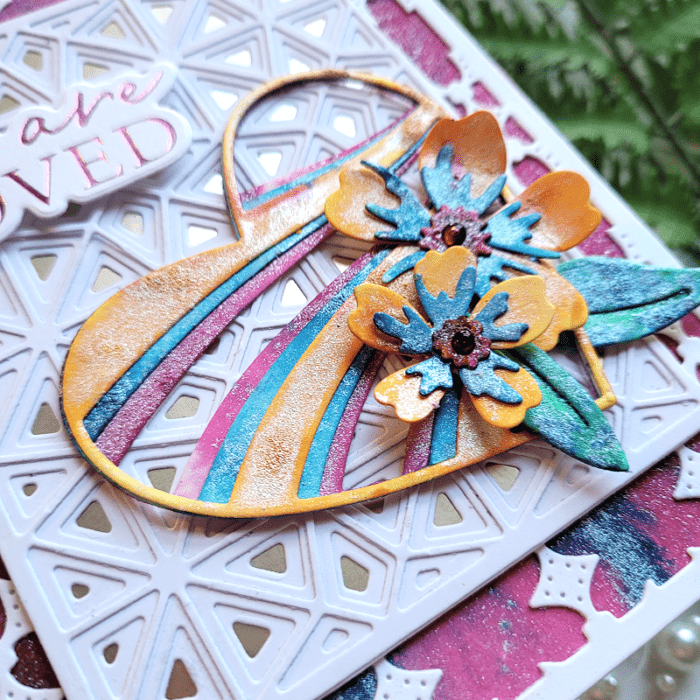
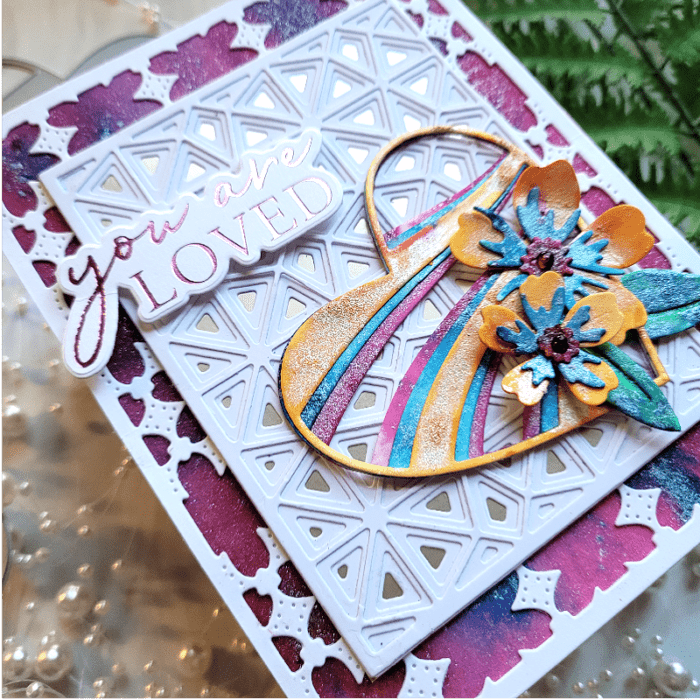
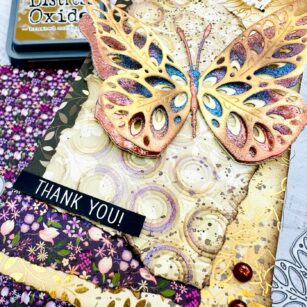
Next on layer B, I wanted to add a bit more texture to the glitter paper pad. I used a combination of paper glaze, as well as embossing powder! I love the texture this provides. Once the other heart layers were completely dry, I added Gilded Foundry wax to sections of the heart. I then adhered all the heart layers together using liquid glue.
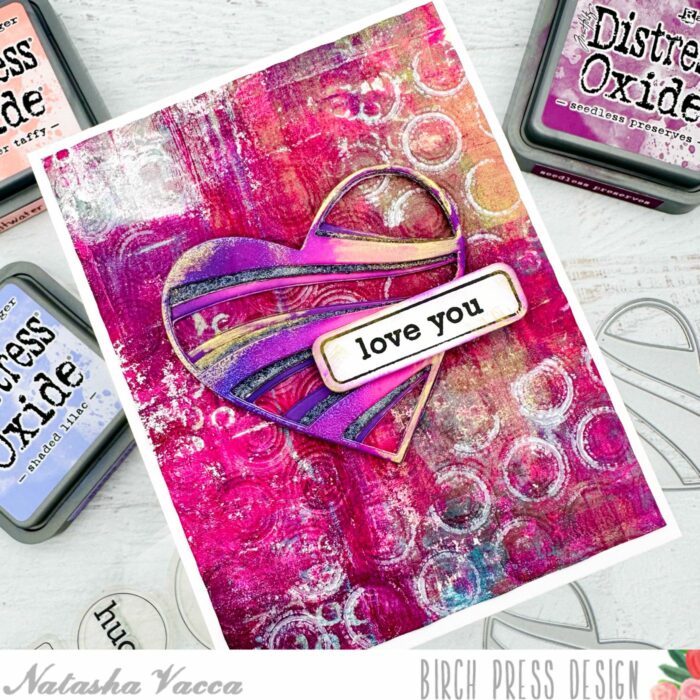
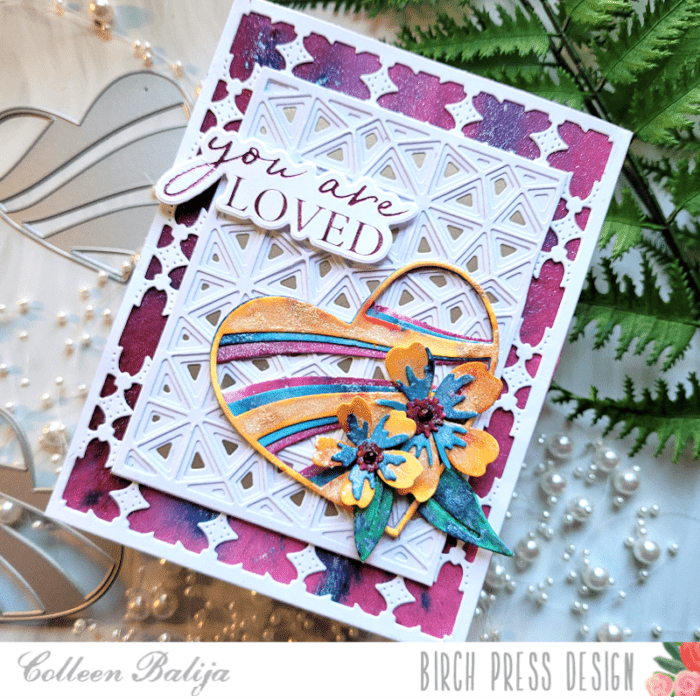
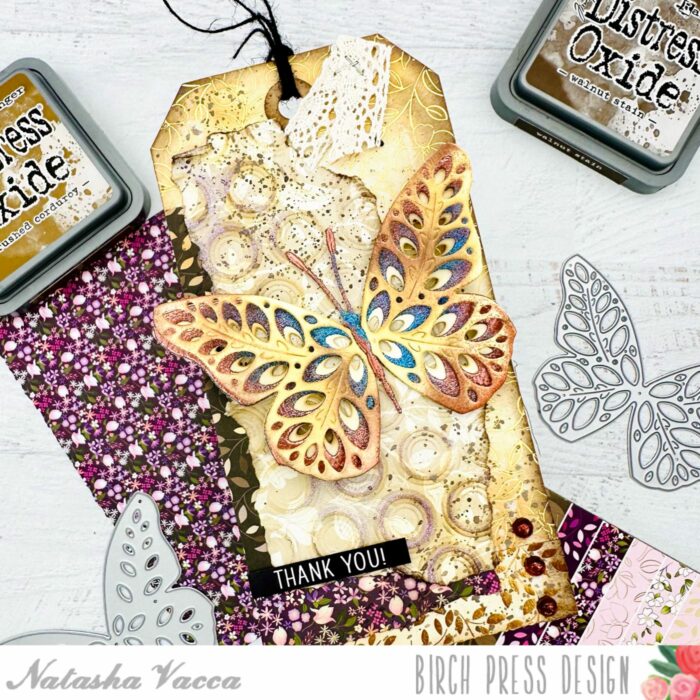
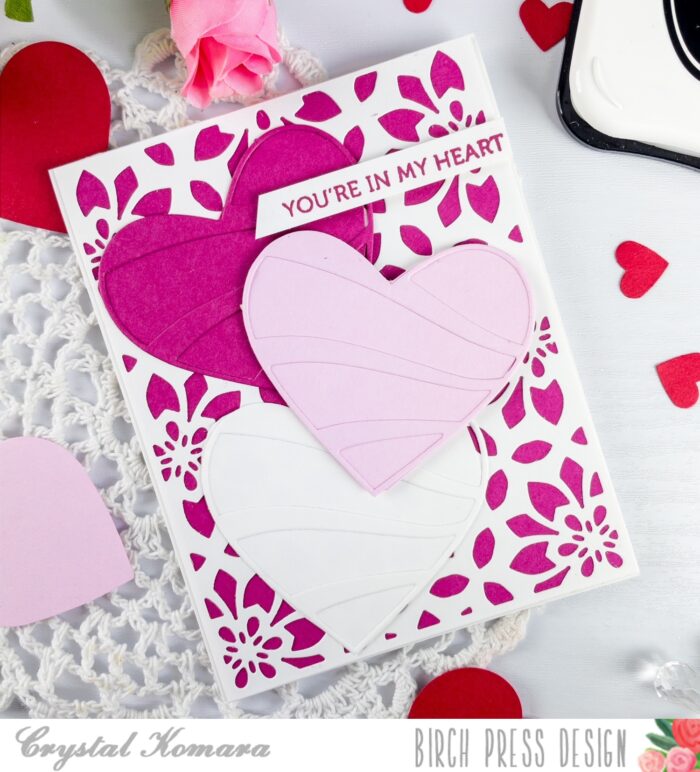
Next I chose a gelli print from my background stash and dry embossed the background using the Ringadings embossing folder from Memory Box. I then applied white pigment ink to sections of the folder and ran it through one more time. I like this effect and the random texture this provides the dry embossed background. I allowed the ink to dry, then trimmed the panel using my paper trimmer for my card base.
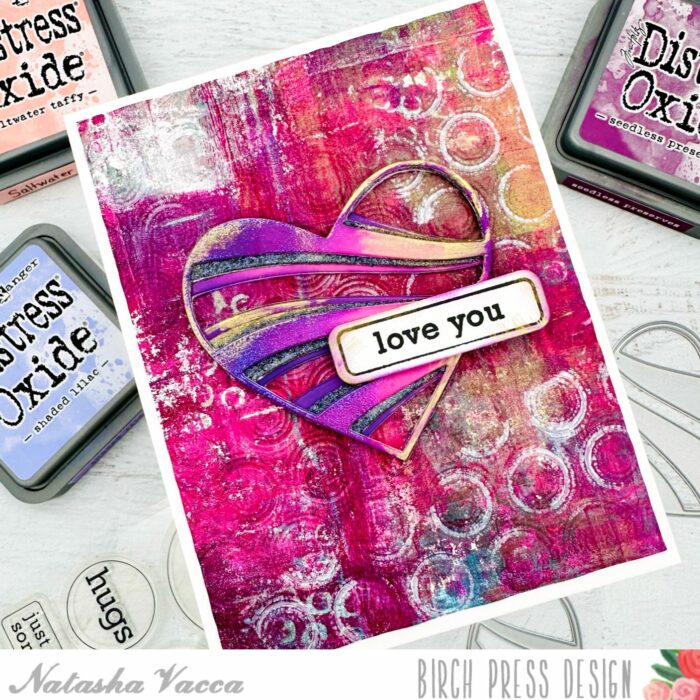
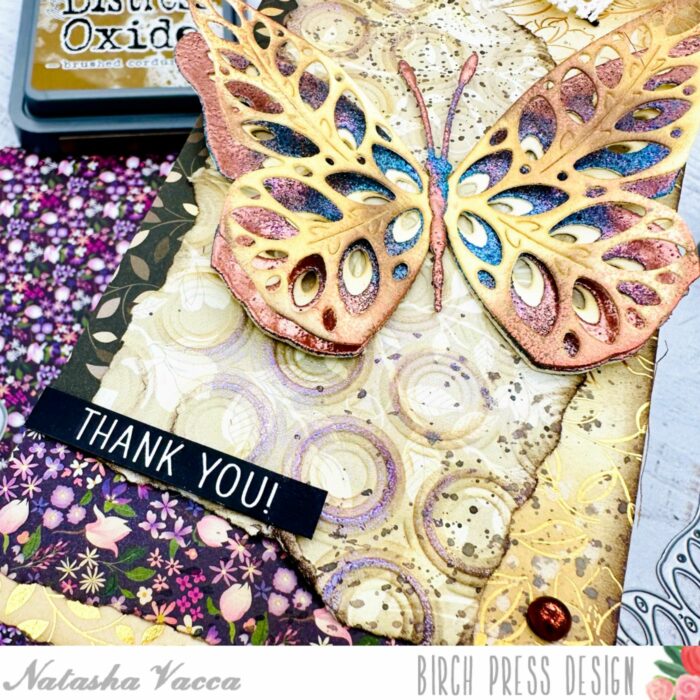
I completed my card by stamping a sentiment from the Contempo Greetings stamp and die set. I stamped the sentiment in purple, trimmed using the coordinating die, then applied foundry wax and ink on the edges as well. I then adhered the card panel, heart, and sentiment to my card base.
Thank you so much for stopping by today! I will be back soon!

Supplies


Supplies