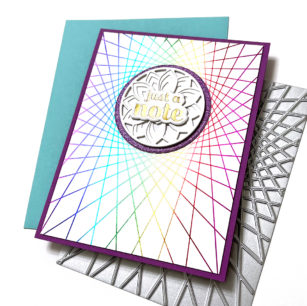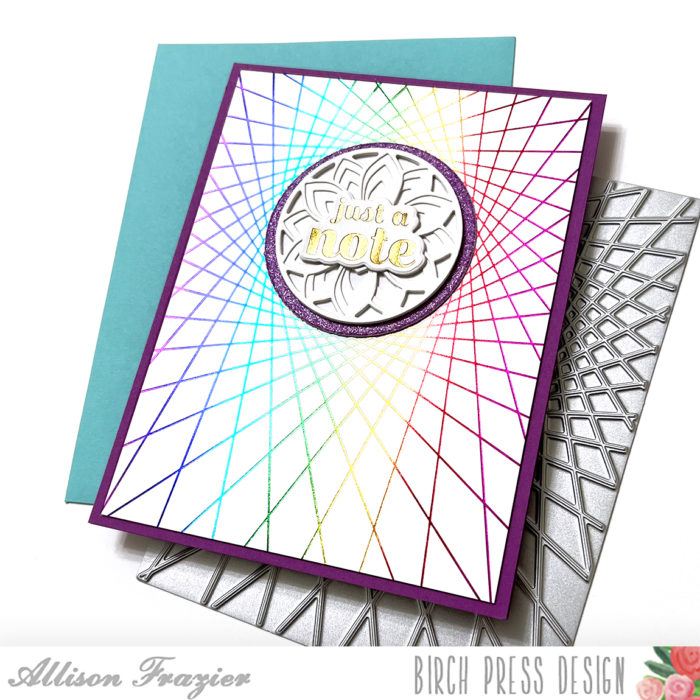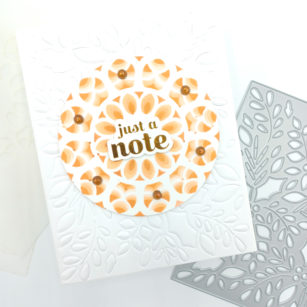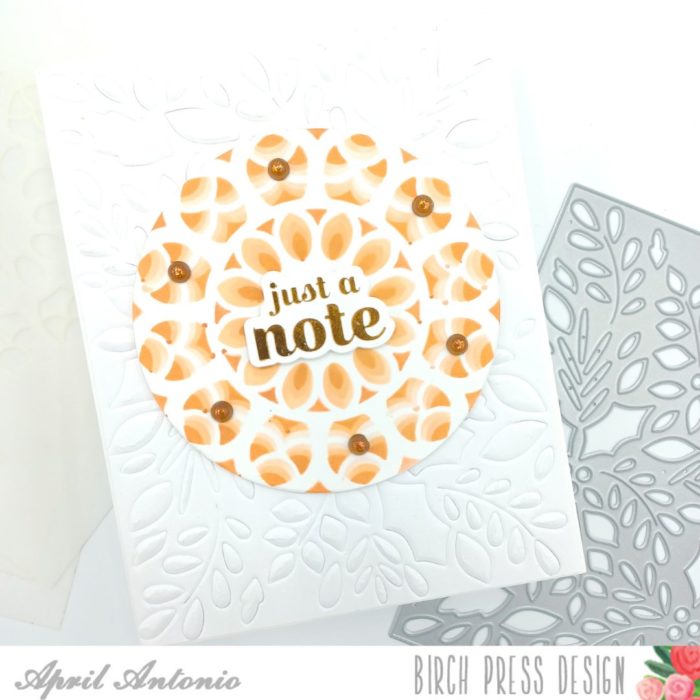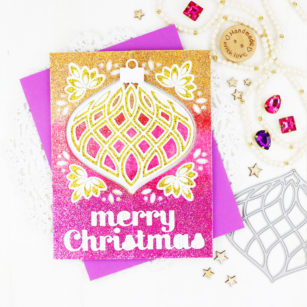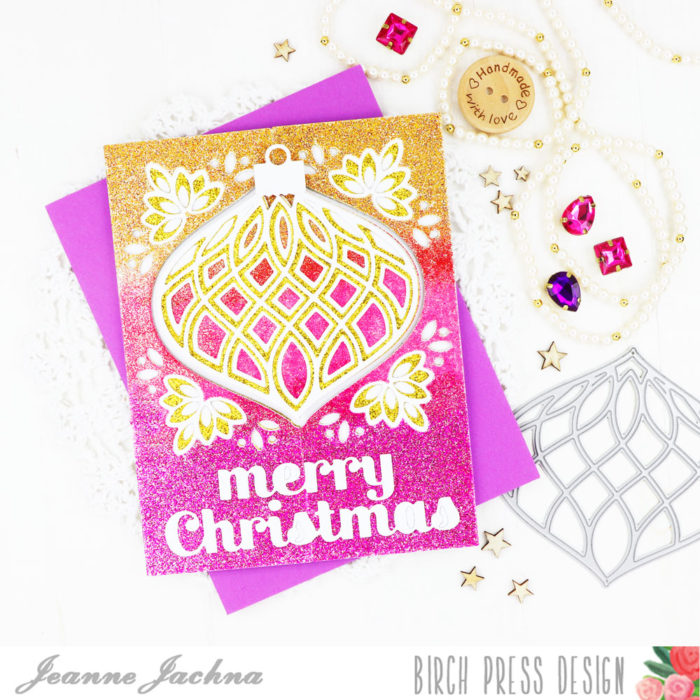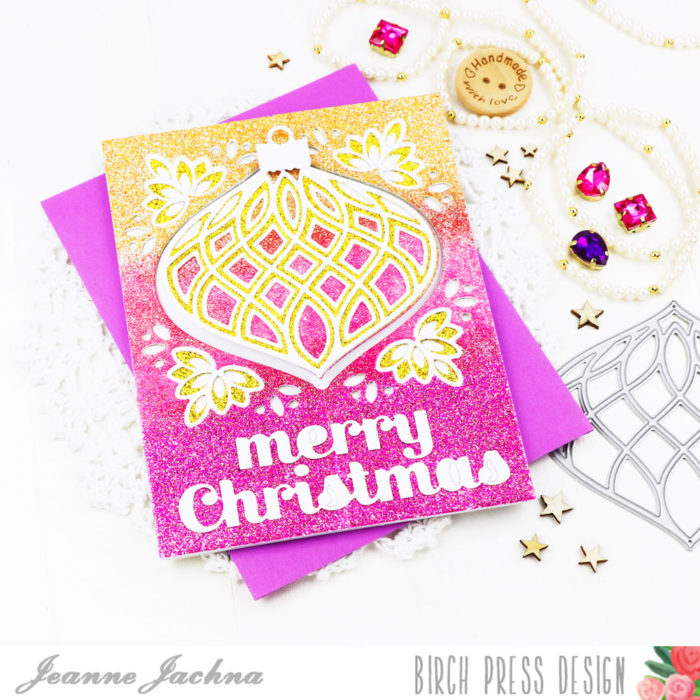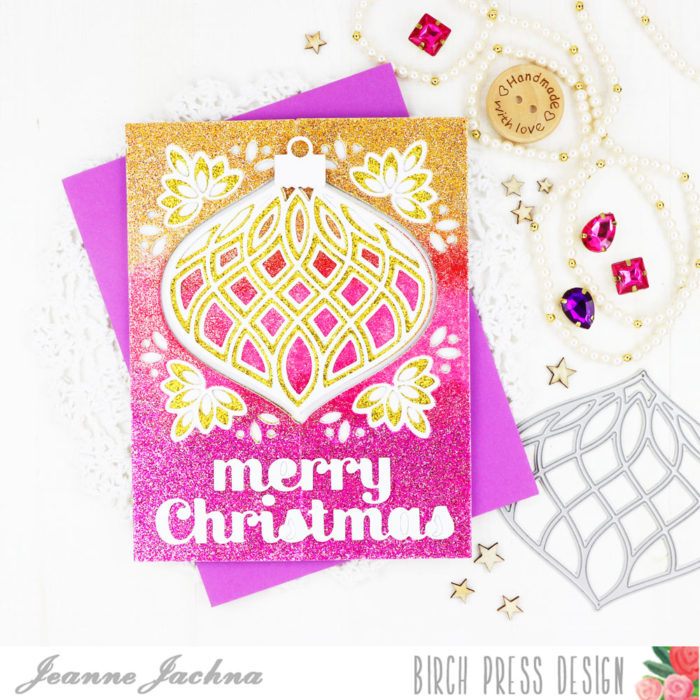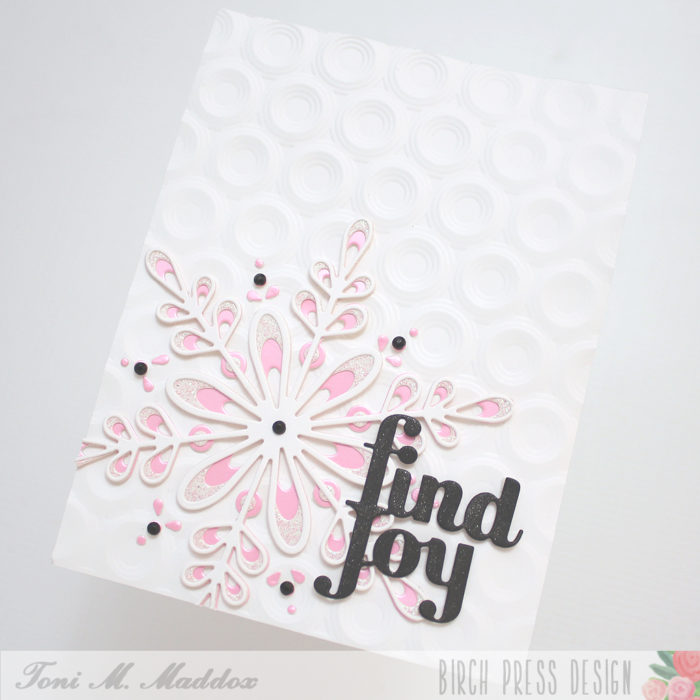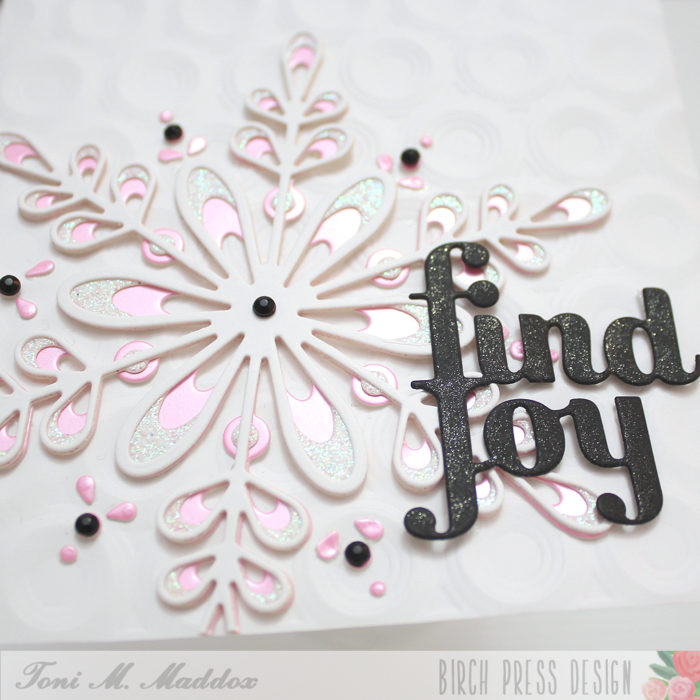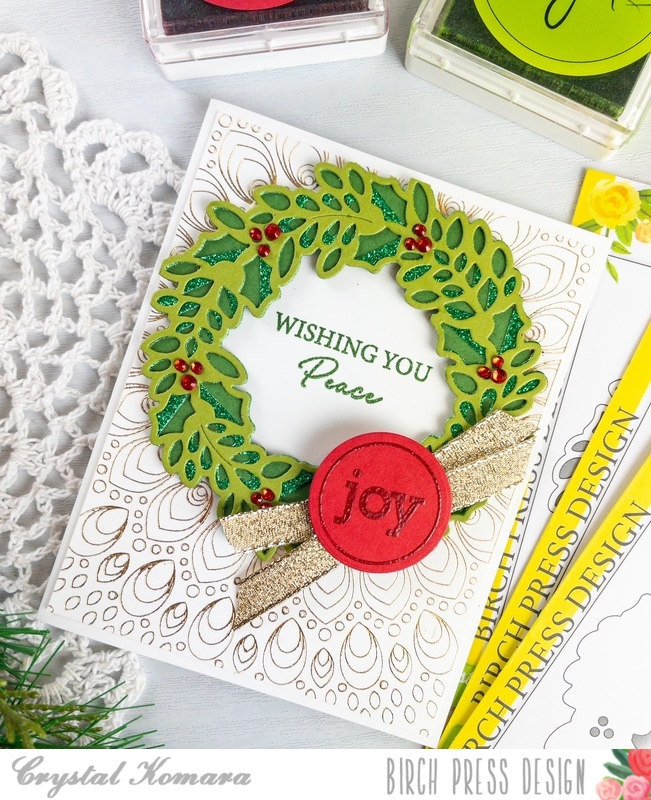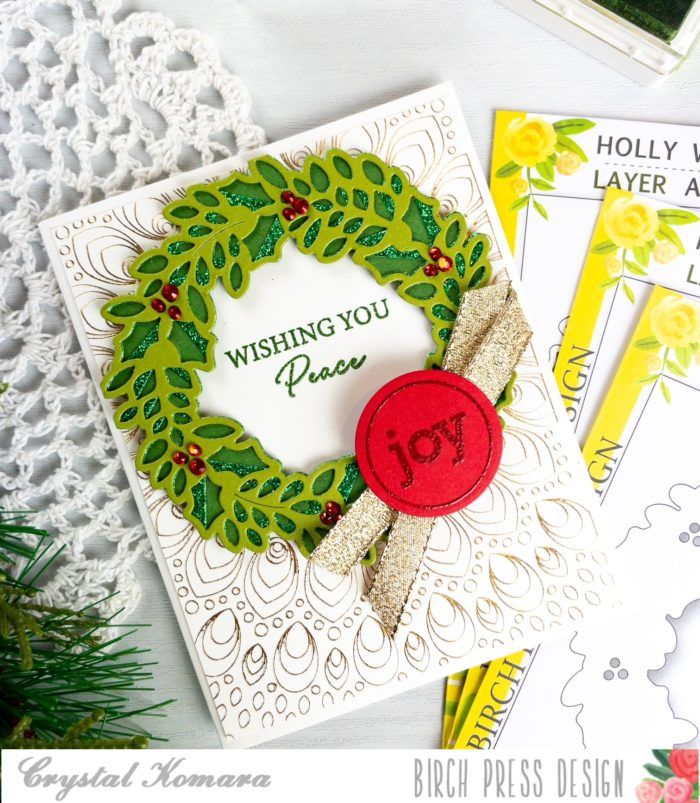
Hello and welcome back, crafty friends! Dee here today, sharing this clean and simple card featuring the gorgeous Meridian Ornament Layer Set!

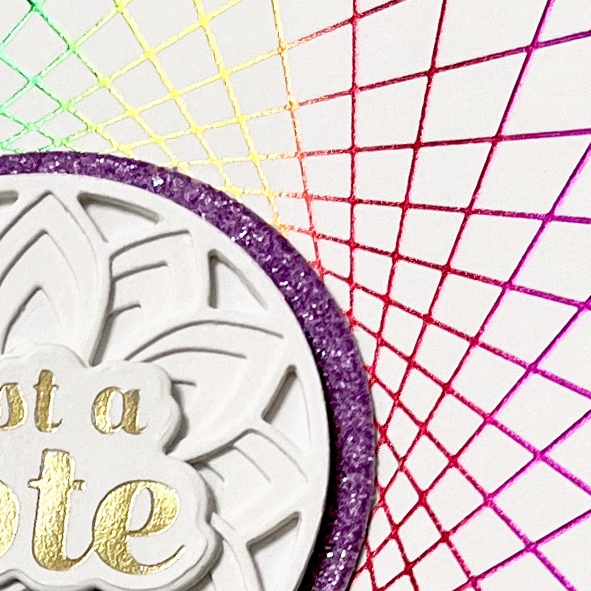
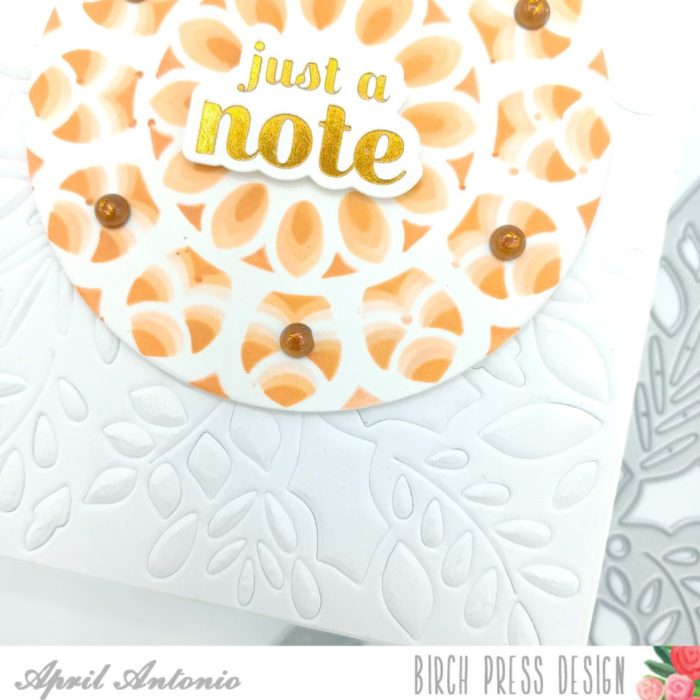
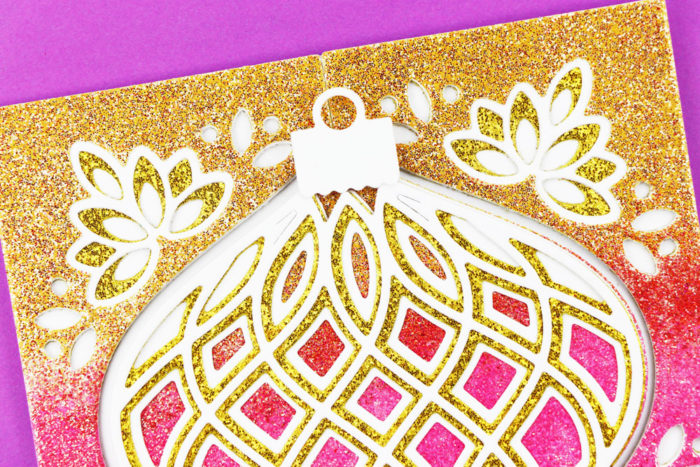
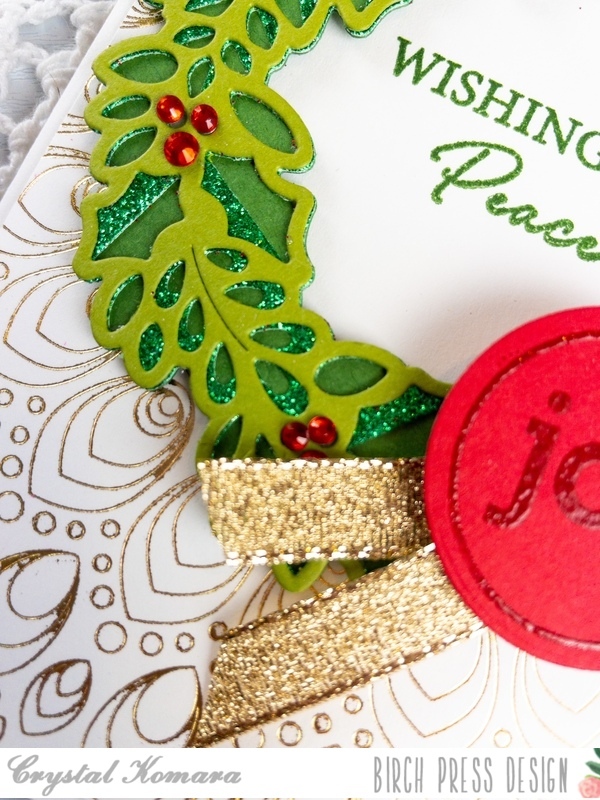
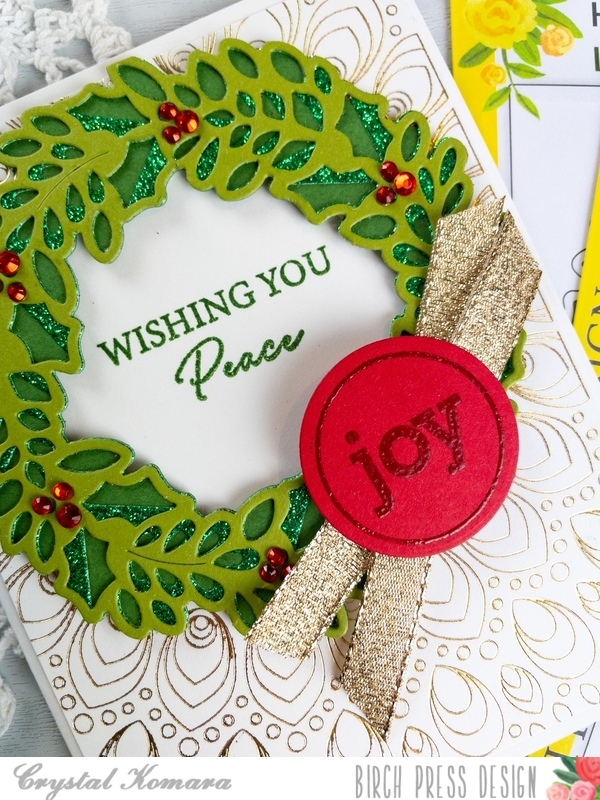
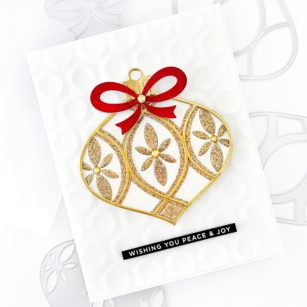
To create the base, I embossed an A2-sized white panel using the Memory Box Ringadings embossing folder, then adhered it onto the top folding card base.

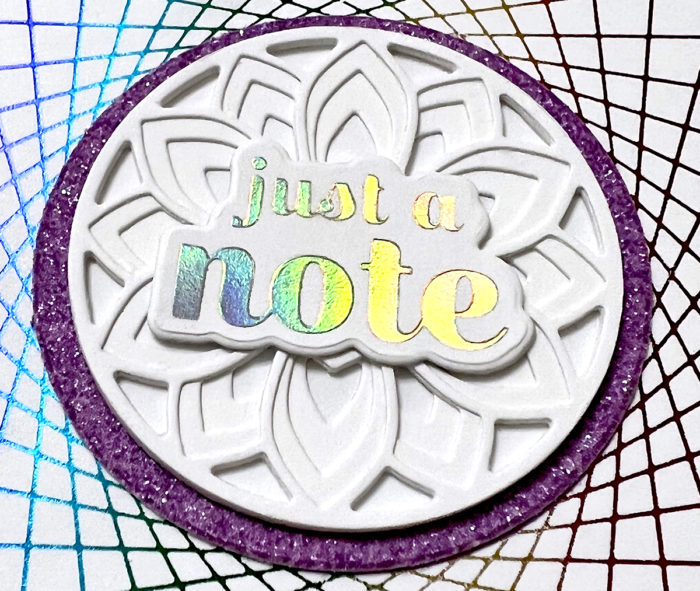
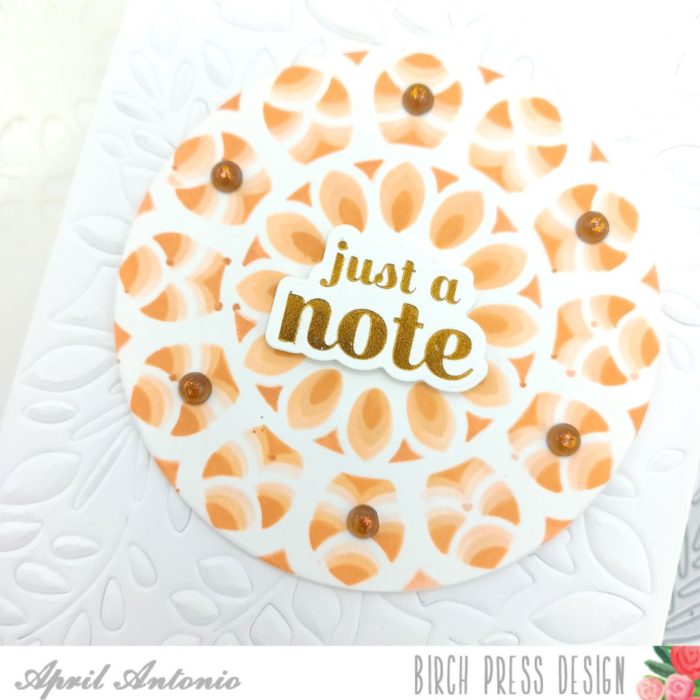
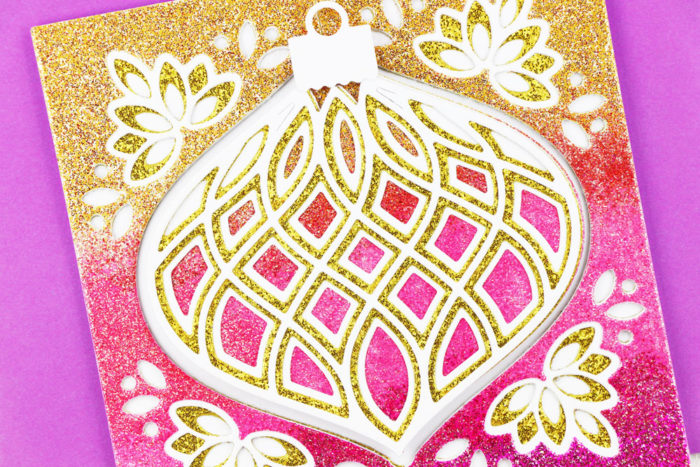
Next, I cut the Meridian Ornament Layer dies in white, mirror gold, and gold glitter cardstock. Once complete, I adhered the layers together and then onto the center of the background. I cut the bow and ornament cap from the Christmas Ornament Pop-Up Easel set, then adhered them onto the ornament. To finish, I added a few gold embellishments and a simple sentiment strip from my stash!

Thank you so much for joining me today!

Supplies