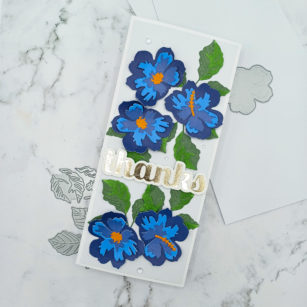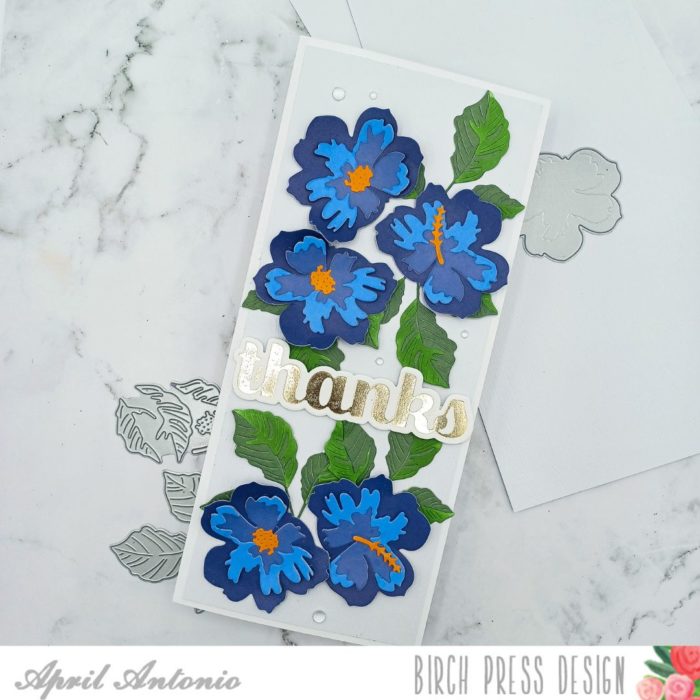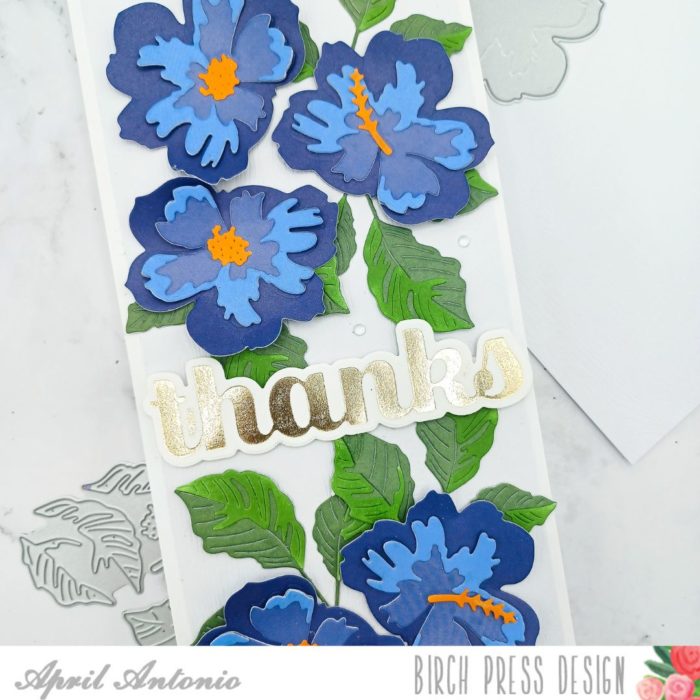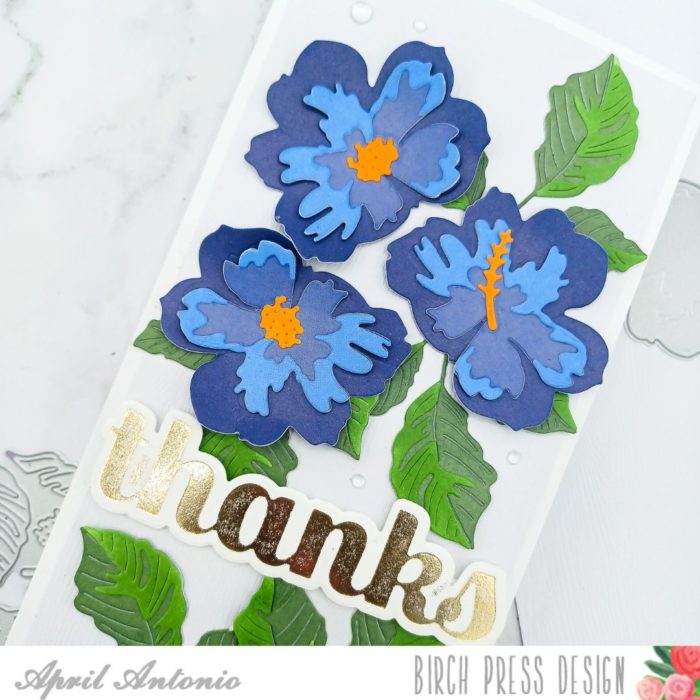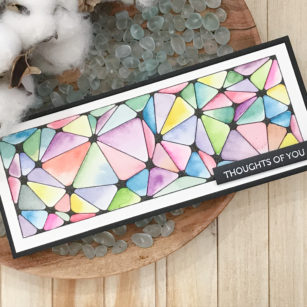
Hello and happy Saturday! Welcome back to the Birch Press Design blog. April here sharing a new card project. I am really excited about today’s post because I have been struggling with incorporating more color when I use the layering dies and finally made a card that I feel matches what I saw in my head.
Today’s card started with some inspiration from a color palette I found online that I really liked. I like to save color palettes I like to a folder on my phone, and then look them up when I need some crafting inspiration.
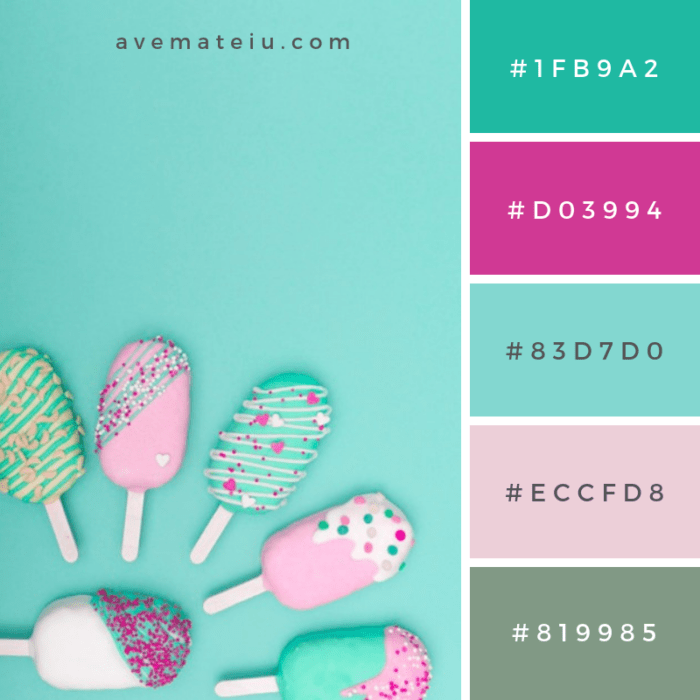
The photo above is the color palette that I found. I just love the teal and pinks. Now, it’s not an exact match, but close enough for me.
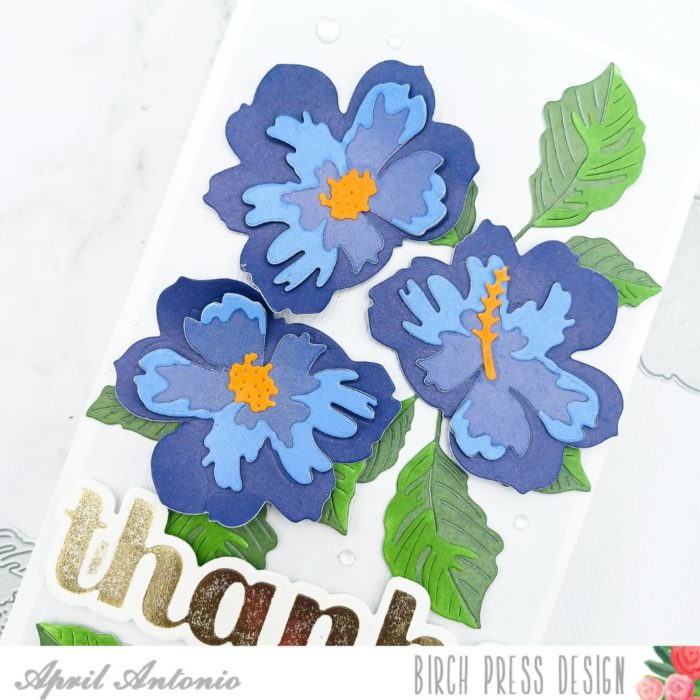
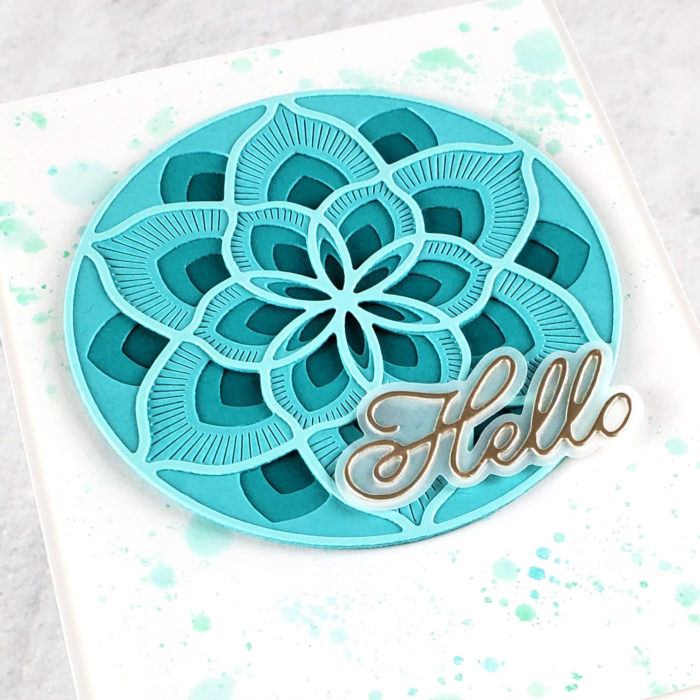
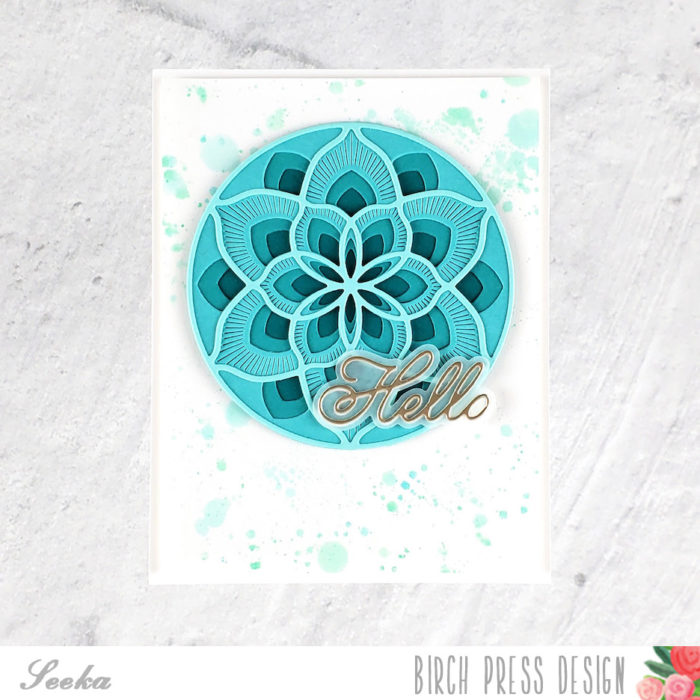
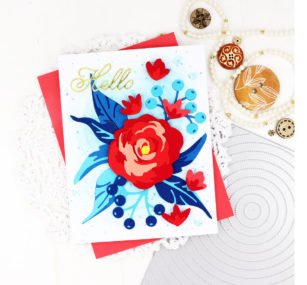
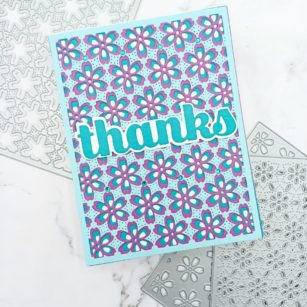
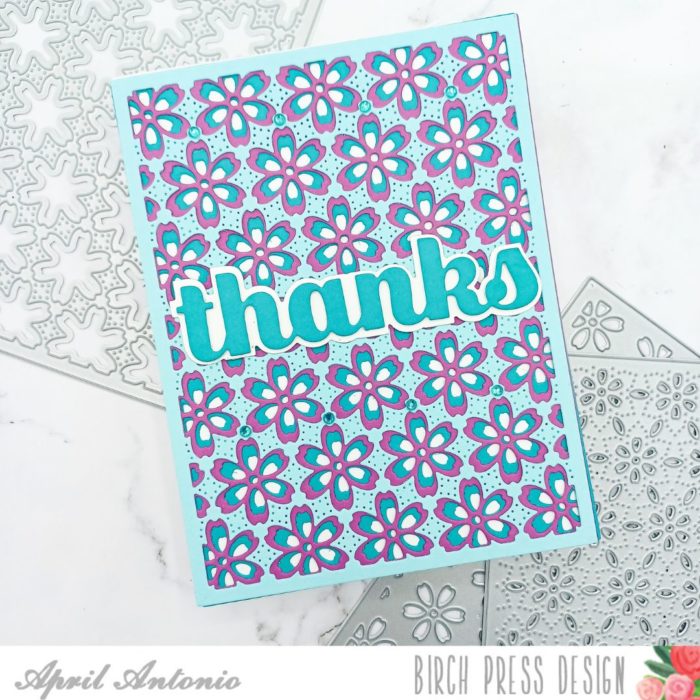
I started by pulling the Flora Plate Layer die set, and choosing three of the above colors that I thought would layer well together.
From what I know about color (which isn’t much!) I thought the lighter colors would be best on top, and the darker colors on the bottom.
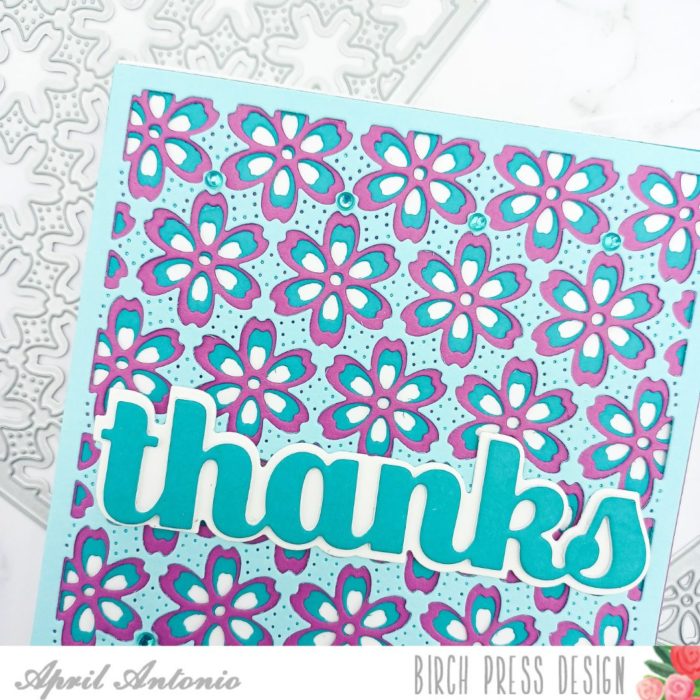
So I purposely cut the top layer from the light blue, the bottom layer from the darker teal, and added the fuschia color in the middle of the sandwich to break up the blue colors.
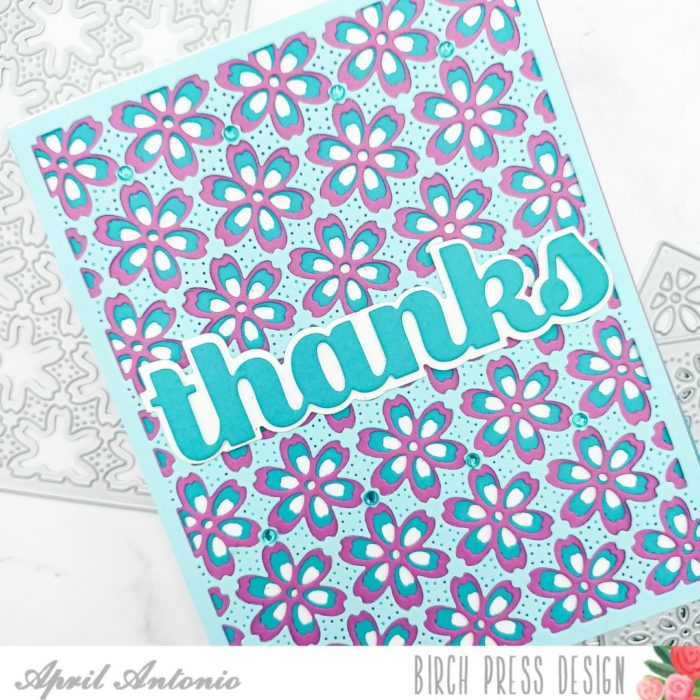
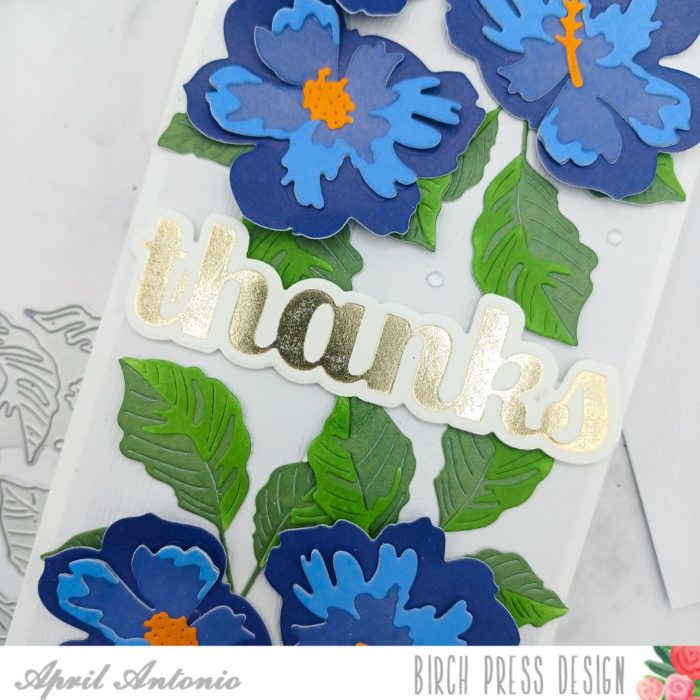
Next, I grabbed that same teal color from the bottom layer and decided I wanted to highlight it on top by using it with the Big Thanks Sugar Script. I cut the ‘thanks’ in the teal and the shadow from white in order to anchor the thanks better to the page.
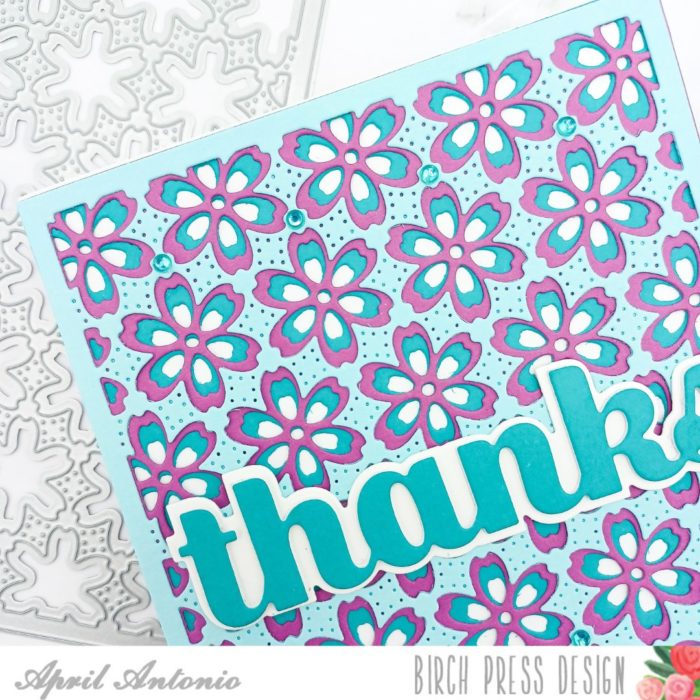
Lastly, I grabbed my Christmas Fairy Jewels pack and placed some of the teal jewels across the top and bottom rows of the card.
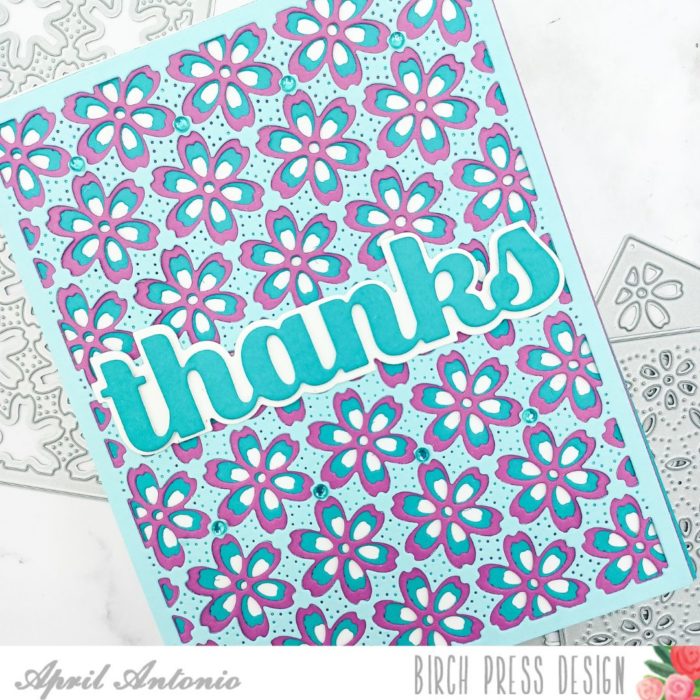
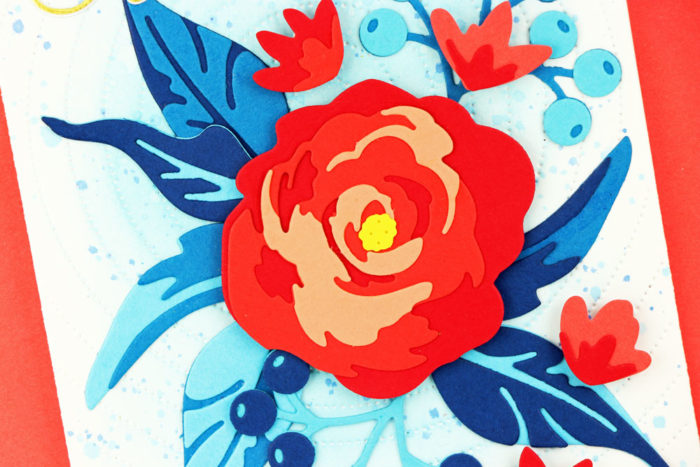
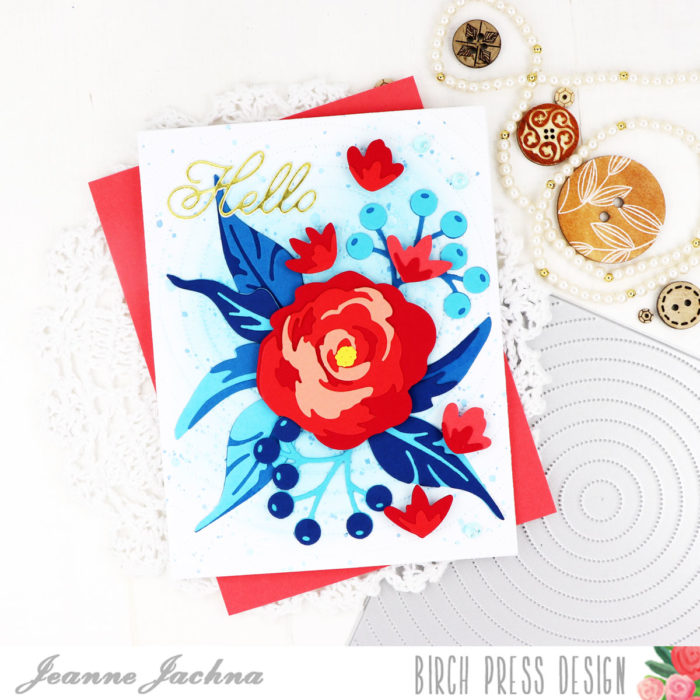
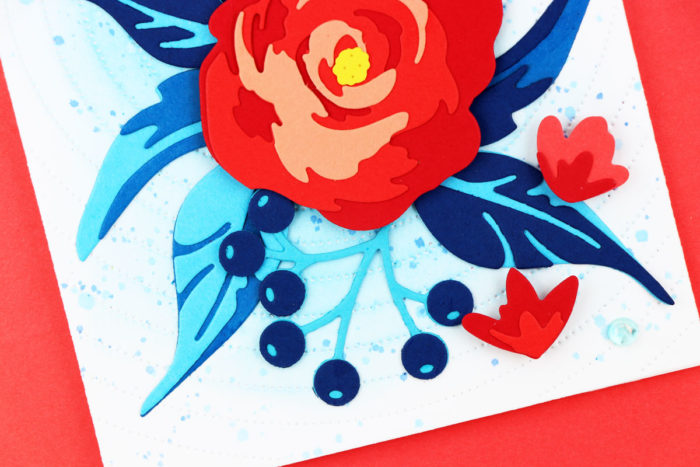
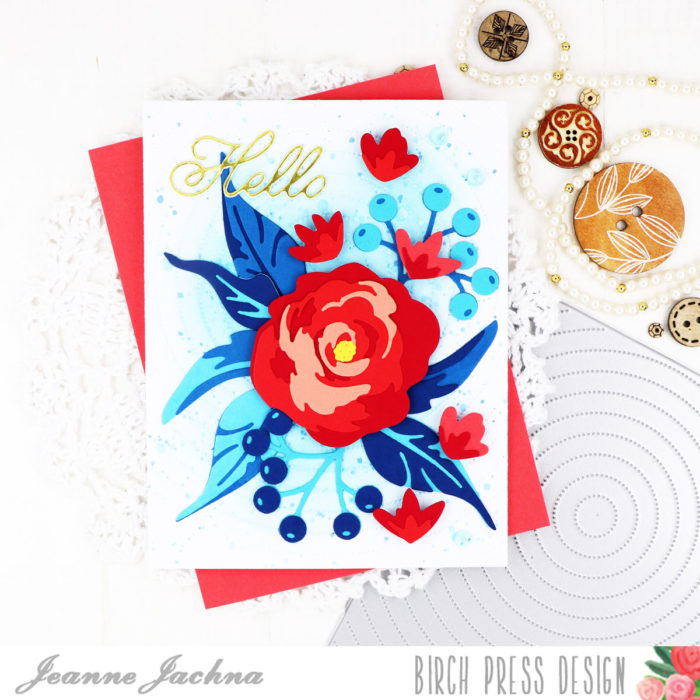
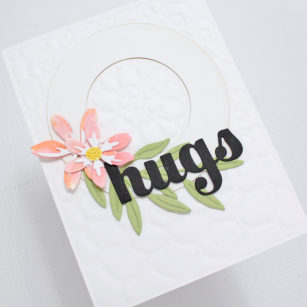
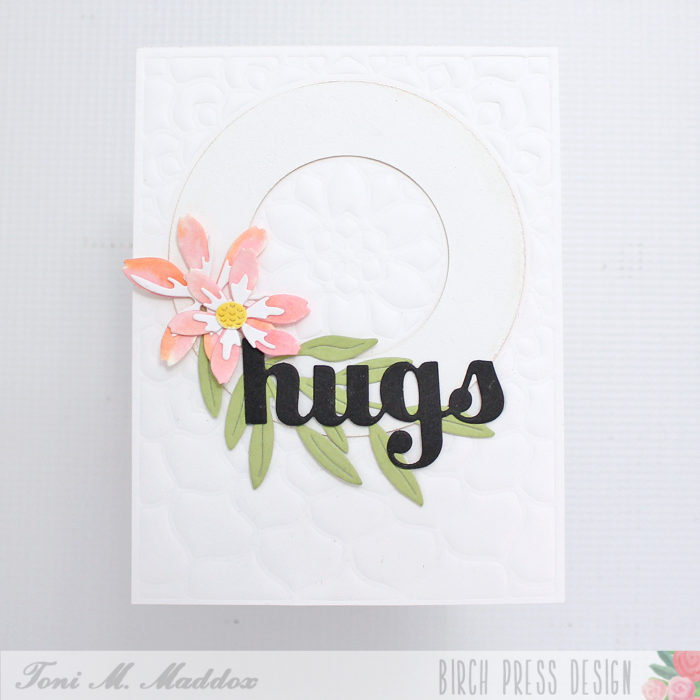
That is the finished card! I really love the pierced details on this top layer, and how dynamic the fuchsia color looks as it peeks from behind the layers.

Supplies


Supplies