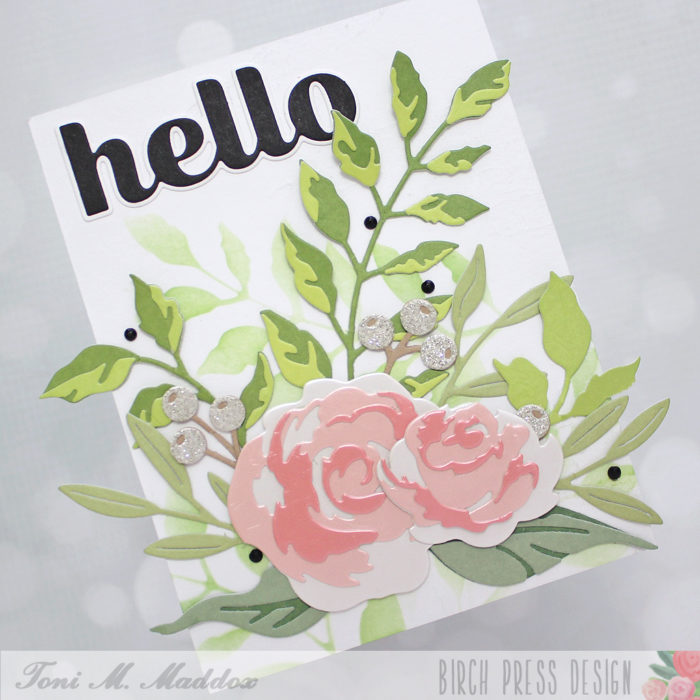
Hello Everyone and Welcome Back!
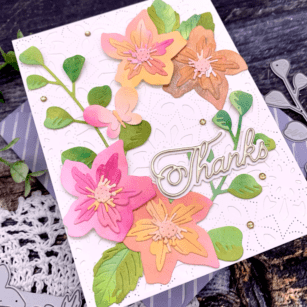
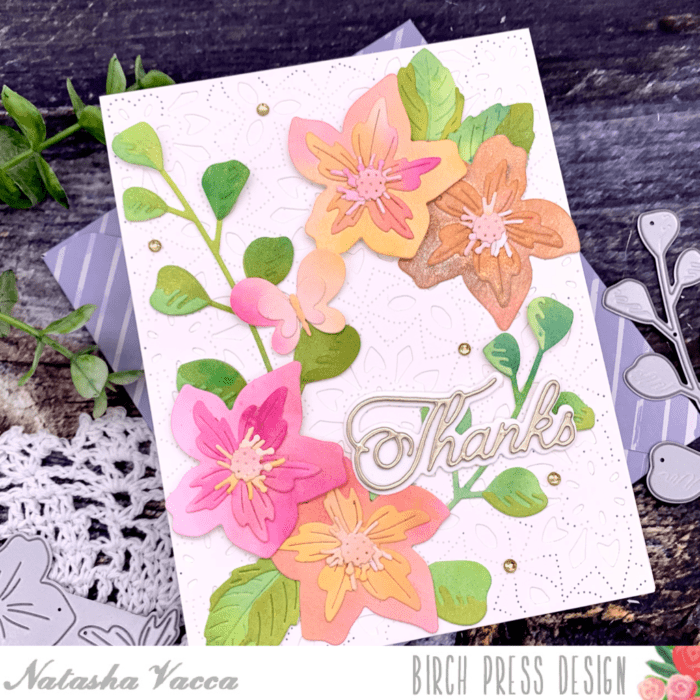
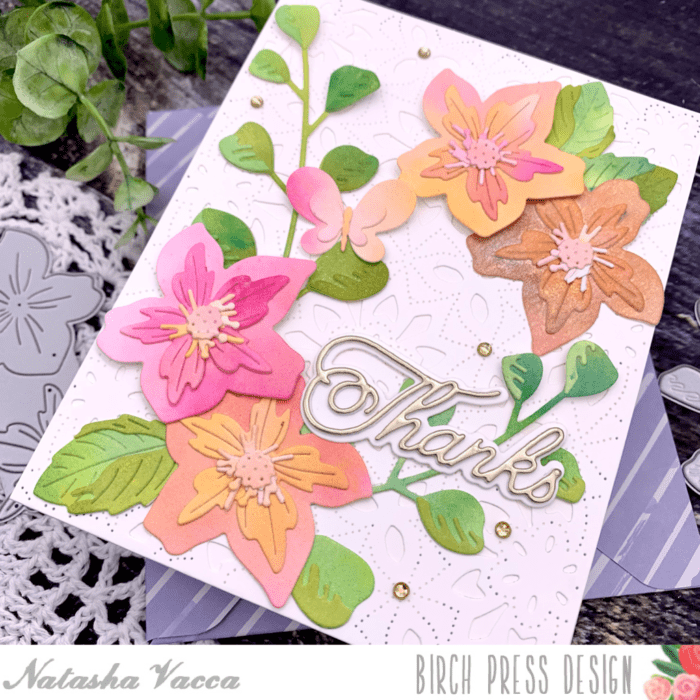
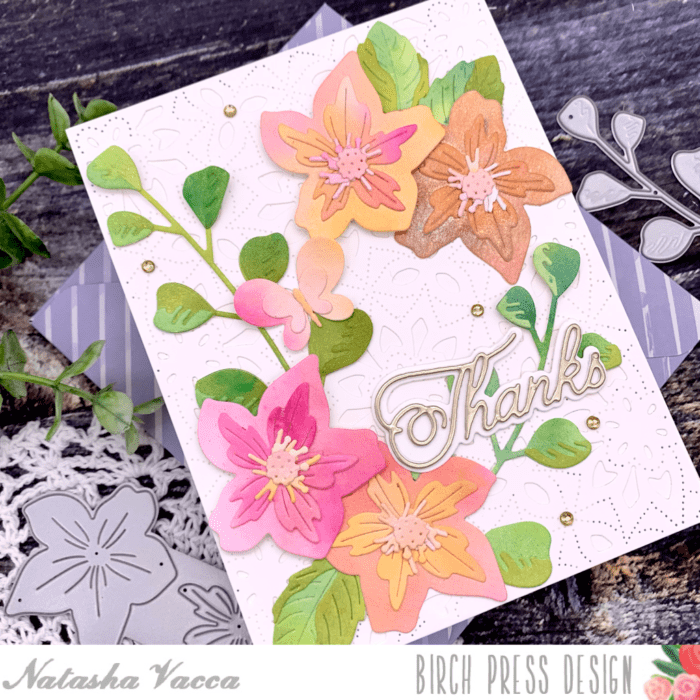
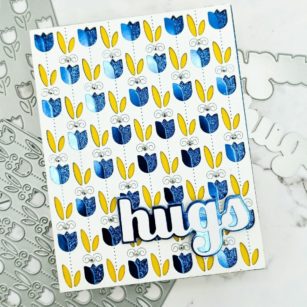
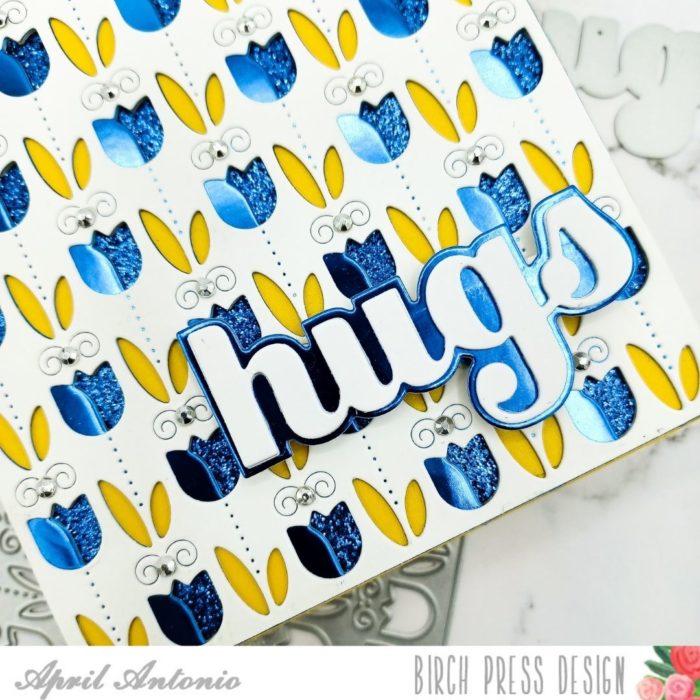
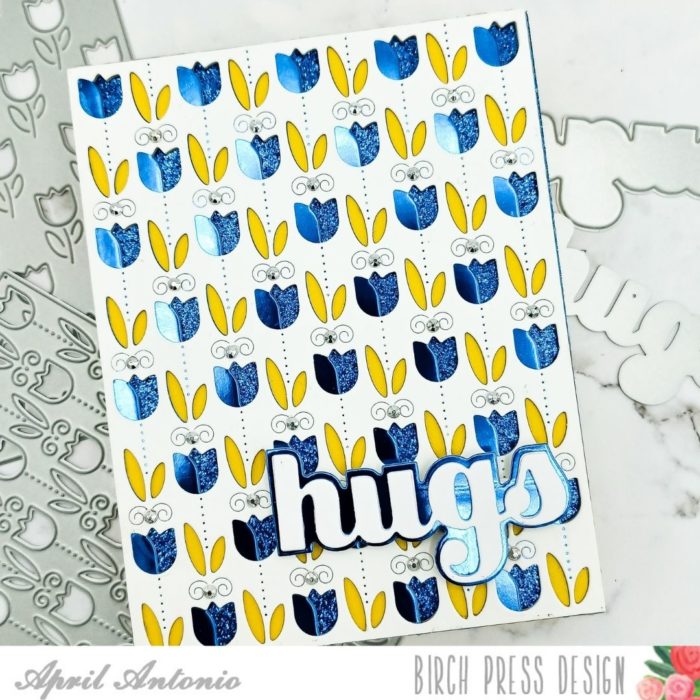
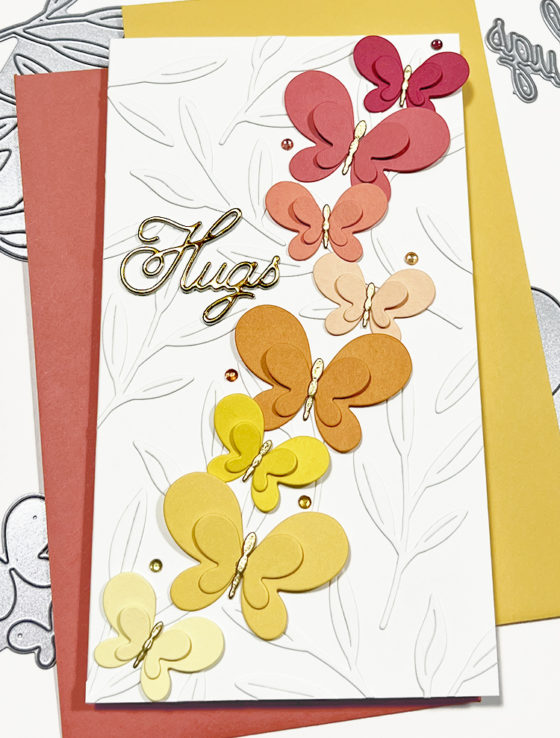
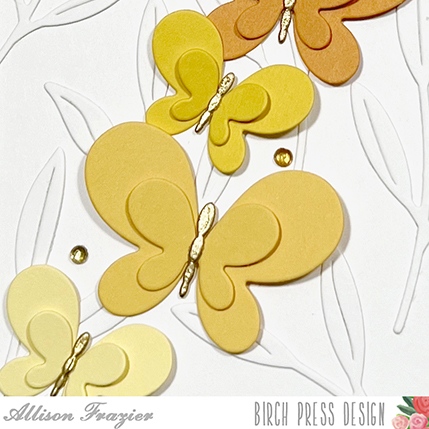
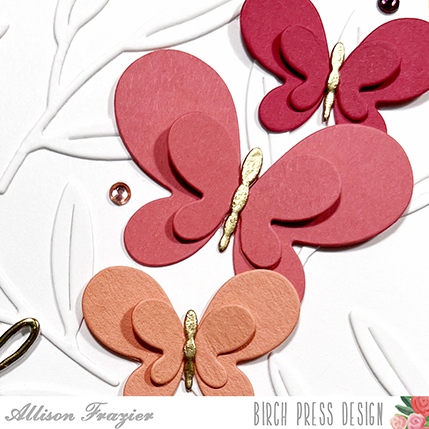
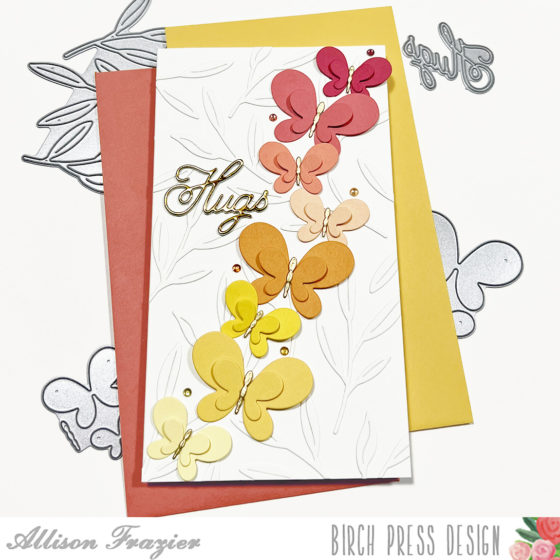
I cannot get enough of the Contour Layering Collection, and we are going to do even more die cutting featuring the Tiny Tuft and Leaves Die Set and pairing it with the Butterfly!
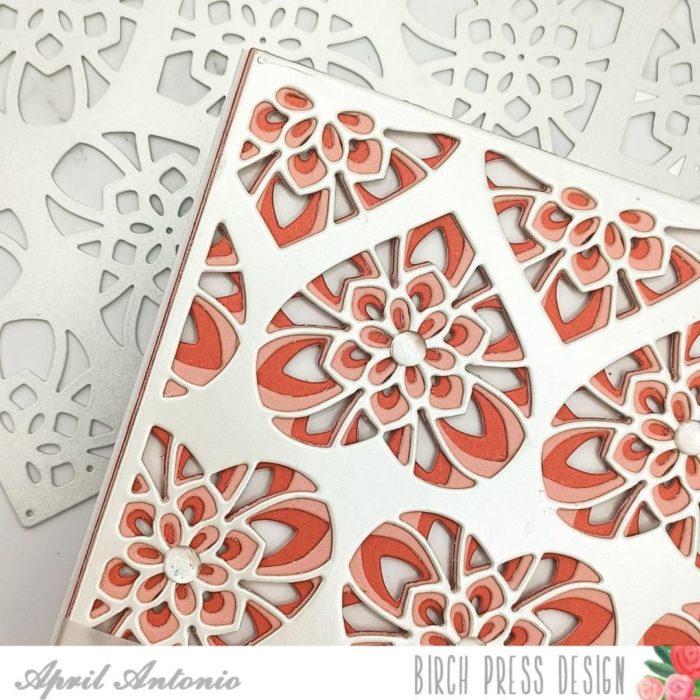
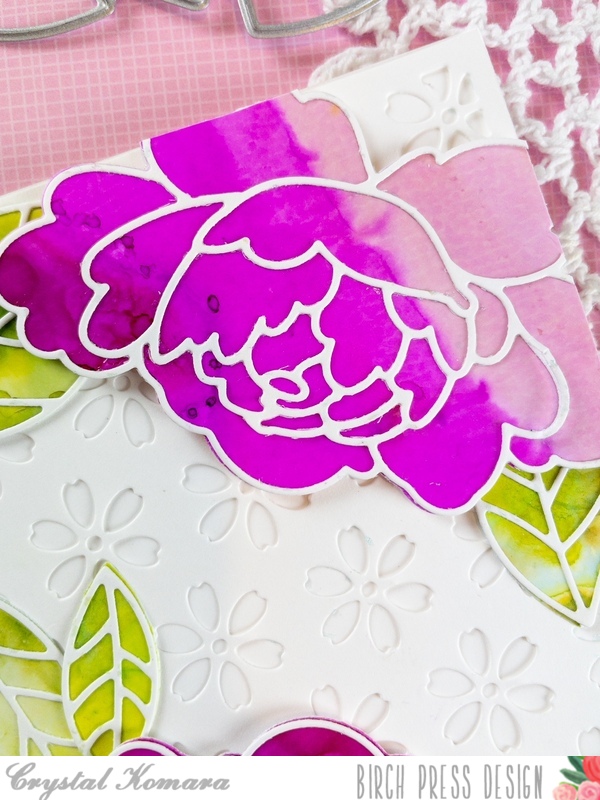
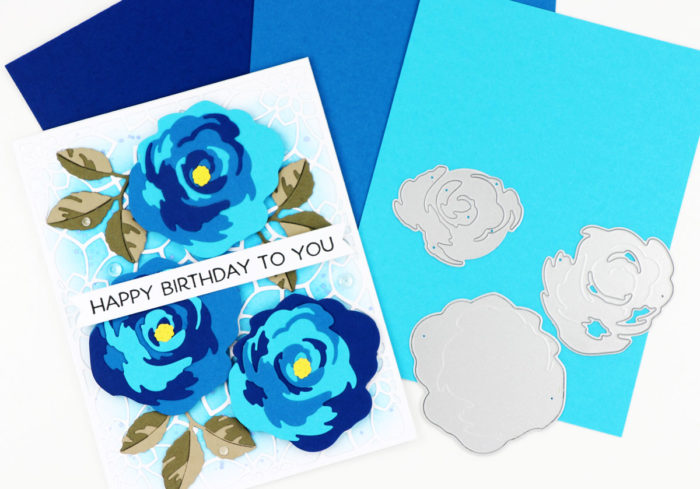
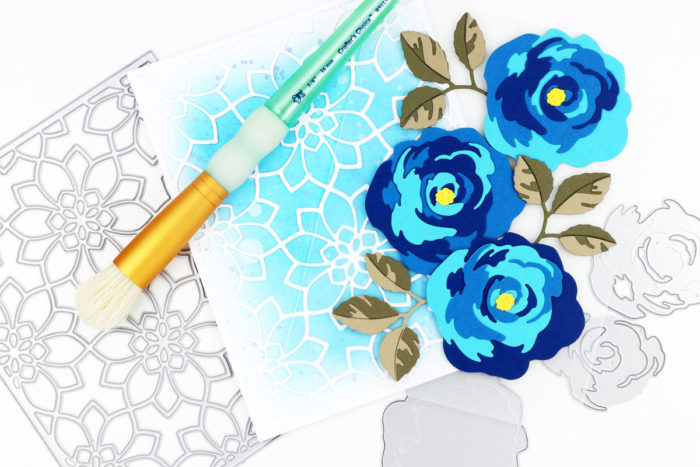
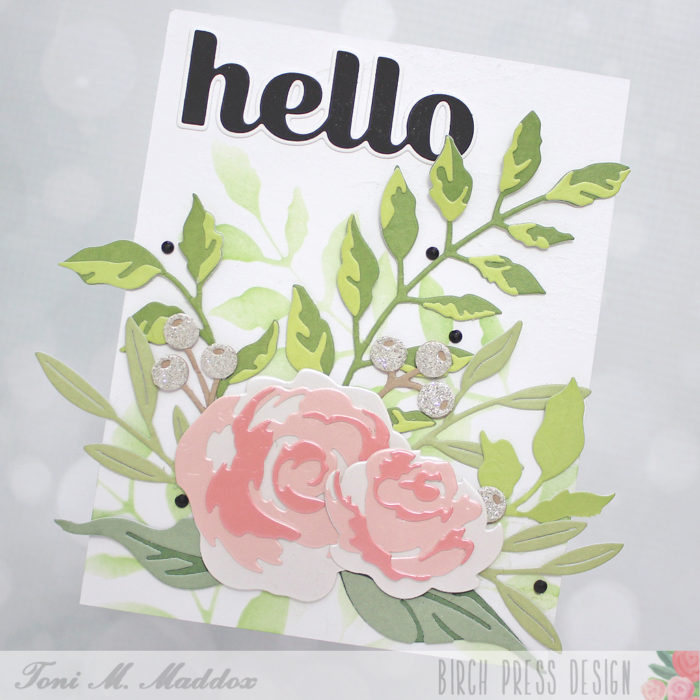
We always start with our die cutting and layering with liquid adhesive and this is no different, except not everything needs to be layered, like our leaves.
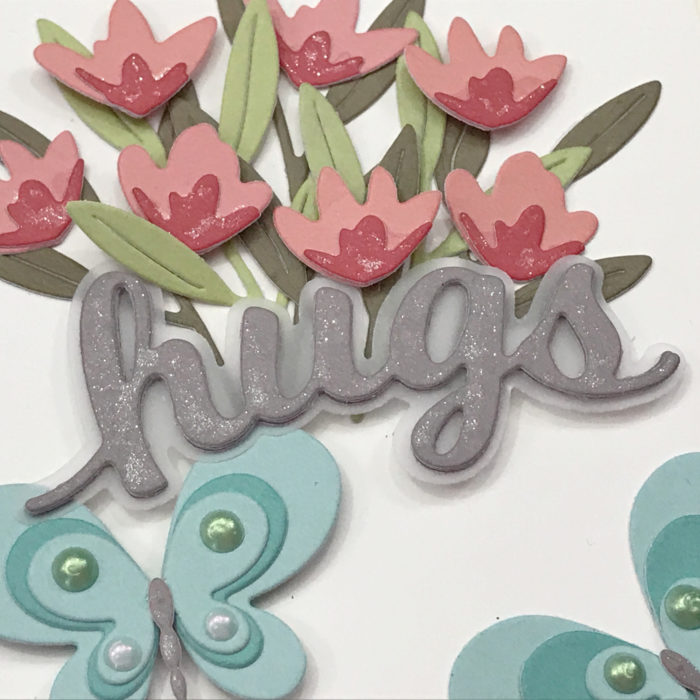
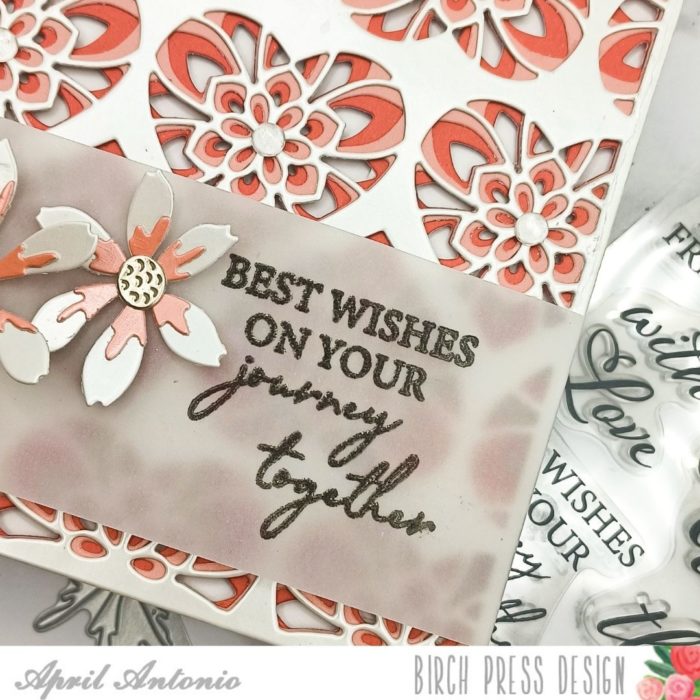
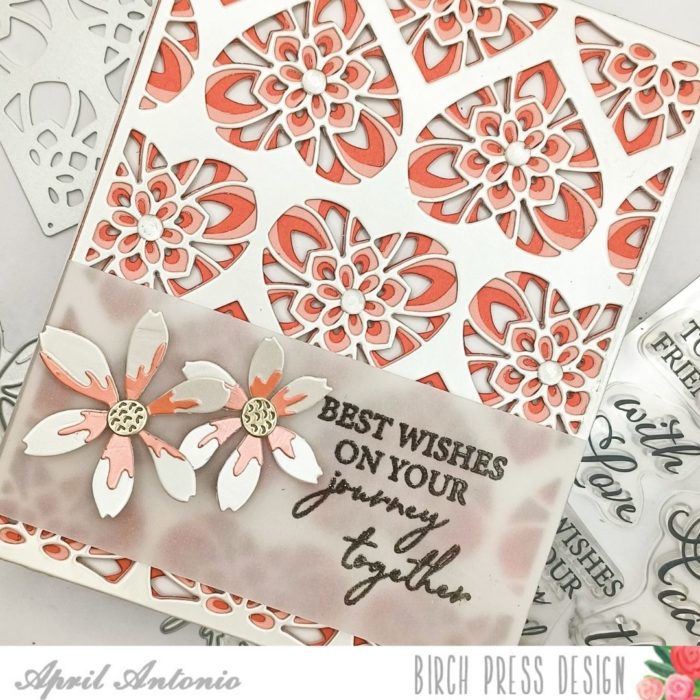
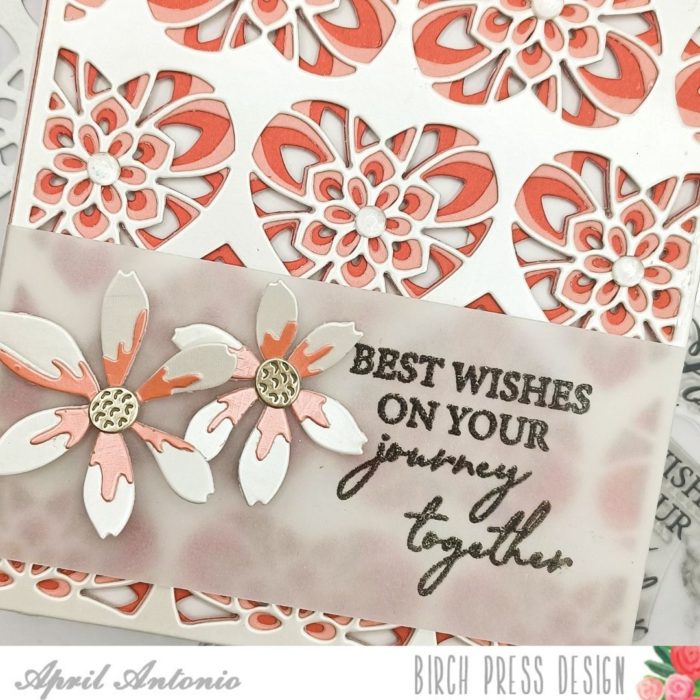
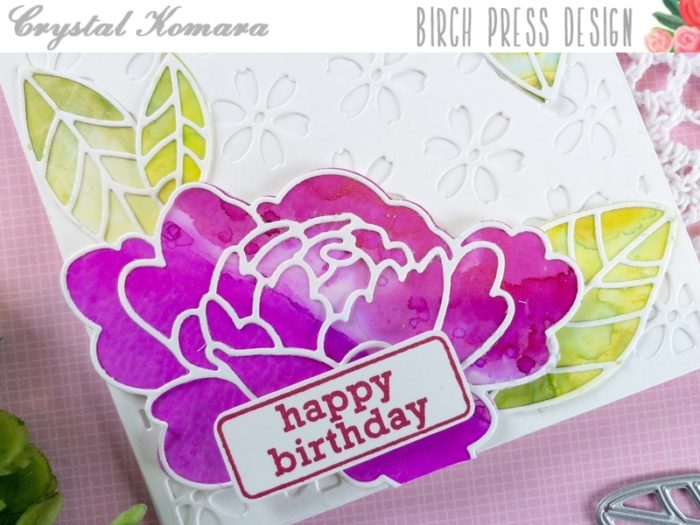
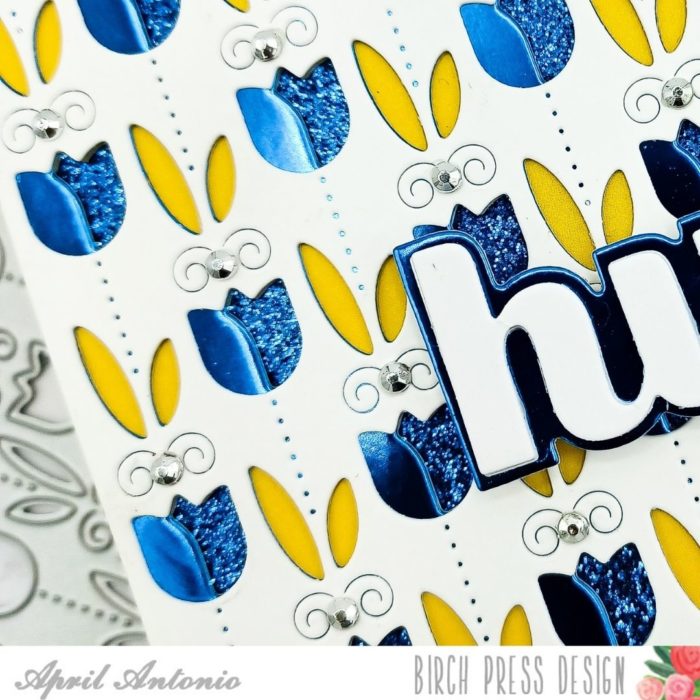
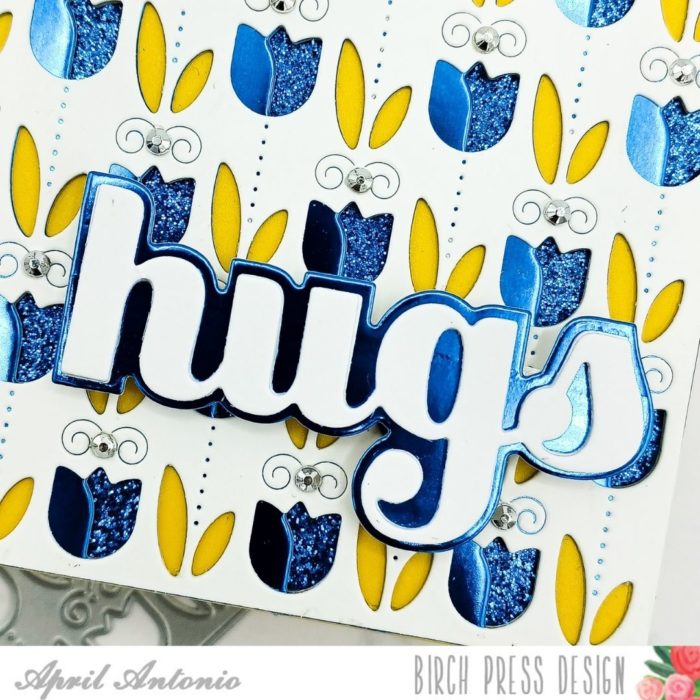
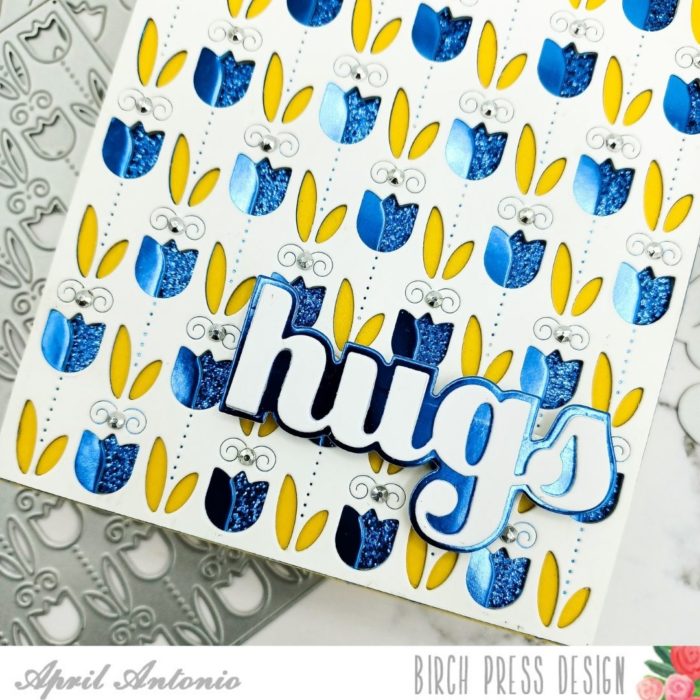
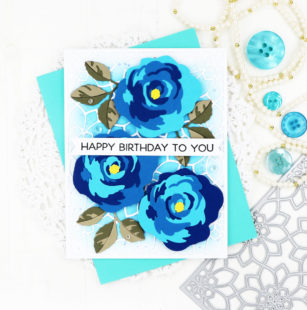
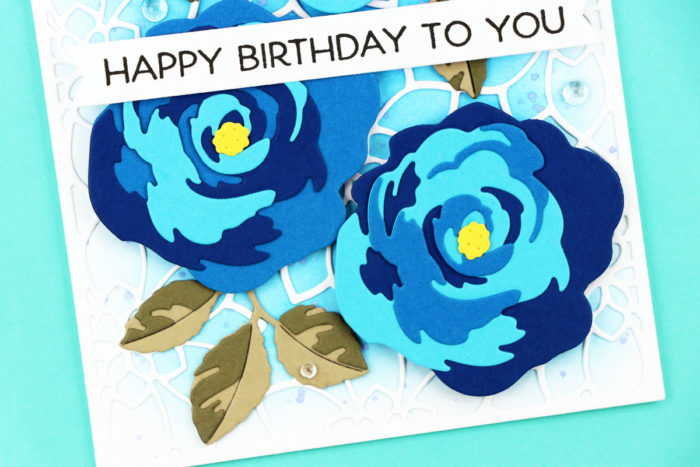
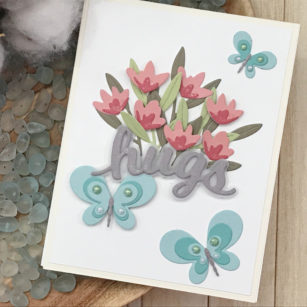
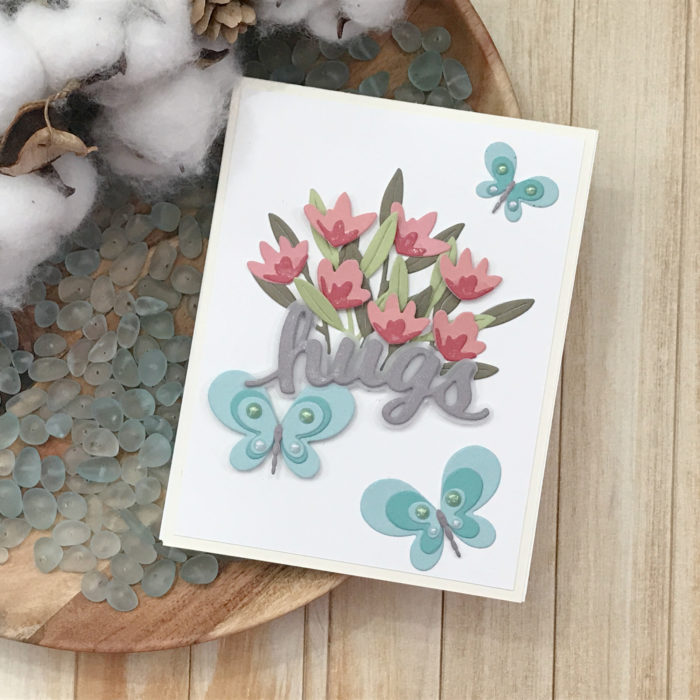
Once our layers are completed, we can now start to build are card front. I use a white panel cut to 4 in x 5 1/4 in and started placing our die cuts. I started with the HUGS sentiment. I wanted to give the illusion the flowers were coming out of our sentiment!

I then propped that up using foam square and then started placing in the leaves until it looked full. Flowers were then adhered on top using liquid adhesive!
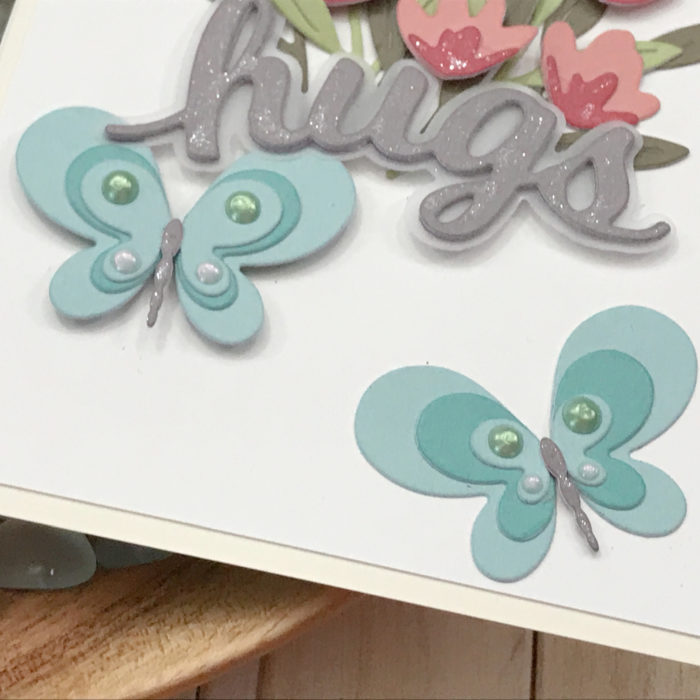
Once the focal point was in place and secured, I set my butterflies below and above the sentiment, creating a triangle setting.
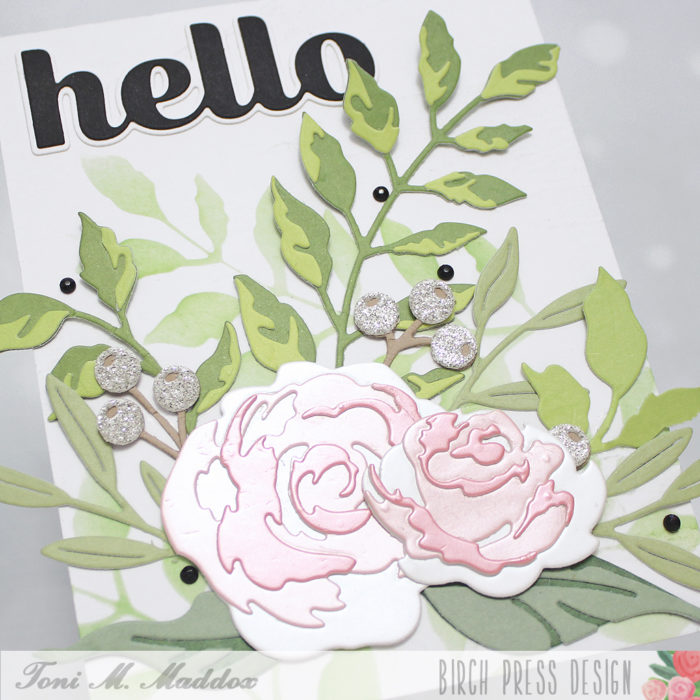
To the flowers and sentiment, I added a little sparkle using my pen and adding liquid drops to my butterflies!
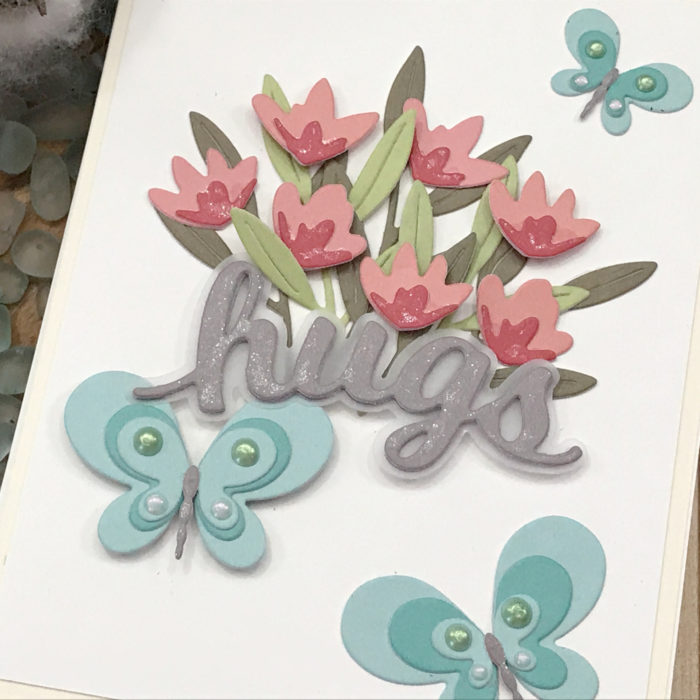
To finish our card I placed this panel on an ivory card stock cut to 4 1/4 in x 5 1/2 in and adhered this to a Standard A2 size card base that measures 4 1/4 in x 5 1/2 in.
Very clean and simple with a great impact from the die cuts!
Make sure you stay tuned for more wonderful projects coming soon!

Supplies