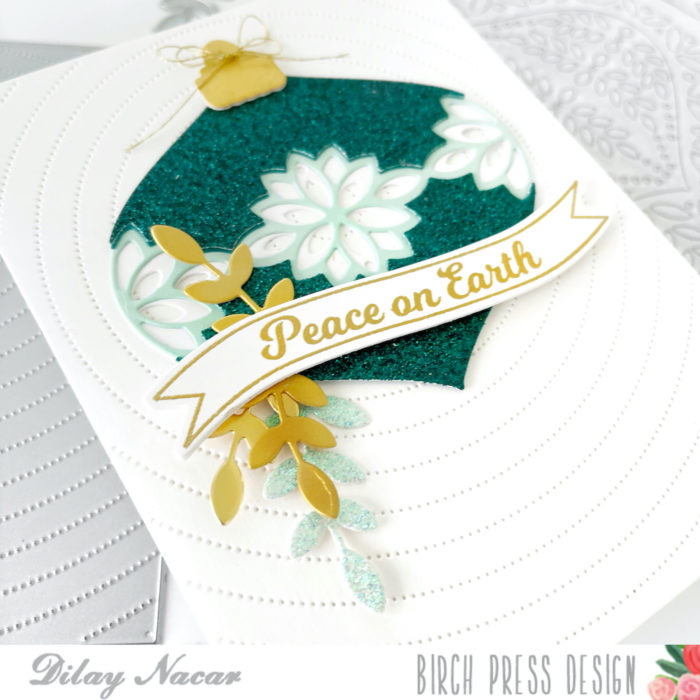
Hello Everyone and Welcome Back!
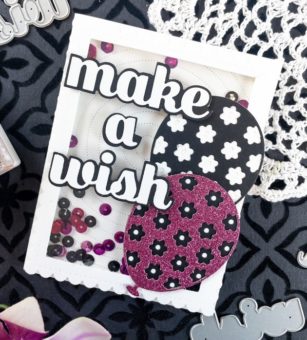
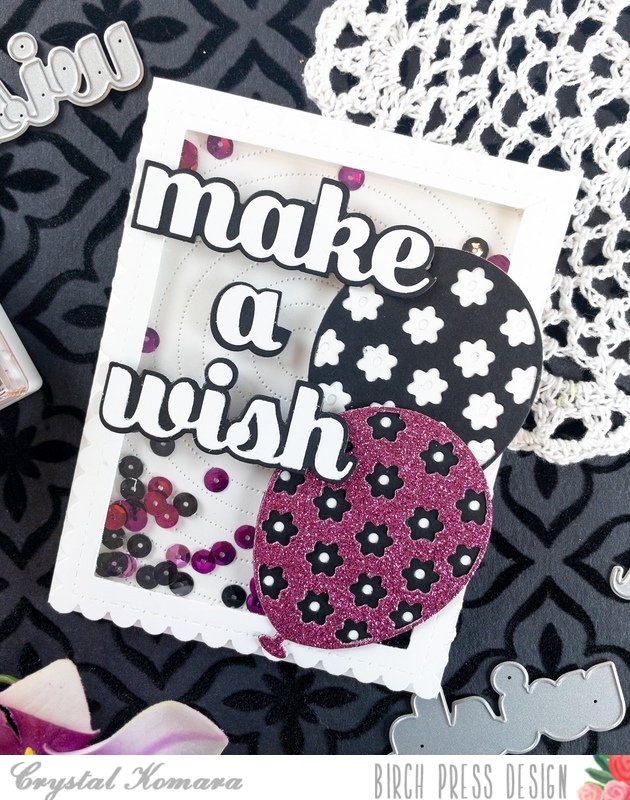
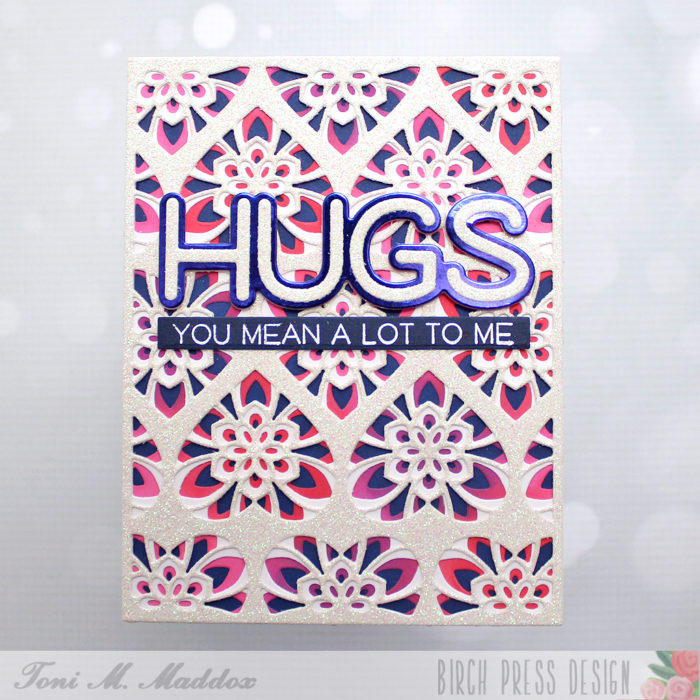
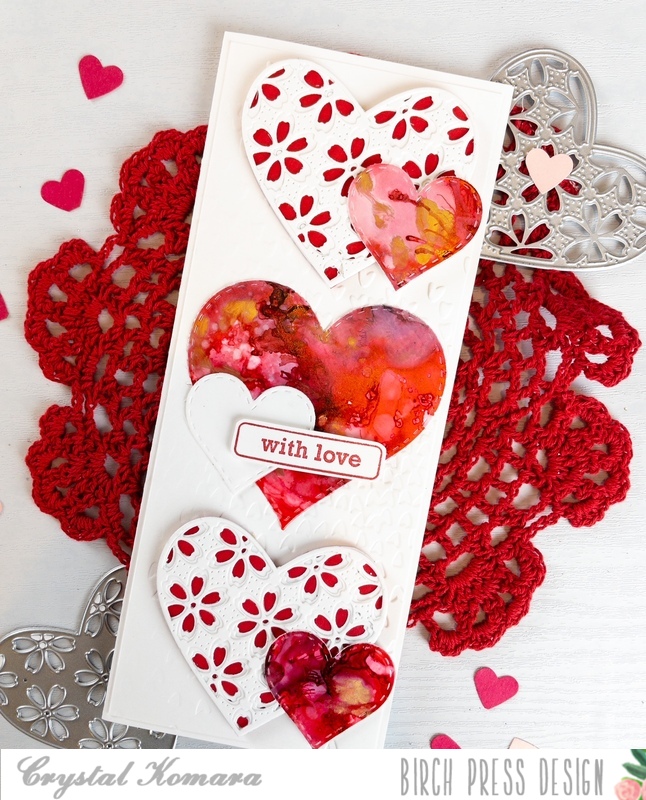
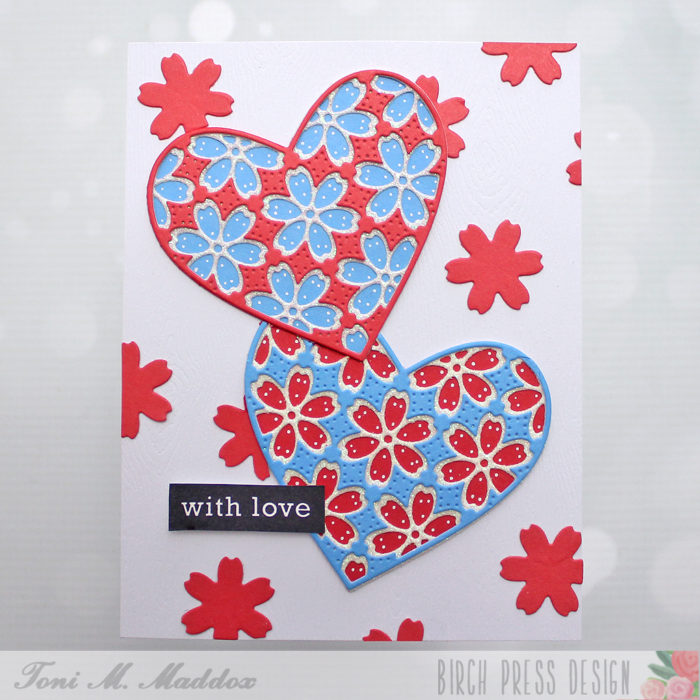
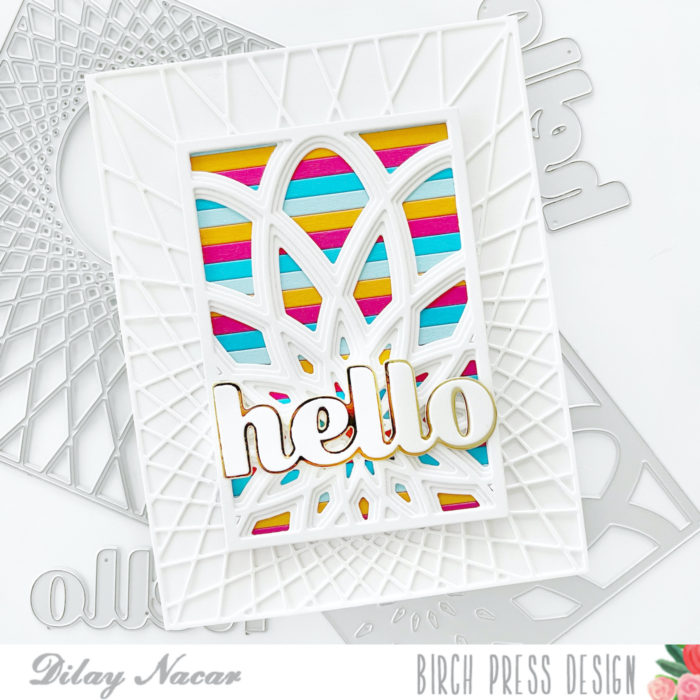
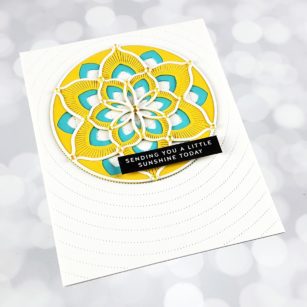
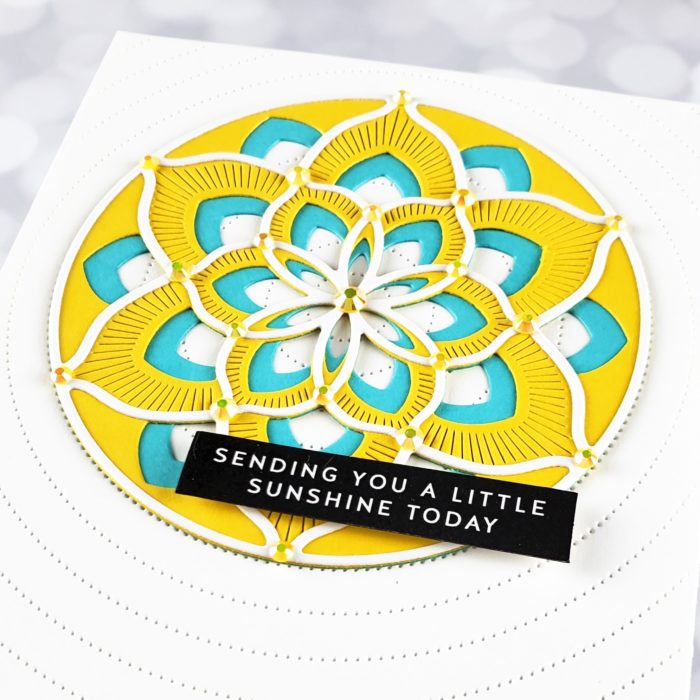
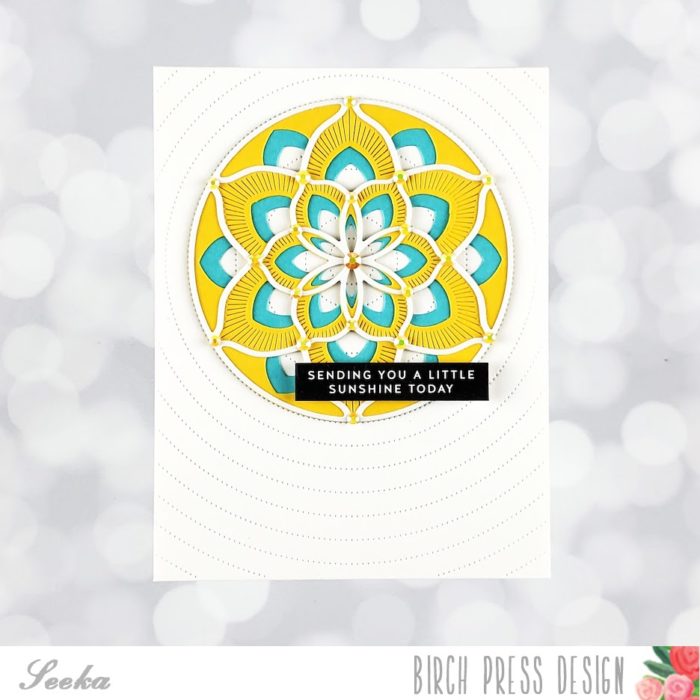
Today I will be creating a Slimline Card featuring the Floral Balloon Layering Die Set along with the Birthday Wishes Sentiment!
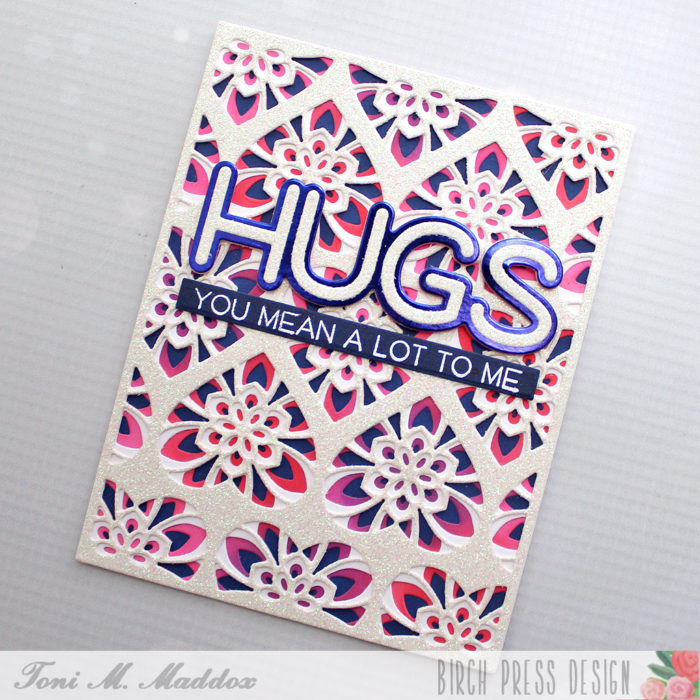
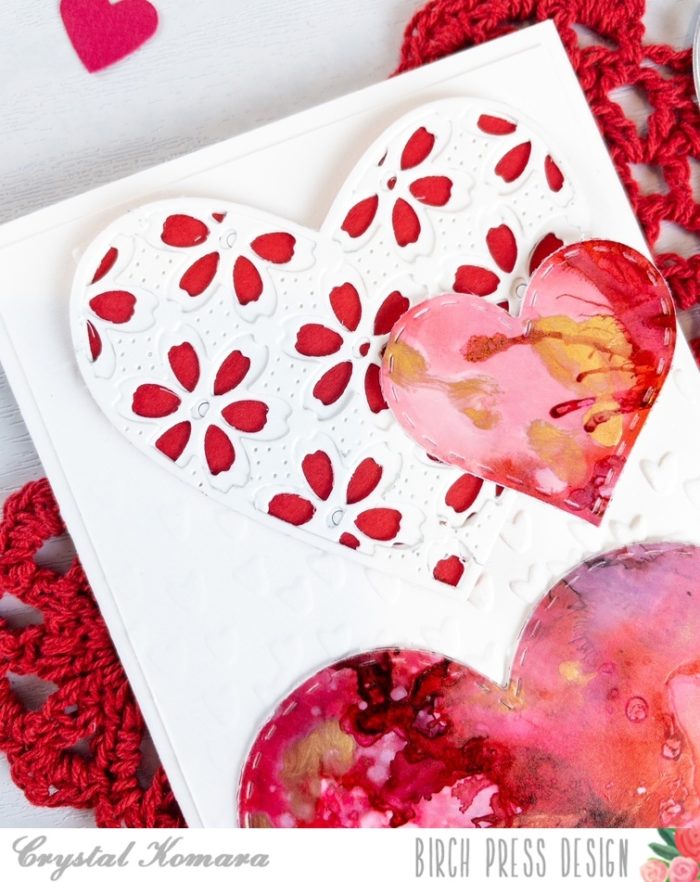
As always, I start with getting all my die cutting out of the way and then start layering my card stock with liquid adhesive. For the middle layer I chose a holographic card stock!
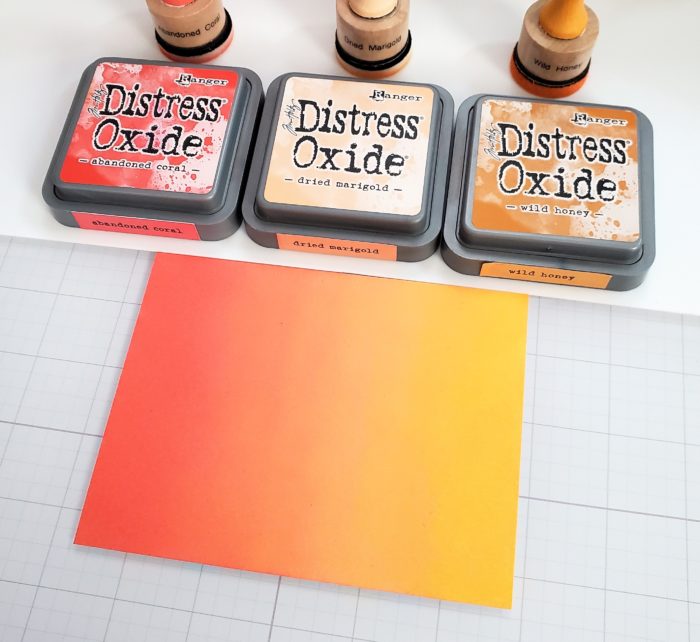
I grab my panel and use my distress oxide to create the look of the sky and then added water droplets to create texture to the background.
I chose a slimline card base, so I would have more room to add my elements to the front of the card. After the balloons are layered, I added string to the bottom of each balloon and double-sided foam squares so they would be propped up!
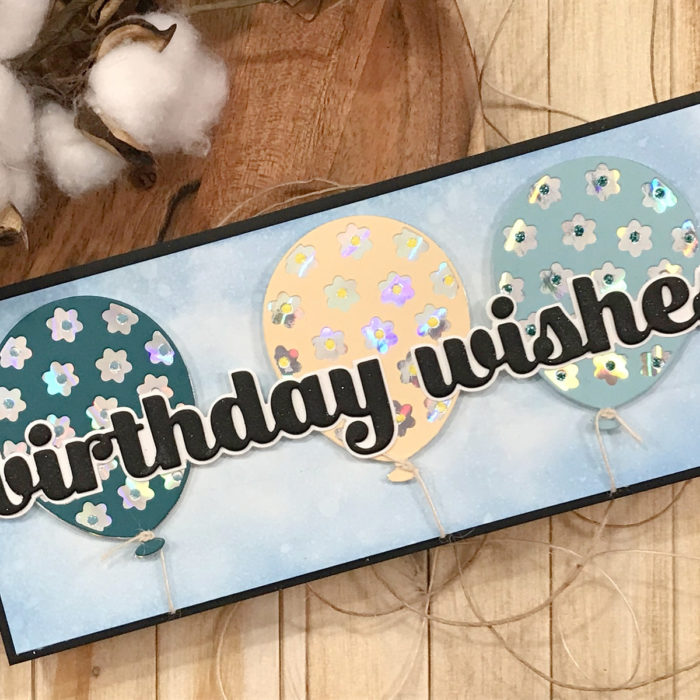
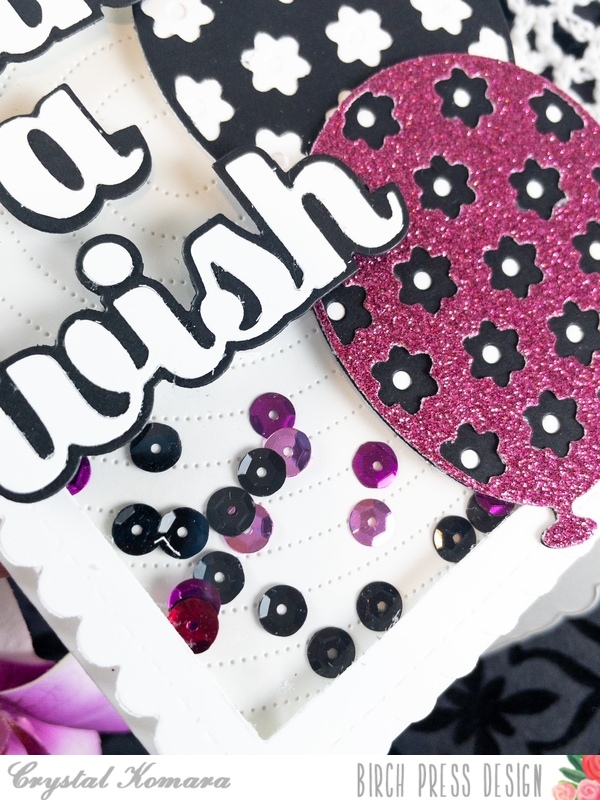
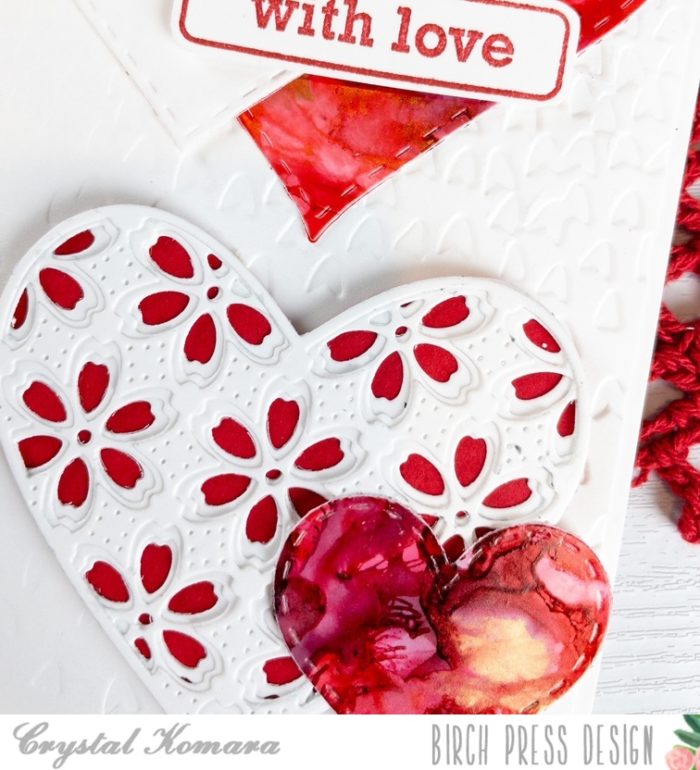
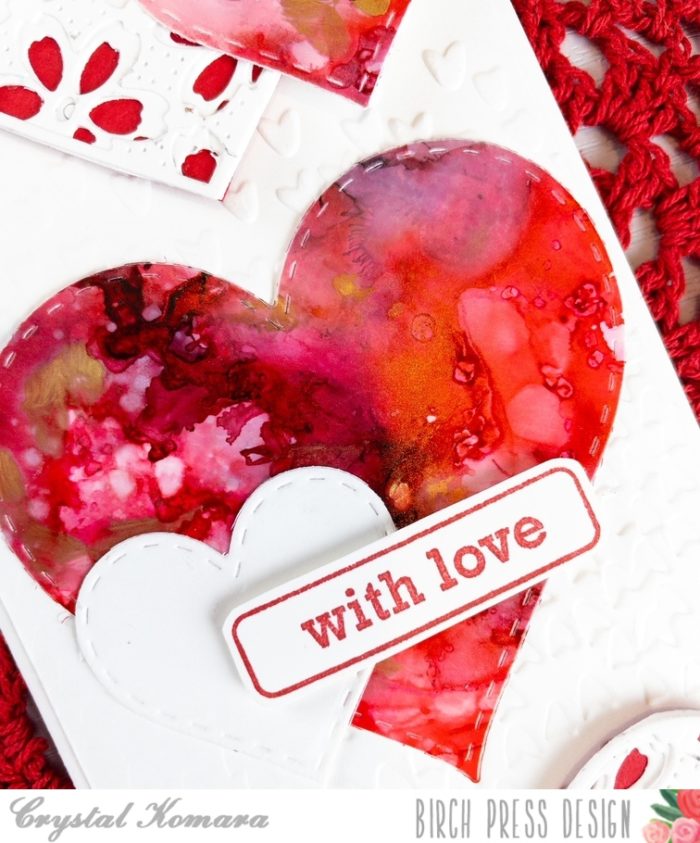
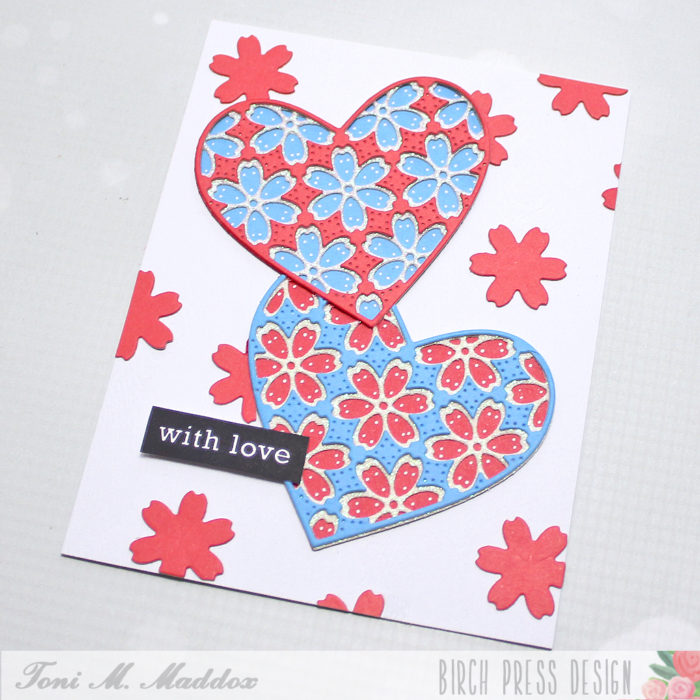
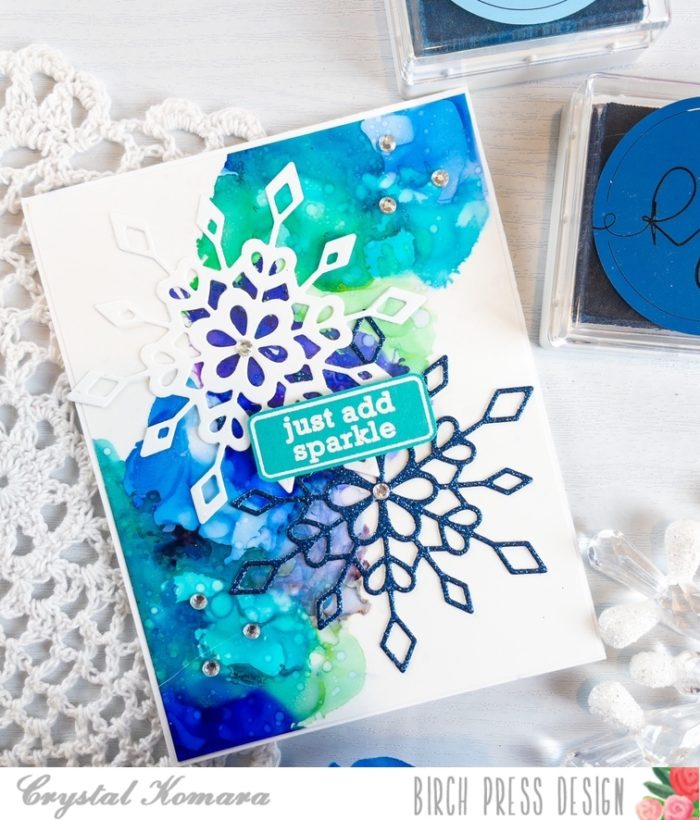
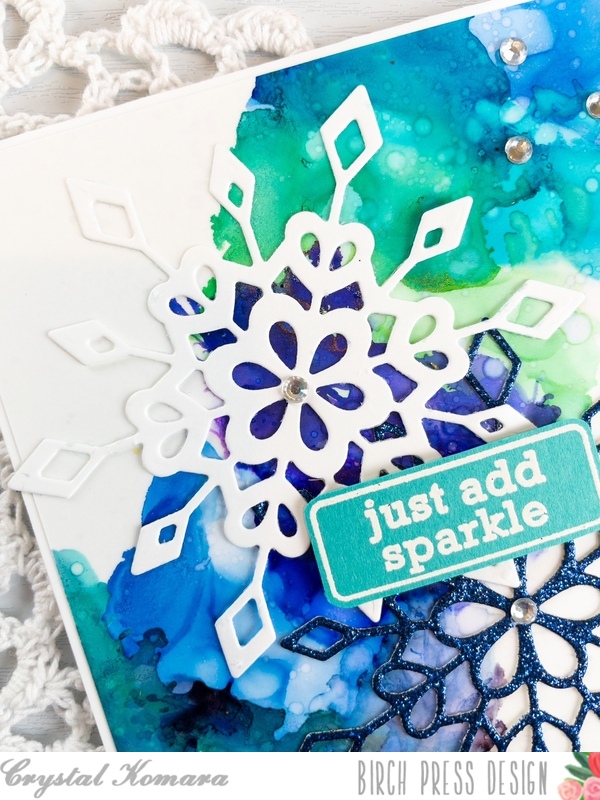
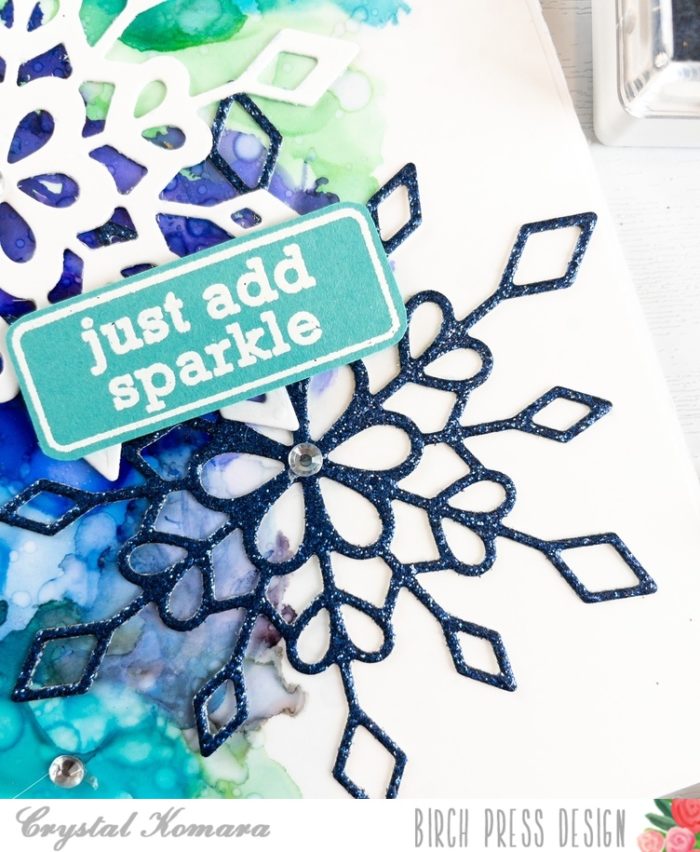
All the balloons were place on my panel and then we added the sentiment across all the balloons with a little bit of sparkled added with a glitter pen!
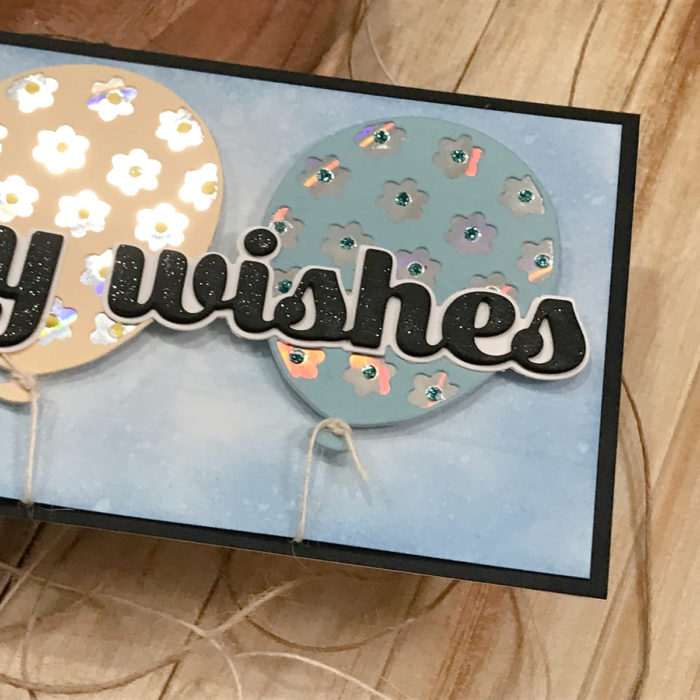
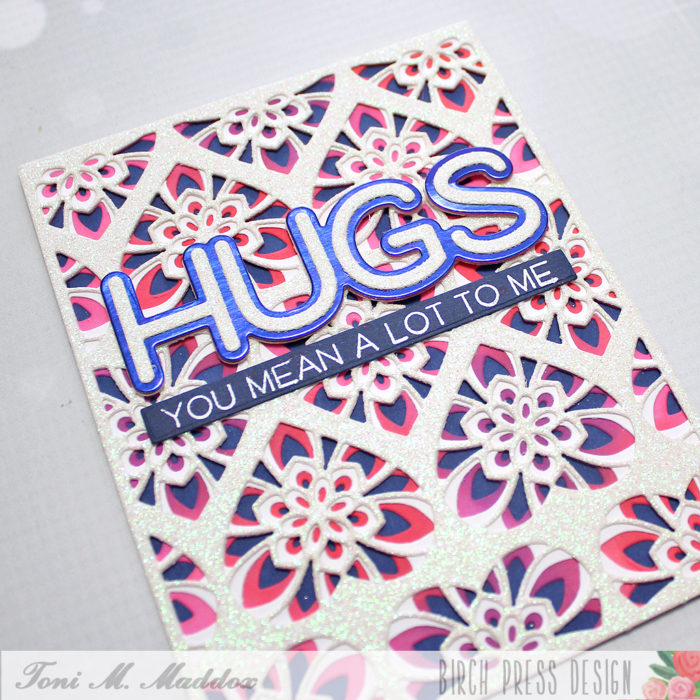
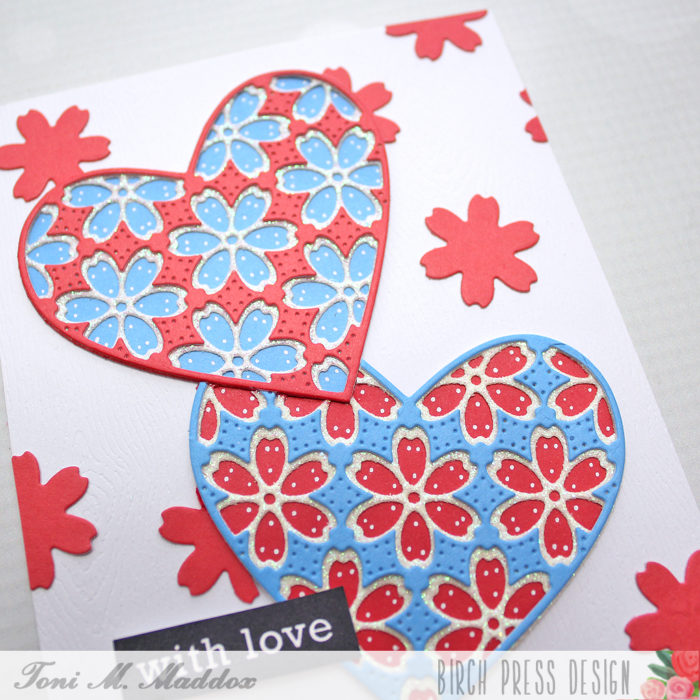
To add some sparkle, I grabbed my glitter glue and added dots in the center of all the flowers on each of the balloons!
As always, I hope you enjoyed today’s project… and if you want to see more details just click on the video below and see how these projects come together step by step!
Make sure you stay tuned for more wonderful projects coming soon!

Supplies