Hello Birch Press Design friends! Sandhya here, and today I’m sharing something a little different and super fun—mixed media zines! Inspired by the new ocean and underwater-themed dies from Birch Press Design, I created the front covers for two handmade zines that I’ll be filling with all sorts of sea-themed paper art.
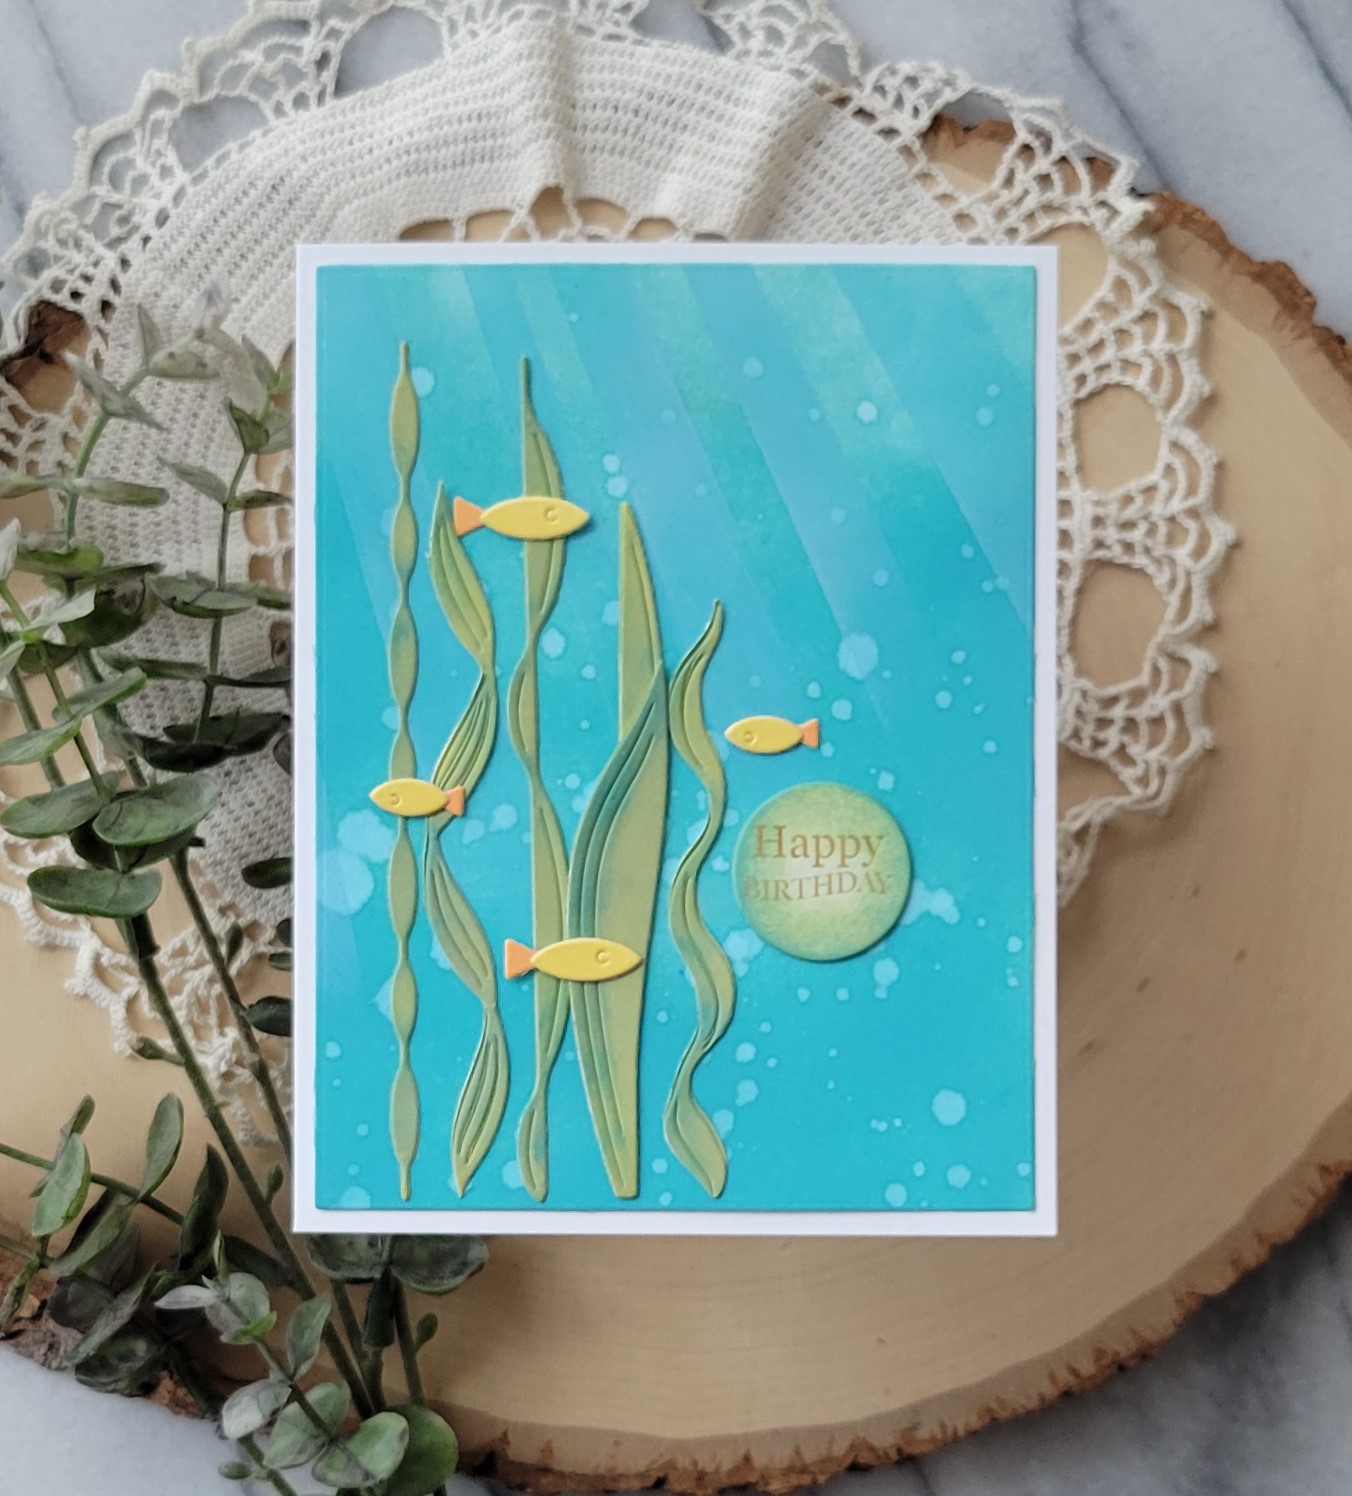
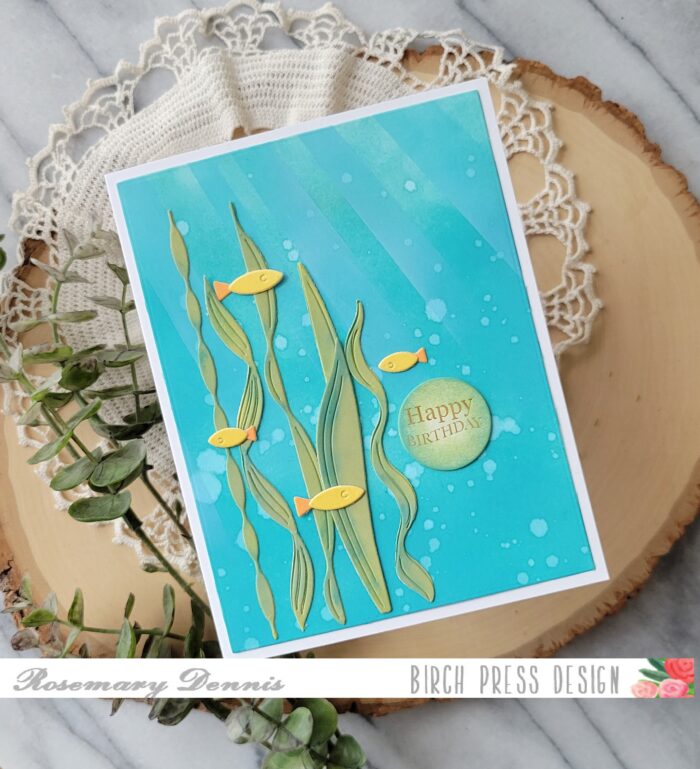
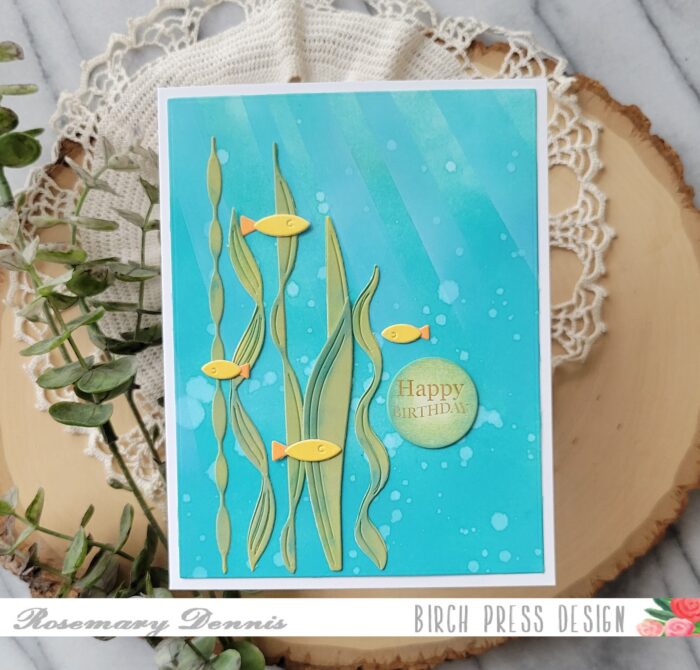
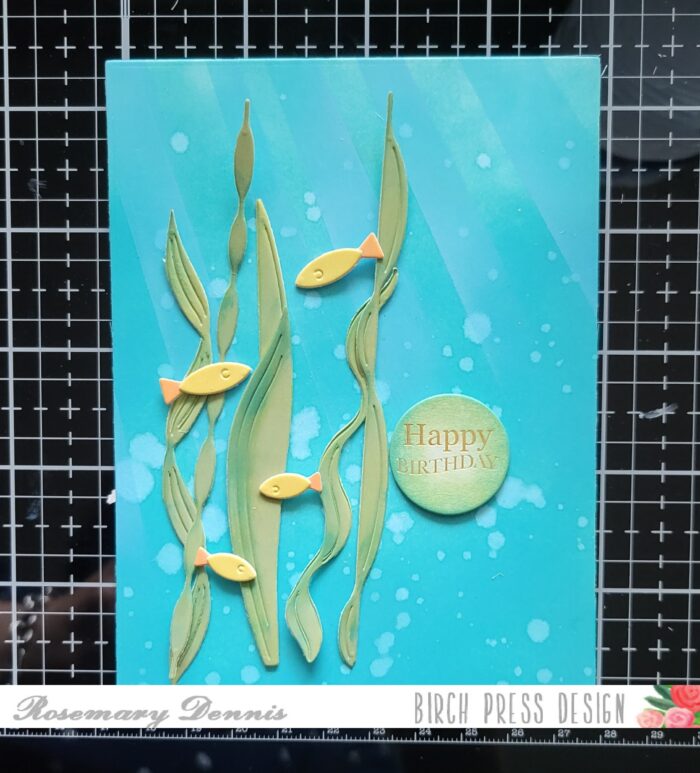
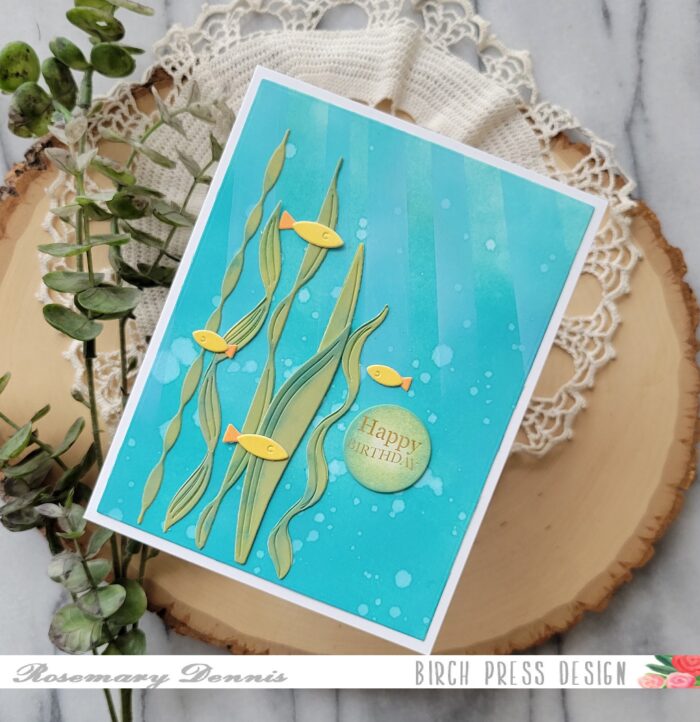
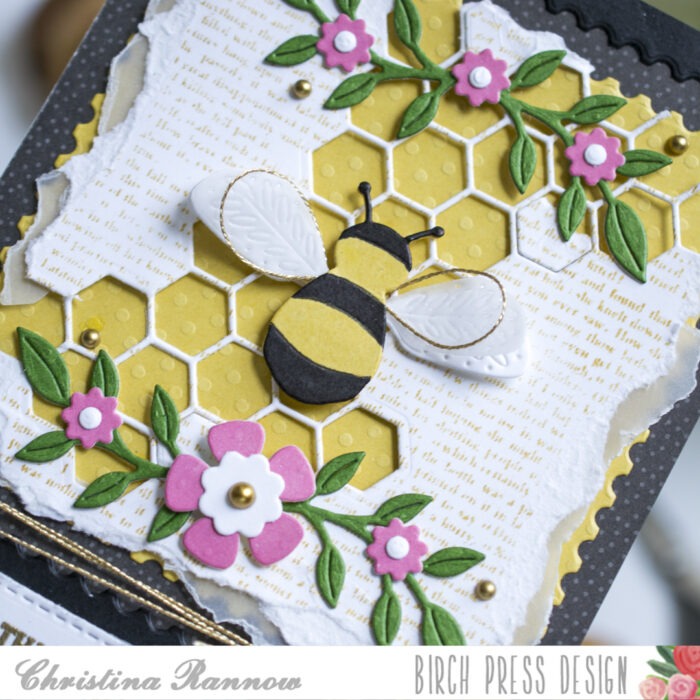
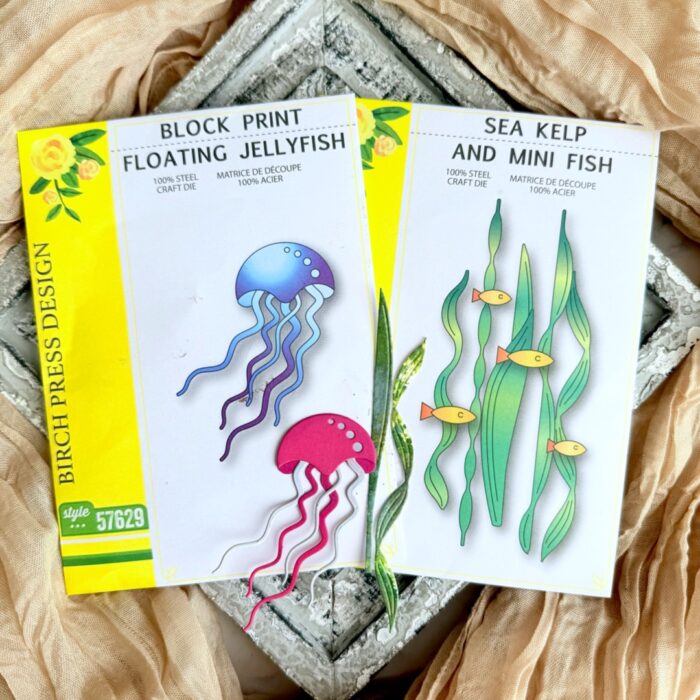
I absolutely love how the Block Print Floating Jellyfish and Sea Kelp and Mini Fish dies bring an instant sense of movement and whimsy. These die sets are the perfect focal point for ocean-themed mixed media projects, cards, journals, and more!
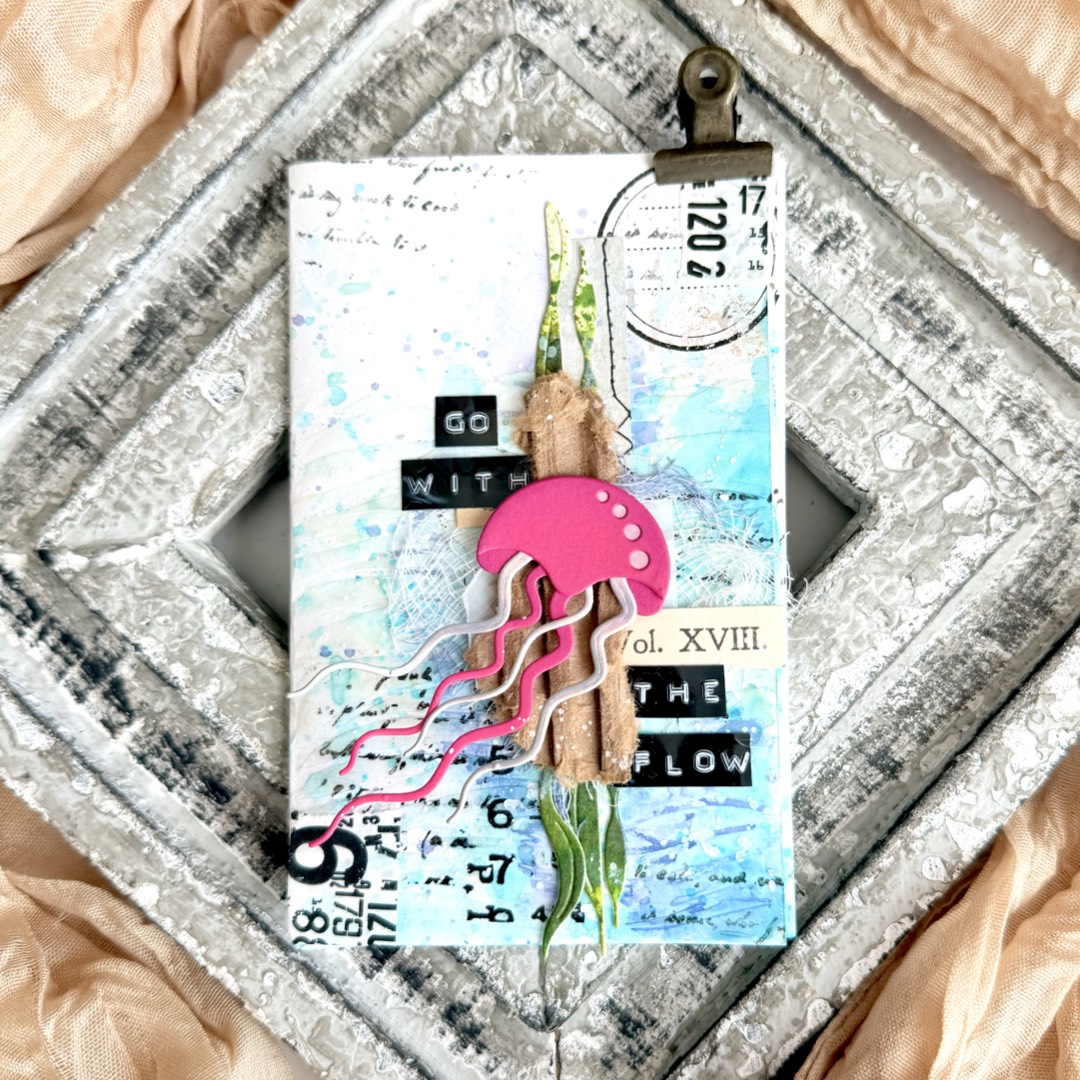
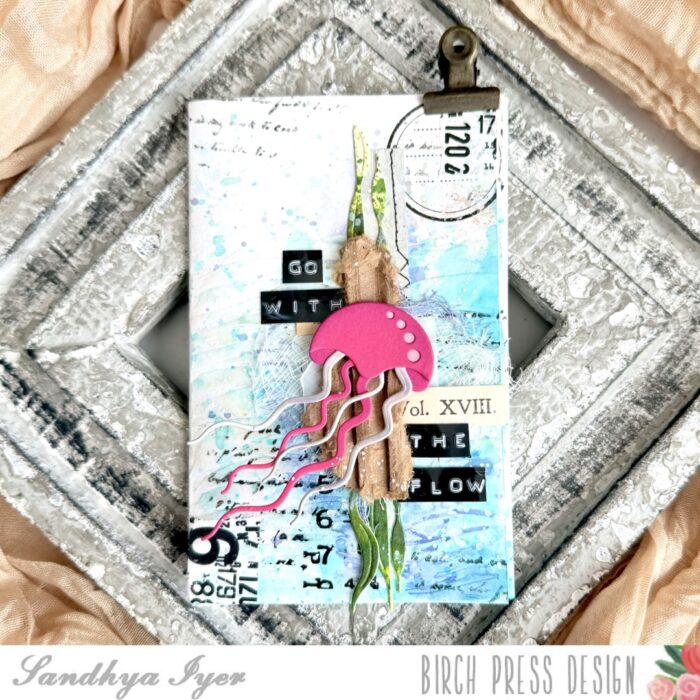
First Zine: Go With the Flow
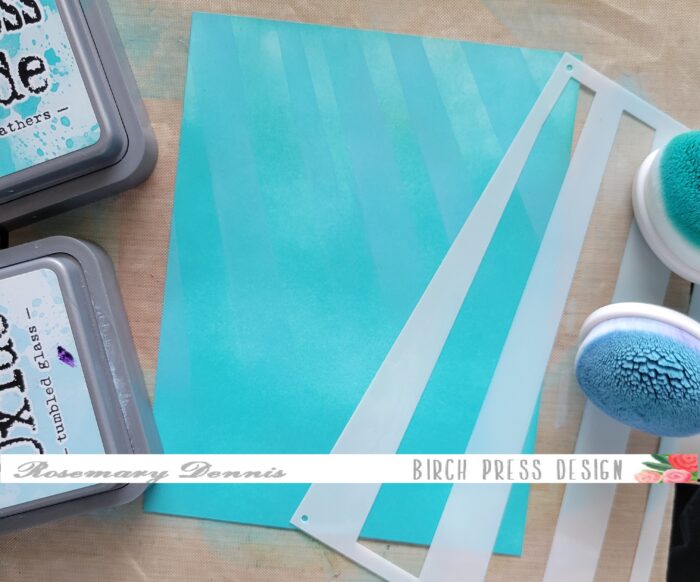
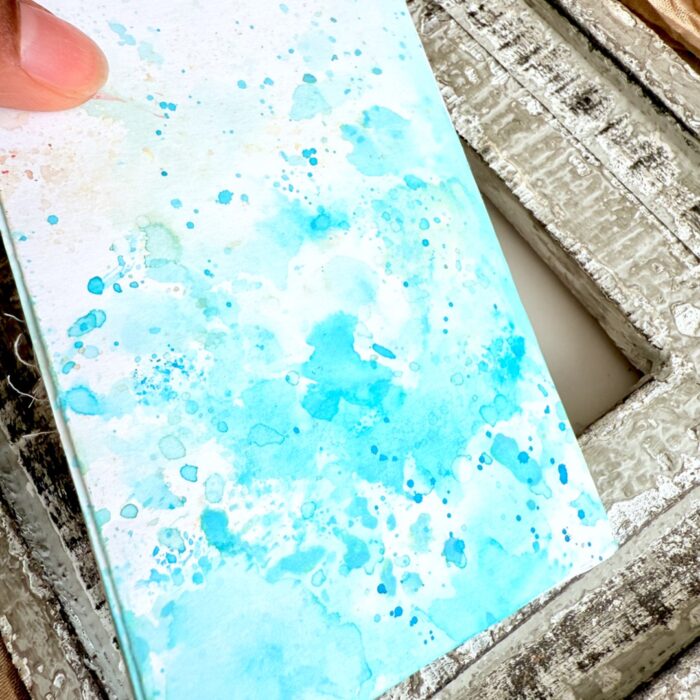
I started with a sheet of mixed media paper that I smooshed and splattered with Distress Oxides in different shades of soft oceanic blues to create a splashed look. I then folded it into a zine.
I added texture to the top page using clear paste through a stencil to create waves. I then created a cluster using torn paper, cheesecloth, and some vintage-inspired ephemera to nest my focal point.
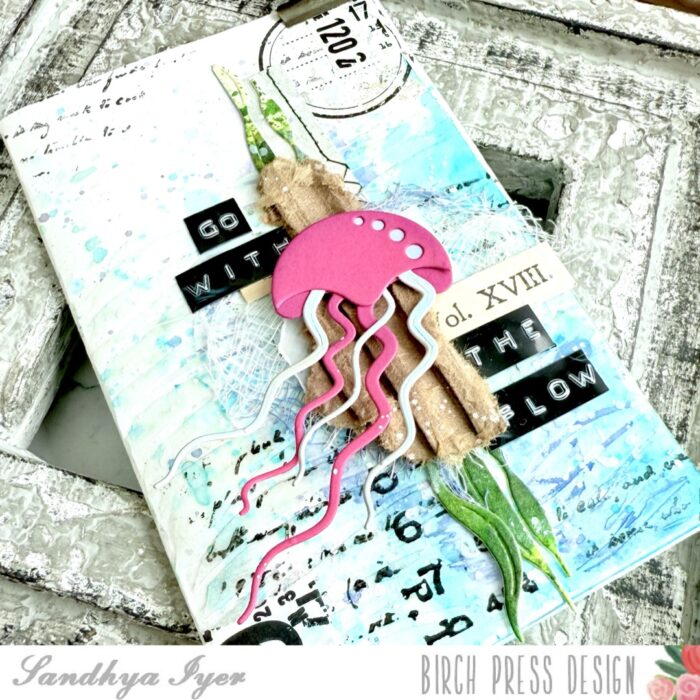
I then die cut and assembled my Jelly fish out of bright pink and iridescent cardstock. I also die-cut some kelp out of watercolor paper that I had smooshed and sprayed with Distress inks in green.
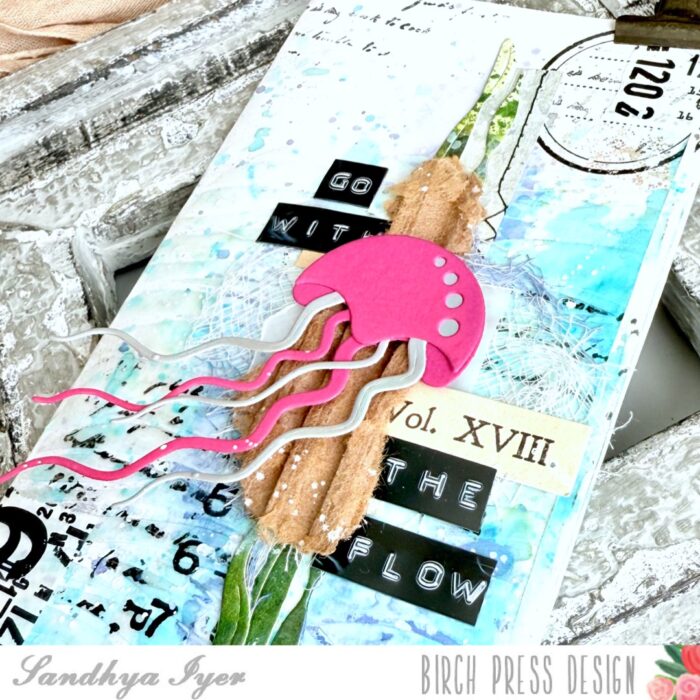
The bright pink jellyfish floats over the Kelp, making it the star of the piece. The sentiment “Go With the Flow” is the perfect mantra for both ocean life and art-making!
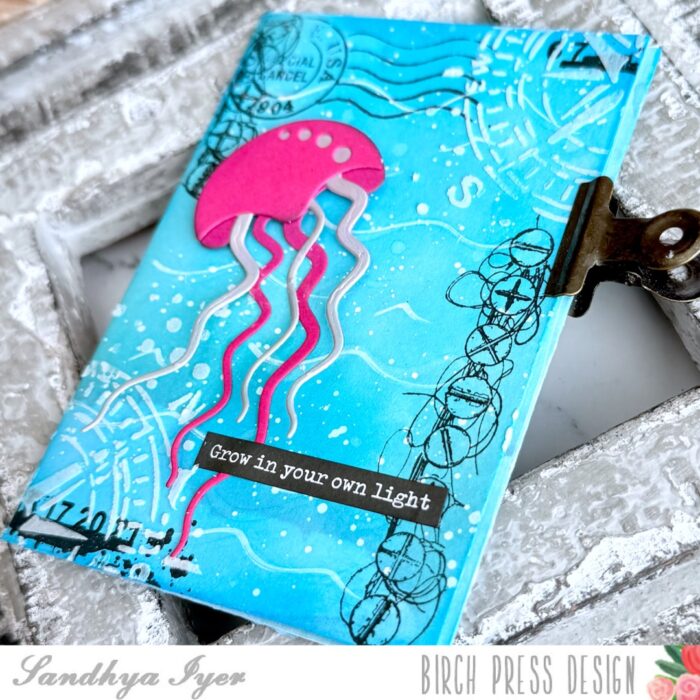
Second Zine: Grow In Your Own Light

For this cover, I kept the background more graphic and inky with bright aqua pattern paper, and layered stamping, stenciling and splatters.
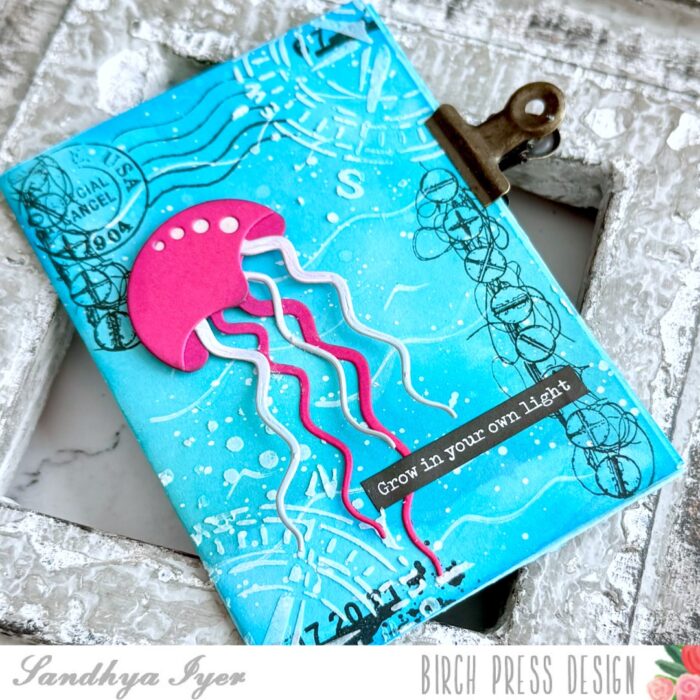
Another pink jellyfish takes center stage, accompanied by the empowering sentiment “Grow in your own light.” I love how this one feels like a dreamscape under the sea!
These zines will be a fun way for me to explore and play with all the gorgeous dies from the latest ocean-themed release. I hope these covers inspire you to dive into your stash and try something new—whether it’s a tag, journal, card, or zine.
Thanks for joining me today! I’ll be back soon with more inspiration from the sea
Crafting with joy,
Sandhya