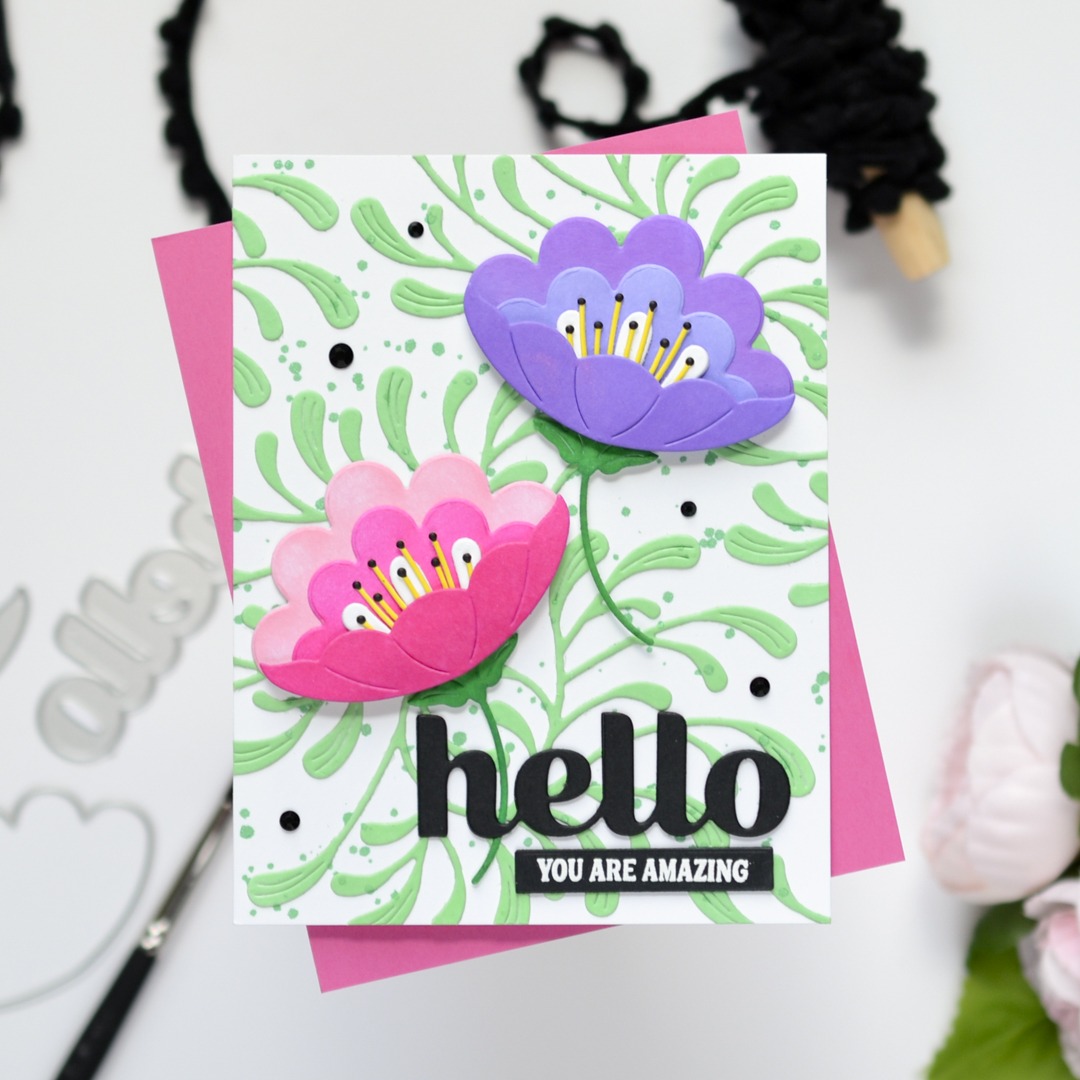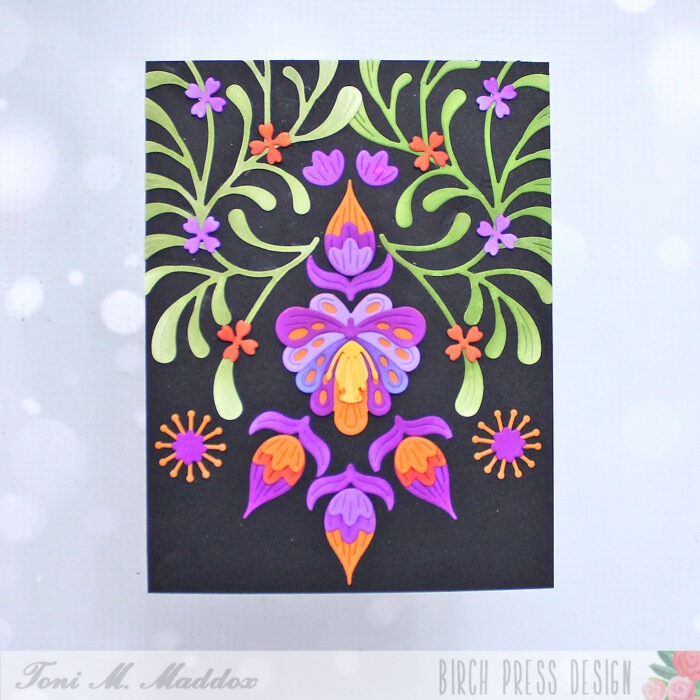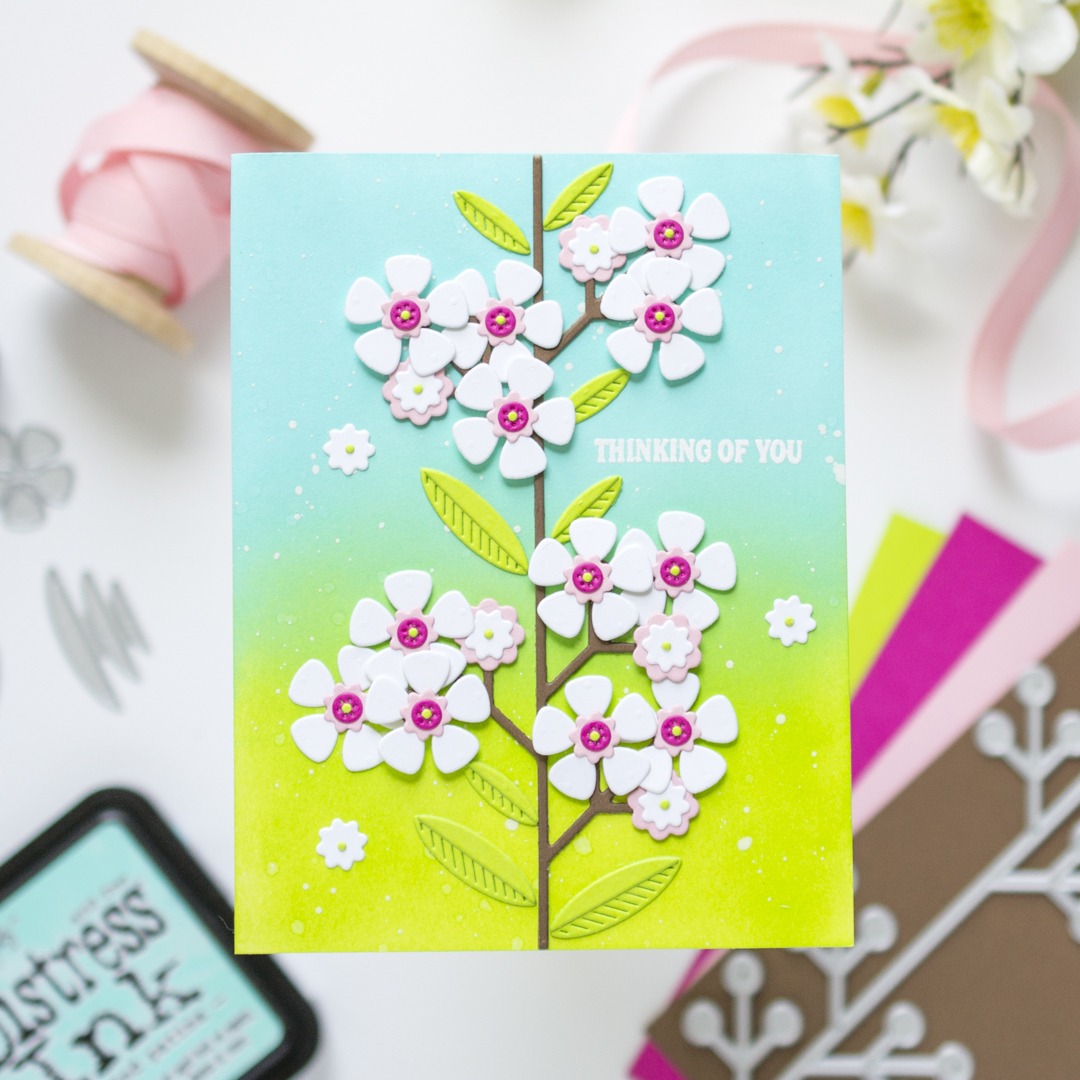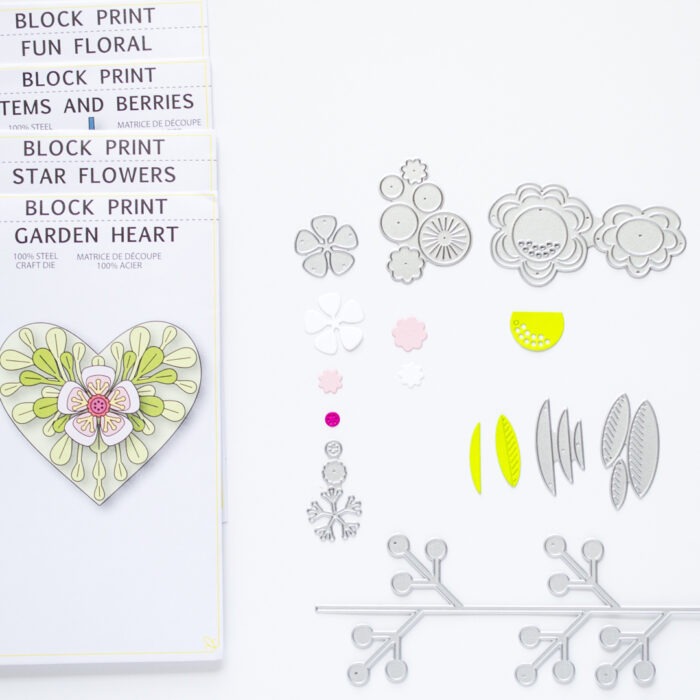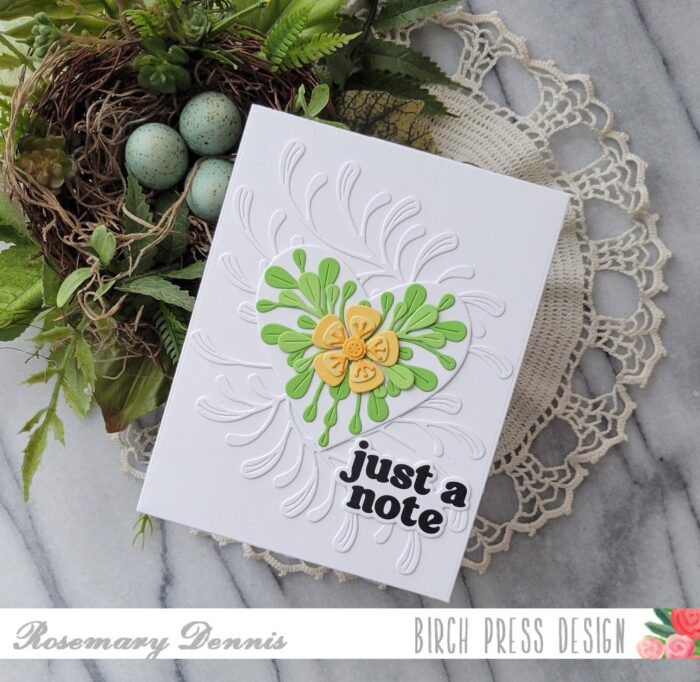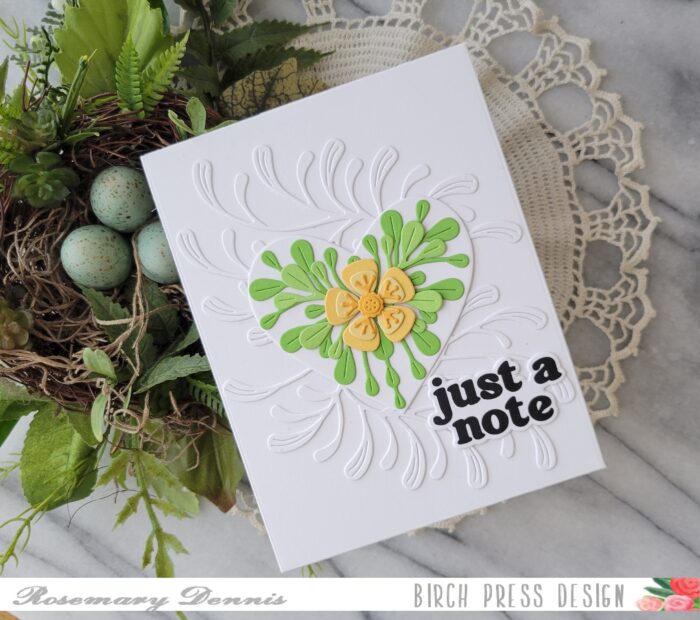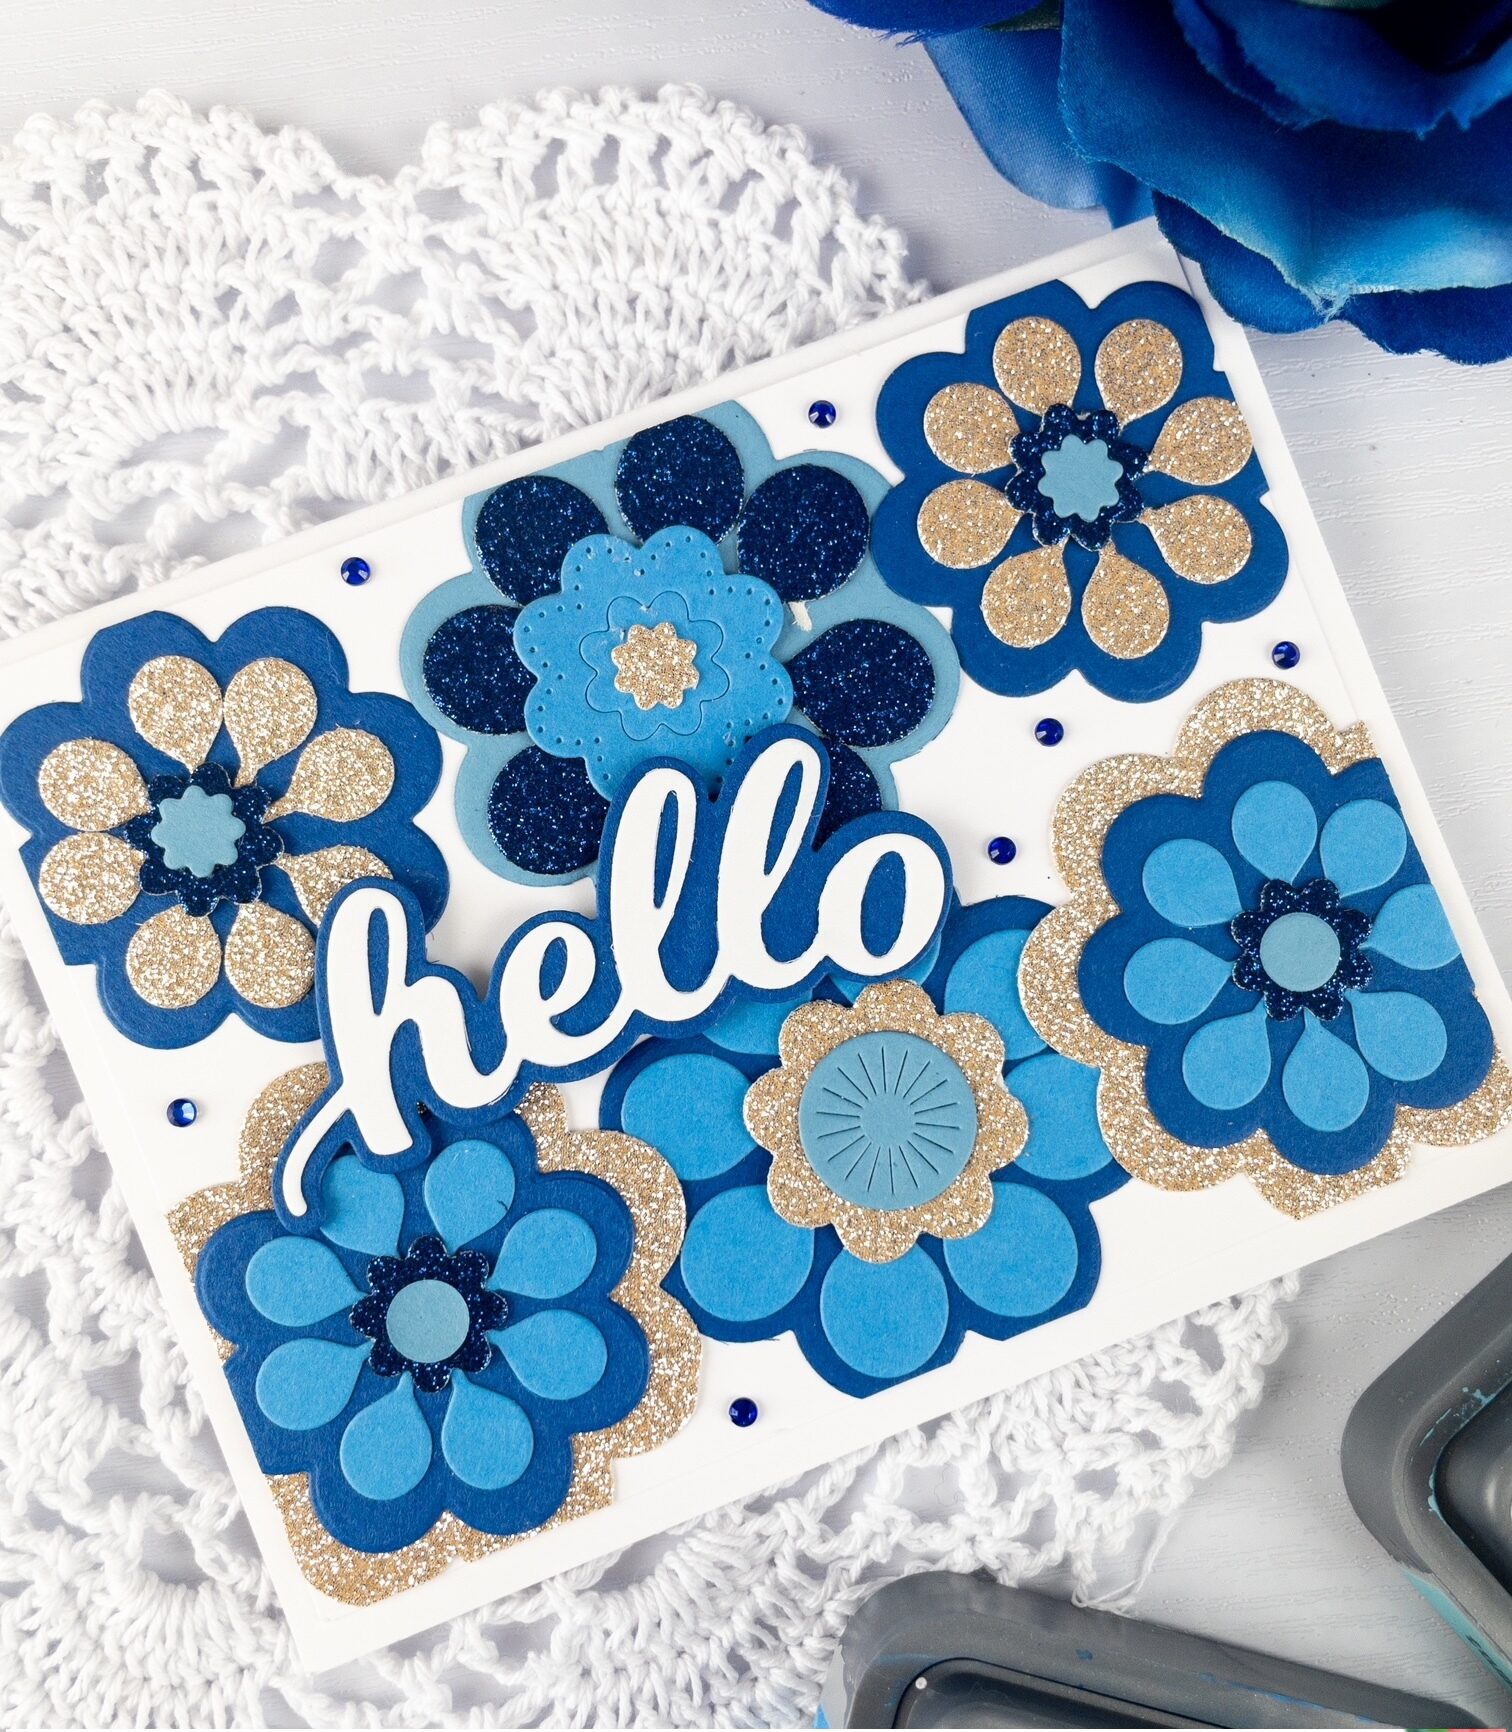
Hello friends and happy Tuesday! This is Crystal Komara here with you today sharing my first card using the new Block Print Star Flowers dies and oh, just imagine the possibilities of color combinations using these dies! This is one of those cards you could make in any color and it would be beautiful each time.
Let’s talk about how I made this card:
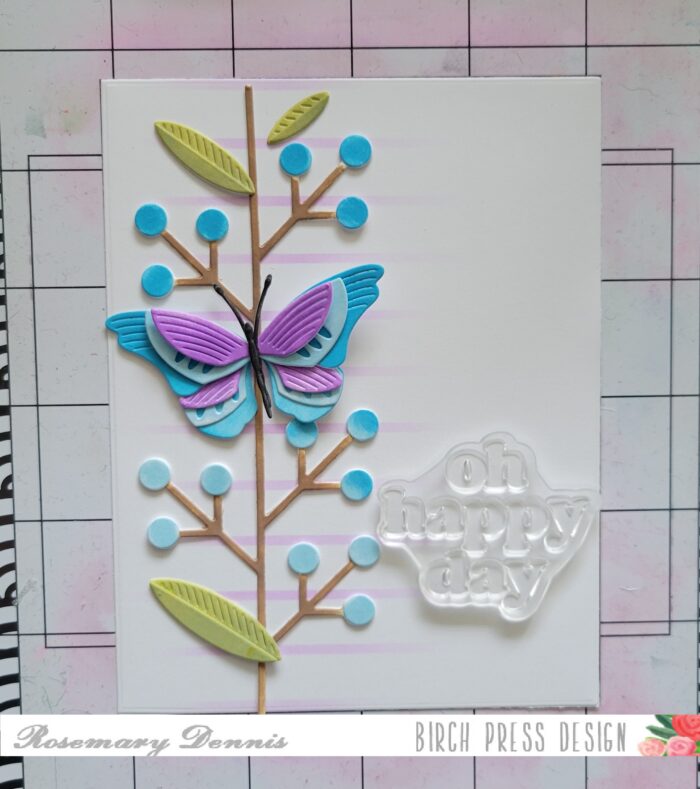
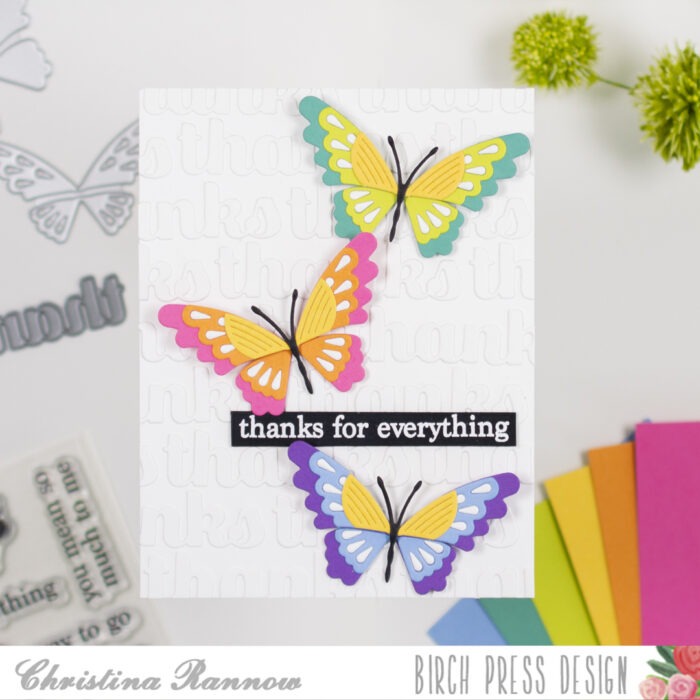
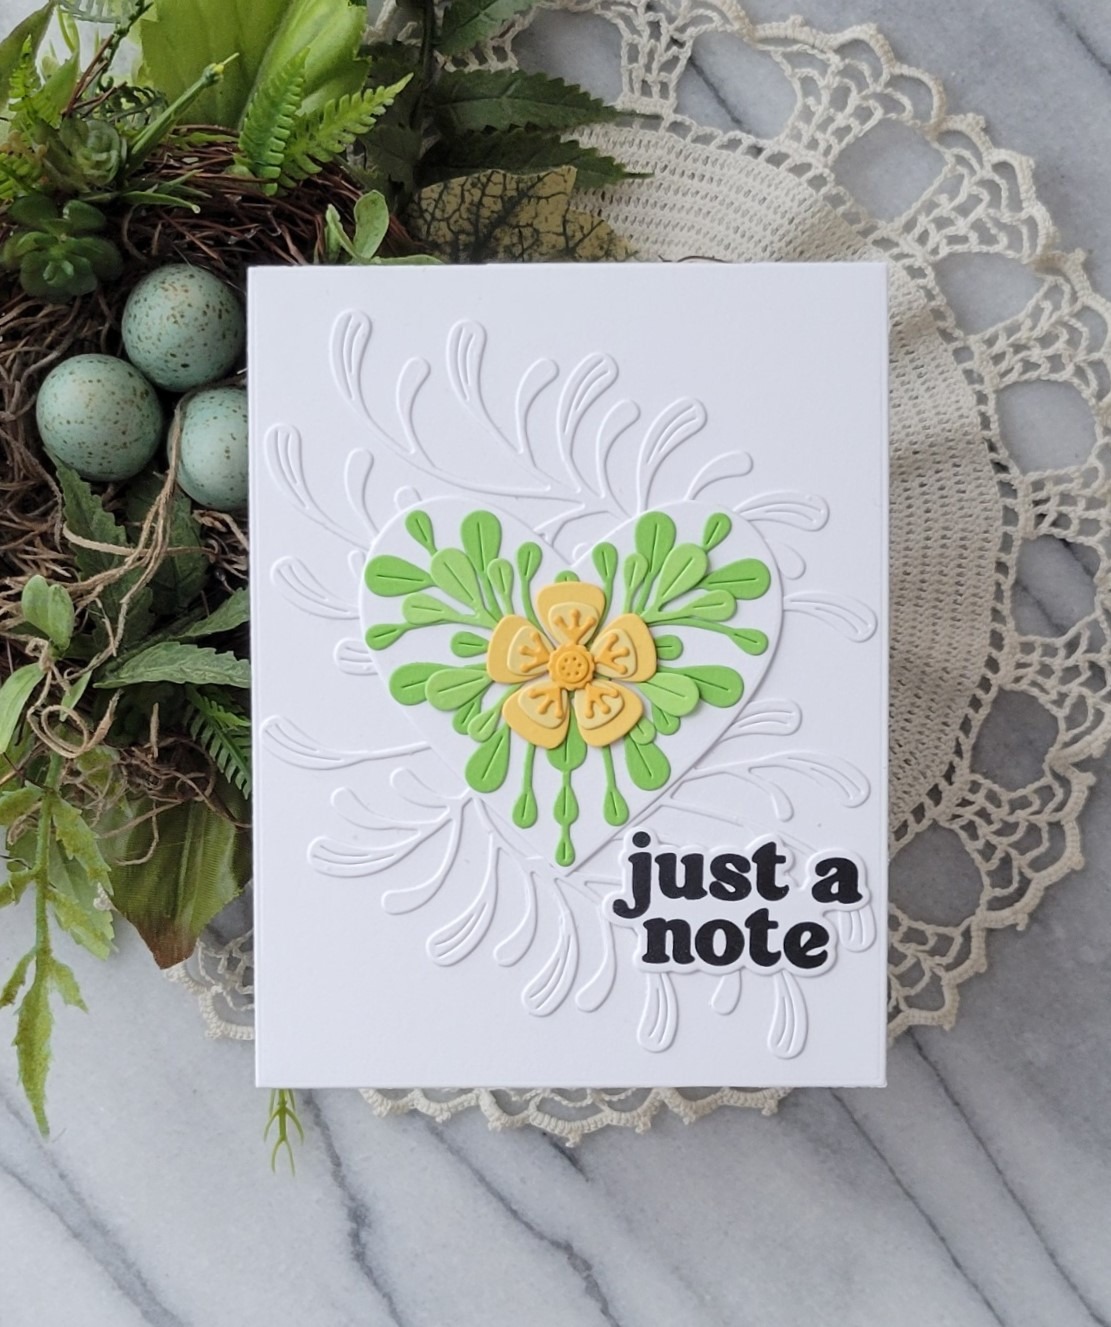
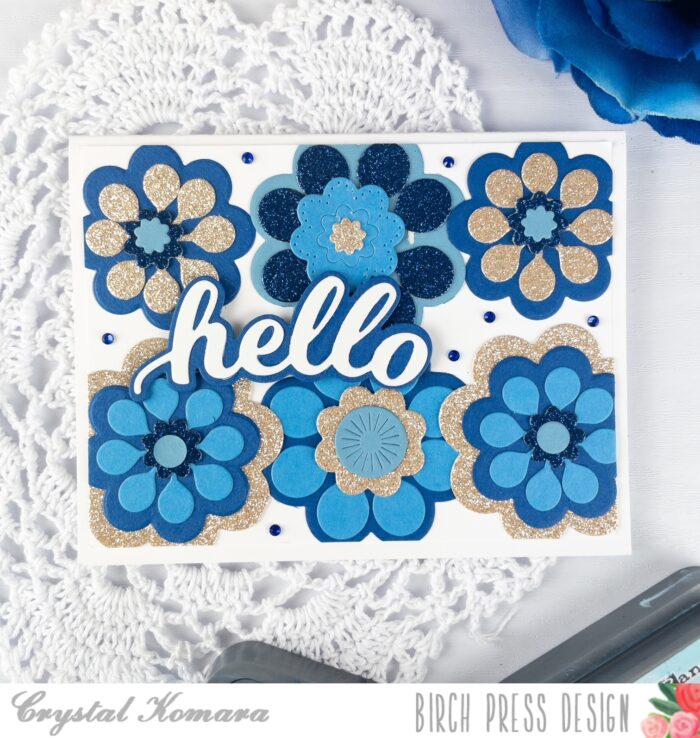
The base of my card is 110 lb. Neenah Solar White Smooth cardstock. This heavy weight cardstock is now my go-to for everything. I say now because I previously used 80 lb. Neenah Solar White Smooth, but have made the transition to a heavier weight cardstock and I think it makes for an even more sturdy card.
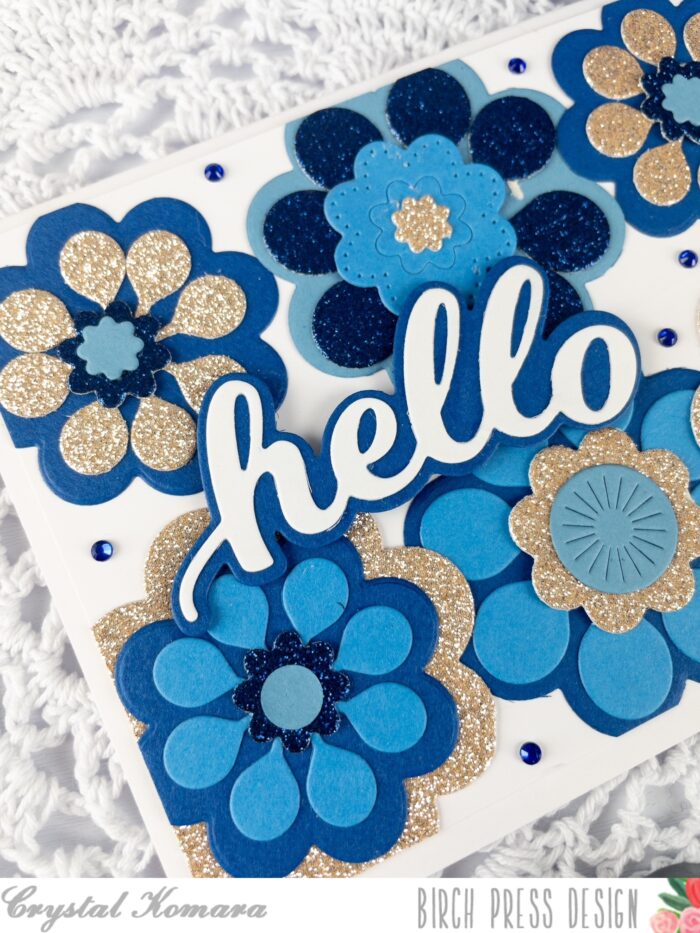
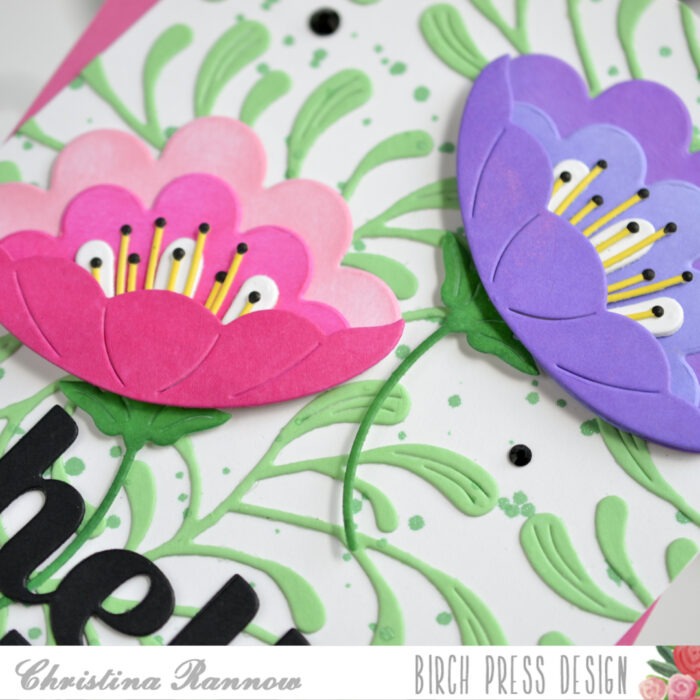
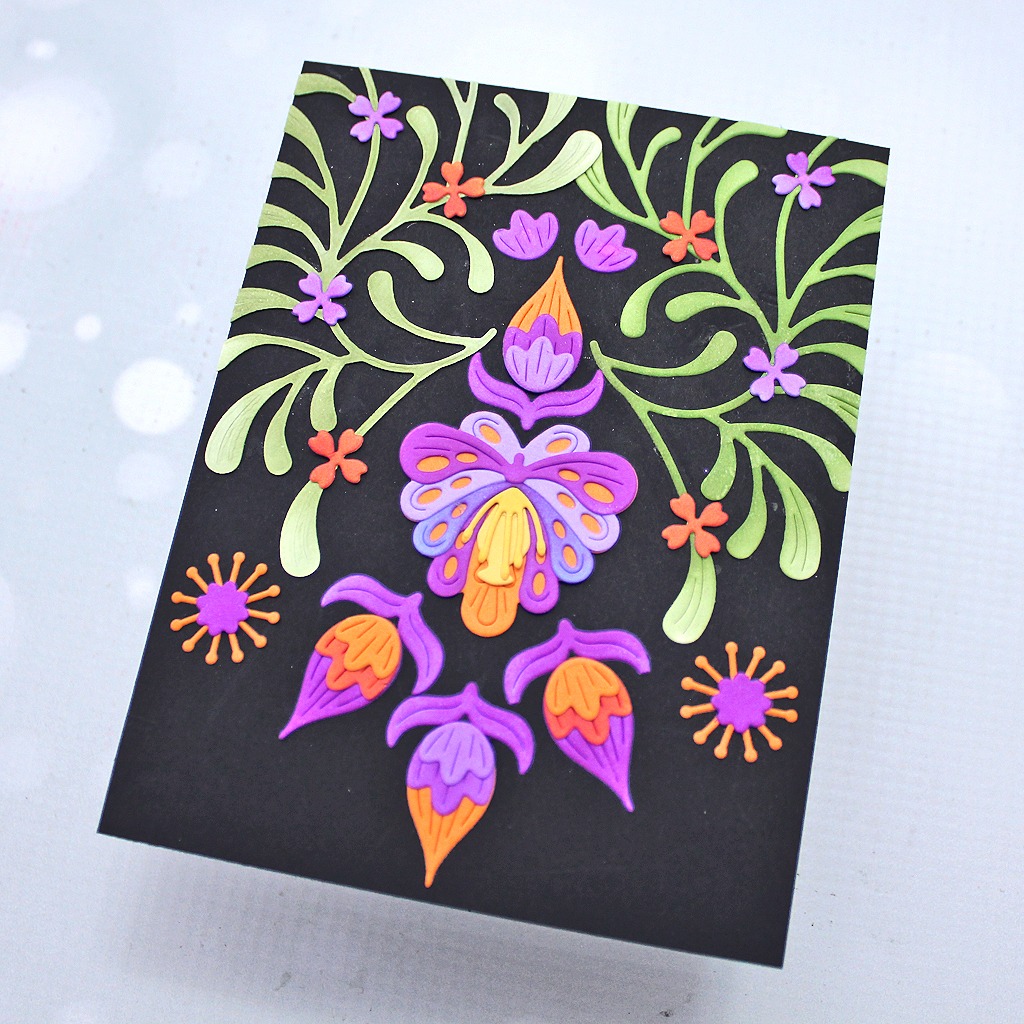
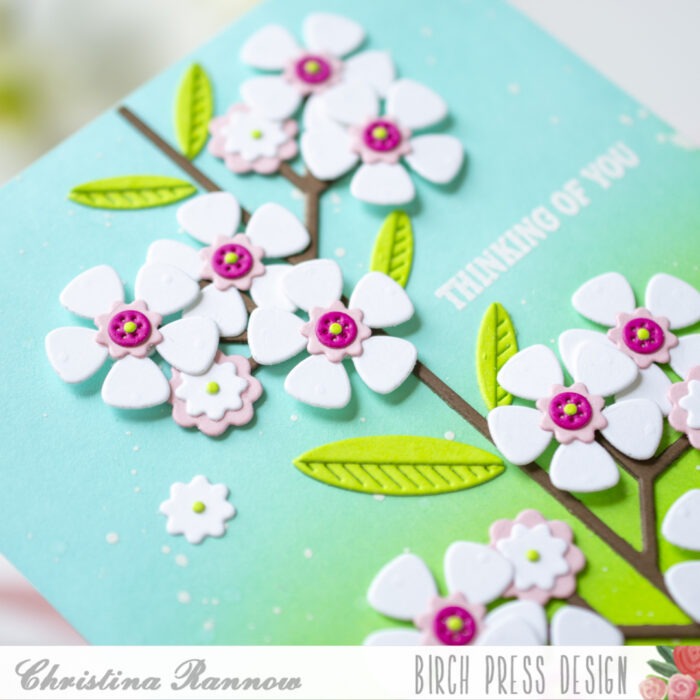
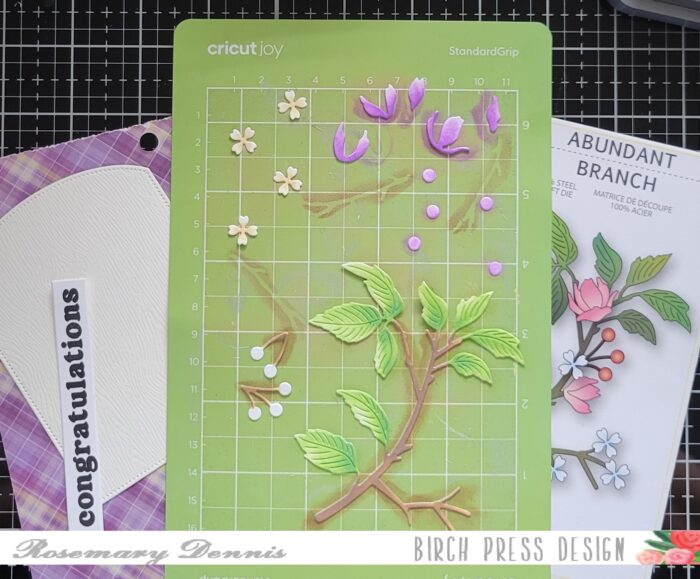
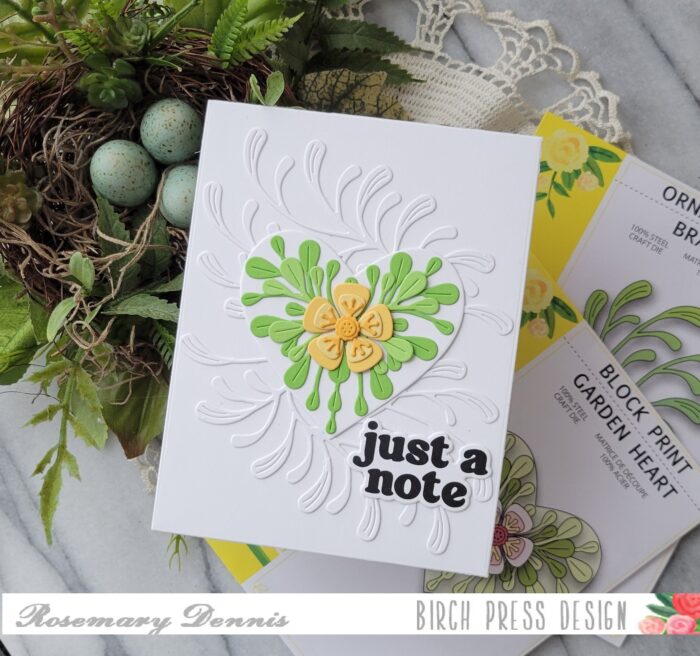
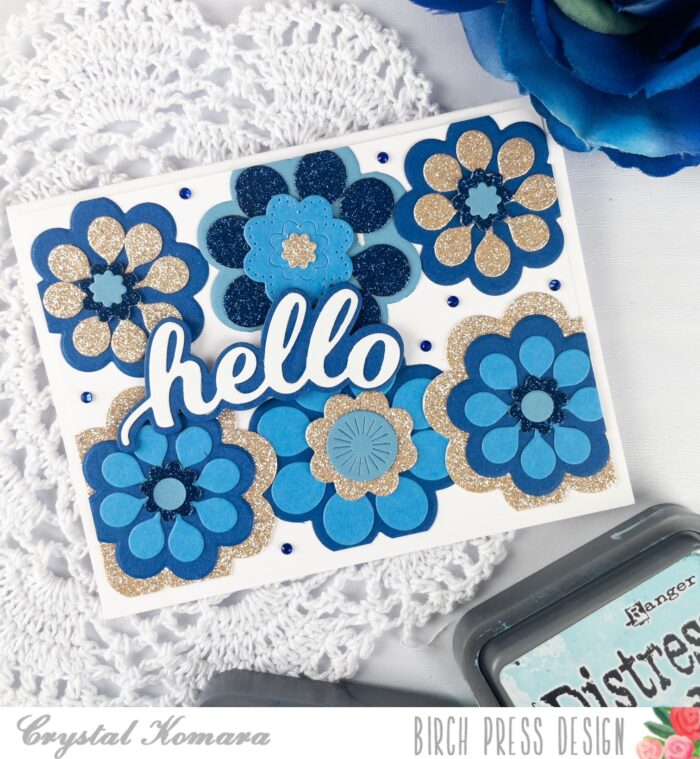
- I began by die cutting the Block Print Star Flowers out numerous times in three different colored blue cardstock, blue glitter cardstock and gold glitter cardstock. I didn’t count or measure anything, I just kept die cutting until I felt like I would have enough to mix and match. I used the Stormy Blue 6″ x 6″ paper pack and the Glitzy Glitter 6″ x 6″ paper pack.
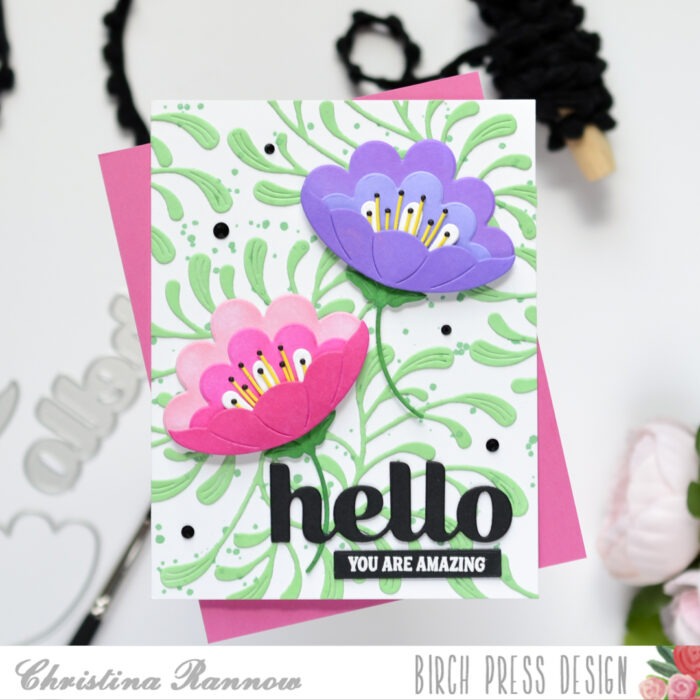
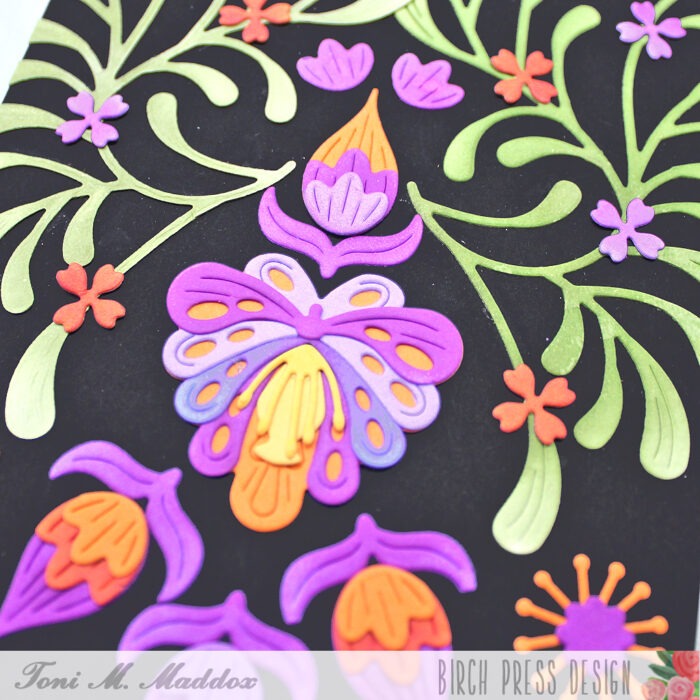
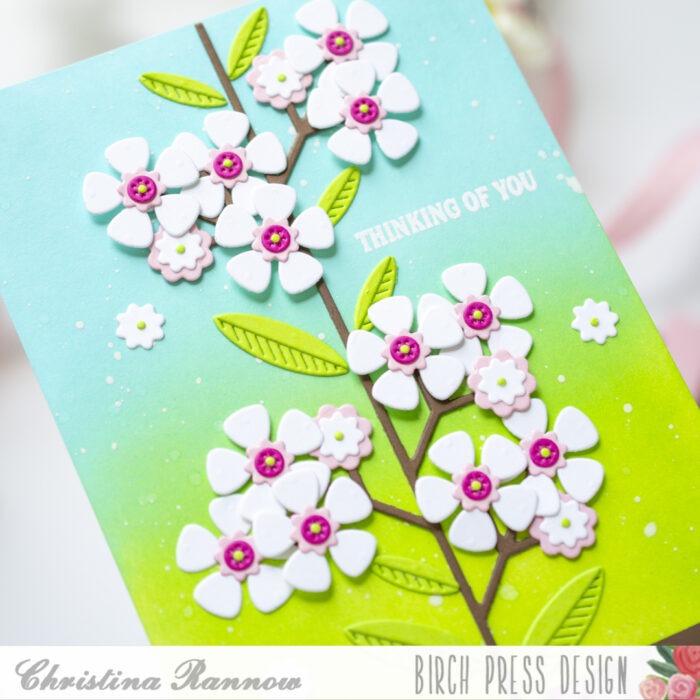
2. Using a fine tip liquid glue, I began adhering the flowers together layering different colors of cardstock on top of each flower.
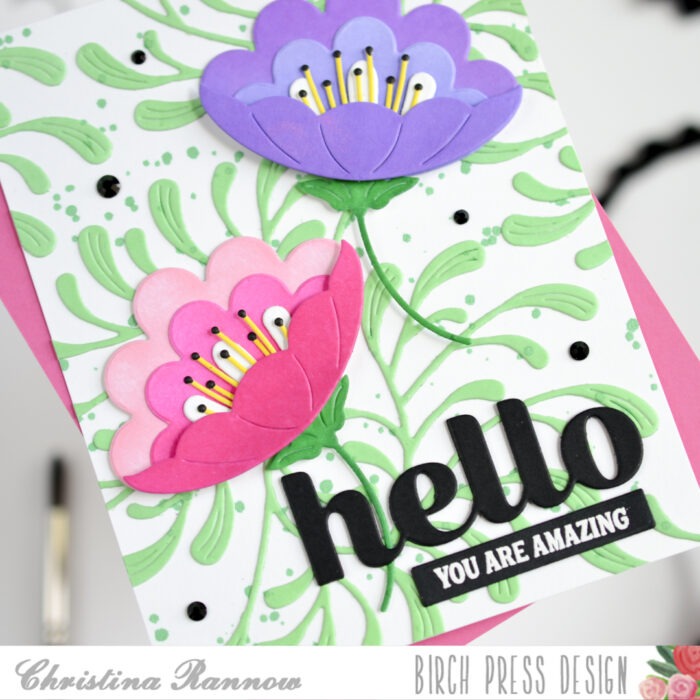
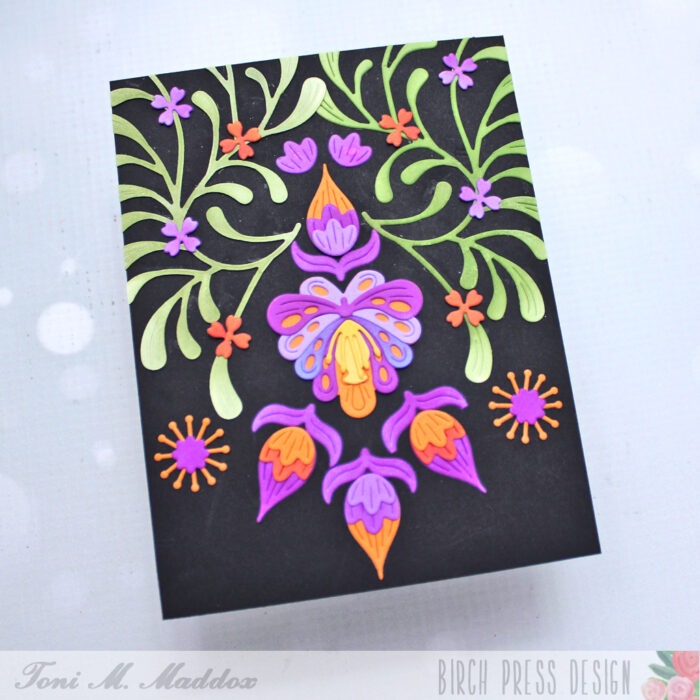
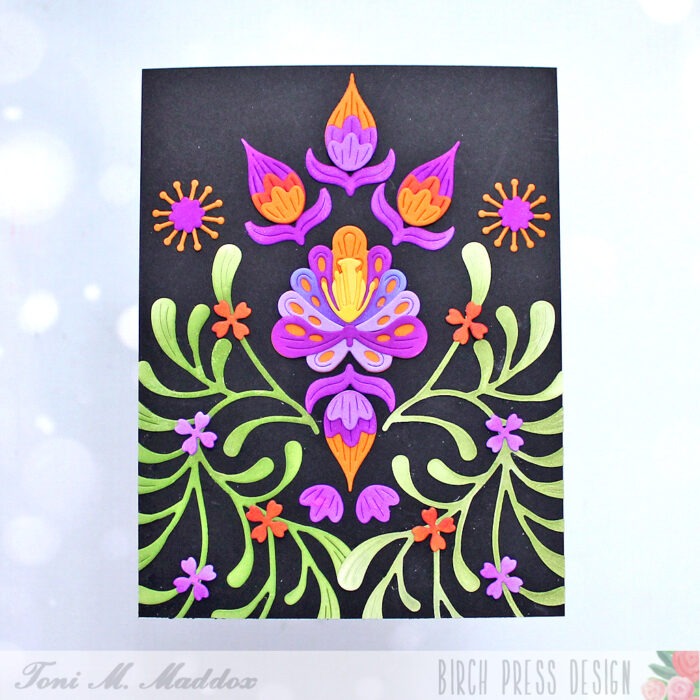
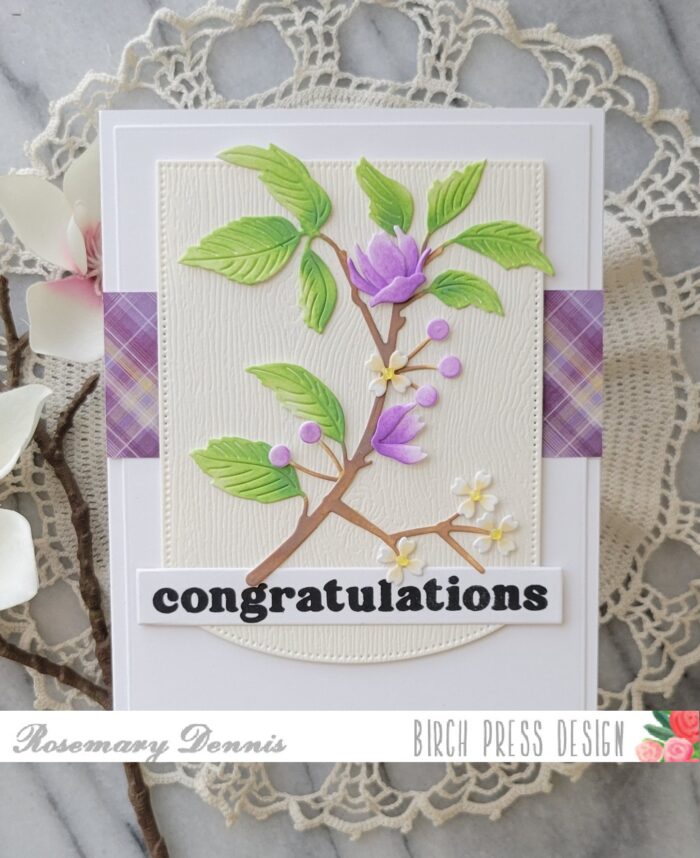
3. Once all the flowers were assembled I began placing them on the white cardstock base until I found a pattern that was pleasing to my eye.
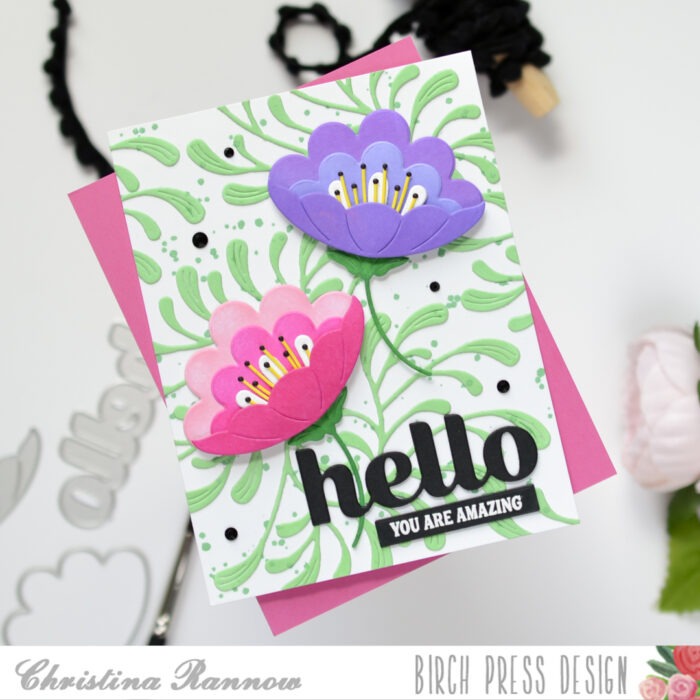
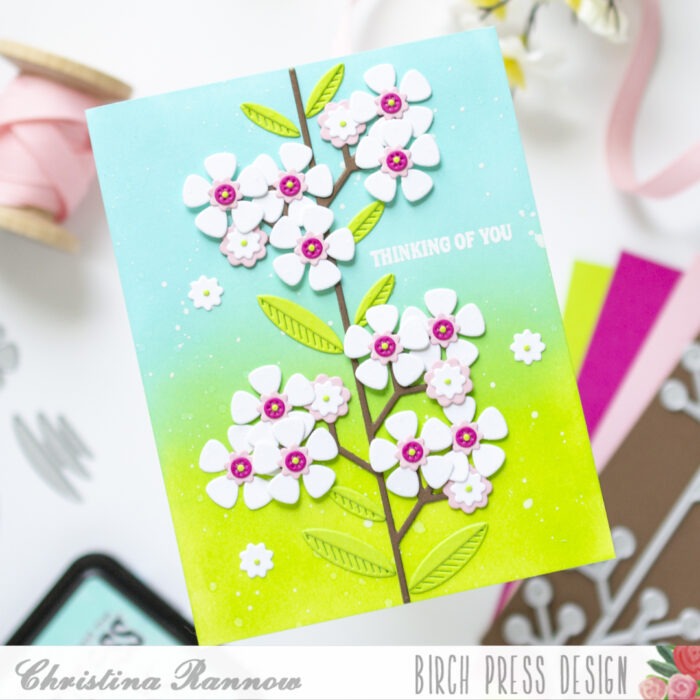
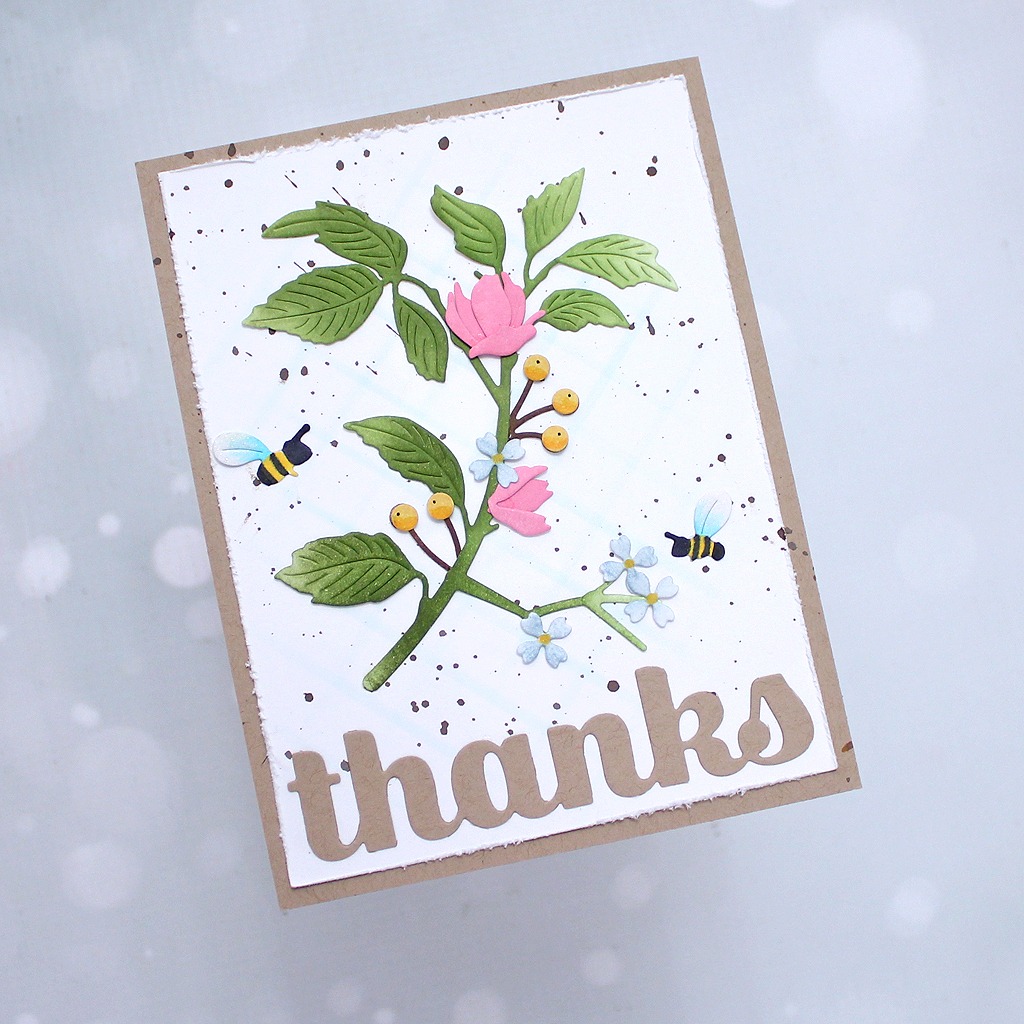
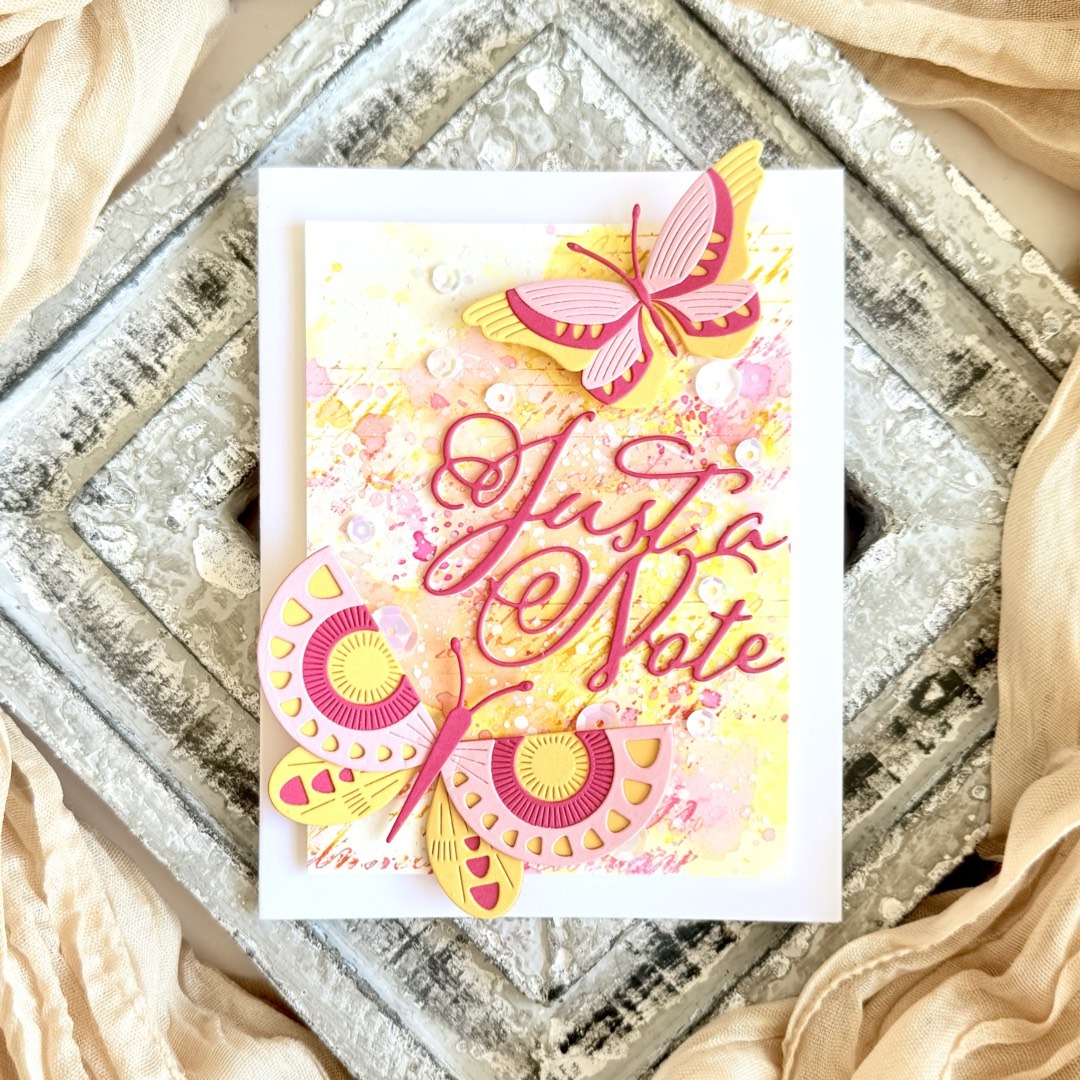
4. I glued down all the “base” flowers and then created the sentiment using the Hello Honey Script word die. I die cut the base layer out in blue cardstock and the thinner top layer from white cardstock. I adhered the two layers together with a fine tip liquid glue before adhering the sentiment to the card.
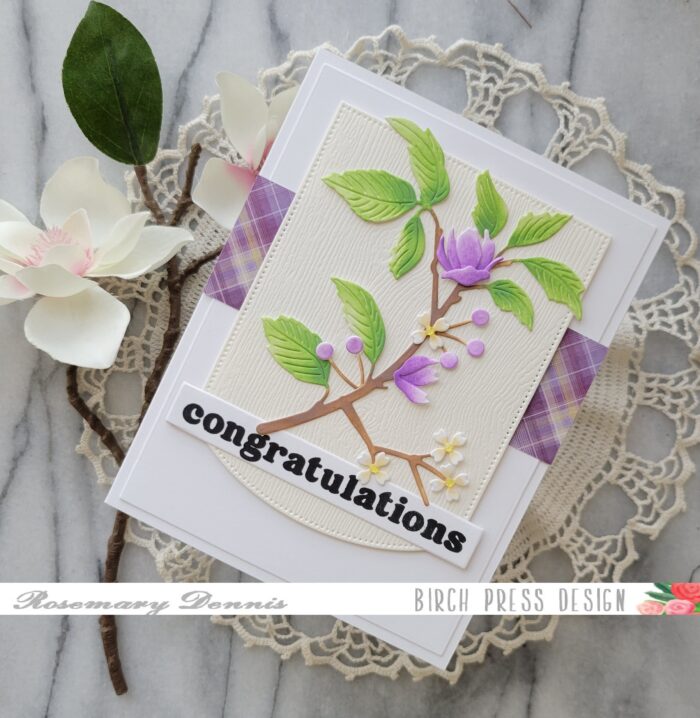
5. Lastly, I added some blue rhinestones randomly around the card for added sparkle.
I hope you have enjoyed this card using the new Block Print Star Flowers! Thanks for visiting and have a wonderfully crafty kind of day!