Category: Annette Allen

  • Peacock Birthday Cardby Annette Allen

    Peacock Birthday Card
    by Annette Allen

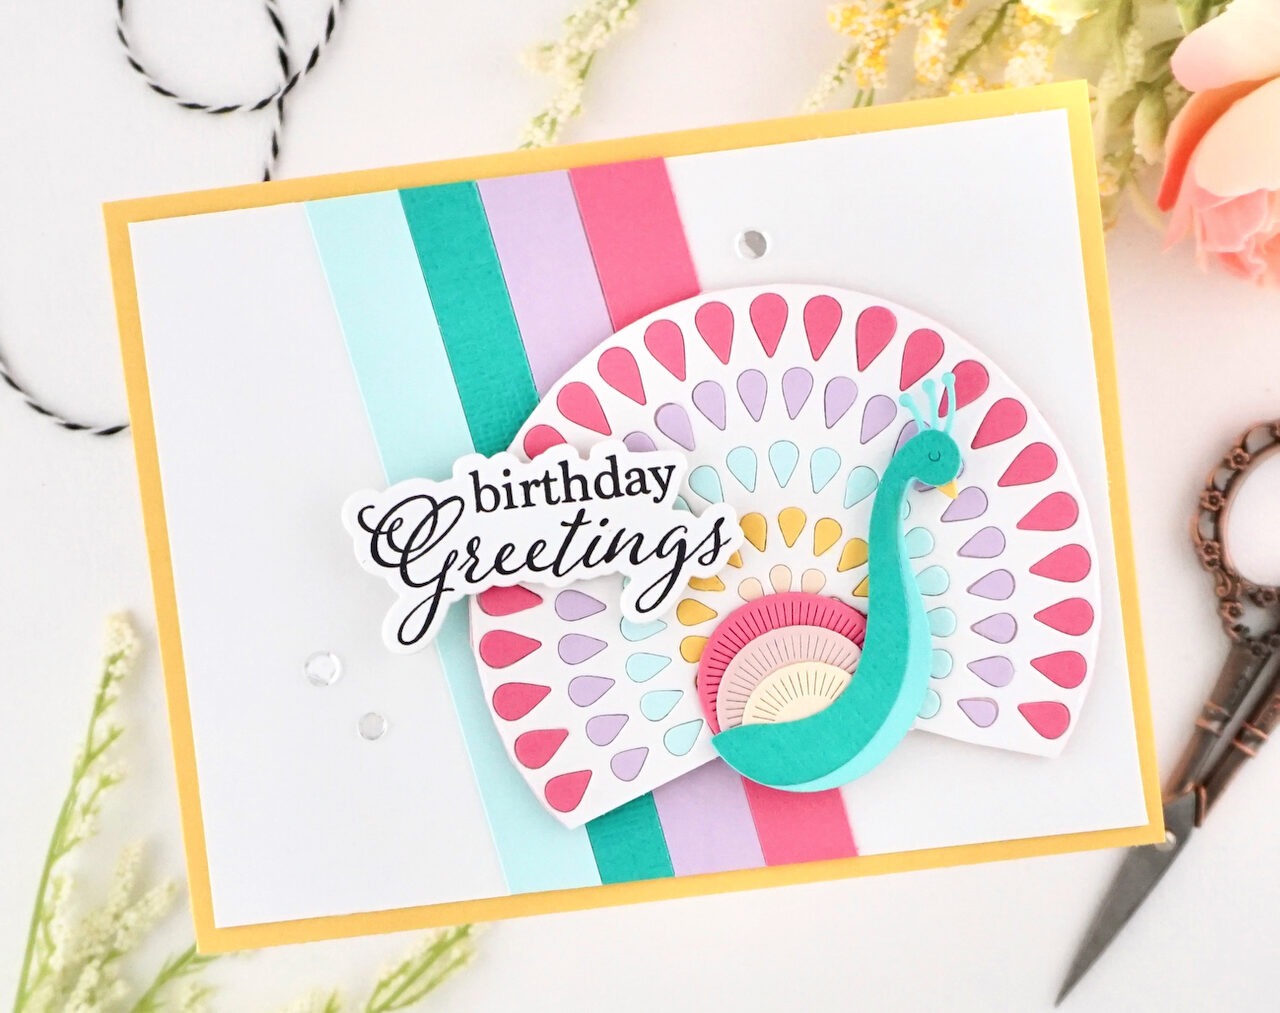
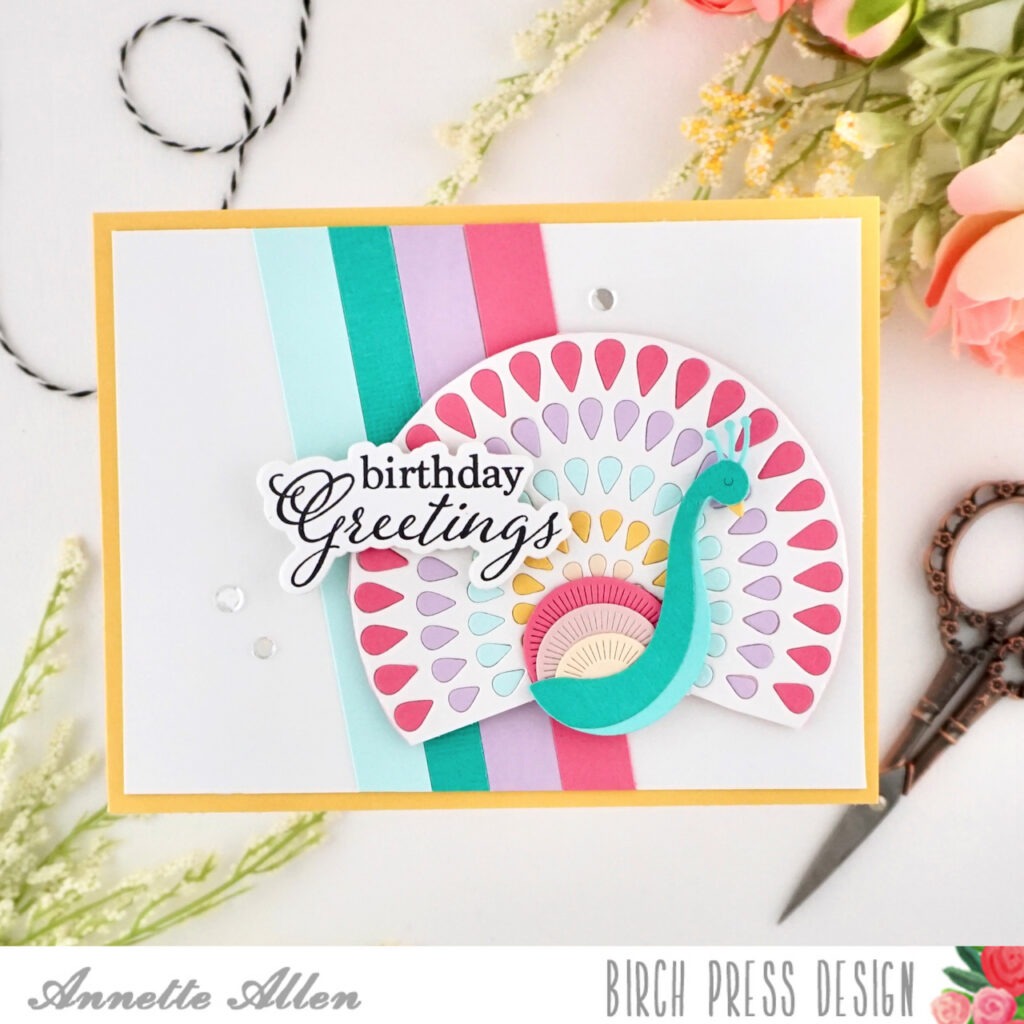
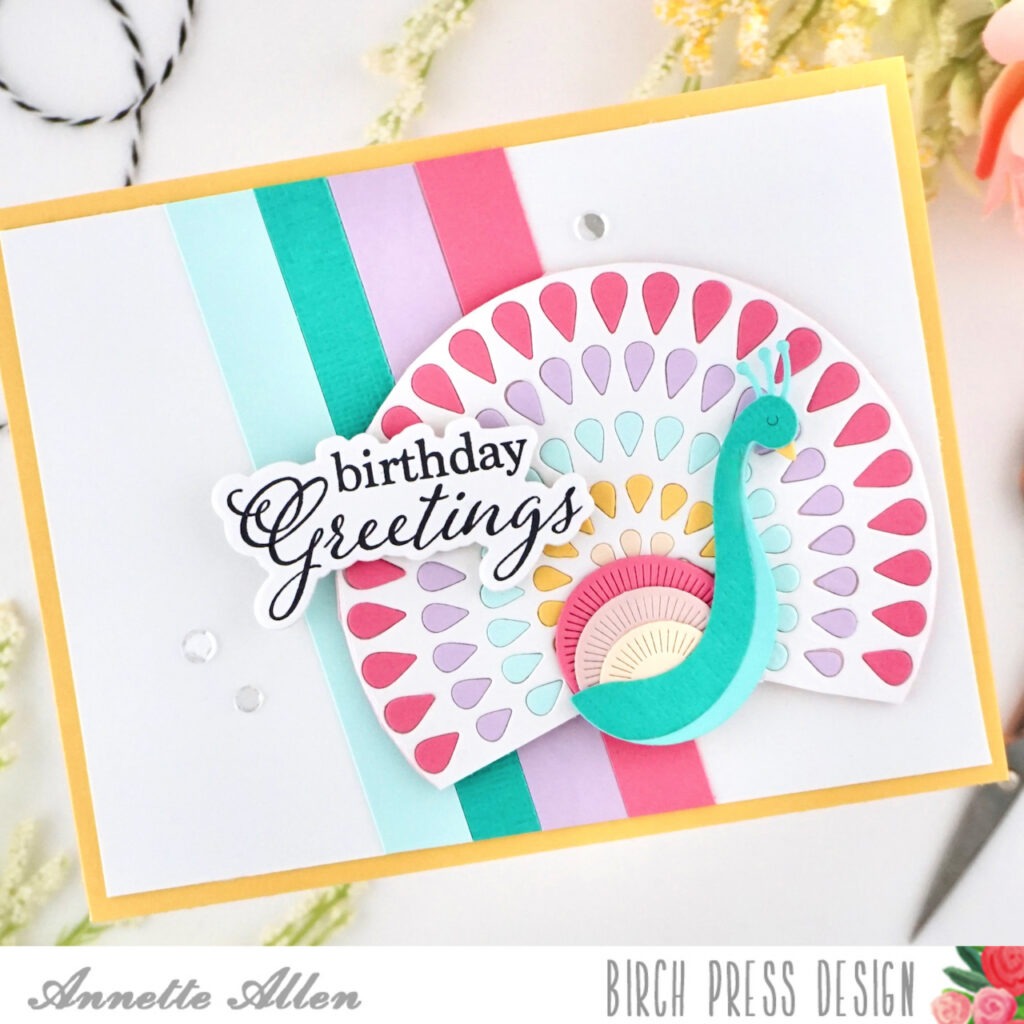
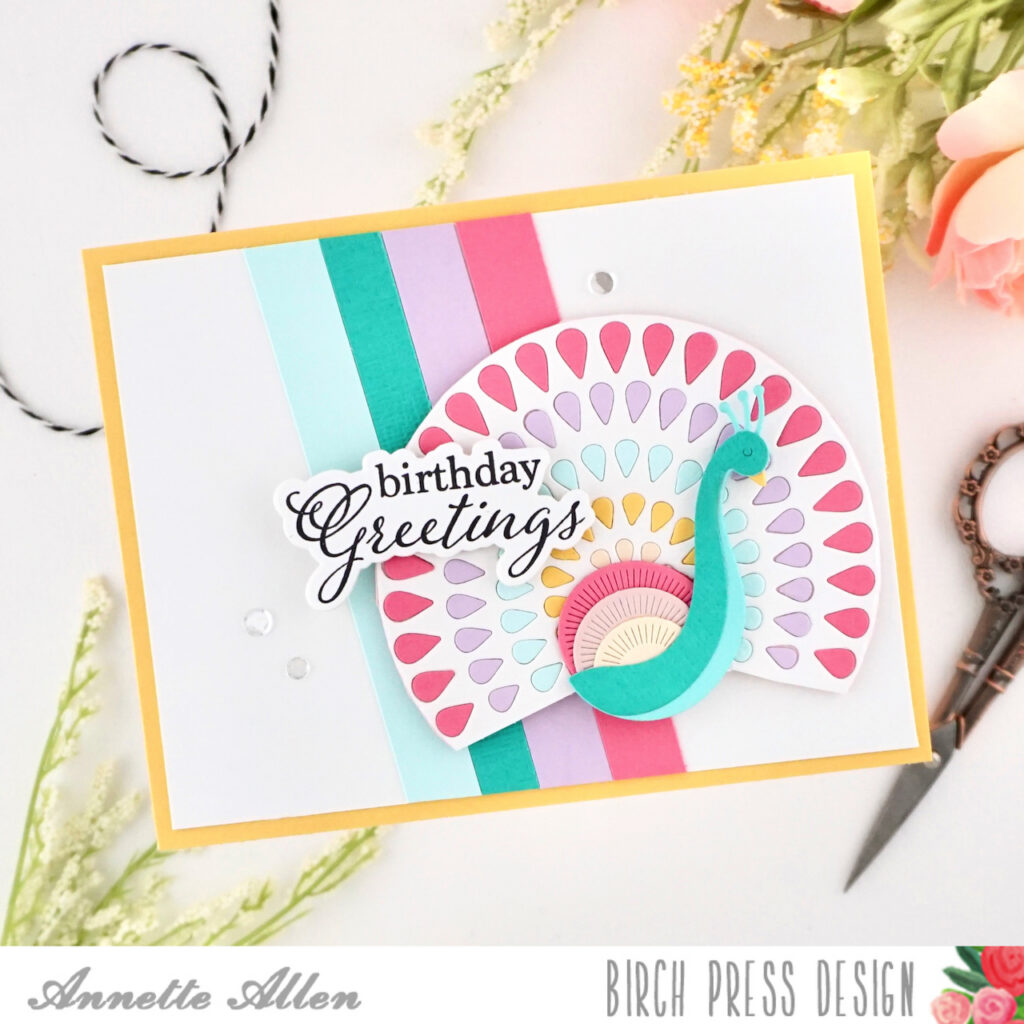
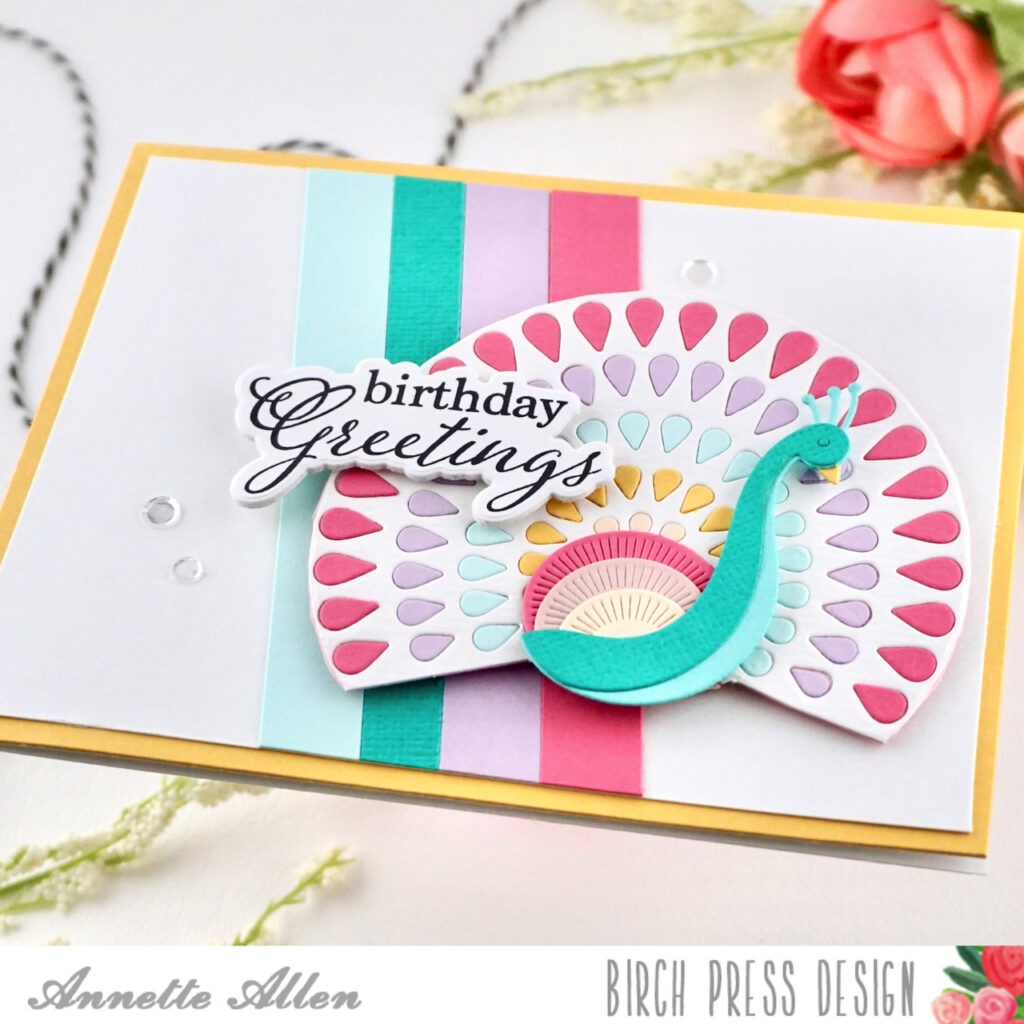
    Welcome BPD friends, Annette Allen (myclevercreations) here with you today and I am all about this Block Print Pretty Peacock. So let’s get started.

    Create card from white cardstock A2 size.

    Cut an A2 panel on yellow cardstock and adhere to your card base.

    Cut 4 strips of colored cardstock. Cut them different widths and adhere them at an angle on a white panel measuring 4×5. I did not really center the strips but aimed for the middle. I usually am not trying to perfectly place, I just add glue and adhere to the card. haha….

    Trim off access and adhere the panel to your card.

    Die cut the Block Print Pretty Peacock (57591) in 5 different colors. Choose colors that make you happy. I used some of the colors I used on the strips.

    You will need a solid piece for the back in order to adhere all the pretty colors. I die cut a circle and trimmed off the part not needed. This allowed me to adhere the colors and create my Pretty Peacock.

    Adhere the peacock to the right lower center of the card using foam tape. This gives your card a little dimension.

    Stamp the sentiment from the Elegant Birthday Sentiments (CL8166) on white cardstock using black ink and die cut using the coordinating dies.

    To finish I add three white/clear sequins.

    Thank you for stopping by….

  • A Floral Birthday by Annette Allen

    A Floral Birthday
    by Annette Allen

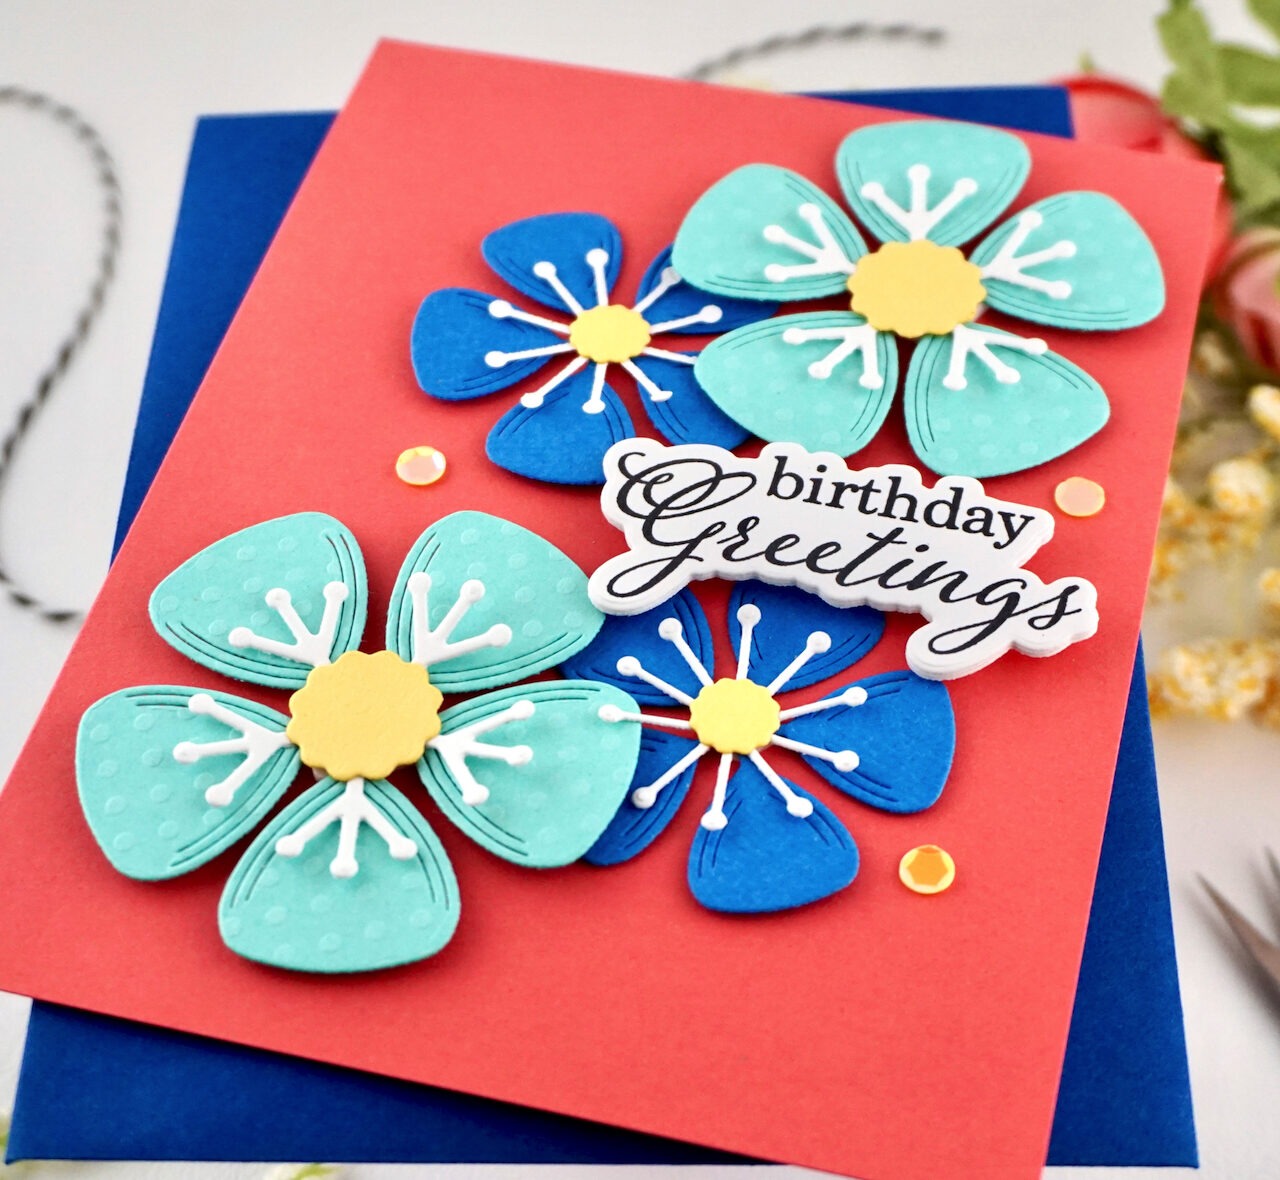
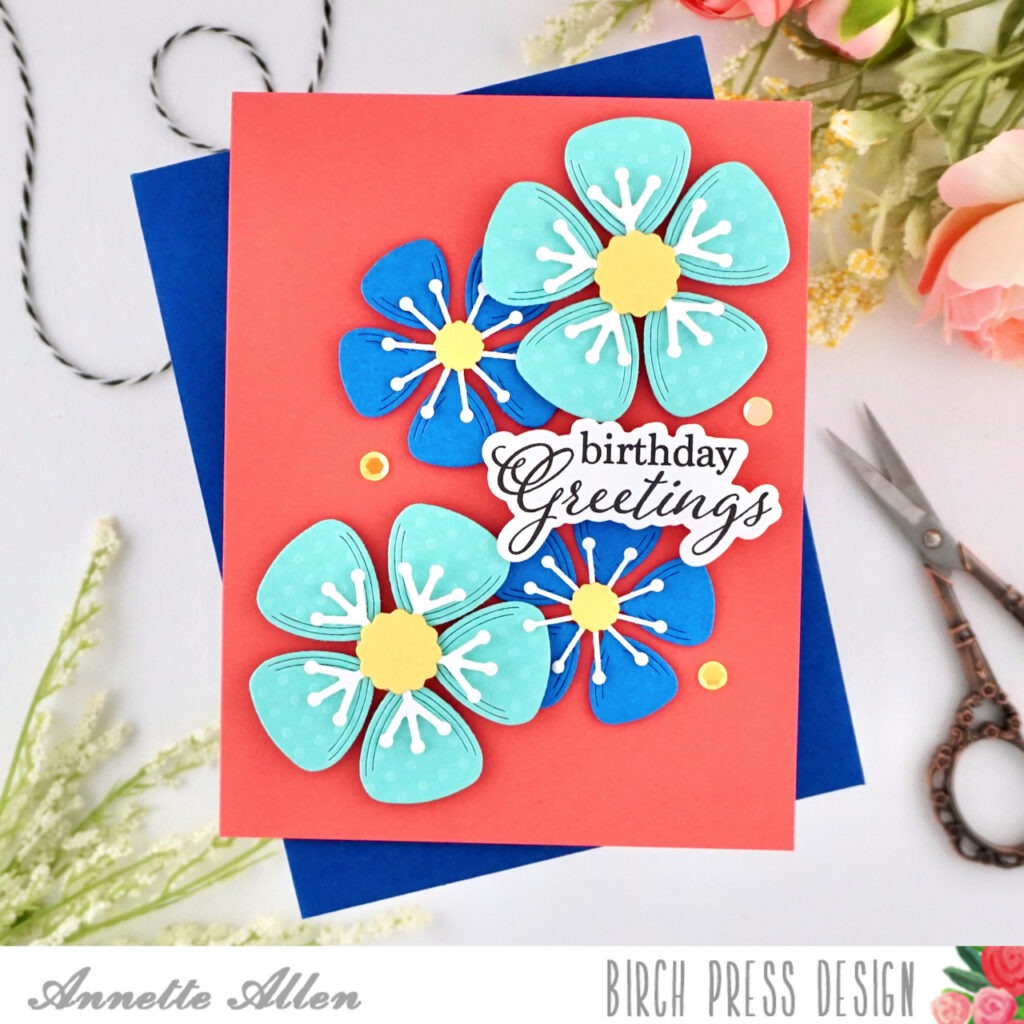
    Welcome Birch Press Design friends, Annette Allen (myclevercreations) here with you today. I hope you all are having a fantastic June so far. When I think of June, I think of flowers. We all love a good floral card… right? 

    Today I am creating with the Birch Press Design: Block Print Lovely Flower and Elegant Birthday Sentiment and Dies. 

    Create card from white cardstock A2 size

    Cut an A2 panel of pink/reddish cardstock and adhere it to your card base. 

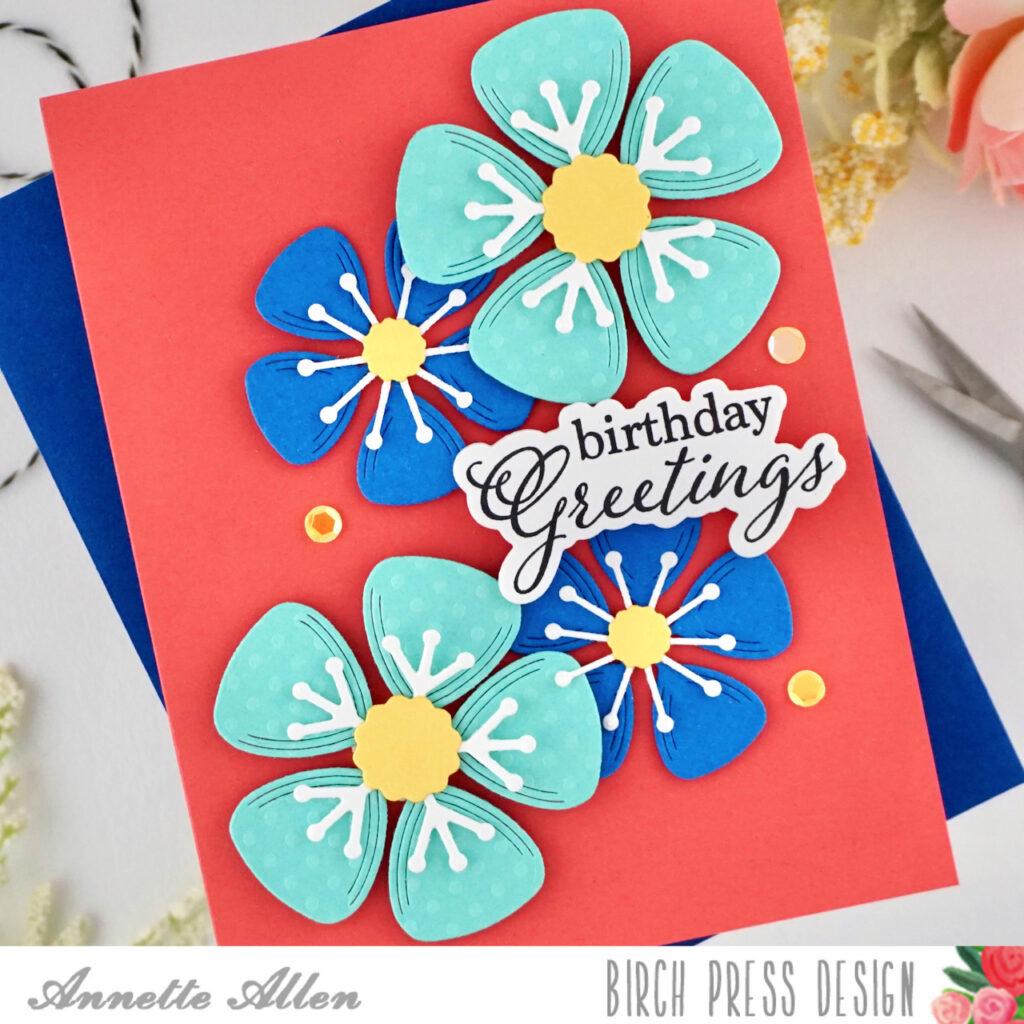
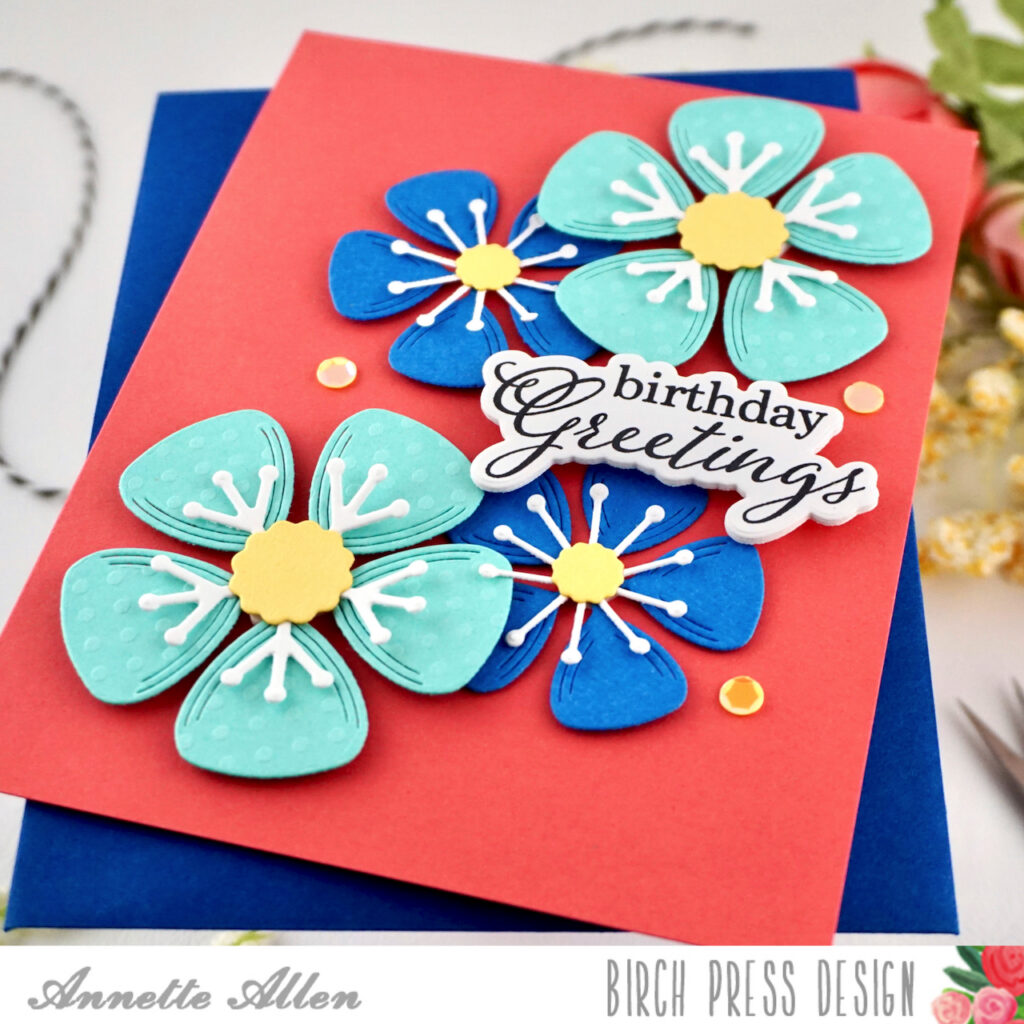
    Die cut the Block Print Lovely Flower on colored cardstock. Use colors that will pop on the background that you choose. Die cut 4 of the flowers (2 of each) and adhere the pieces together using liquid glue. 

    Add foam tape to the back of the center of the flower and add the large flower to the right upper and left lower part of the card. 

    Add a thinner piece of foam tape to the smaller flower and tuck them slightly behind the large flower. 

    Stamp the sediment from the Elegant Birthday Sentiment stamp set on white cardstock using black ink and die cut using the coordinating die. 

    Finish with about few sequins here and there. I used yellow. 

    A floral filled birthday card….. so simple, yet so happy.

    Thank you for stopping by.

    Have a crafty awesome day!

  • Thinking of You by Annette Allen

    Thinking of You
    by Annette Allen

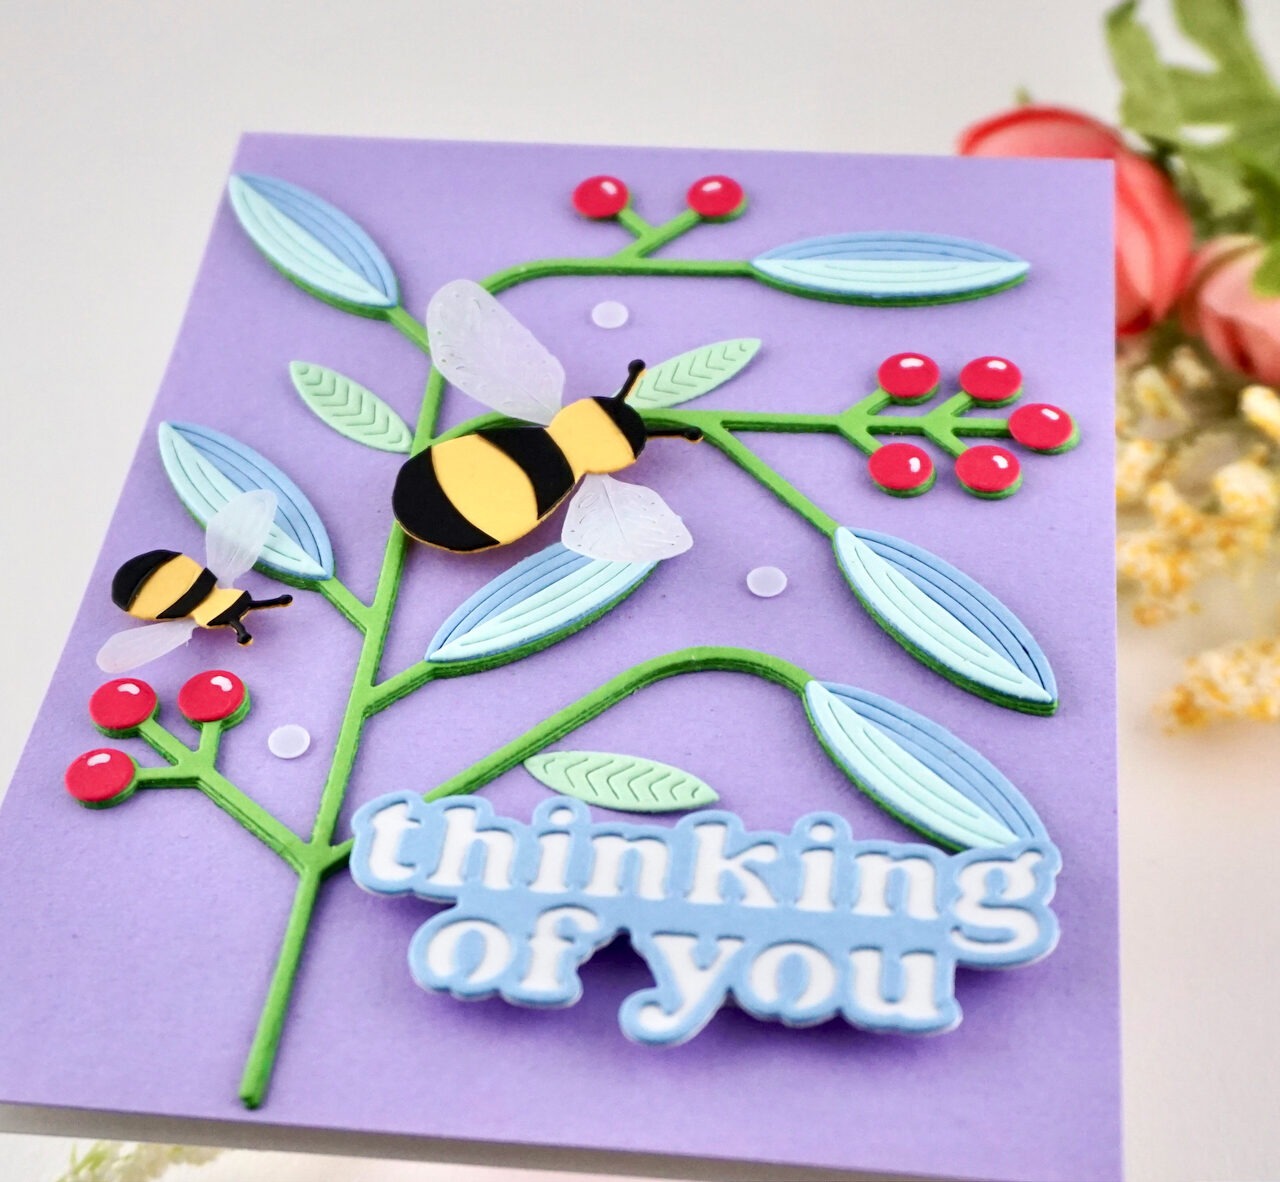
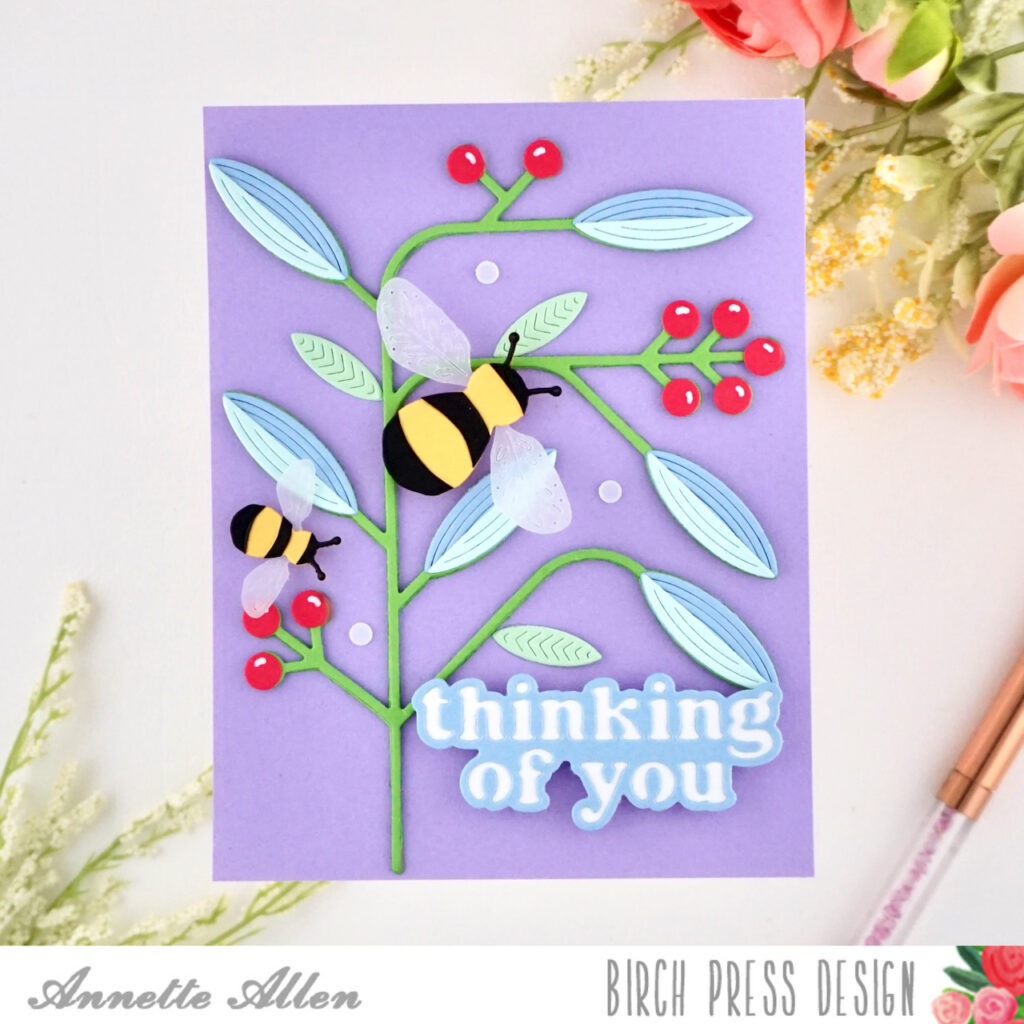
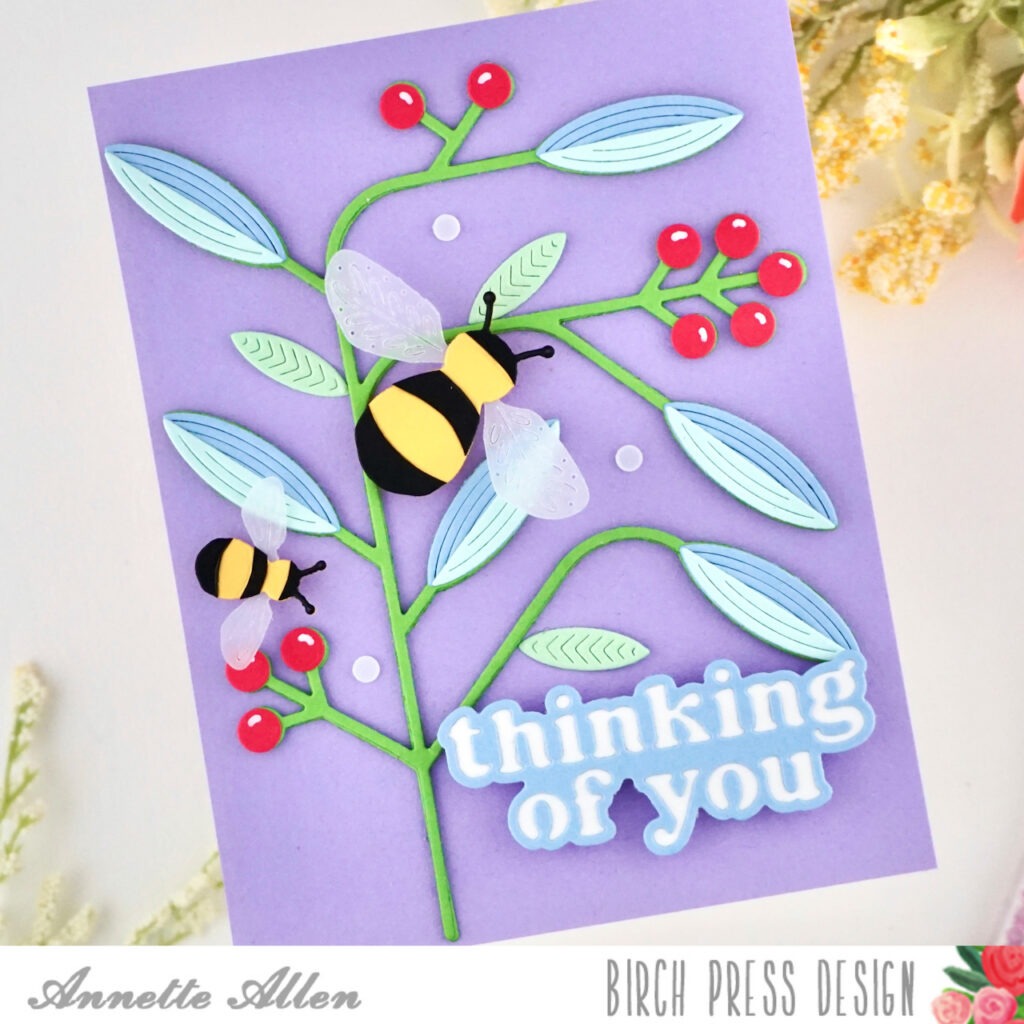
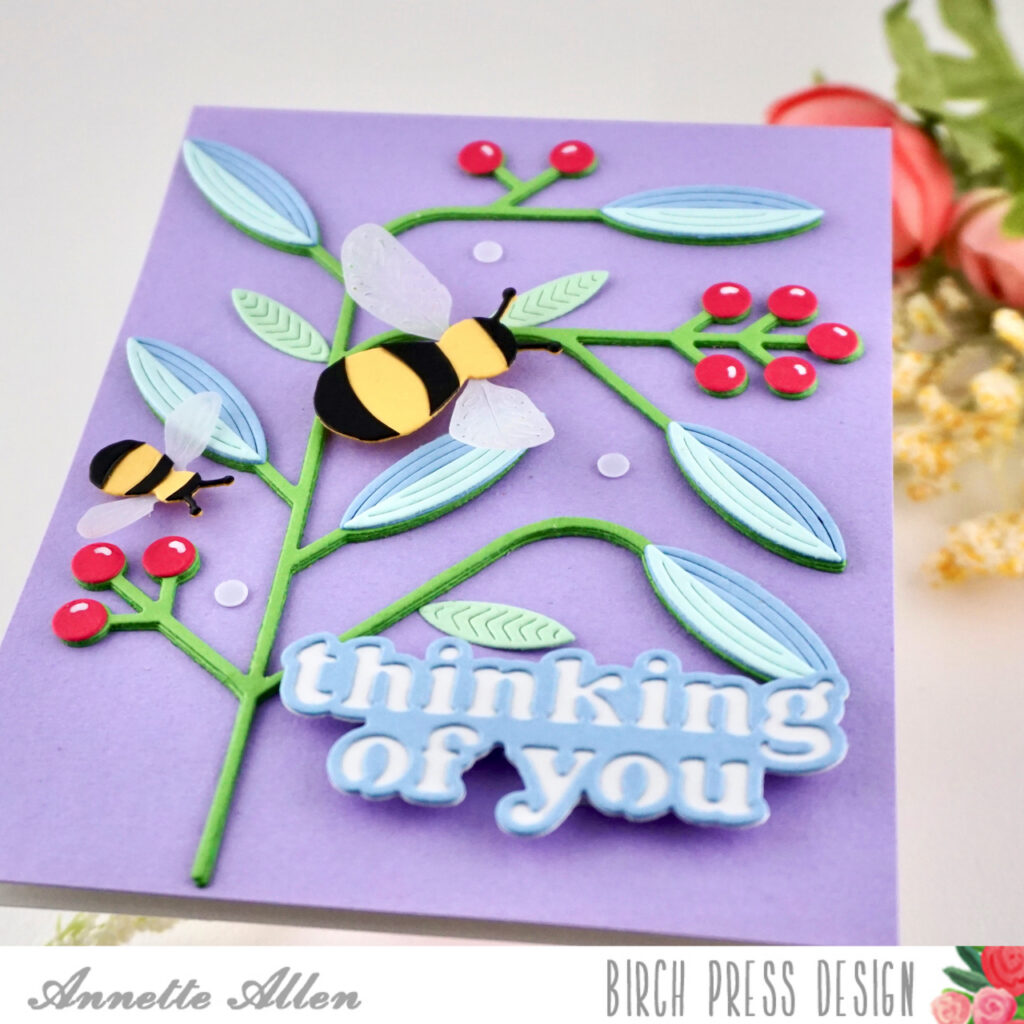
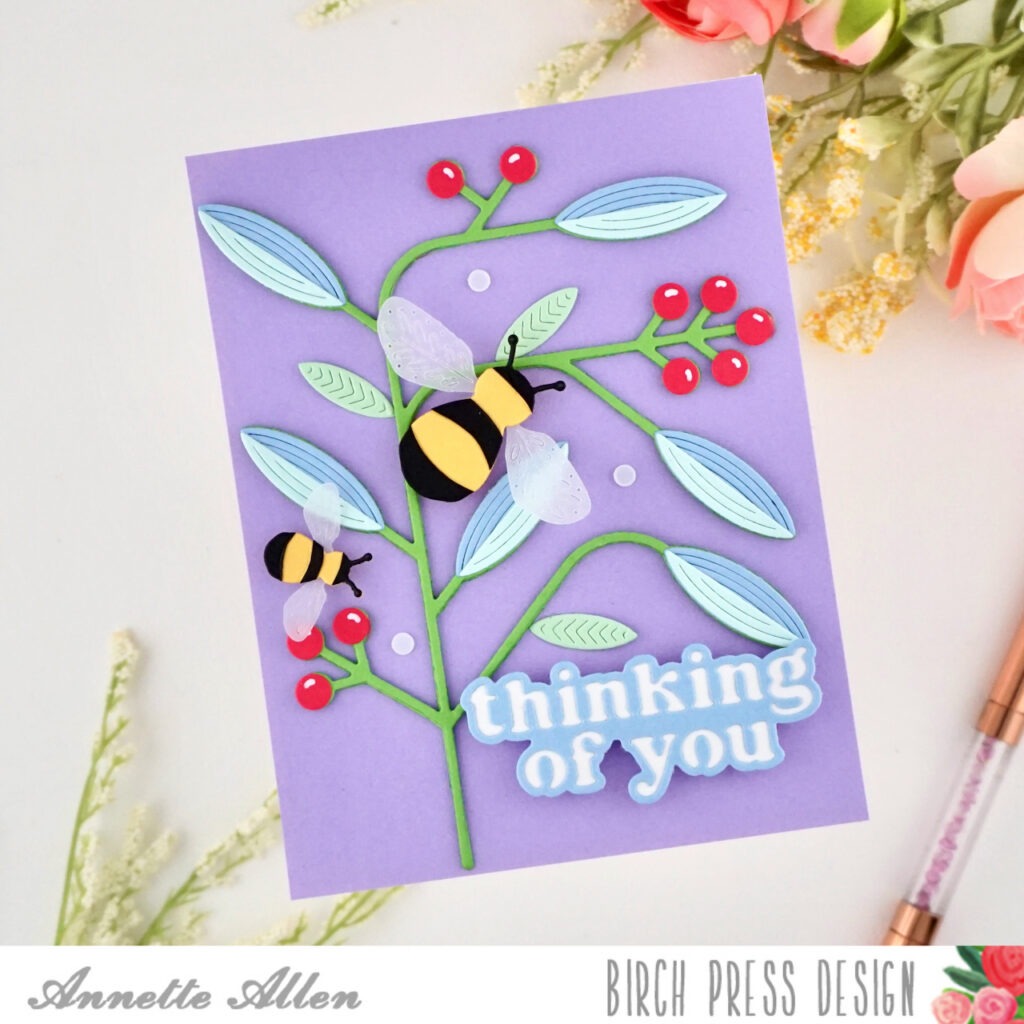
    Welcome Birch Press Design friends… Annette Allen (myclevercreations) here with you again and today I am sharing a Thinking of you card. We always need these kind of cards in our stash.

    Create card from white cardstock A2 size.

    Cut an A2 panel on purple/lavender cardstock and adhere to your card base.

    Die cut the Block Print Mod Branches stem three times on green cardstock and adhere them together using liquid glue. Now adhere the stem to the card. Center the stem the best you can.

    Die cut the remaining pieces on colored cardstock and adhere to the branch using liquid glue. Pick colors that you love.

    I added a little white gel pen to the berries.

    Now for those cute bees. Die cut the Block Print Buzzing Bumblebee on black, yellow cardstock and the wings on vellum. adhere the pieces using liquid glue. Add some foam tape to the back and add them to your card.

    Die cut the Thinking of You Vintage Sentiment on white for the backer and use one of the same colors you used on the leaves for the front. Now adhere them together and add some foam tape to the back and add it to your card.

    Finish with a few white small sequins.

    That is it… the dies do all the hard work. We just have to pick the colors and that is easy if you ask me.

    Thank you for stopping by.

    Happy Crafting!
  • Make a Wish by Annette Allen

    Make a Wish
    by Annette Allen

    Welcome Birch Press Design friends, Annette Allen (myclevercreations) here with you today and I am sharing my first post as one of the newest design team members. YAY! So let’s get started…

    I love all things by the sea so today I am creating with the Block Print Glider Fish and Elegant Birthday Sentiments clear stamp and coordinating dies.

    I first started with die cutting the Block Print Glider Fish three times on colored cardstock. I did not plan the colors I just picked out some scraps and started die cutting. Adhere all the pieces together using liquid glue.

    Don’t worry about how the colors go because as you can see, you can mix and match most colors and they just look fun. I might add that the Block Print Glider Fish is very easy to piece together.

    Create a card, A2 size on white cardstock.

    Cut a A2 panel on white cardstock and ink blend three colors. I went more with the traditional colors of the sea. Pick colors that you love to ink blend together. I used Oxide inks, so I am going to sprinkle a little water. If you use this technique, make sure to let your panel dry completely before adhering it to your card base.

    Once dry, adhere to card base.

    Add some foam tape to the back of our cute Block Print Glider Fish and add them to the right side of the card. Try and leave an even amount of space between them.

    Adhere some small white sequins in front of each fish. Gives the appearance of bubbles.

    Stamp the sentiment from the Elegant Birthday Sentiments clear stamp on one of the colors of cardstock you used on the fish using black ink and die cut using the coordinating dies. Add foam tape to the back and adhere to the left side of the card.

    Thank you for stopping by… Happy crafting!