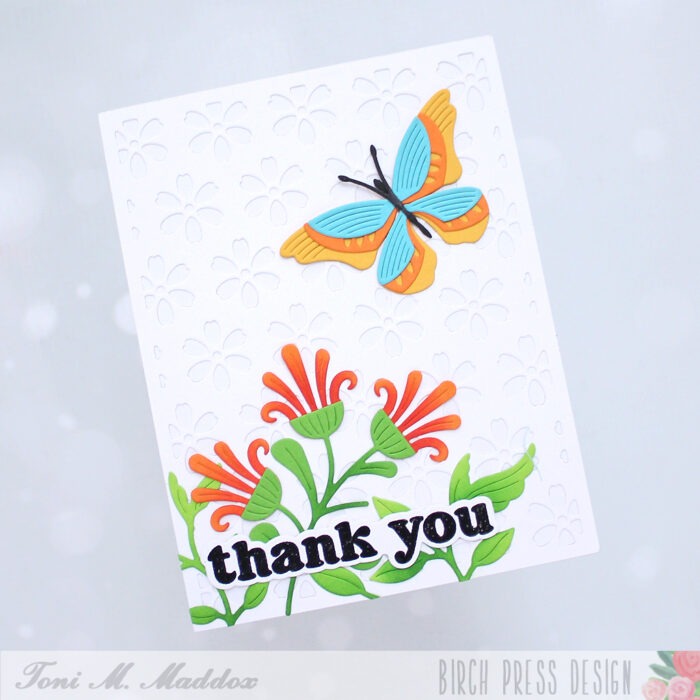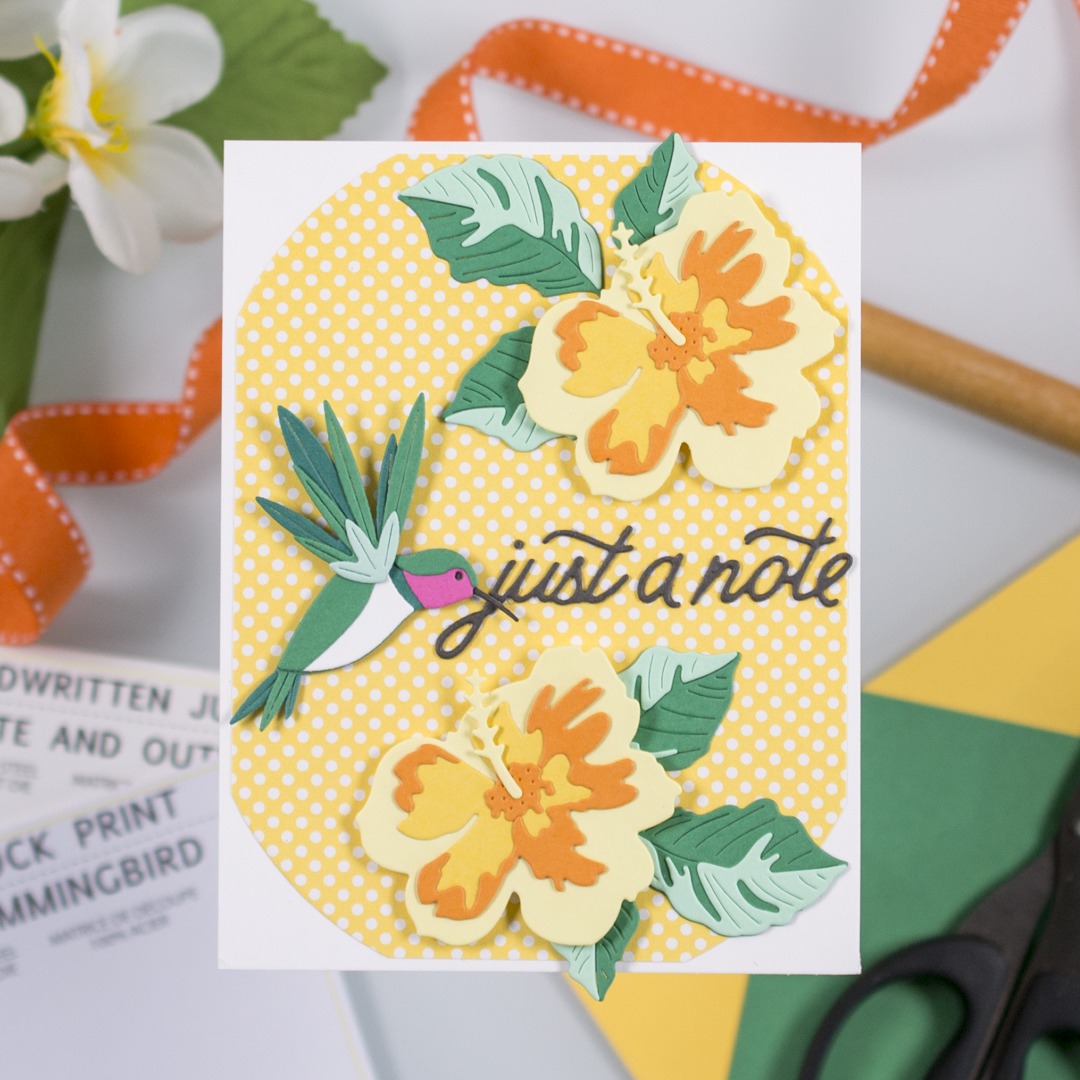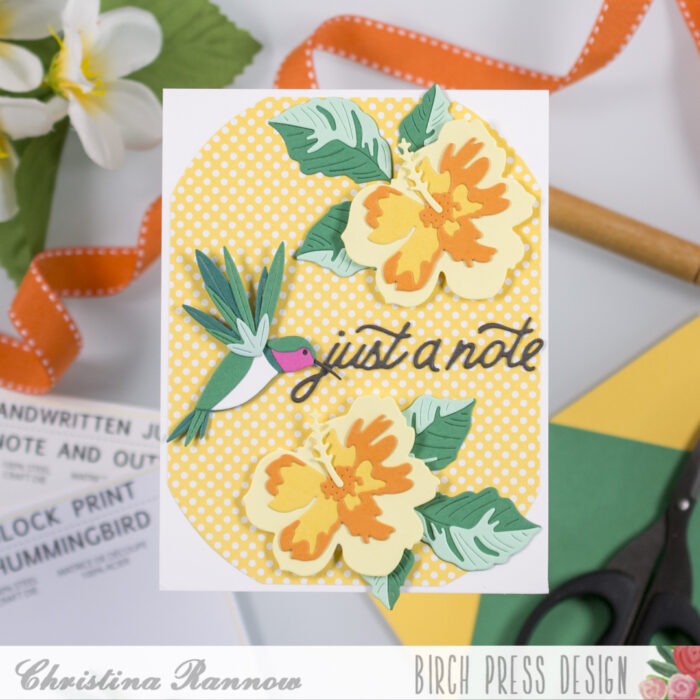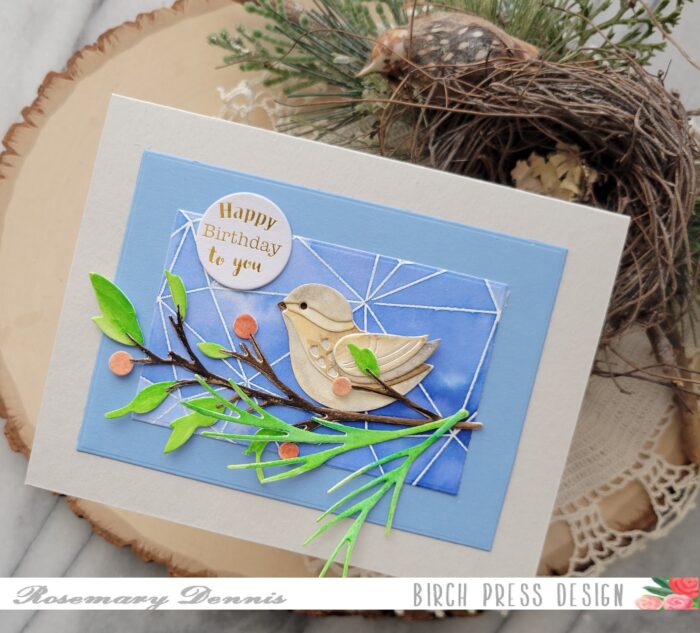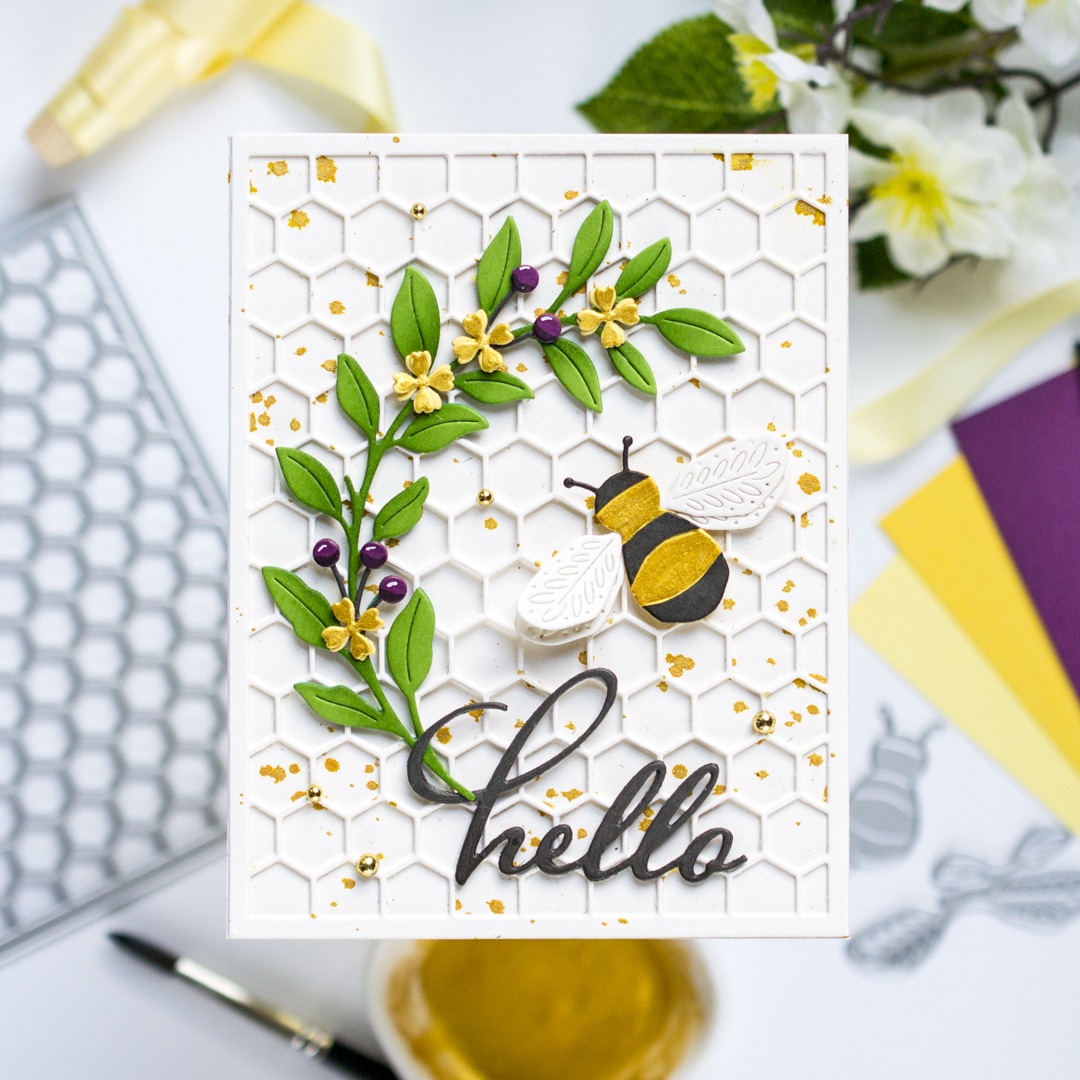
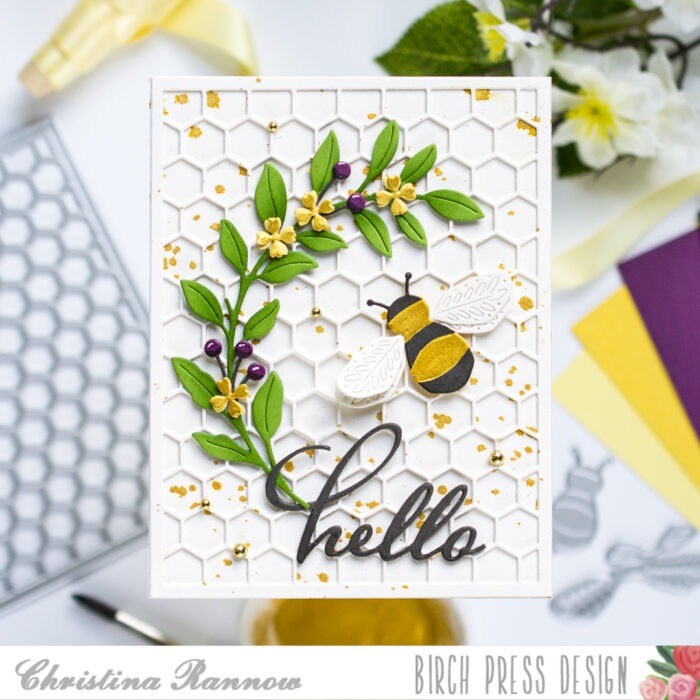
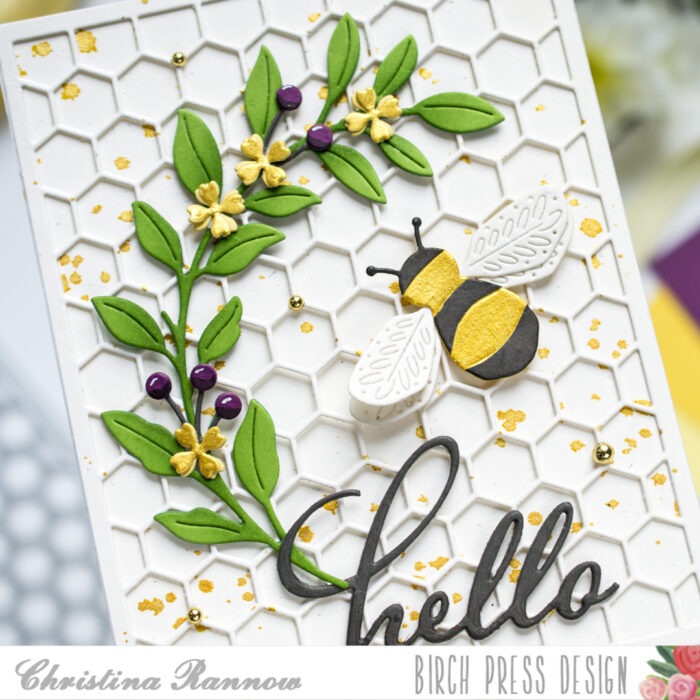
Hello, friends! Christina here to share a card using some new additions to the beautiful Block Print collection. I paired the new Block Print Buzzing Bumblebee with the new Honeycomb Plate and added some shimmery gold accents for a simple but elegant card design. Follow along below to get all the details!
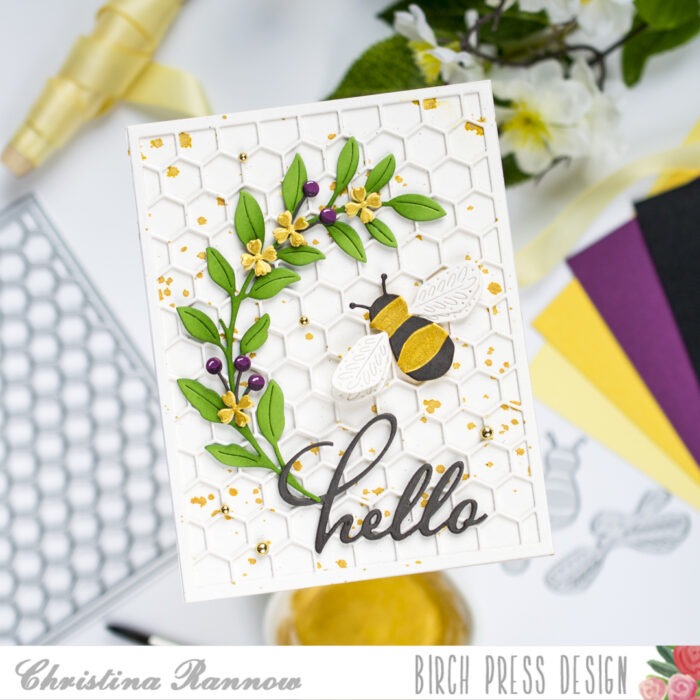
My first step was to create the background panel. I die cut the Honeycomb Plate from ivory cardstock and then attached it to an A2 ivory cardstock panel that I splattered with a mixture of gold Perfect Pearls and a very small amount of water- just enough to get the powder moving. With the background completed, I moved on to die cutting the other elements for my card design.
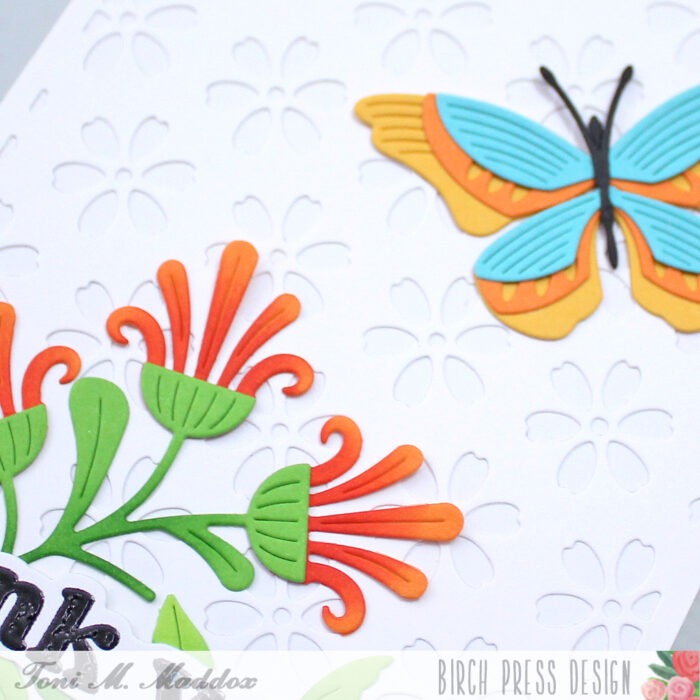
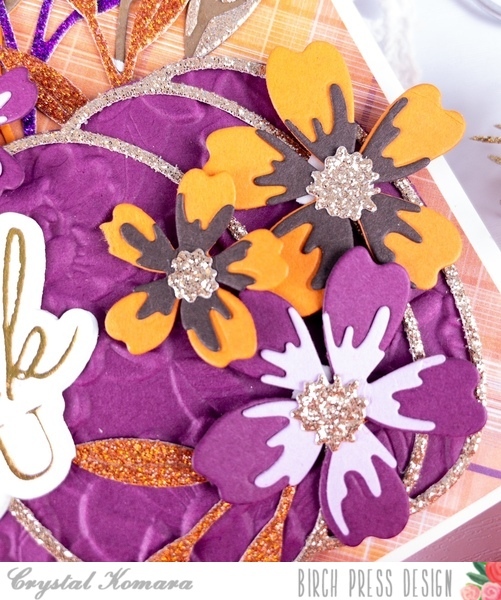
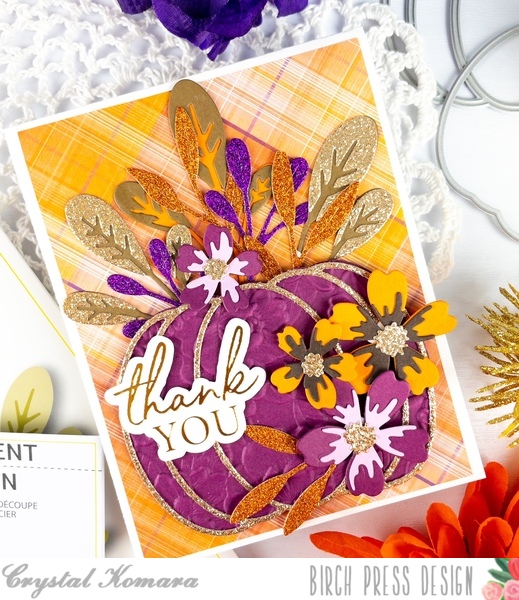
I started with the arched branch from the Rosebud Arch Contour Layers and die cut it from green cardstock. Then I inked the center area with a darker green color for some shading and dimension. Next, I added flowers and berries to the arch. The flowers and berries are from the Abundant Branch die set. I die cut the flowers from ivory cardstock and painted four of them with the same gold Perfect Pearls and water mixture that I used to splatter the background panel. Then I layered the painted flowers with an unpainted flower for extra dimension before attaching all of them to the arch. Then I die cut the berries from eggplant and brown cardstock and added shading to the berries with a Copic marker and highlights with a white gel pen. I tucked these into the arch and then attached everything to the background panel with glue.
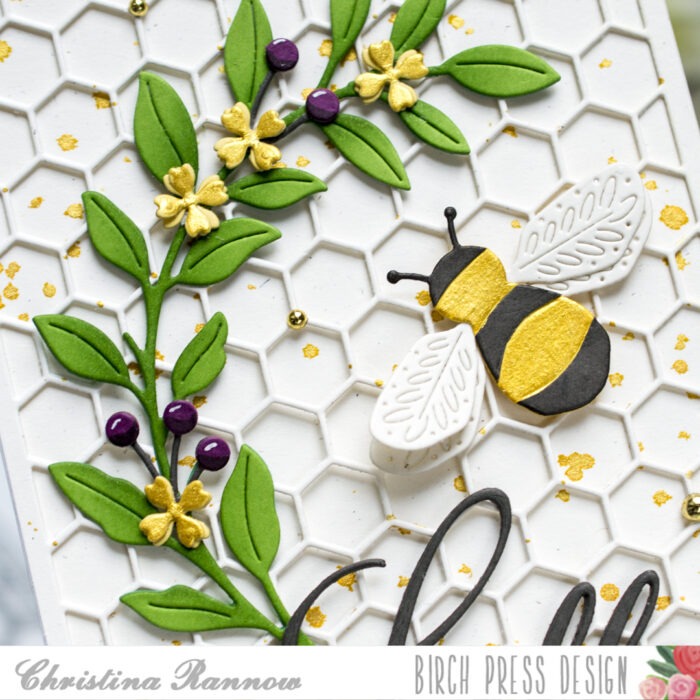
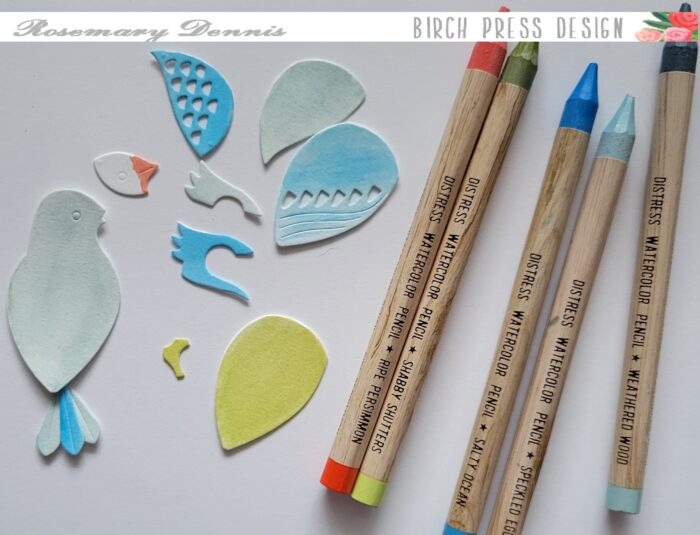
Next, I die cut the elements for the bee. I used ivory cardstock for the wings and yellow and dark gray cardstock for the body. The die for the body is one piece, so I snipped apart the stripes so I could alternate the colors on a base layer. Then I painted over the yellow portion with more of the gold Perfect Pearls mixture. Finally, I secured the completed bee to my card design with thin foam squares.
The final details were to add the Hello Scripted greeting that I die cut from more dark gray cardstock three times before stacking them and then securing it with glue to my card design. A scattering of shiny gold pearls for embellishment finishes this simple but elegant card using some of the new additions to the Block Print collection.
Thank you so much for stopping by to read about my latest papercrafting project! See you again soon!
Supplies