Category: Contour Layers

  • Vintage Pimpernels | By Allison Frazier

    Vintage Pimpernels | By Allison Frazier

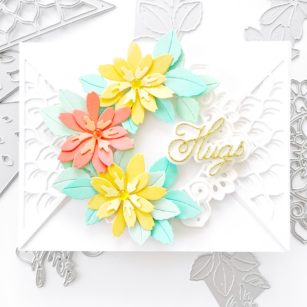
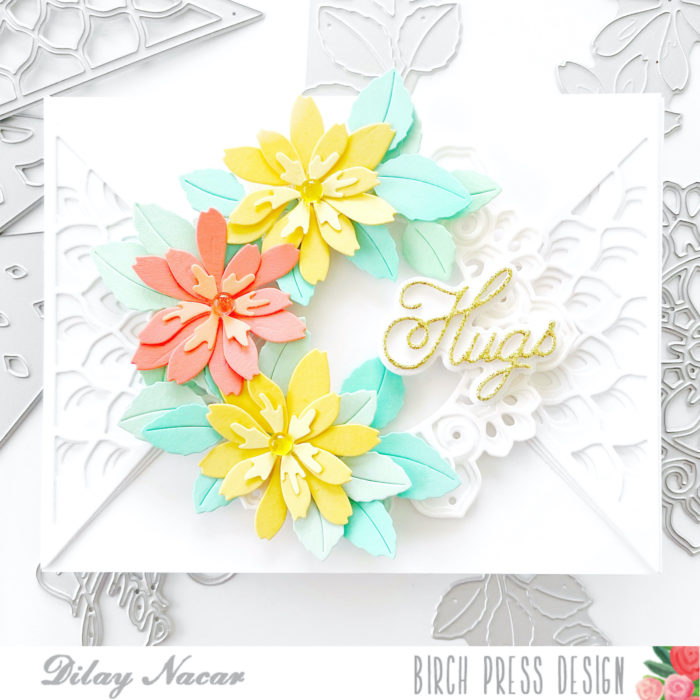
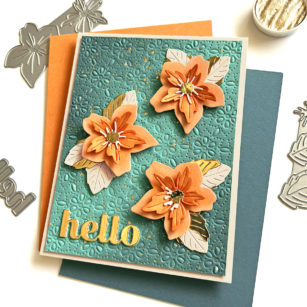
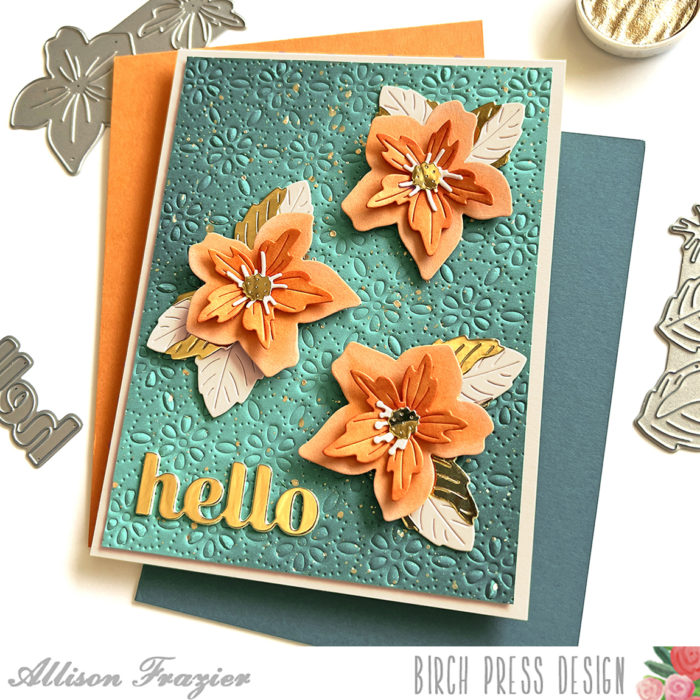
    Hello, Friends! Today I am sharing this card featuring the new Pimpernel Contour Layers die set with a vintage inspired color combination. This card is part of our current Instagram Hop! If you haven’t yet participated in the hop, click here to head over to Instagram for your chance at winning one of our new floral layering die sets. Comments close today (Tuesday) March 22 11:59 pm EST, so there is still time!

    I started my card by dry embossing the Flora Plate Layer C die onto a panel of teal card stock. I then inked up part of the panel with some darker teal ink in order to create a glow in the center. I splattered the panel with gold paint and then adhered it to a parchment colored A2 card base.

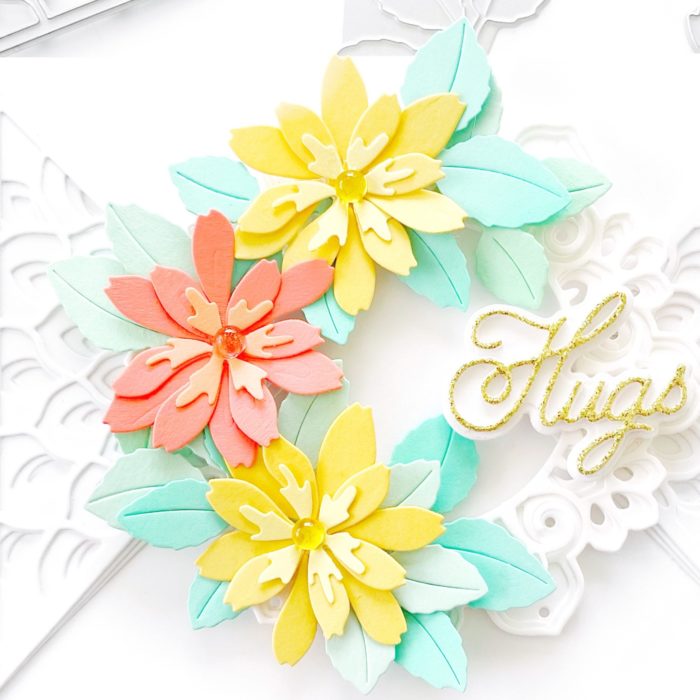
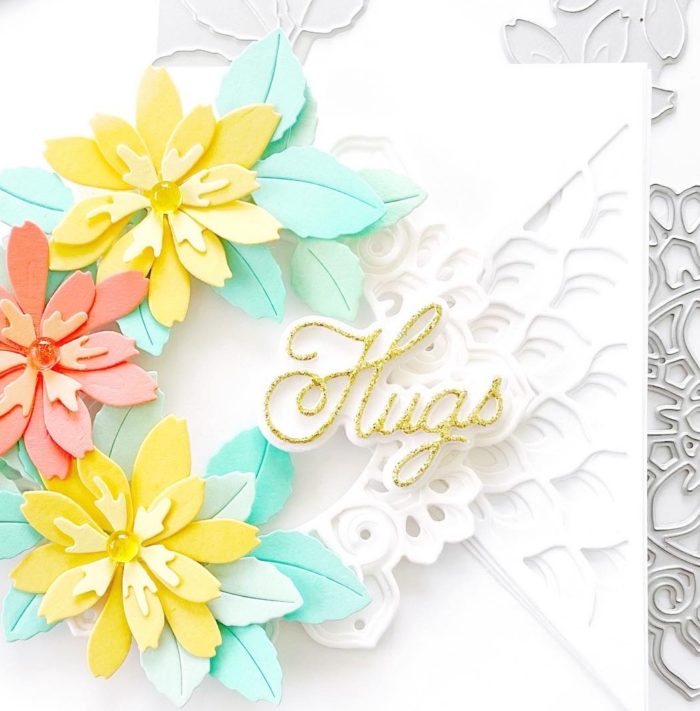
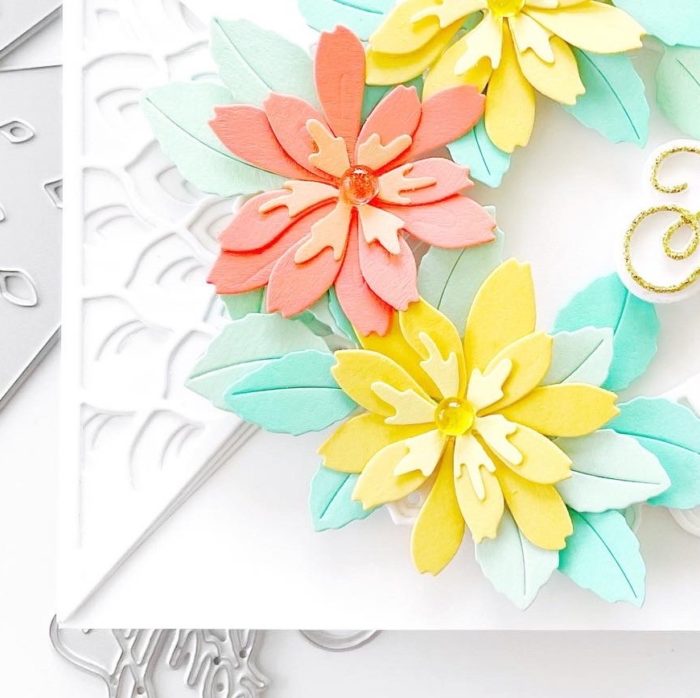
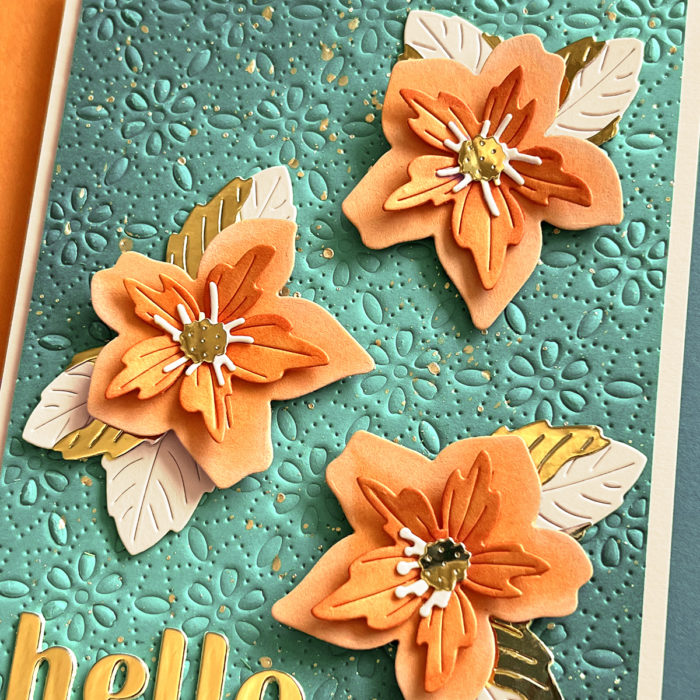
    I used the Pimpernel die to cut the two main parts of the flower from a light orange card stock. I inked the top layer with a darker orange ink and then inked the edges of the bottom layer with white pigment ink to create a bit more contrast. I used gold foil card stock for the small middle piece of the flower, the top layer of the leaves, and the “hello” sentiment. To give the flowers even more dimension, I used a stylus tool and popped them up on foam tape.

    Thank you so much for joining us today. I hope this card brings a smile to your face.

    Wishing you a crafty day,
    Allison


    Supplies


  • Fresh Floral Wreath | By Dilay Nacar

    Fresh Floral Wreath | By Dilay Nacar

    Happy Monday, crafty friends! Dee here today sharing this fresh floral card featuring the Star Flowers dies from the latest Floral Contour Layers collection! 

    I started by cutting Layer A, B, and C of the Petal Triangle dies twice, then adhered them (mirrored) onto a piece of white cardstock that I cut down to 5.5” x 4.25”.

    Next, I cut layers A, B, and C of the Tranquility Layer die (saving the center circle for a future project, then adhered it to the center of the two triangles. 

    I cut the Star Flowers Contour Layer dies twice in yellow cardstock and once in coral. I layered each flower then adhered them together and onto the Tranquility frame. Next, I die-cut leaves from the Dainty Rose and Leaves dies set in shades of teal then adhered them tucked behind the flowers. 

    For the sentiment, I die cut the Handwritten Hugs in gold glitter cardstock and adhered it to the card with foam tape. As a finishing touch, I added embellishments in coordinating colors to the center of each flower! 

    Thanks so much for joining me today!

  • Star Flower Thank You | By Seeka

    Star Flower Thank You | By Seeka

    Hello and welcome! Seeka here today with a card featuring the Star Flower Contour Layers set with a bit of foliage from the Fuddled Leaf Branches Contour Layers set.

    I started off by die cutting the Star Flower layers from different shades of pink cardstock. I glued the layers together and then set them aside.

    Next, I used the largest die from the Fuddled Leaf die set to cut two leafy branches from a light aqua cardstock and a few extra branches from white cardstock.

    I prepped the sentiment by cutting the detail layer of the Handwritten Thanks and Outline die from gold mirror cardstock, and the shadow layer from vellum. I glued the layers together and then set the sentiment aside.

    To assemble the card, I used foam tape to adhere a white oval from my stash onto a 4.25″ x 5.5″ panel of white cardstock. Next, I positioned the leafy branches over the oval and glued a few of the leaves down, and then I used foam tape to pop up a the rest of the leaves. I used more foam tape to adhere the flowers and then trimmed away the bases of the two branches that extended past the flowers. I also added white leaves peaking out from behind the oval and then adhered the sentiment before gluing the card front to a card base.

    Thank you so much for visiting!


    Supplies