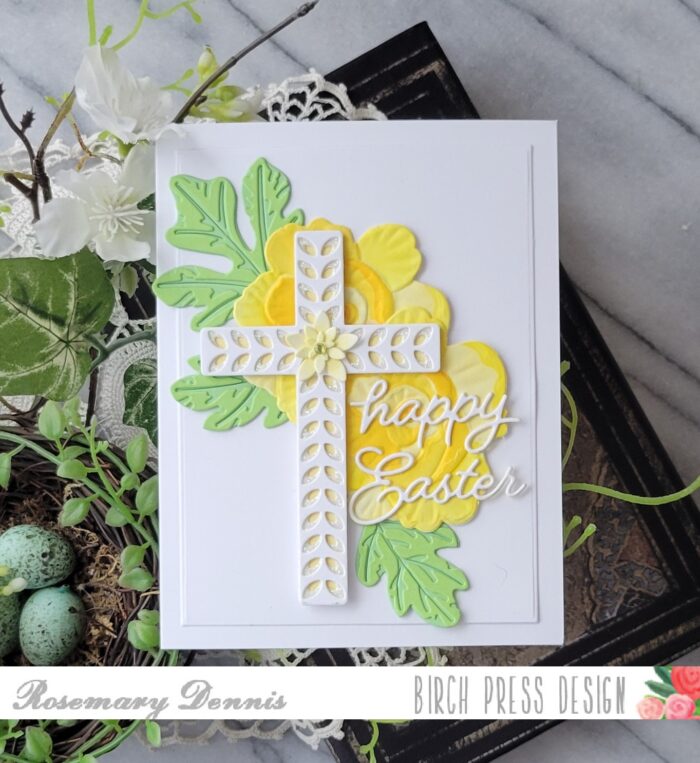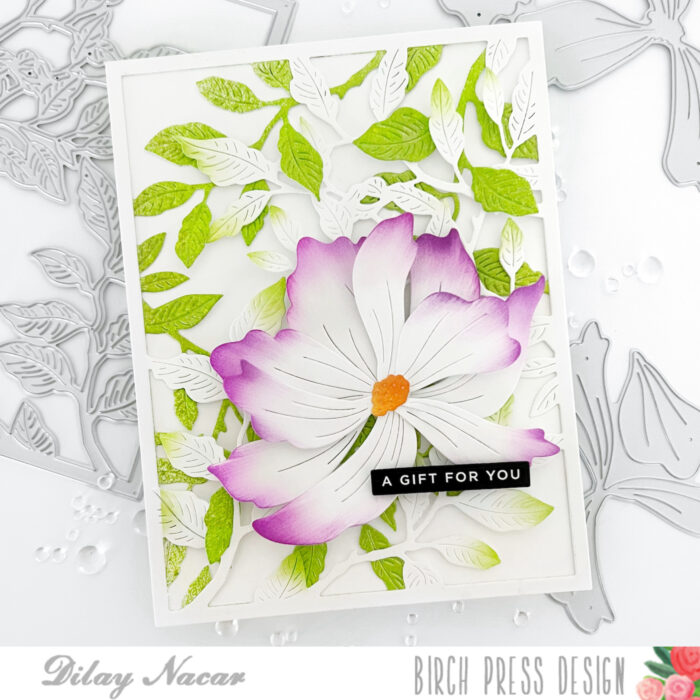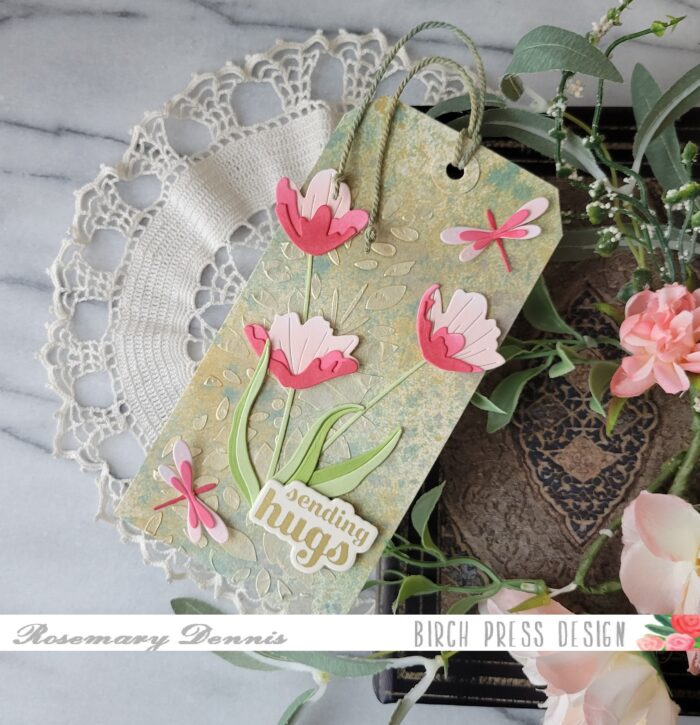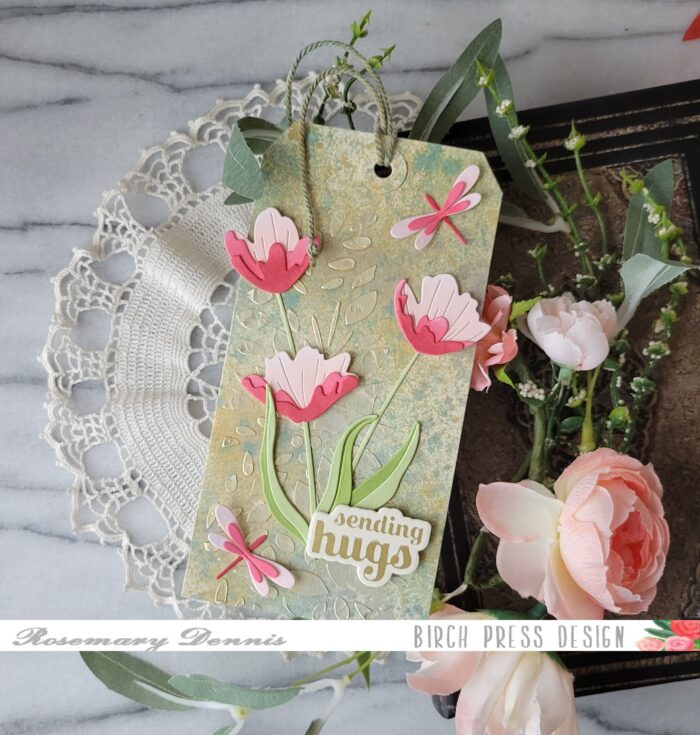
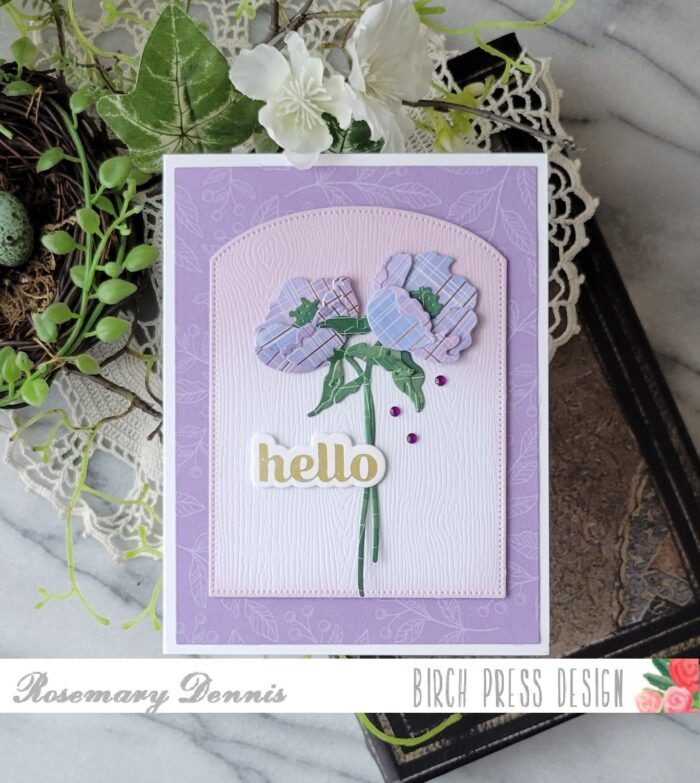
Hello everyone! Rosemary here on the blog today. Hope your April is off to a great start. It is a little bit of a cold start to April here in the Pacific Northwest, but that is the PNW for you, lol! Today I’m sharing a card created using the sweet Prime Peony Duo Contour Layers dies and a foiled sentiment from the new Sugar Script Sentiments 2 set. Let’s have a look at what I created.
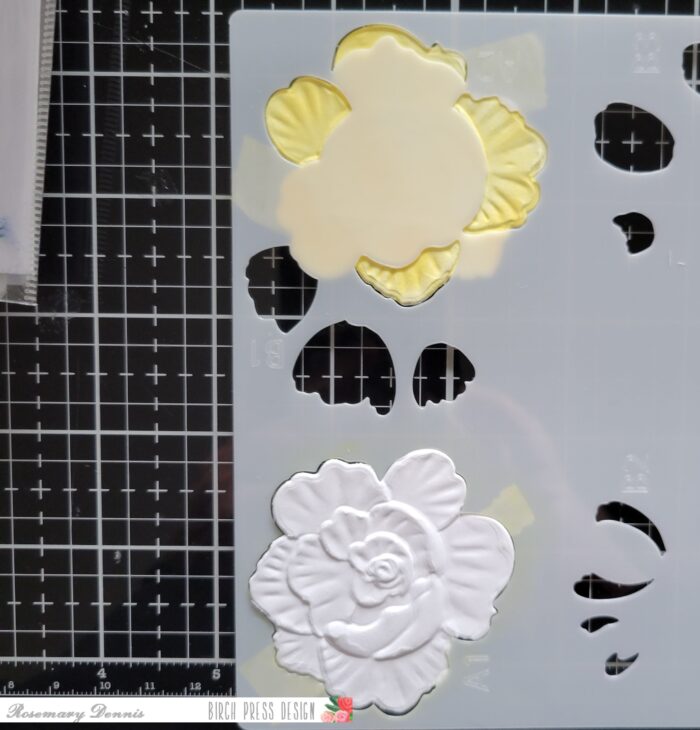
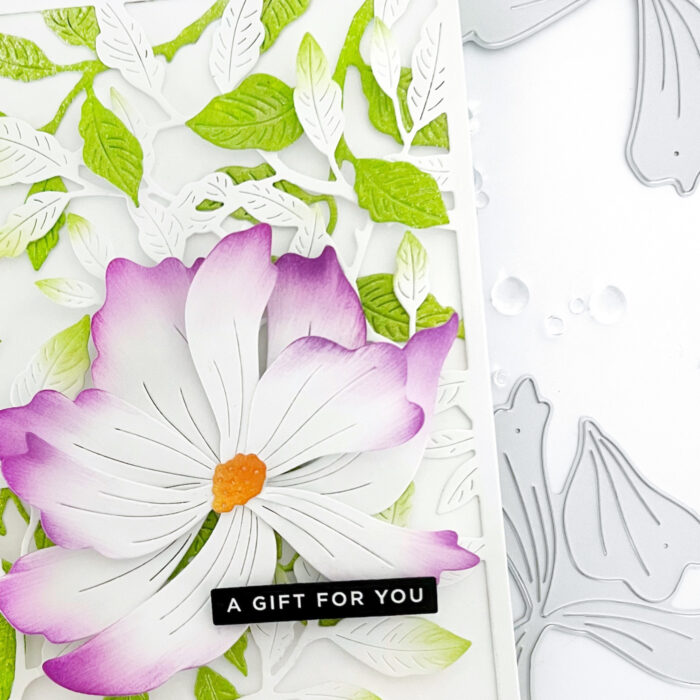
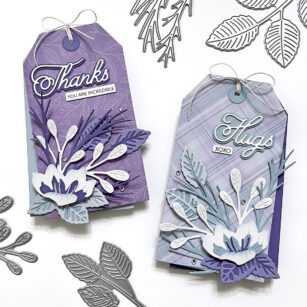
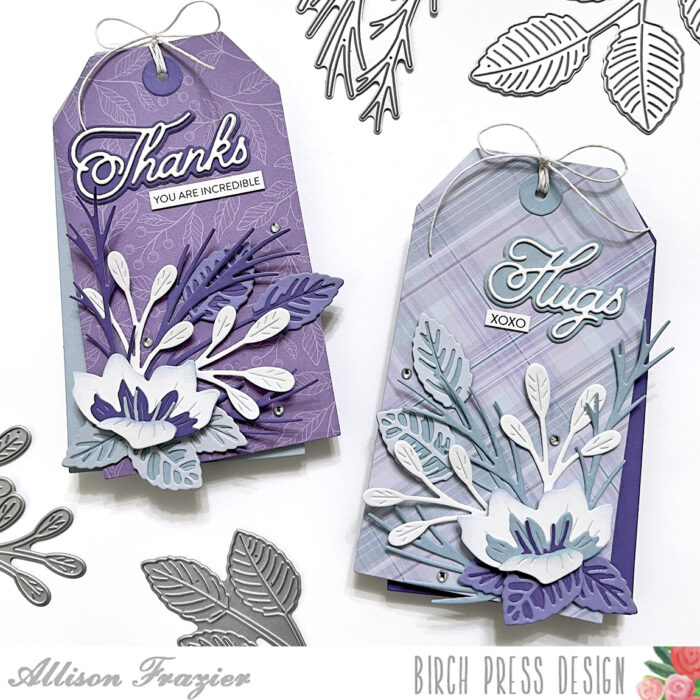
I started off my card by deciding that I wanted to use some pretty patterned papers and do a little bit of inking on the papers once I had them die cut. I pulled out the lovely Memory Box Anemone Plaid and Anemone Grove 6×6 pads and went with a purply-blue plaid for the flowers and a dark green plaid for the stems. I die cut all the pieces and then added some distress ink in Milled Lavendar to some of the pieces.
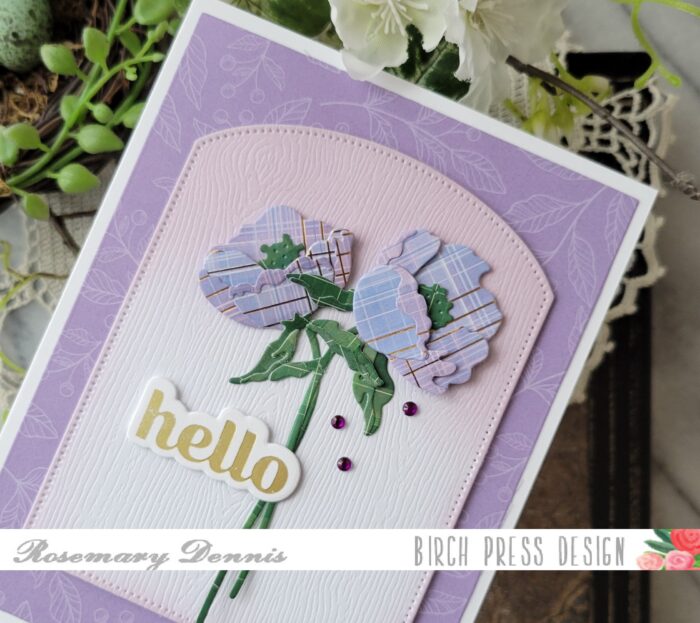
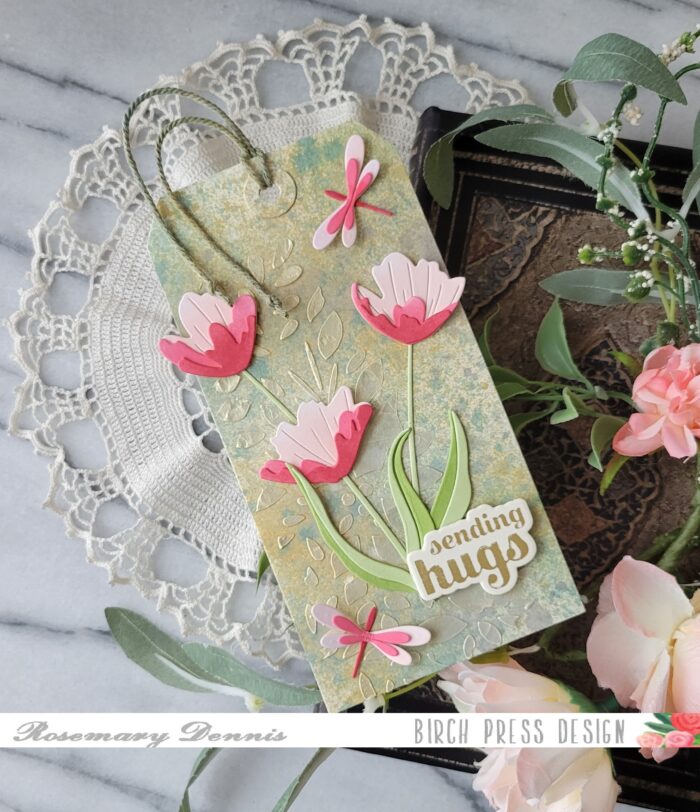
I didn’t add any additional color to the stems as they were dark enough already. I then adhered all the pieces together. For the flowers I used a combination of liquid adhesive and thin foam squares to provide lift to some of the petals. Liquid adhesive was used soley on the leaves. I also decided to use the green flower centers that were die cut when I die cut the stems as I liked the look. In the close up photo above you can see the shading on flowers that was added with the distress ink.
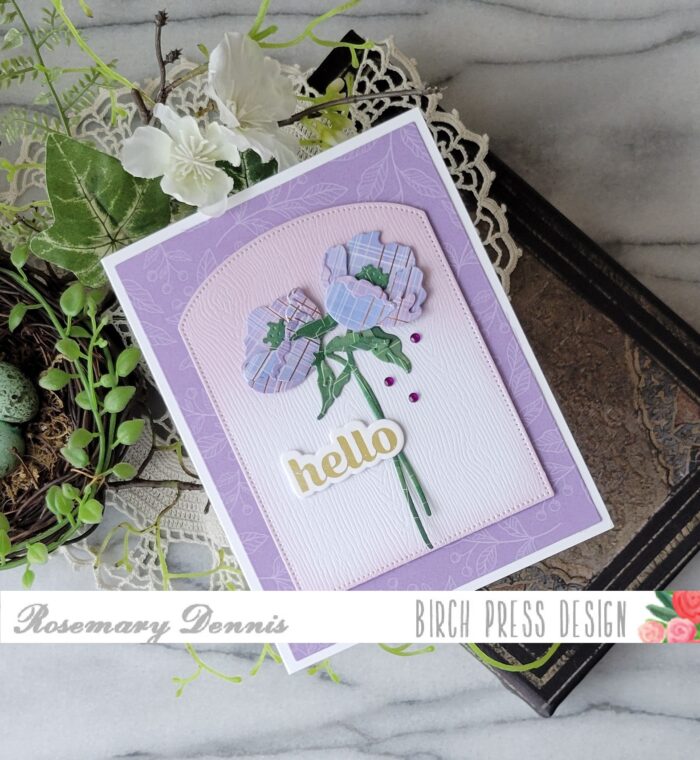
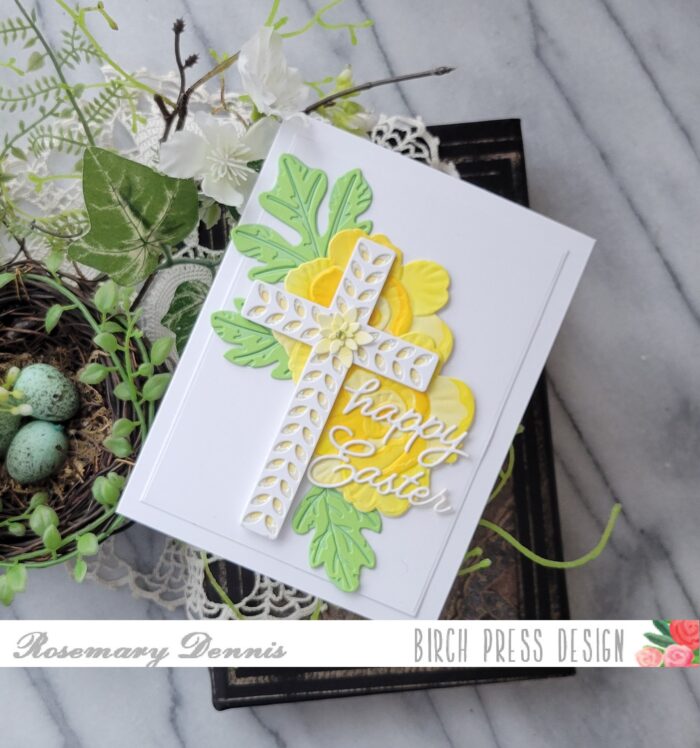
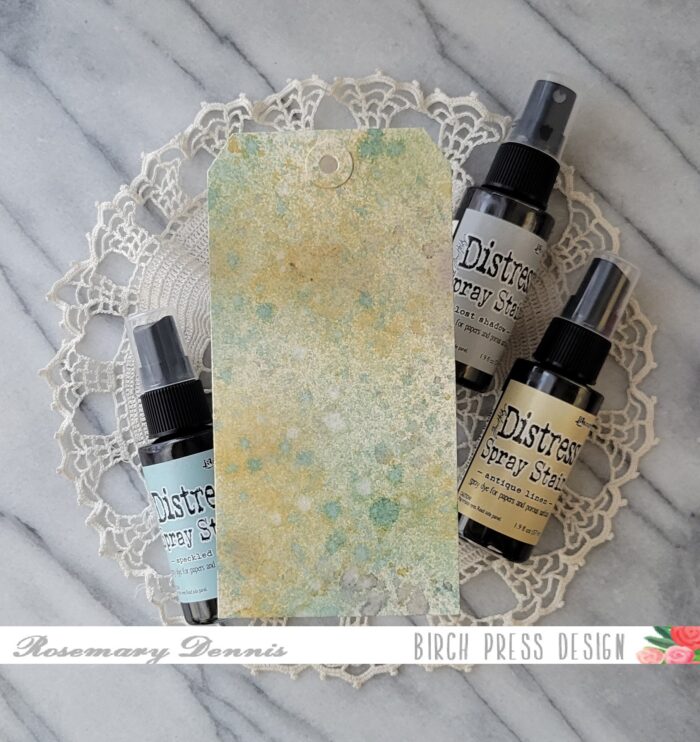
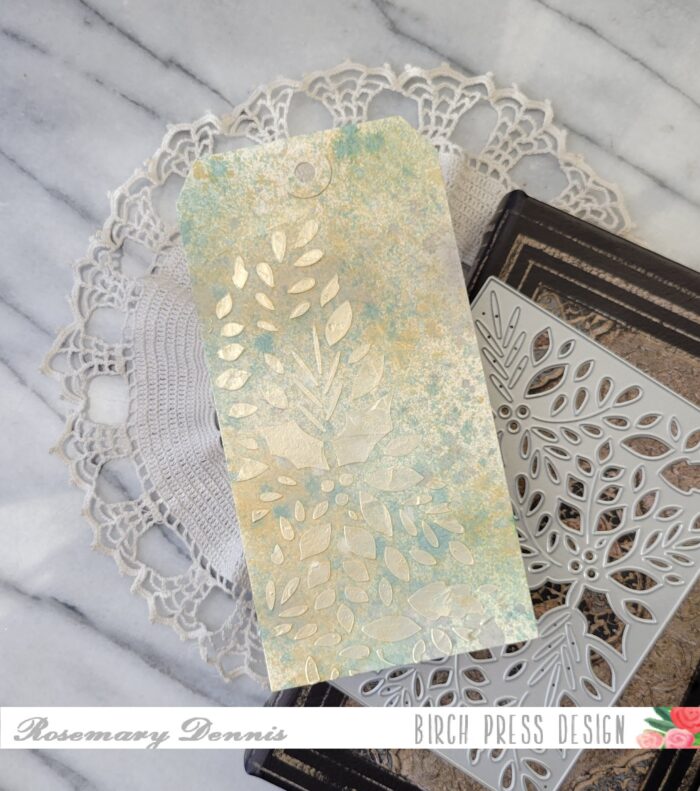
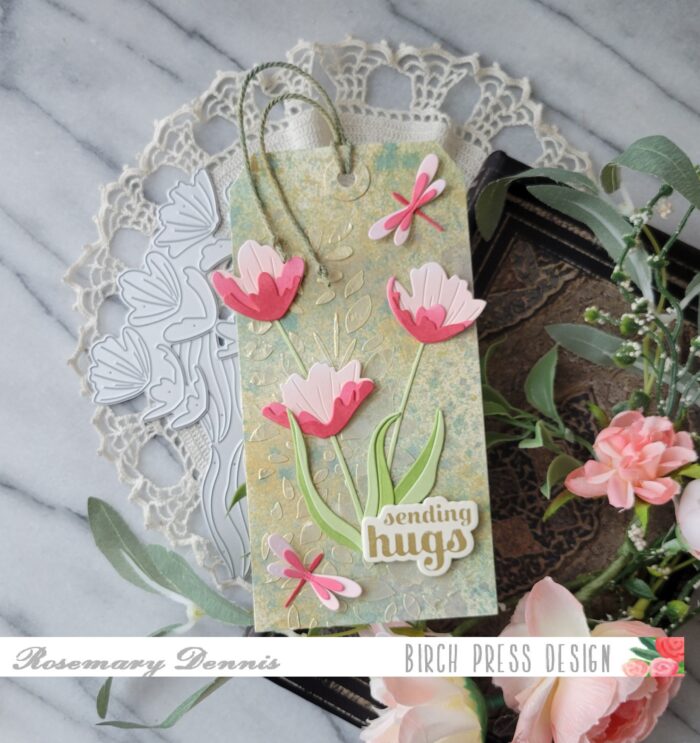
After the glue had set on the flower for a little bit I adhered the stems with additional liquid adhesive. I die cut a piece of the Anemone Grove paper with a rectangle die and adhered that to a white cardstock base. I then die cut Memory Box white woodgrain cardstock with a Curved Capped Pinpoint Layers die and added some Milled Lavendar distress ink to the top portion of the die cut and then lightly around the edges. I adhered that piece with thin foam squares.
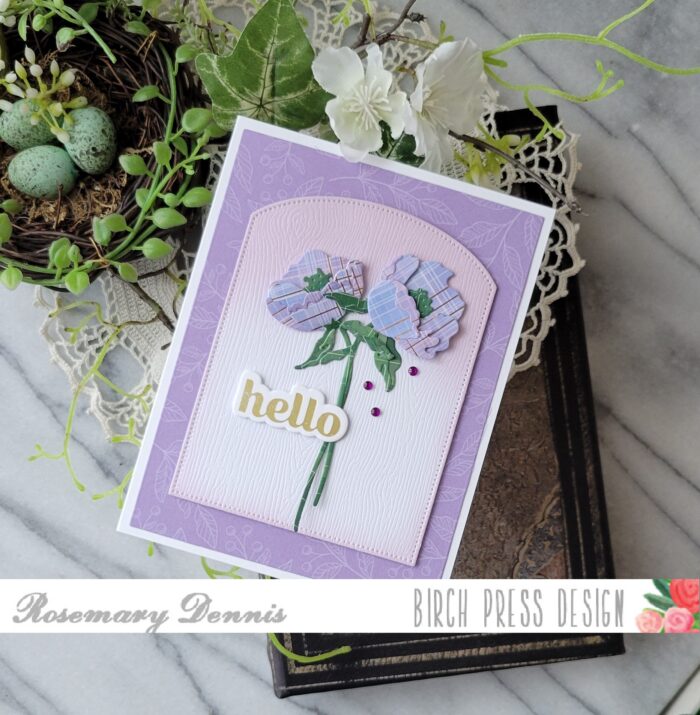
The flowers were then adhered to the panel using liquid adhesive. I finished the card with the sentiment that I foiled in matte gold and a few purply blue fairy gems.
I hope you enjoyed today’s project. Thank you for stopping by and have a lovely day!

Supplies


Supplies