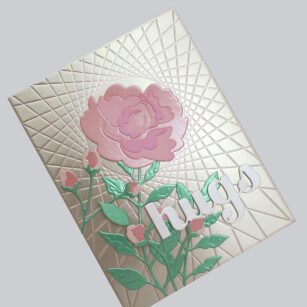
Hello Birch Press friends, it is Natasha here today and I am excited to share a fun card idea with you today using the Banner Heart Layering die set! So let’s get started!

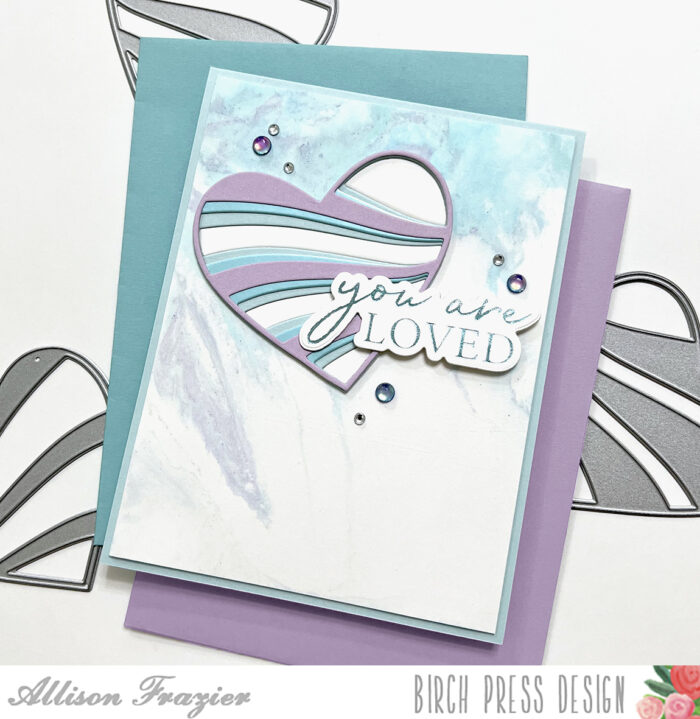
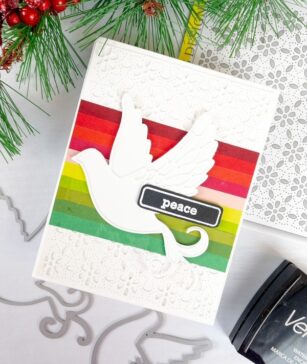
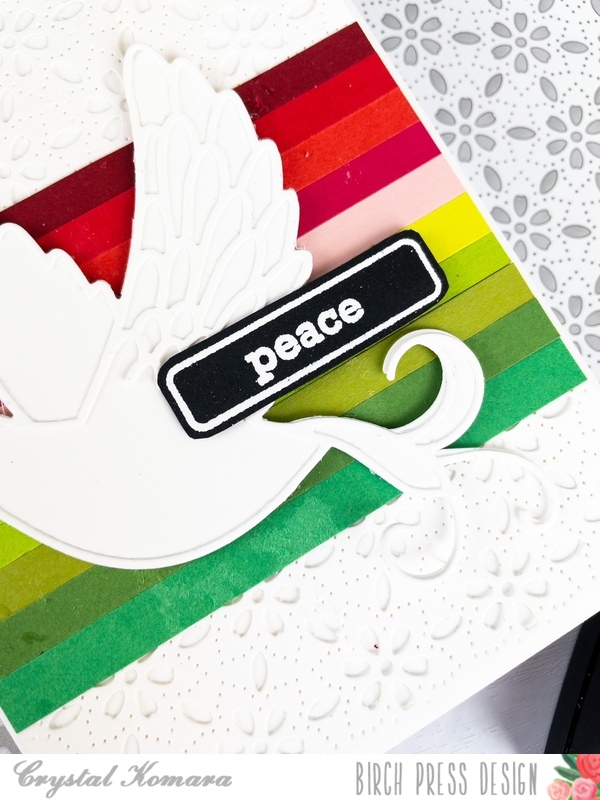
I started by choosing a colorful background from my stash for today’s card! I love to use pre-made backgrounds! It is a fun and easy way to create, as well as saving you time! The background inspired my color choices today!
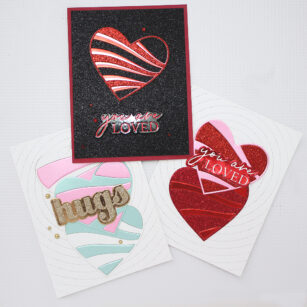
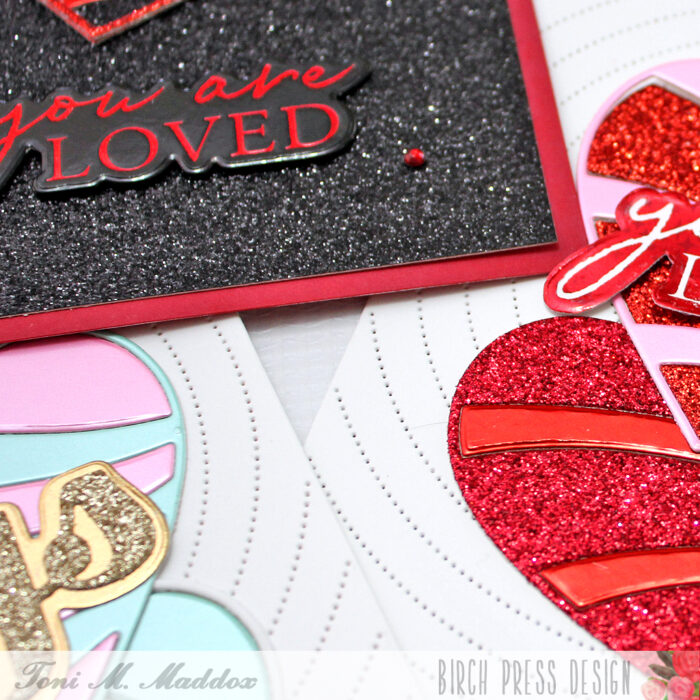
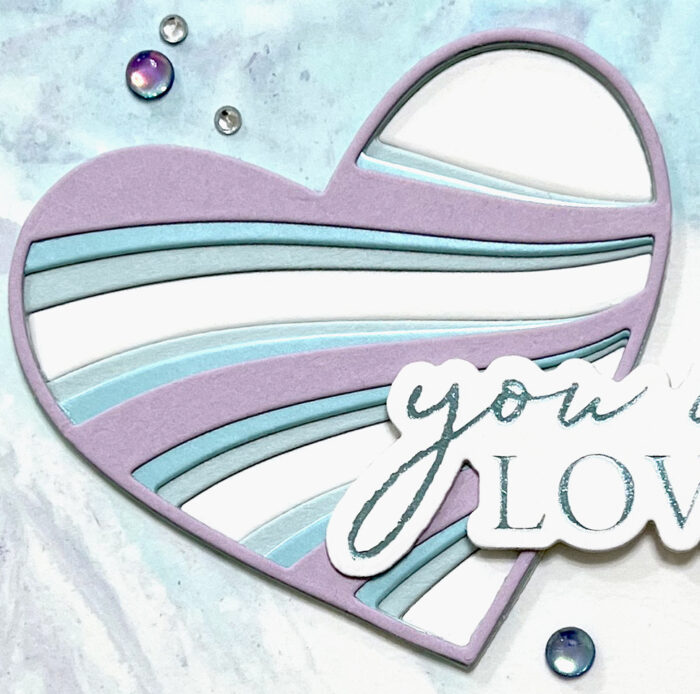
Next I started by die cutting each layer of the Banner Heart Layering die set. I used a combination of red, pink, and white card stock for the 3 layers. The pink and red card stock are from the Berry Red Memory Box paper pad collection. I die cut layer C 1 time, layer B 2 times, and layer A 1 time.

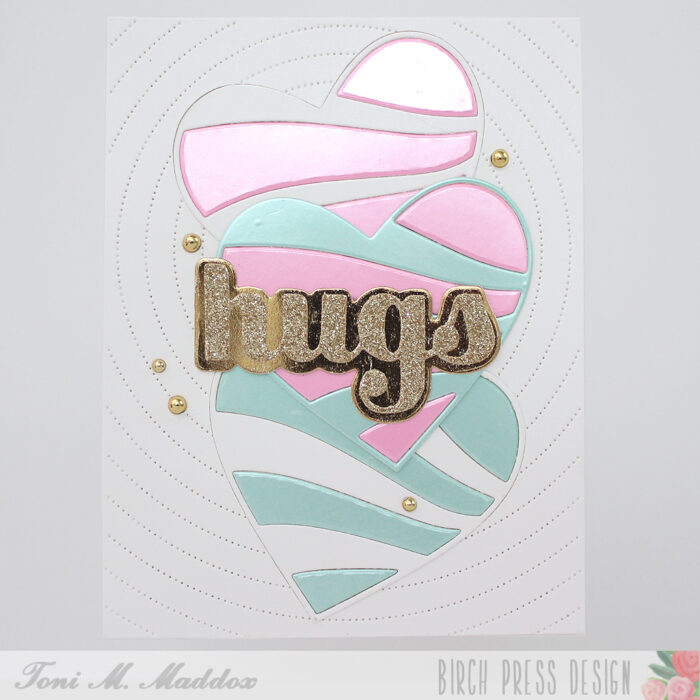
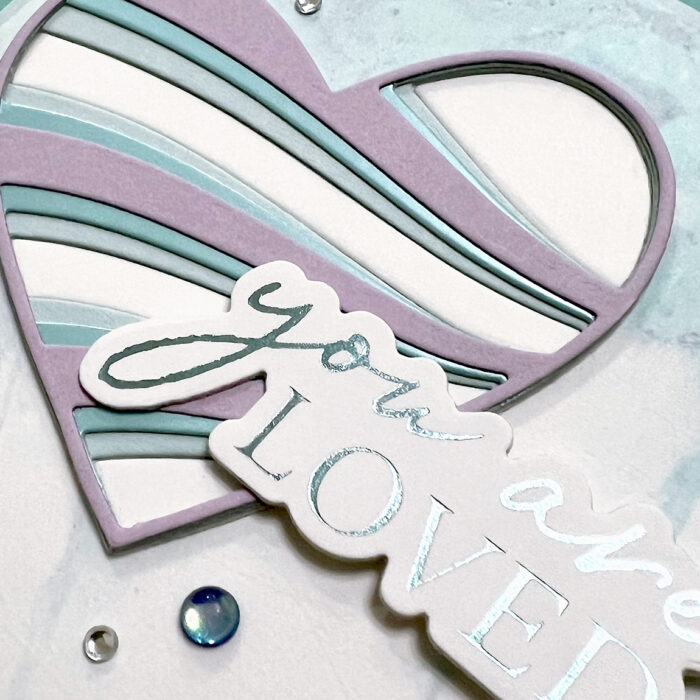
After each layer was die cut, I added a bit of ink using a finger dauber to layer C and B. I love to add ink to color card stock. I feel it adds a bit of dimension and texture. Once these were complete, I adhered Layer C and B together using liquid glue. Next I chose an embossing powder from my stash. I embossed Layer A for each heart. On one heart the top layer has a pink card stock and the other has a white card stock. Using a different color card stock changes up the embossing powder effect!

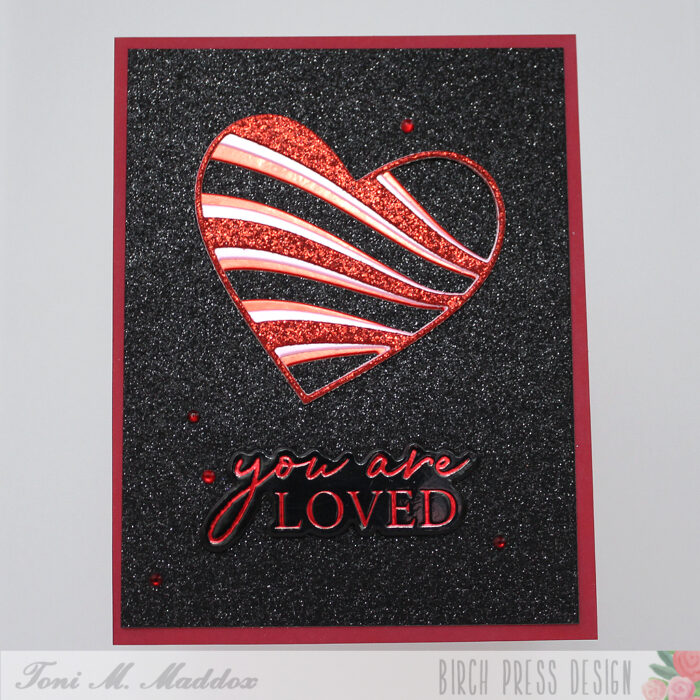
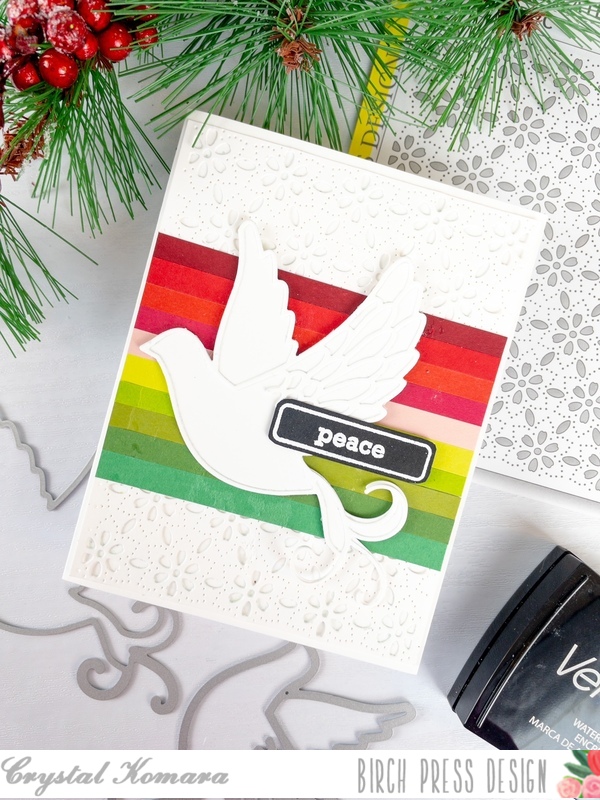
Once Layer A was heat embossed, I adhered Layer A to the top of each heart using liquid glue. Next I trimmed the background panel to 4 inches by 5.5 inches. I used the extra 1/4 inch strip and adhered this to the left side of the card panel. It added a bit more interest and texture.

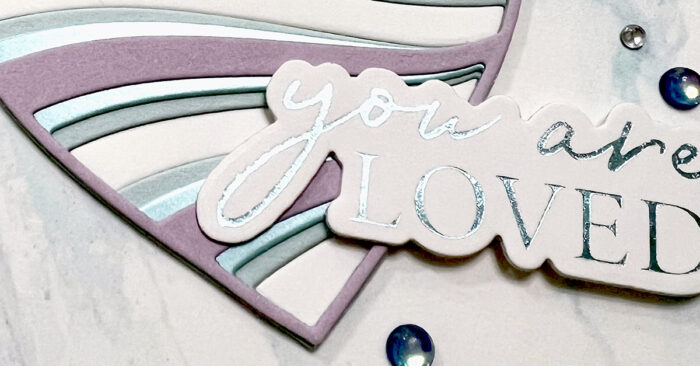
To complete my card I chose the You Are Loved Noted Script Hot Foil Plate and die set. I used my hot foil machine and followed the instructions for my machine. Once the sentiment was complete, I die cut 2 more shadow layers and adhered them behind my foiled sentiment for added dimension.

I completed the card by adhering the card panel to an A2 card base, adhered the hearts using liquid and foam adhesive and completed my card with my sentiment.
I had a lot of fun creating today’s card and I hope this inspires you to share a handmade Valentine with a family member or a dear friend!
I will be back soon!

Supplies