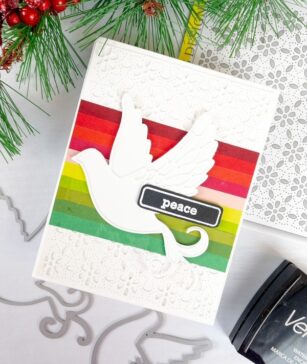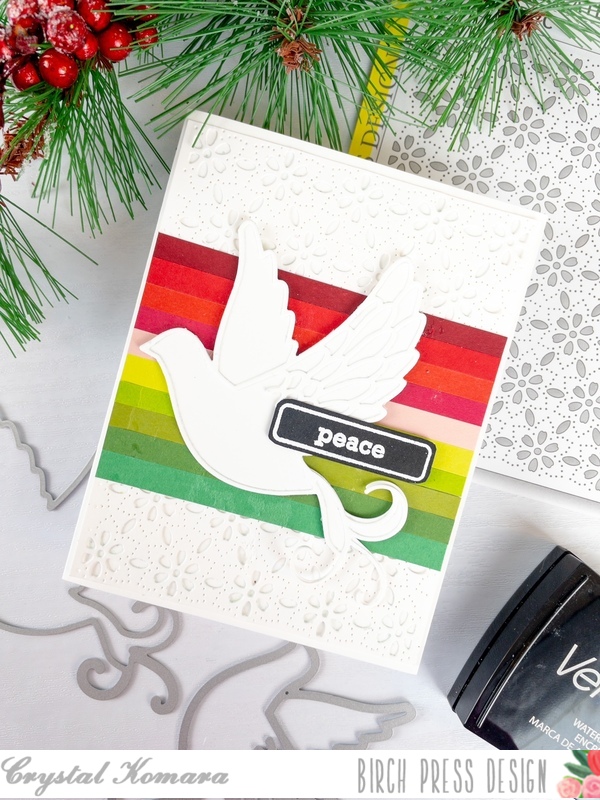
Hello, Birch Press friends! Today, I am showing how you can stretch the use out of your products that are typically only thought of as winter or holiday products. My card features the beautiful Adornment Dove die set.
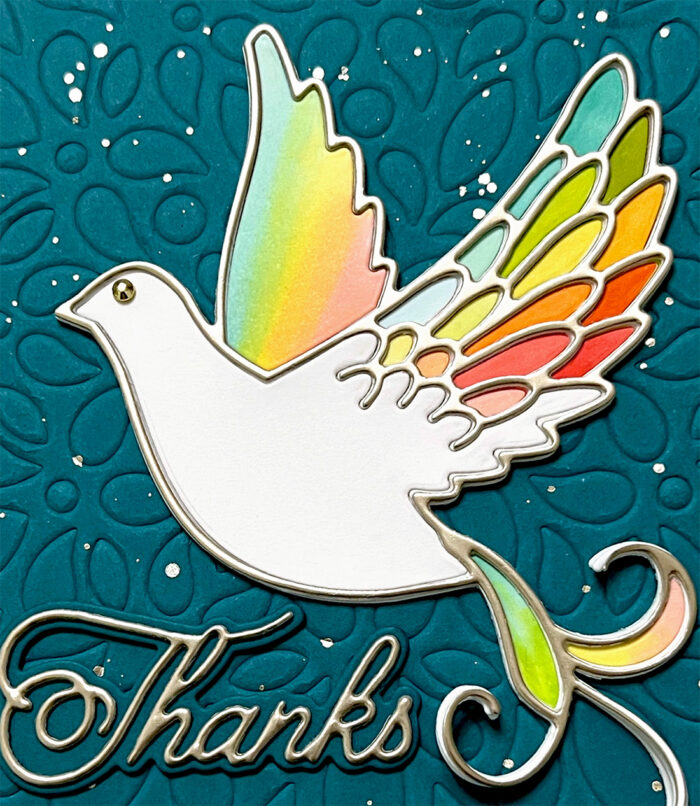
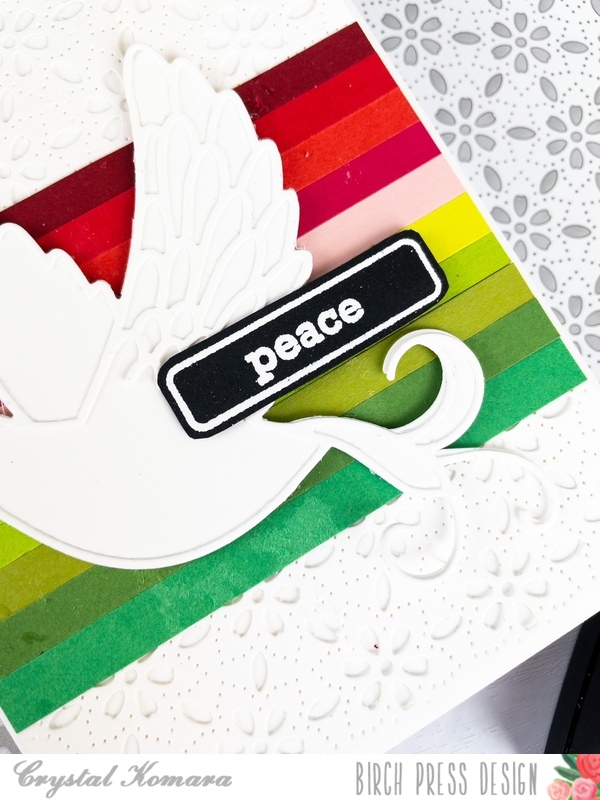
I love the cutouts in the wing of the detail layer in the Adornment Dove set, and I thought it would be fun to color them instead of discard them. I could have die cut all different colors of paper, but it’s much easier (and less wasteful) to color with markers. I die cut the layer out of white card stock and left the cutouts intact. To make sure they didn’t come loose, I just taped them in place on the back with scotch tape. I then colored each cutout piece with a different color Copic marker. This does look messy, as the colors bleed onto the white border between each cutout, but that’s okay because it will get covered by a clean detailed layer.

When I was finished coloring the separate cutouts, I glued that layer onto a solid background layer that I had die cut from white card stock. I then glued a clean white detailed layer over the colored layer. For the solid wing and tail feather cutouts, I colored these white pieces by blending some pink, yellow, and light blue markers. After glueing those pieces in place, I added a final detail layer that I die cut from a Champaign colored mirror card stock.
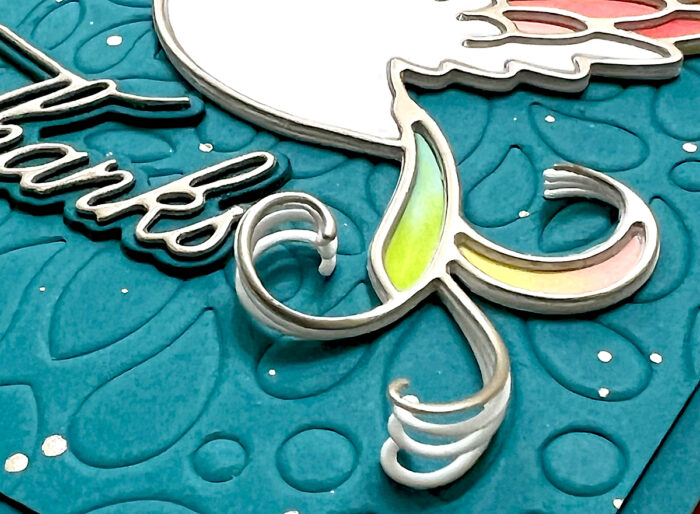
For my card base, I took a dark teal panel of card stock, embossed it with Layer A of the now-retired Fiori Plate Layer Set, and then splattered it with a light gold paint. I mounted that onto the same color A2 card base. For the sentiment, I cut the Handwritten Thanks Outline die out of the same teal card stock and the detail Thanks die out of the Champaign card stock that I used for the dove. I adhered the sentiment and the dove to the card base. Notice how I purposefully did not glue all of the layers of the tail feathers together. This creates some really great dimension. To finish the card, I added a small jewel as an eye.
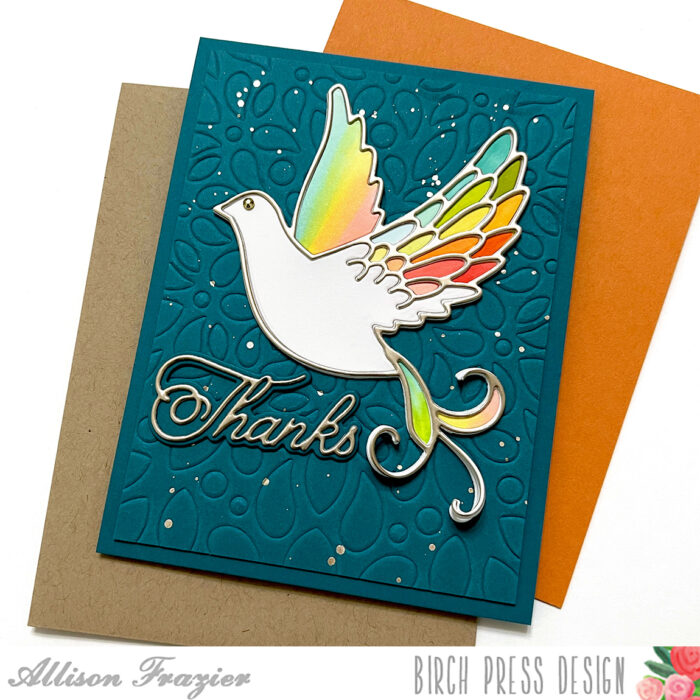
I think this card design can be used all year round, don’t you? Thank you so much for joining us today. I hope this card inspires you and brings a smile to your face!

Supplies


Supplies