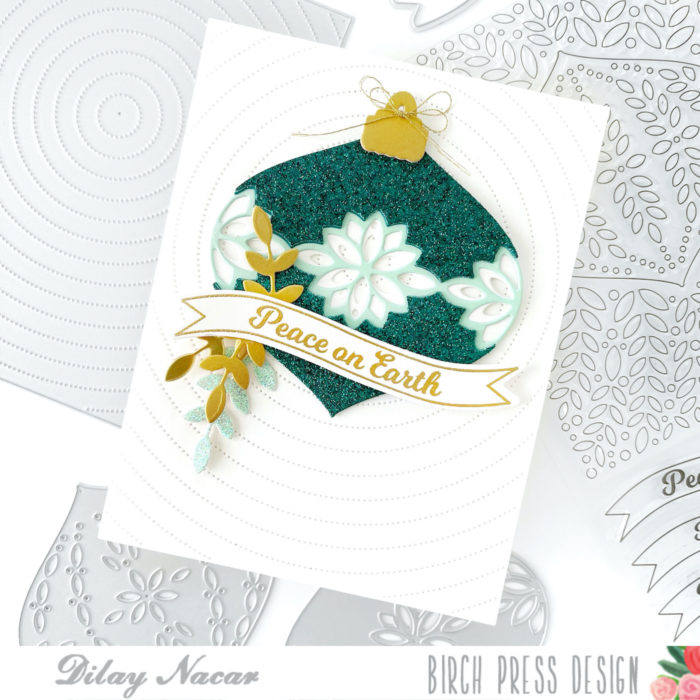

Hi and thanks for stopping by! I hope you’re having a great day! Have you seen the new release in the store? I’m smitten with the new Adornment Poppy!
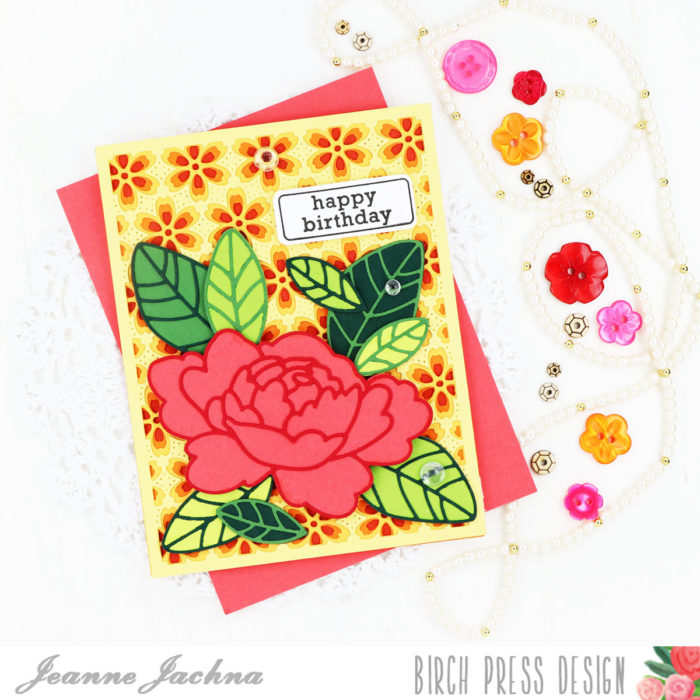
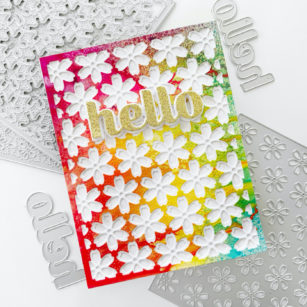
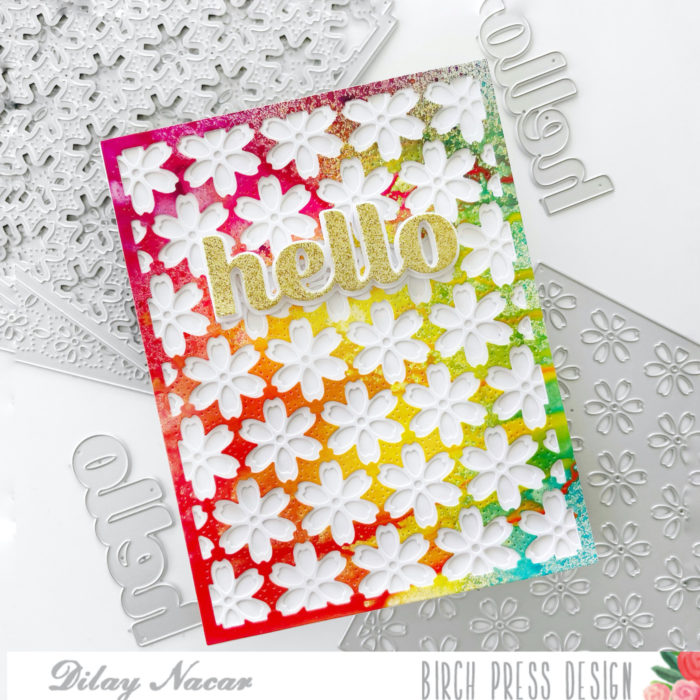
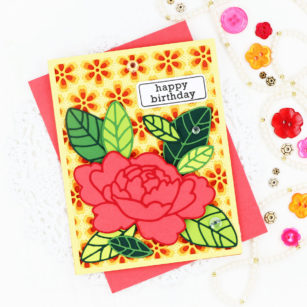
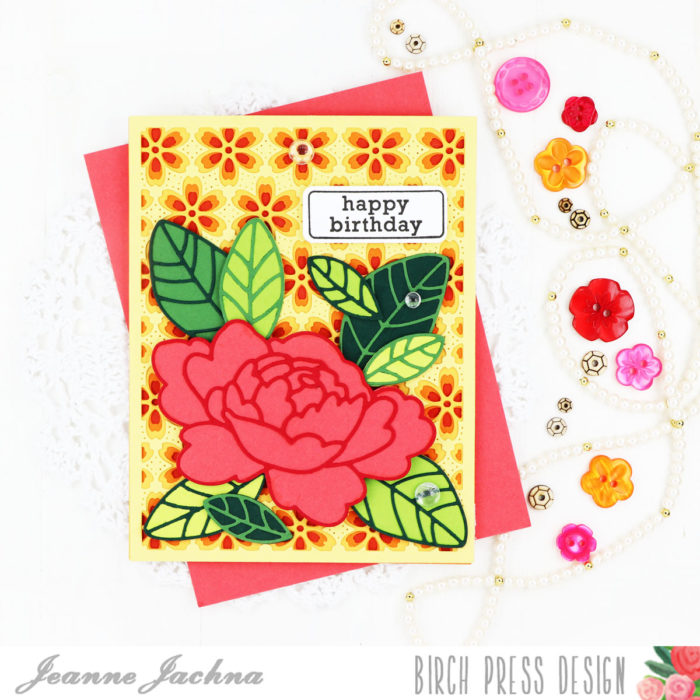
Today I’m sending you some sunshine with this bright floral birthday card that looks fussy but was so easy to make!
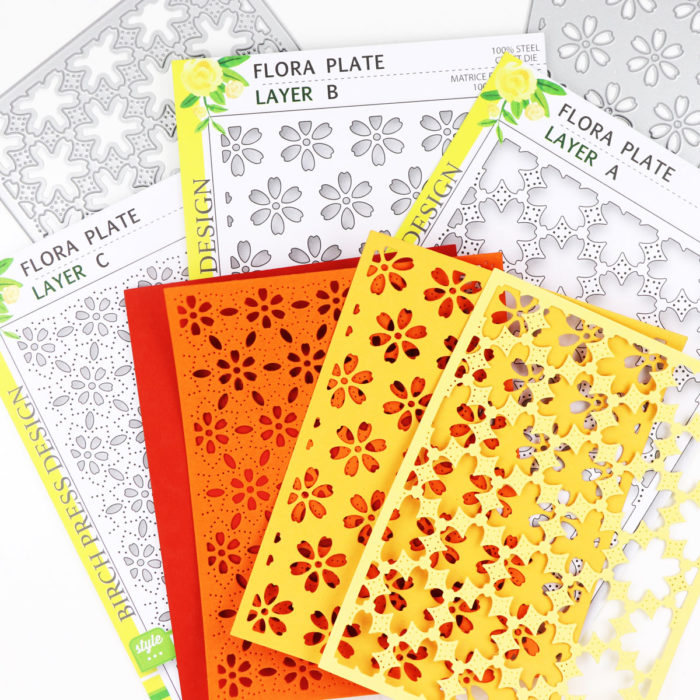
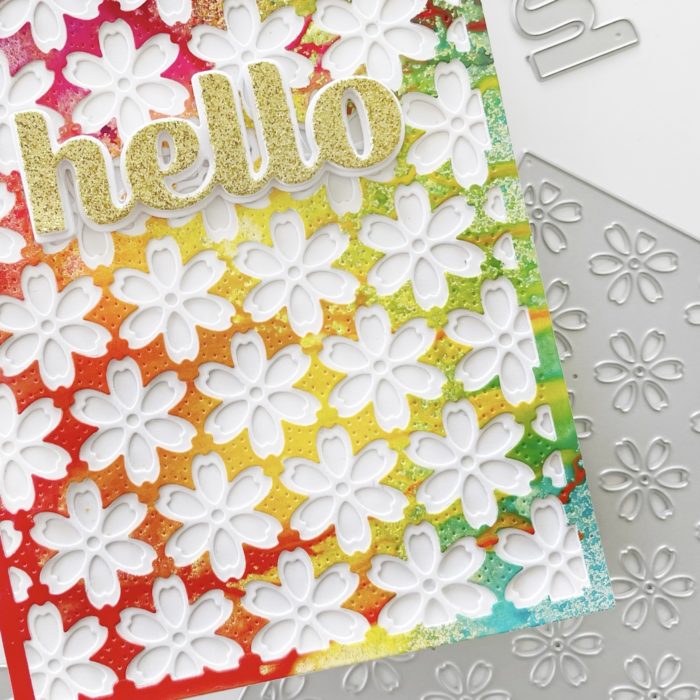
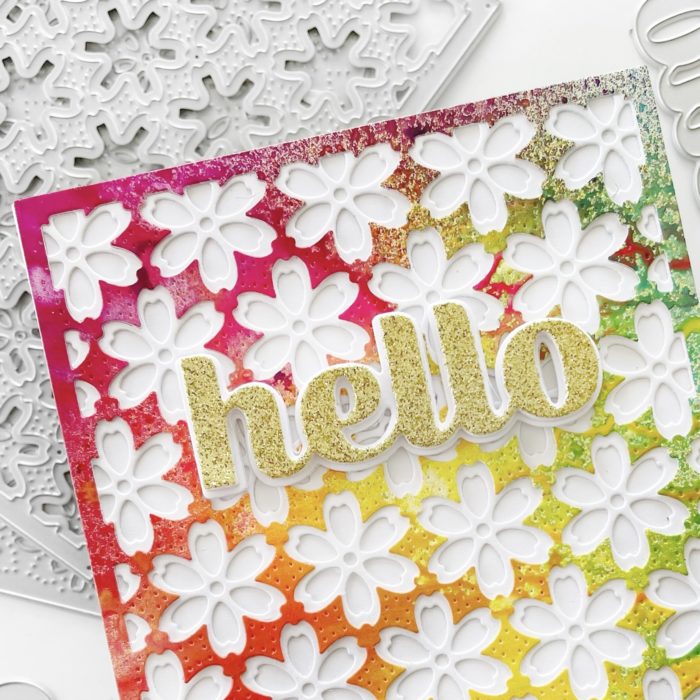
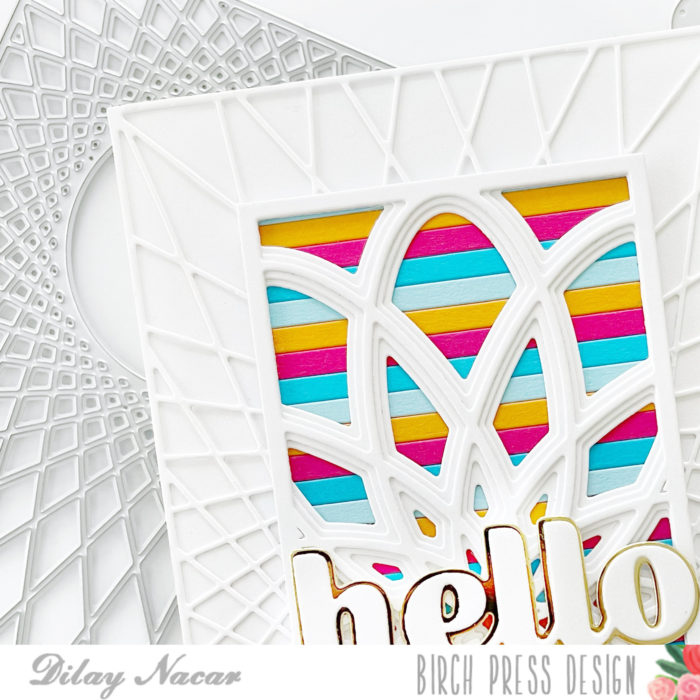
I started with the NEW Flora plate cut in ombre yellow orange cardstock and adhered them together. I use a large acrylic block to hold them in place as the glue sets. This set is so pretty I wanted to show you each of the plates. I think the individual layers – particularly the Layer C make beautiful stand alone dies.
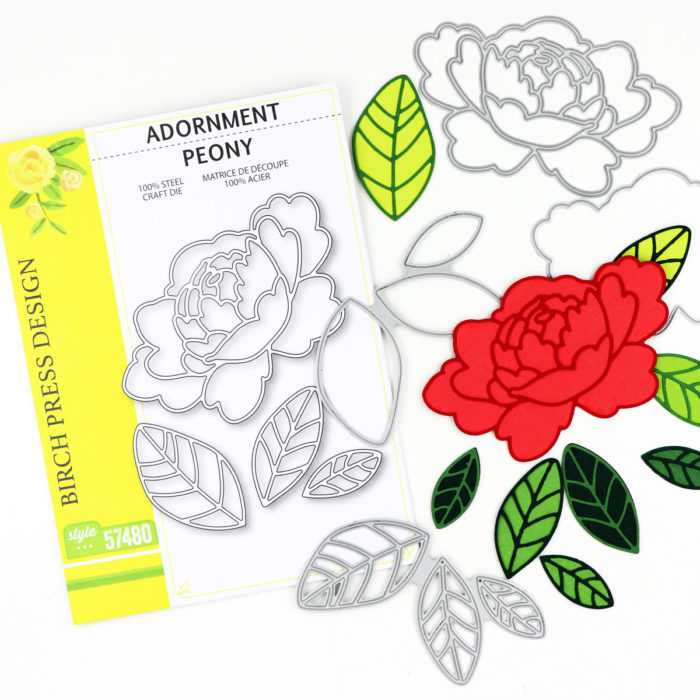
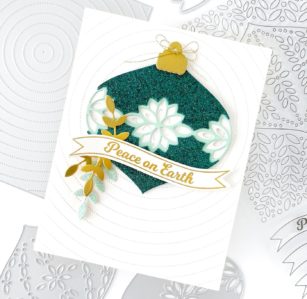
Next I assembled the poppy and lots of leaves in different shades of green. This set includes BOTH a detailed die as well as a background die for the leaves and flower.

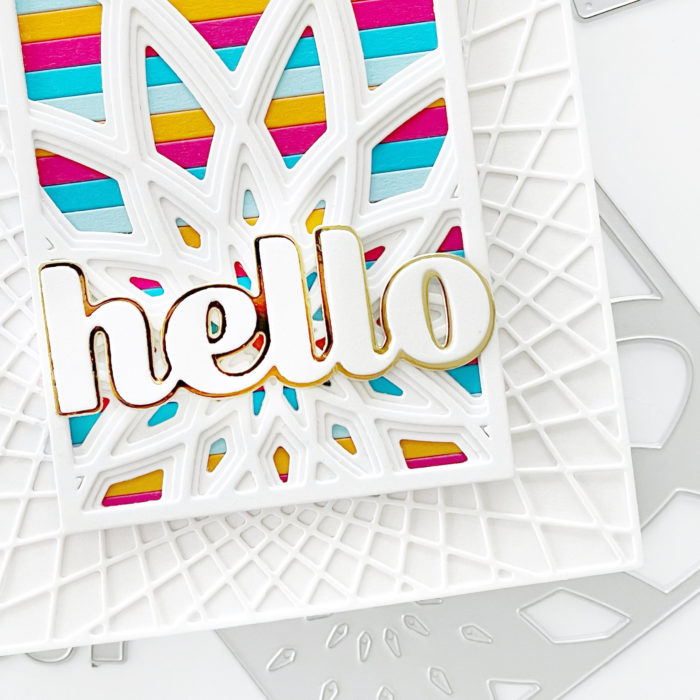
I used the Contempo Greetings set to create the Happy Birthday Sentiment. I think this set is clever because the dies matches the Contempo Christmas set.
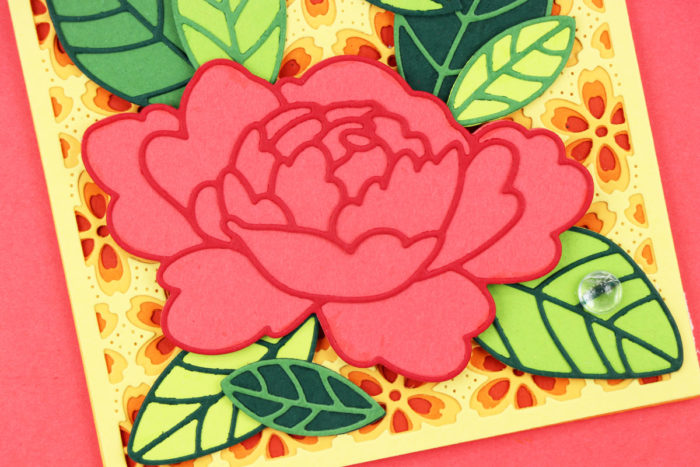
I adhered the pretty floral with adhesive foam tape. Raising the flower allowed me to tuck the leaves under the flower and add dimension.
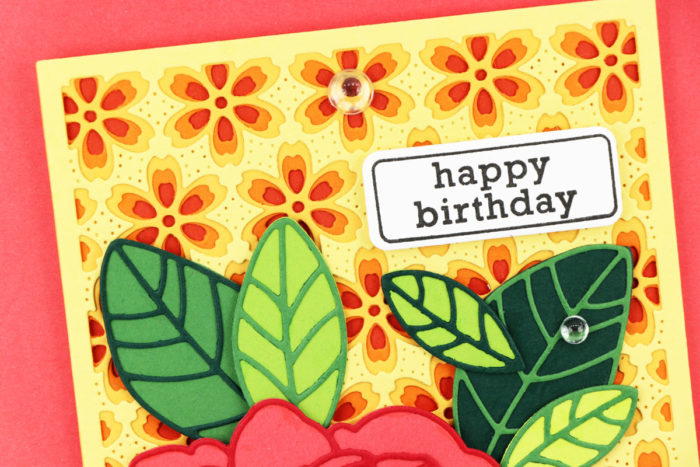
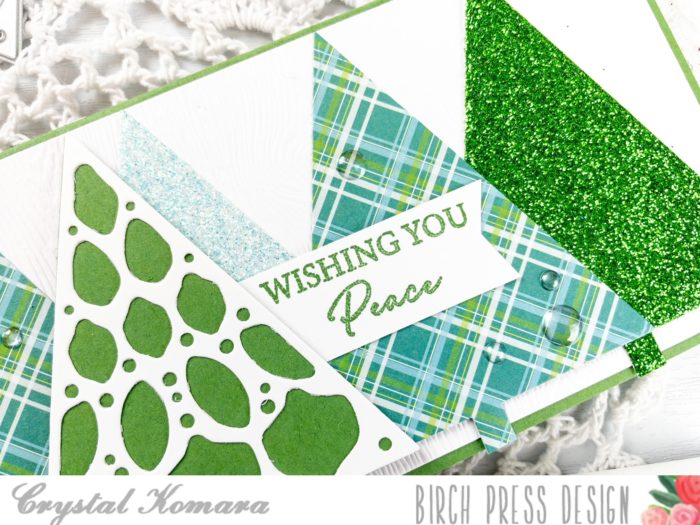
Of course I didn’t want to cover that pretty background so a simple (and small) sentiment seemed best. A few Memory Box Fairy Drops add a little shine like dew drops.
I hope this card makes you smile and that you have a fantastic day!

Supplies