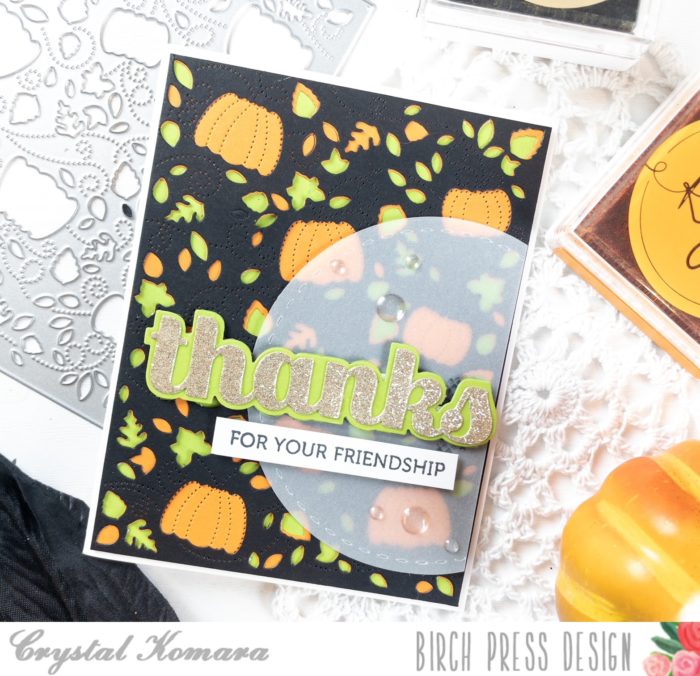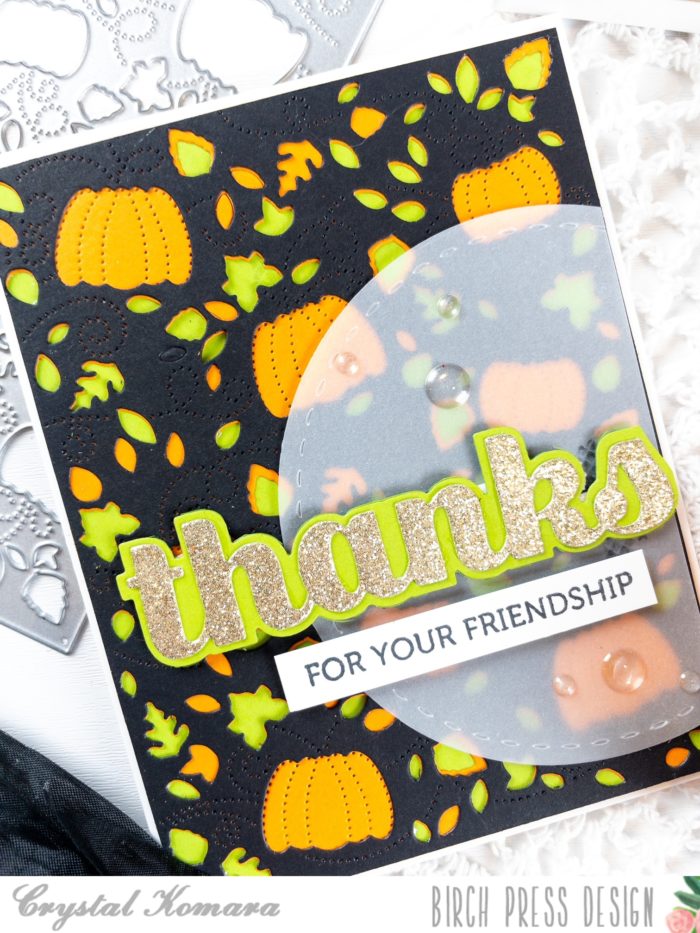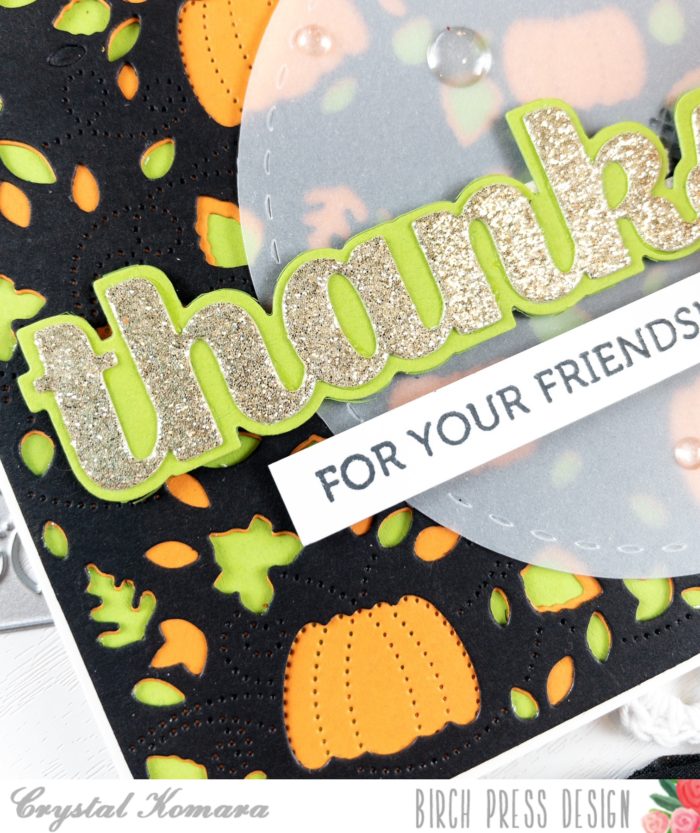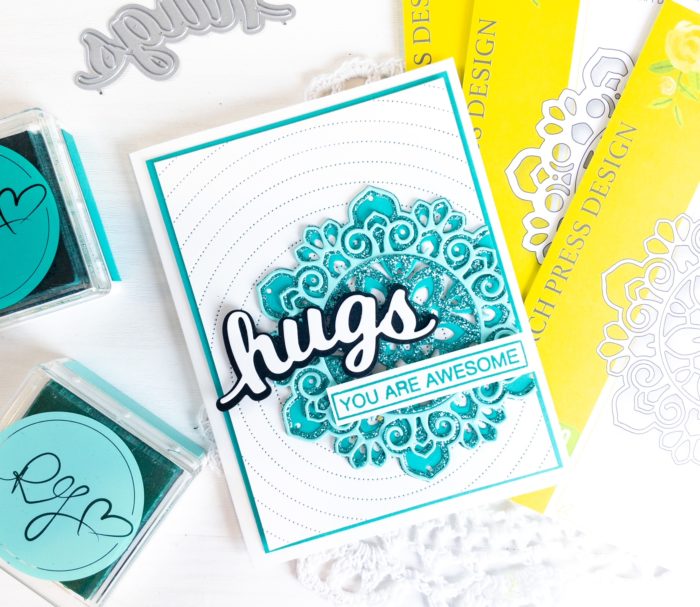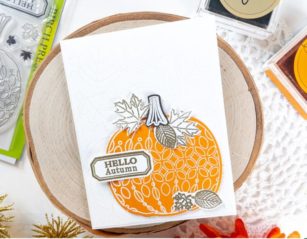
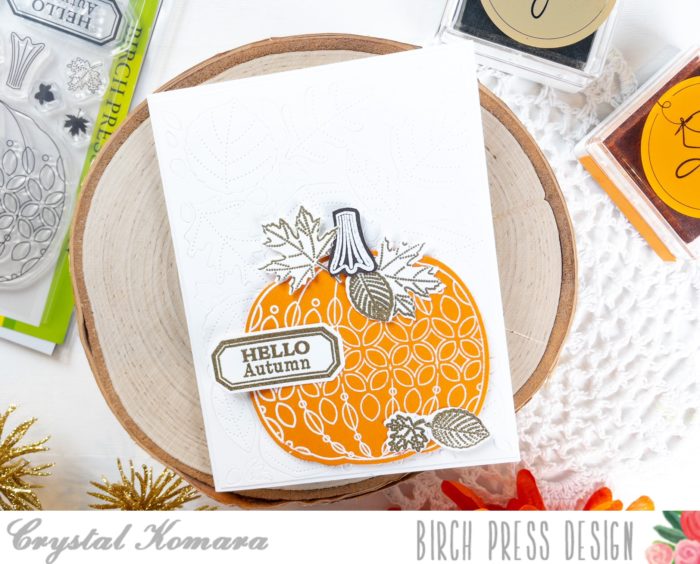
Hello friends, it’s almost the last day of September and we are officially in the midst of PSL season! That’s Pumpkin Spice Latte for anyone unfamiliar with the popular influencer inspired lingo. This is Design Team member Crystal Komara here today inspiring you to embrace fall (while dreading winter) and I’m sharing a simple, yet elegant card made using my favorite Birch Press Design stamp set called Pumpkin Lacework.
Card details:
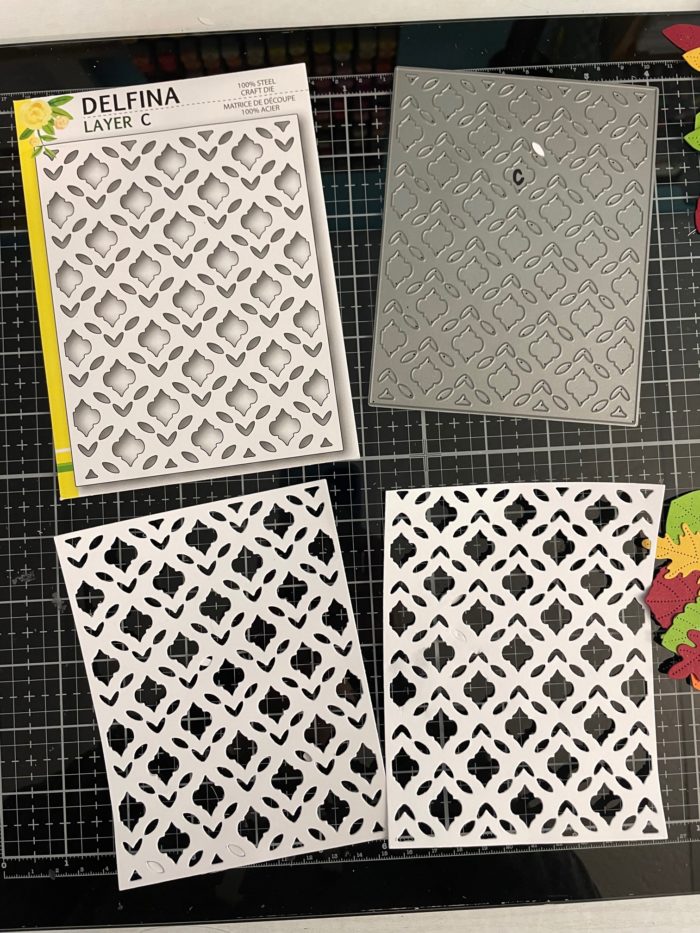
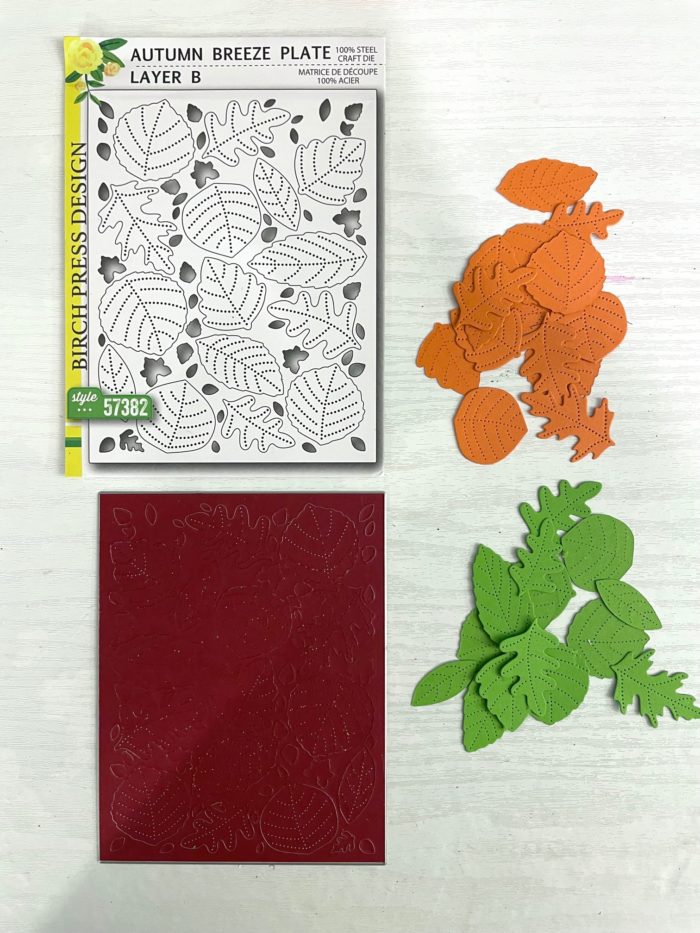
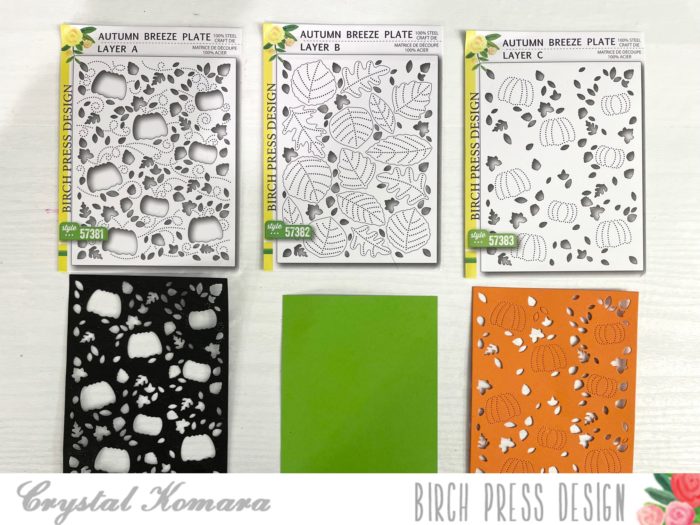
The base of this A2 sized card is made from 80 lb. Neenah Solar White smooth cardstock. Using Layer B of the Autumn Breeze Layering Plates, I cut the background from white cardstock. I adhered this leafy imprinted background directly to the card base.
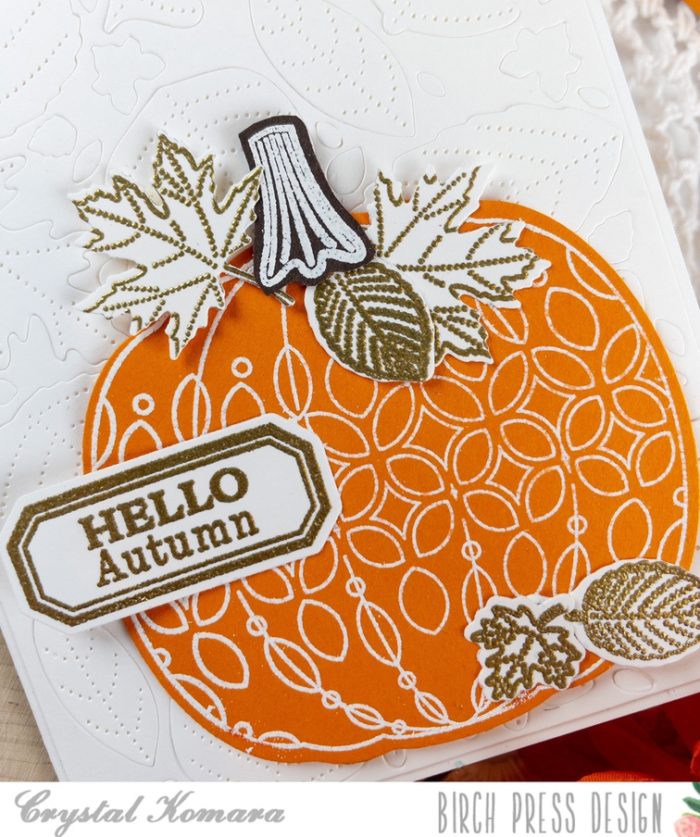
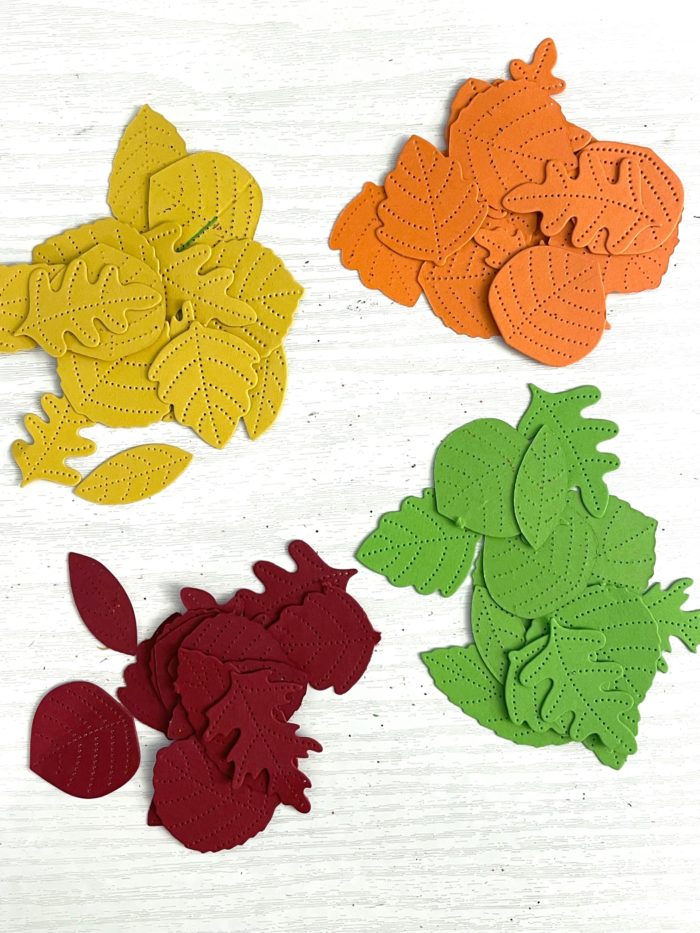
Using the Pumpkin Lacework stamp set, I stamped the large pumpkin in Versamark ink on orange cardstock. I heat embossed the pumpkin with white embossing powder. I used the coordinating Pumpkin Lacework die to cut the pumpkin out. I adhered the pumpkin to the lower right side of the card using 3M foam adhesive. I stamped the pumpkin stem in Versamark ink on brown cardstock and heat embossed it with white embossing powder. I also stamped a variety of the leaves in Versamark ink on white cardstock and heat embossed the leaves with gold embossing powder. I used the Pumpkin Lacework dies to cut all the small images out before adhering them to the pumpkin using a Tombow adhesive runner.
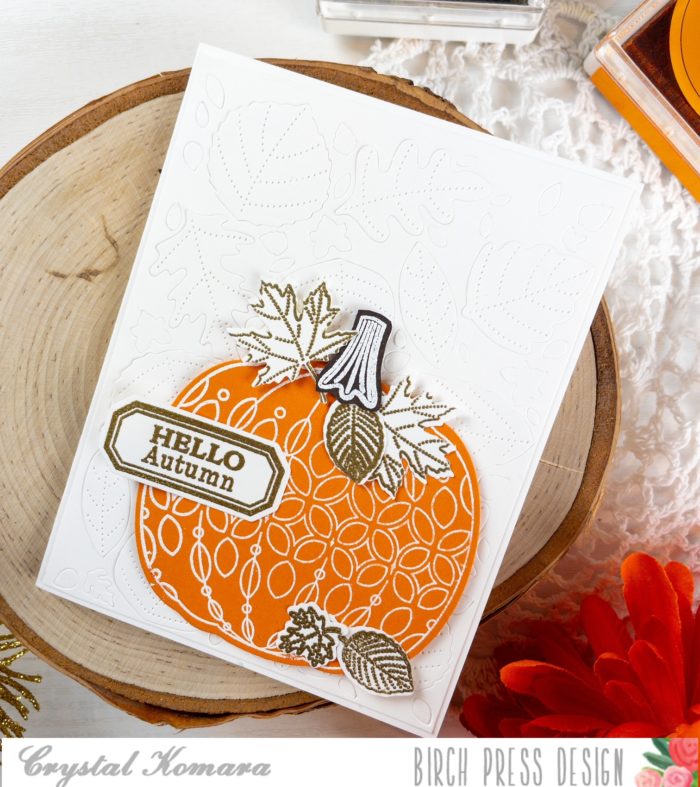
I stamped the “hello autumn” sentiment from the same Pumpkin Lacework stamp set in Versamark ink on white cardstock. I heat embossed the sentiment with gold embossing powder and used the coordinating die to cut the sentiment out. I adhered the sentiment to the left side of the pumpkin using 3M foam adhesive.
I hope today’s card will inspire YOU to create some beautiful fall things! Thanks for visiting and have a wonderfully creative day.