Category: Dilay Nacar

  • Layered Star Flowers | By Dilay Nacar

    Layered Star Flowers | By Dilay Nacar

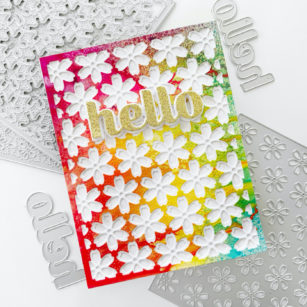
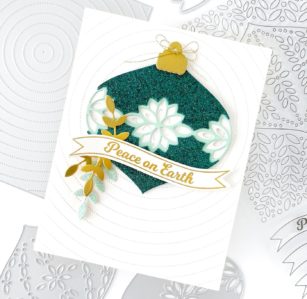
    Welcome, crafty friends! Dee here today sharing this fresh floral card featuring new dies from the recent Birch Press Design release! If you haven’t already done so, be sure to check out the new line of Contour Layers die sets available now in the shop!

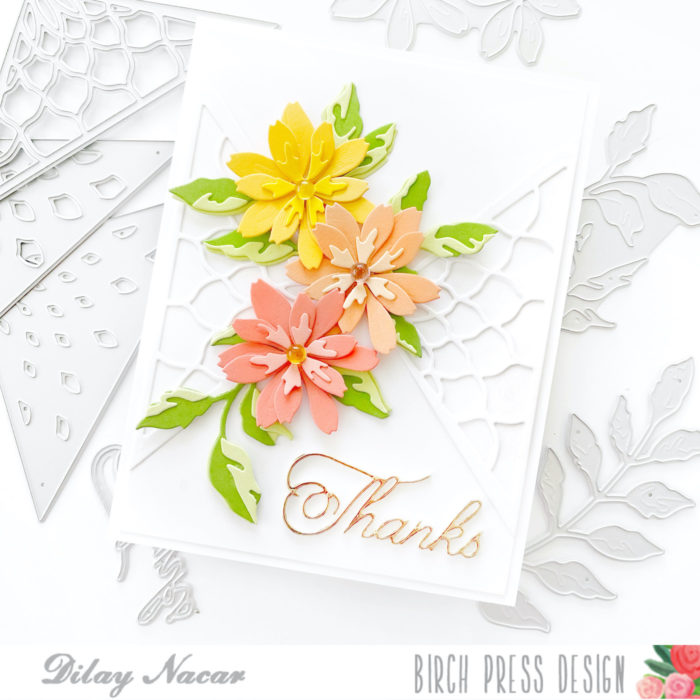
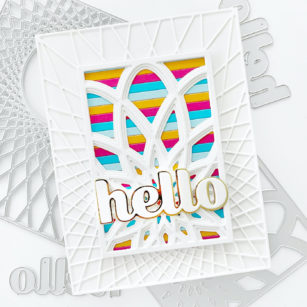
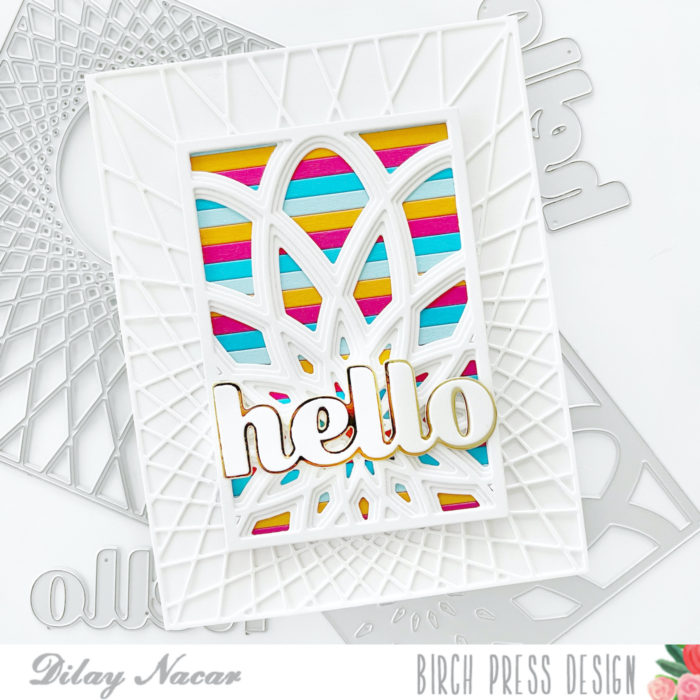
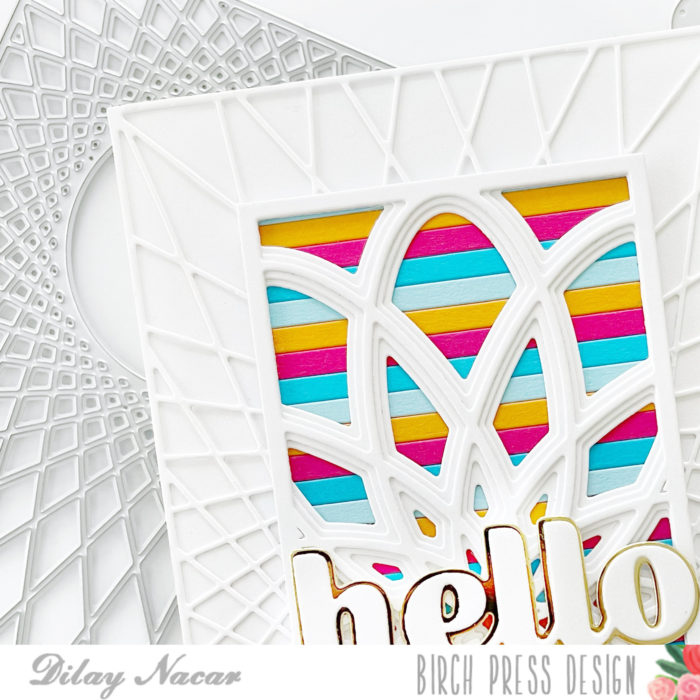
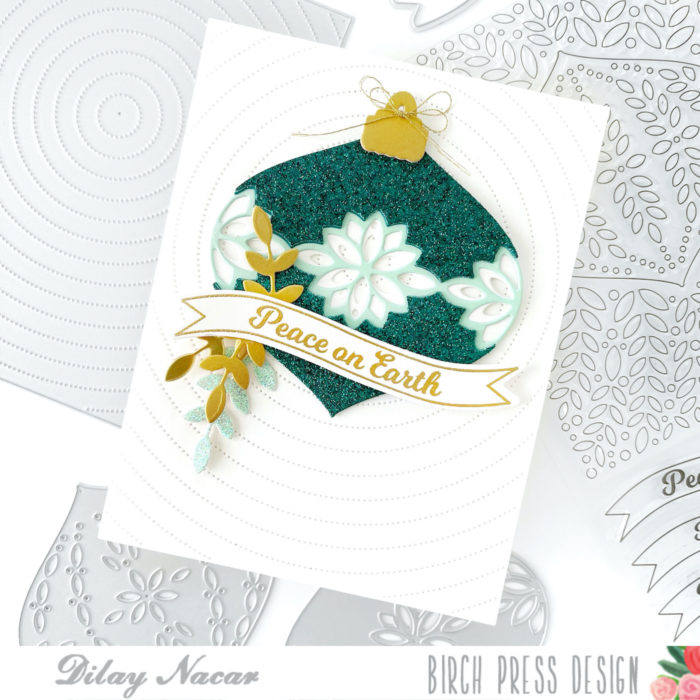
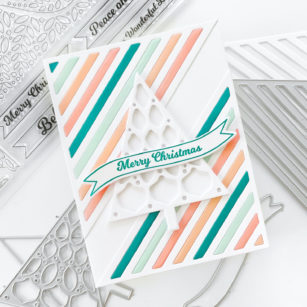
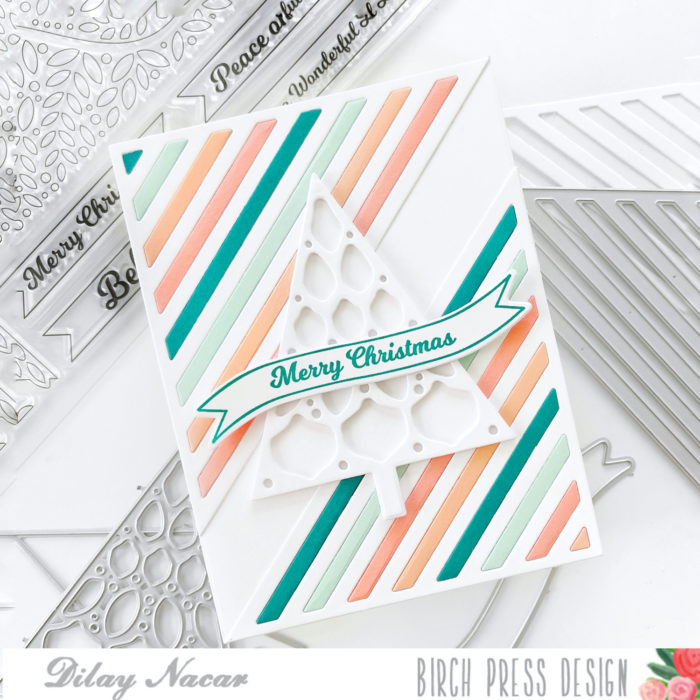
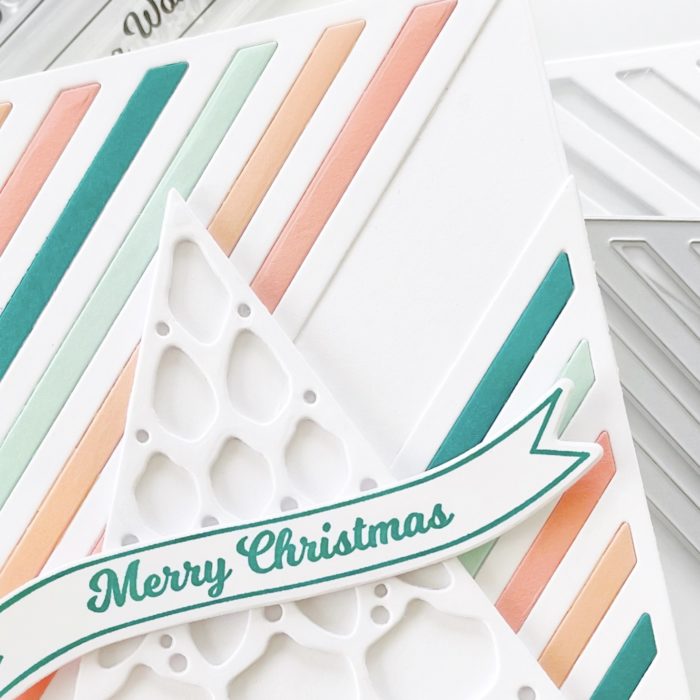
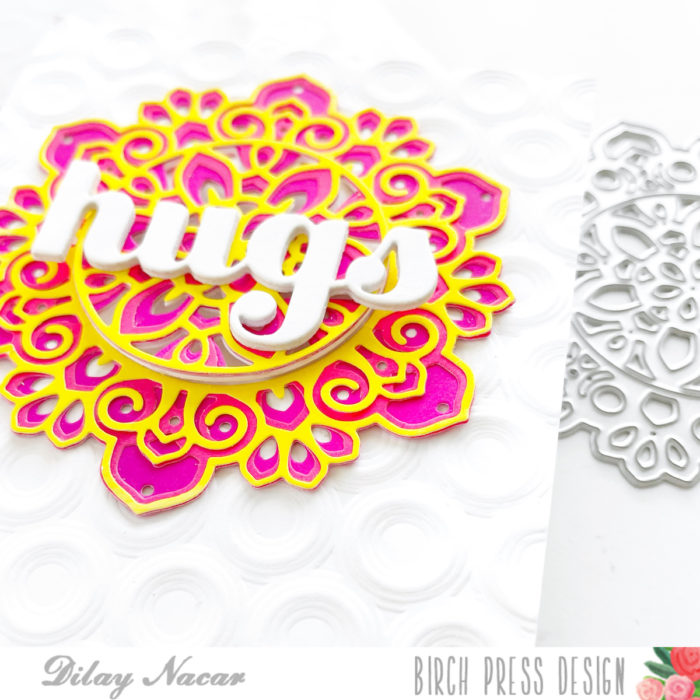
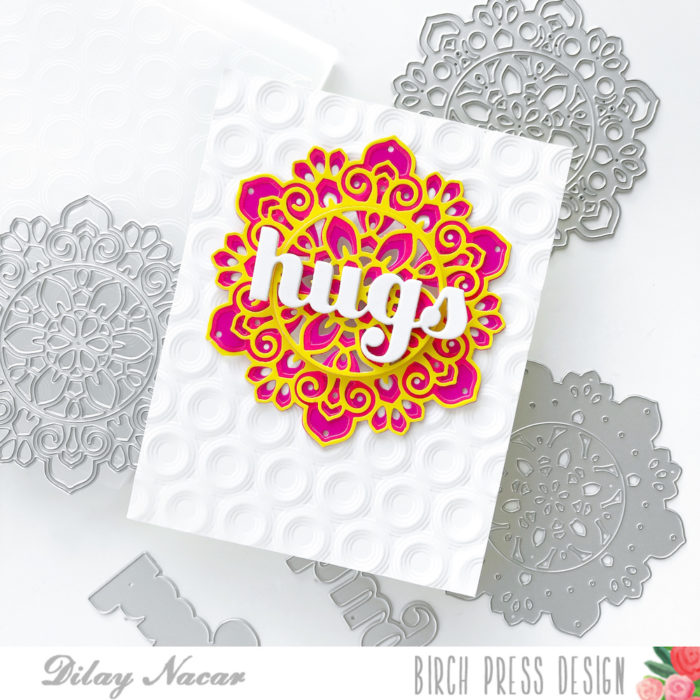
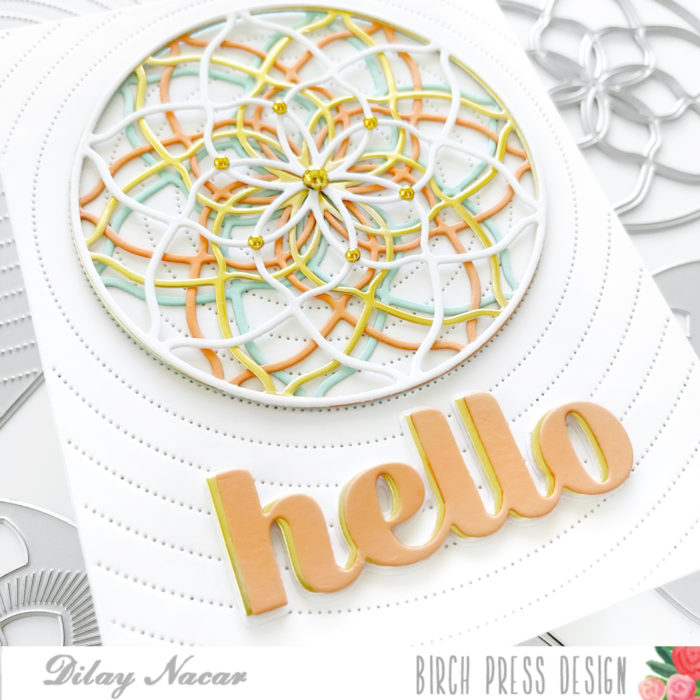
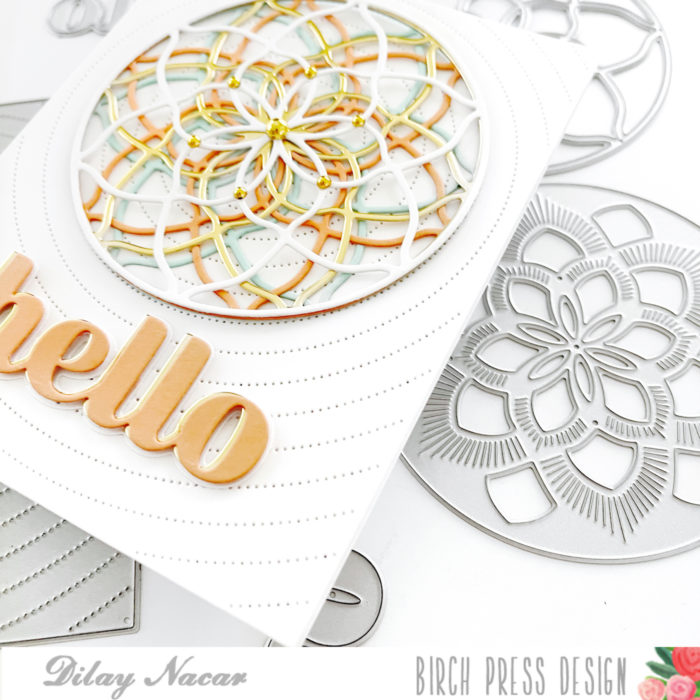
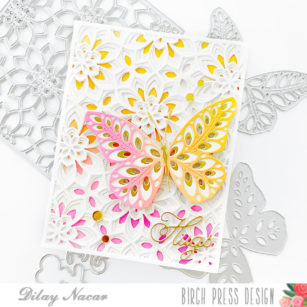
    To begin, I cut Layer A of the Petal Triangle twice and adhered them (mirrored) onto a piece of white cardstock that I cut down to 4”x 5.25”. 

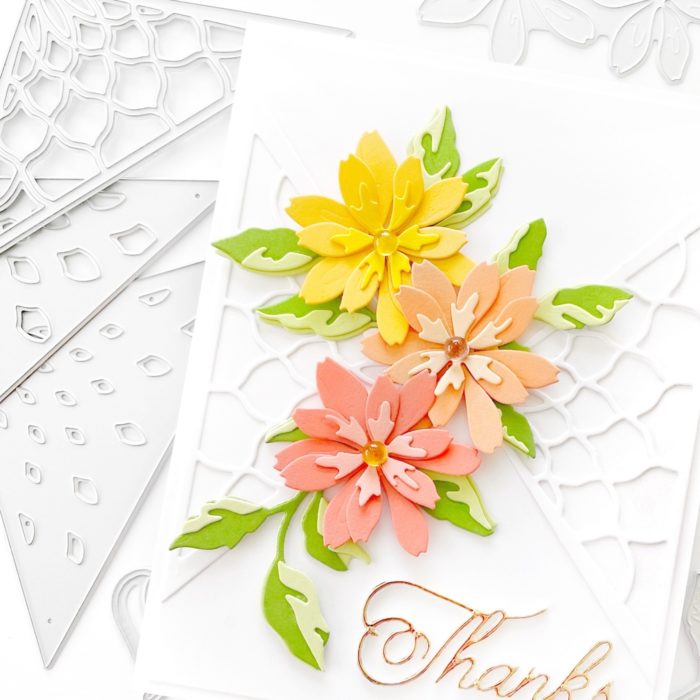
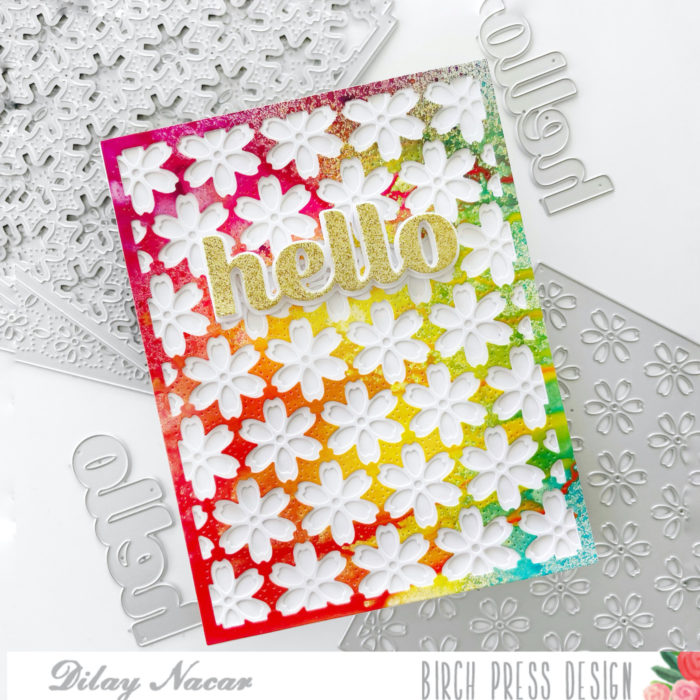
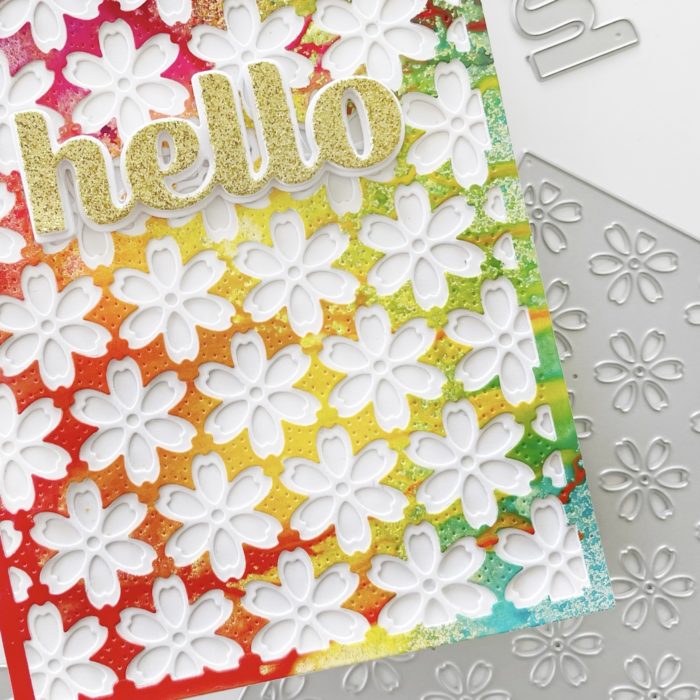
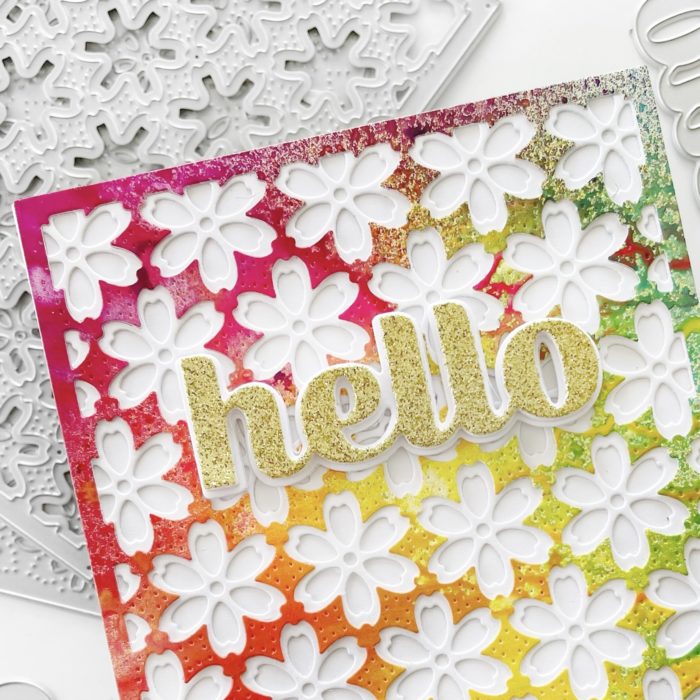
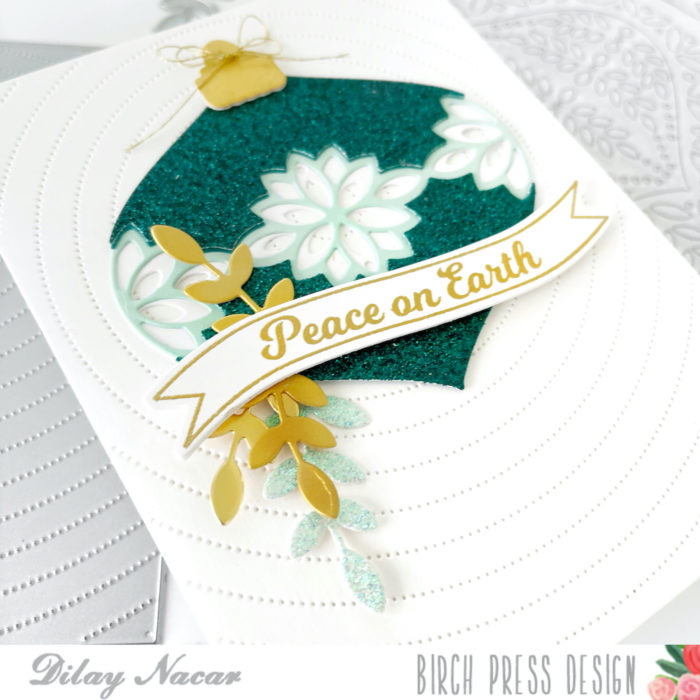
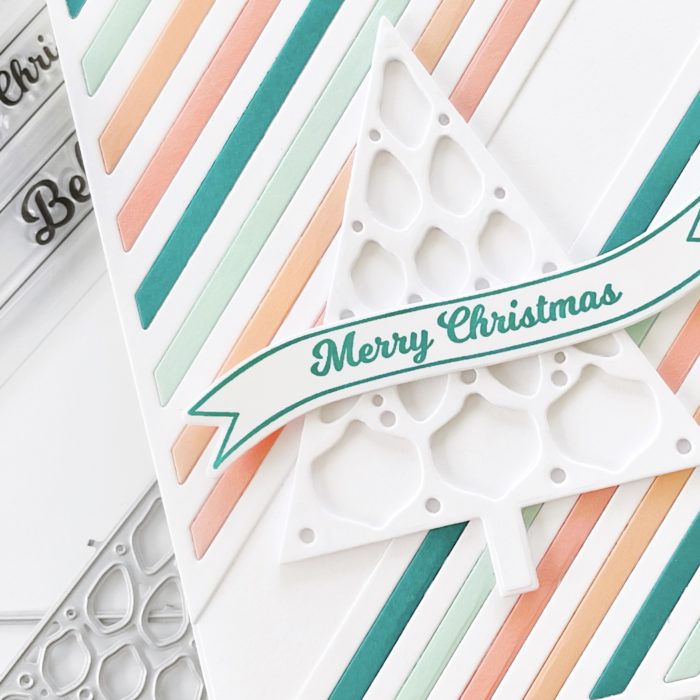
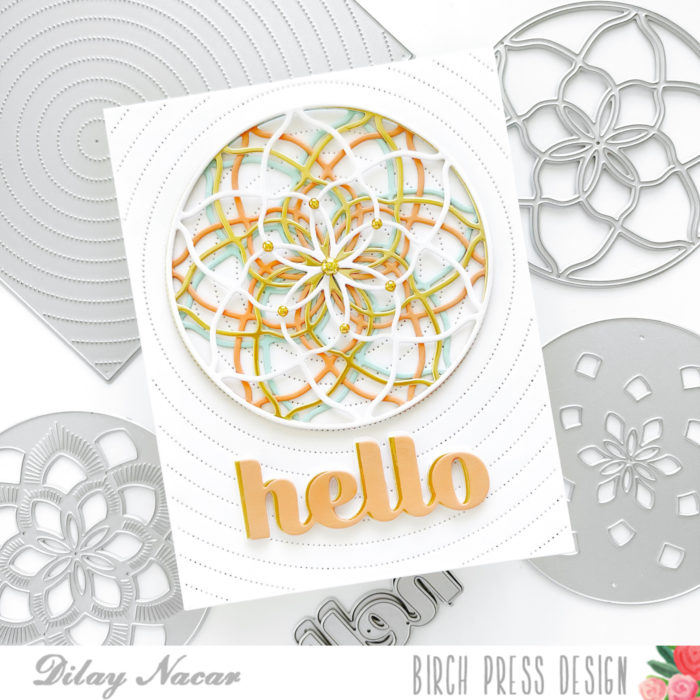
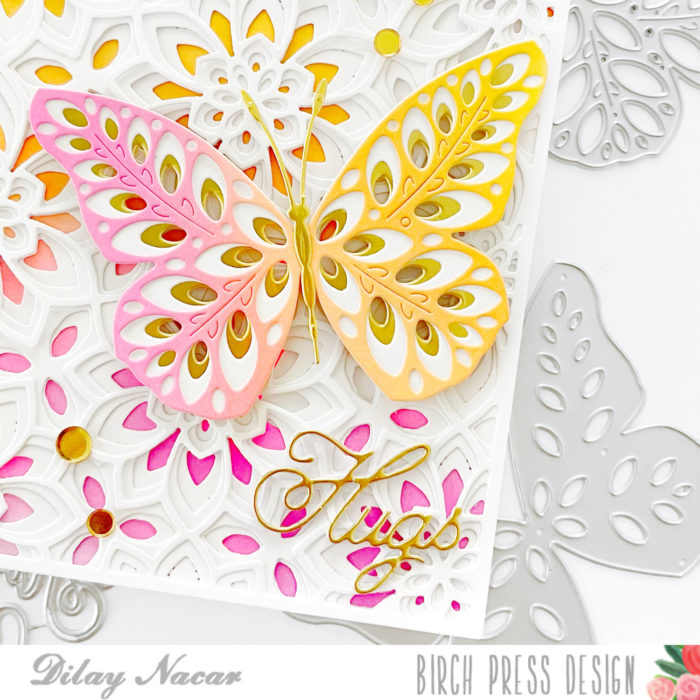
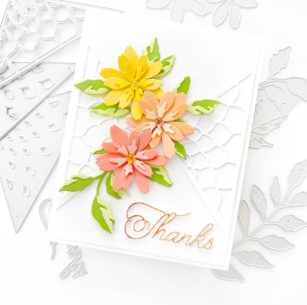
    Next, I cut the Star Flowers Contour Layers twice in each size and layered them together, repeating this step three times. I then die-cut the Fuddled Leaf Branches, assembled them, and adhered them onto the center of the panel, adding the flowers last with foam tape for added dimension. 

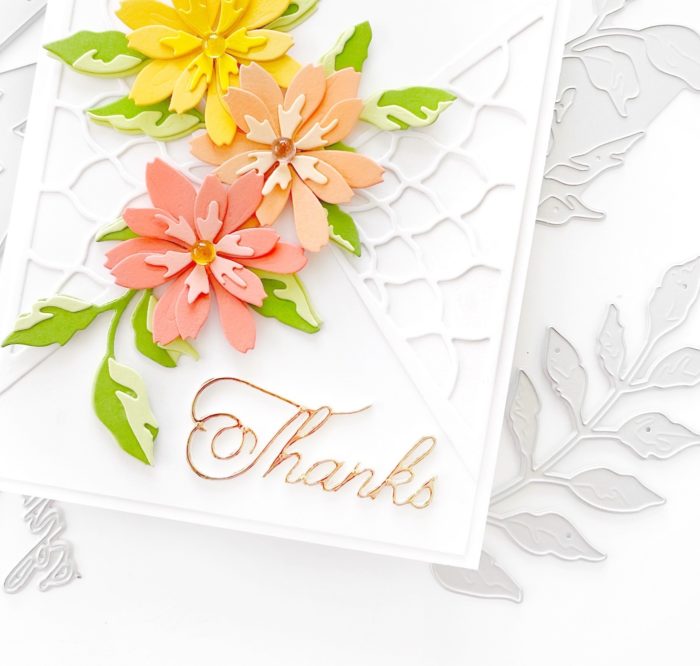
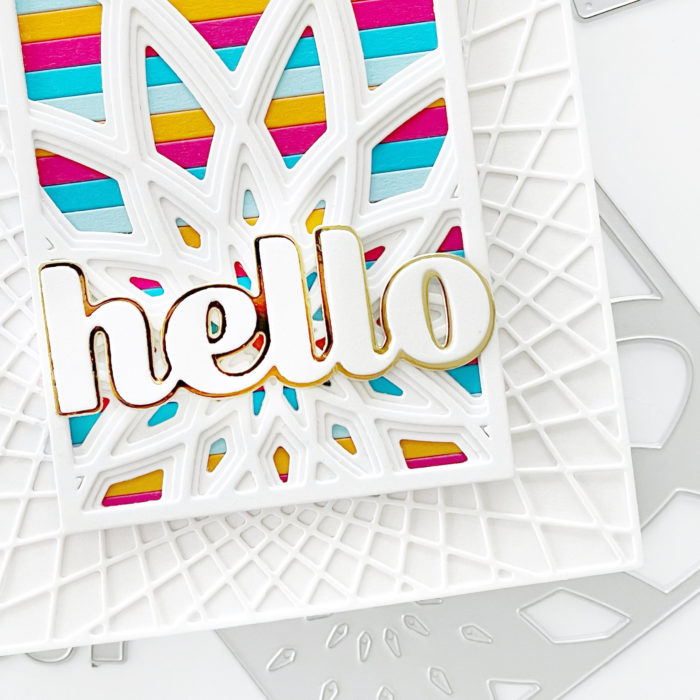
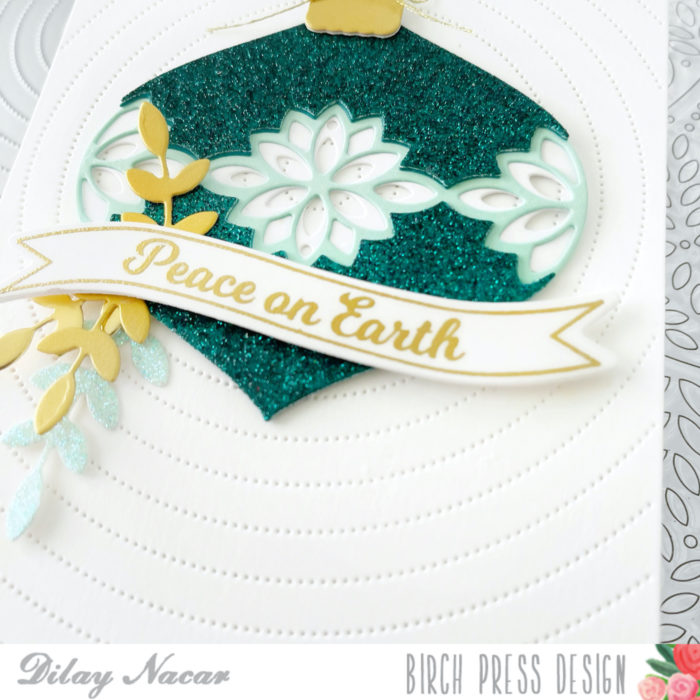
    For the sentiment, I die cut the Handwritten Thanks in gold foil cardstock and adhered it to the card. As a finishing touch, I added embellishments in coordinating colors to the center of each flower! 

    I hope you liked today’s card! Thanks so much for stopping by, friends!

  • Vibrant Flora Hello | By Dilay Nacar

    Vibrant Flora Hello | By Dilay Nacar

    Hello and welcome back, friends! Dee here today sharing this fun and vibrant card featuring the new Flora Layer Plate and Big Sugar Script Hello dies! 

    To begin, I cut the Flora Layer Plate dies (layers A and B only) in white, then layer A once more from a background I created with acrylics sprays. For this, I used Dina Wakley Gloss Sprays in rainbow colors for a quick and easy vibrant background! I then stacked and adhered them together and onto an A2-sized top folding card base.

    I die cut the sentiment from the Big Sugar Script Hello in gold glitter cardstock and and the coordinating shadow layer in white, adhered them together then onto the center of the card! 

    I hope you enjoyed this card and are inspired to create! Thank you so much for joining me today!


    Supplies


  • Striped Dazzle Mini Frame | By Dilay Nacar

    Striped Dazzle Mini Frame | By Dilay Nacar

    Hello, friends! Hope everyone had a wonderful holiday and is ready to ring in the new year! Dee here today sharing a card that features a few of my favorite dies and some colorful stripes! Let’s get started!

    To begin, I cut the String Art Frame die and adhered it onto an A2-sized card base. Next, I die cut the Dazzle Mini Frame layers, adhered them together, then adhered 1/8” strips cut from multiple colors of cardstock (trimming off the excess). To finish the panel, I adhered the striped frame over top of the base, covering the circle. 

    For the sentiment, I die cut the Big Sugar Scrip Hello in white and the shadow in gold and adhered them together then onto the frame.

    Thank you so much for joining me today and Happy New Year, everyone!

  • Peace on Earth | By Dilay Nacar

    Peace on Earth | By Dilay Nacar

    Hello, friends! Dee here today sharing this clean and simple design that’s perfect for those last-minute holiday cards! 

    To begin, I die cut the Pinpoint Radial background plate in white cardstock then die cut the Flicker Ornament layer dies in shades of solid green and green glitter cardstock. Once complete, I adhered the layers together then onto the center of the background. 

    For the sentiment, ornament topper, and leaves, I used the Christmas Ornament and Labels stamp set and coordinating dies. I gold embossed the sentiment and adhered it to the background with foam adhesive, then cut a few stems to tuck in behind the sentiment. To finish, I die cut the topper in gold, adhered it to the top of the ornament, and added a metallic thread bow! 

    Thank you so much for stopping by today! I hope that everyone has a happy and healthy holiday! 

  • Linear Triangle Christmas | By Dilay Nacar

    Linear Triangle Christmas | By Dilay Nacar

    Hi, friends! Dee here today sharing a fun, clean, and simple Christmas card created with the Linear Triangle die!

    I began by cutting the Linear Triangle die twice in white then multiple times in a few of my favorite colors. I adhered the white pieces to an A2-sized card base, then filled in the spaces by inlaying the strips of the other colors.

    Next, I die cut the two white tree dies from the Christmas Mandala stamp and die set (without stamping them), stacked them and adhered them to the center of the card. For the sentiment, I used the Christmas Ornament and Labels stamp set and die cut it with the coordinating banner die.

    I hope you that enjoyed this easy-to-recreate card! Thank you so much for joining me today!

  • Frosty Flake | By Dilay Nacar

    Frosty Flake | By Dilay Nacar

    Hi, friends and happy Friday! 

    Dee (@dilaynacar) here today sharing a fun snowflake card featuring one of my favorite layering dies and a background that I created using acrylic sprays and die cuts! Let’s get started!

    To begin, I took an extra background that I had previously created and cut it with the Pinpoint Radial background die (you can use any background that you like!) Next, I die cut three of the Frosty Flake snowflake die (only Layer A), adhered them to the background, and trimmed off the excess.

    Next, I cut the Big Friends Sugar Script die with the leftover acrylic-sprayed cardstock and the shadow  die in white, then adhered them to the card using foam tape. To finish, I added a sub-sentiment from my stash and some clear sequins for a little extra sparkle!

    Thank you so much for joining me today!

  • Starburst Layers | By Dilay Nacar

    Starburst Layers | By Dilay Nacar

    Hello, friends! Dee here today to share this fun, geometric hello card! 

    To begin, I embossed a piece of A2-sized black cardstock with the Memory Box Ringadings 3D embossing folder. Next, I cut the Starburst layer die (layers A, B, and C) twice, in white, and adhered them together, forming two stars. 

    I cut both stars in half then adhered them around the edge of the black embossed panel. Next, I ink blended a small piece of white cardstock in rainbow order, then cut it with the Big Sugar Script hello die. I die cut the shadow in silver glitter cardstock, adhered it behind the rainbow hello, then adhered the completed sentiment to the card with foam adhesive. 

    As a finishing touch, I added some iridescent sequins and mounted the card onto a top-folding base. I hope you that enjoyed reading more about how I created this card! Thanks so much for joining me today, friends!

  • Tranquility Layers | By Dilay Nacar

    Tranquility Layers | By Dilay Nacar

    Welcome back! Dee here today sharing a clean and simple card with lots of white space and a pop of color! 

    To begin, I added texture to an A2-sized white card base with the Memory Box Ringadings 3D embossing folder. Next, I cut the Tranquility layering dies (frame and circle center) in three different colors: Layer A in yellow, Layer B in hot neon pink, and Layer c in dark pink/purple. 

    I adhered the frame portion to the center of the embossed panel, then adhered the circle with foam adhesive

    Next, I cut the Big Hugs Sugar Script die three times in white then stacked and adhered them together. 

    To finish, I adhered the stacked hugs to the center of the circle and mounted the card onto an A2-sized, top-folding card base. 

    Thanks so much for joining me today!

  • Pinpoint Radial Arista | By Dilay Nacar

    Pinpoint Radial Arista | By Dilay Nacar

    Welcome back, crafters! Dee here sharing a card that combines the Arista and the Pinpoint Radial plate dies for a clean and simple geometric design! Let’s get started!

    I began by cutting the Pinpoint Radial plate die with white cardstock, then die cutting Layer A of the Arista layering dies four times – once in white and three in different colored cardstock. I stacked all four together, offsetting each one, and adhered them together for a kaleidoscope effect, then adhered it to the center of the Pinpoint Radial background. 

    To finish, I cut the Big Hello Sugar Script die once in colored cardstock and once in gold, stacked and adhered them together (offset), and adhered it to the background. For a little extra shine, I added gold embellishments to the center of the Arista circle!

    Thanks so much for stopping by!

  • Butterfly Hugs | By Dilay Nacar

    Butterfly Hugs | By Dilay Nacar

    Hi friends and welcome back! Dee here today sharing a card featuring the Viola and Eloquent layered dies that I combined with a simple ink blending combo for pops of color!

    To begin, I first cut the Viola Plate dies (layers a, b, and c) in white, then stacked and adhered them together. Next, I watered colored two A2-panels in yellow, To begin, I cut the Viola dies (layers a, b, and c) in white, then stacked and adhered them together.

    Next, I watered-colored two A2-panels in yellow, orange, and pink, adhering one panel behind the Viola layers and die cutting the other panel with layer a of the Eloquent butterfly set. I then die cut layers b and c of the Eloquent set in gold and white, then adhered the three layers together.

    I then die cut layer b and c of the Eloquent set in gold and white then adhered the three layers together. To finish the butterfly, I die cut the body of the butterfly from the Butterfly Basics set in gold and adhered it to the center. 

    Once the layers were complete, I adhered the butterfly to the front with foam adhesive. To finish, I die cut the sentiment from the Handwritten Hugs in gold, added gold embellishments, and mounted the panel onto an A2-sized card base. 

    Thanks so much for joining me today!