Category: Felt

  • Cozy Kitty by Rosemary Dennis

    Cozy Kitty
    by Rosemary Dennis

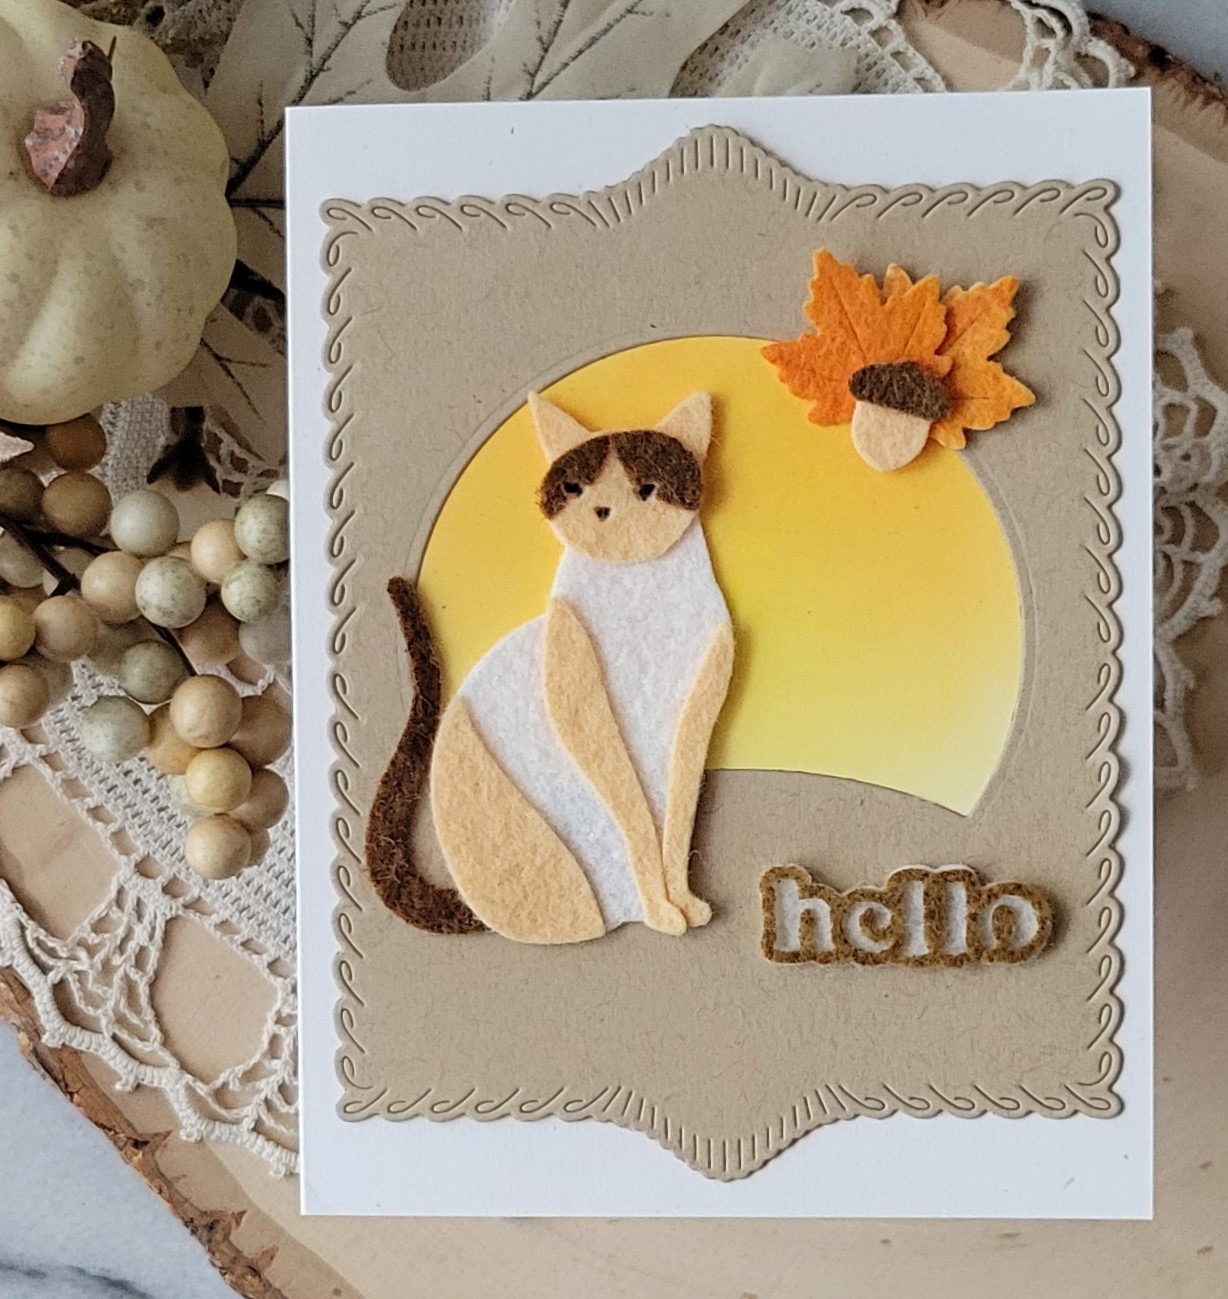
    Hello everyone! Rosemary here on the blog today. September is upon us. The days are getting shorter, the air crisper and all things cozy are the rage! With that in mind, I decided to create a cozy kitty using the new Block Print Kitty die. Let’s take a look at what I made.
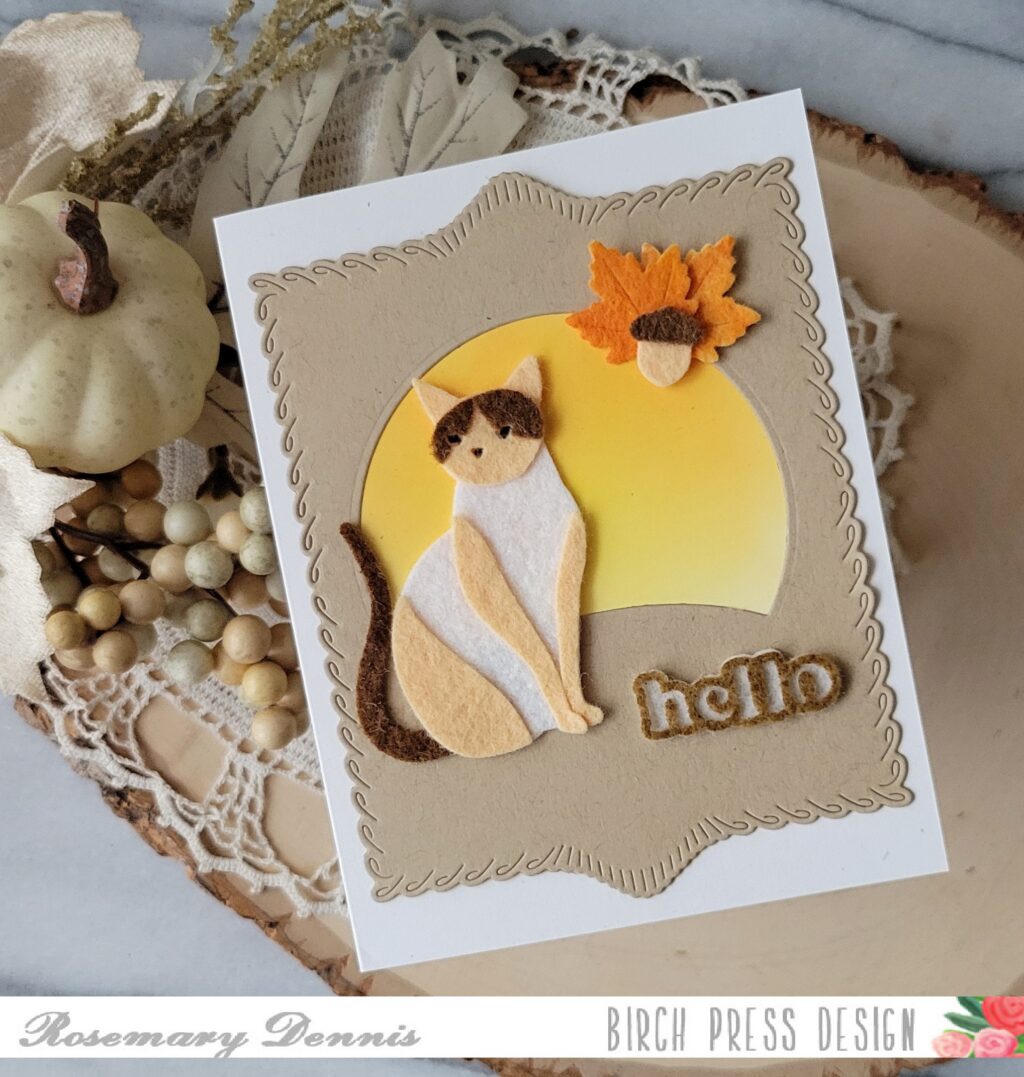
    When I originally started this card I thought I would make my kitty out of cardstock, but then I remembered that I had some small squares of felt that would be perfect to die cut the pieces from. My felt squares were the off white and tan so in order to get the darker brown color I simply sprayed an off white piece with some distress spray stain in Gathered Twigs.
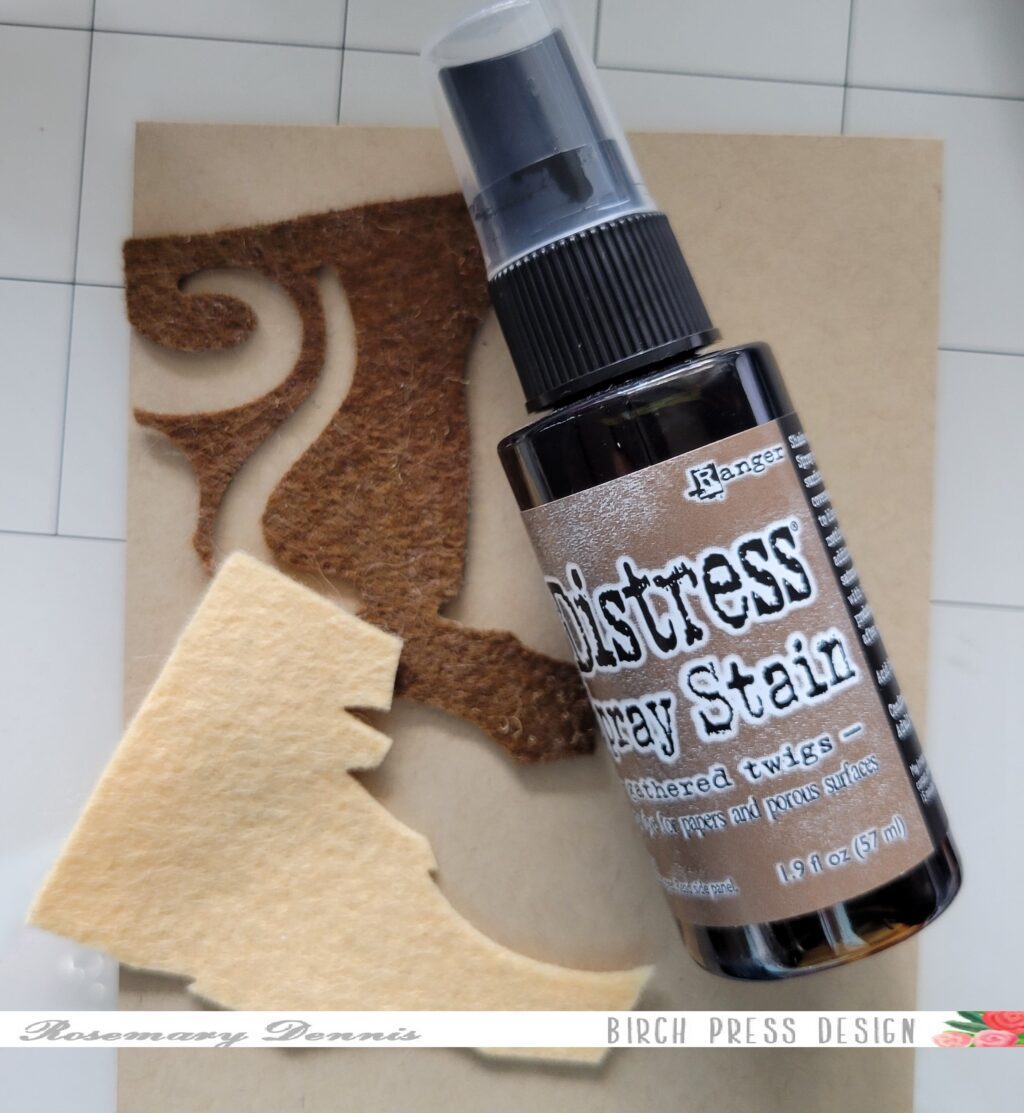
    The photo shows the felt square after I did the die cutting. In order to get the felt to dry faster I did use my heat tool and it worked like a charm!
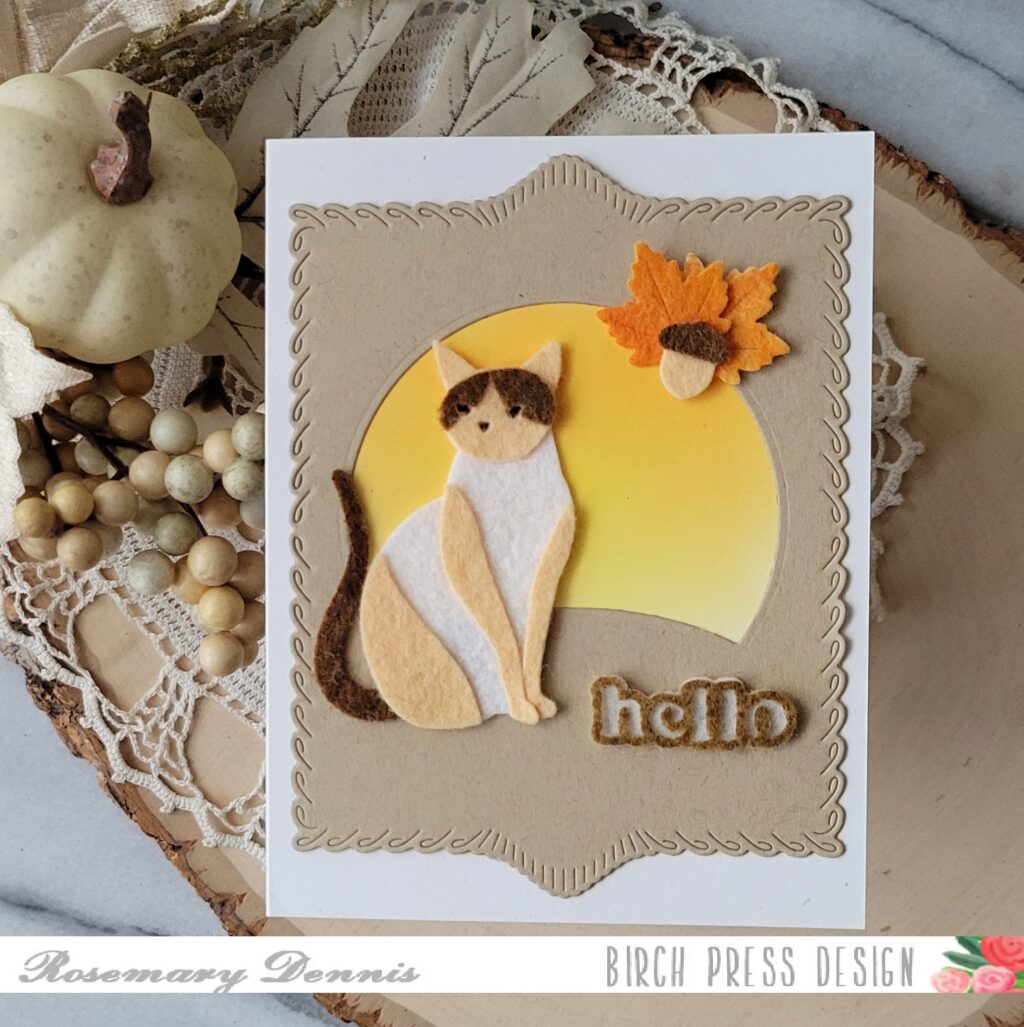
    Once I had all my felt pieces cut I assembled my kitty using liquid adhesive. I tried not to put too much on the felt pieces so that I wouldn’t have glue showing through. Then I set my kitty aside to dry. I used scraps to die cut the word Hello using the Hello Vintage Sentiments die set. The top layer of the word did get a little stretched out, but I was able to push it back in to shape.
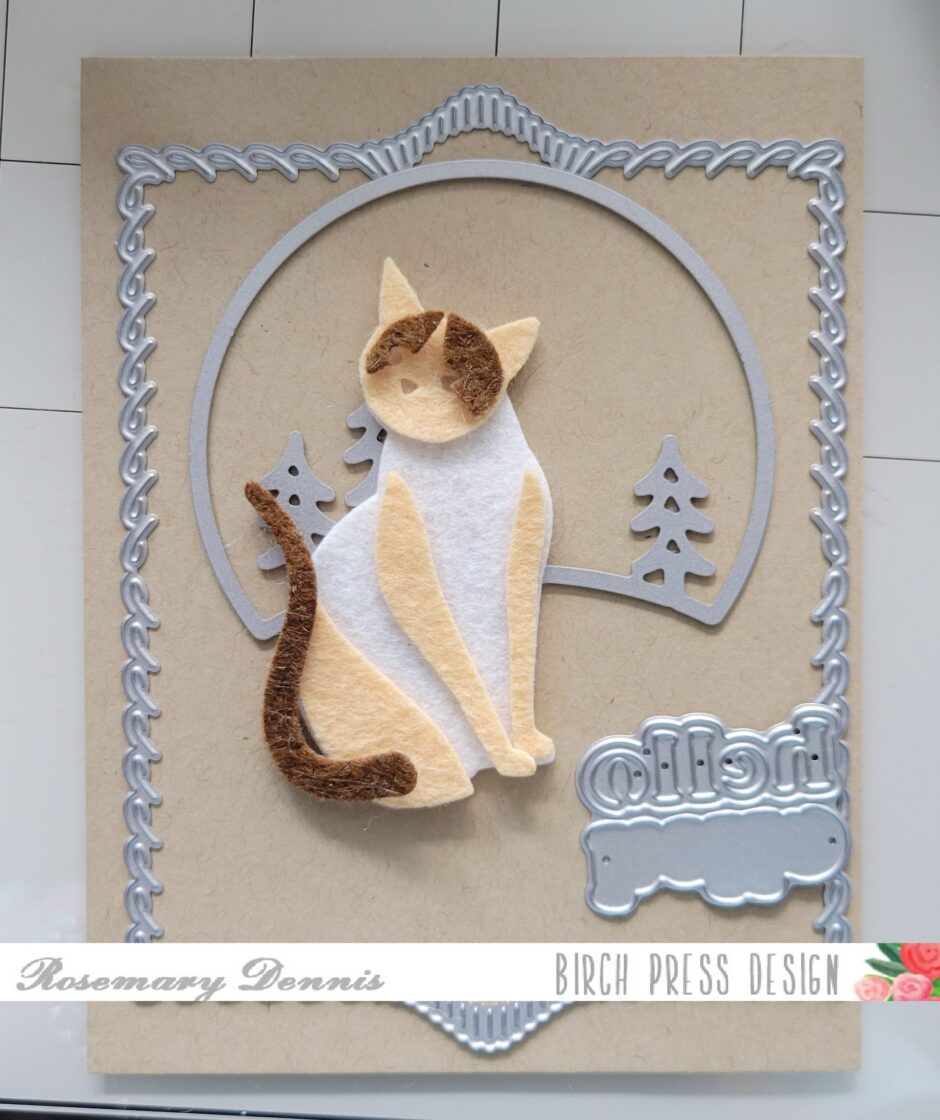
    The above photo shows me arranging the other dies I planned to use to finish the card, as well as the felt kitty. And once, again, I used the Block Print Starry Night die set to create a backdrop for my kitty. I die cut the kraft panel with the largest Loop Stitch Frames and then die cut the panel with the Starry Night die. I inkblended yellow and orange ink on to off white cardstock and placed that behind the opening after I trimmed off the trees.
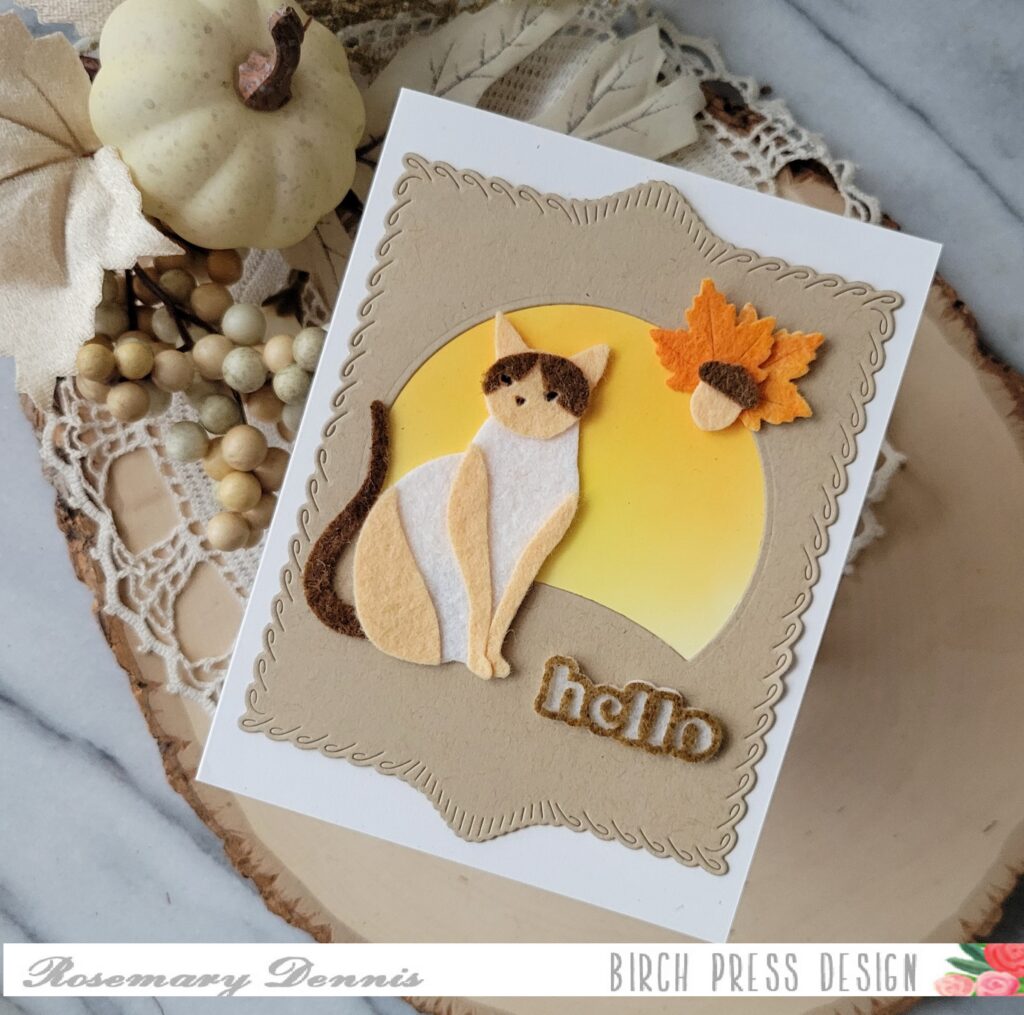
    I assembled the card using liquid adhesive and then realized that I needed a little something more. So I used a Spiced Marmalade spray stain on a piece of tan felt, dried it and then die cut two leaves using the Fall Leaves die set. The acorn was diecut from scraps of the brown and tan felt. I adhered them together and then added them to my card using liquid adhesive. I love the extra touch the little cluster brings. The last thing I did was use a black pen with a very fine tip to color in the eyes and nose of my cat.

    I hope you enjoyed my cozy kitty and it inspires you to try using felt on your cards. Thanks for stopping by and have a cozy day!
  • Boho-Inspired Cards with Felt Die Cut Inlay | By Leigh Houston

    Boho-Inspired Cards with Felt Die Cut Inlay | By Leigh Houston

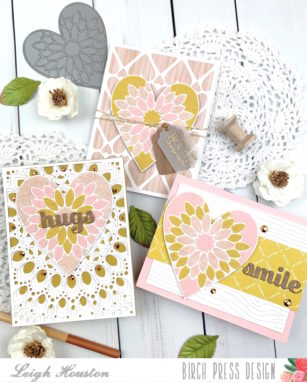
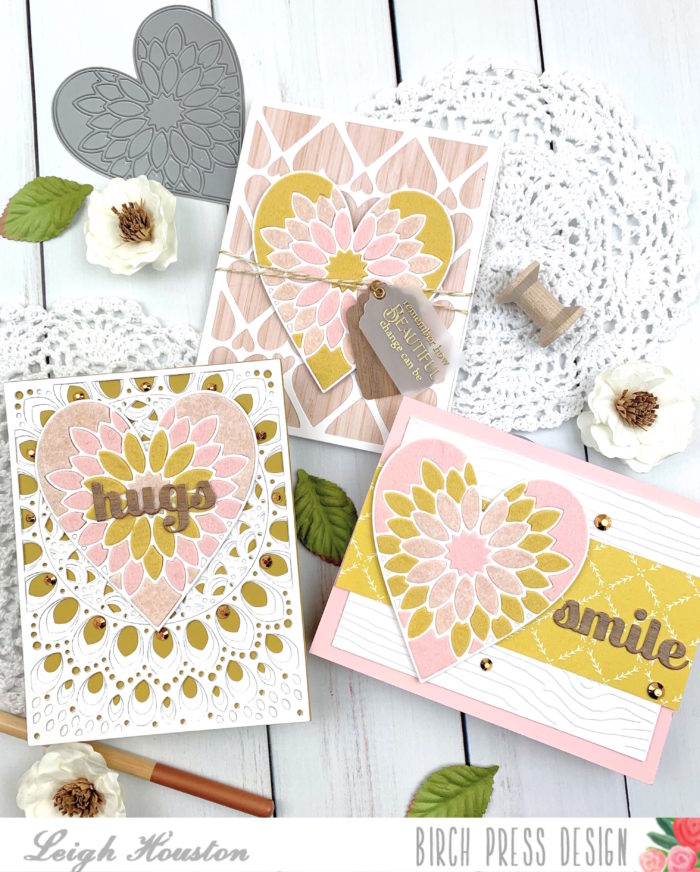
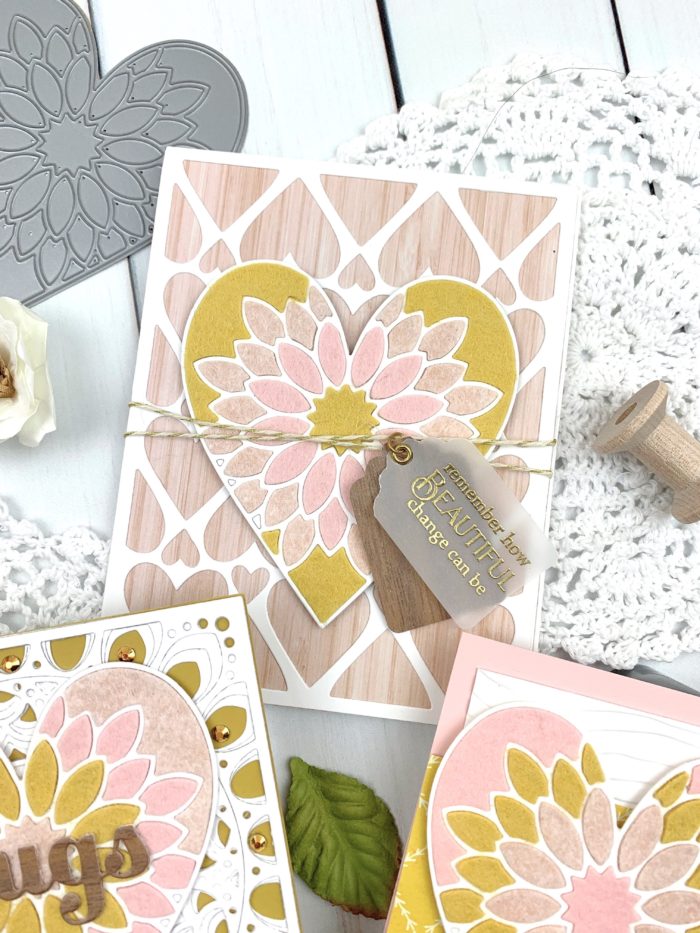
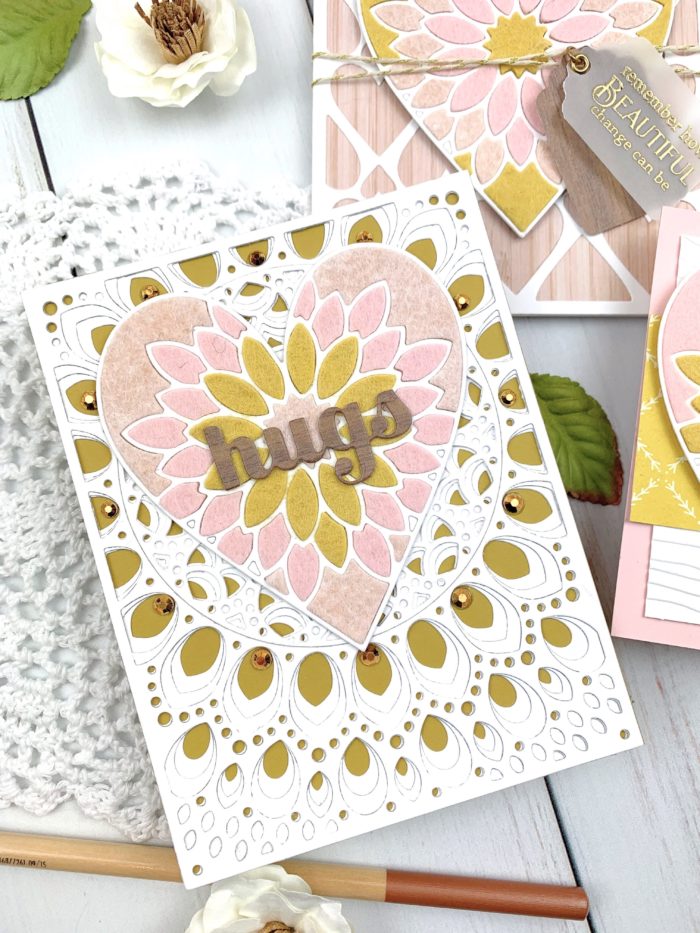
    Hello, friends! I am so excited to be sharing these cards made with Birch Press Designs’s Dahlia Heart Layering Die set. Keep reading to see how easy it was to create these die cut cards with felt!

    Over the past months where we’ve been spending more time at home than normal, my daughter has re-discovered her crafty side and the joy of making and giving handmade gifts. She is into all things boho, and I was inspired by her favorite color palette in making this trio of cards made with wool felt so she could give these cards to her friends.

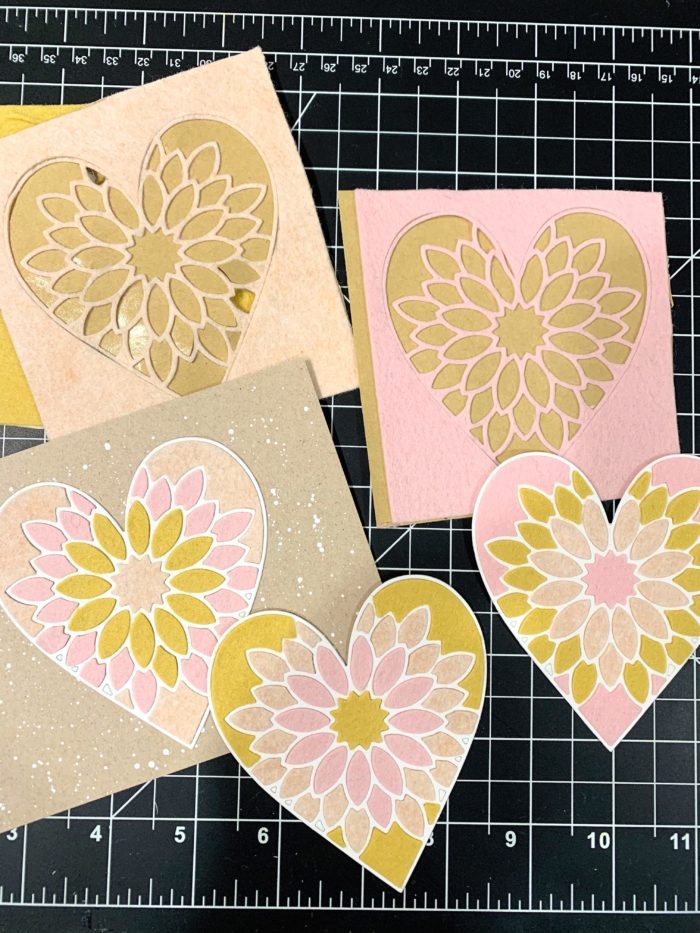
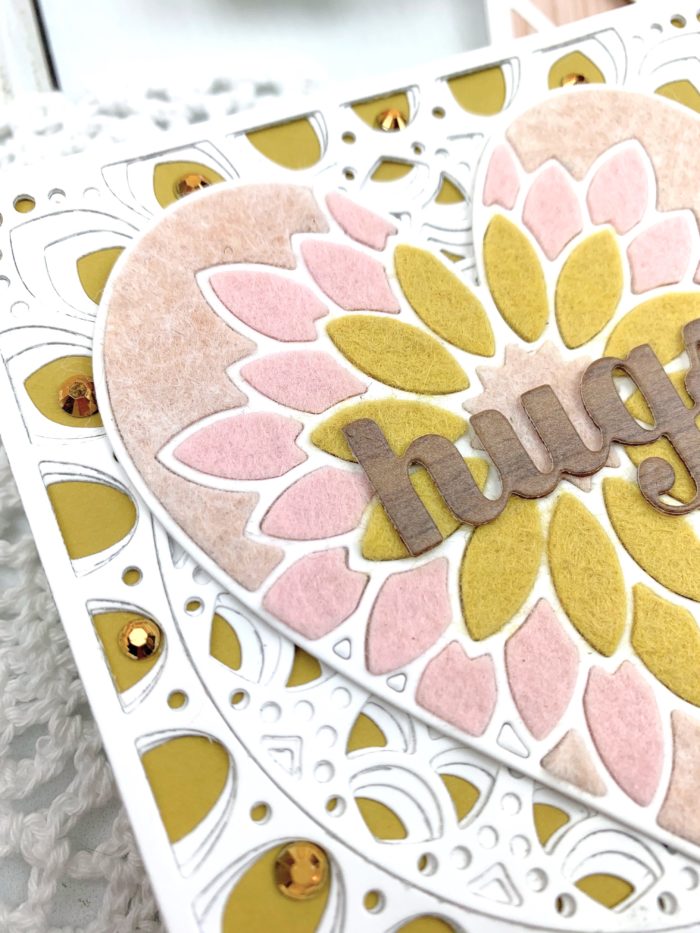
    I started my cards by selecting three shades of wool felt in pink, peach and yellow (I recommend using a good quality wool felt for this). I adhered a sheet of double-sided adhesive to the back of each piece, and ran them through my die cut machine with Birch Press Designs’s Dahlia Heart Layer A die. I ran each piece through twice to make sure I got a nice clean cut through my felt (a precision base plate is also helpful when die cutting wool felt). I then die cut the same shape out of heavy 110# white cardstock three times and adhered each one to a base. After that, I took individual pieces of felt and inlaid them into the cardstock bases. This went quicker than you’d think (about the length of one bad TV show LOL), and how great is it that you get three different hearts out of this one process? Not to mention that the soft texture of the die cuts lends such a unique and special touch to the cards.

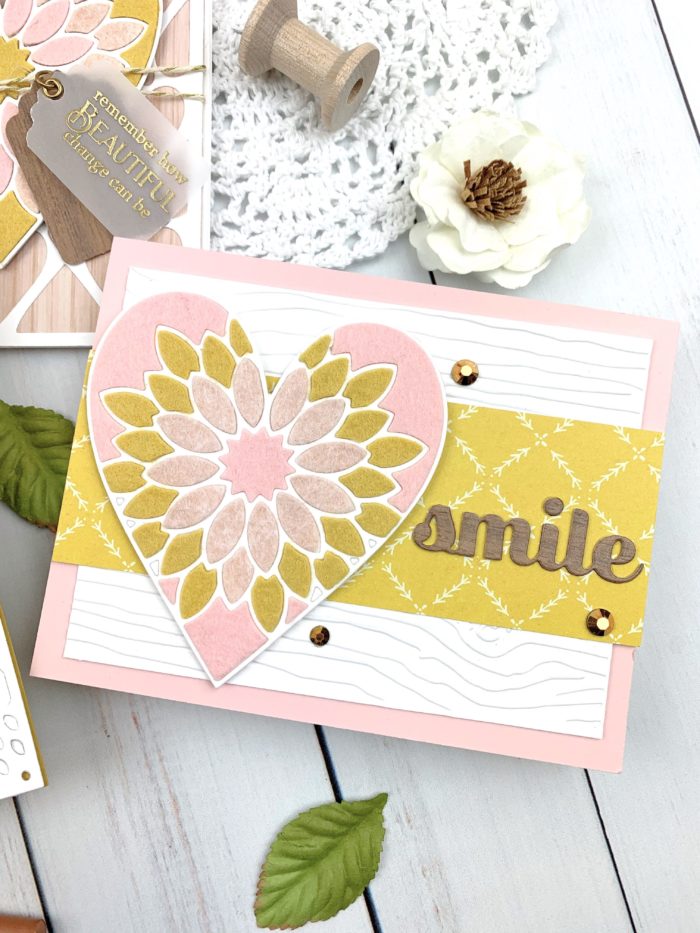
    After finishing my die cut inlay, I wanted to create three distinctive card designs to showcase these soft and pretty hearts. For the first, I adhered a strip of coordinating patterned paper to white woodgrain-embossed cardstock and attached the heart to the left of the panel. I cut my sentiment from Birch Press’s Smile Sugar Script die from woodgrain patterned paper and added a few gold gems to finish the card.

    For my second card, I cut a white panel from Birch Press’s Amour Layer A die and adhered it to a base I cut from woodgrain paper. I adhered my card on top, wrapping it with twine for some more texture. I stamped my sentiment from Poppystamps’s Greeting Basics stamp set onto vellum, embossing it in gold and cutting it out in a tag shape (and cutting out an identical tag shape from dark woodgrain cardstock as a base). I hung the tags from the twine to finish the card.

    For my third card, I die cut all three layers from Birch Press’s Grace Layering Die set and adhered them to a deep yellow card base. I then simply adhered the heart, die cut my sentiment from the Hugs Sugar Script die, and added some gems for a little added sparkle.

    I can’t tell you how much fun I had making these cards! They have already been confiscated by my daughter to give to her friends, and I can’t wait to try this technique with more dies. I hope this inspired you to try some felt in your die cut designs. Thanks so much for stopping by today, and I’ll see you again soon with more Birch Press Designs projects!


    Supplies