Greetings, friends! We can never have too many birthday cards on hand, right? Toni here sharing two birthday cards, one quite feminine and the other cheerfully unisex.
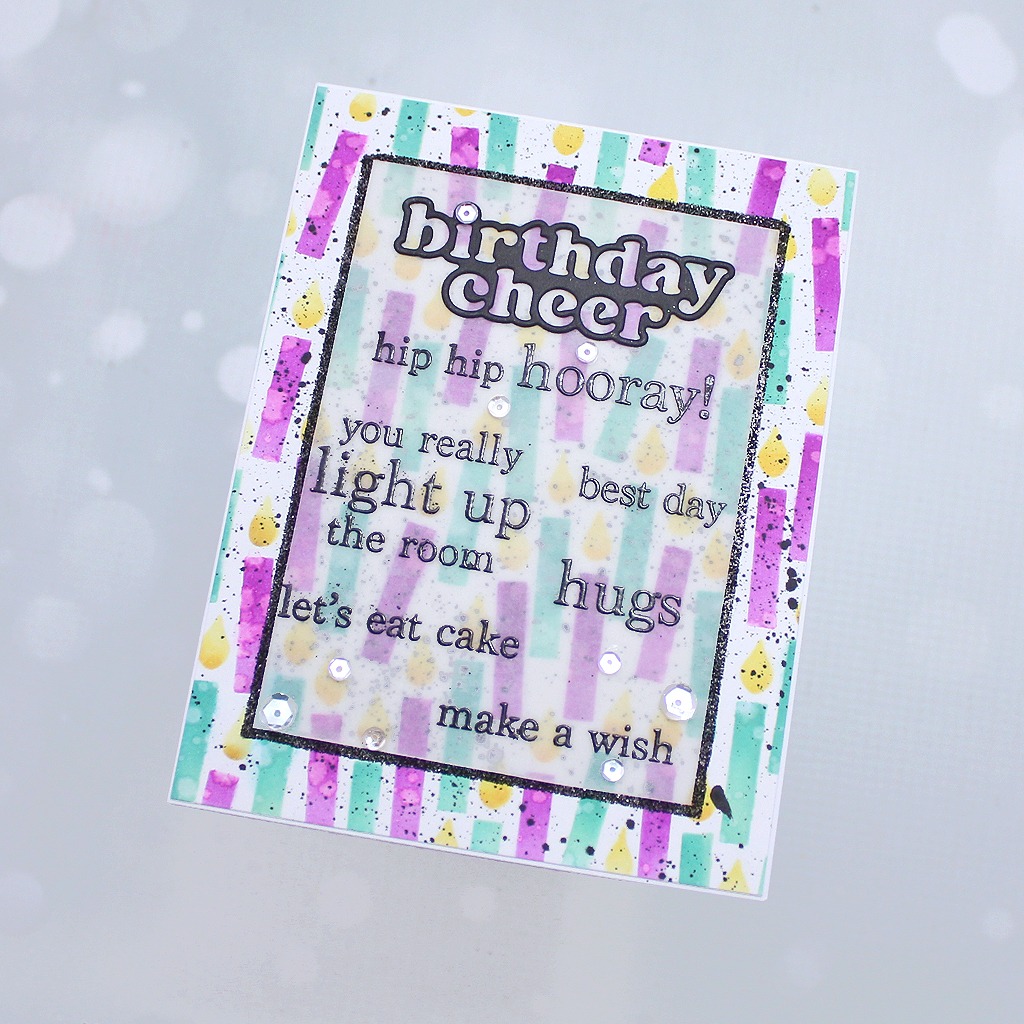
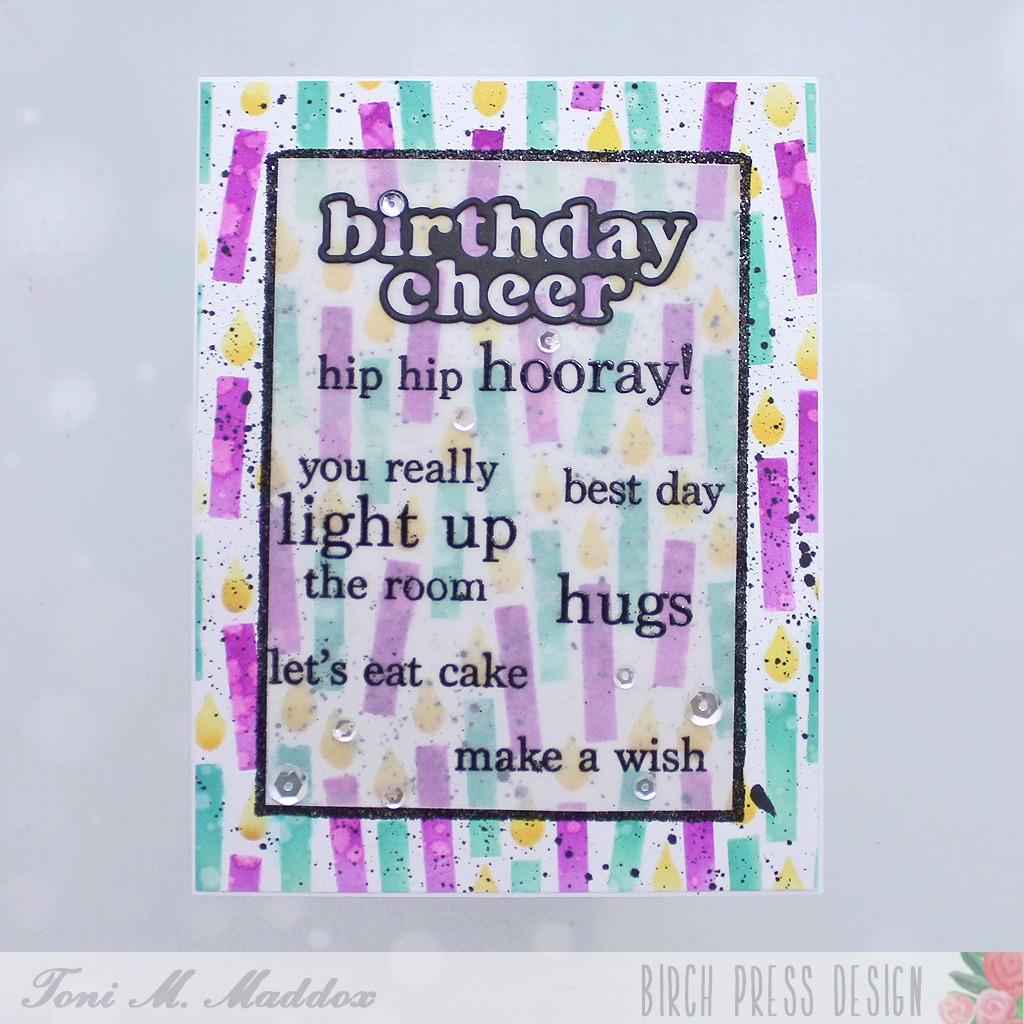
I created the background of my first card using the Birthday Candle Blowout Stencils. I spattered that with ink for a funky vibe.
Next, I arrange some of the Plain & Simple Birthday Greetings on my MISTI and embossed them on sturdy vellum. I left a space at the top to add the Plain & Simple Birthday Greetings sentiment diecut.
I covered the back of the vellum panel with double-sided tape, leaving a small margin that I burnished with black glitter.
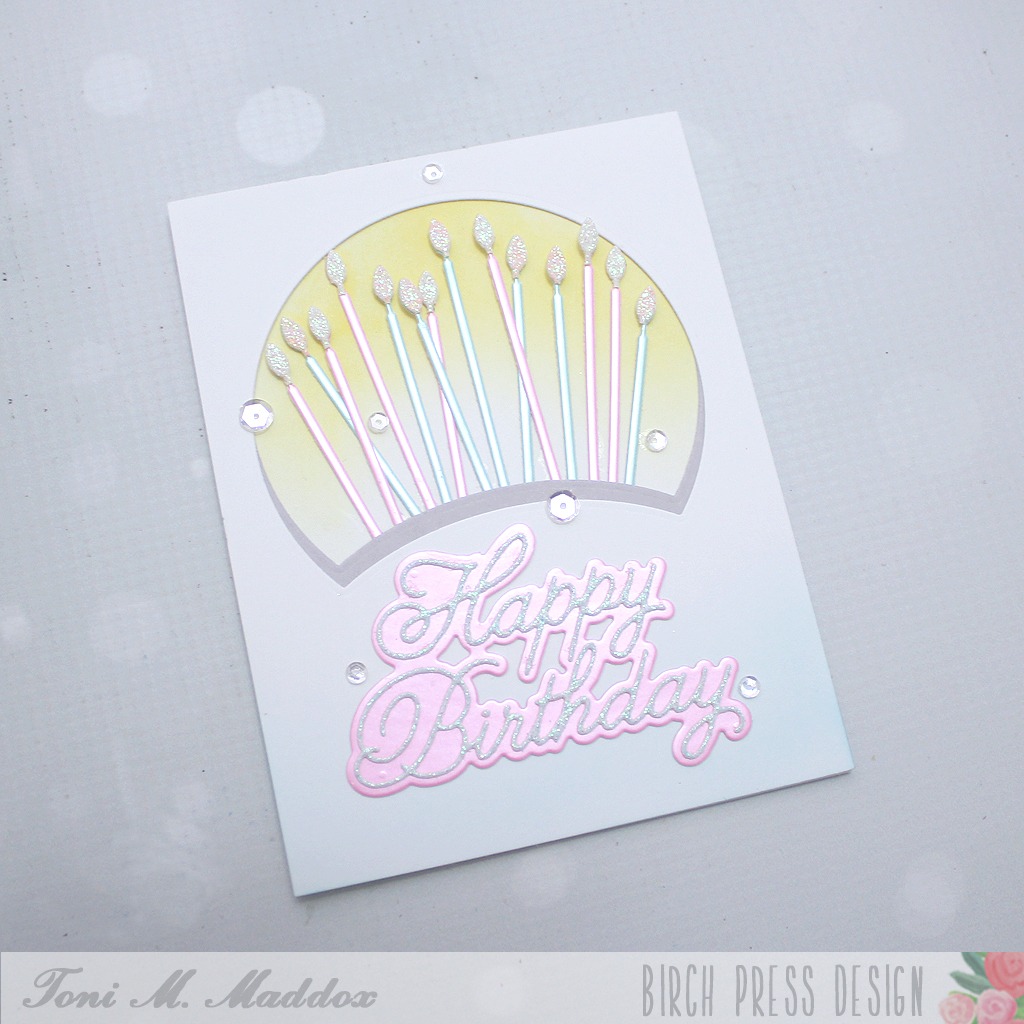
My second card definitely has a more feminine feel to it, don’t you agree?
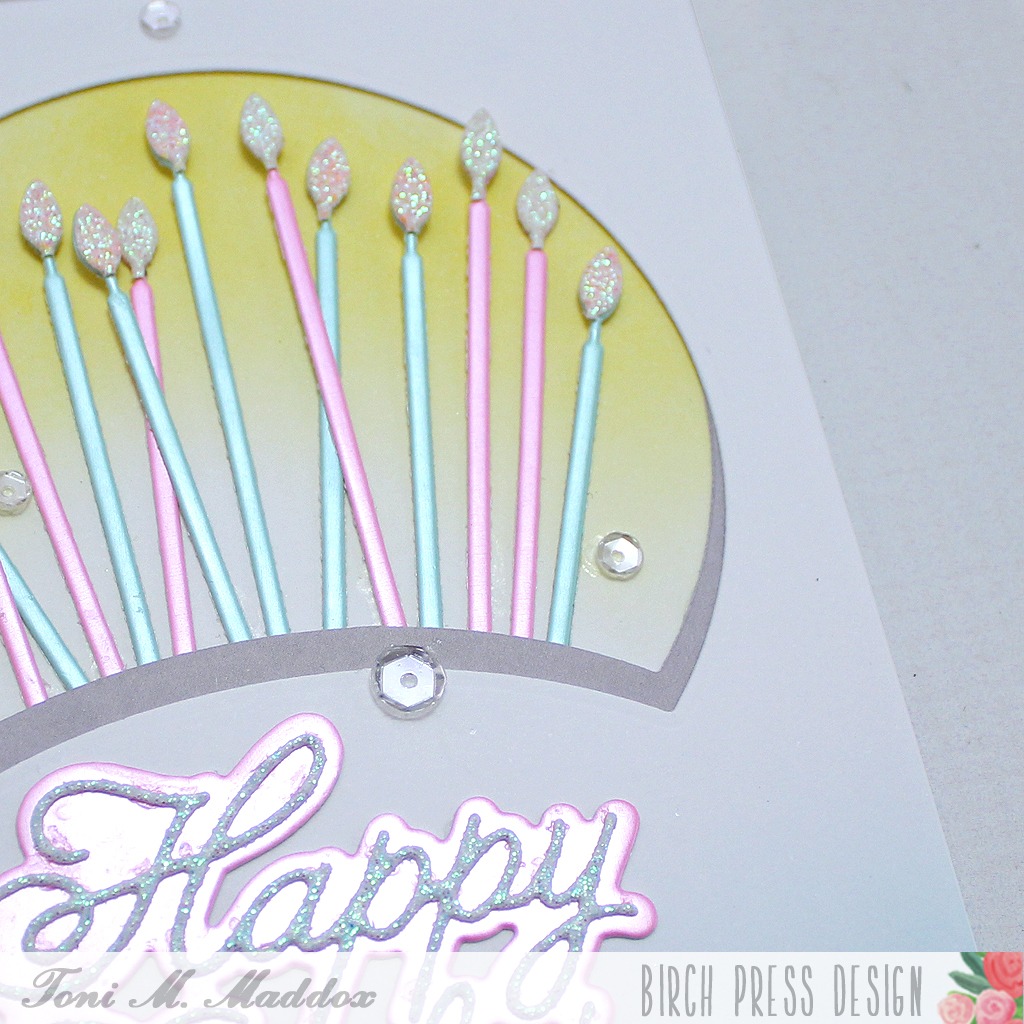
I created an aperture and shadow with the Block Print Forest Scene die. A random assortment of Tall Party Candles cut from mirror and glitter cardstocks fill the space.
Finally, I sponged a bit of blue at the bottom of the card front before adding the Handwritten Happy Birthday & Outline. Pretty!
I hope you enjoyed today’s card and have a great rest of your week!
Feel free to visit my blog, Frankie Helps Craft, for a full list of supplies used and to check out my other creations.
Happy the day after Christmas (or Boxing Day if you are British Commonwealth!)! I hope everyone had a lovely celebration with family and/or friends. Today I have a birthday card to share that combines three products from the BPD holiday release and one from the new release. Let’s have a look at what I created.
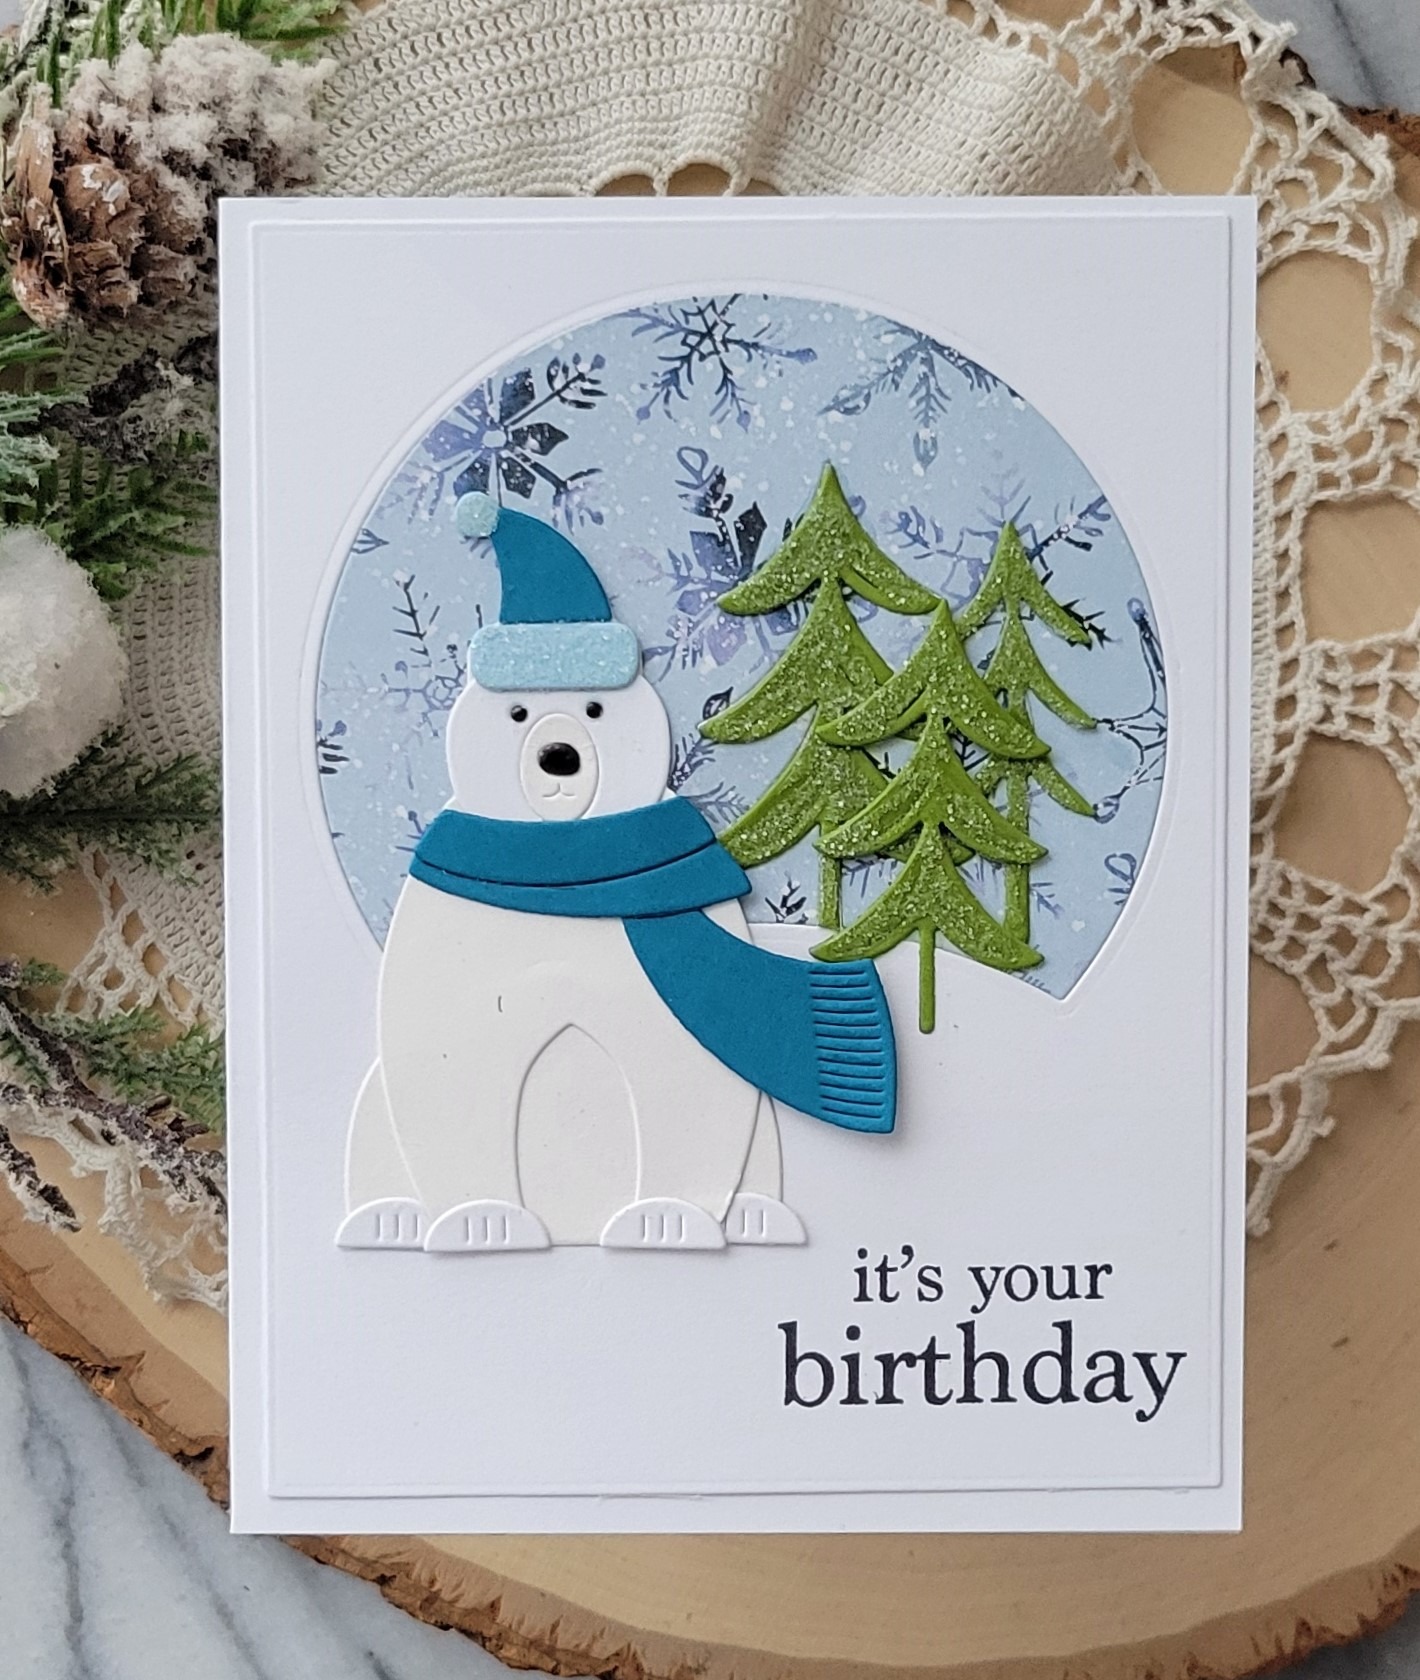
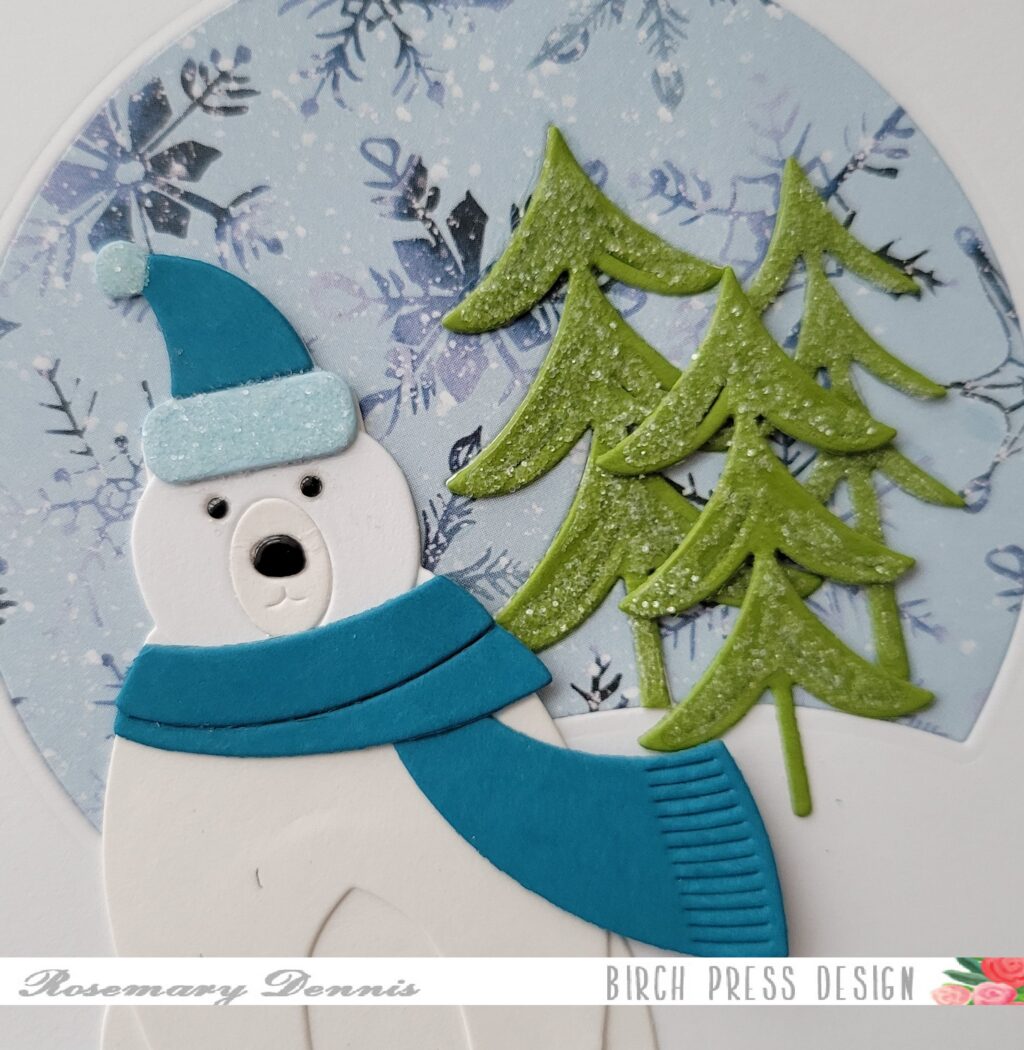
The Birch Press Design holiday/winter release included the fun little die set called Block Prink Hats and Scarves. I knew I wanted to pair this die set up with one (or more) of the fun Block Print animals in the holiday/winter release. For my card I obviously chose the Block Print Polar Bear.
Because we are now past Christmas I made the little hat and scraf using light and dark teal cardstocks. The polar bear was die cut from white and a soft white cardstock for just a tiny bit of contrast. I used black glossy cardstock for the nose and eyes. The glossy black cardstock and teal cardstock are from Memory Box. After adhering the hat together I added some glossy accents to the band and little pompom and then poured on Rock Candy glitter.
Once the glitter was set I assembled my little polar bear using liquid adhesive and set him aside to dry. Then I worked on my background. For that I used the Block Print Forest Scene die set. I diecut the trees from Memory Box green cardstock. I did have to trim out one of the trees because it is attached to the hill. I then die cut the scene from white cardstock and a patterned paper with snowflakes. I inlaid the patterned paper into the white cardstock panel and secured the back with lots of scotch tape.
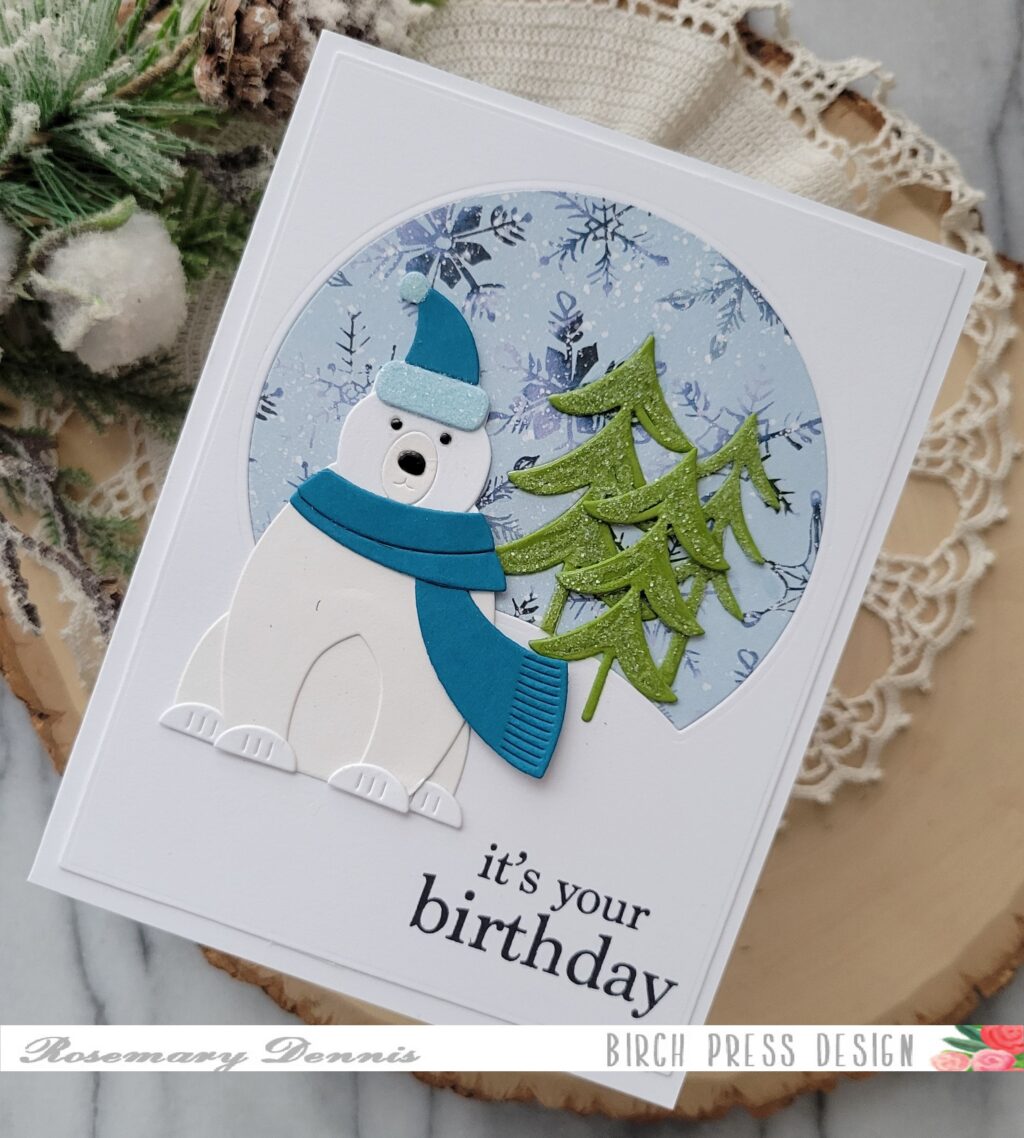
I placed the panel in my stamping tool, positioned my bear where I wanted him to be and then stamped a sentiment from the brand new Plain and Simple Birthday Greetings using black ink. I then made a card base from white cardstock and secured the panel to the card base with double sided tape.
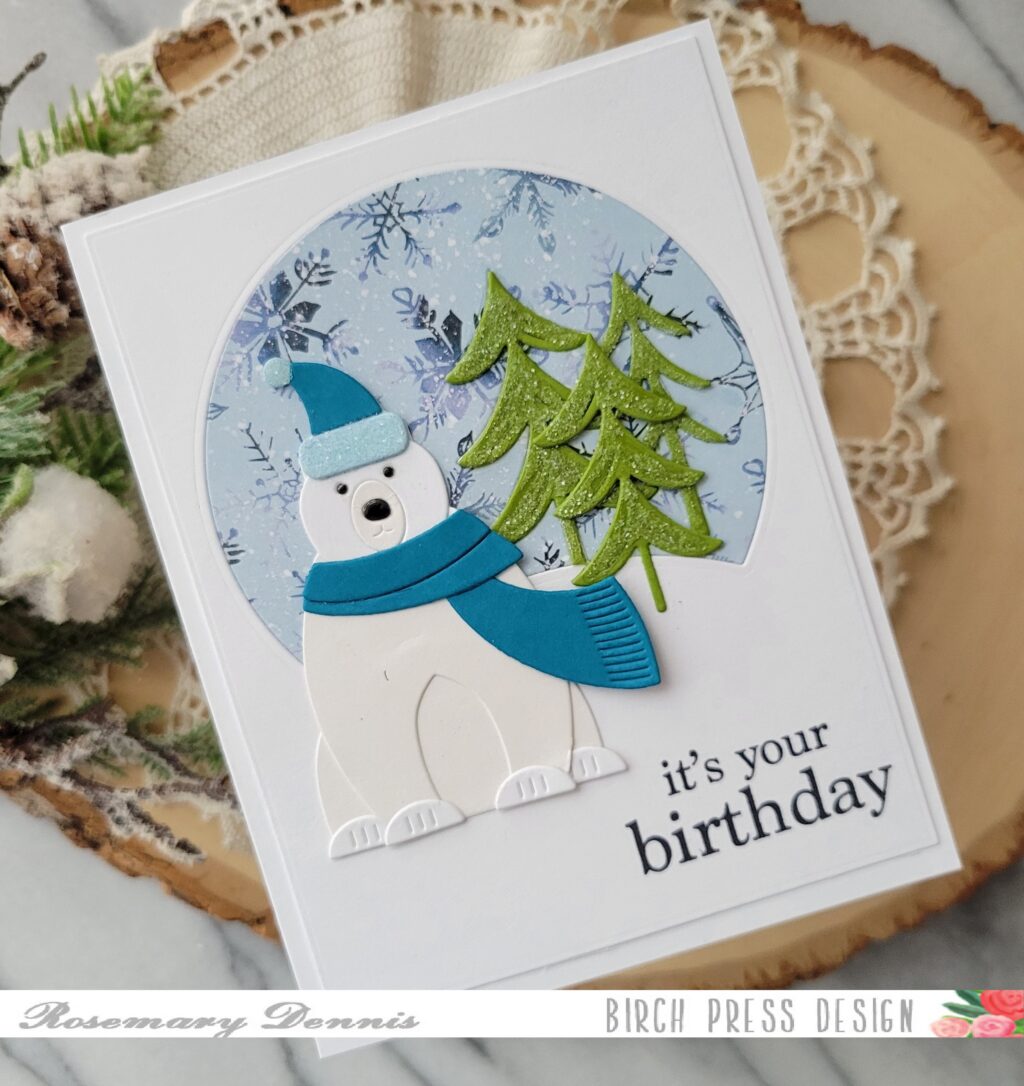
Before securing the trees and polar bear to the panel I added glossy accents to the trees and then poured on Rock Candy glitter. I love me some Rock Candy glitter, lol! Once the trees were dry I completed the card by adding the trees and the polar bear. Here is a close up showing all the fun glitter.
I just love this fun little polar bear with his jaunty hat and scarf and I hope you do, too! Thanks for stopping by and have a very happy new year! See you in 2026!
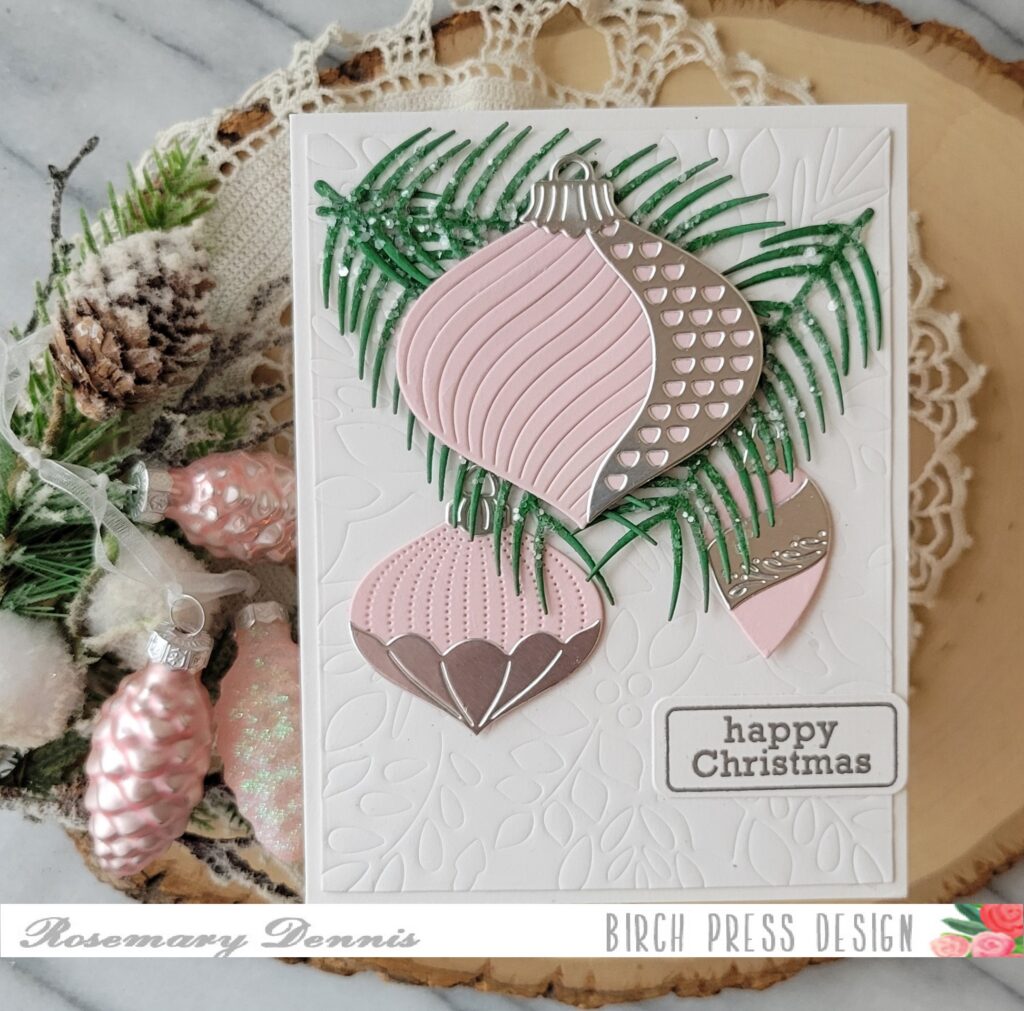
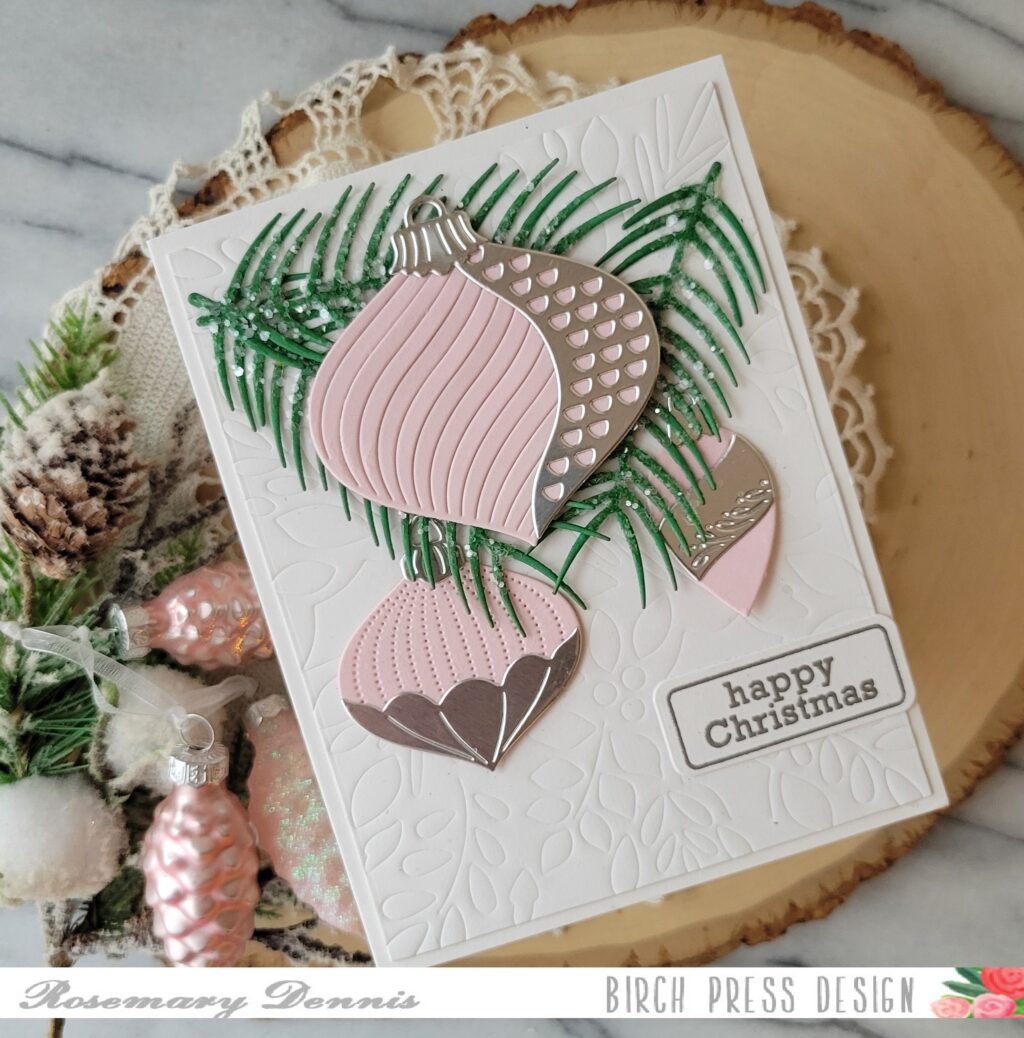
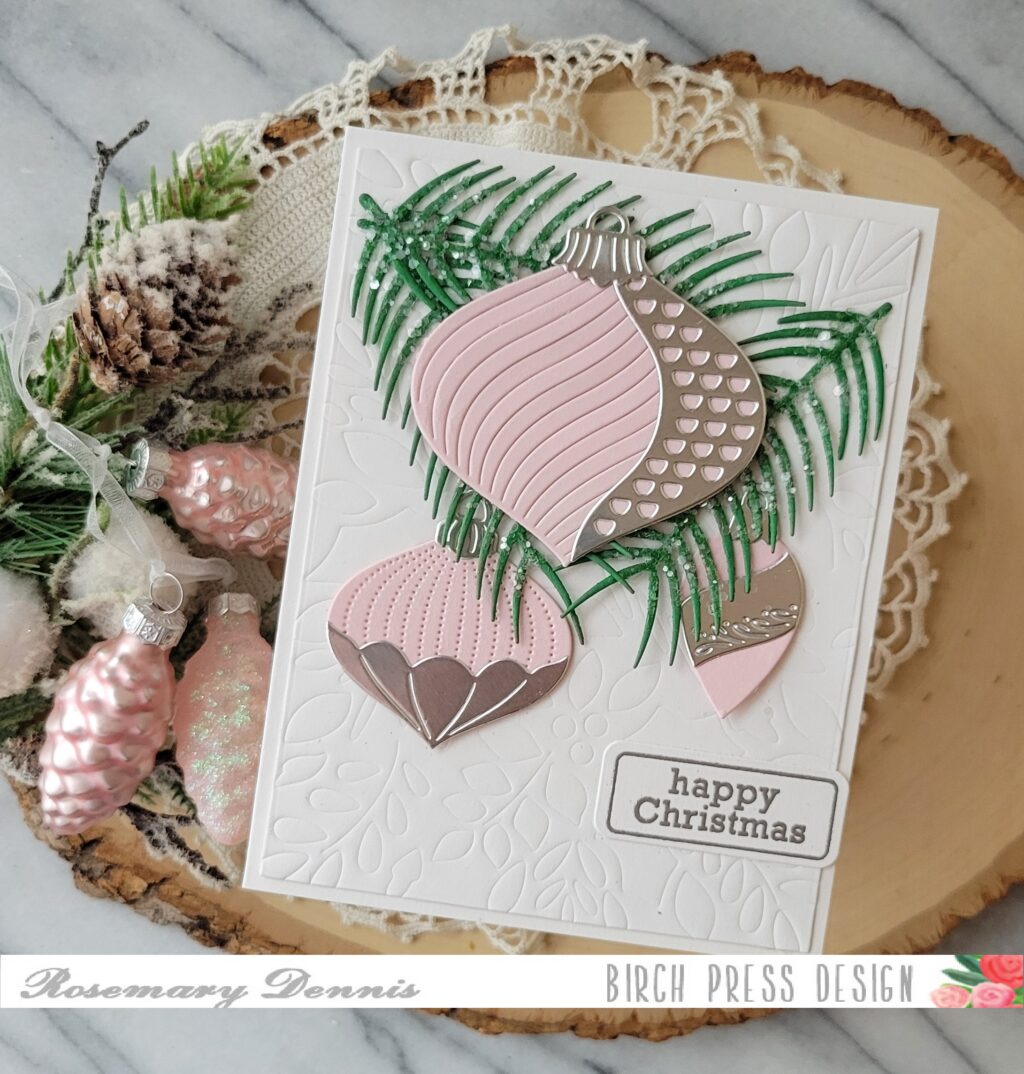
Hello BPD friends! Rosemary here on the blog today! Christmas is just two weeks away and I’m still making Christmas cards! This card was made with several new Birch Press Design products as well as two “oldies but goodies”. Let’s see what I created.
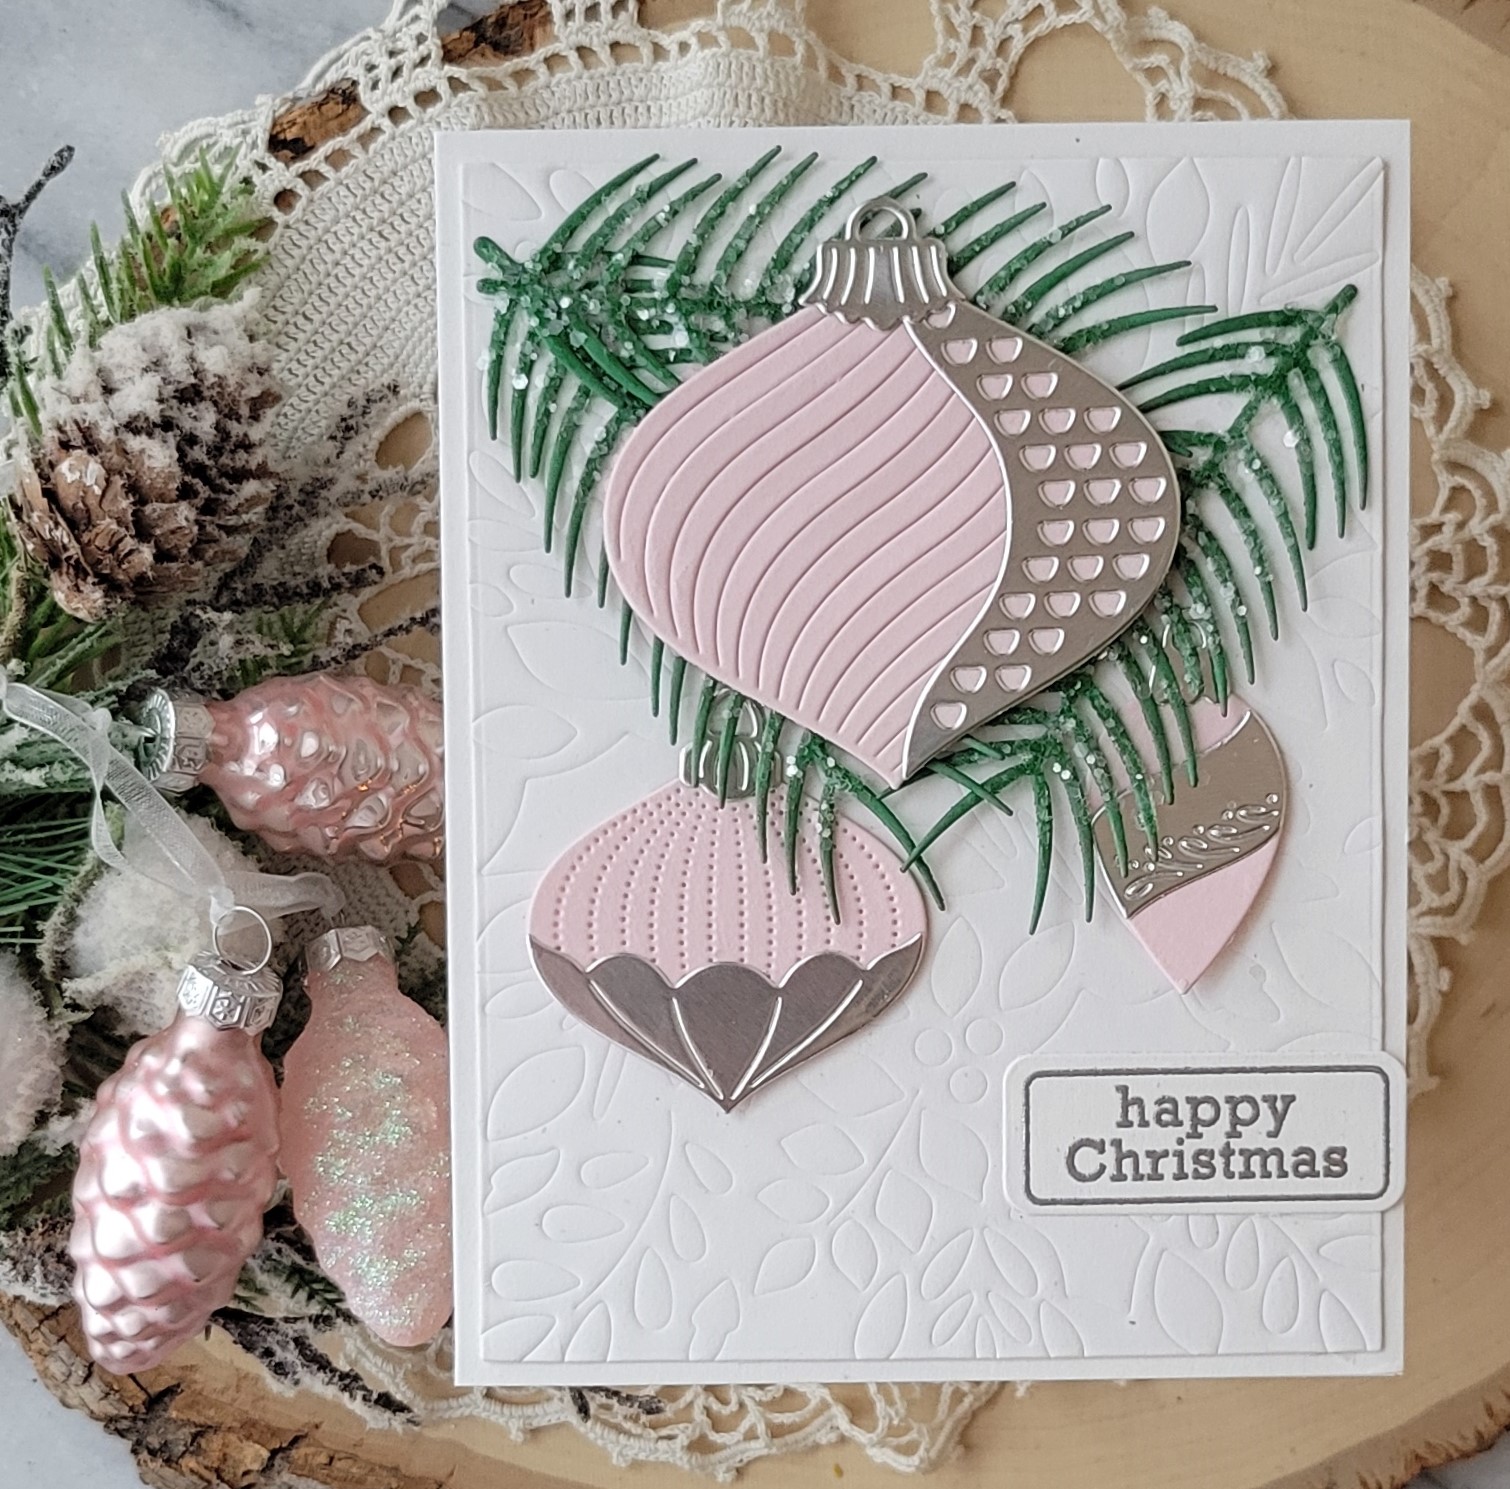
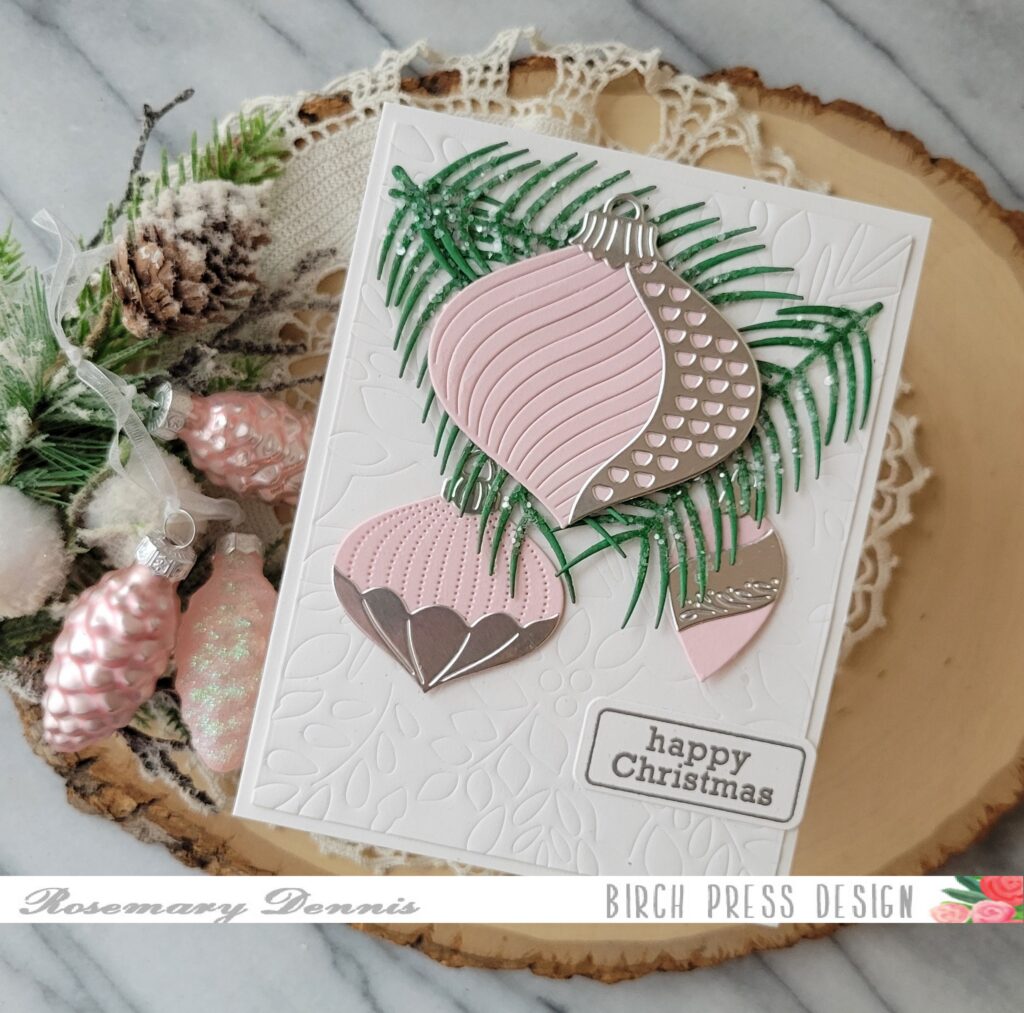
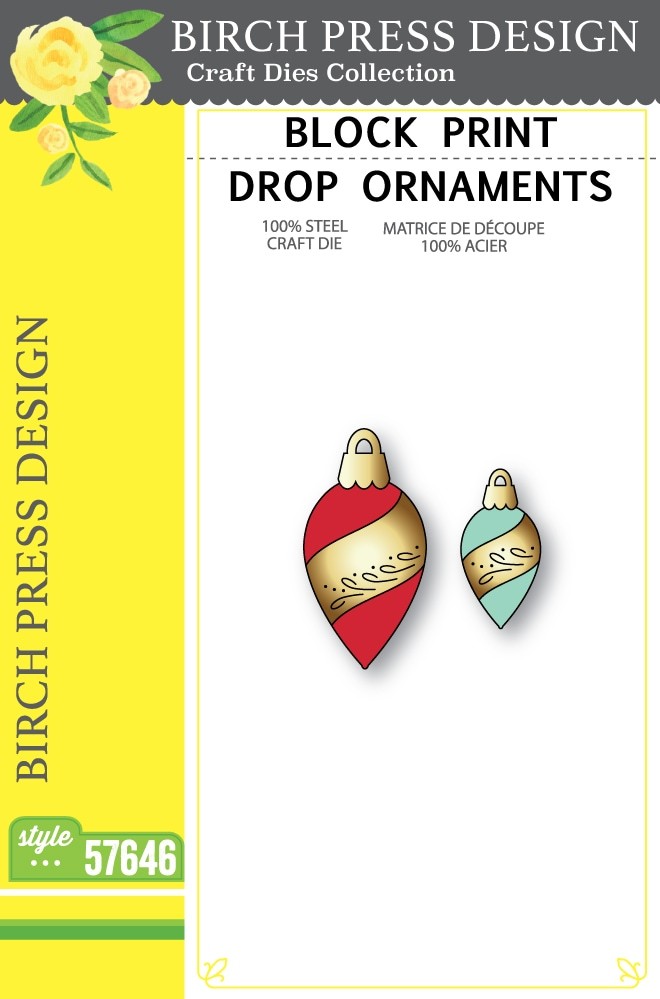
For my card I used the following new products: Block Print Petal Ornament, Block Print Wave Ornament, Block Print Drop Ornaments and Simple Pine Needles. The two older products I used are Contempo Christmas Greetings and Herbarium Layer A.
I decided to go with a simple color palette of light pink, silver and green. I die cut all my pieces and assembled the ornaments. I added glossy accents to the pine needles and then covered them with Rock Candy chunky glitter for sparkly, icy look.
I decided that I wanted a neutral background with a little bit of interest. I pulled out a favorite BPD layering die set called Herbarium and I used layer A to emboss a panel of off white cardstock. I love the subtle interest it provides while still keeping things simple.
I arranged my icy pine needles on the embossed panel using liquid adhesive and then layered the largest ornament on top and tucked the two smaller ones in beneath the larger one using liquid adhesive. I finished with the “Happy Christmas” sentiment from the Contempo Christmas Greetings set that I heat embossed with silver embossing powder after stamping with watermark ink. The sentiment was then die cut with a matching die and adhered to the card front.
Well, that’s it for me! I hope you enjoyed today’s project and that I provided you with inspiration to create with your new and old Birch Press Design products! Have a wonderful day and Merry Christmas!
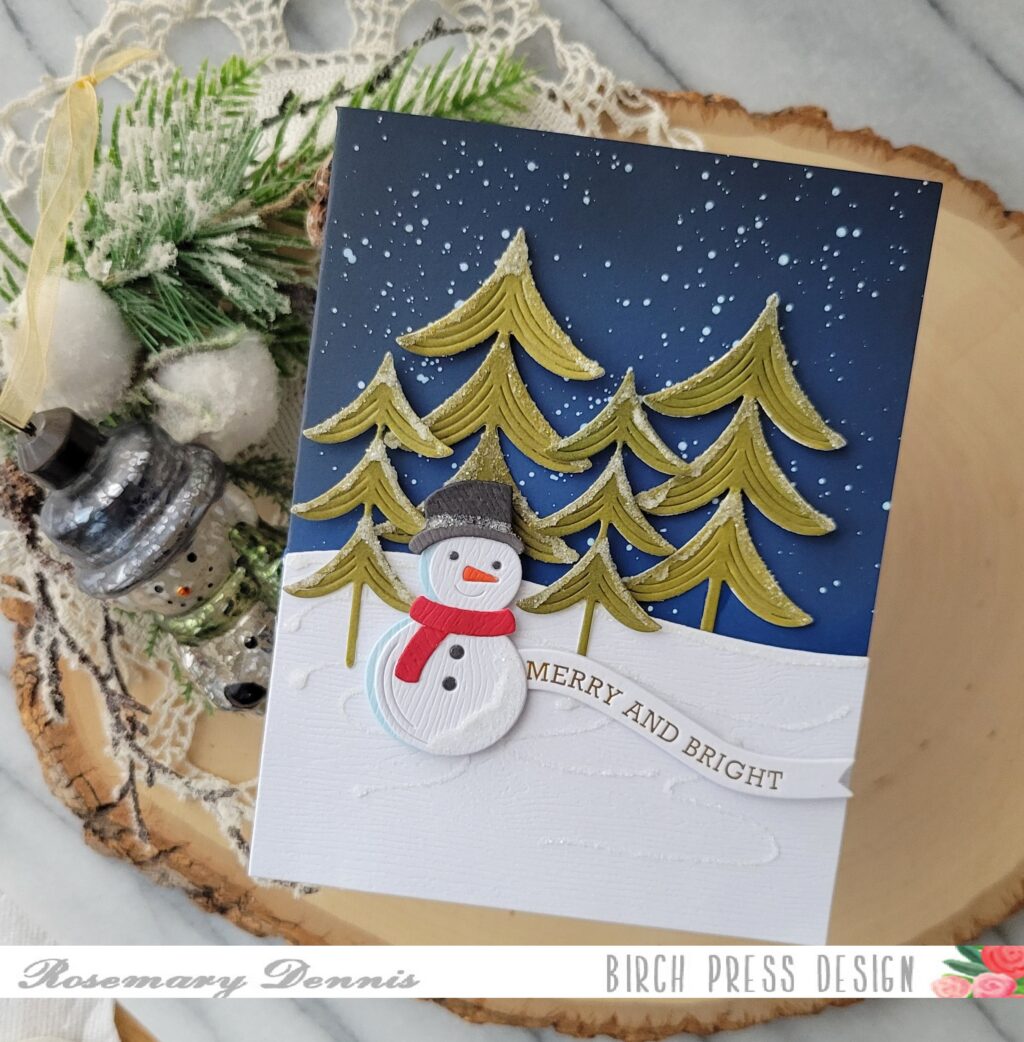
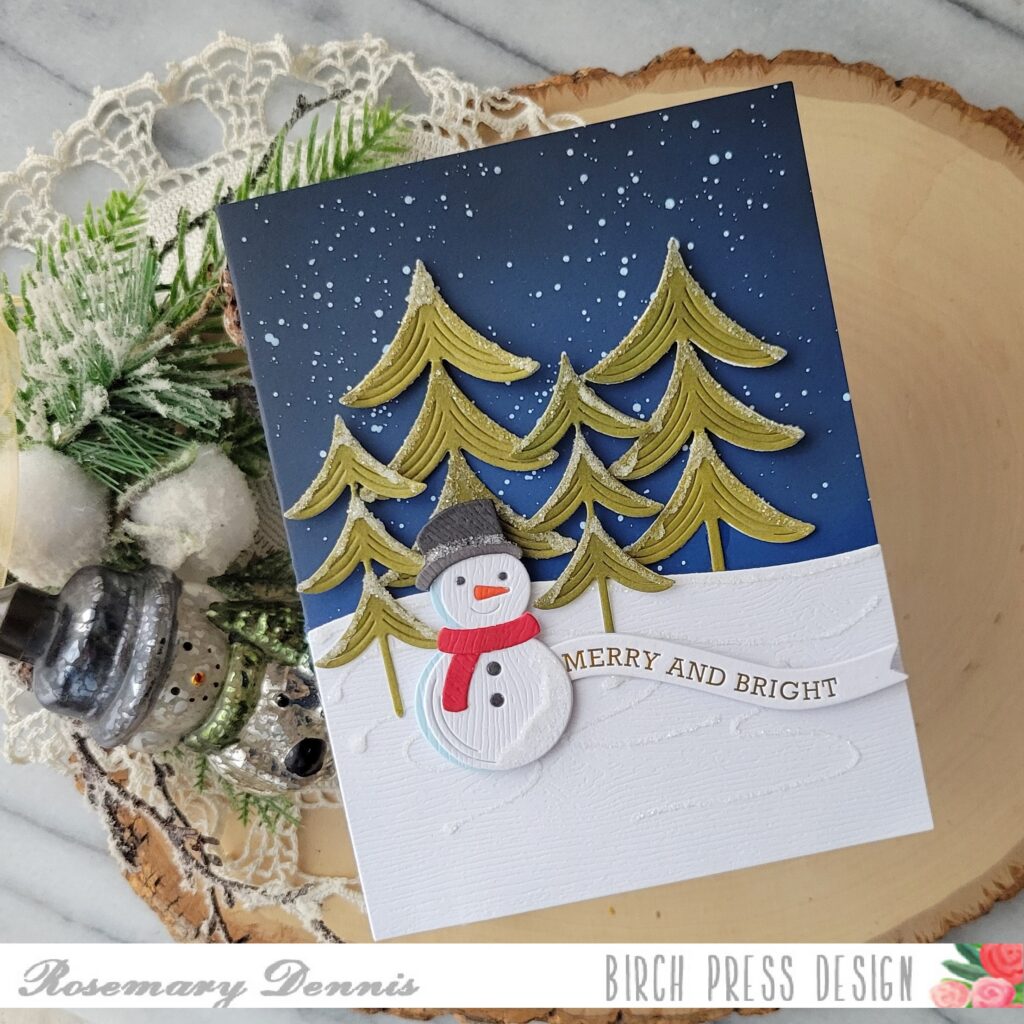
Hello! I hope everyone in the US had a wonderful Thanksgiving. Can you believe that Christmas is just a few weeks away? I can’t! I’m still making Christmas cards. Today I’m sharing one that I made using the new Block Print Debonair Snowman and Block Print Evergreen Trees die sets. Let’s have a look at what I made.
Since I really loved the look of die cutting the big snowman from woodgrain cardstock I thought it would also be fun to do the same with the Block Print Debonair Snowman. I love how he turned out!
I also die cut the snow hill (using the Wavy Hillside) from the woodgrain cardstock. I added some glitter to the hillside using swirls of glue and Rock Candy glitter. I die cut all the pieces of the snowman from the woodgrain cardstock and then colored certain pieces with Copic Markers. When you are die cutting all the pieces make sure you keep track of the tiny eyes, nose and buttons so you can insert them back into the snowman once he is assembled.
The Block Print Evergreen Trees are a fun die set. There are the main tree dies and then layering dies. That means you can have two different looks. For my trees I decided to use just the base layer. I cut them from smooth white cardstock and then colored them with a Copic marker. I let the pieces sit for a little bit and the frosted them with glue and Rock Candy glitter.
Now it was time to get the card base ready. For this I started with a card base I made from dark blue cardstock. I then inked up the top and sides with Chipped Sapphire and Black Soot distress oxide ink. Once the ink blending complete I placed the card base in my splatter box and splattered on white paint for the look of snow. I let it dry for a bit and then built my little scene. I finished with a Memory Box banner tab.
I just love how my little scene turned out. The Debonair Snowman has to be one of my favorites from this release! He is just too darn cute. I hope you enjoyed today’s project. Thanks for stopping by and have a wonderful day!
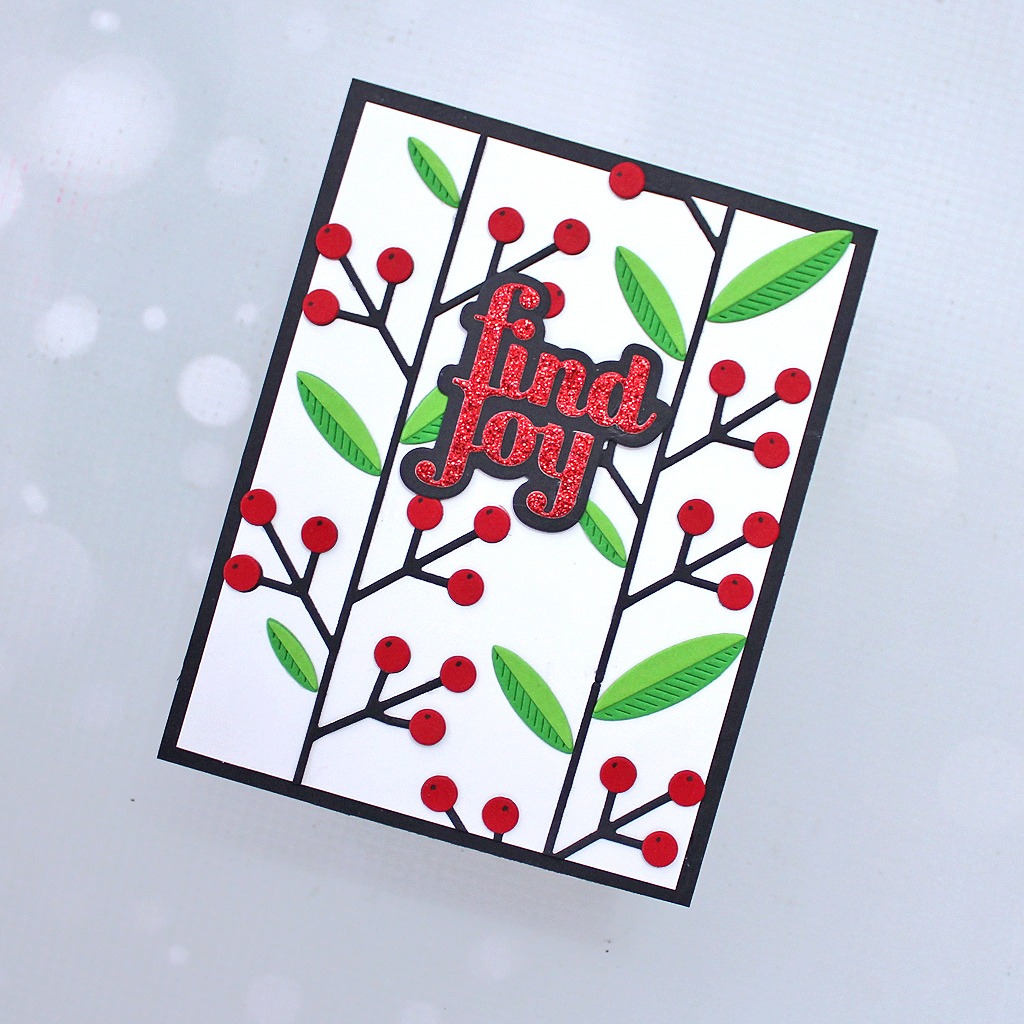
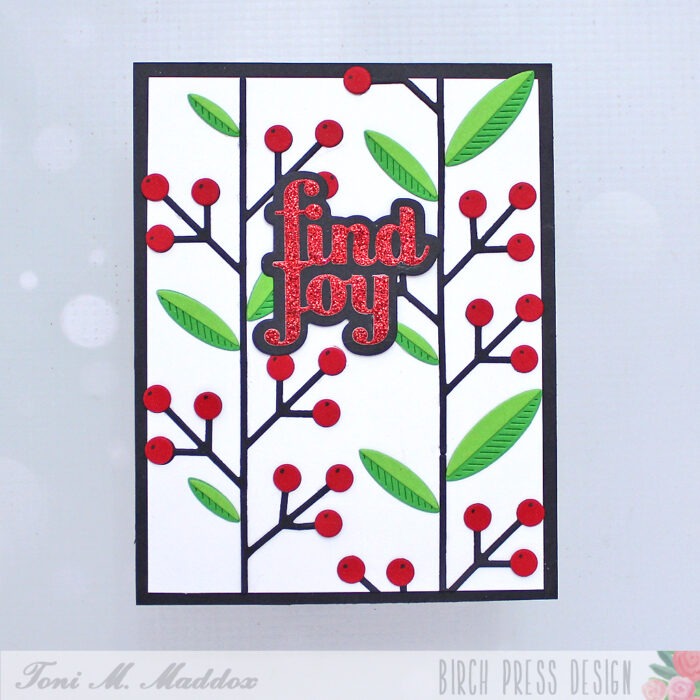
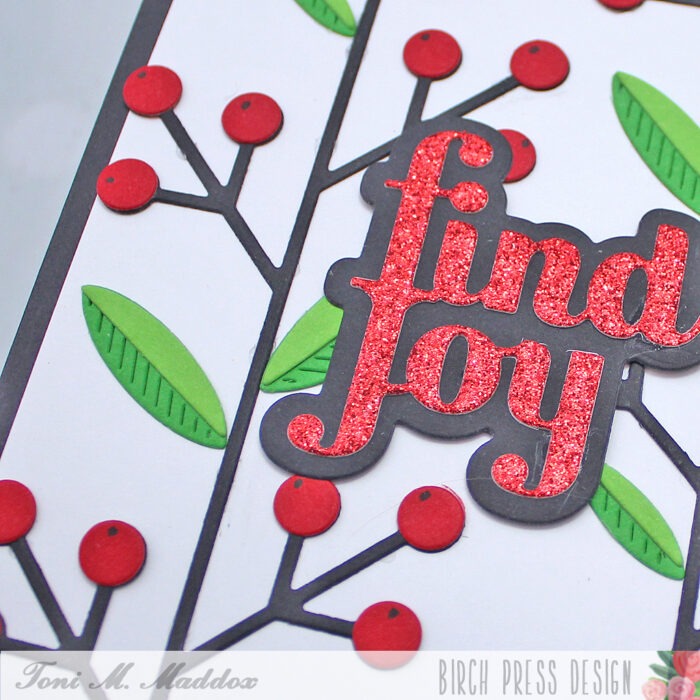
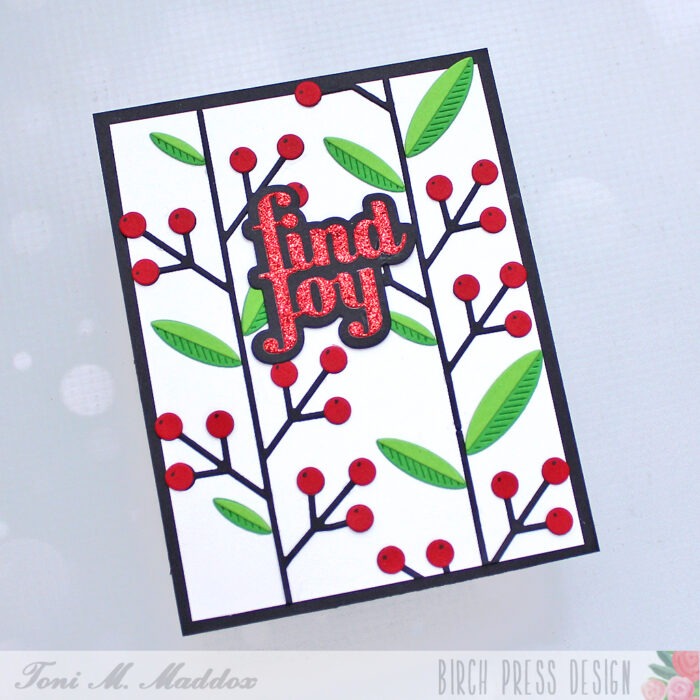
Hello, everyone! Toni here with a stylized greenery holiday card.
I was really struck by the stark lines of the Block Print Stems & Berries set. How could I really allow that to shine on the card?
I used bright Memory Box Cherry Red, Cilantro, and Leaf Sprout cardstock without sponging, making the design really pop on that white base.
And how could I not use red glitter cardstock for the Find Joy word die. Mounting that on black along with the card base and stems in black–chef’s kiss!
Be sure to visit my blog, Frankie Helps Craft, for a full list of ingredients and to check out my other projects.
I hope you enjoyed today’s card and have a great rest of your week!
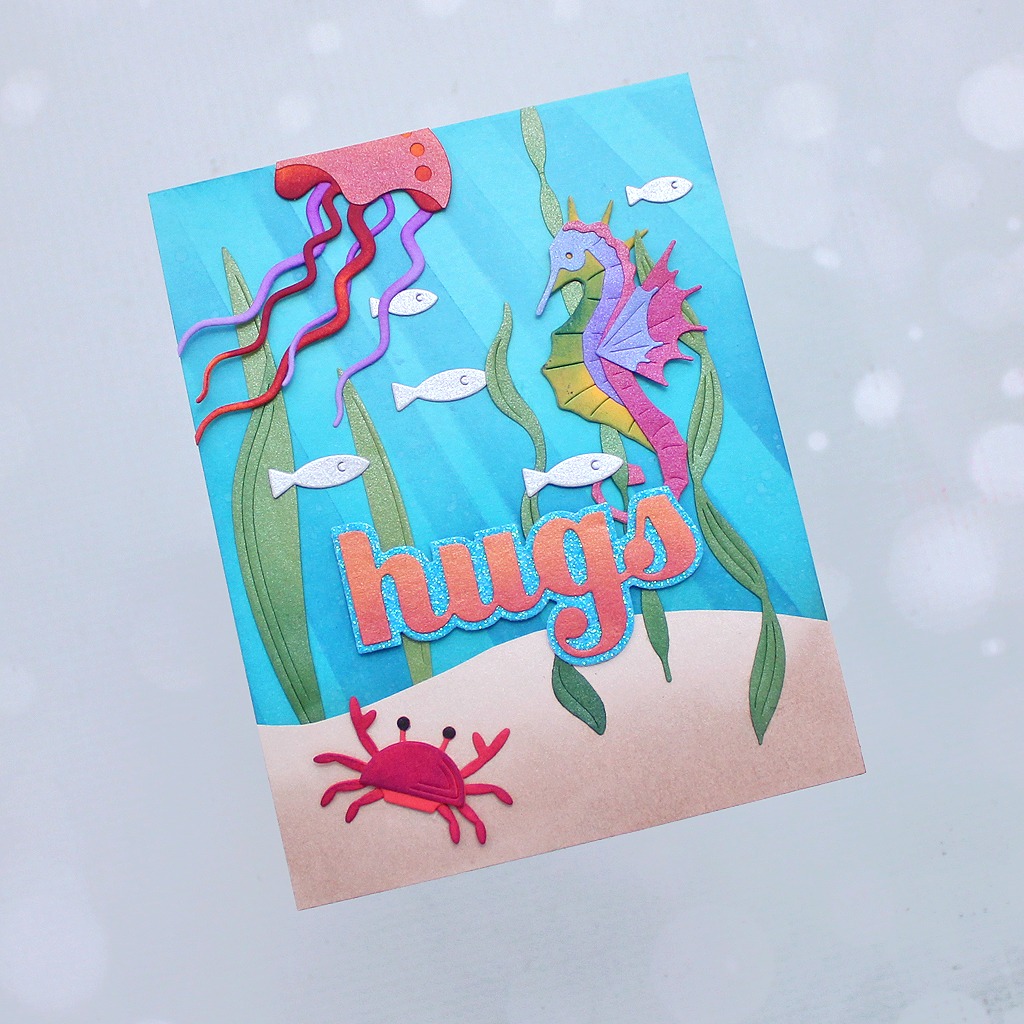
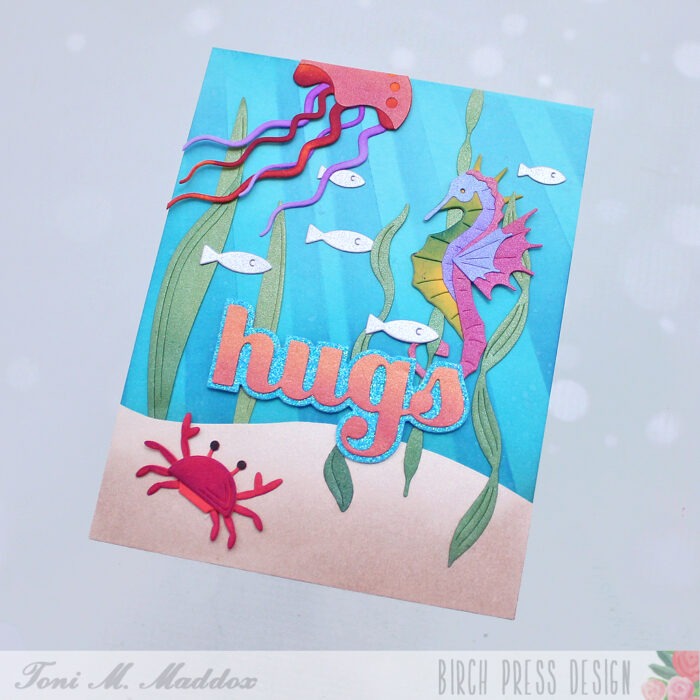
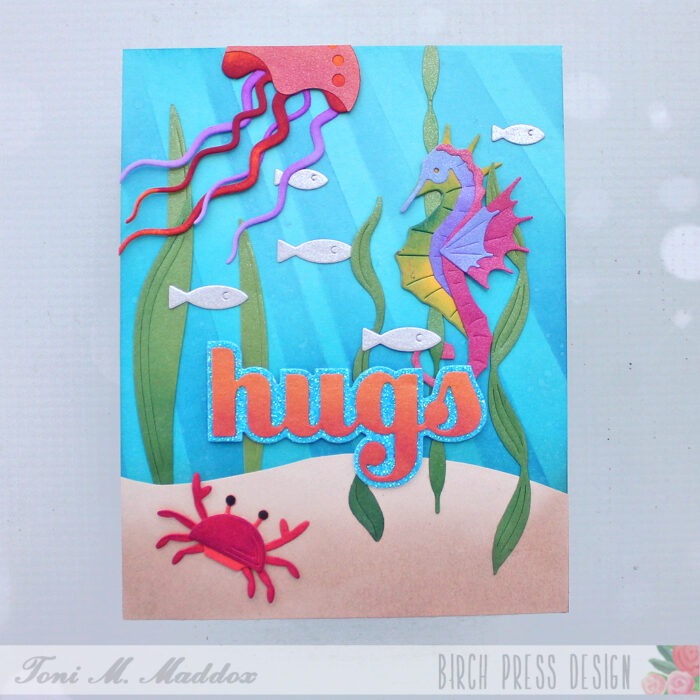
Hello, everyone! This underwater scene was so fun to create. I love seahorses. And that jellyfish–look at it!
My first step was to sponge the blue card base with Catherine Pooler inks and one layer of the two-part Light Ray Stencil. I spattered this with water and set aside.
Next I fussy cut the sand layer using a piece of scrap kraft cardstock and sponged it with CP Sand Castle ink.
I cut a few of the Block Print Sea Kelp & Mini Fish from a shimmery green and silver cardstock. I sponged the Sea Kelp with CP ink for a bit of shading.
I diecut the Block Print Proud Seahorse, Block Print Floating Jellyfish, and Block Print Dancing Crabs from a few Memory Box cardstocks with shimmery cardstock scraps for highlights.
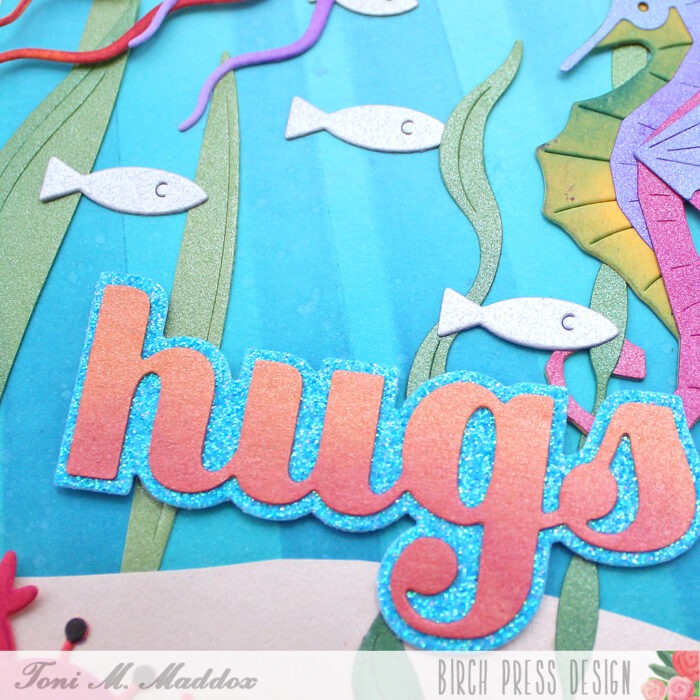
I sponged the cardstocks, including the Sugar Script Big Hugs sentiment, with CP inks. I assembled the final scene, tucking the creatures in among the greenery. So cute!
Do visit my blog, Frankie Helps Craft, for a full list of ingredients and to check out my other projects.
I hope you enjoyed today’s card and have a great rest of your week!
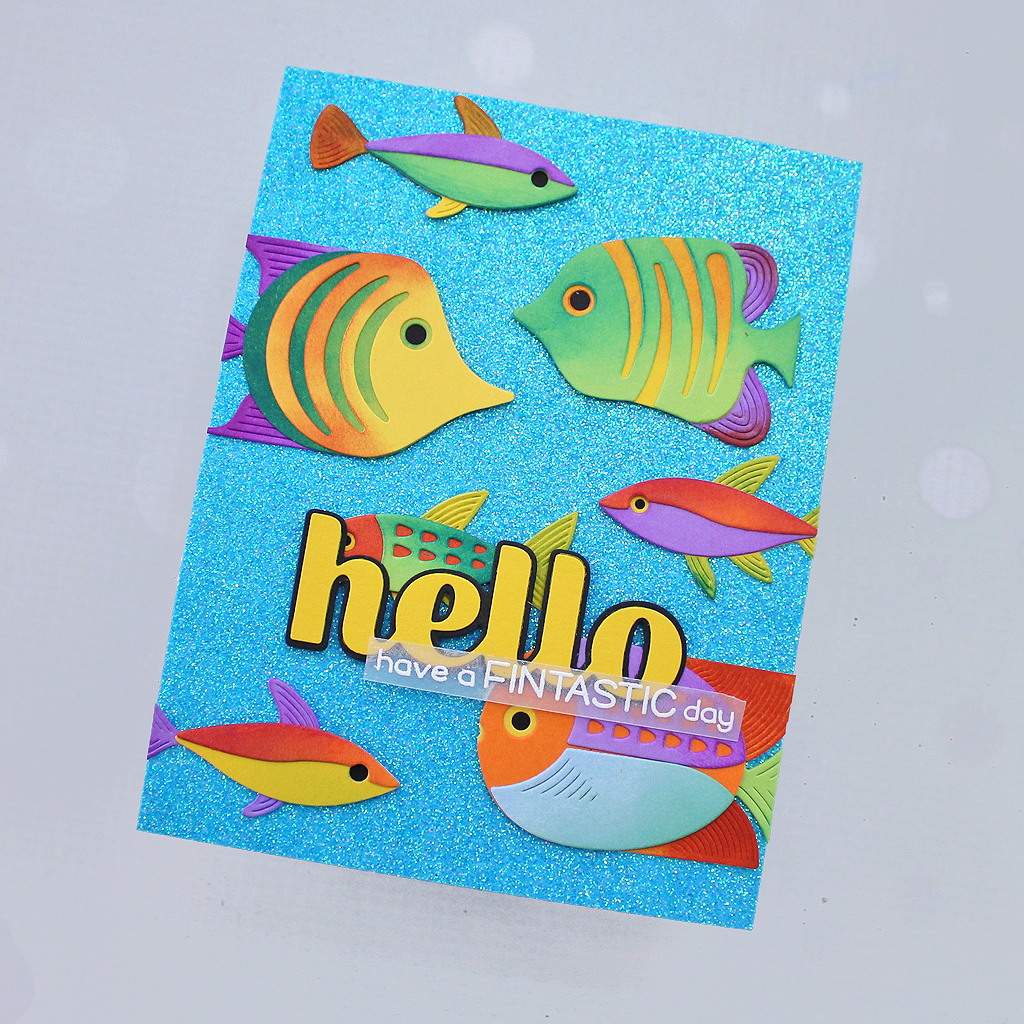
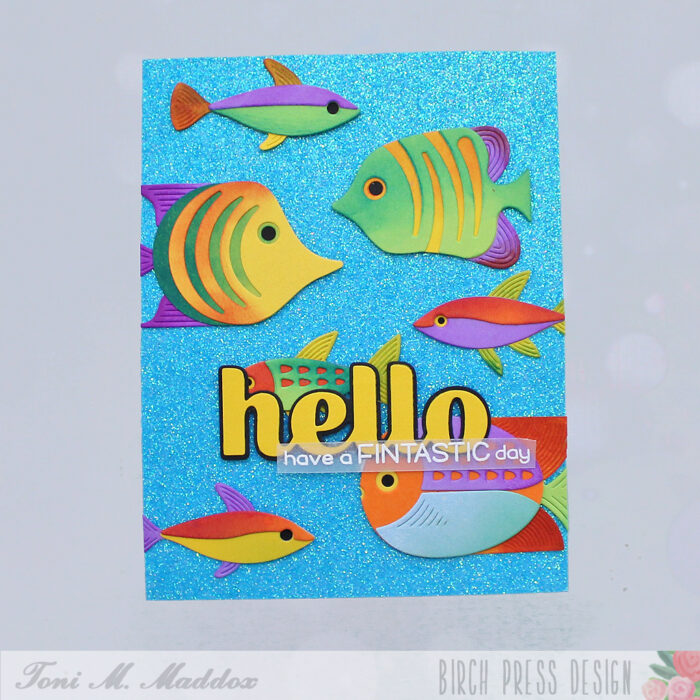
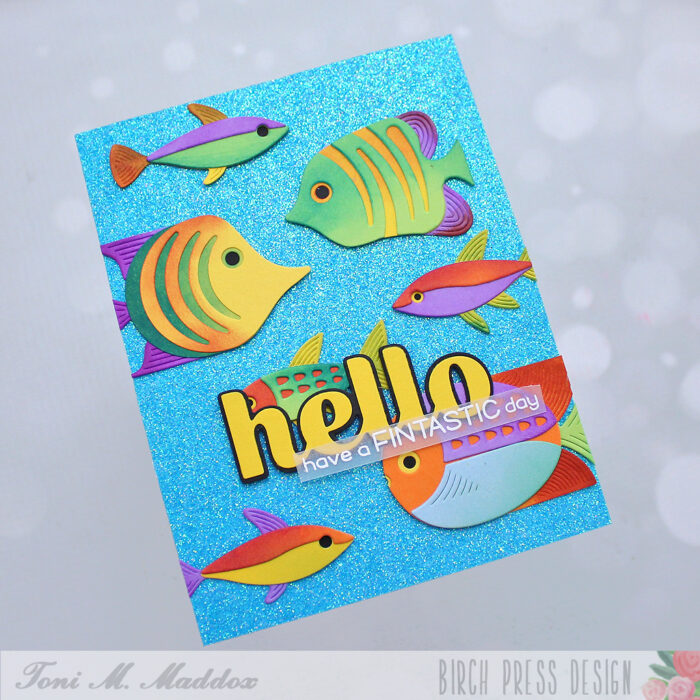
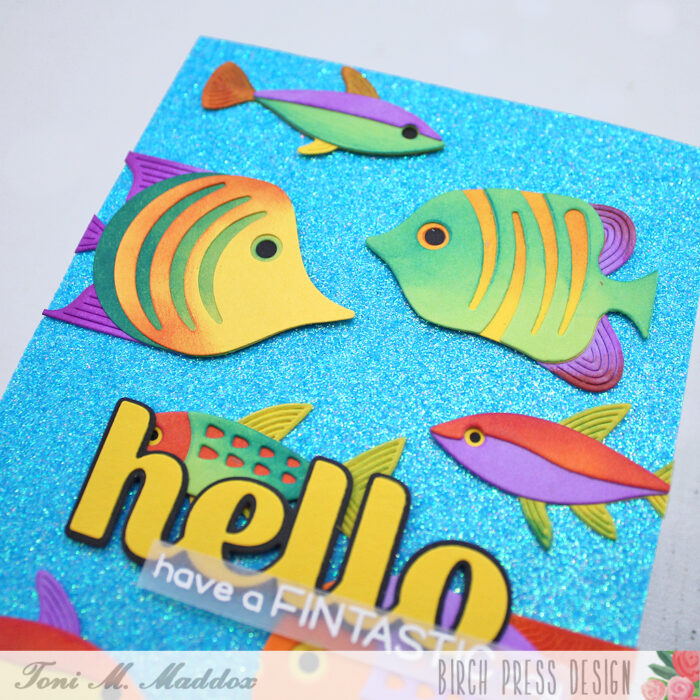
Hello, everyone! It’s summer and the water’s fine! Toni here with you today sharing a card made using some cute fishies from the new release. I love them so so much!
I wanted a school of fish, like what you might see in a giant aquarium. To achieve that I cut out a variety of fish using Memory Box cardstock.
I used Catherine Pooler inks with the cardstock to create variations in color for each fish.
For the sentiment I used the Sugar Script Big Hello die and outline in Summer Squash and sturdy black. The sentiment embossed on vellum is Lawn Fawn which coordinates so perfectly.
I added some glam with a no-shed aqua glitter cardstock as the card front. Swoon!
Feel free to visit my blog, Frankie Helps Craft, for a full list of supplies and to check out my other projects.
I hope you enjoyed today’s card and have a great rest of your week!
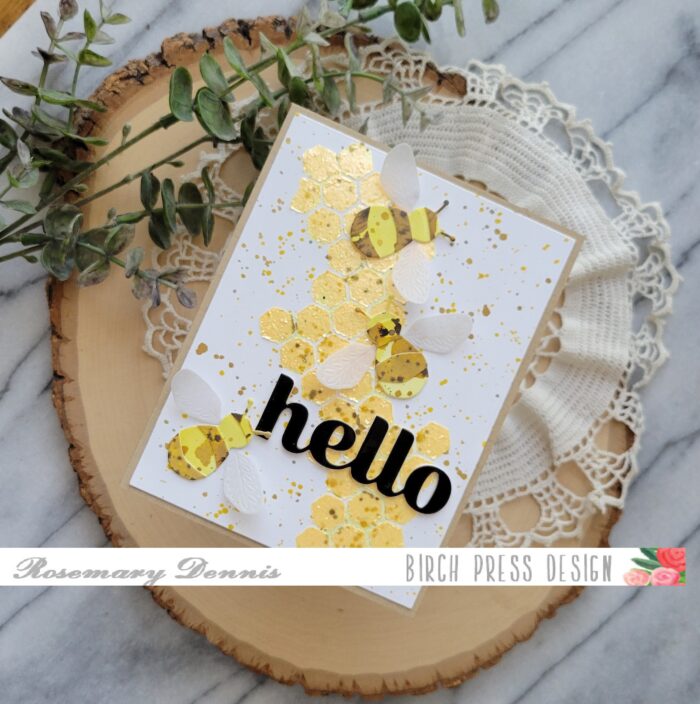
Hello friends! Have you been amazed by the projects the design team has created with the most current release? Well, I have! I have been buzzing with excitement to get something made and today is the day! Let’s have a look at what I made.
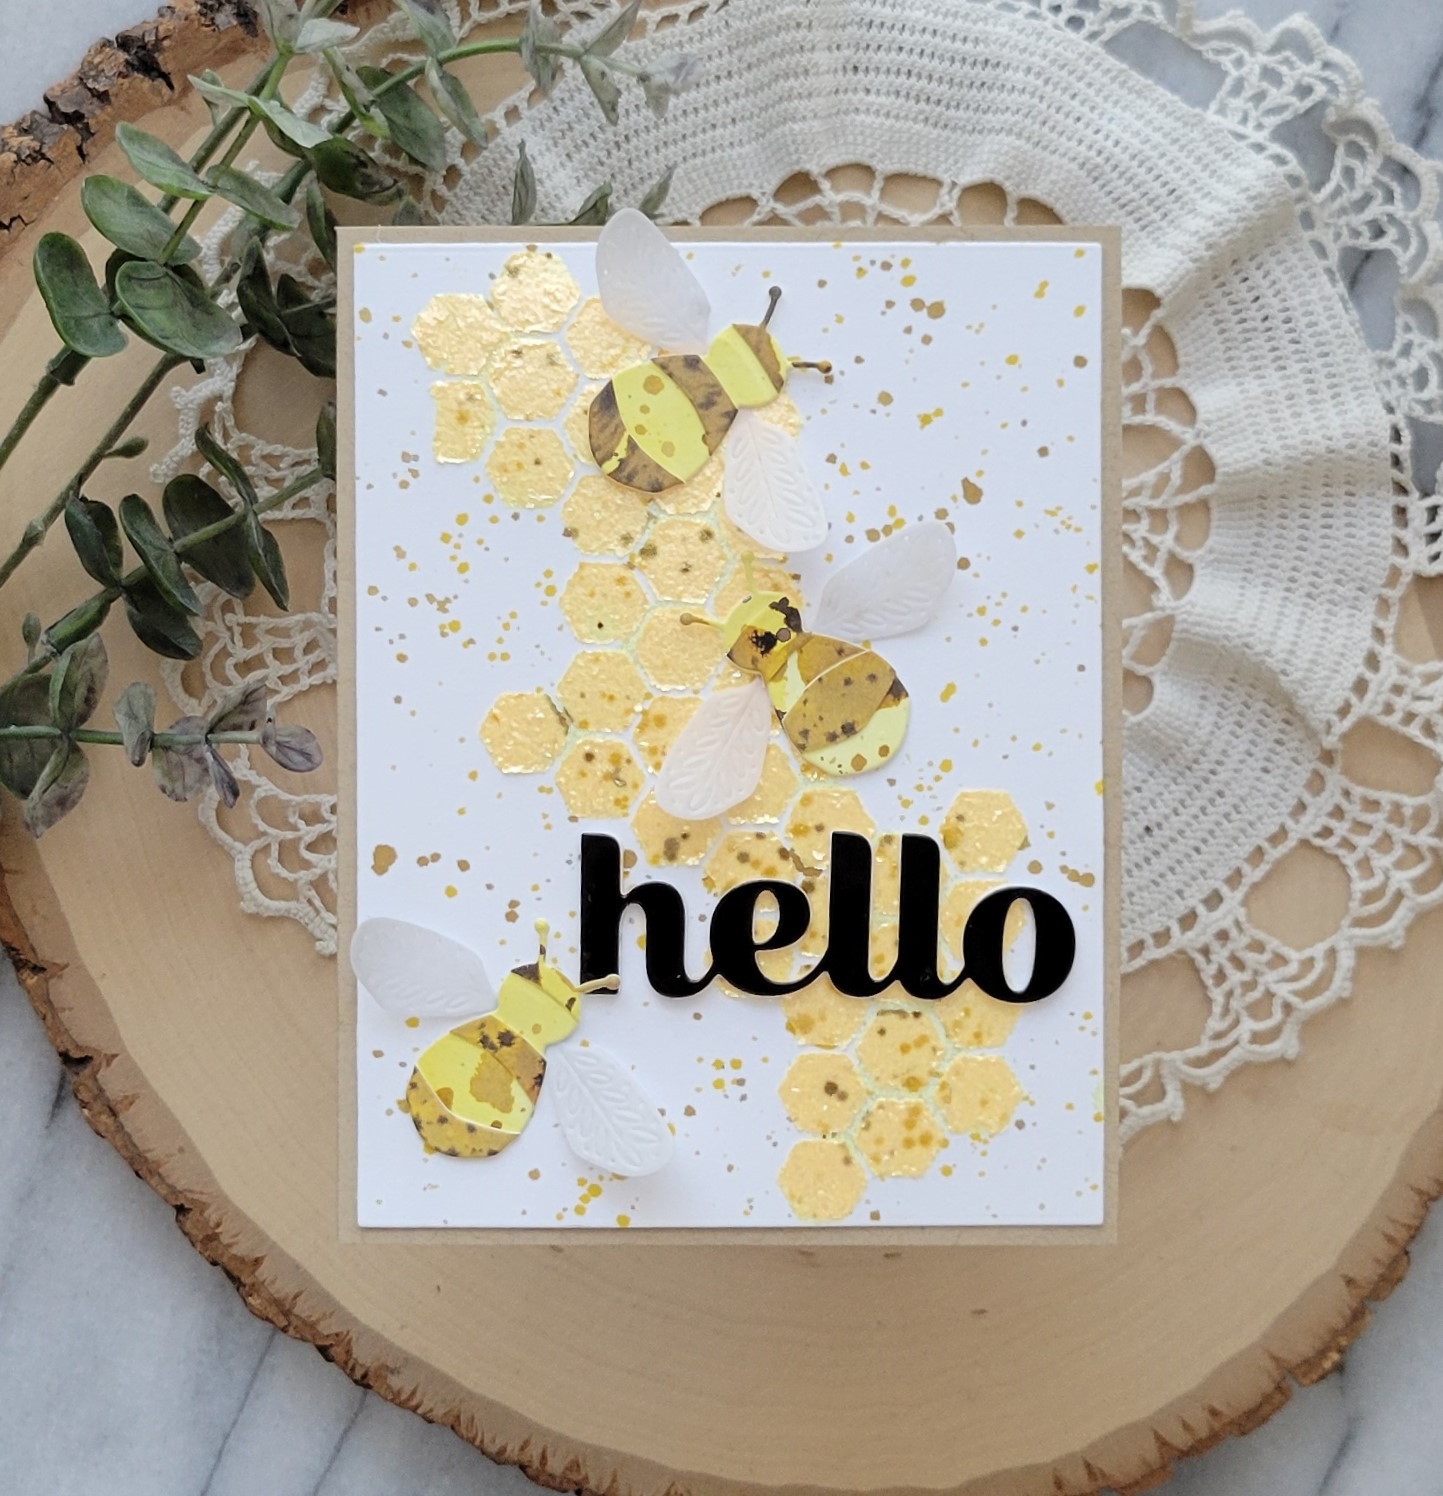
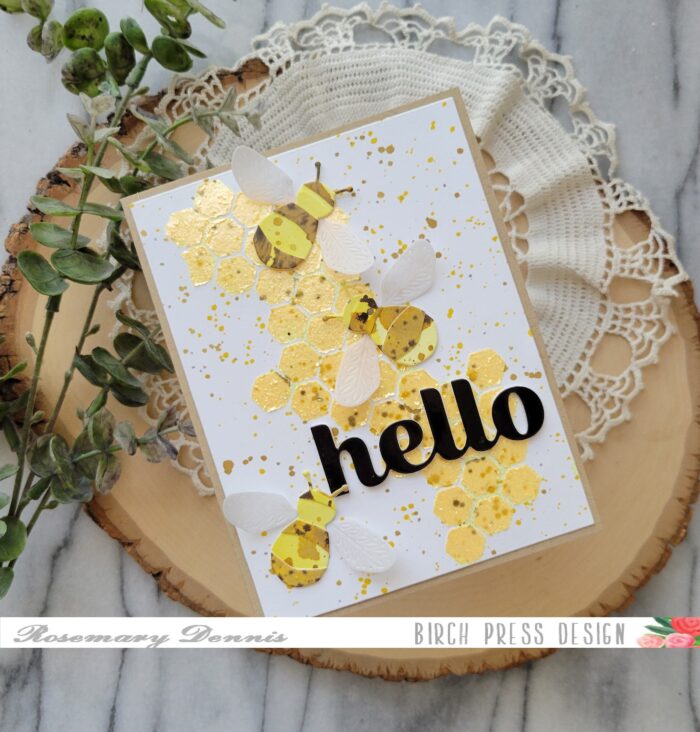
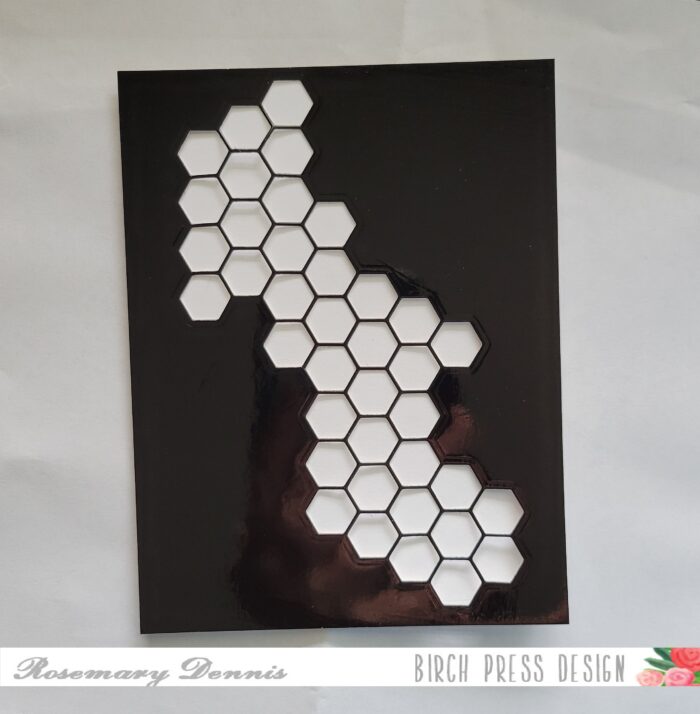
I had several ideas in mind and tried at least one of them, but wasn’t super happy with how it was turning out. I decided to shift gears and use up some yellow glitter paste I had out on my desk. I really wanted to use the Honeycomb Cut Out die and so I used it to create a stencil to use with the glitter paste.
After doing a quick test to see how my DIY stencil would turn out I decided to diecut it from some sturdier cardstock. For this I chose (and sacrificed) a piece of Memory Box glossy black cardstock. As you can see it would have also made a pretty neat background, too. I die cut a piece of heavy white cardstock with a rectangle die and then taped that to the back of my DIY stencil. The stencil worked pretty well with only a small amount of the paste seeping under. I peeled off my stencil and let my panel dry.
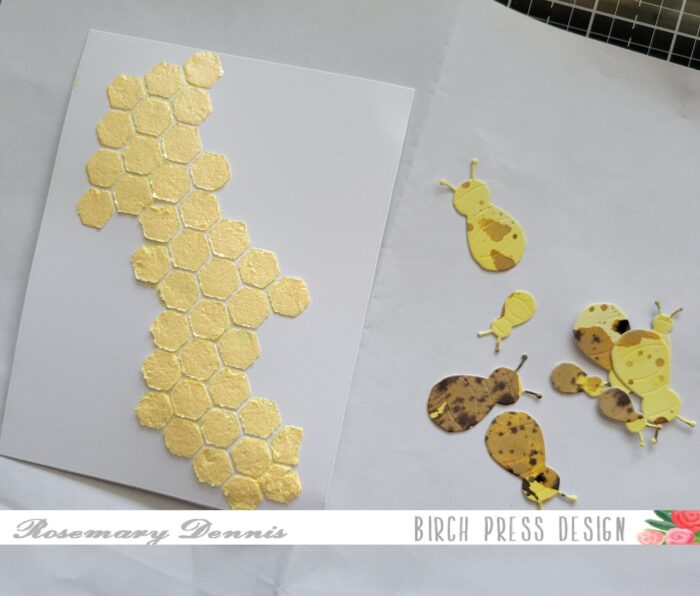
While my panel was drying I die cut my bees using the Block Print Buzzing Bumblebee from a piece of watercolor cardstock that I had initially planned to use for my background panel, but it was a bit of a fail. I think the bees I die cut from it are kind of fun and funky!
Once the glitter paste was dry and full disclosure that did take a long time because of the amount of paste that was applied using the stencil. I let the panel dry overnight to make sure it was fully dry before assembling my card. I even at one point placed something heavy on top so that it would dry flat.
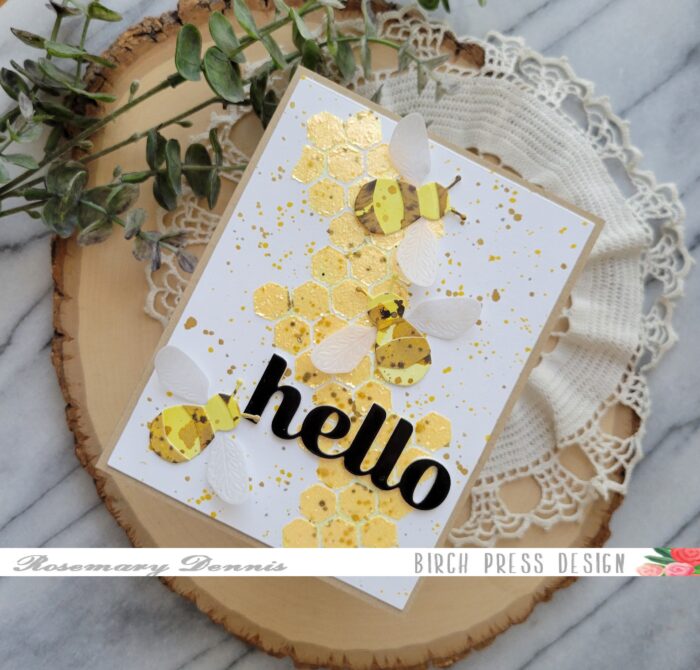
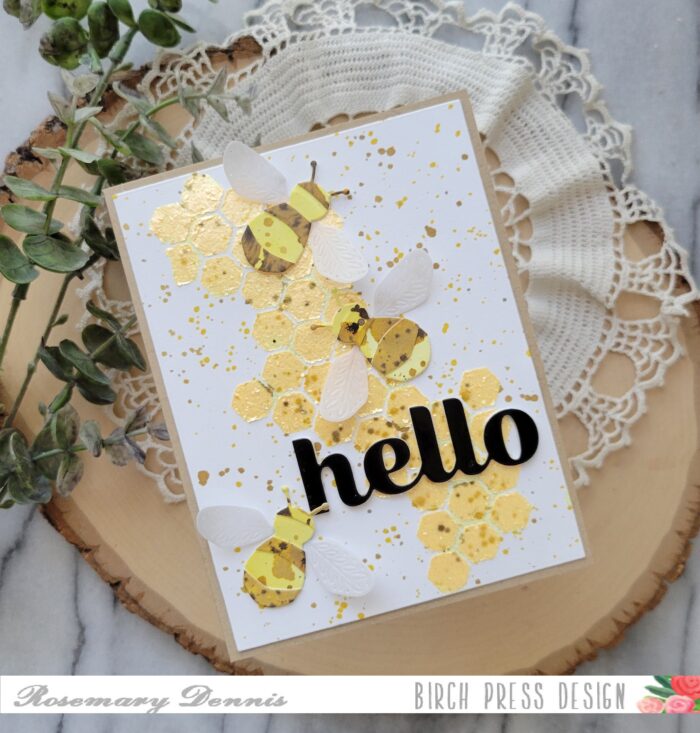
Since I was going for a mixed media vibe. I splattered the fully dry panel with distress ink in Gathered Twigs and appropriately Wild Honey. For the bees I die cut enough so that I could cut some apart to build the bees for my card. The wings were die cut from heavy weight vellum. I assembled my bees and then what kind of sentiment I would use. I settled on the Big Hello Sugar Script. Initially I die cut the hello from heavy weight cardstock and then splattered it, but there was too much splatter. So I used another piece of glossy black cardstock and stacked it on top of the splattered sentiment. Everything was adhered with liquid adhesive and then I added my panel to a kraft cardstock base.
Well, that’s it for me. I hope you enjoyed today’s card. Thanks for stopping by and have a truly lovely day.