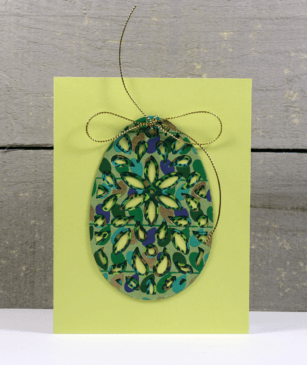
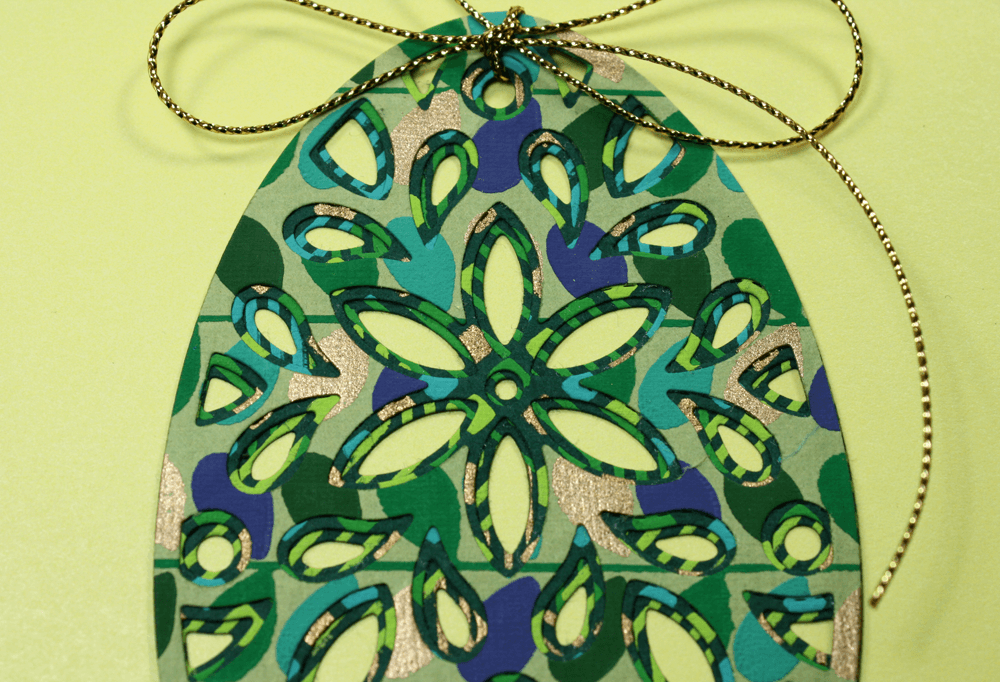
 Have you seen the new spring release at Birch Press Design? The Fiori Egg Layer Set craft dies have all the beautiful stitched details you have come to expect from Birch Press Design. Today I have a short video tutorial showing you how I used the Fiori Egg Layer A, Fiori Egg Layer B and the Fiori Egg Layer C up with some of the gorgeous new Shizan handmade papers also now available in the shop to create a lovely faux Fabergé egg.
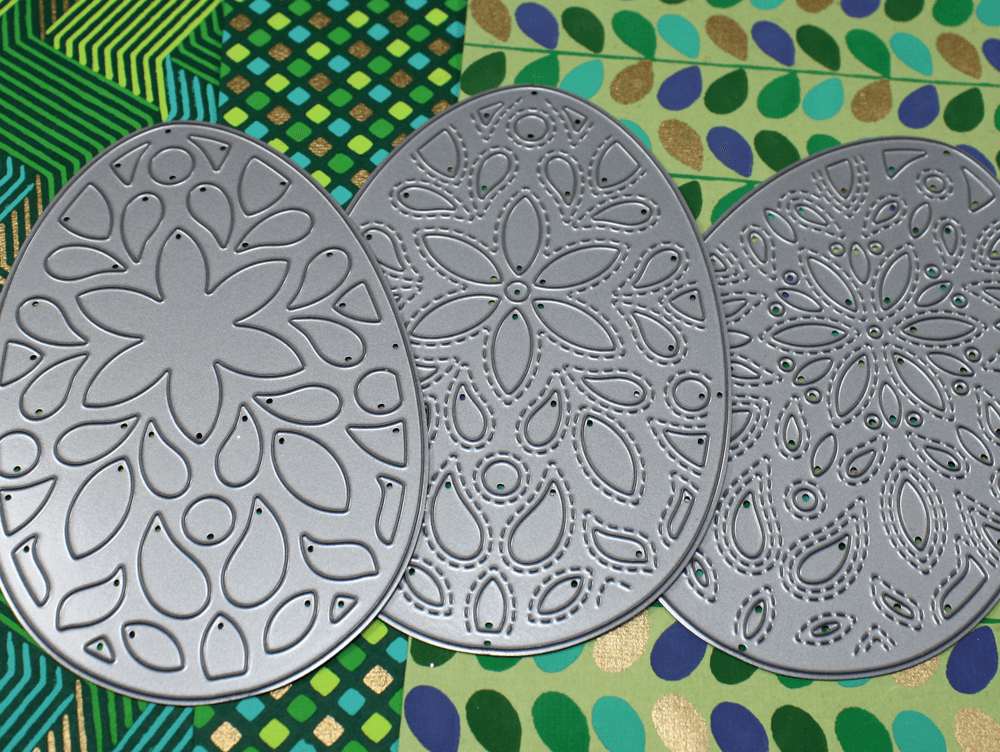
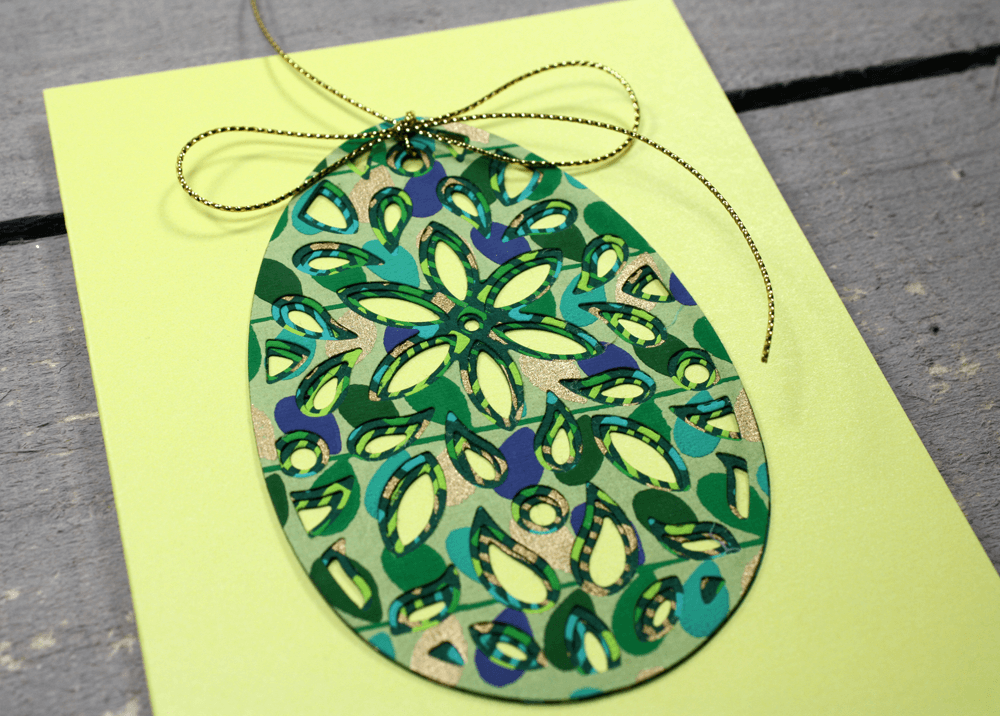
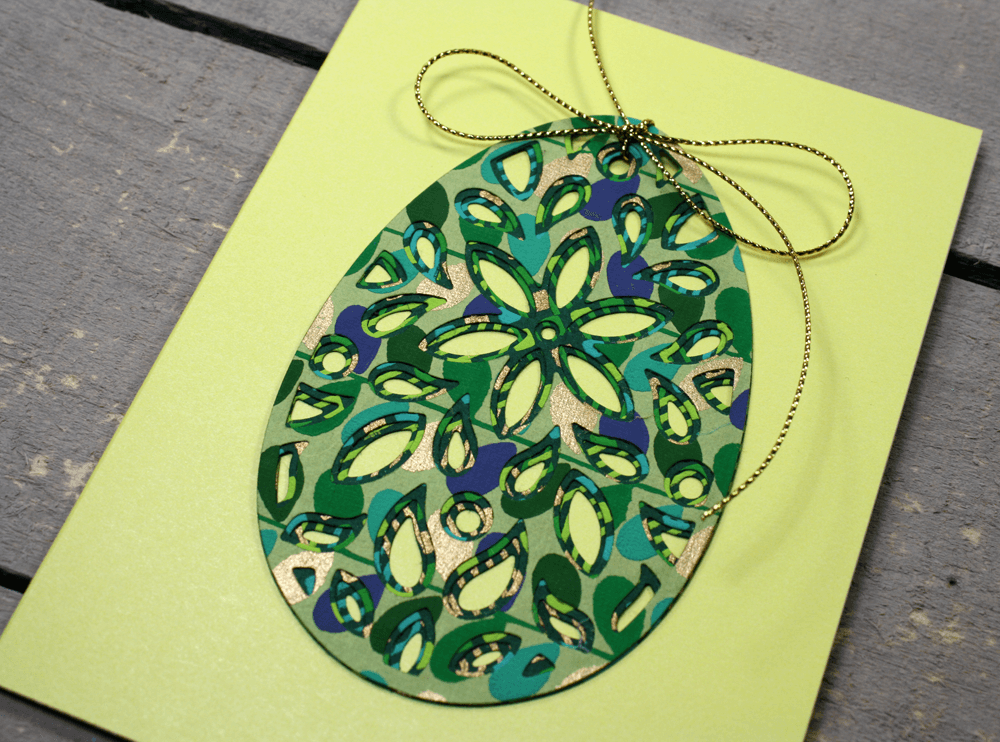
All of these new handmade screen printed papers are ‘tree free’ and almost feel like fabric. The paterns I chose to use were the Green Folia, Diamond Dot and Wedge. To make the Faux Fabergé egg I die cut one of each layer using three different green handmade papers. They cut really well but I did do a double pass to make sure I got all the tiny cuts. You will see in my video that I had one piece on Layer B that didn’t quite cut through, I am pretty sure that was caused by a warp on my bottom cutting mat. So I carefully set the die cut back into the die and ran it through once again and it came right out.
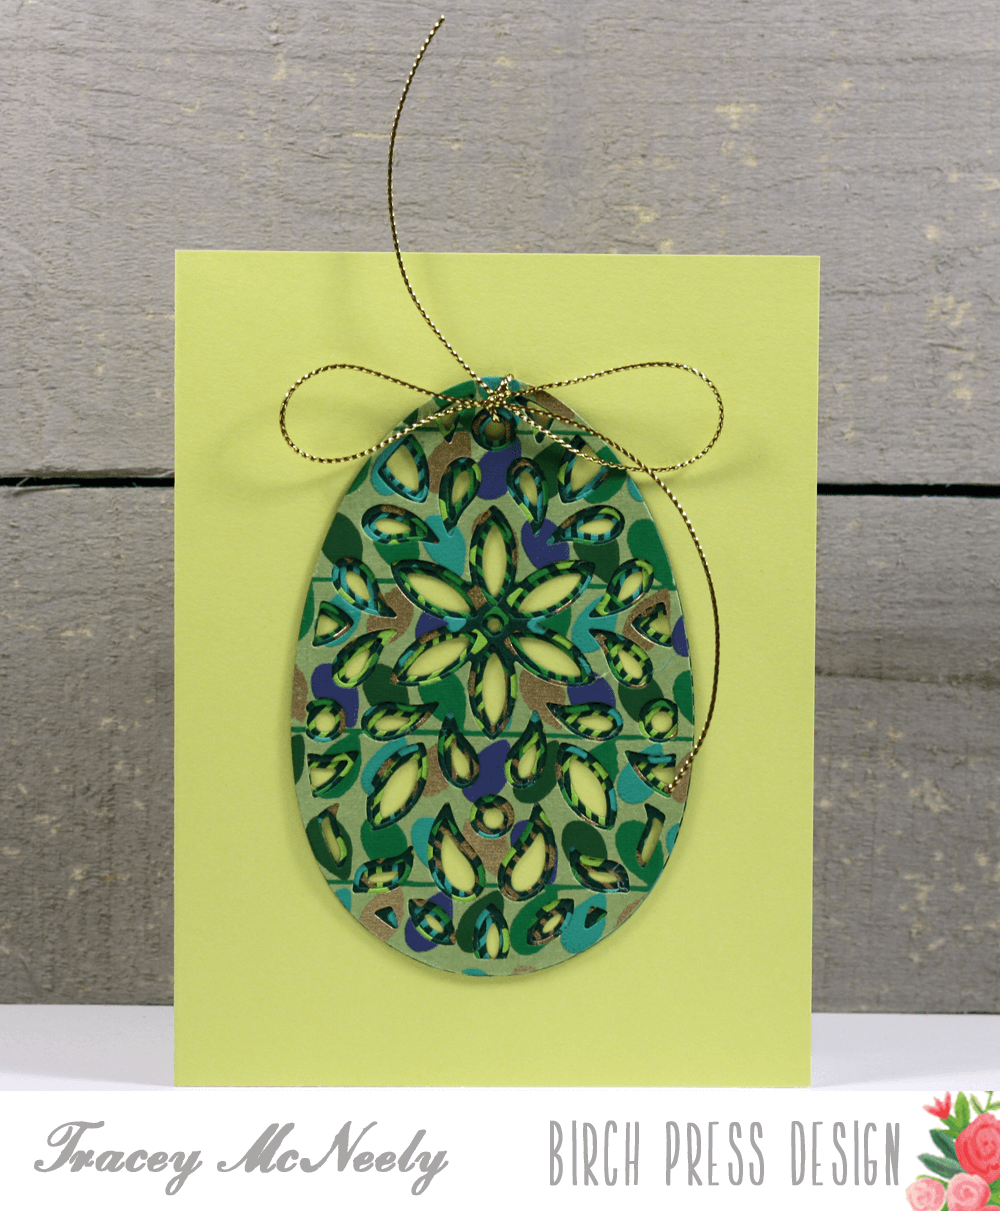
 Aren’t these papers and dies magnificient? I hope that you are inspired to create a faux Fabergé egg of your own. All the new products are in the shop at Birch Press Design. Join each week on Mondays, Wednesdays and Fridays for more Birch Press inspiration.