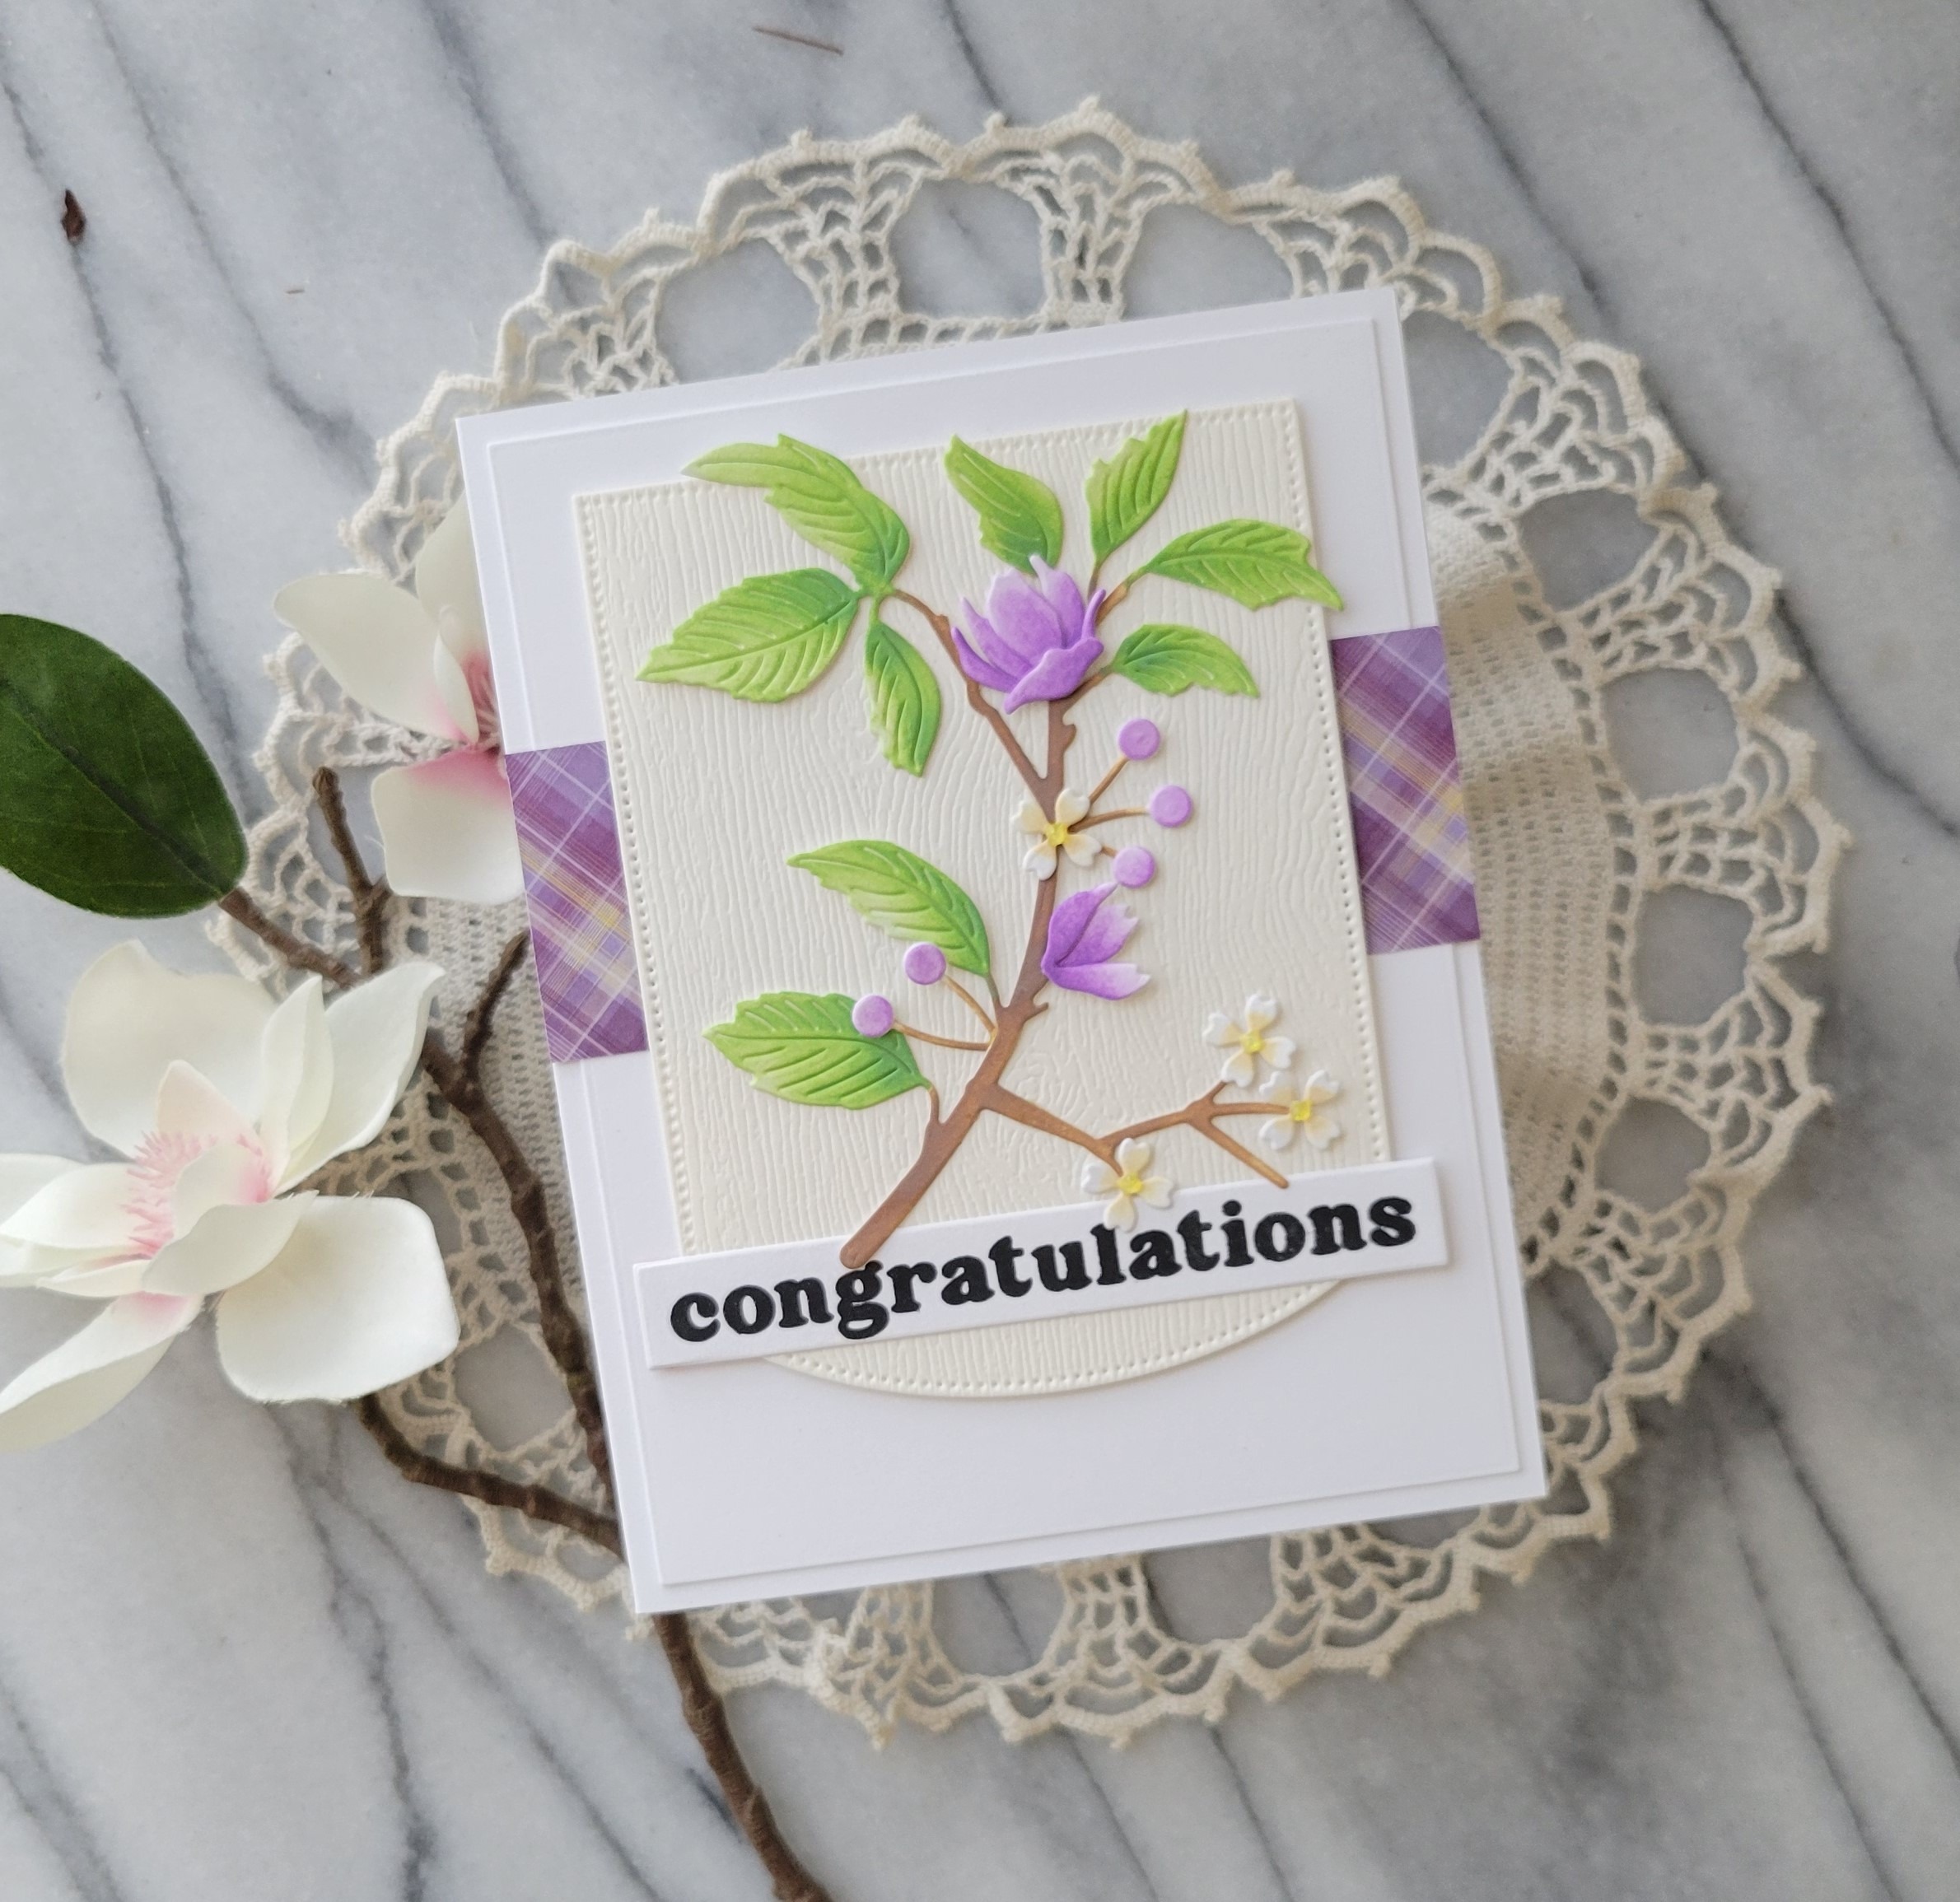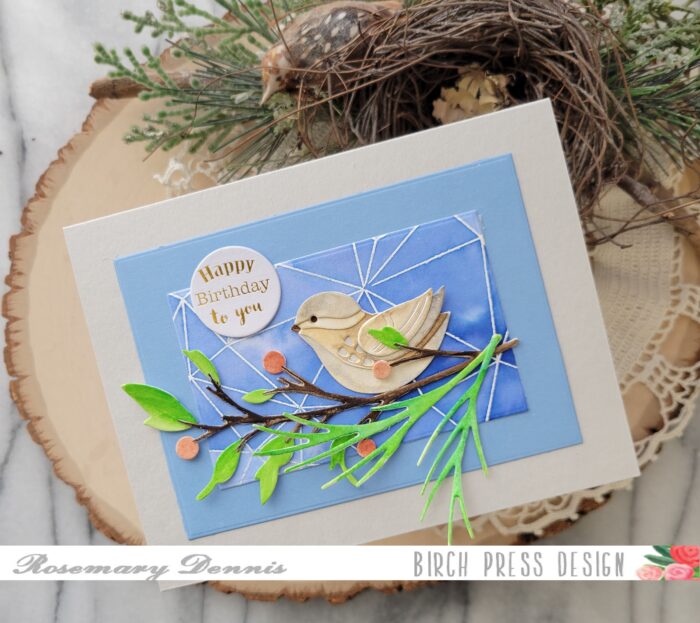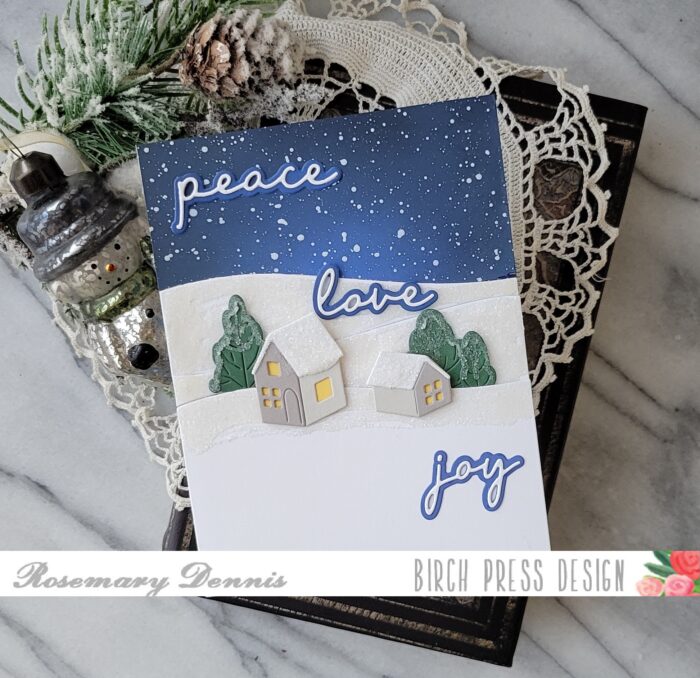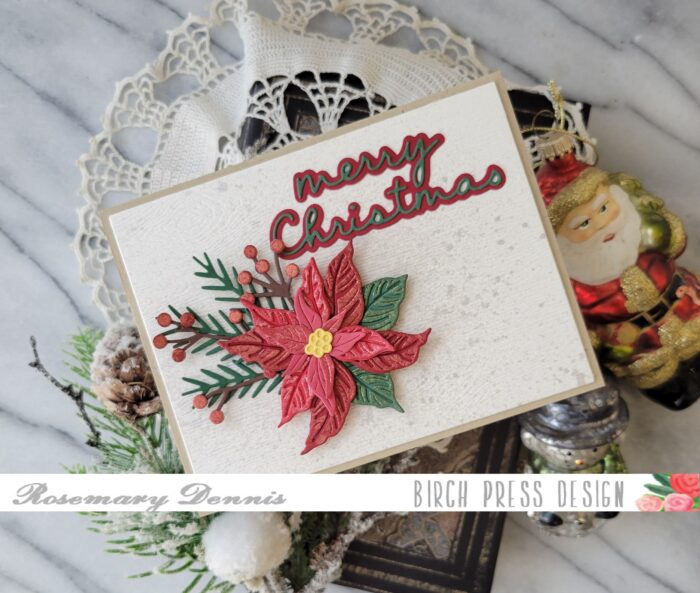
Hello Birch Press Design friends! Rosemary here on the blog today with a fun design I created using more new dies from the Block Print line. Let’s get started!
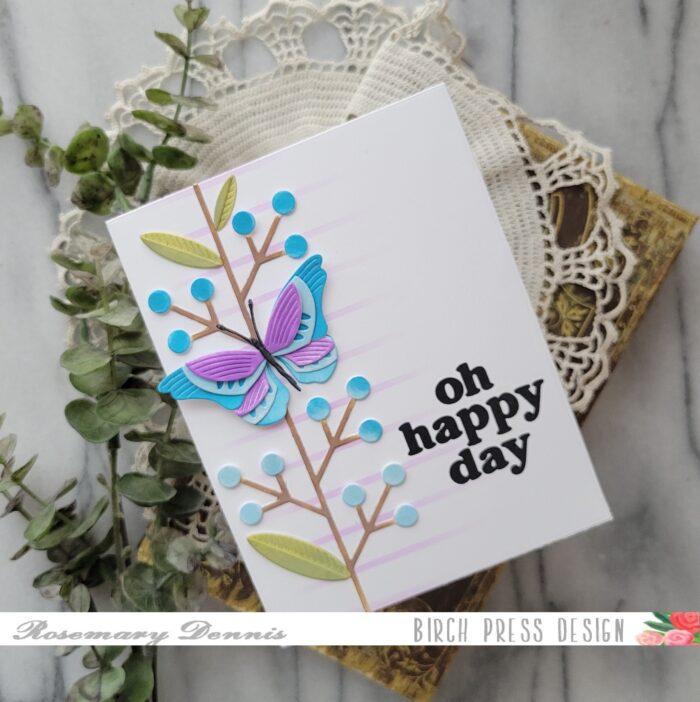
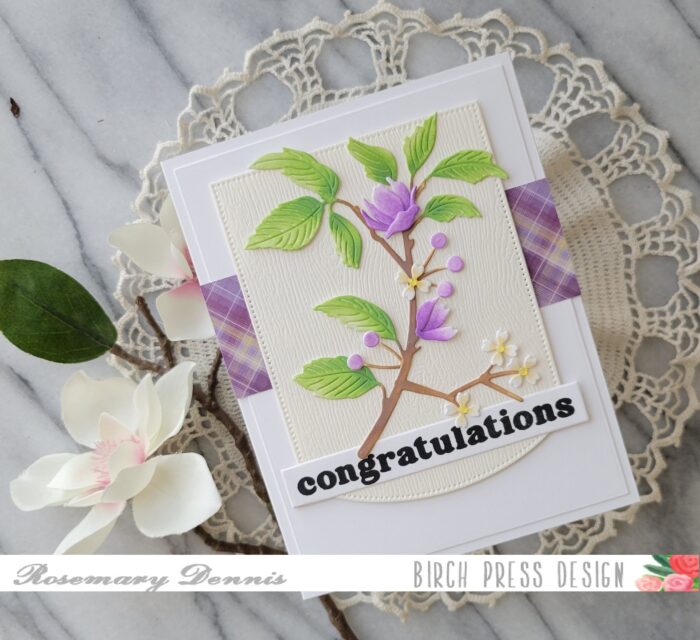
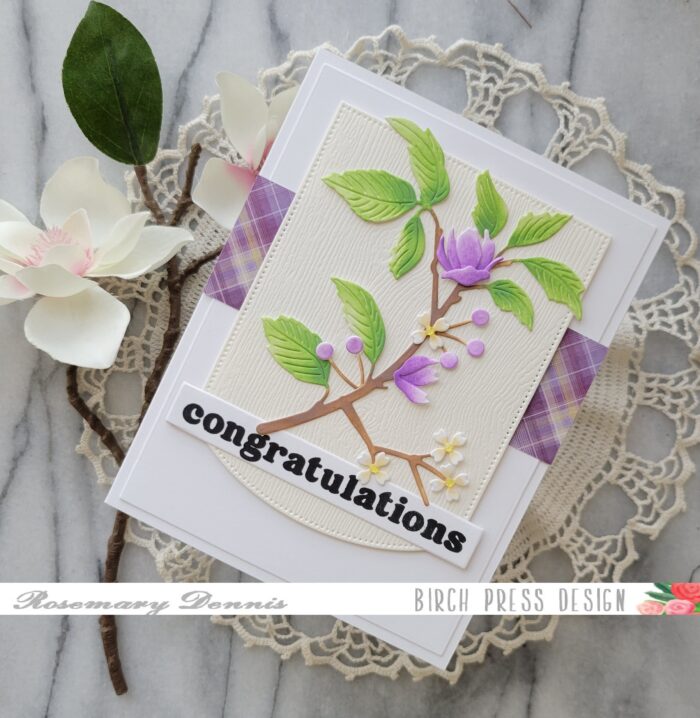
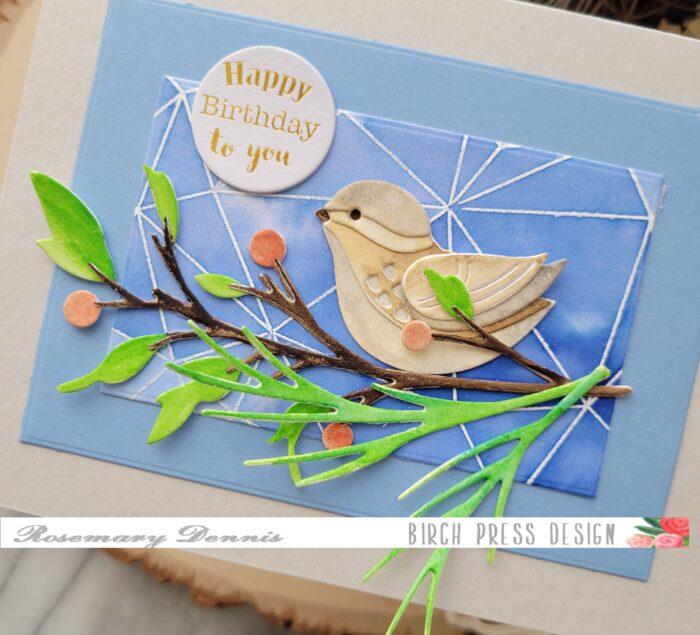
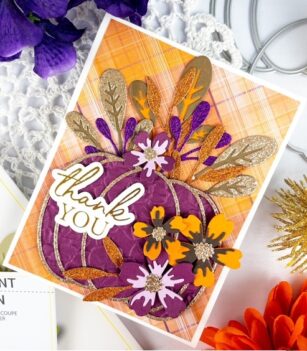
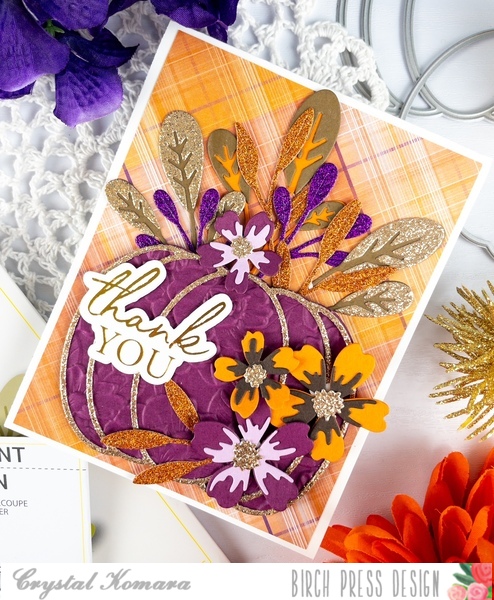
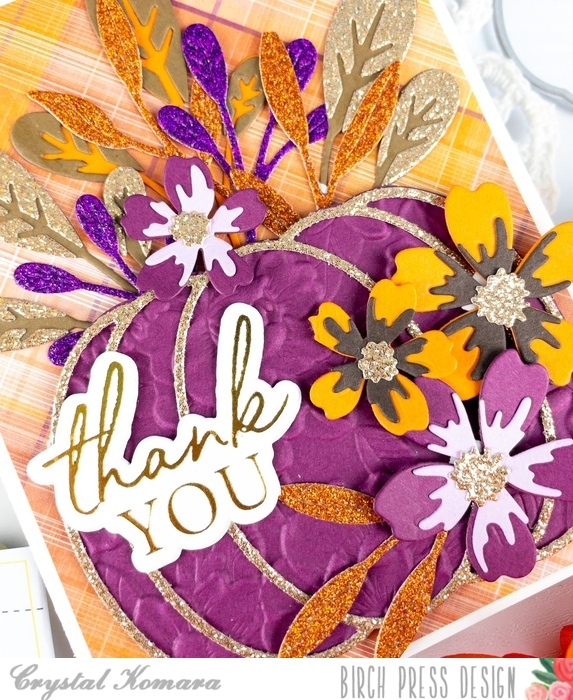
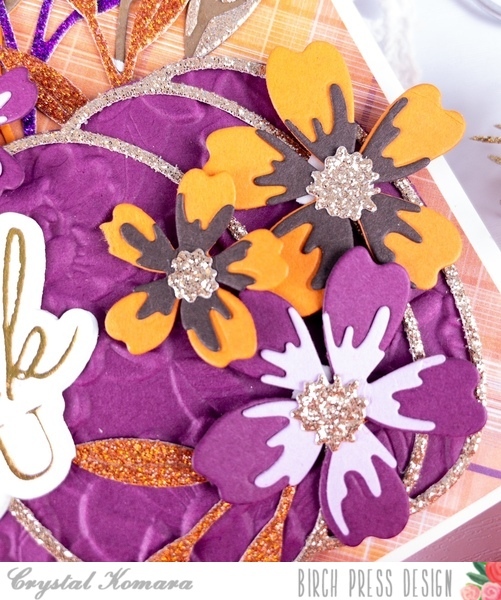
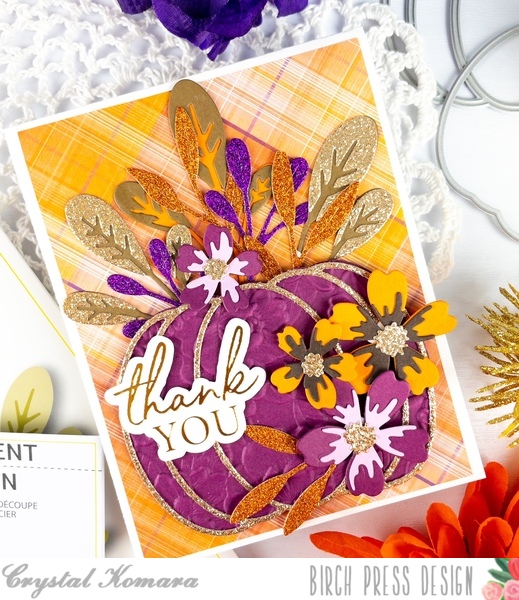
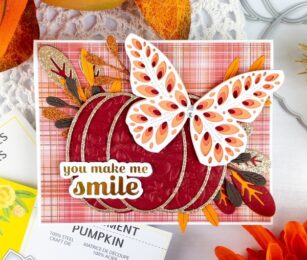
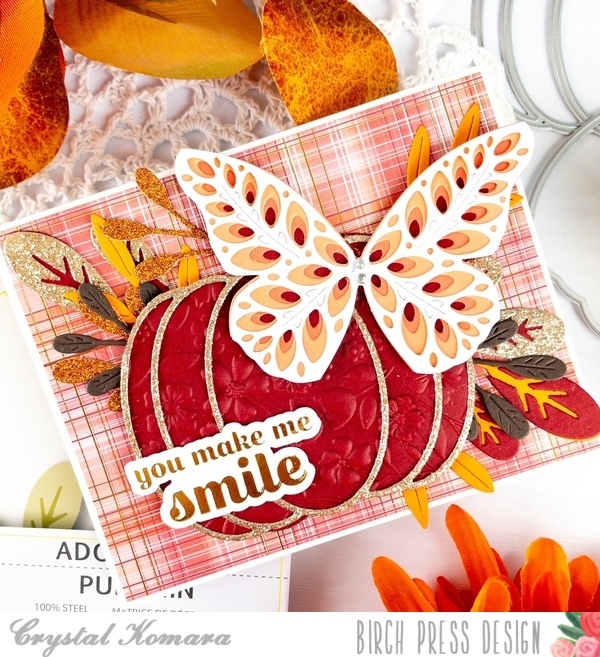
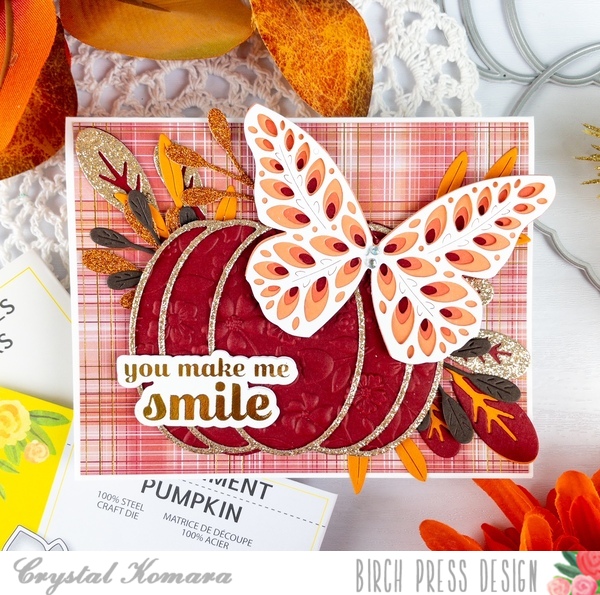
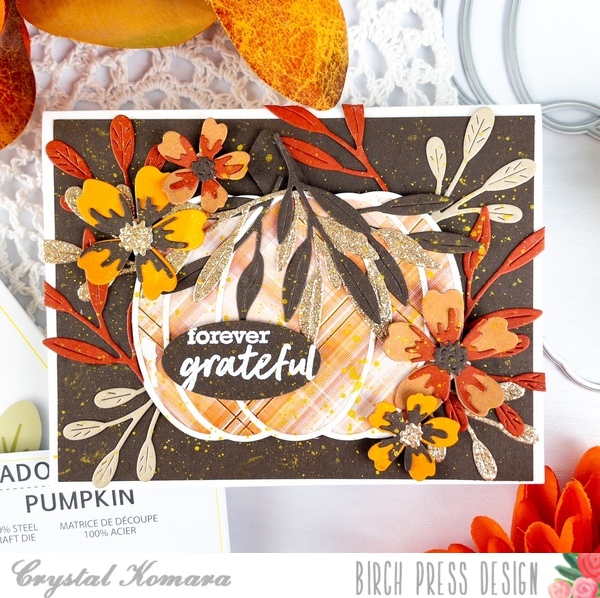
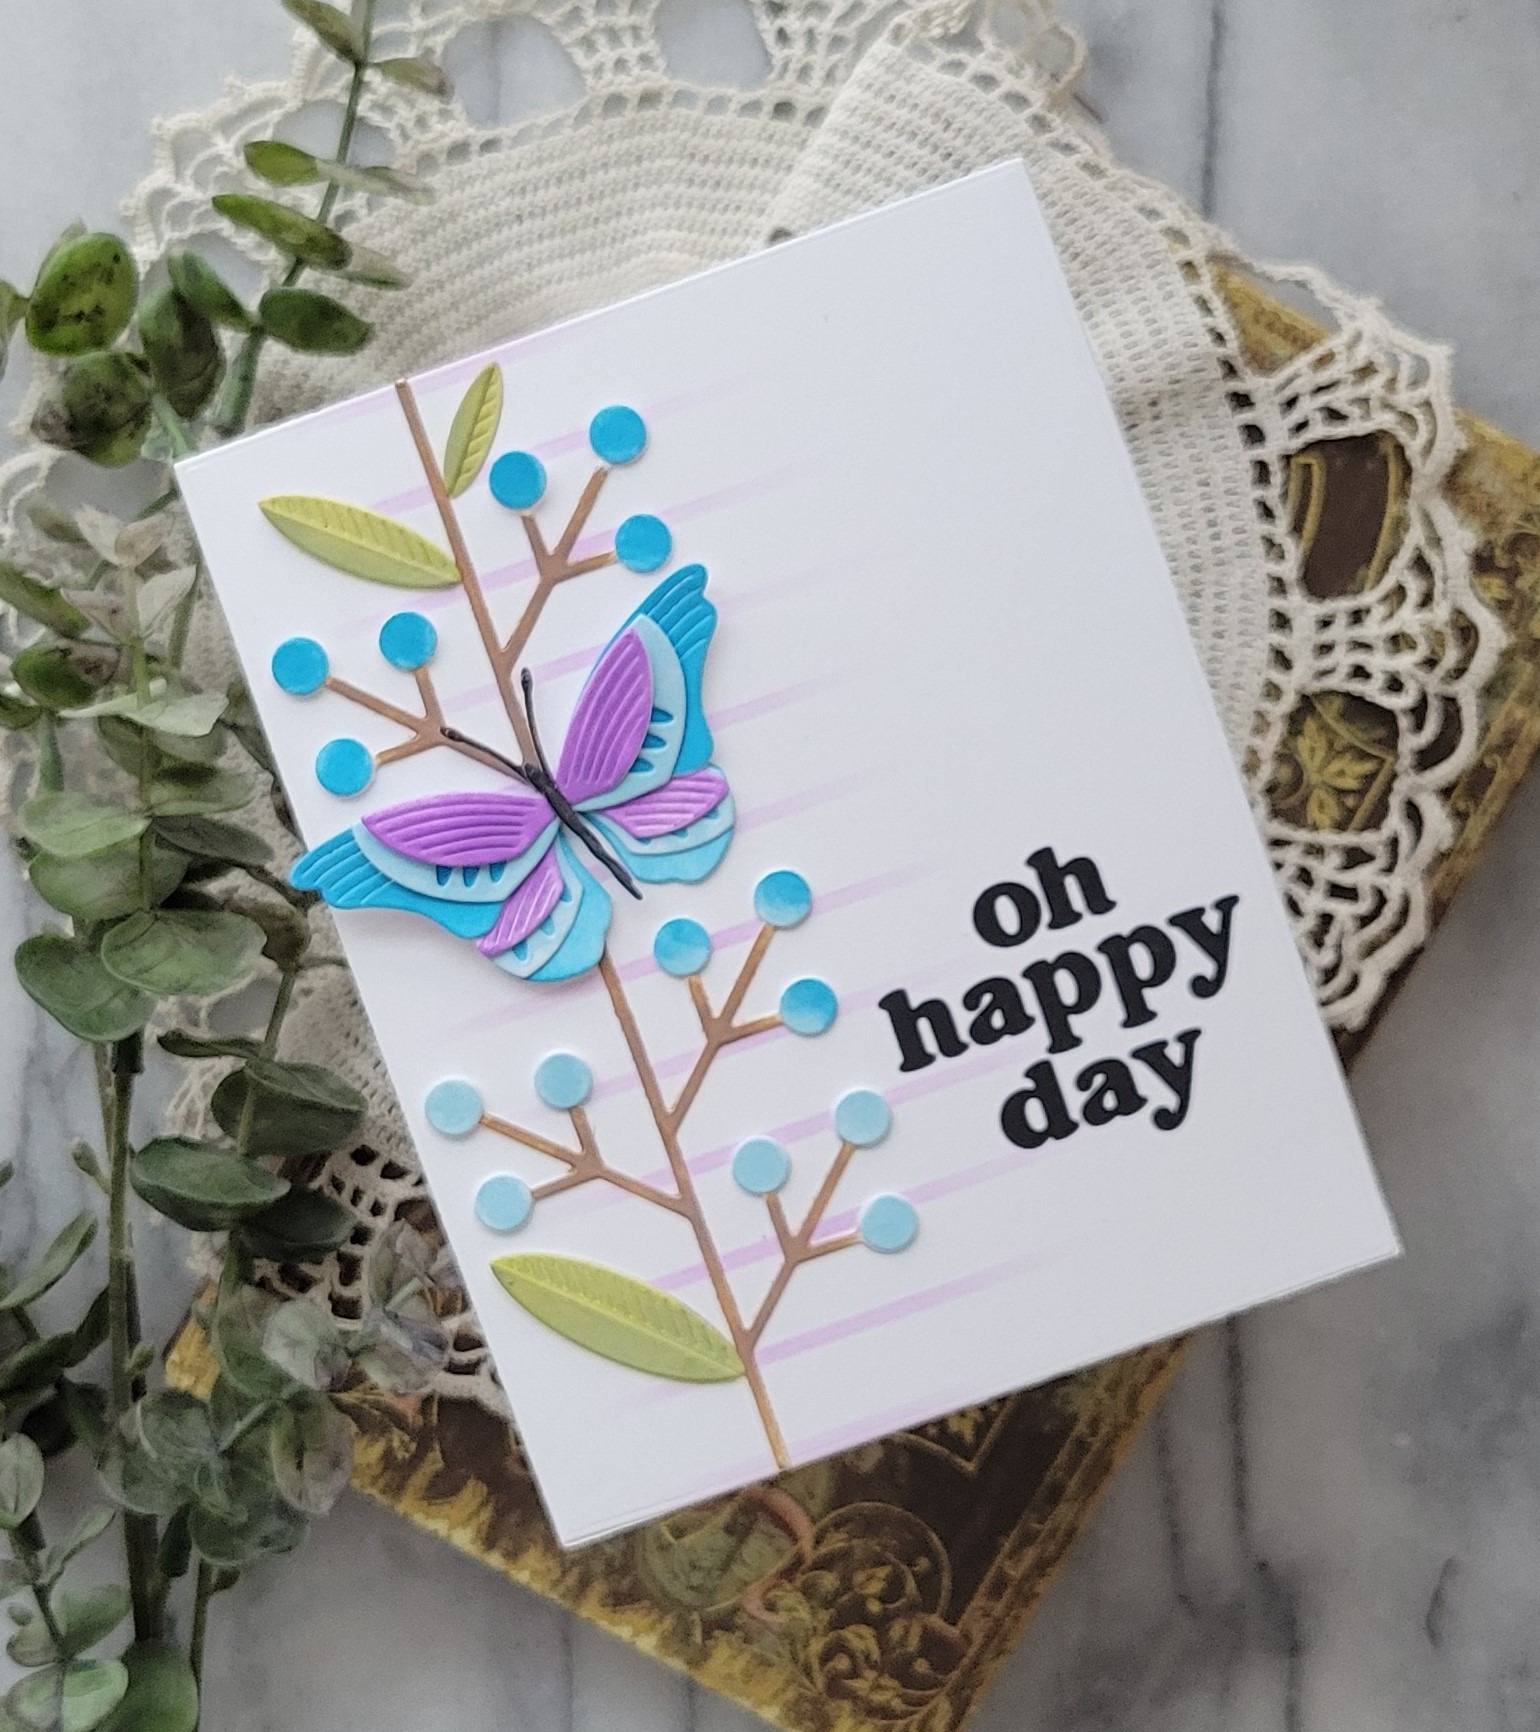
I don’t know about you, but I’m loving the new Block Print line of dies from Birch Press Design. They just keep getting better and better with each release! The butterflies in this release are amazing! For this card I used the Block Print Brilliant Butterfly and the super fun Block Print Stems and Berries.
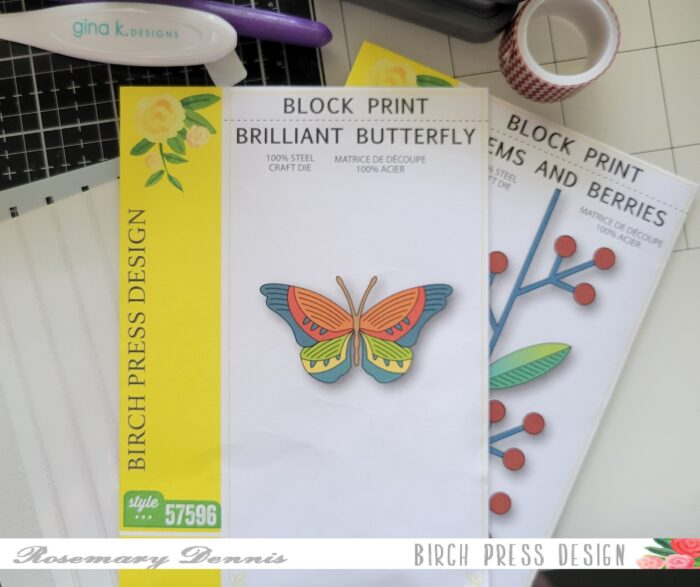
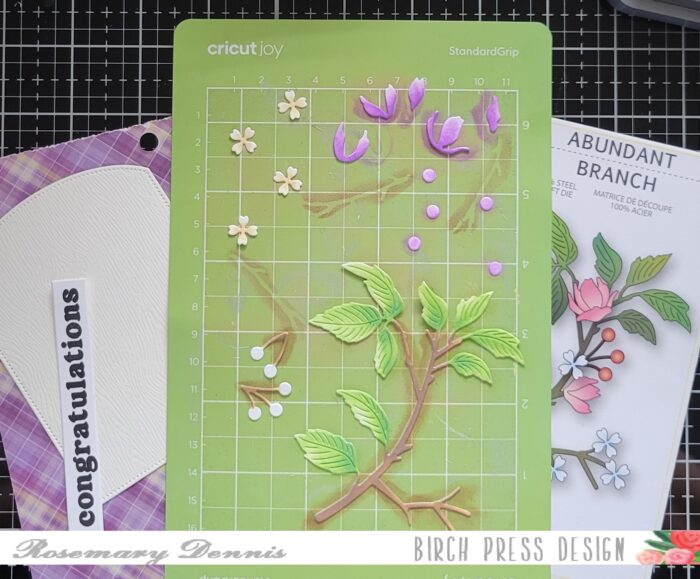
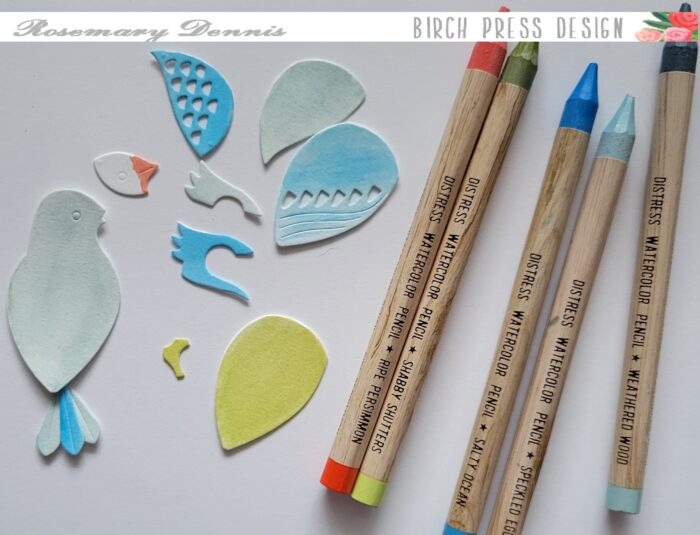
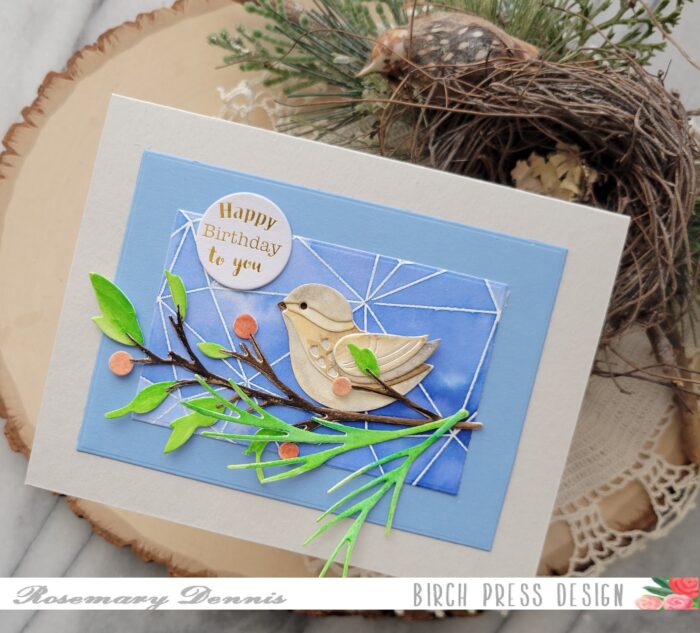
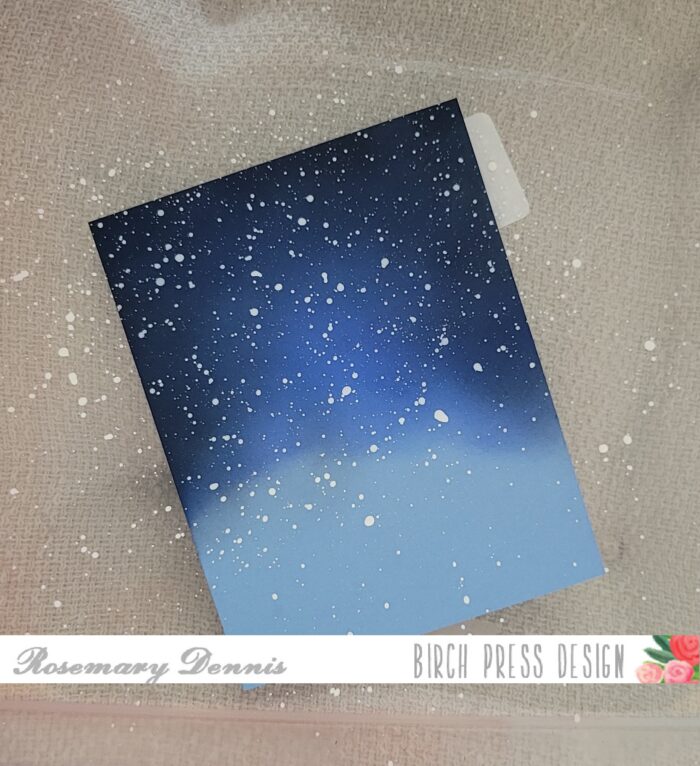
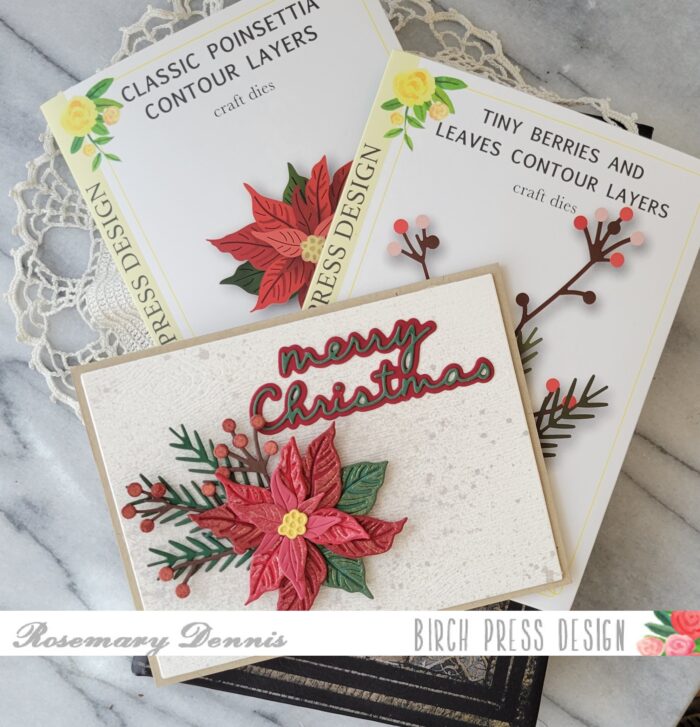
Here you can see the products that I used. I started by diecutting everything from white cardstock and then placing the pieces on a sticky mat so I could apply the distress oxide ink. Once the inking was done I set everything aside to dry.
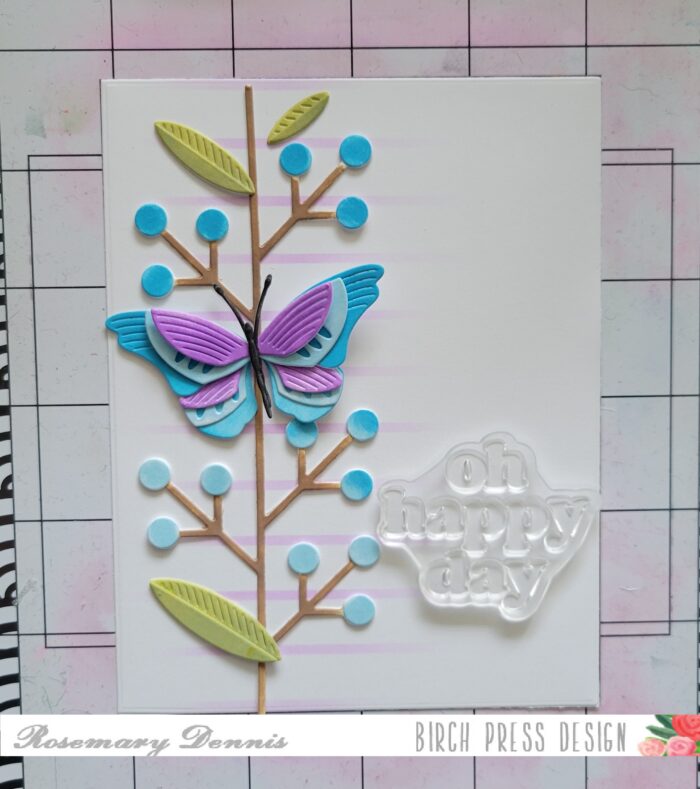
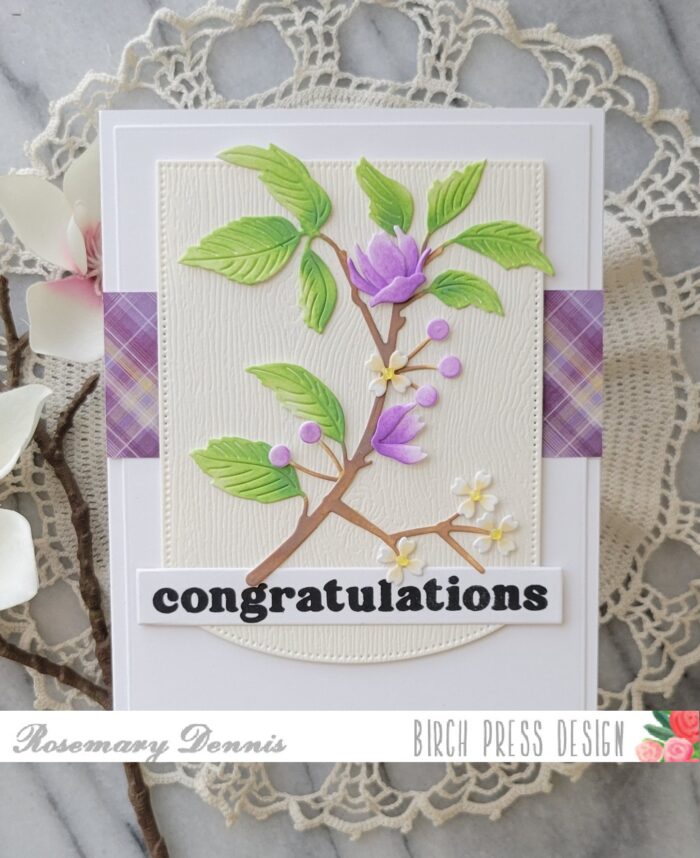
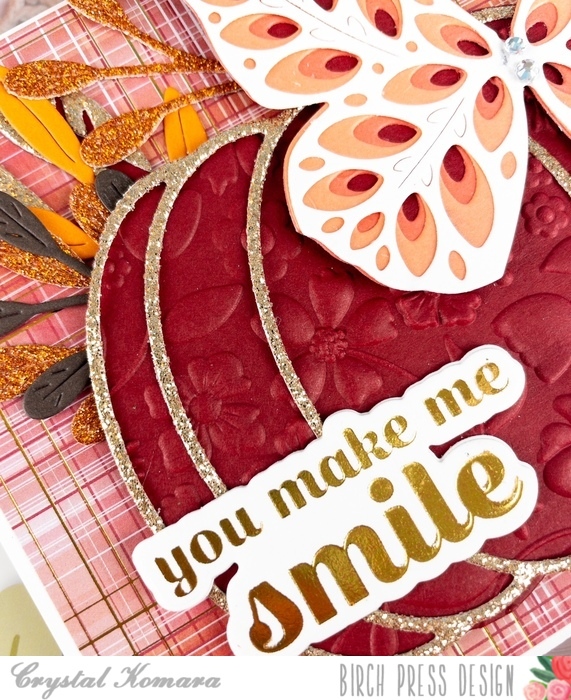
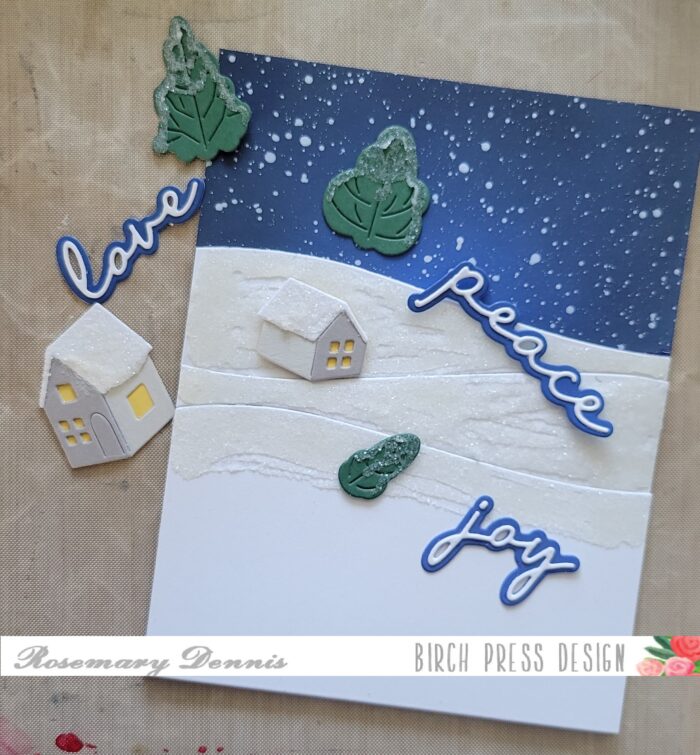
Once I had all my pieces assembled I needed to figure out my layout. It was at this point I decided to throw the new Linear Stripes Stencil into the mix. I used the purple ink that was left on my brush to add the stripes. I just wanted them in the area where I would be putting the stem. After I did my stenciling I left the panel on the sticky mat so I could determine final placement of the pieces.
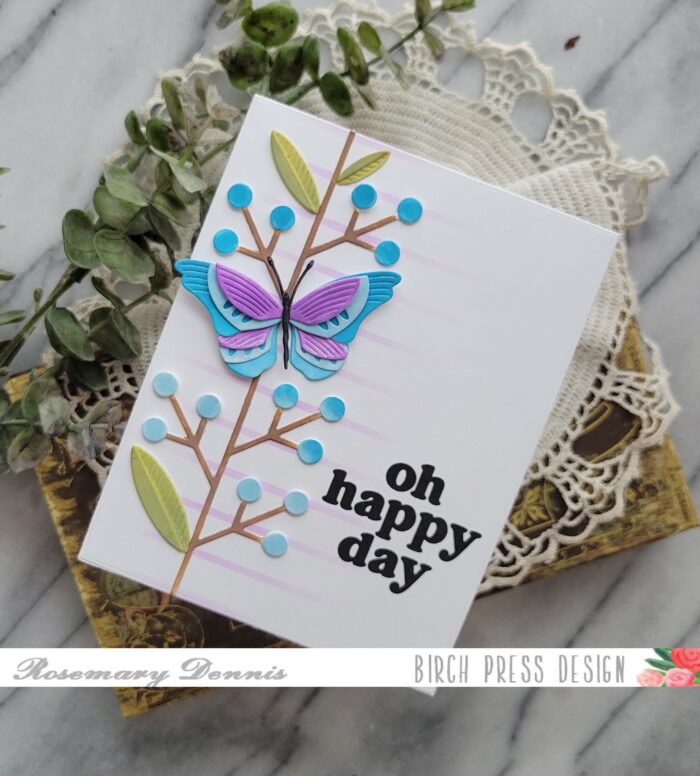
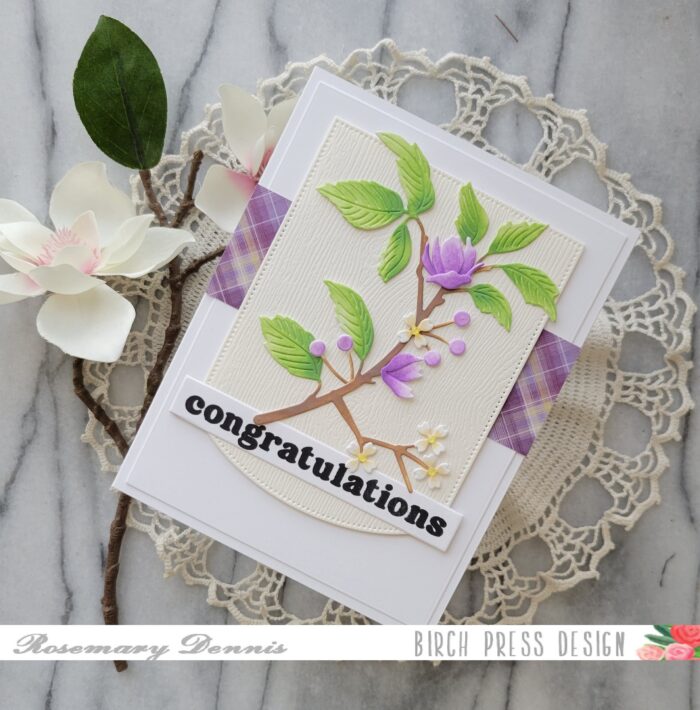
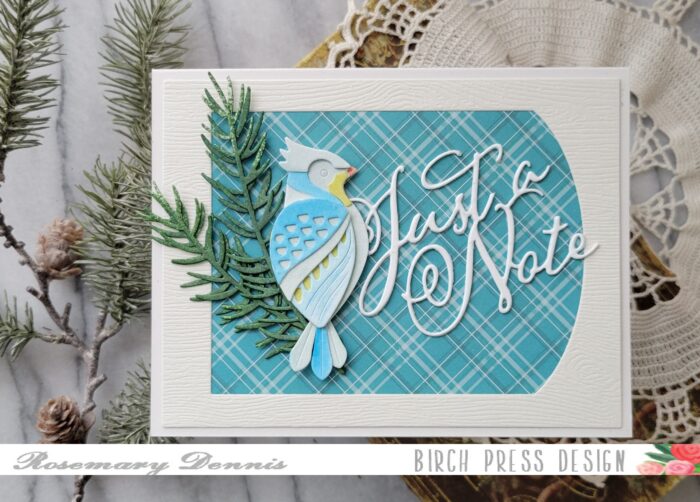
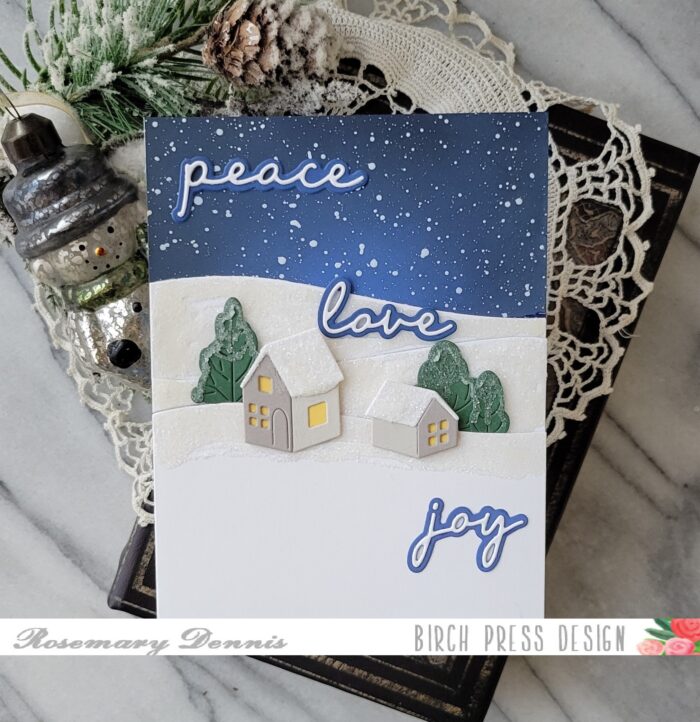
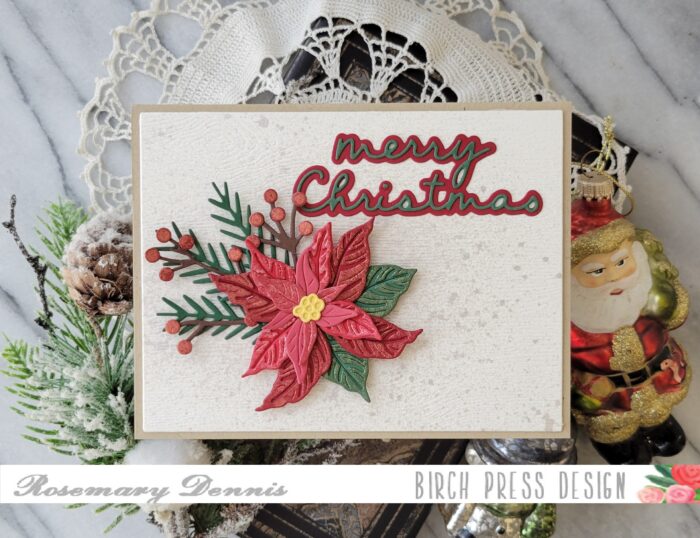
With placement determined I removed the panel from the sticky mat and placed it in my MISTI stamping tool to stamp the sentiment from the Vintage Everyday Greetings stamp set. The sentiment was stamped in black ink and then I adhered all the pieces using liquid adhesive.
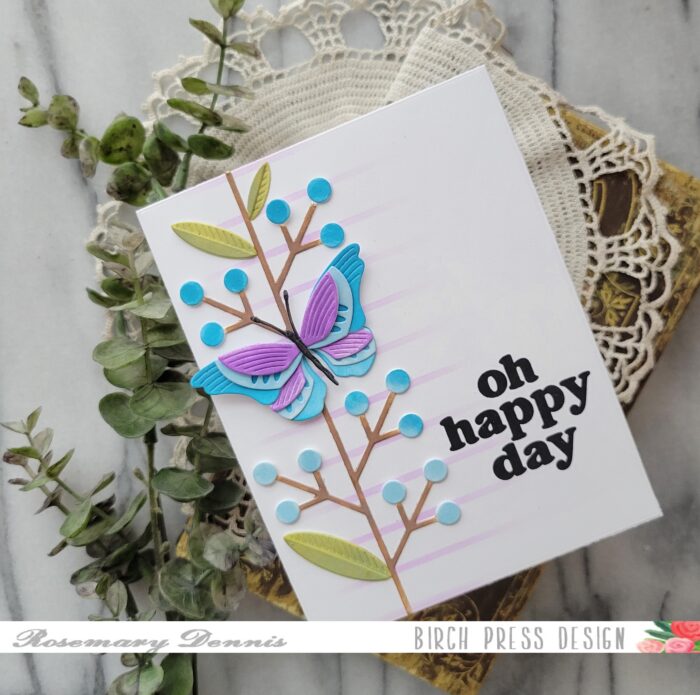
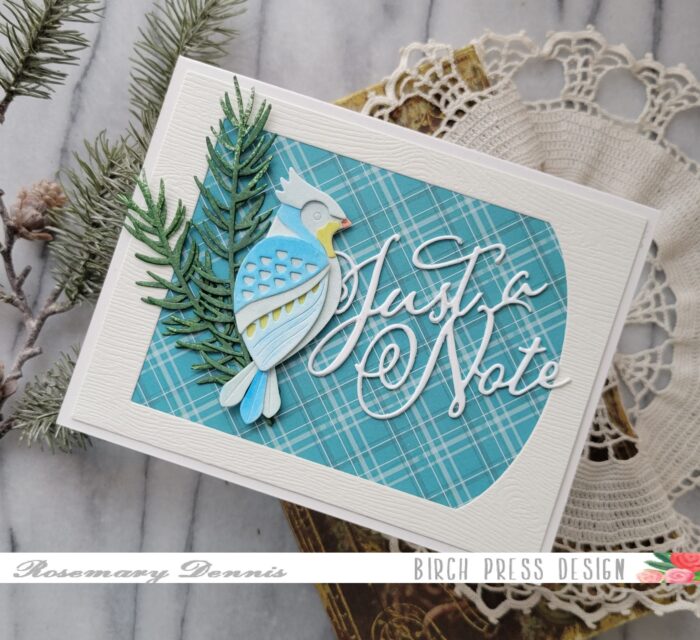
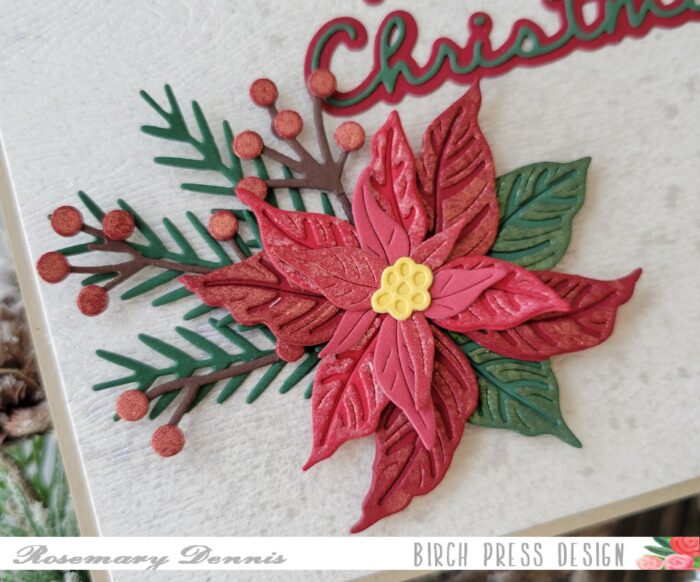
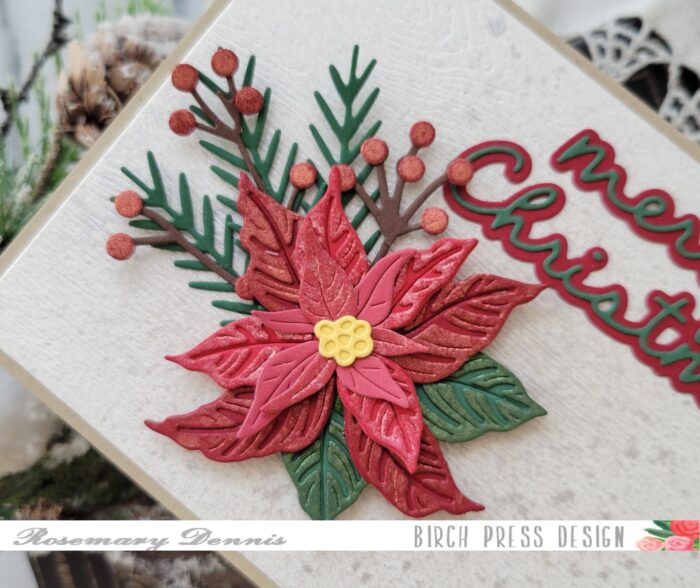
I just love the fun graphic look that the Block Print Stems and Berries and the stenciled stripes provide. The beautiful Brilliant Butterfly provides a little softness to the design. Well, that’s it for me. I hope you enjoyed today’s card. Thanks for stopping by!

Supplies