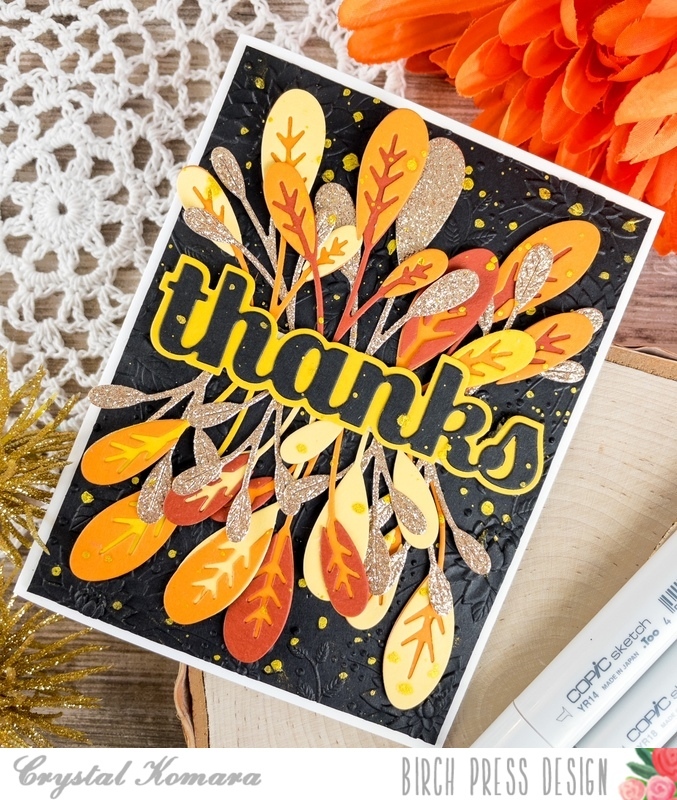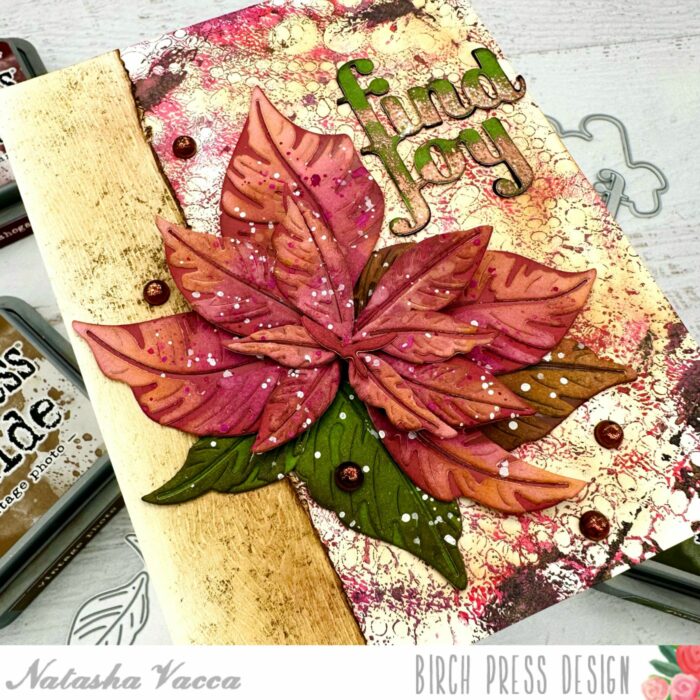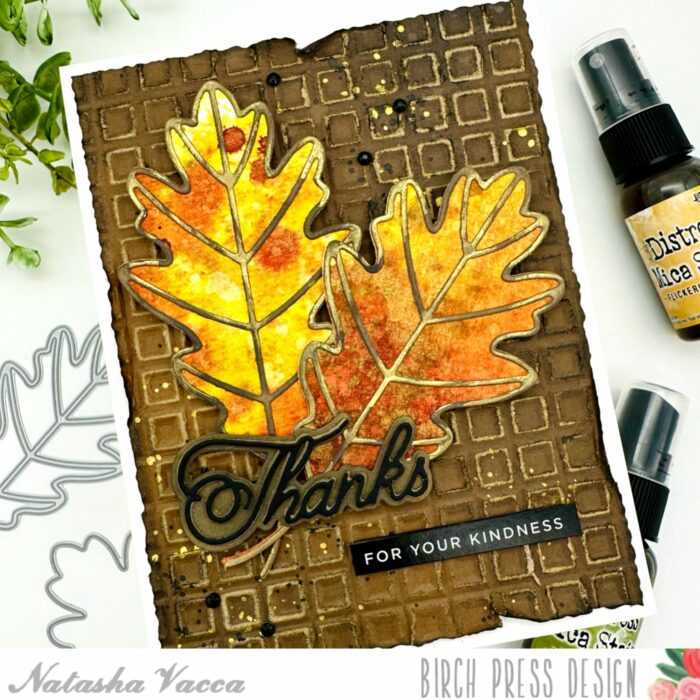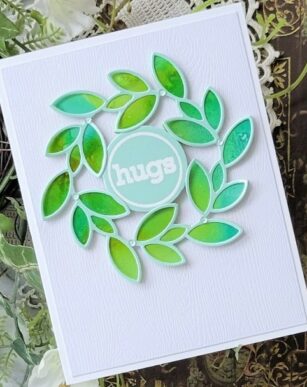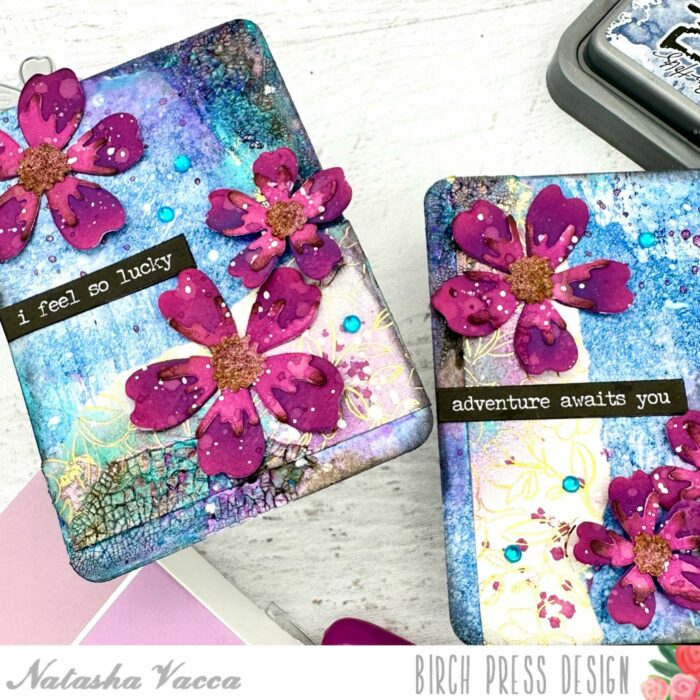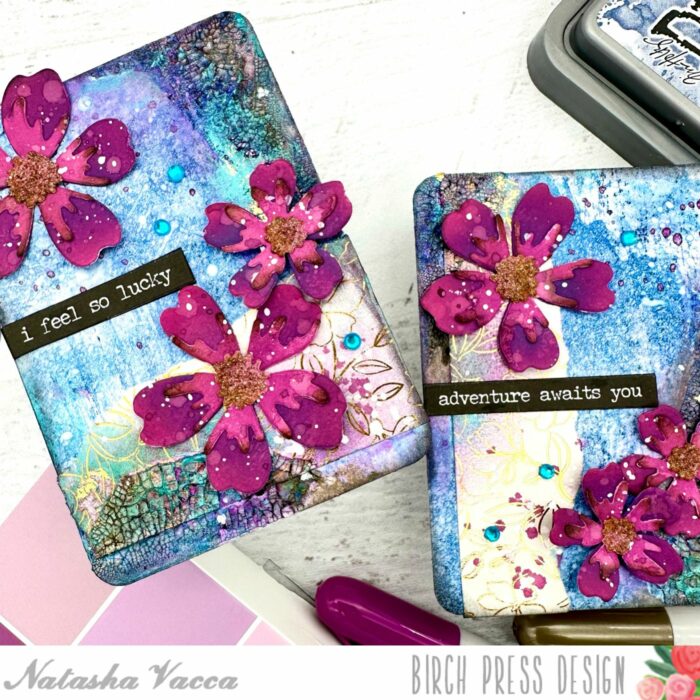
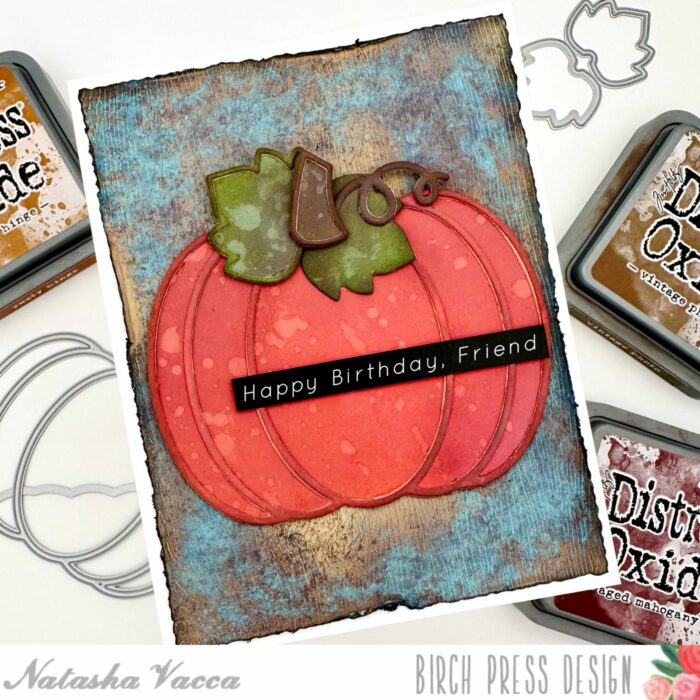
Hello Crafty friends! I am excited to be back up on the blog today sharing the beautiful new Adornment Pumpkin die set! I love the large pumpkin and how this die set creates a beautiful focal image! So let’s get started!
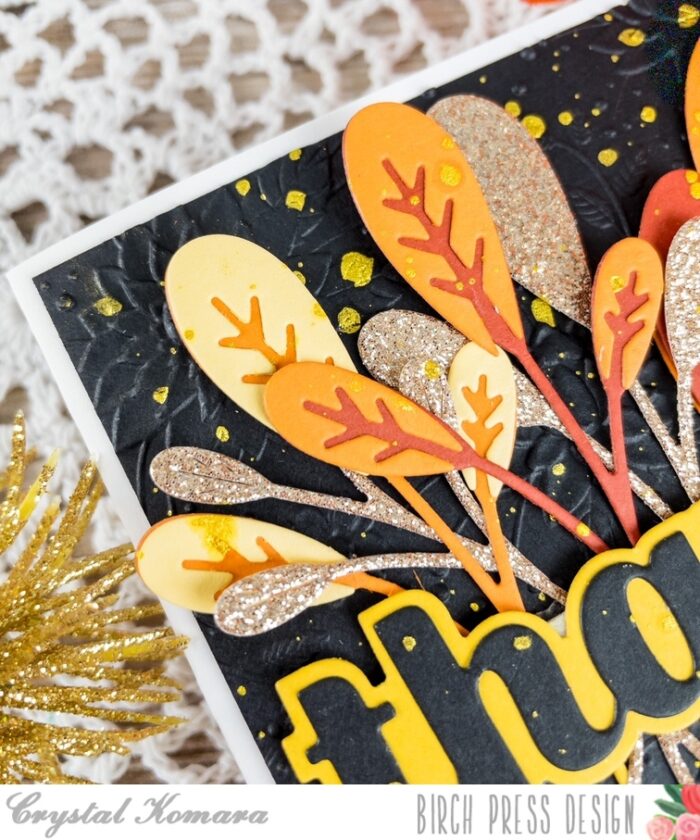
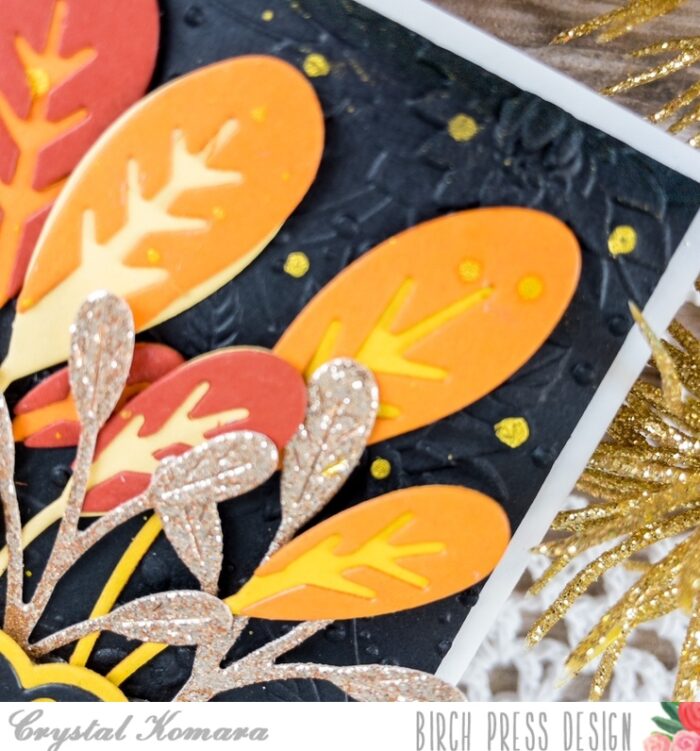
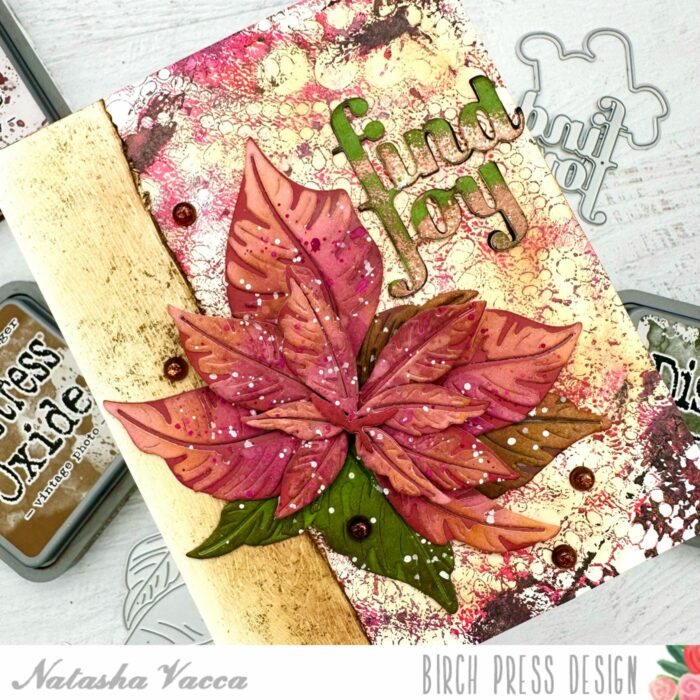
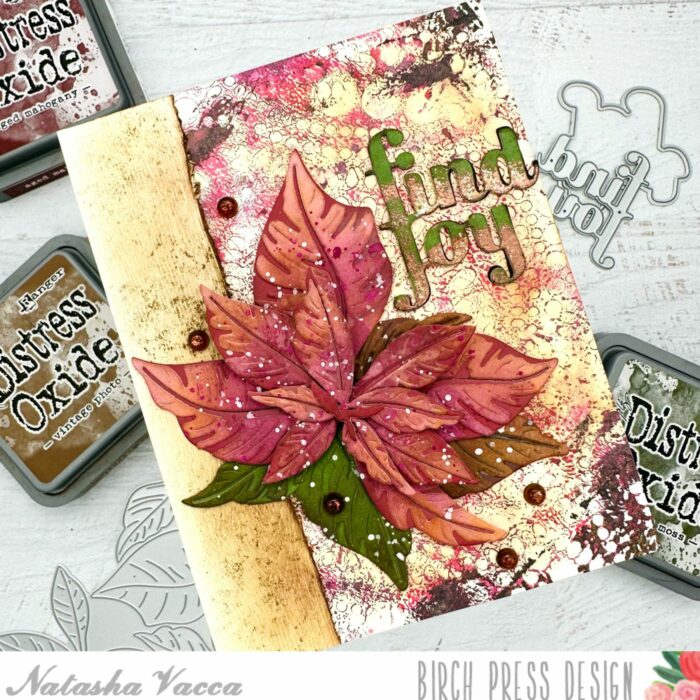
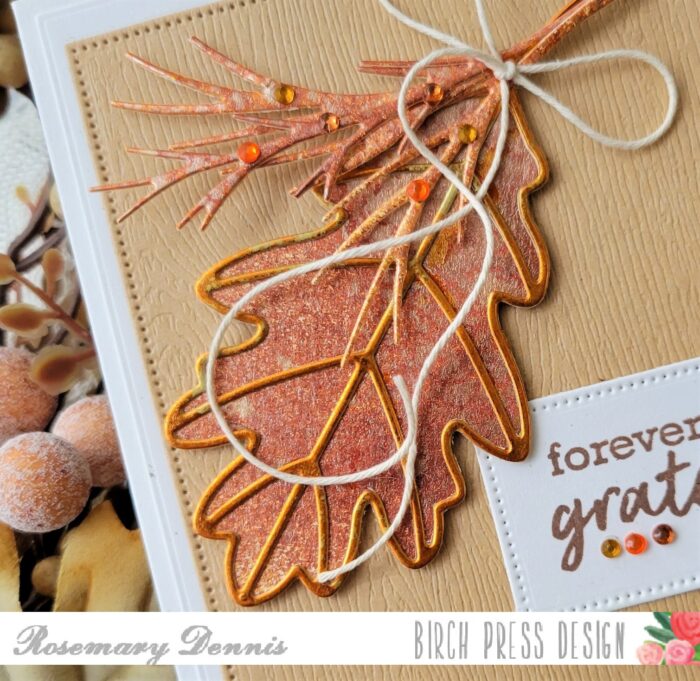
I started by die cutting the Adornment Pumpkin using paper pads from Memory Box. I die cut the pumpkin using the Sunny Orange pad, the leaves using Lush Green, and the stem from the Earth Neutral paper pad. I die cut each of the pieces using a colored cardstock and then a white piece of card stock as well.
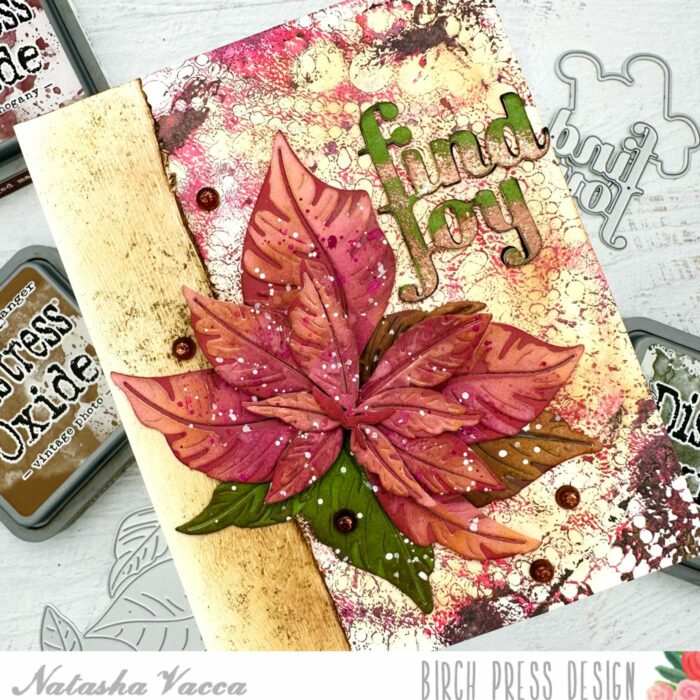
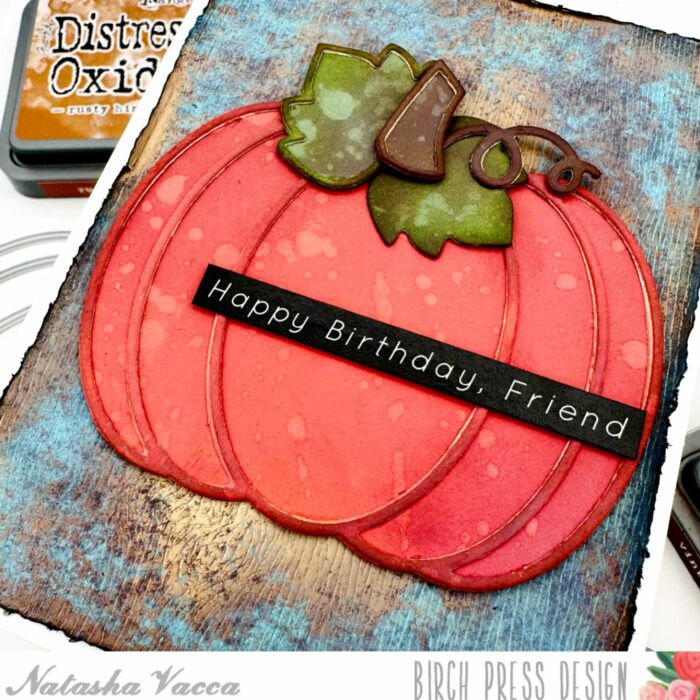
Once all the layers were die cut, I adhered the colored layer on top of the white card stock using liquid glue. Next I added a bit of color to each of the layers using Distress Oxide inks. I applied the ink on top of the colored card stock and then added water droplets for added texture.
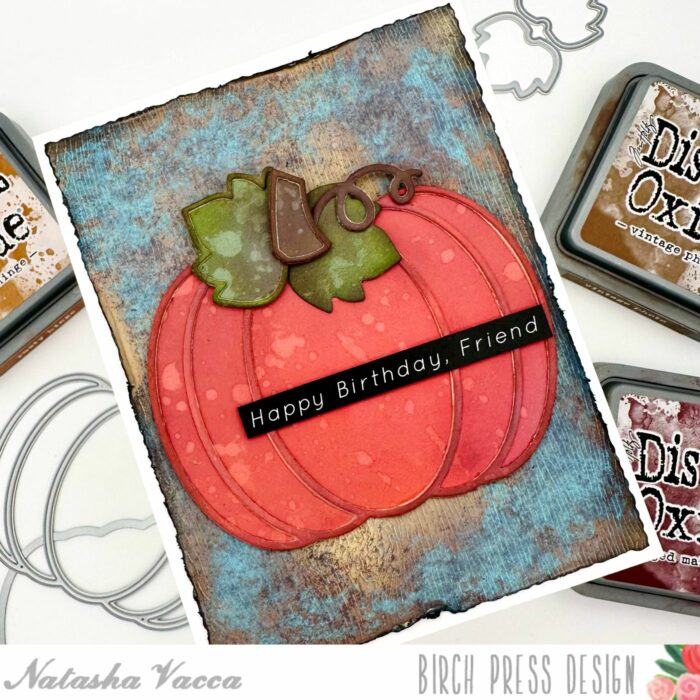
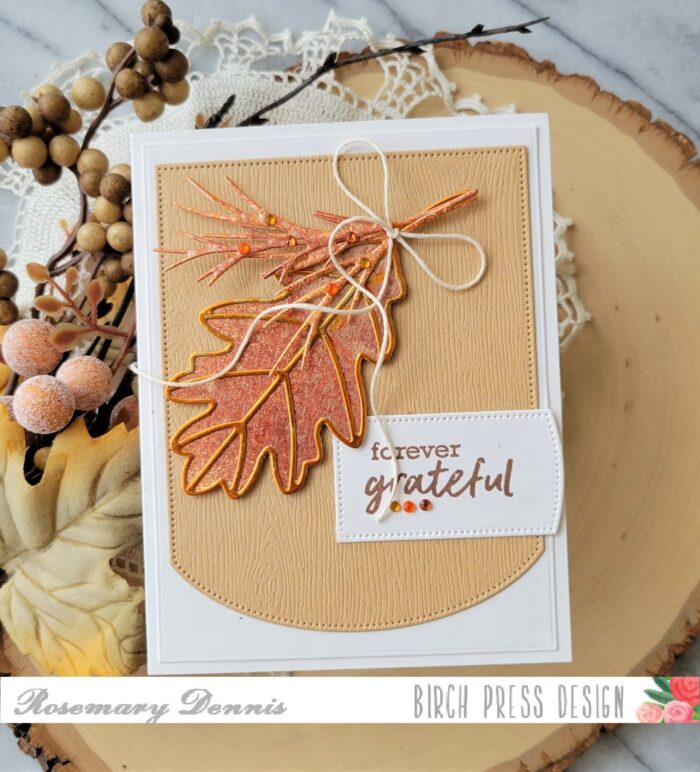
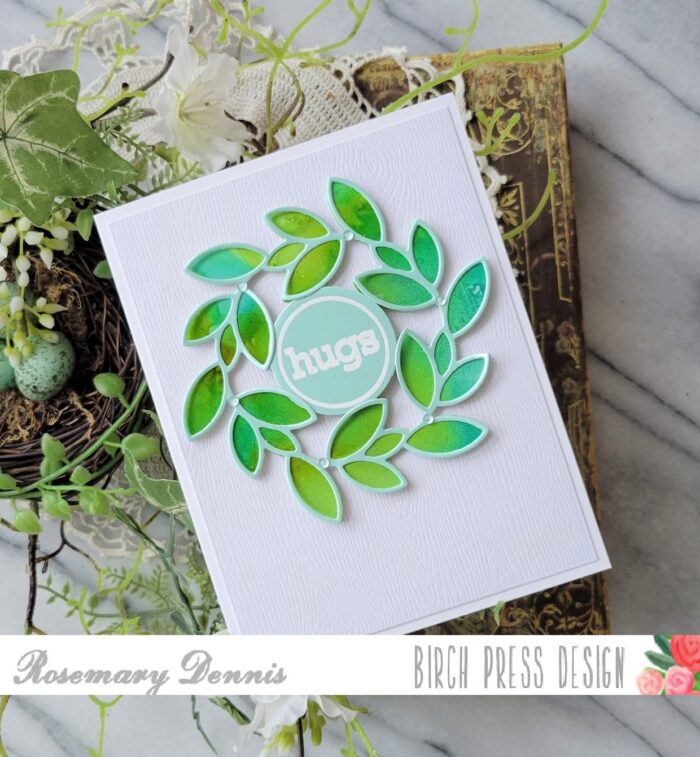
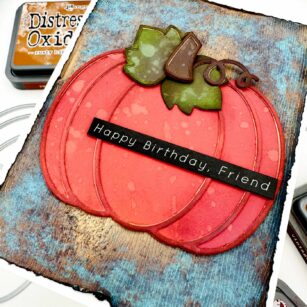
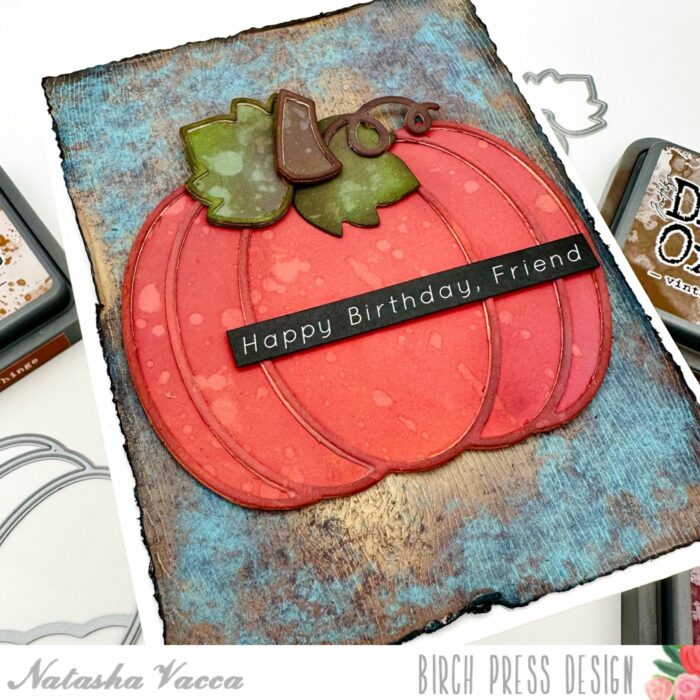
Next I darkened the edges of each die cut using a dye ink. I set the pieces aside to work on the background. For the background I trimmed a piece of white woodgrain paper down to an A2 card size panel. I then used distress oxide inks to create a wood background. I added a bit of distress paint using a sponge for added texture and color.
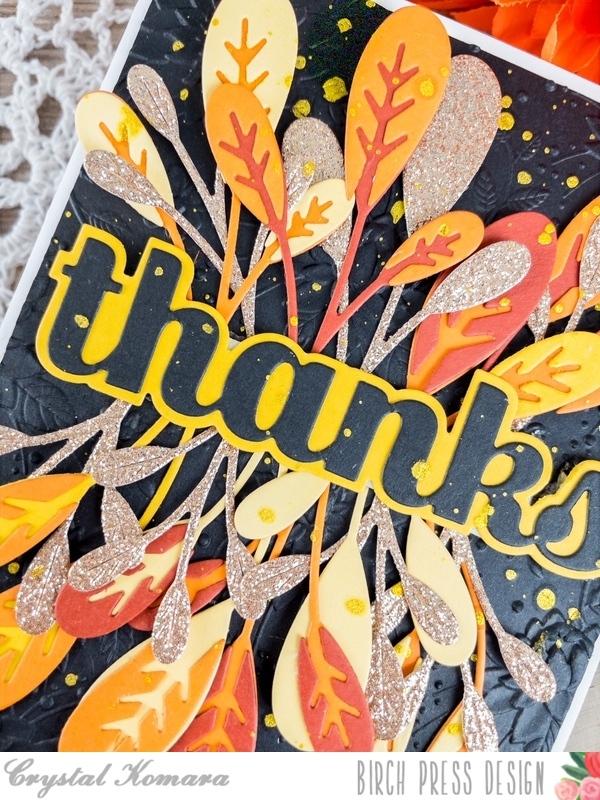
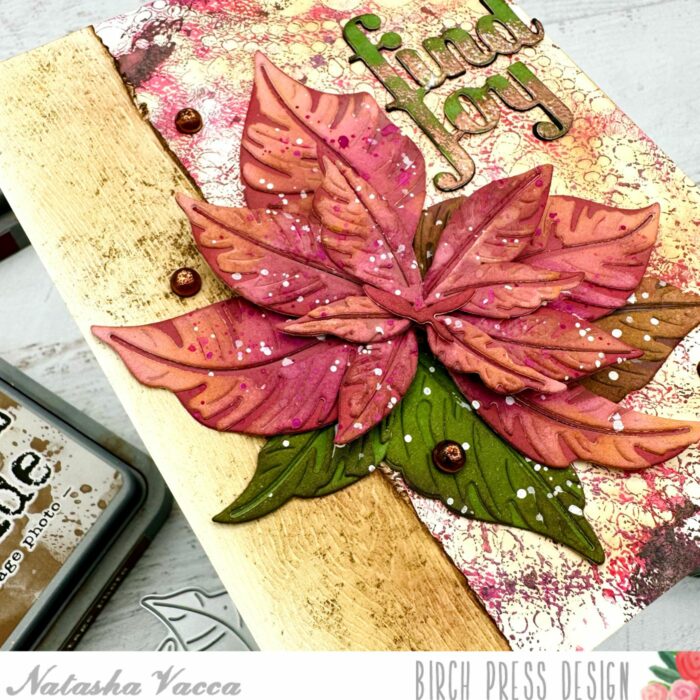
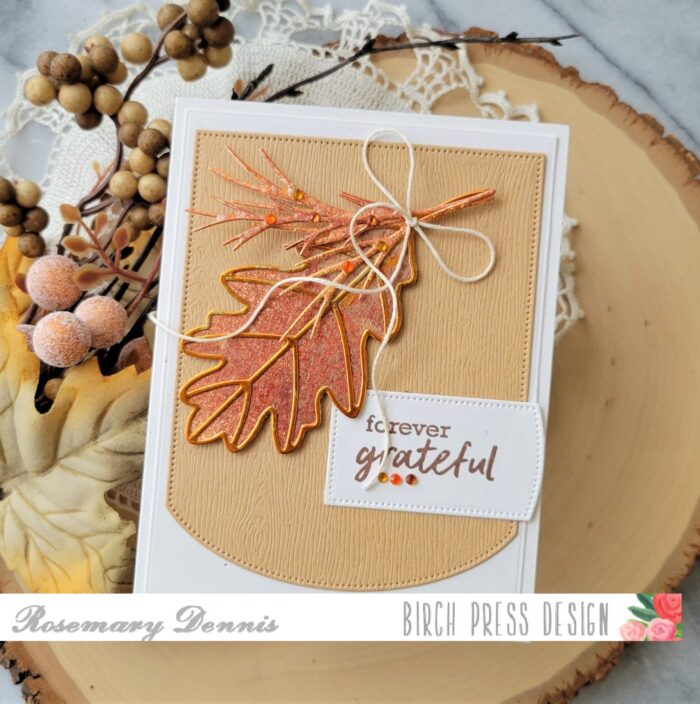
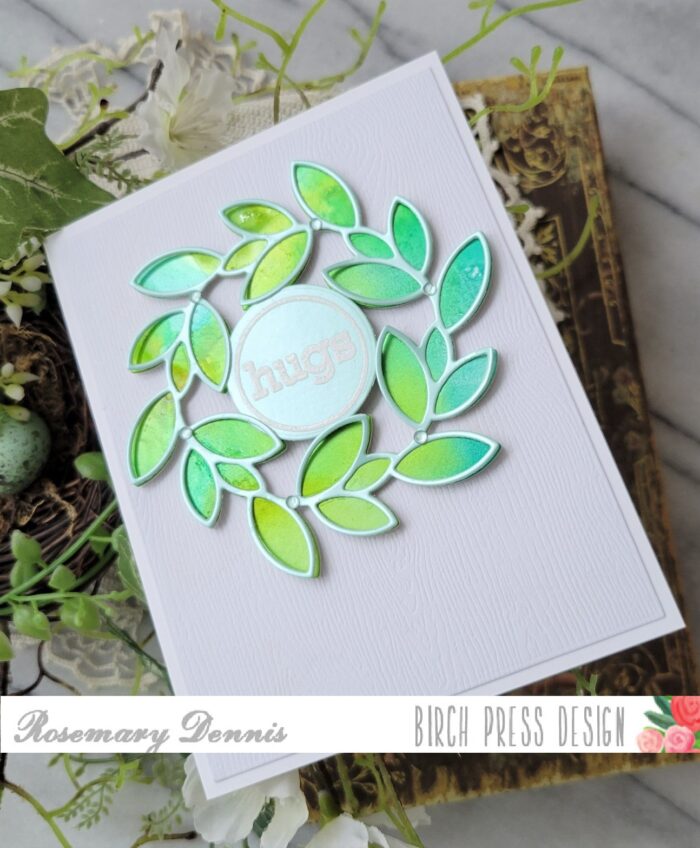
Once the panel was completely dry, I trimmed the panel using my deckle trimmer. I then distressed the edges using my distress tool and distress ink. I then adhered the background panel onto a top folding A2 card base. I adhered the pumpkin, leaves, and stem to the card front using liquid glue. I completed the card with a sentiment strip from my stash.
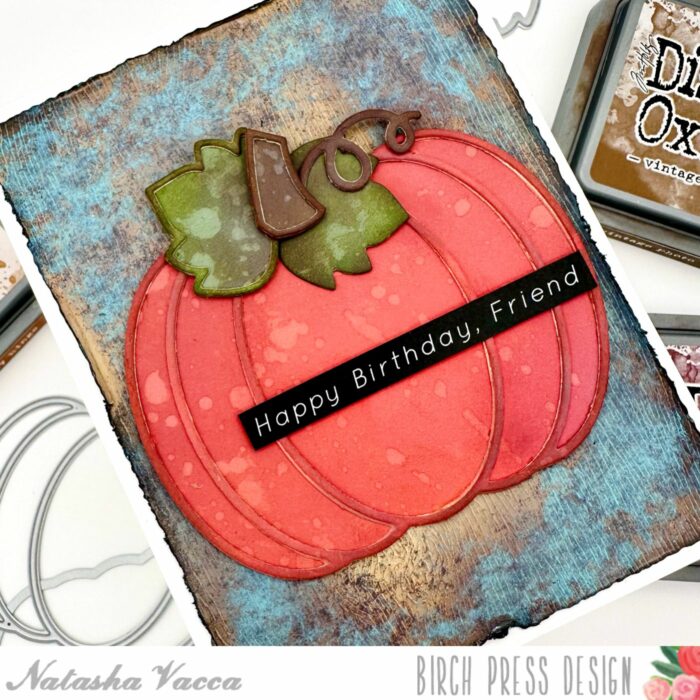
I had a lot of fun creating today’s card! I hope you enjoyed this and I will be back soon!

Supplies

Supplies