Category: Mushroom

  • Fall Mushrooms by Rosemary Dennis

    Fall Mushrooms
    by Rosemary Dennis

    Hello and happy November! Fall is in full swing in my little corner of the world. I just love fall and all the pretty leaves coming off the trees, but I don’t enjoy the cold rain. Today I’m sharing a fall inspired design featuring the Block Print Round Mushrooms, Fall Leaves and Bokeh stencil set. Let’s hava a look at what I made.
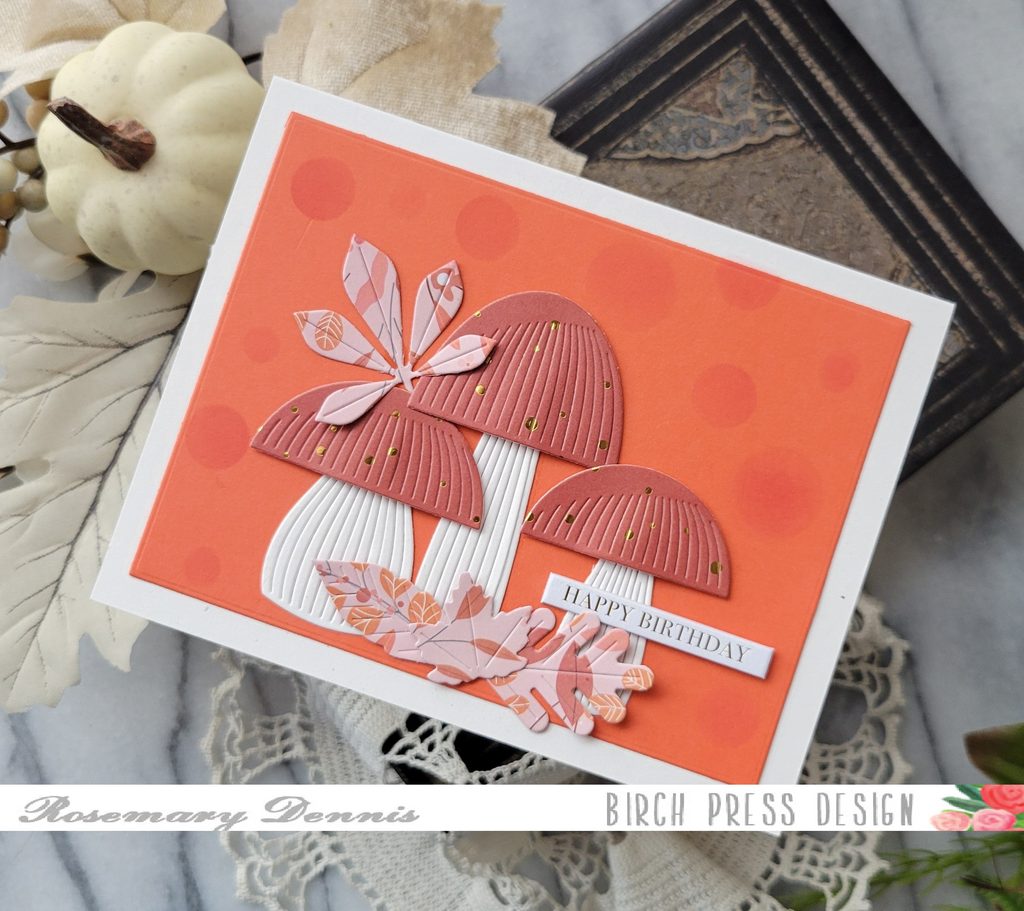
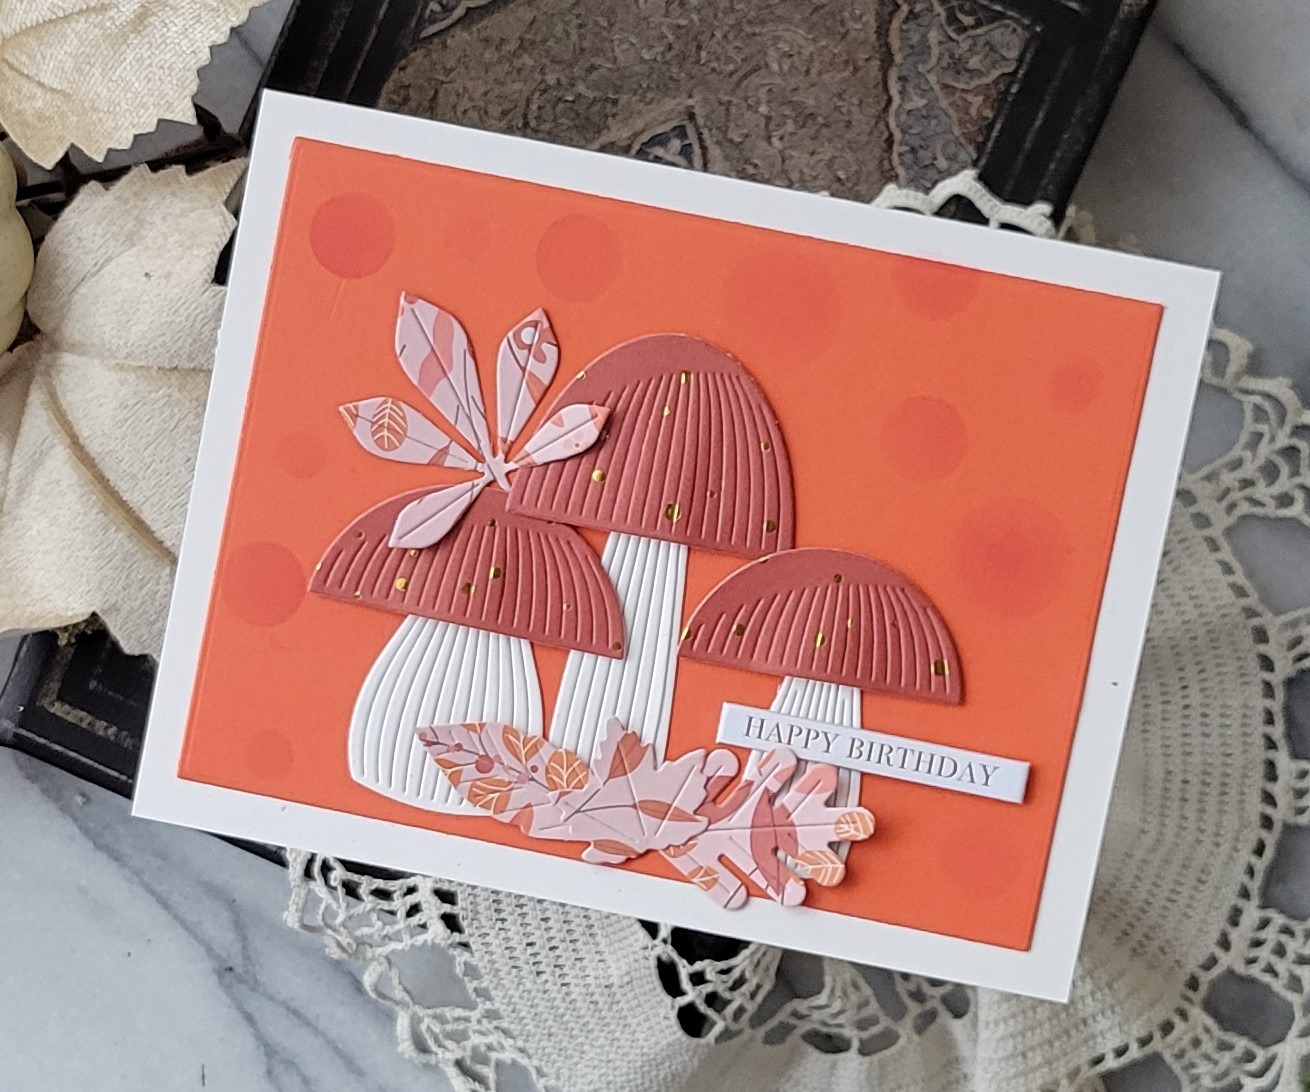
    For the mushrooms and leaves I decided to use some Memory Box patterned paper from the Nutmeg Forest 6×6 pad and off white cardstock.
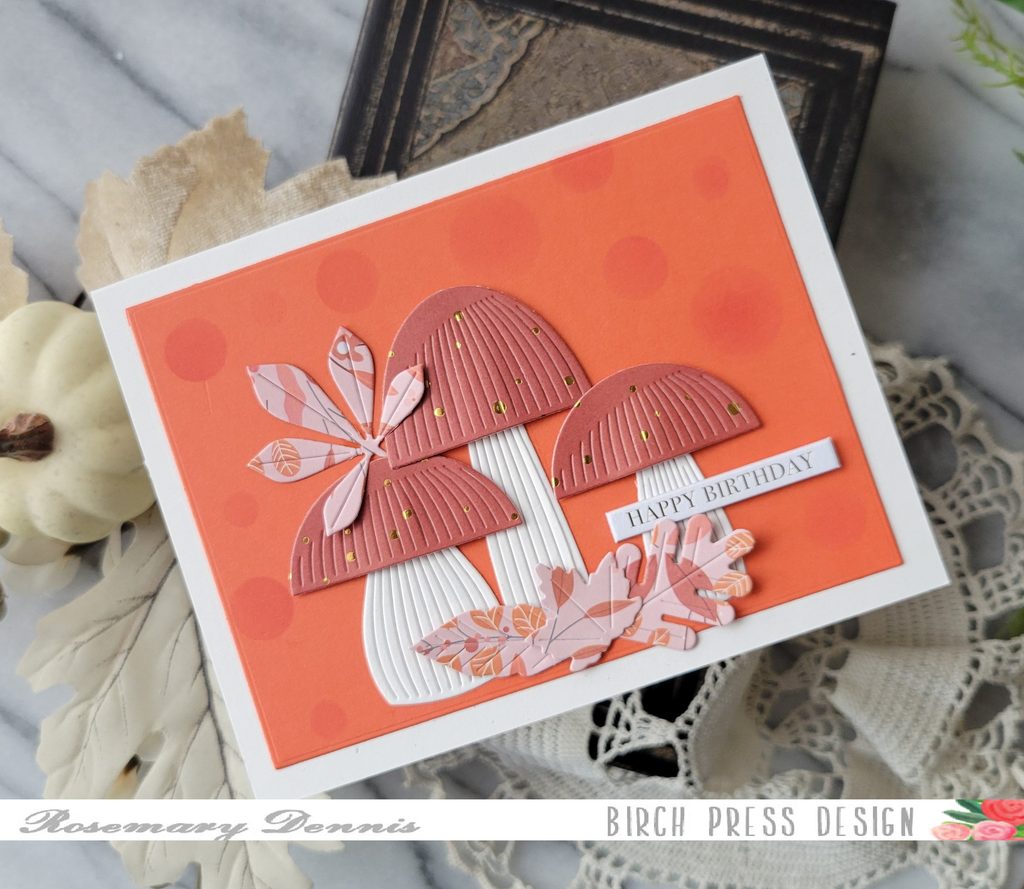
    I made sure to position the mushroom caps on the patterned paper so that the caps would have little gold foil dots on them. The backside of the the gold dot paper was use to die cut the Fall Leaves. I used the off white cardstock for the stems.
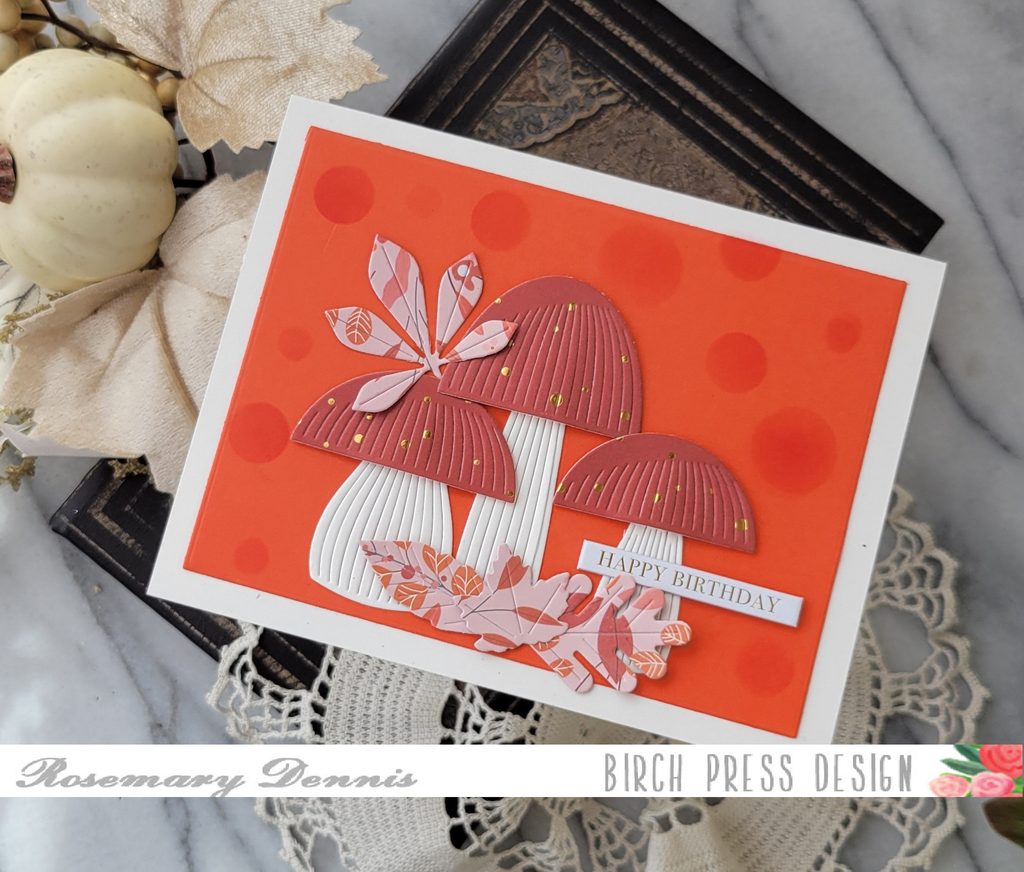
    I die cut a piece of rust colored cardstock for my background and adhered that to an off white cardstock base. Then I arranged the mushroom stems and mushroom caps.
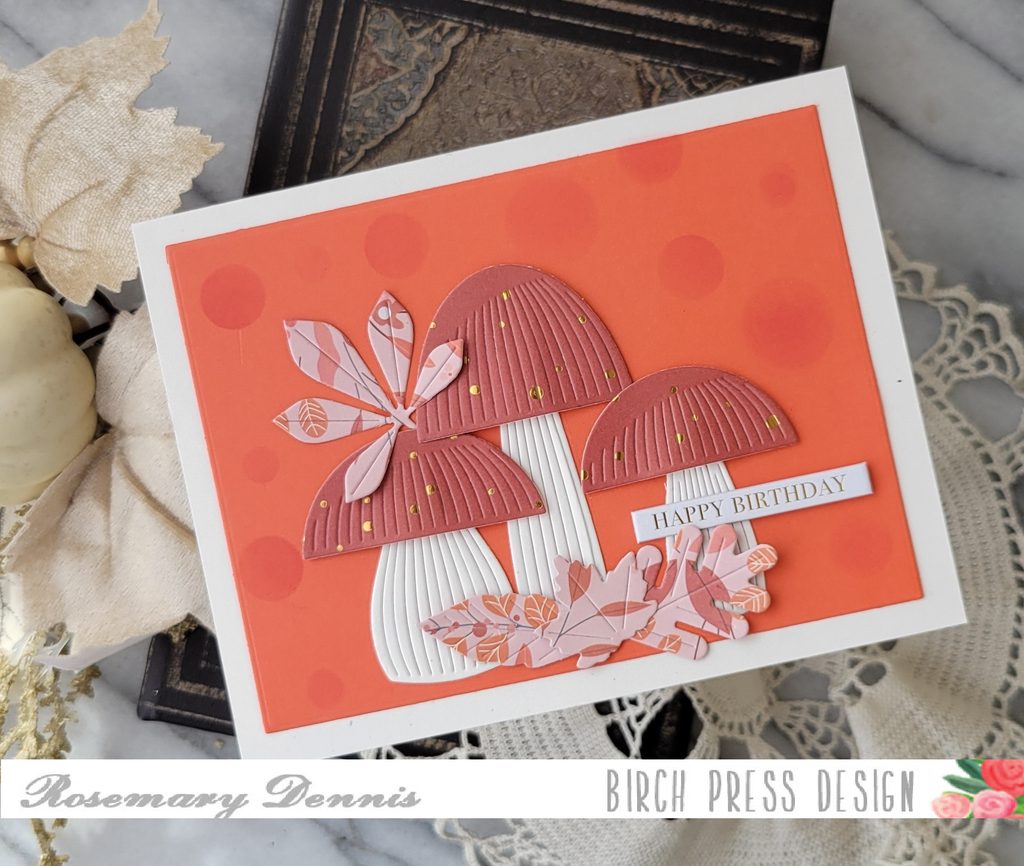
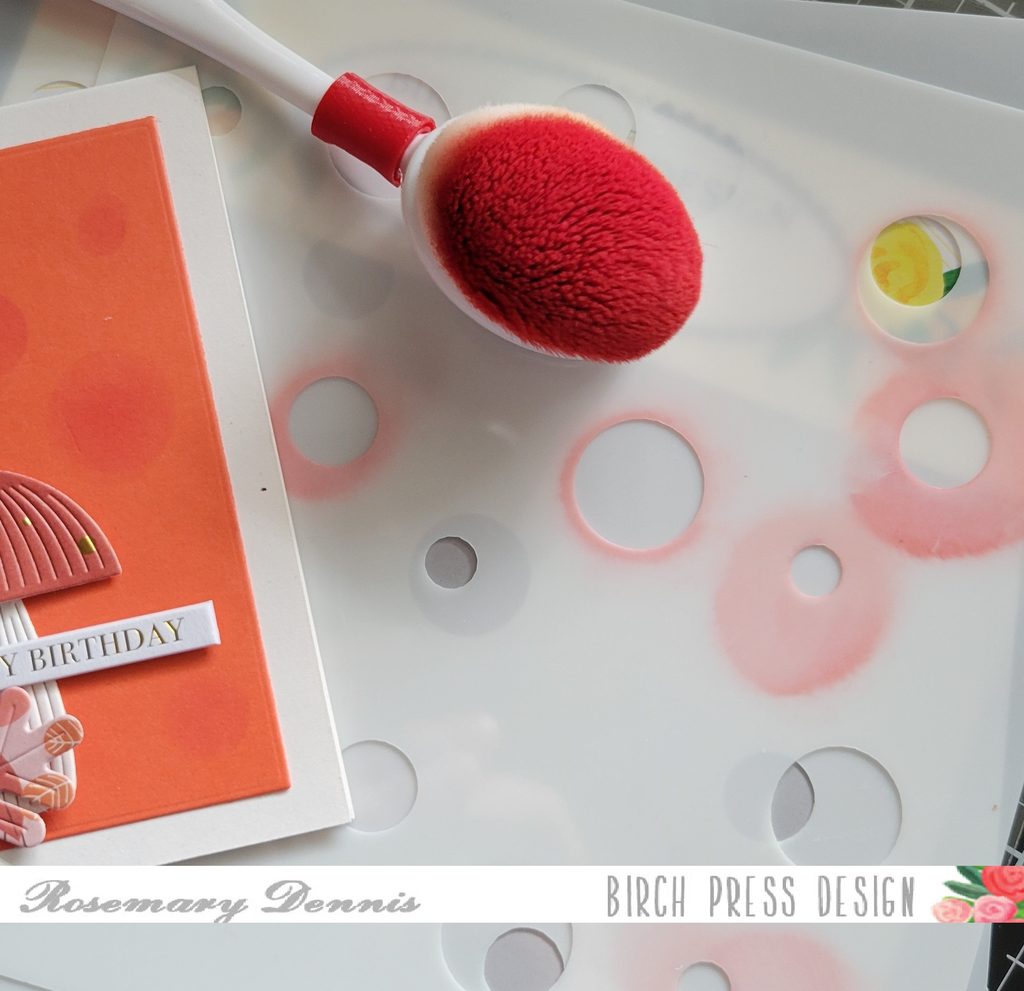
    I used thin foam squares on the mushroom caps to give them a little bit of dimension. I then tucked the larger leaf behind the larger mushroom using glue. The three smaller leaves were added at the bottom also using glue and then I added the gold foil Memory Box sentiment tab. I had thought I was done with the card, but when it came time to take photos of the card I decided to add the bokeh dots in the background. Because the card was already finished I simply placed the stencil I used on certain areas of the background and then applied the ink using a blender brush. It was a little tricky, but I think adding the dots provides a bit more interest.
    I hope you enjoyed today’s project. Thanks for stopping by and have a wonderful day.
  • A Mushroom Card Inspired by Fabric by Nora Noll

    A Mushroom Card Inspired by Fabric
    by Nora Noll

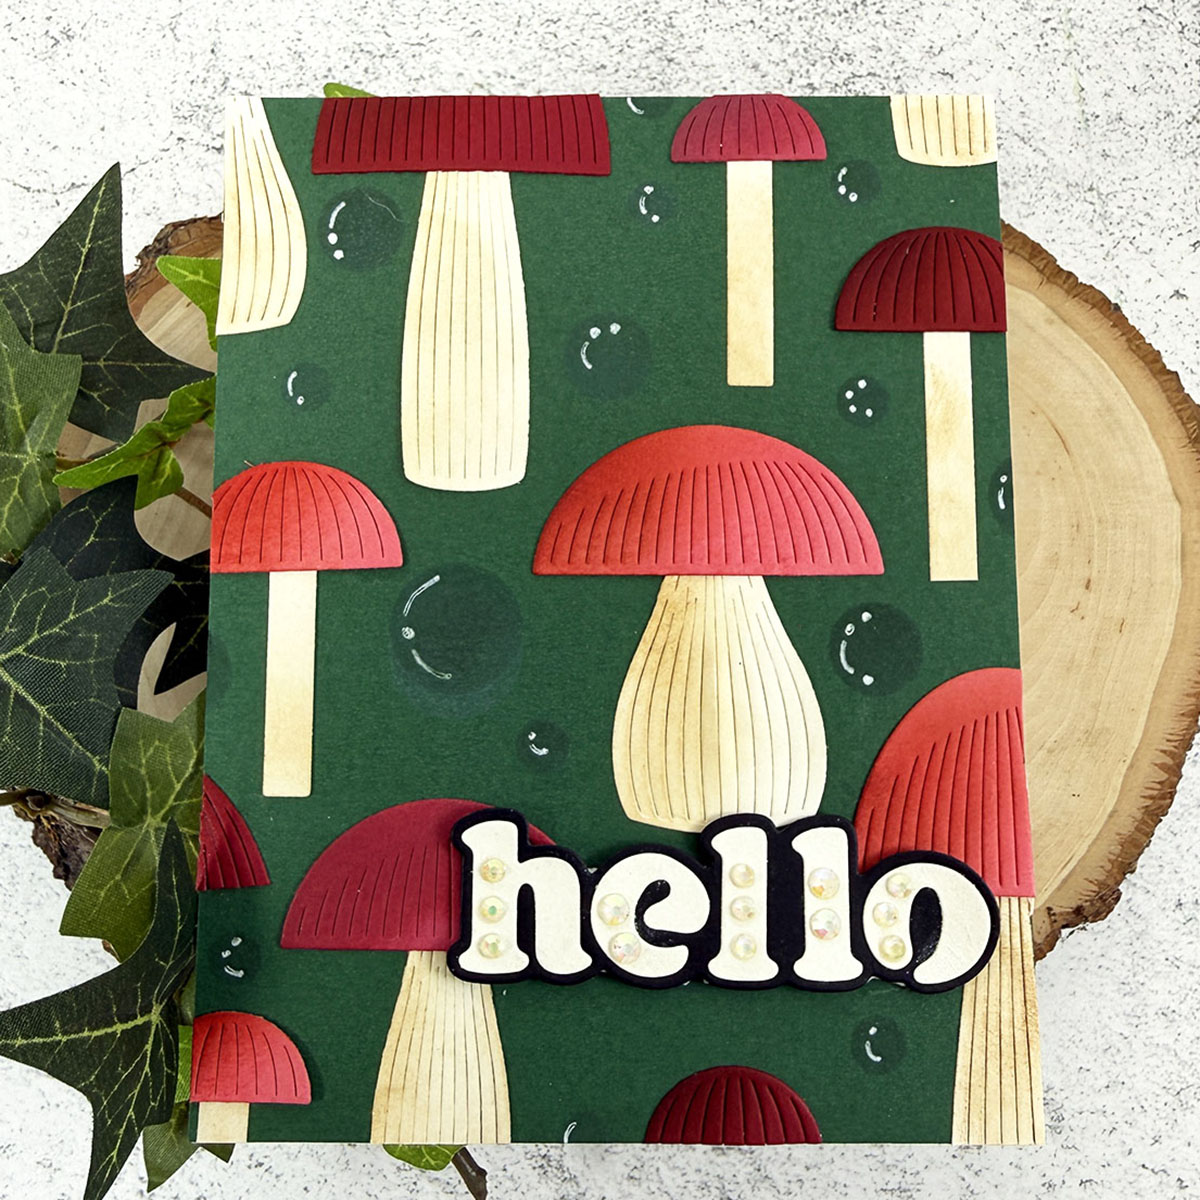
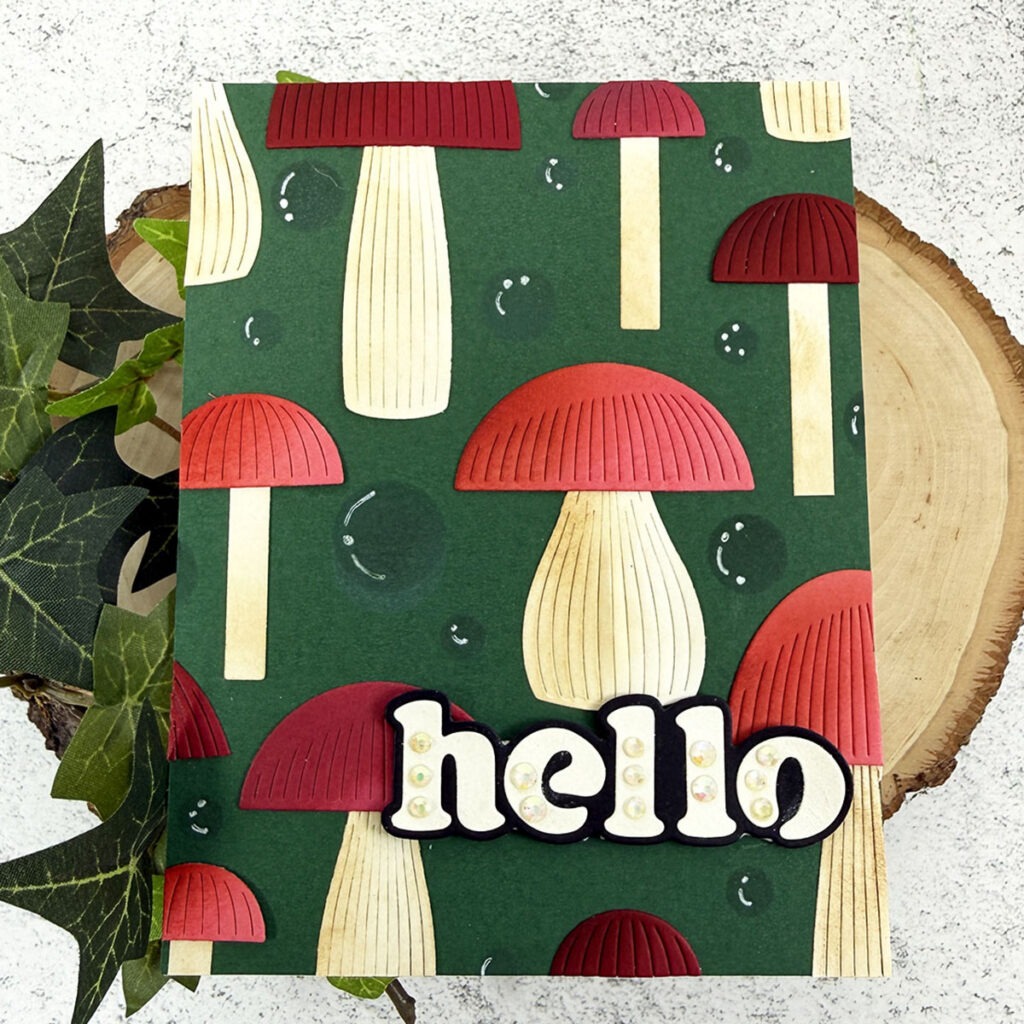
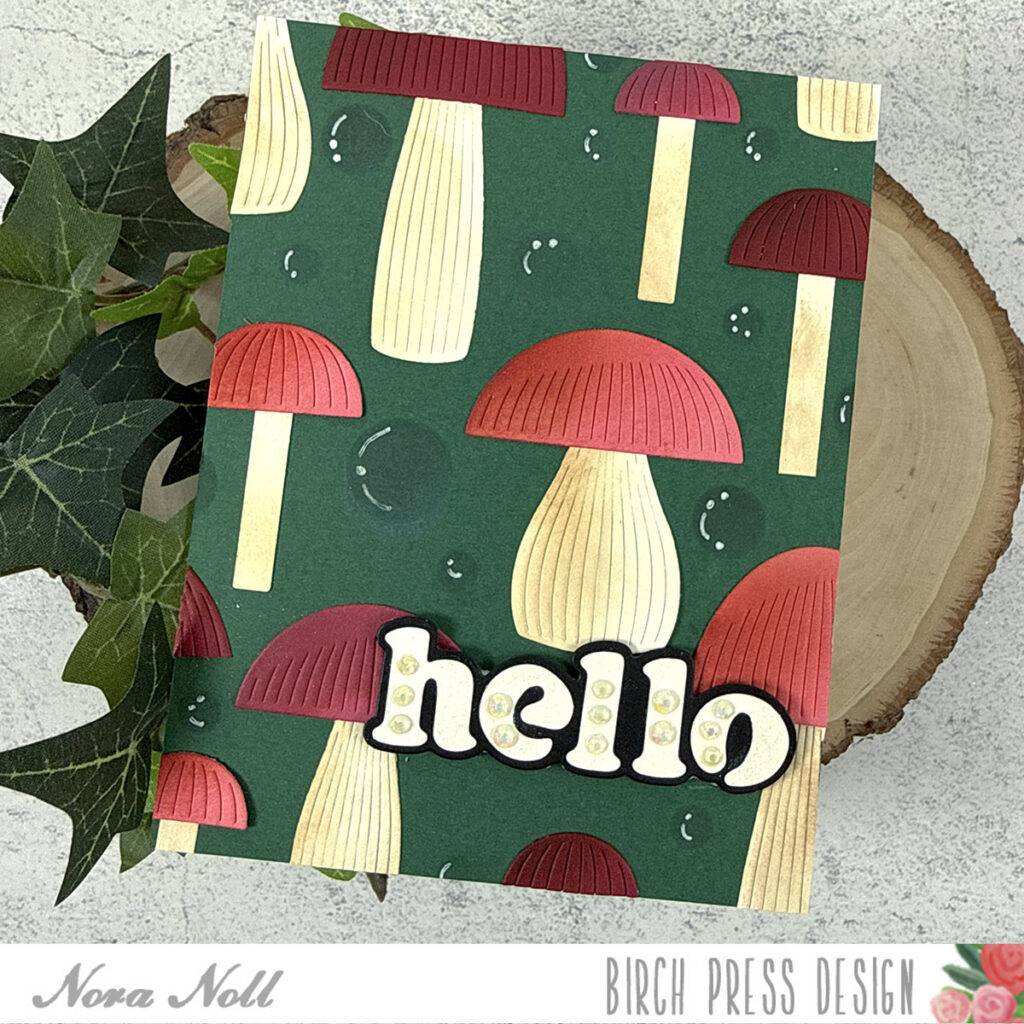
    Hello Crafty Friends!! Nora here with a card that was inspired by the pattern on various pieces fabric. Before I started this card, I did a search for mushroom fabric on Pinterest. None really caught my eye. Instead, I took elements of a few to create this card.

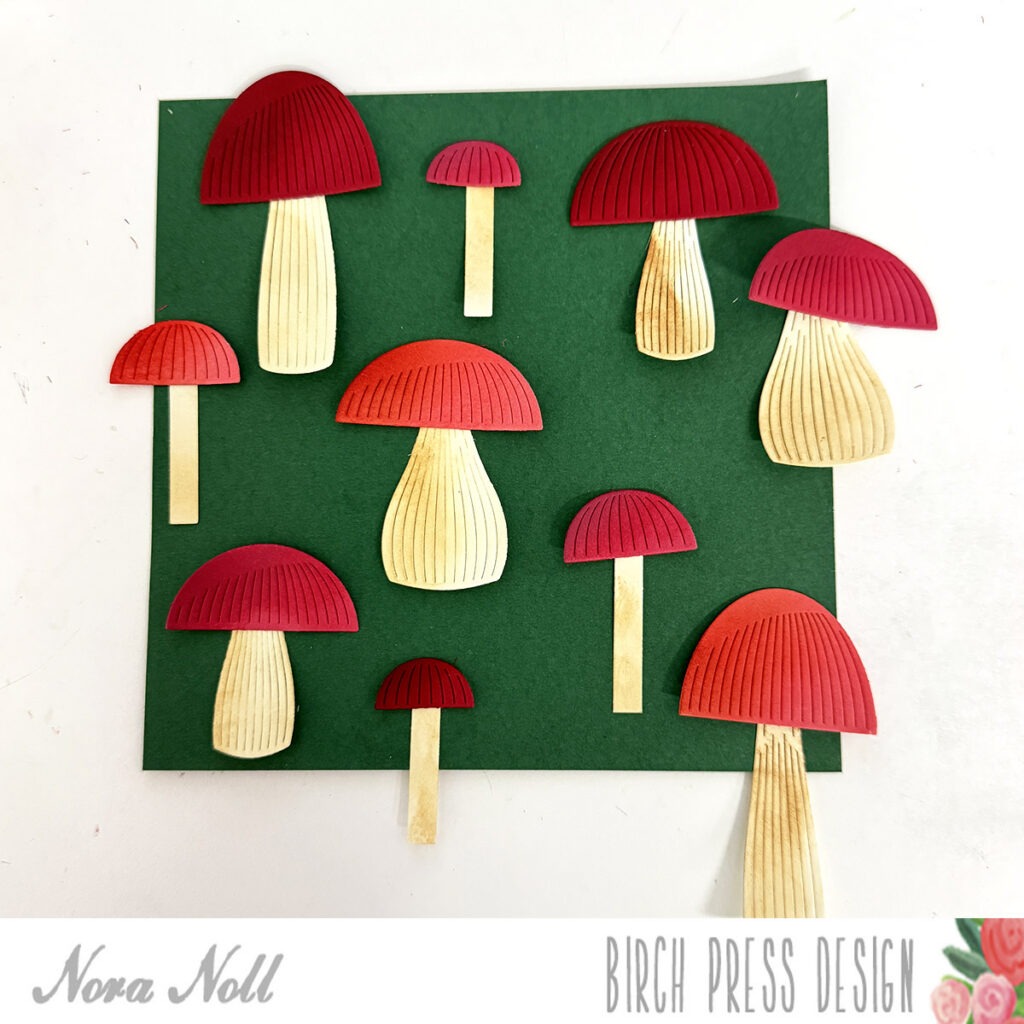
    I started off by cutting out multiple mushroom stems and caps using the Block Print Round Mushrooms (57610) dies. I used cream paper for the bottoms and shades of pink/red for the tops.

    Next I cut multiple stems and caps using the Block Print Tall Mushrooms (57672) dies. Again I used cream cardstock for the bottoms of the mushrooms and shades of red for the tops.

    I took all the pieces and shaded all the mushroom stems and caps with Distress Ink.

    I then laid out the die cuts over the top of a piece of dark green  6” by 6”cardstock. When I got the design how I wanted it, I adhered each die cut to the cardstock.

    I cut the cardstock down into an A2 size and adhered it to a top folding, white, A2 card base.

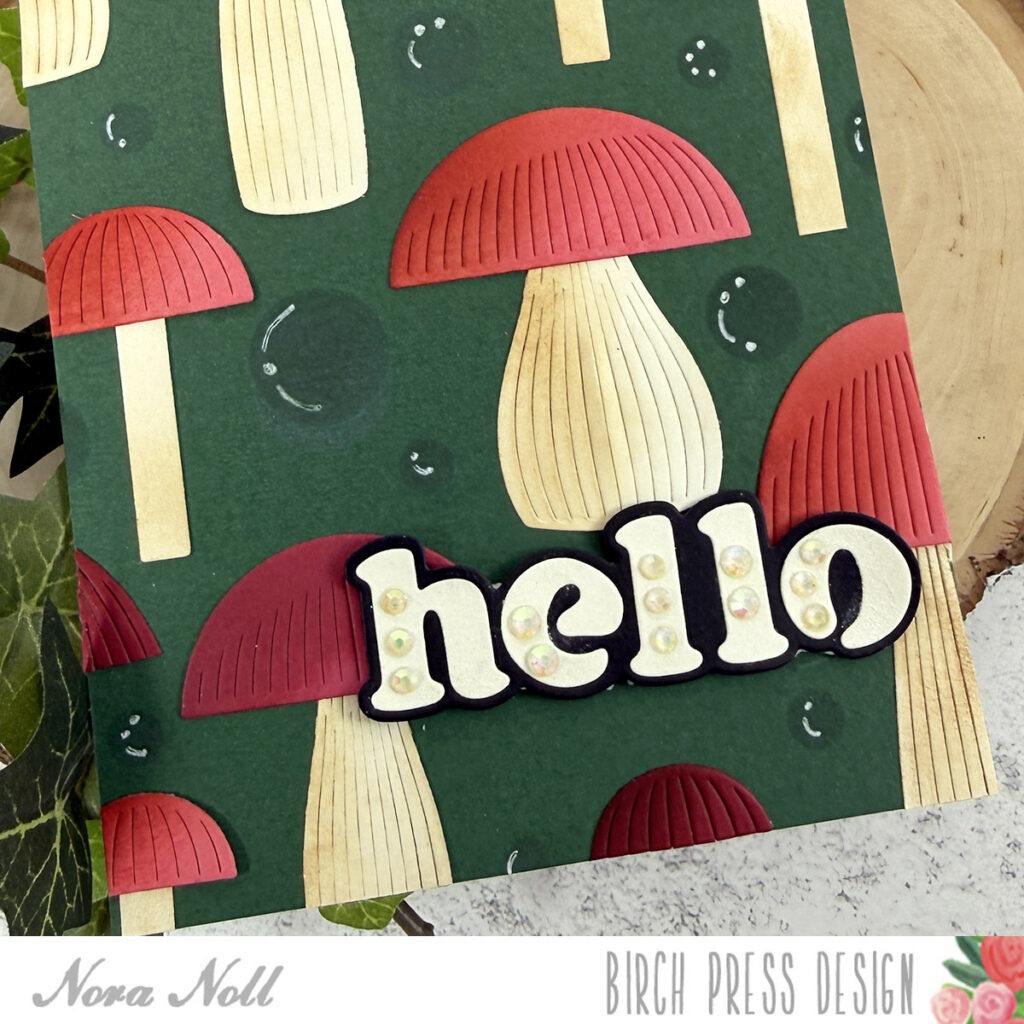
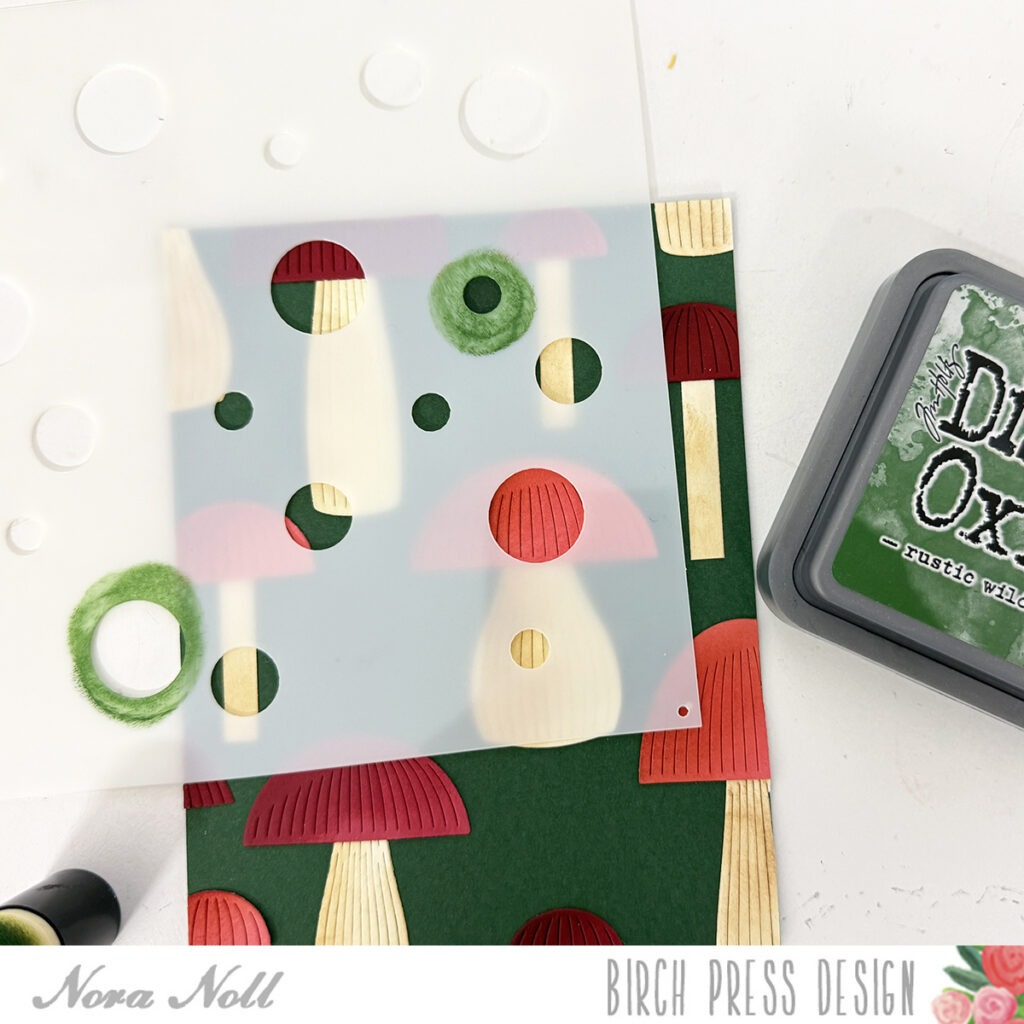
    I used one of the stencils from the Bokeh Stencil Set (42408) and green Distress Oxide Ink to stencil green circles of different sizes randomly between my mushrooms. I added some white gel pen accents on the stenciled circles.

    I die cut the Big Hello Vintage Sentiment from black and cream cardstock. I adhered the cream letters over the black highlight and then adhered the sentiment to the card using foam adhesive.

    To finish off my card, I used a clear shimmer pen and adhered some jewels over the top sentiment letters. I really love how this came out. 

    I want to thank you for stopping by today. I hope my card inspires you to create a background pattern of your own.
  • Double the Mushroomsby Savannah O’Gwynn 

    Double the Mushrooms
    by Savannah O’Gwynn 

    Hello, sweet BPD friends and fans!

    I am super excited to be back on the BPD blog sharing some creations I made recently using the two mushroom die sets by Birch Press Design.

    I will be honest- #SAVfact: I am NOT a fan of eating mushrooms. I’m not even sure I’ve had one! I just know I don’t like them😉 However, the BPD mushroom die sets are tooooooo cute, and paper mushrooms are definitely a FAVORITE of mine now!

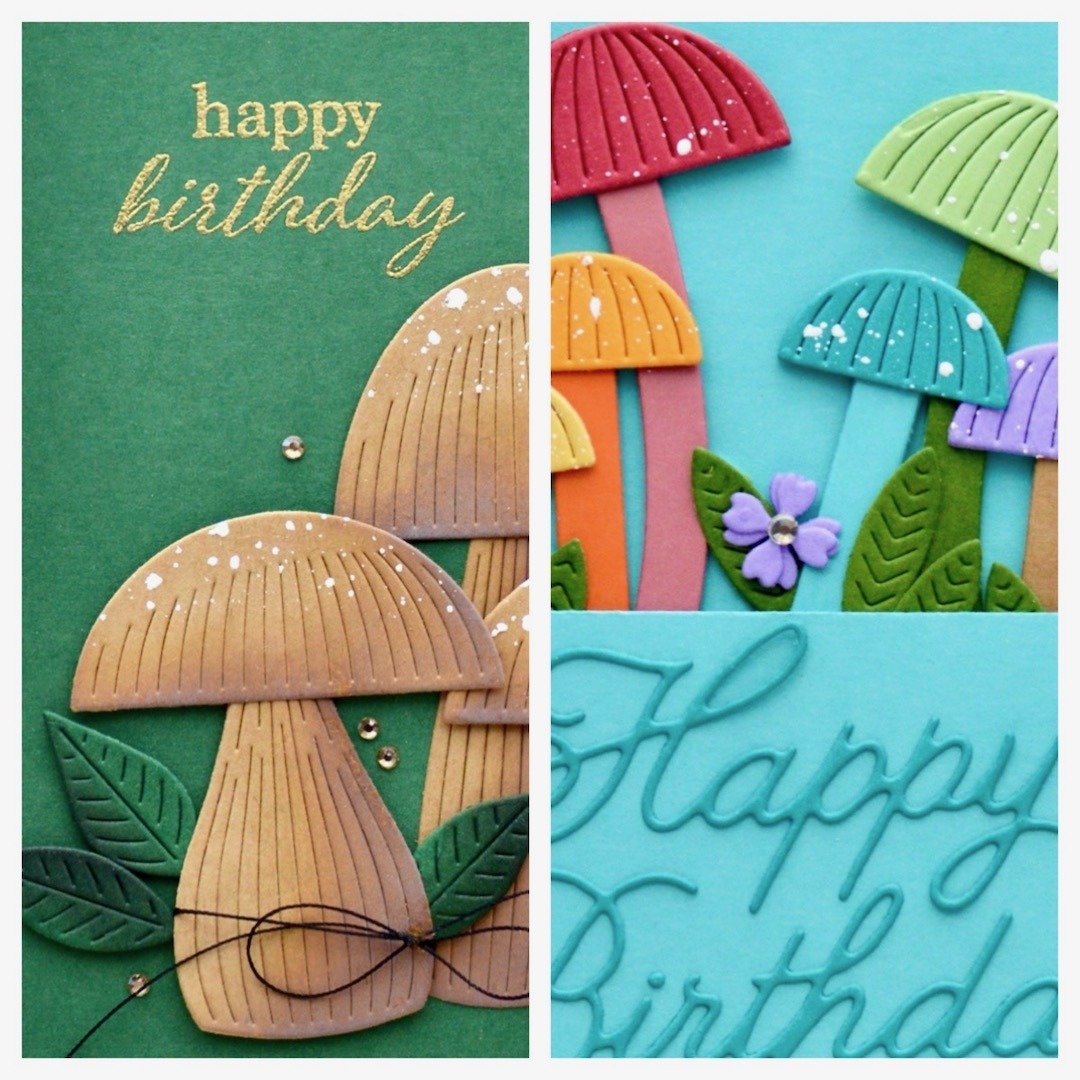
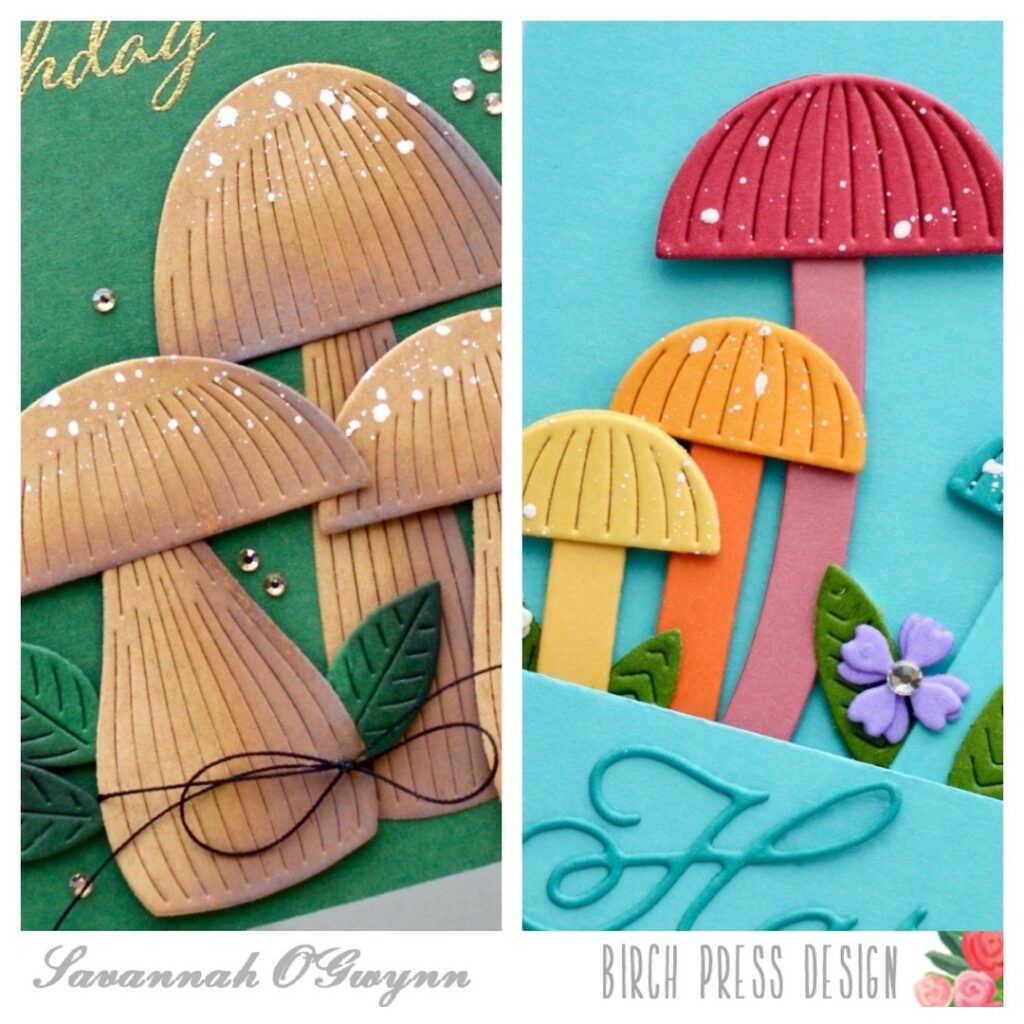
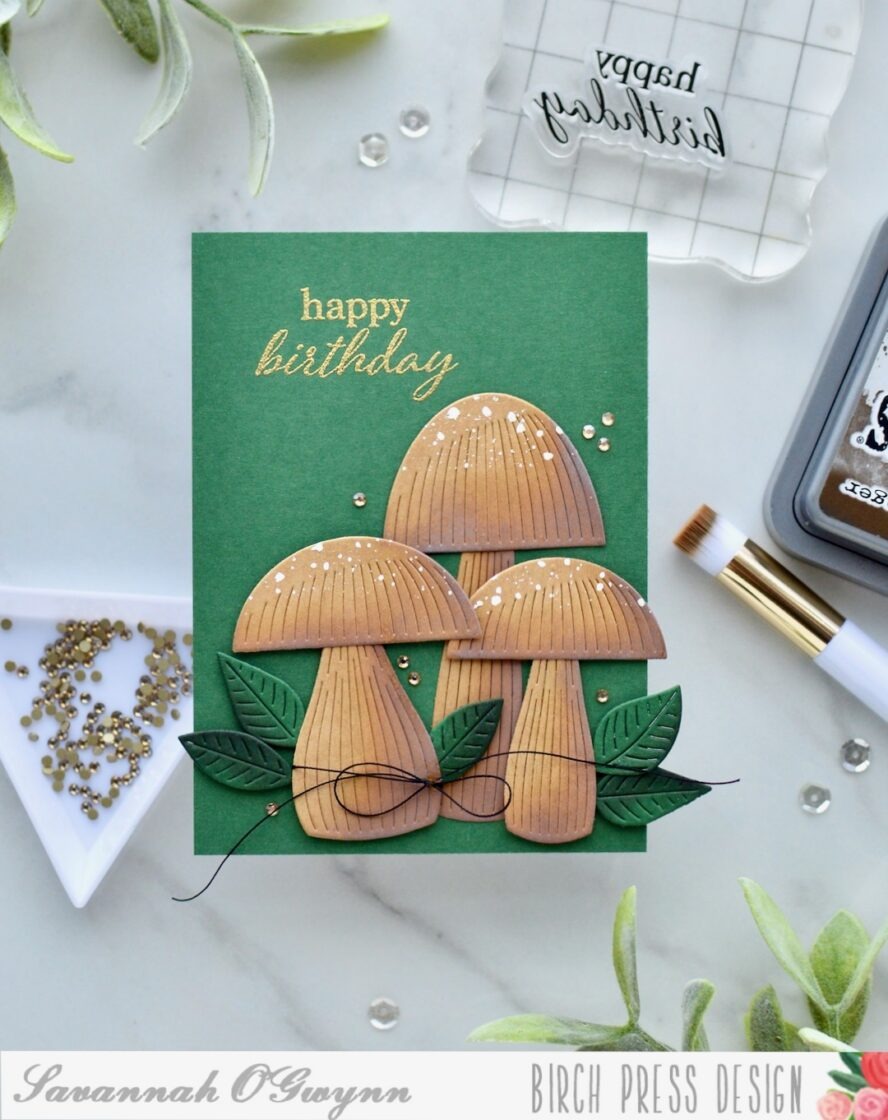
    I had two different designs in my mind for these mushroom die cut images- one masculine and with a deep, fall color; and the other was full of color and whimsy. Let’s check out my masculine card first.

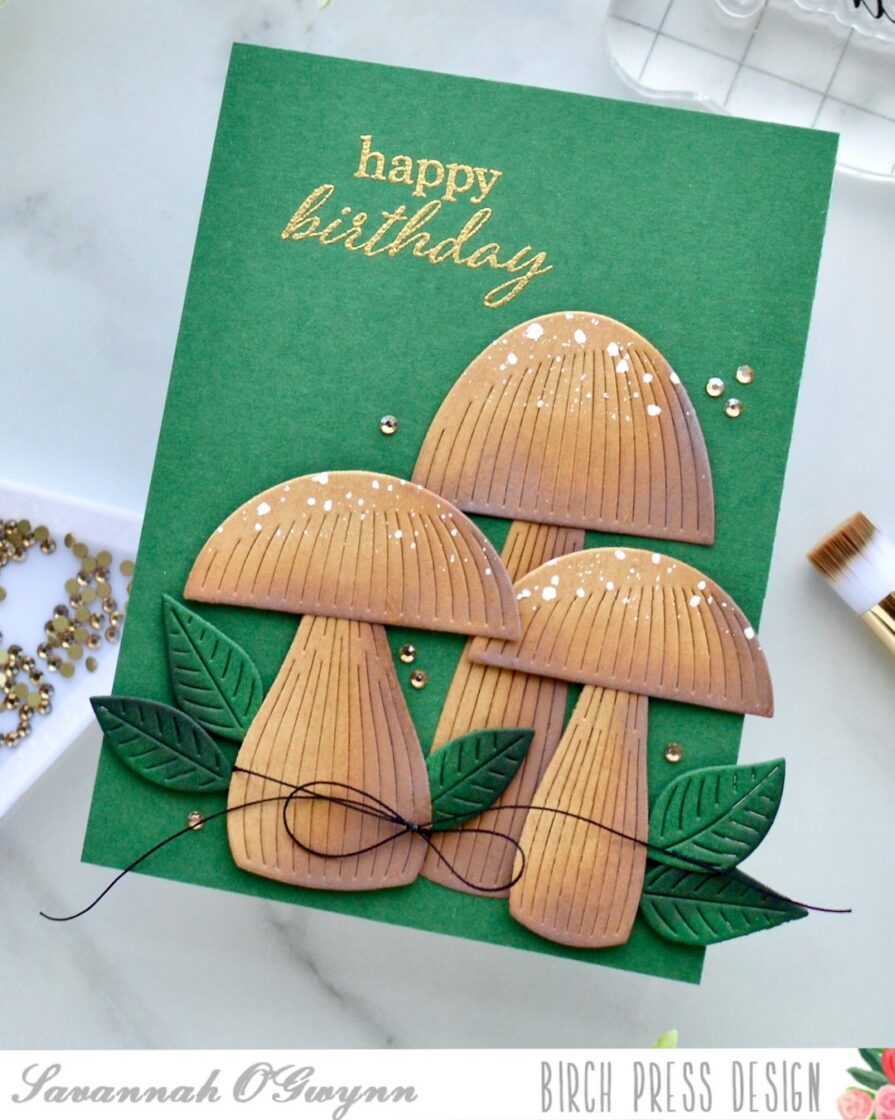
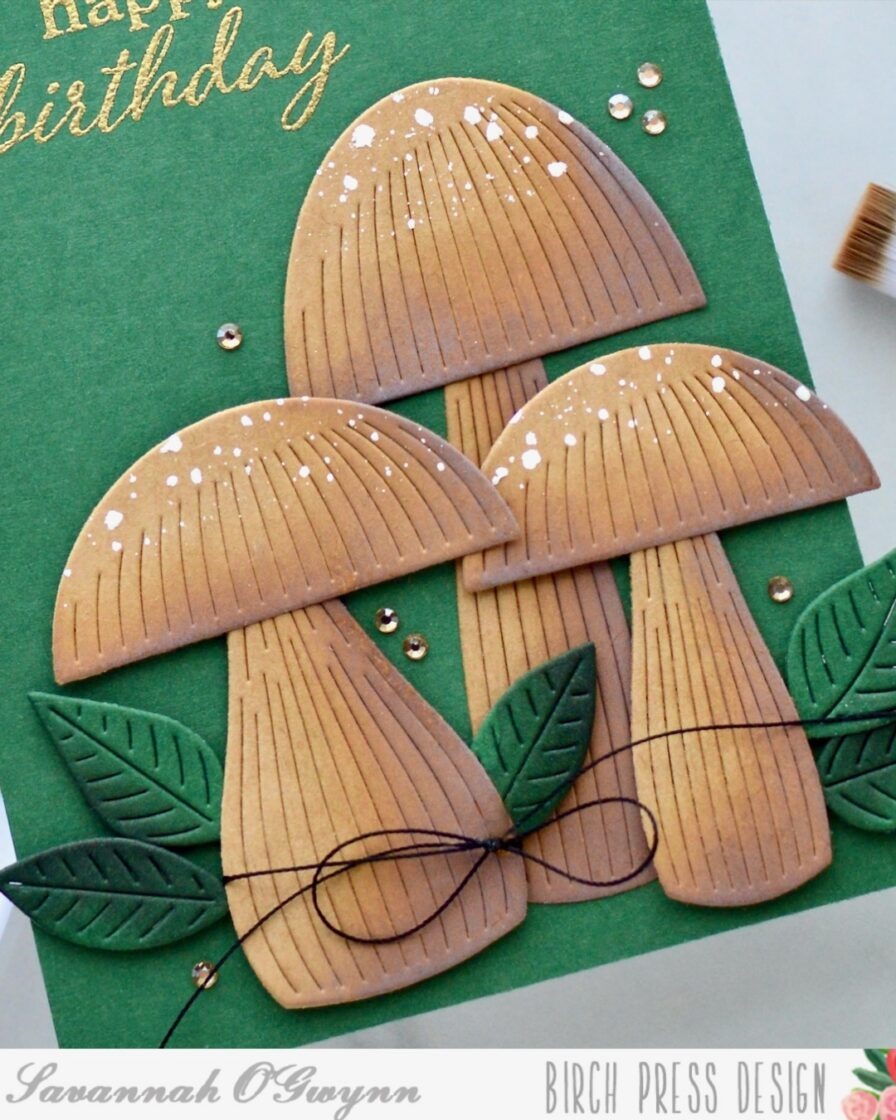
    I love how this card turned out! I think it leans towards a masculine feel but honestly it could be for just about anyone!

    To achieve a more masculine look, I chose a darker green cardstock and added more highlights/shading and dimension on the mushrooms.

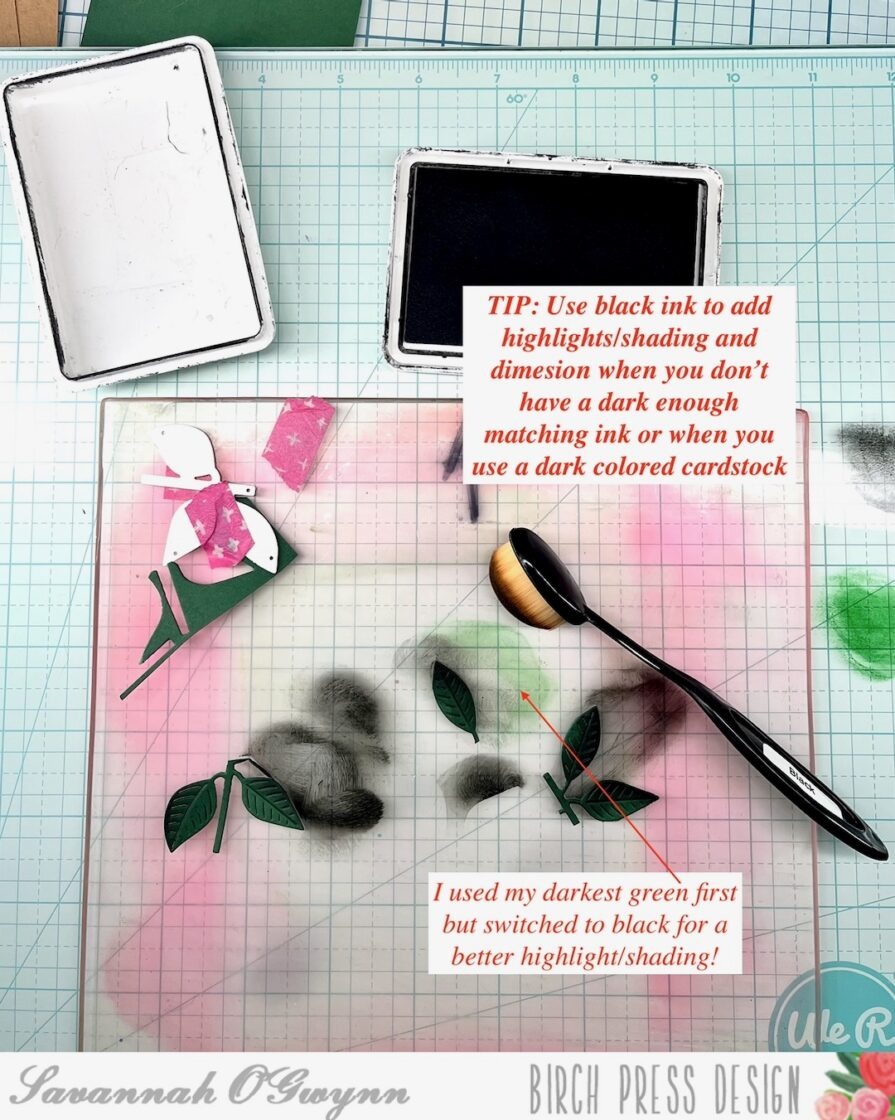
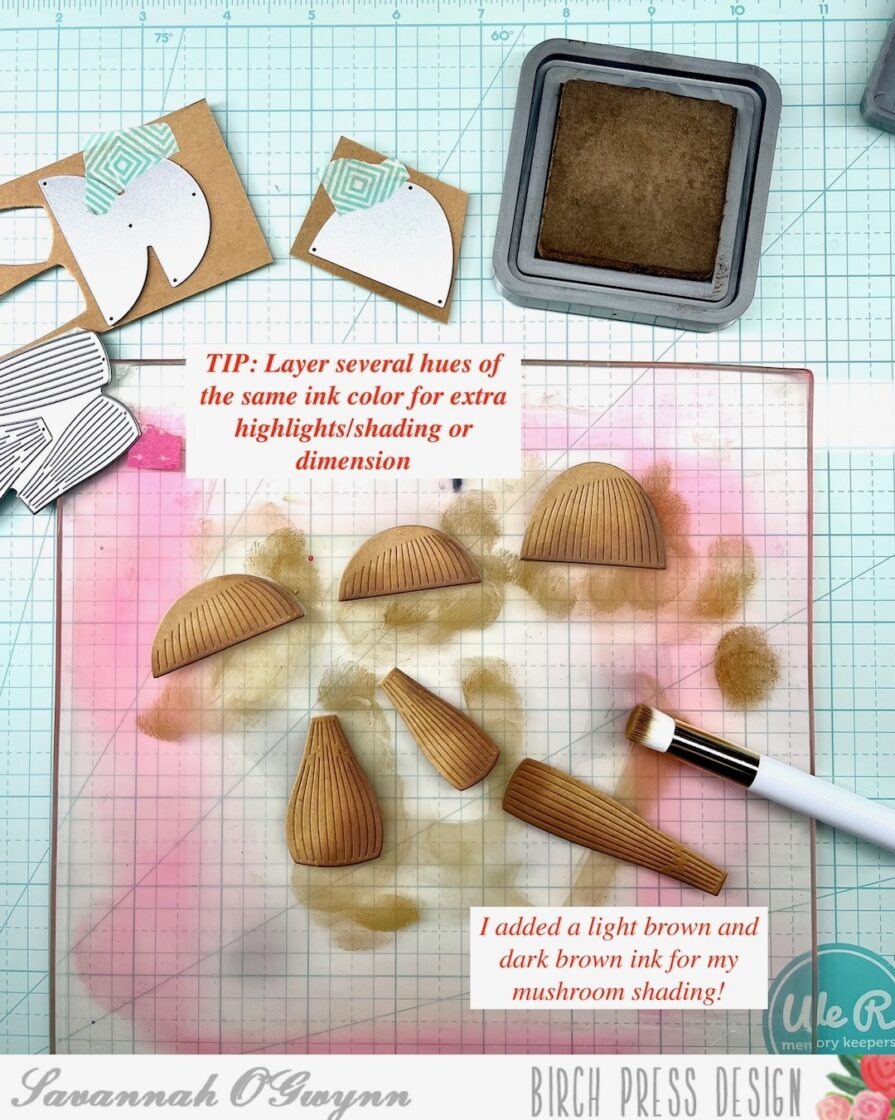
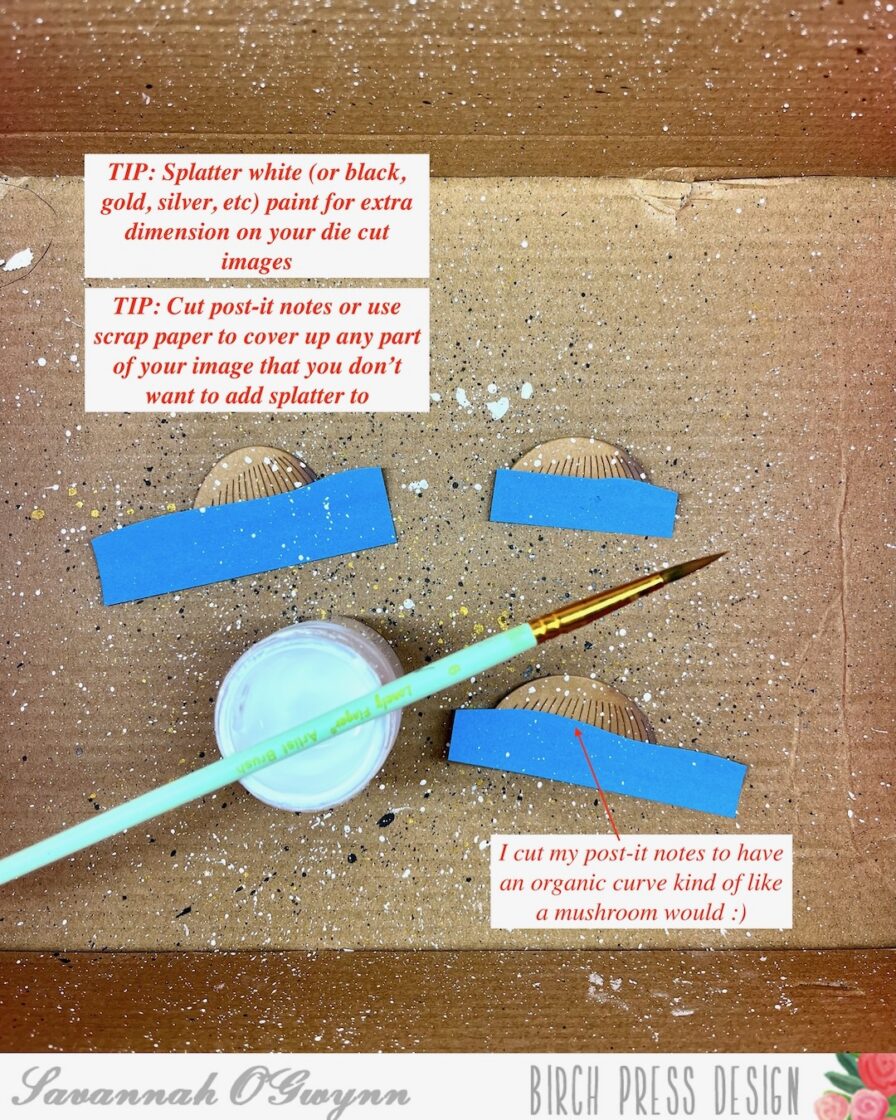
    Here are a few tips on how to add highlights/shading and dimension like I did:

    TIP: I like to use black ink for highlights and shading if I don’t have a darker matching ink for my cardstock. I think dark ink adds that extra layer of shading that makes the die cut image pop!

    TIP: I like to layer several hues of the same ink color when adding highlights or shading. I kind of think about adding ink like I’m coloring (I’m a newbie at coloring with alcohol inks, but essentially you add layers for more depth. I find that works for ink blending as well!).

    Tip: Add splatters for even MORE dimension! BONUS: I like to mask my die cut images to help the splatter go only on certain parts of my image. For these mushrooms, I made an organic curve using a post-it note and scissors:)

    You can see that the highlighting/shading and dimension really helps these mushrooms pop on this cardbase in the next photo!!!

    If I liked eating mushrooms, I would say these look good enough to eat 🙃

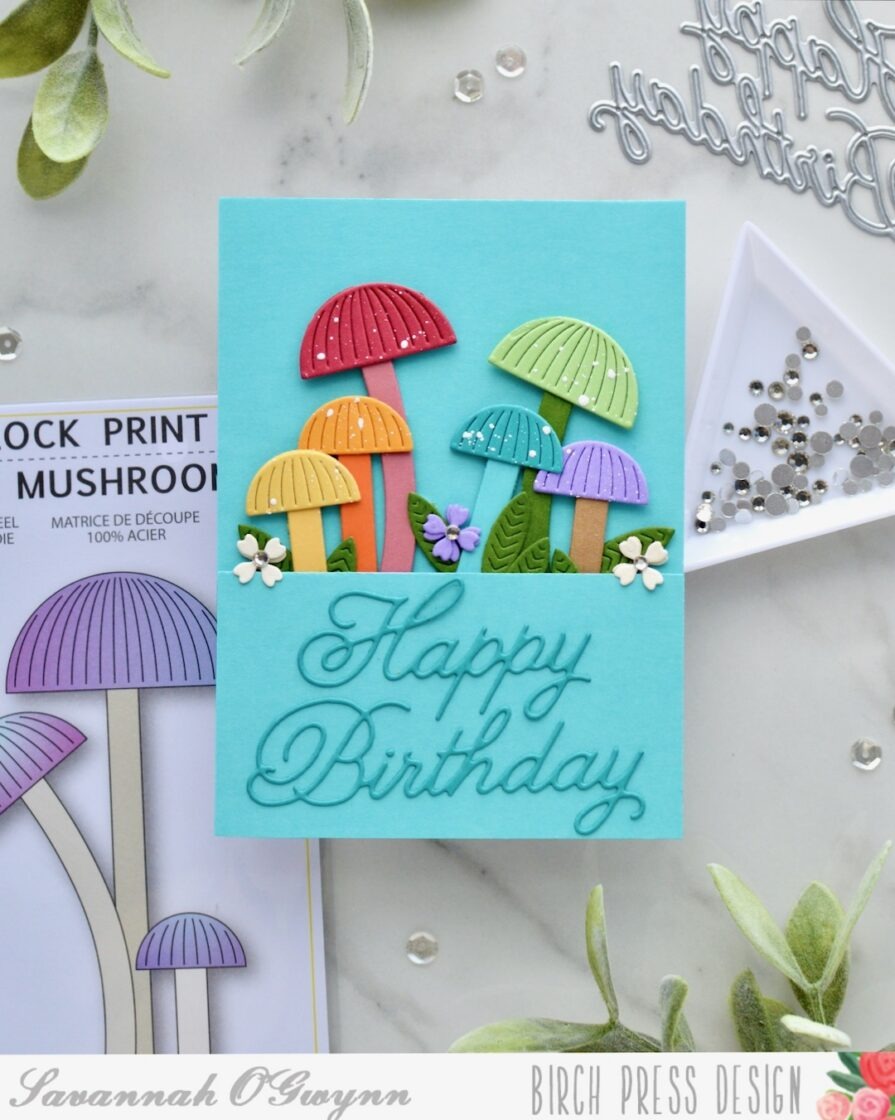
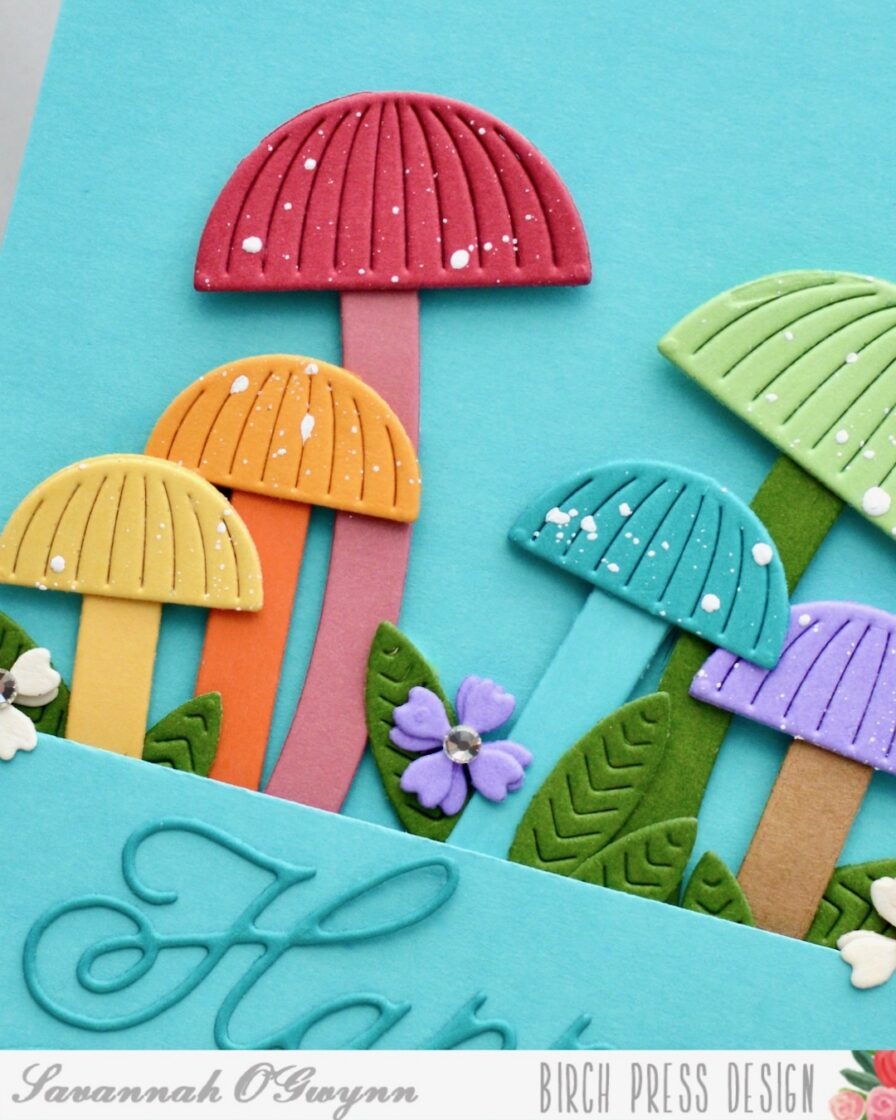
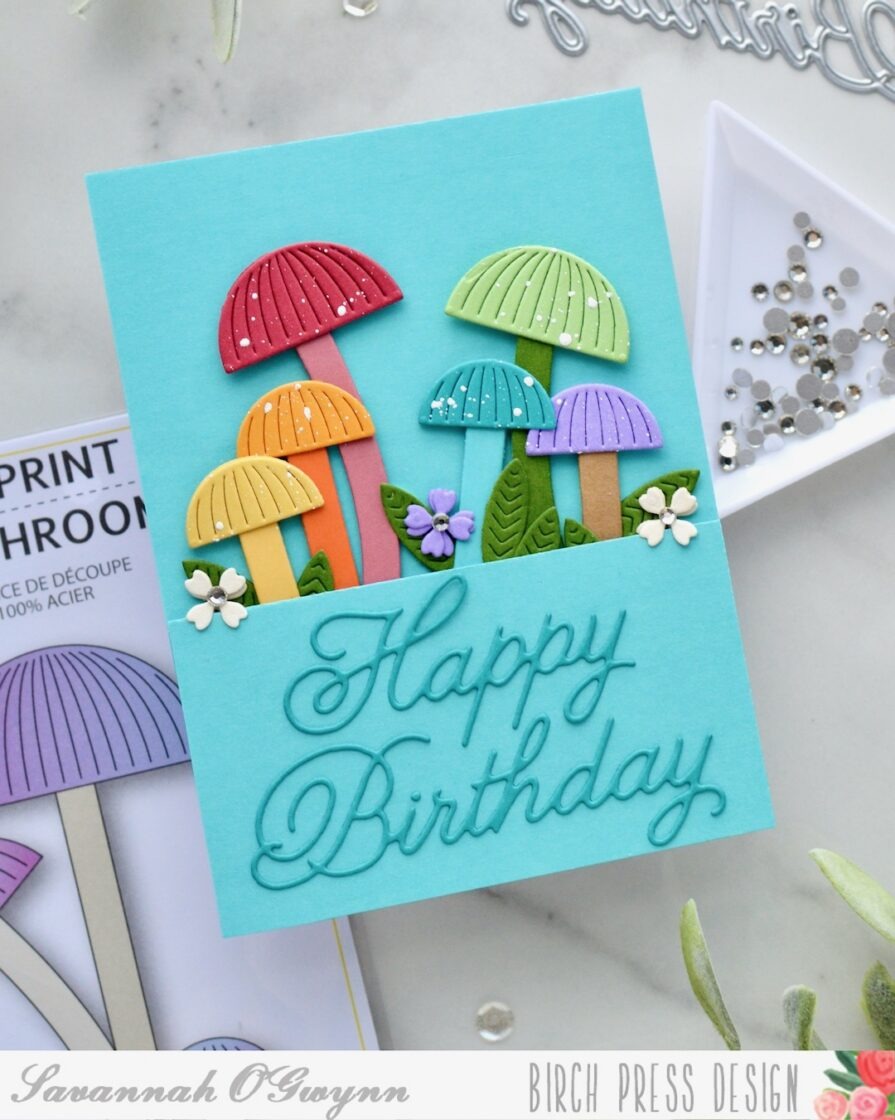
    For my second card, I wanted to use the other mushroom die set, and I wanted to make this card design very colorful! I pulled out my Memory Box cardstock and created a beautiful rainbow mushroom garden!

    For these mushrooms, I only used the splatter technique. I wanted to keep this card whimsical and fun!

    You might notice that I also used a few extra dies from other sets to finish the mushroom garden- I like to mix and match my dies (big and small) to make a custom design. I added leaves and flowers from two other die sets to finish this mushroom garden.

    I hope that you have been inspired by my two mushroom card designs, as well as my tips!

    Please remember to share what you create using these tips, tricks, and techniques or if you were inspired by my creation- I’d love to see what you make with this idea! 

    I’ll be back with MORE soon! 

    THANKS so much for stopping by! Happy crafting:) 


    HUGS <3 Sav

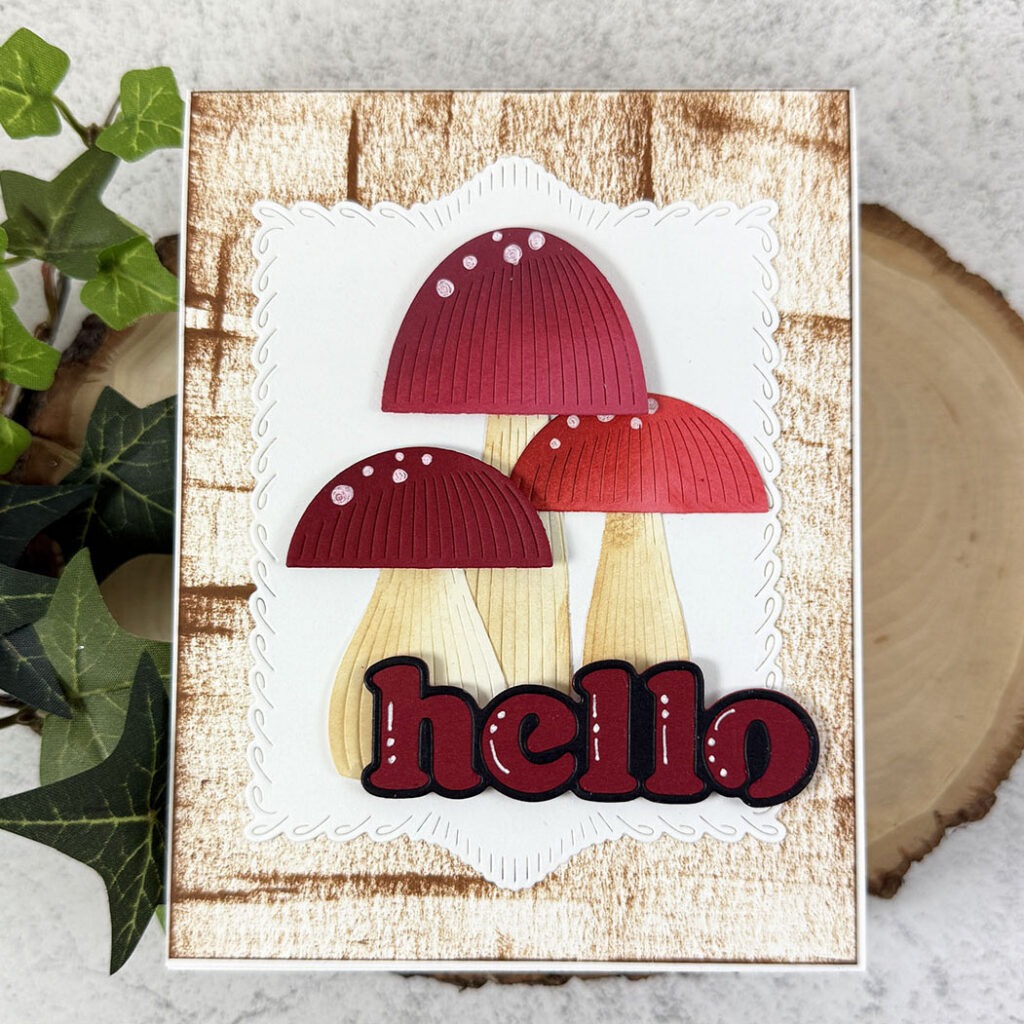
  • Block Print Round Mushrooms Card by Nora Noll

    Block Print Round Mushrooms Card
    by Nora Noll

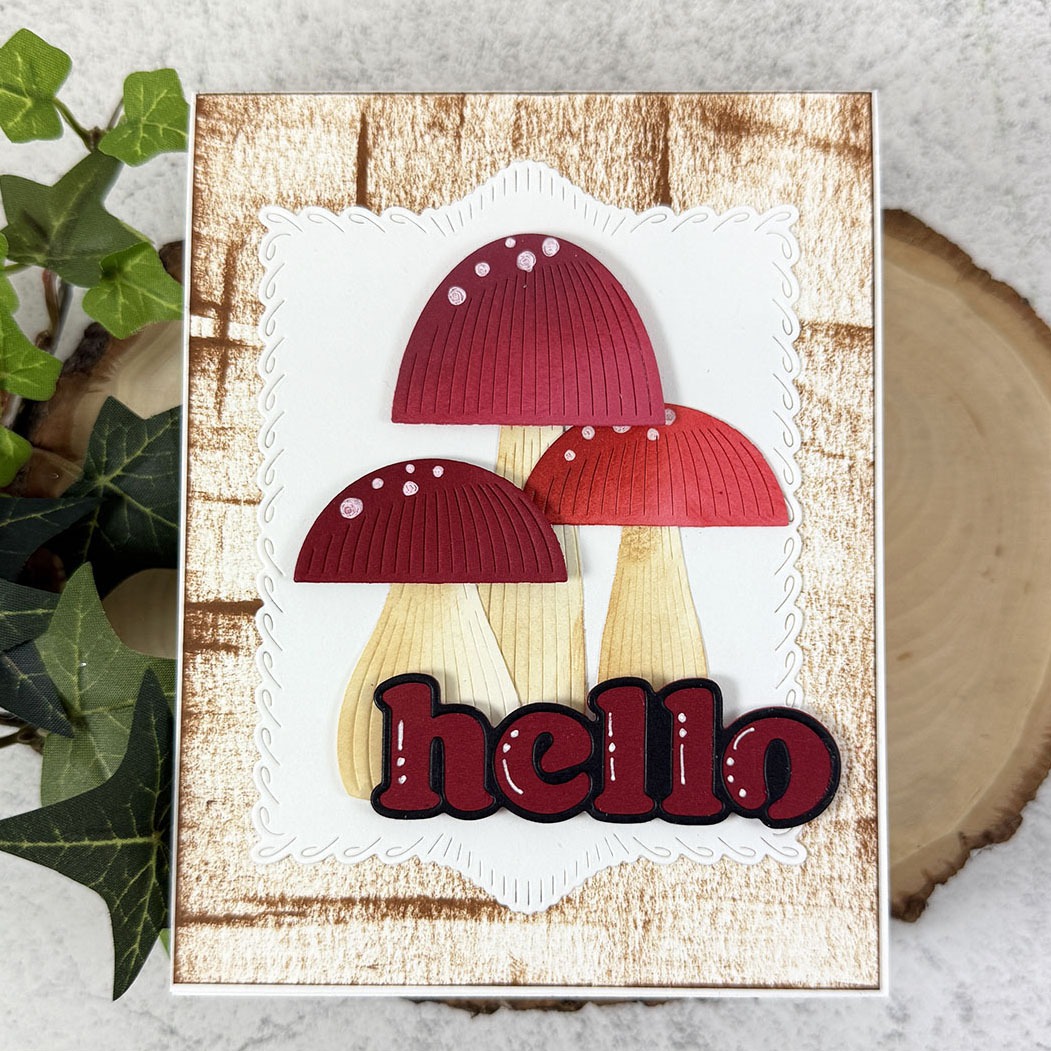
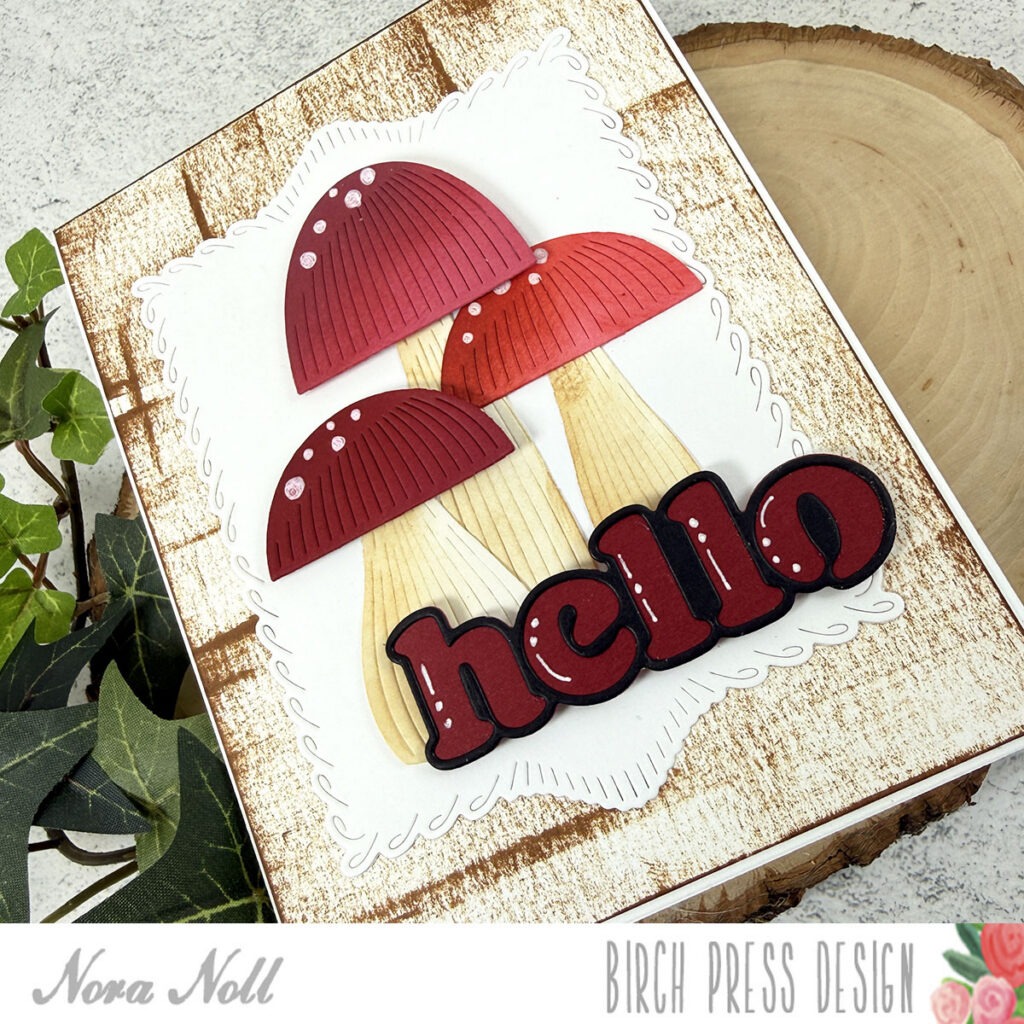
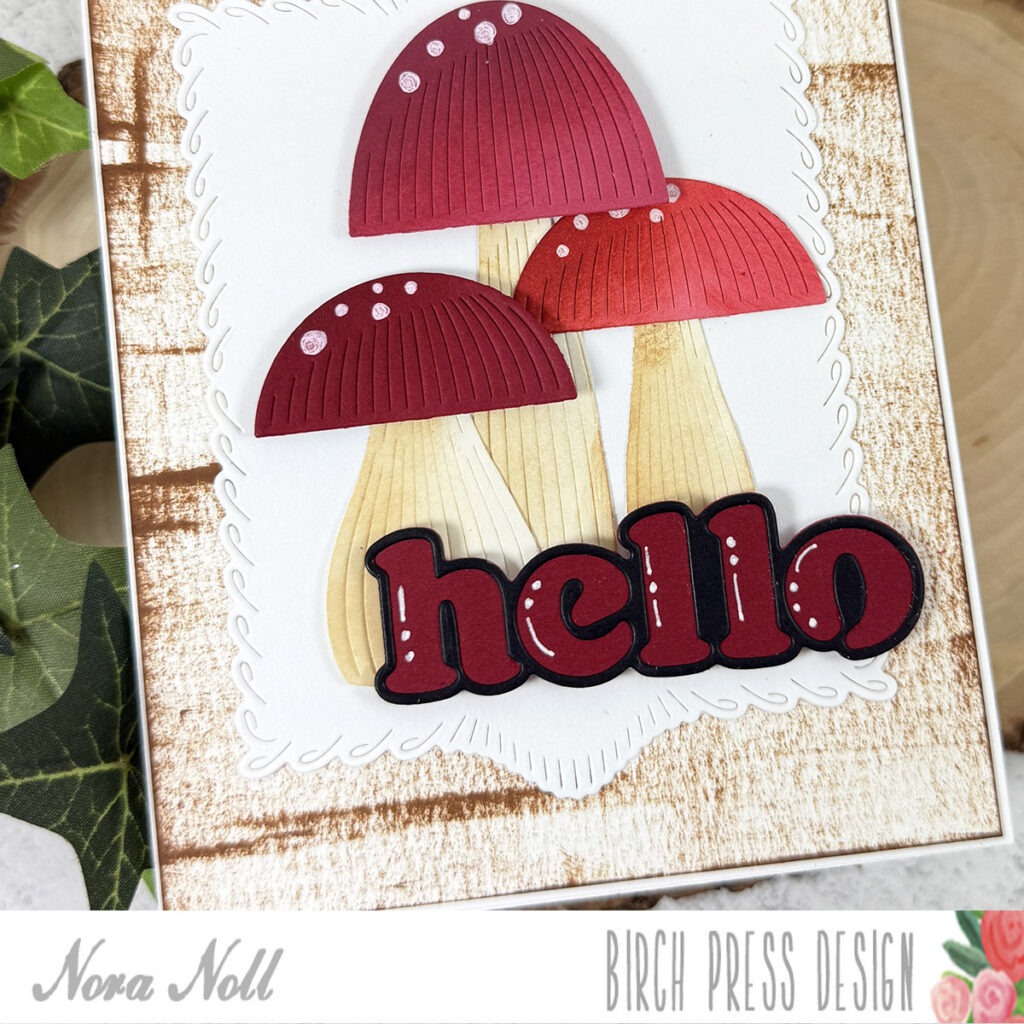
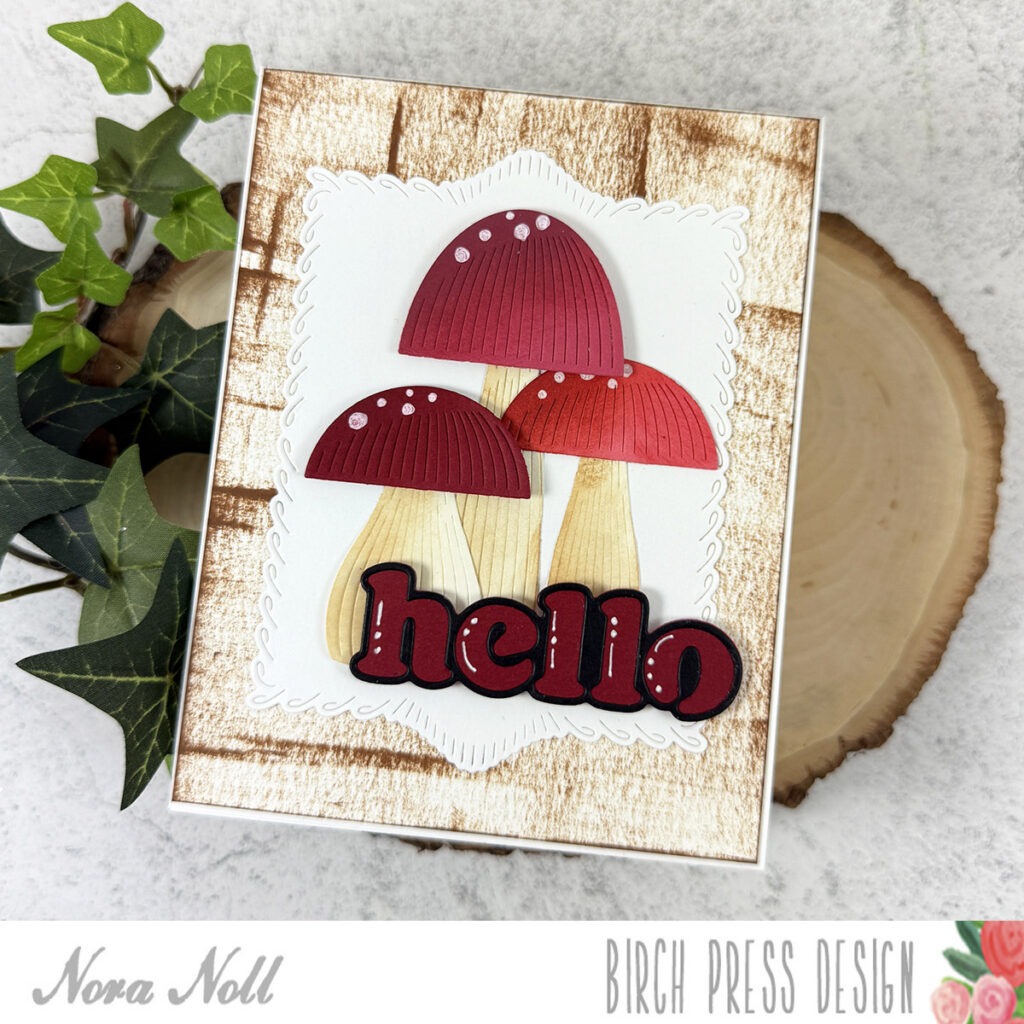
    Hello Crafty Friends!! Nora, from A Creative Touch here with you today sharing a fun card using the Birch Press Design Block Print Round Mushrooms, Big Hello Vintage Sentiment and the Loop Stitch Frames.

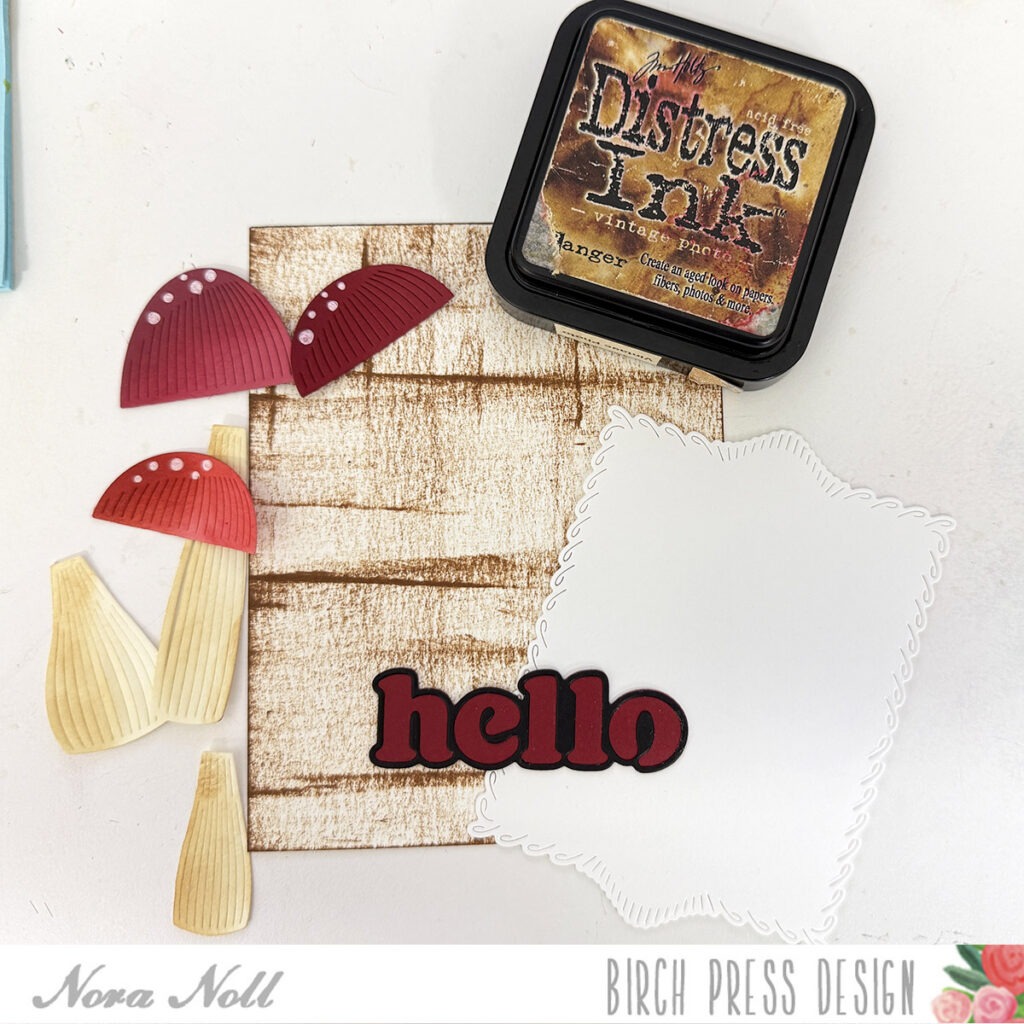
    I started off my card by dragging a Distress Ink across a panel of white cardstock vertically and horizontally. The panel was just a touch smaller than A2 size. The panel was then adhered to an A2 top folding white card base.

    Next I die cut a Loop Stitch Frame (57688) from white cardstock. I adhered this over the inked card front.

    I set the card aside and cut the bottom of my mushrooms using the Block Print Mushrooms (57610) die out of cream cardstock. I cut the tops of my mushrooms from three different ranges of red cardstock.

    I then used some Distress Ink to shade in both the top and bottom of the mushrooms. I added some white gel pen on each of the three mushroom caps.

    I adhered all three of the mushrooms over the top of the Loop Stitch Frame. I use foam adhesive to adhere two of the mushroom caps and glue to adhere the third.

    To finish my card, I used foam adhesive to adhere Big Hello Vintage Sentiment (57549) that I die cut from black and a dark red cardstock. I added some little gel print doodles to my sentiment to give it some pizzazz.

    I love how this came out. Mushrooms are so in right now and this simple design was really fun to use. 

    Thank you for stopping by.