Category: Nora Noll

  • Birthday Greetings by Nora Noll

    Birthday Greetings
    by Nora Noll

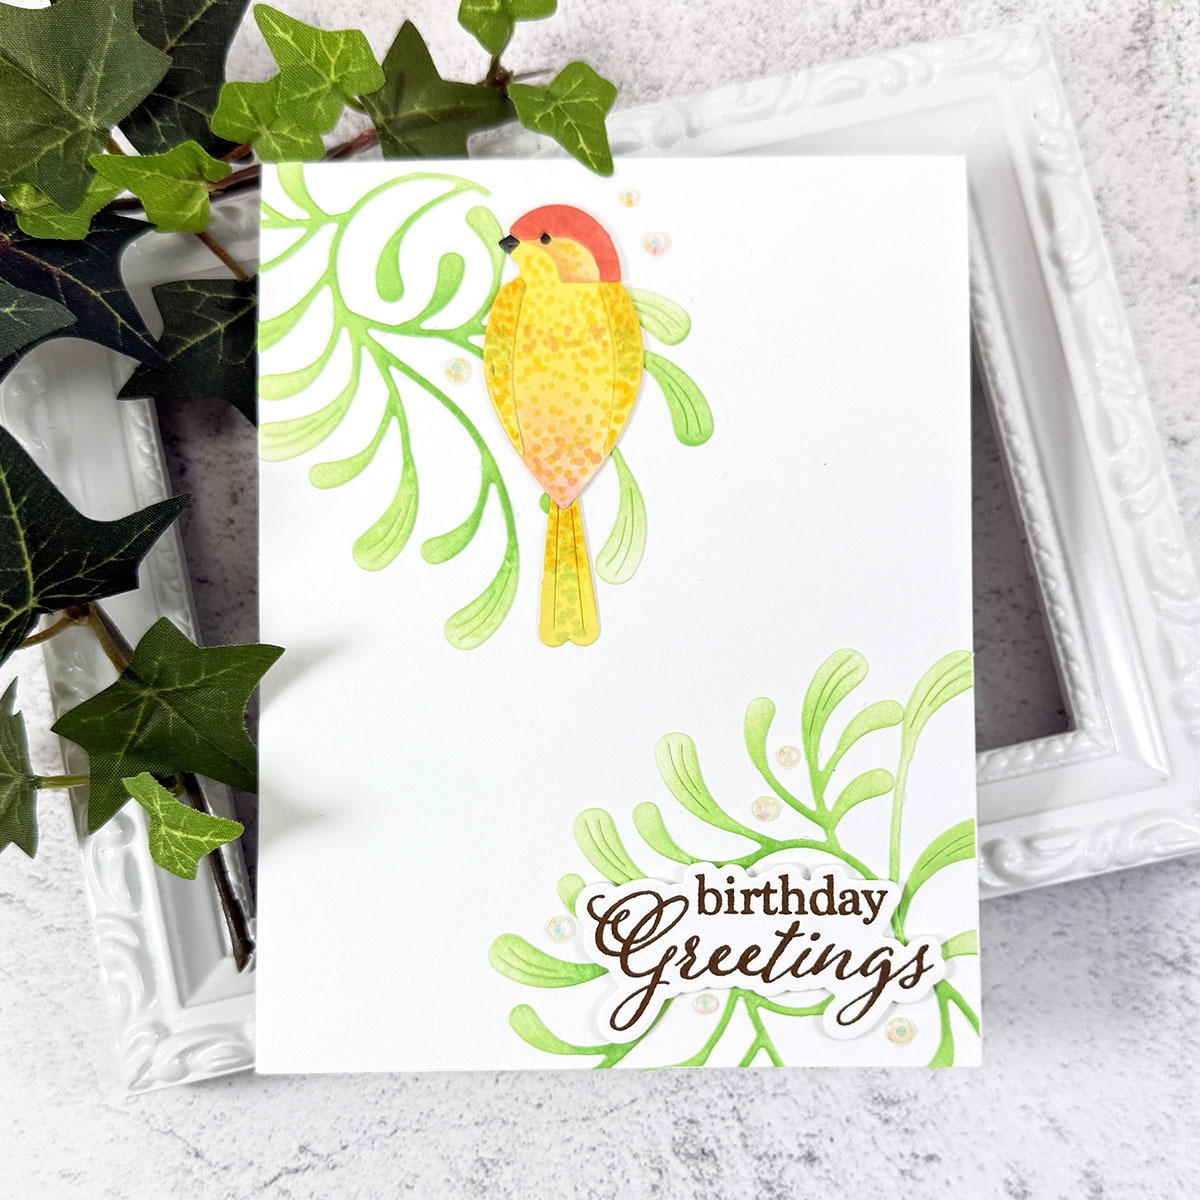
    Can you ever have too many Birthday cards in your supply? Nora here on the Blog with a simple Birthday card using some of products from recent releases.
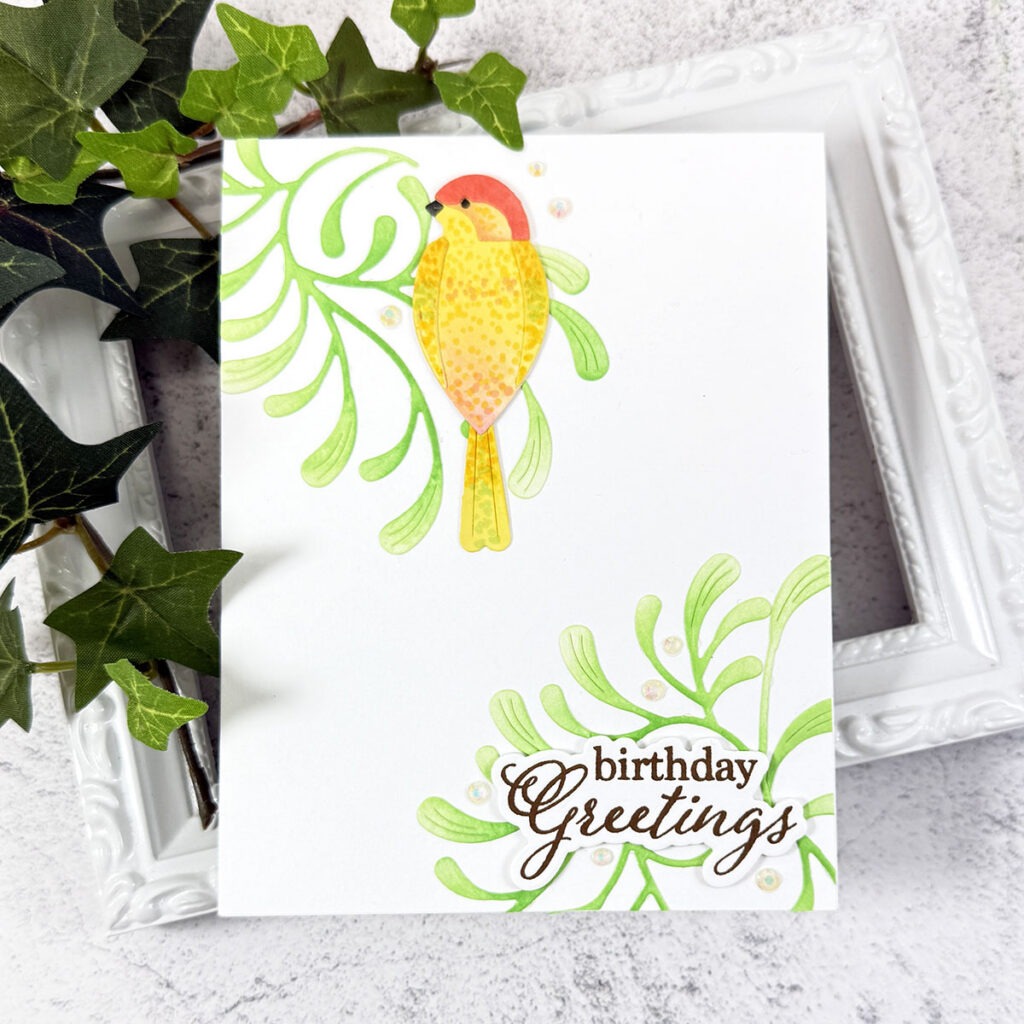
    I started off by using the Ornamental Branch die to cut two branches out of white cardstock. I then did some ink blending to color the boughs green. I glued the branches to the top left and the bottom right of an A2, top folding white card base.
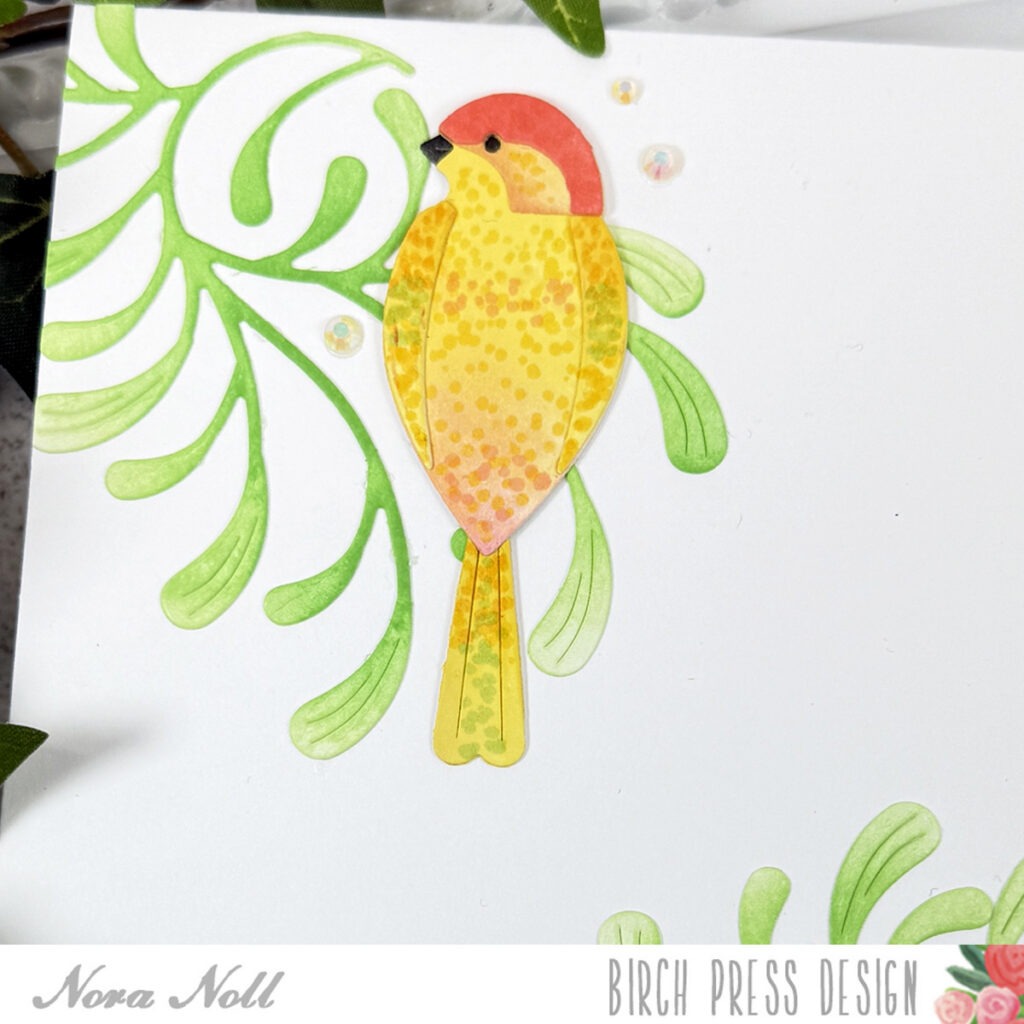
    Next I cut the Block Print Sleek Bird out of white cardstock and used Copic markers to color the bird in. I glued the bird together and adhered it to the top left of the card.
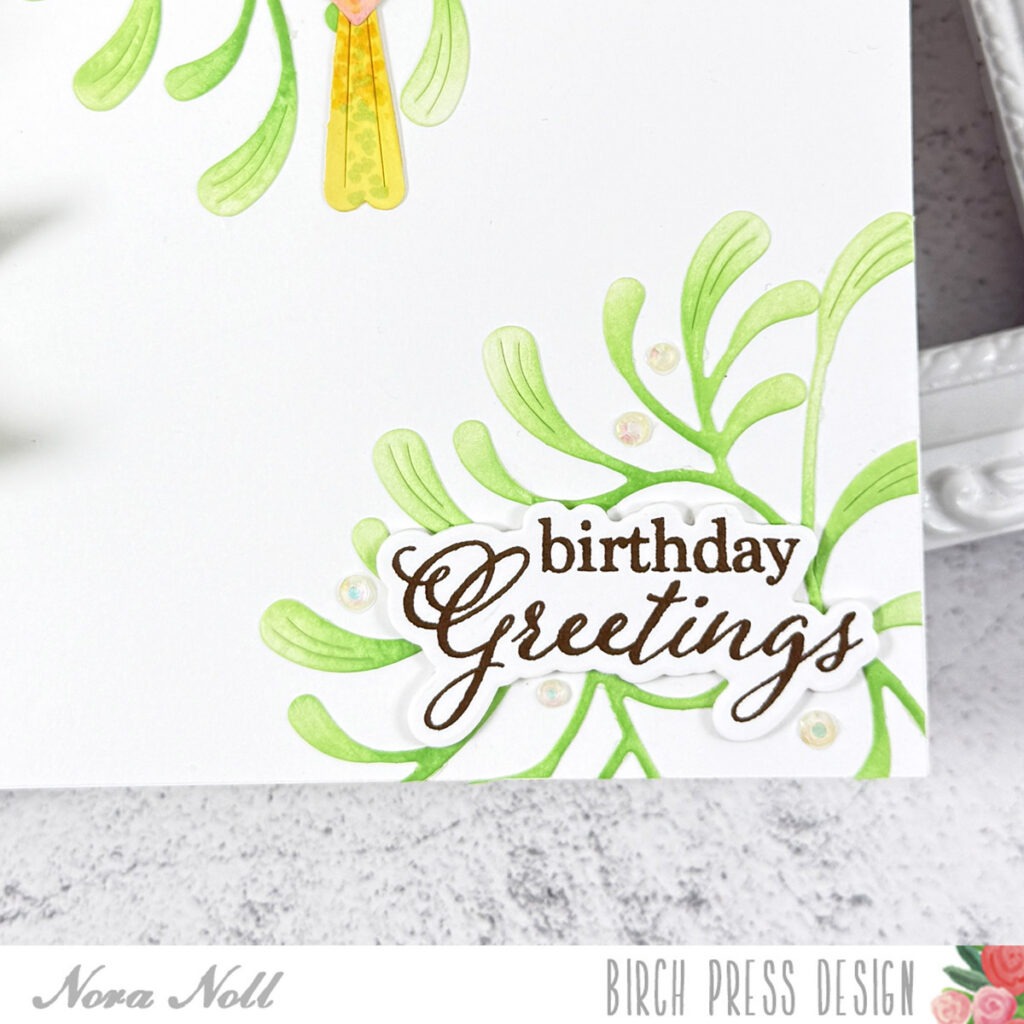
    I stamped the Elegant Birthday Sentiment in brown ink and cut it with the matching die. I used the same sentiment die and cut three more out of white cardstock. I adhered all four of the sentiment pieces together and then glued it to my card front.
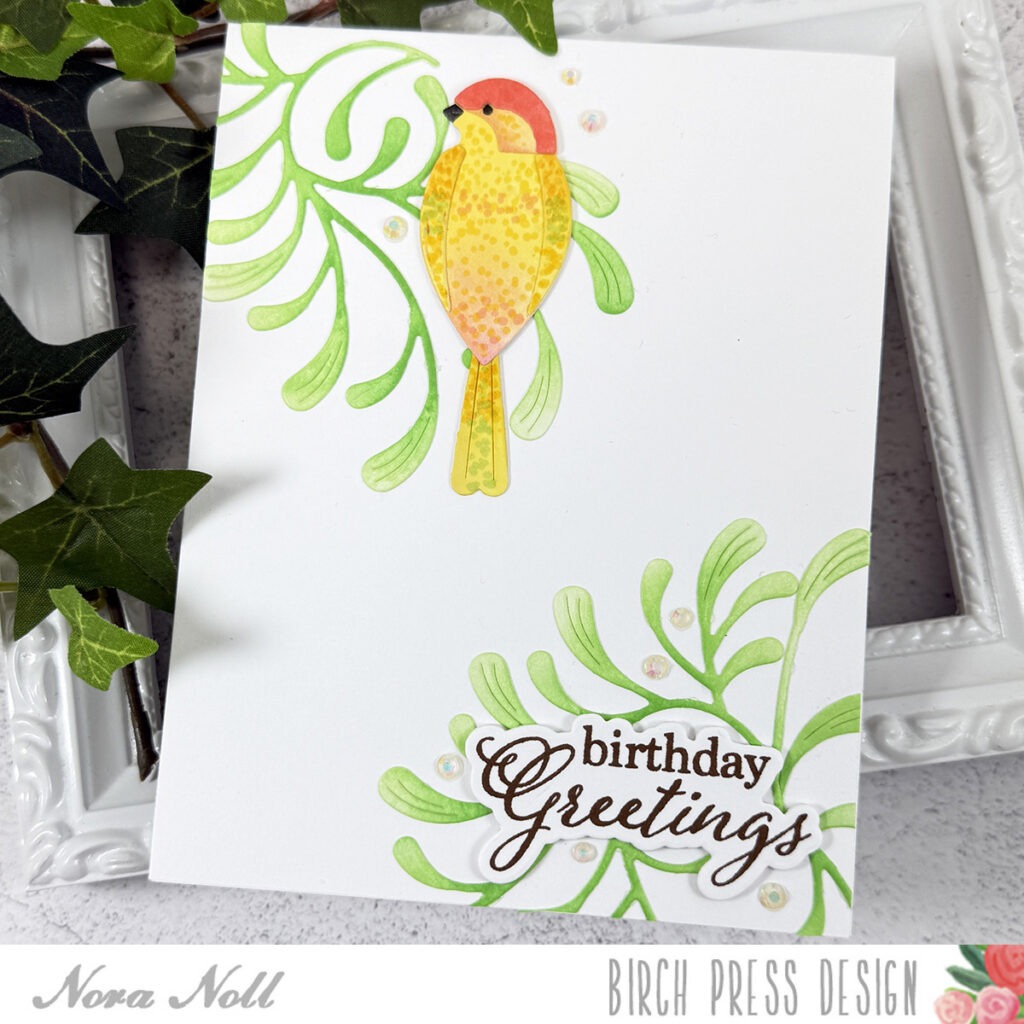
    My last step was to adhere some jewels randomly across the card front. This card was easy enough to create a few to have in your stash!
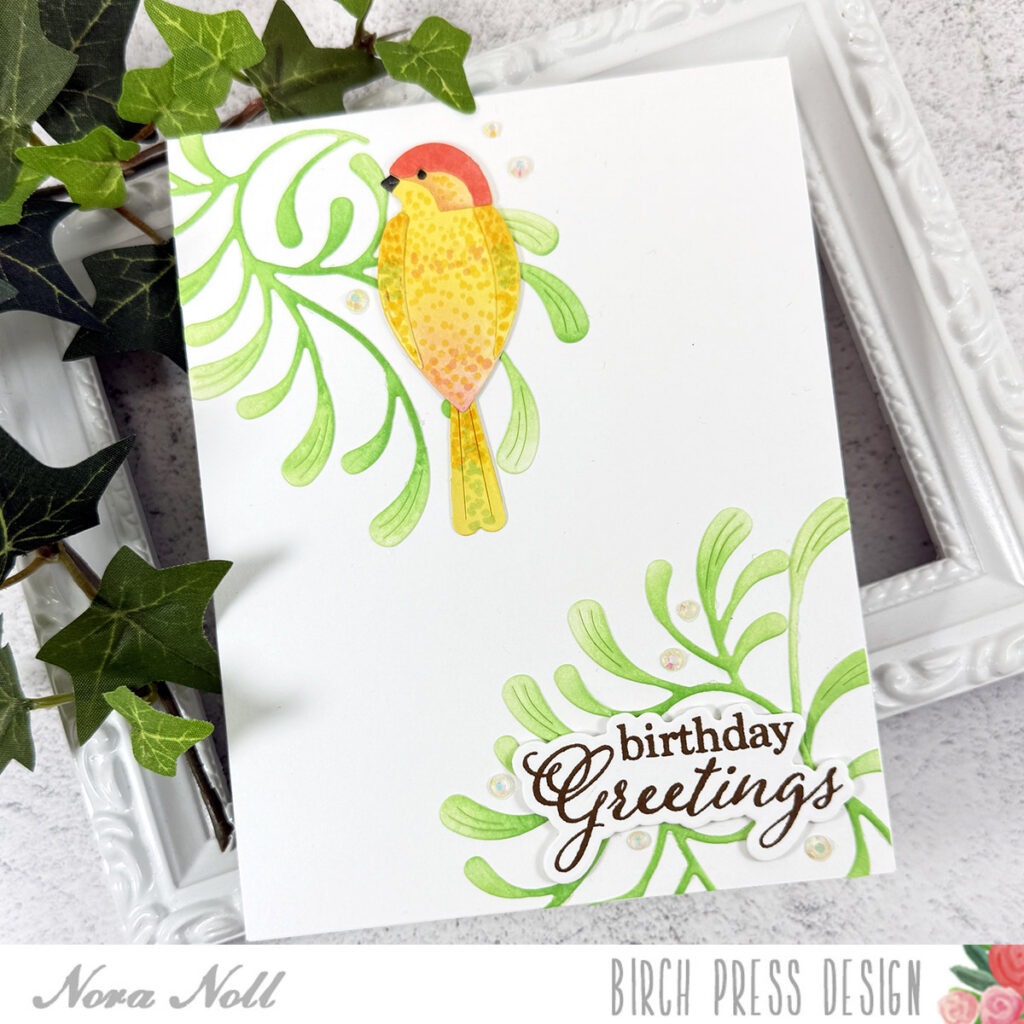
    I hope that this card inspires you to create your own Birthday cards. Thank you for stopping by. Have a fabulous day.
  • A Bokeh Hello by Nora Noll

    A Bokeh Hello
    by Nora Noll

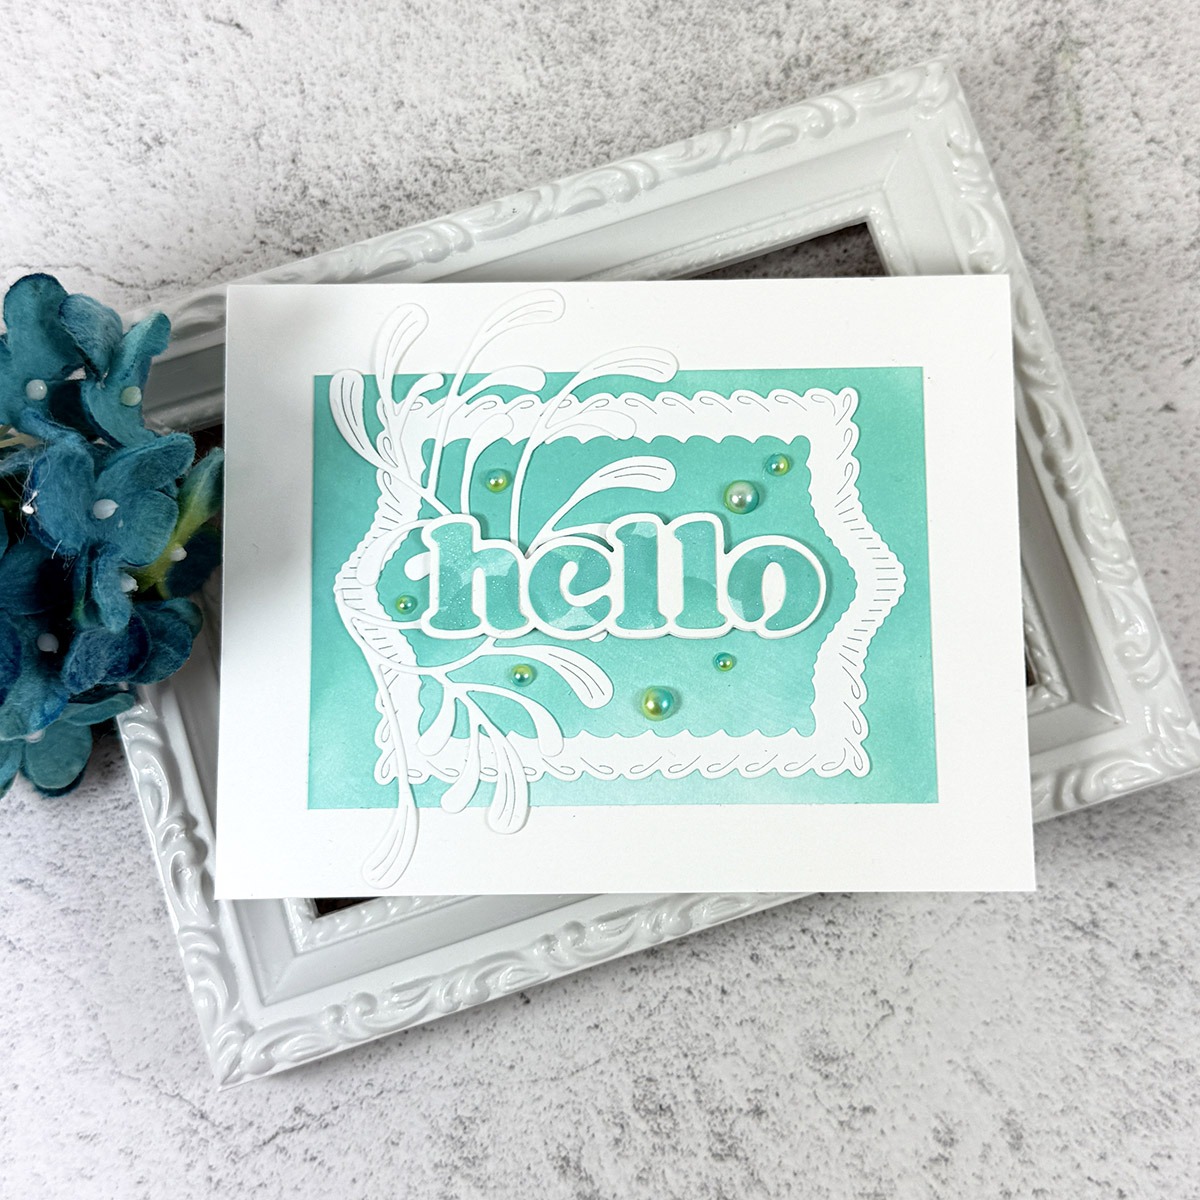
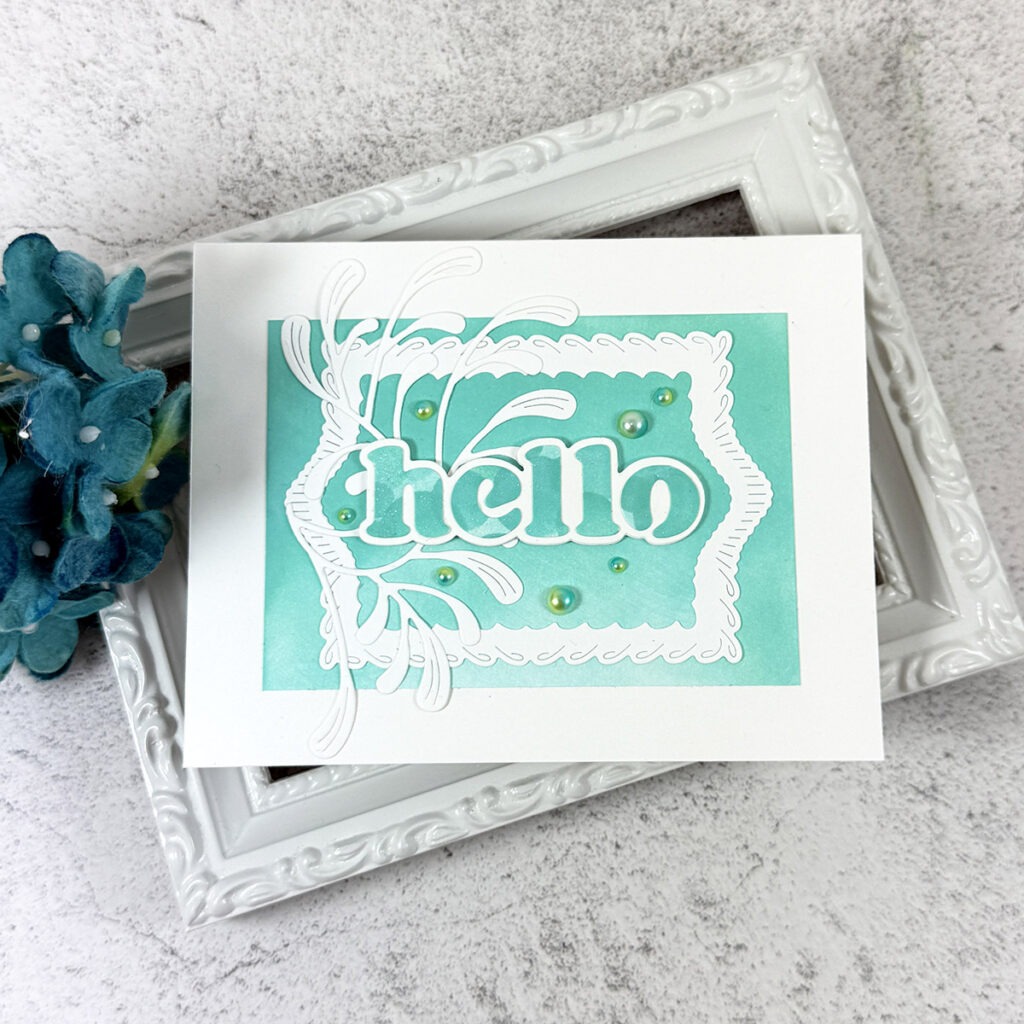
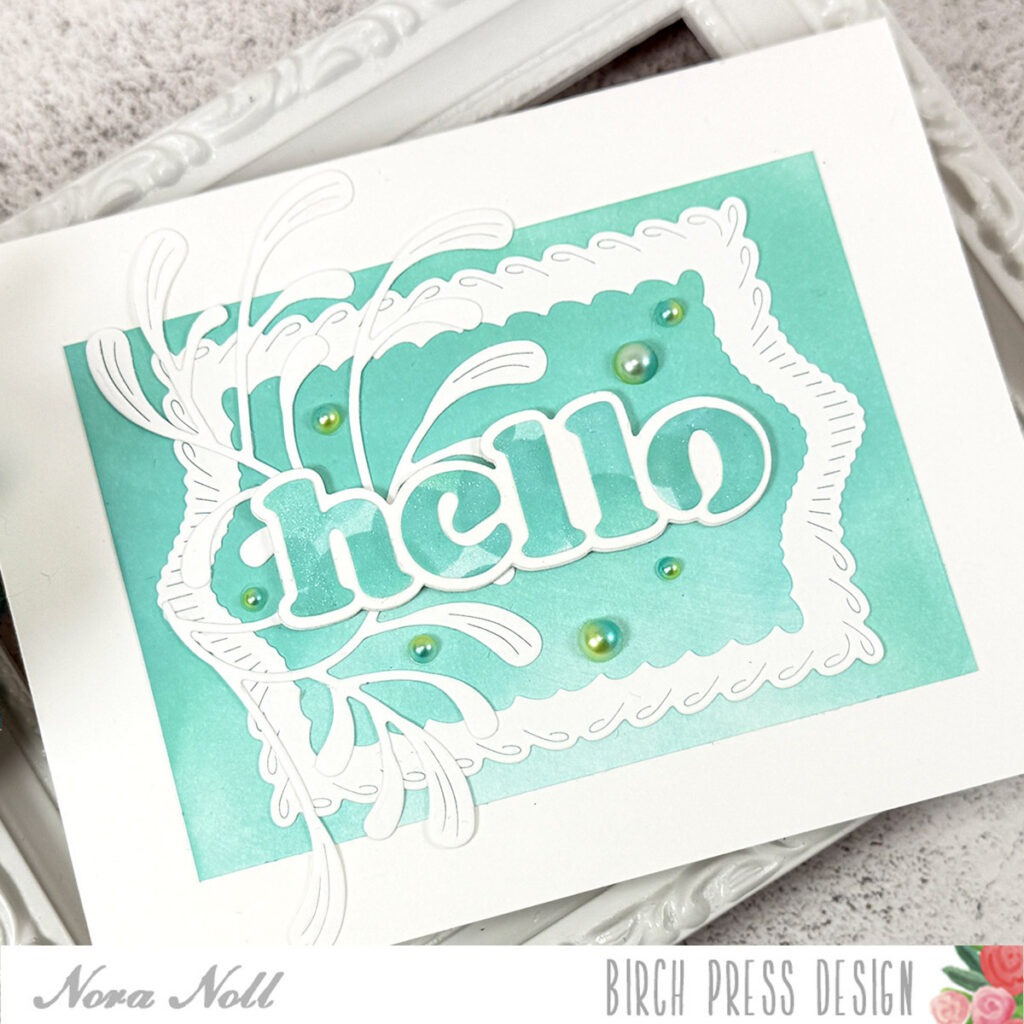
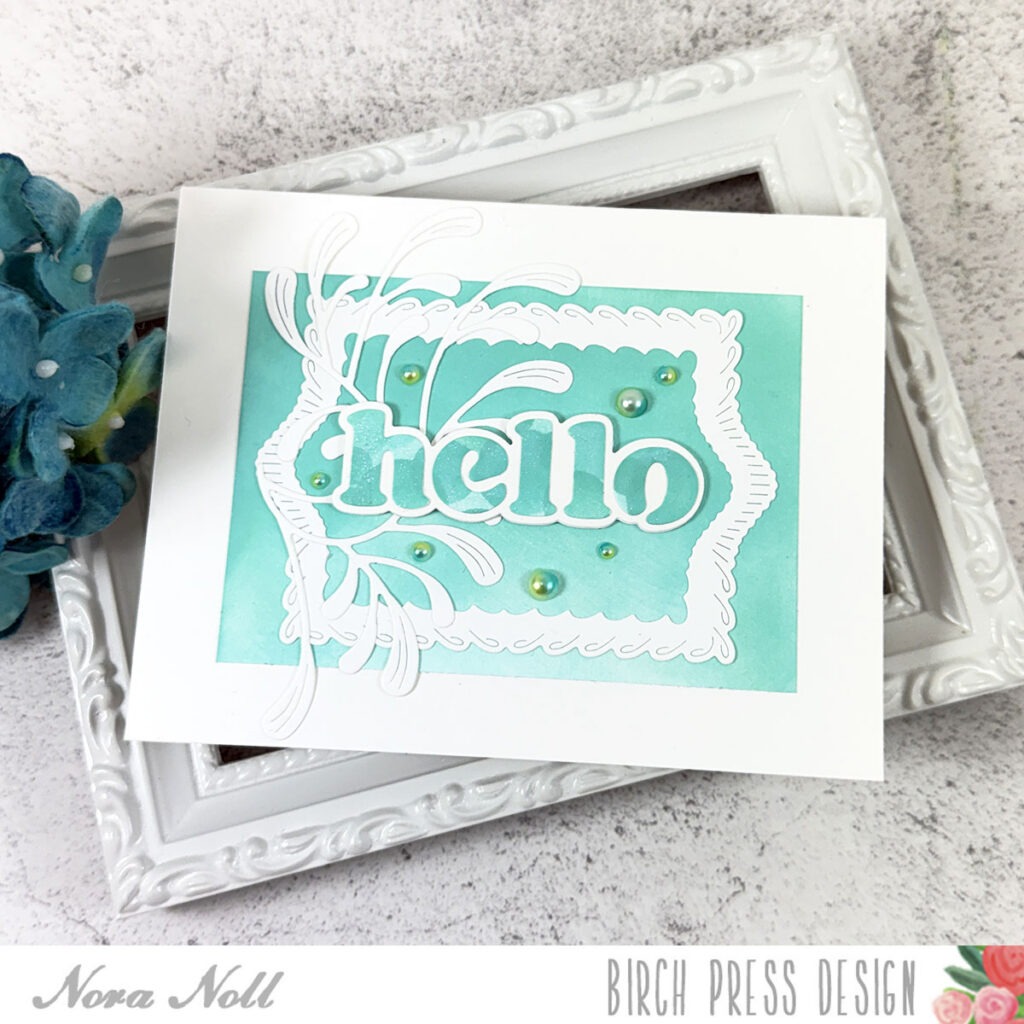
    Hello friends!! Nora here on the blog today with my first card as a Design Team Member!! I used the Bokeh Stencil Set (42048) with the Ornamental Branch die (57601), the Big Hello Vintage Sentiment die (57549) and the Loop Stitch Frames (57688) to create a simple card.

    I started off my card by ink blending aqua ink on a 4” by 3” piece of white cardstock. I then adhered the paper to an A2 sized white card base.

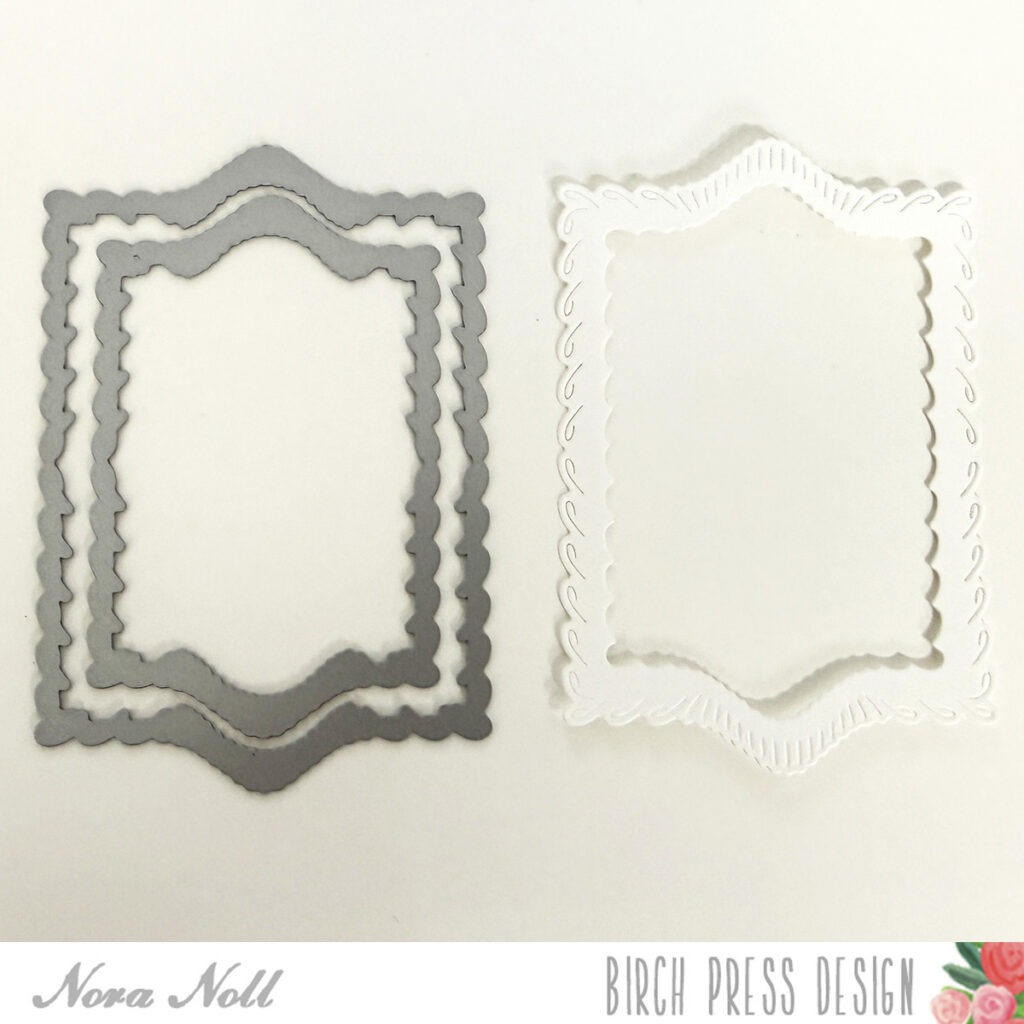
    Next I created a frame out of white cardstock using two of the Loop Stitch dies. I adhered the frame over the top of the aqua on the card front.

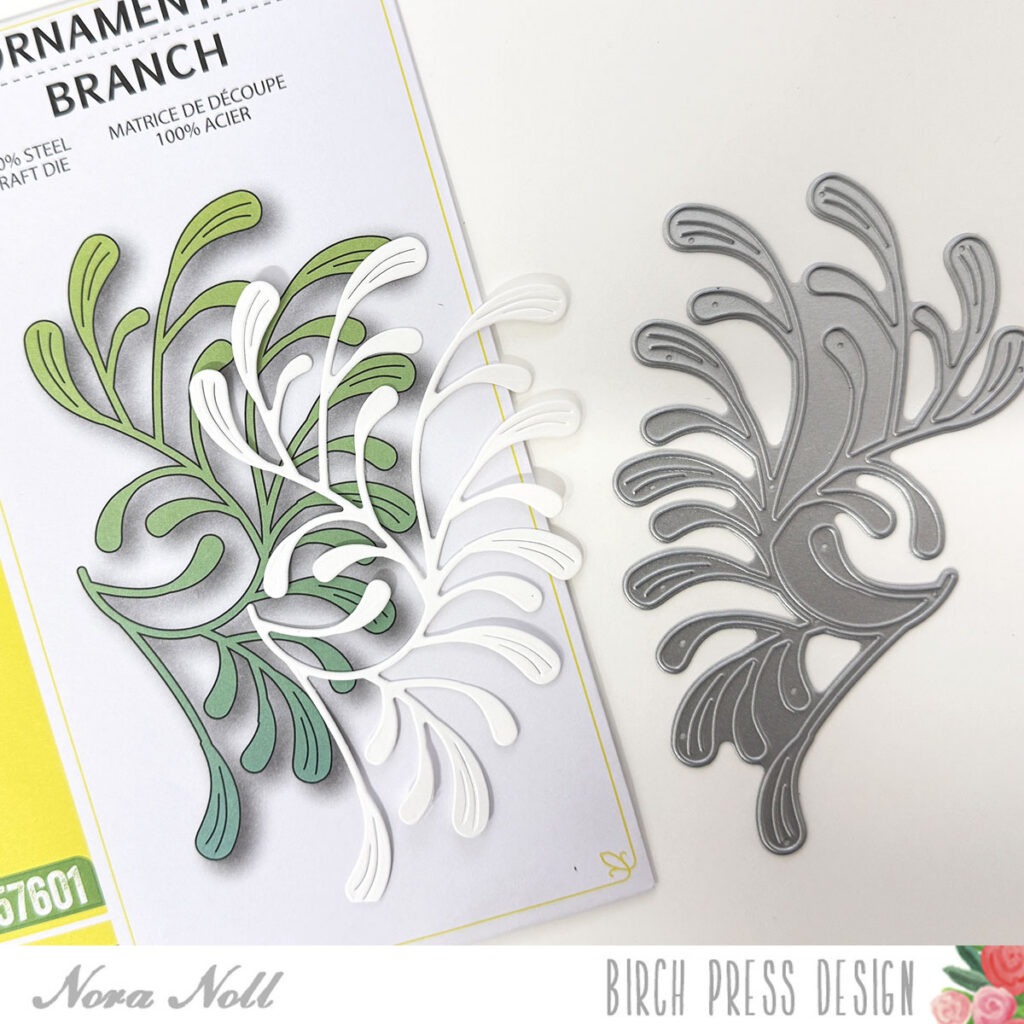
    I used the Ornamental Branch and cut a bough out of white cardstock. I adhered the branch over the left side of the Loop Frame.

    I had so much fun using the Bokeh Stencil Set to stencil a small piece of white cardstock. I actually used the stencil by lifting it up and moving it over and over to get the circles where I wanted them to go.

    I used the Big Hello Vintage Sentiment outline die to cut the “hello” out of the stenciled paper. I used the solid sentiment die to cut four, white sentiment bases. I adhered the bases together and then glued the bokeh hello over the top.

    I added my sentiment to the front of the card and finished it up by adhering some ombre pearls randomly across the card front.

    This was a fun card to make. I have never used a stencil to create paper for a die cut sentiment and I will be using this technique again in the future. I think it has a big impact for any card front.

    I hope that my card has inspired you to try this fun technique. I thank you for taking the time to stop by. Have a FABULOUS day.