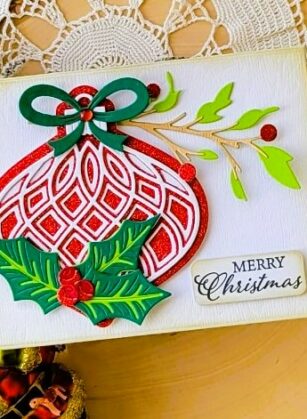
Category: Ornament

  • Patriotic Birthday | by Toni M  Maddox

    Patriotic Birthday | by Toni M Maddox

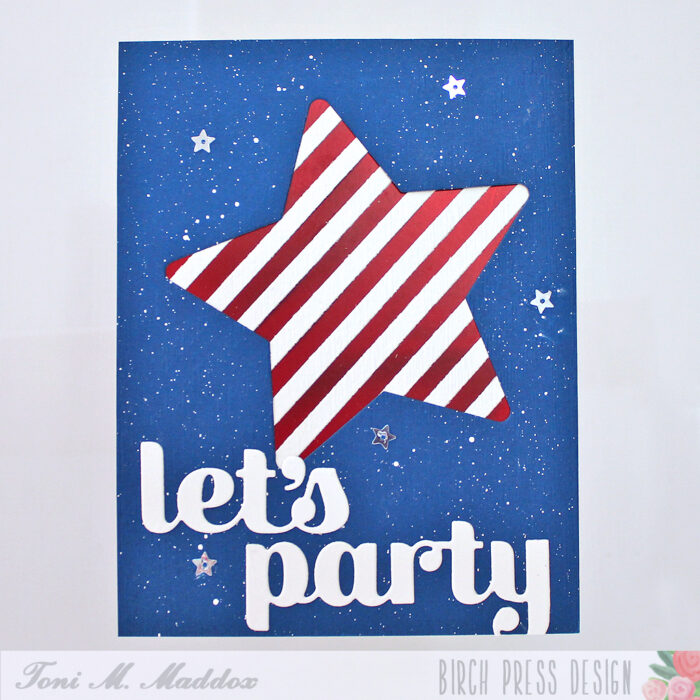
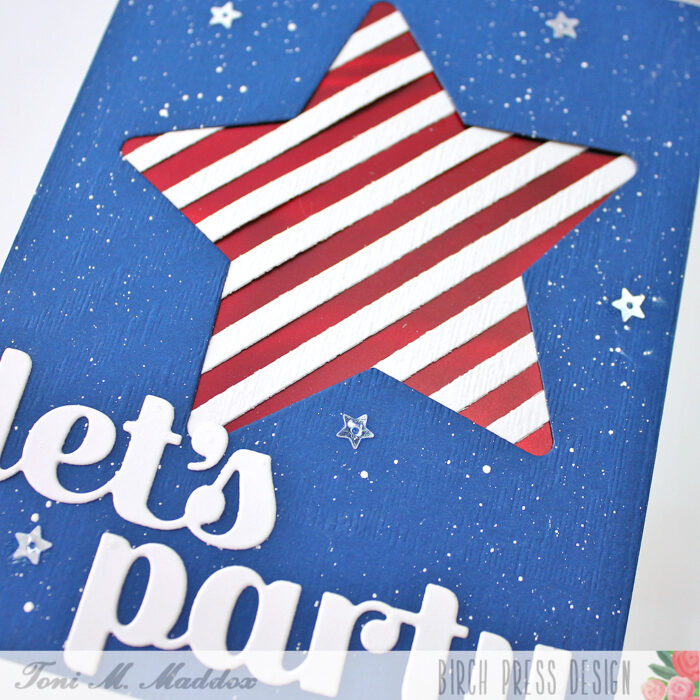
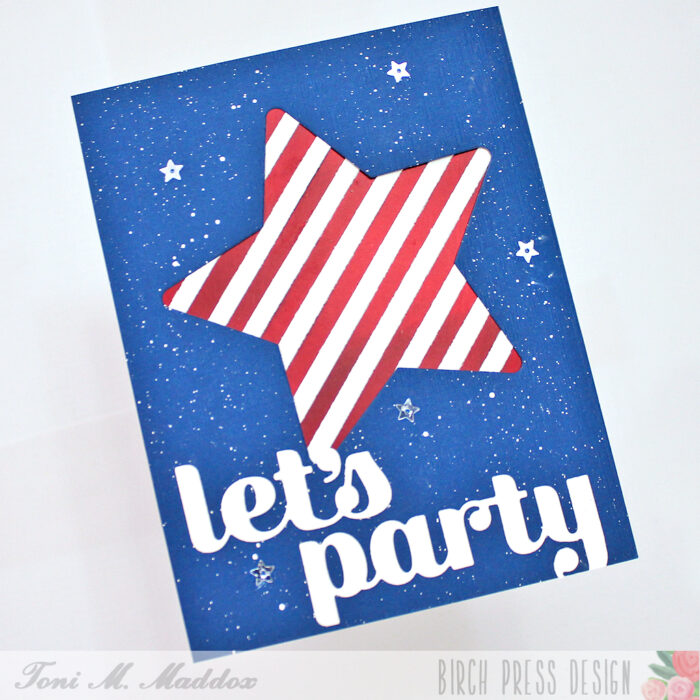
    Hello, Birch Press fans! Toni here with you today sharing a card suitable for a patriotic birthday (in the US), congratulations, retirement or even an invitation to a Memorial Day BBQ.

    This card was so easy and fun to make. Who doesn’t like spattering and shiny things?

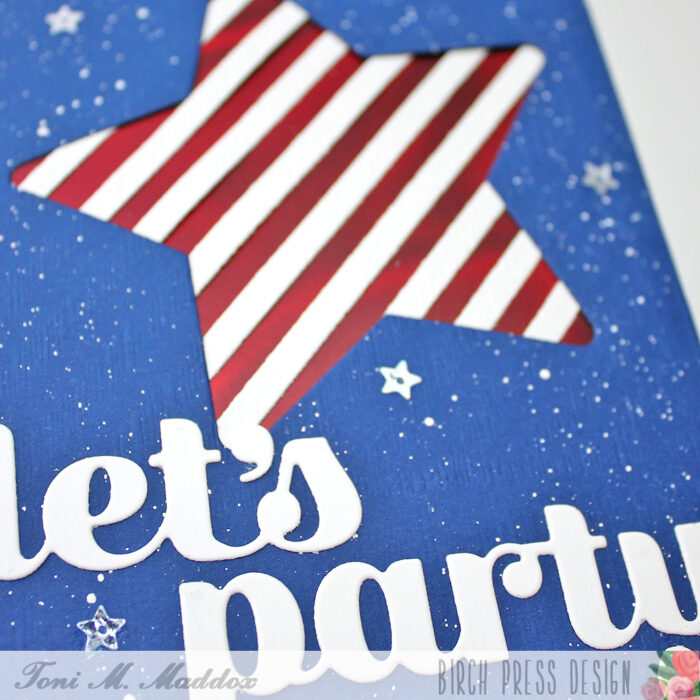
    I started the card by cutting out the Piped Icing Star from a blue cardstock which I had embossed with a simple linen-type pattern. I then spattered the surface with Copic Opaque White (for stars or confetti).

    Next I cut out a Linear Triangle in white which I positioned so that it created a striped background for the red foil cardstock beneath to peek through.

    My final touches included adding the Let’s Party Sugar Script sentiment and a sprinkling of shiny star sequins.

    I hope you enjoyed today’s card and have a great rest of your week!

    Supplies

  • Make Your Patterned Paper Shine

    Make Your Patterned Paper Shine

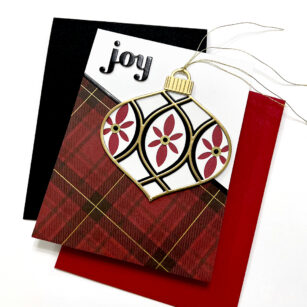
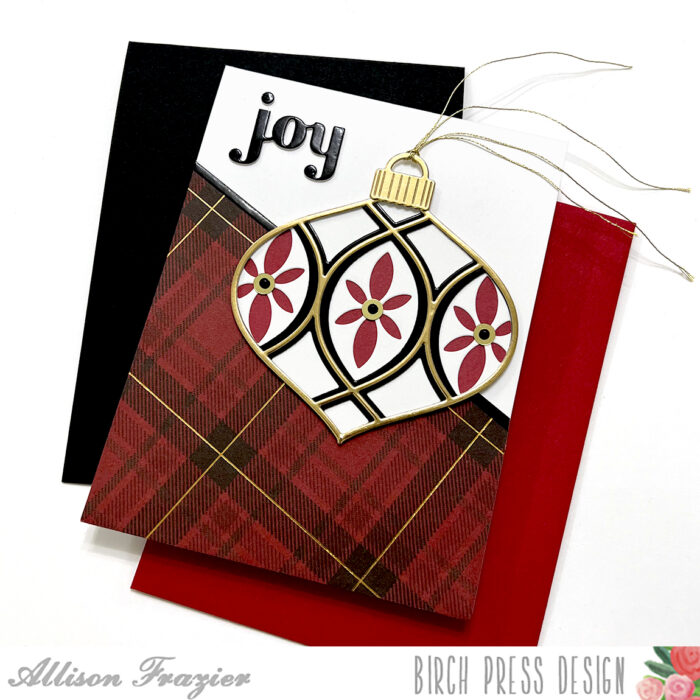
    Hello, Birch Press friends! This card has been in my head for awhile now, and I finally made it. I love plaid for the holidays, so I really wanted to incorporate some of this beautiful paper from the Christmas Jolly paper pad.

    I started by choosing which paper from the Christmas Jolly pad to use. I knew that I wanted to angle the paper on my card base, so I found a pattern that worked perfectly for that. I made sure to carefully trim it at the top so that it was even with the angled lines in the design. I then adhered it to a white A2 card base and added a thin strip of glossy black card stock to divide it from the white space.

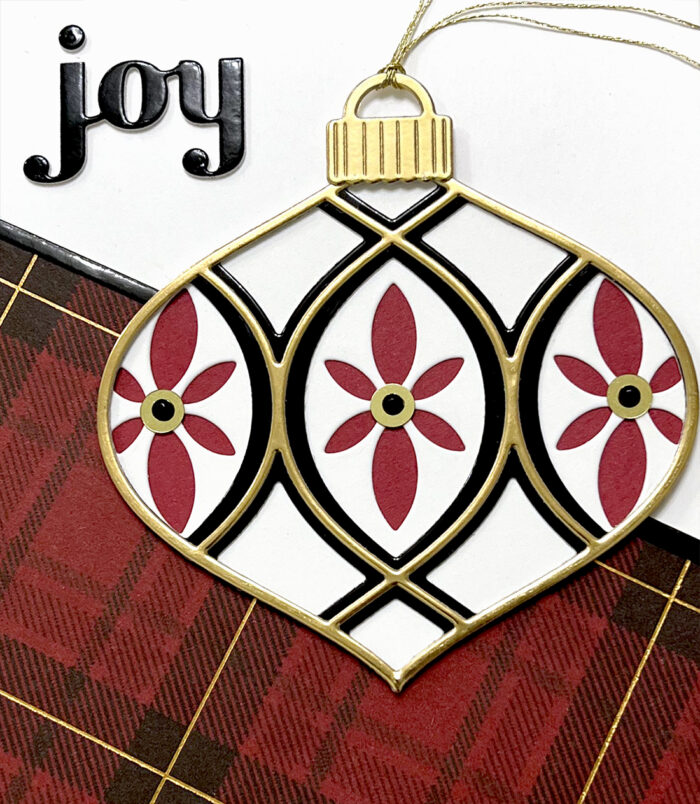
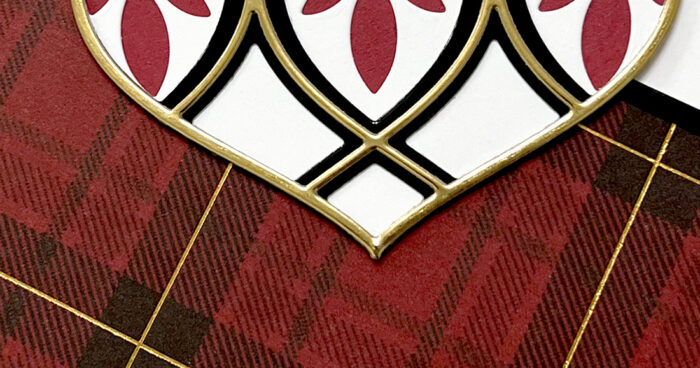
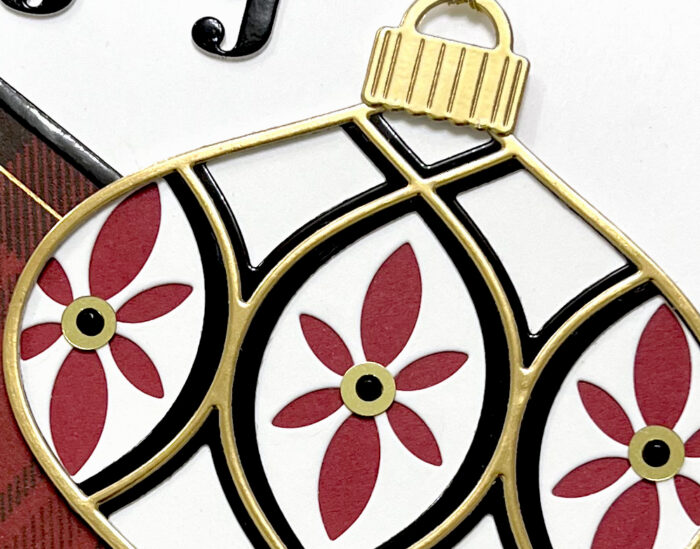
    Next, I die cut the layers for the Meridian Ornament. I used white card stock for Layer C, black glossy card stock for Layer B, and Gold for Layer A. I also traced the shape of the ornament onto a piece of red card stock, fussy cut that out, and adhered it to the back of the ornament so that it showed through the cutouts in the white layer. I love how the gold layer enhances and pulls your eye to the thin, shiny lines of gold foil in the plaid paper.

    For the ornament topper, I used the die from Set A of the Radiant Ornament Layer Set. For the sentiment, I used the “joy” from the Find Joy and Outline set. The words are connected in this die set, but I simply cut them apart and made the “j” into a lower case j. I used a tiny round die from my stash for the “tittle” (dot) over the j. Don’t be afraid to alter your die cuts to fit your designs!

    To finish my card, I added some flat gold discs to the centers of the red floral design in the ornament and then added black gems on top of those. I also added some gold thread through the ornament topper.

    Thank you so much for joining us today. I hope this card inspires you and brings a smile to your face!

    Wishing you a crafty day,
    Allison


    Supplies


    Supplies

  • Sending Warm Wishes | by Toni  M Maddox

    Sending Warm Wishes | by Toni M Maddox

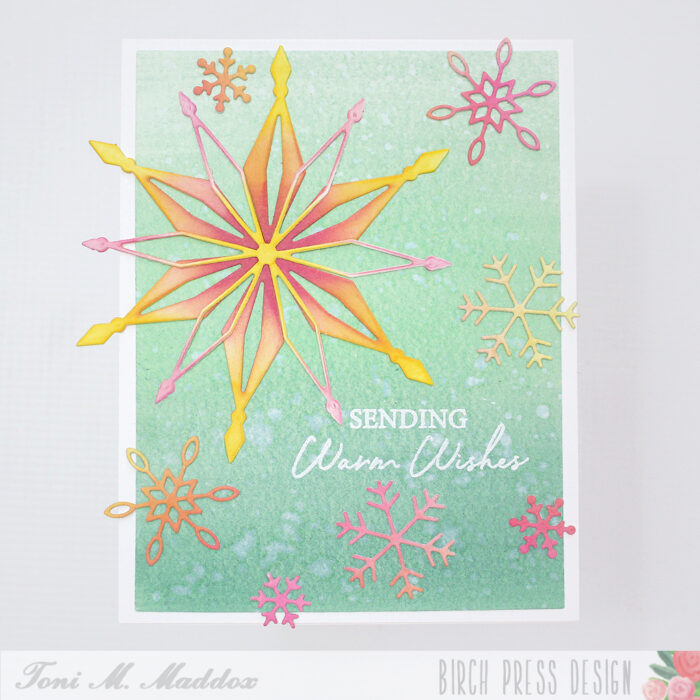
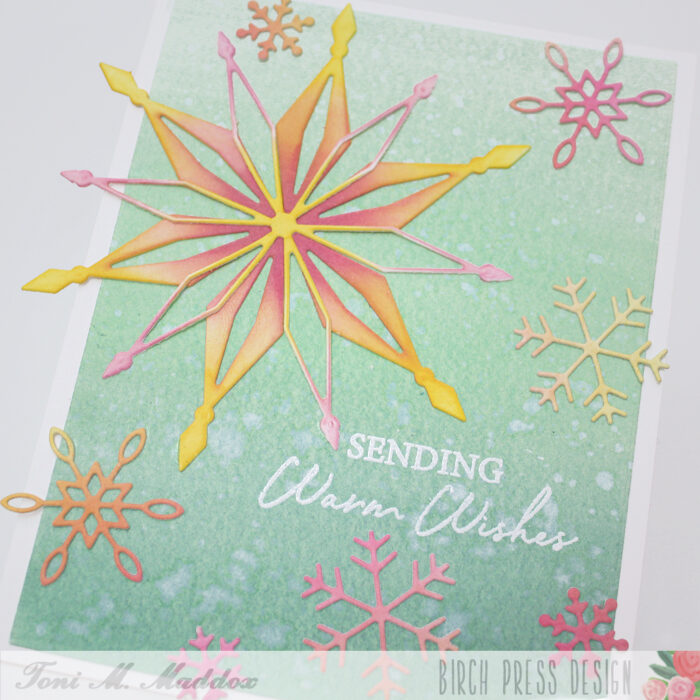
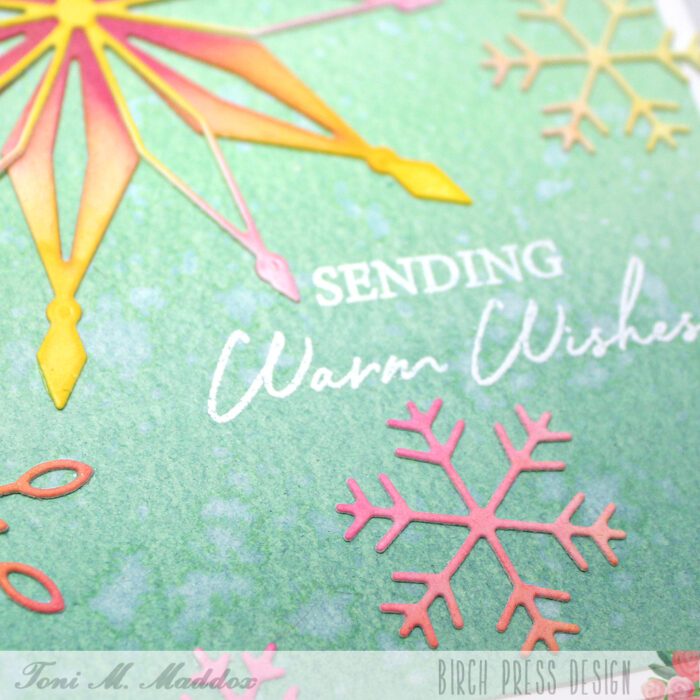
    Hello, Birch Press fans! Toni here with you today sharing a kind of card that I like to send when I think my card might be late to reach the recipient for the holidays or just for winter wishes.

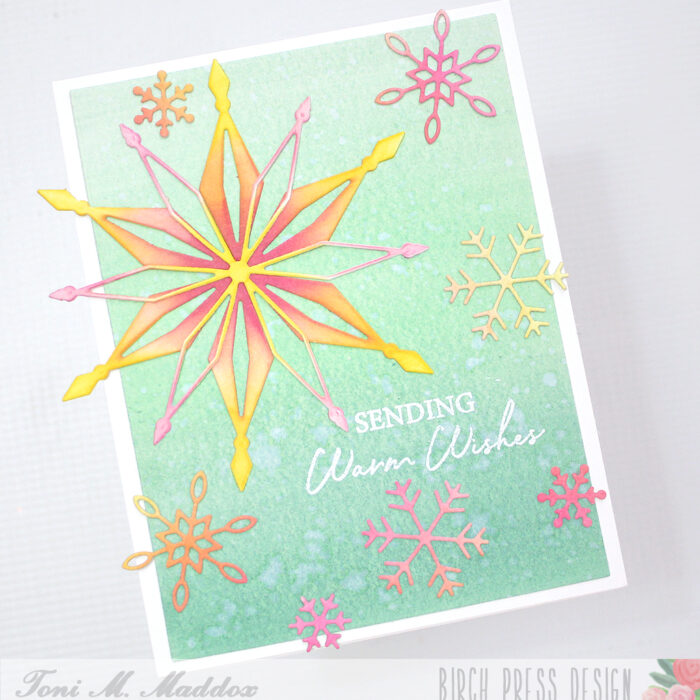
    I sponged a panel with Distress Oxide Evergreen Bough and Cracked Pistachio then spattered that with water.

    While that was drying, I cut out the Felicity Snowflakes and Aurora Snowflake Layering Dies out of white then sponged with Distress Oxide Mustard Seed and Picked Raspberry.

    I love the unexpected colors for a winter/holiday card. Just yum. Notice how I didn’t stack the Aurora Snowflake layers atop each other but instead offset them for kicks.

    My final step was to emboss the Christmas Mandala sentiment in white.

    I hope you enjoyed today’s card and have a great rest of your week!

    Supplies
  • Mistletoe Ornament | by Toni M Maddox

    Mistletoe Ornament | by Toni M Maddox

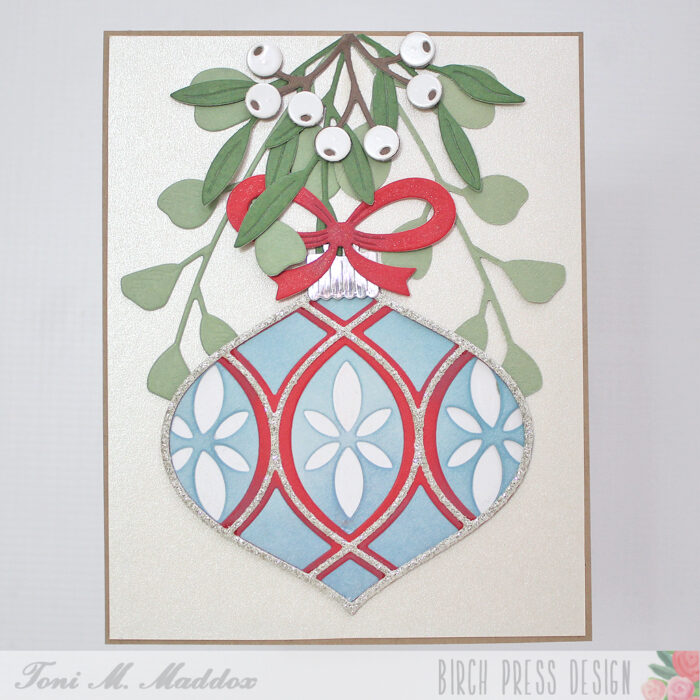
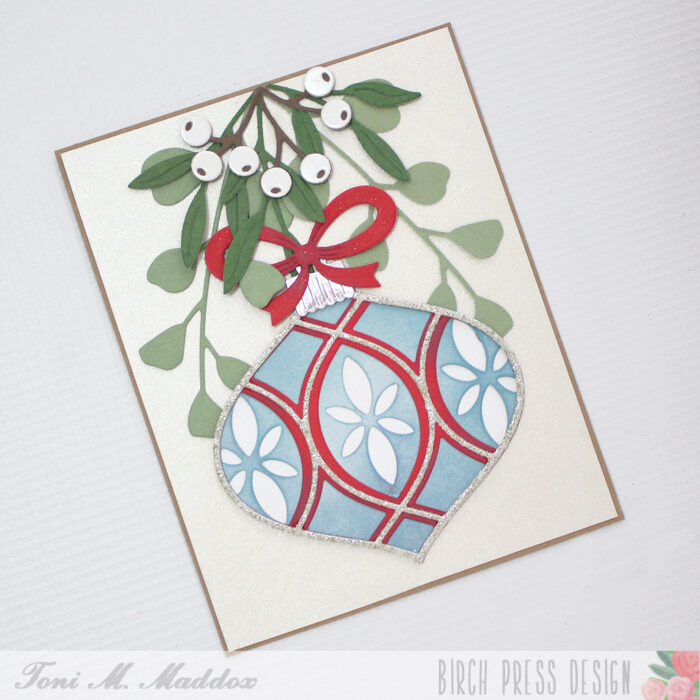
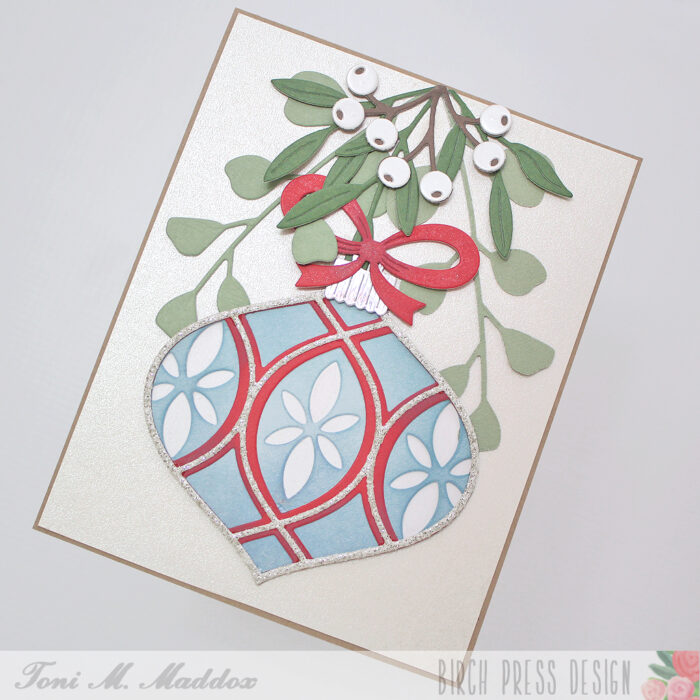
    Hello, Birch Press fans! Toni here with you today sharing a rather more traditional holiday card than my usual. Sometimes you just need to go classic and elegant!

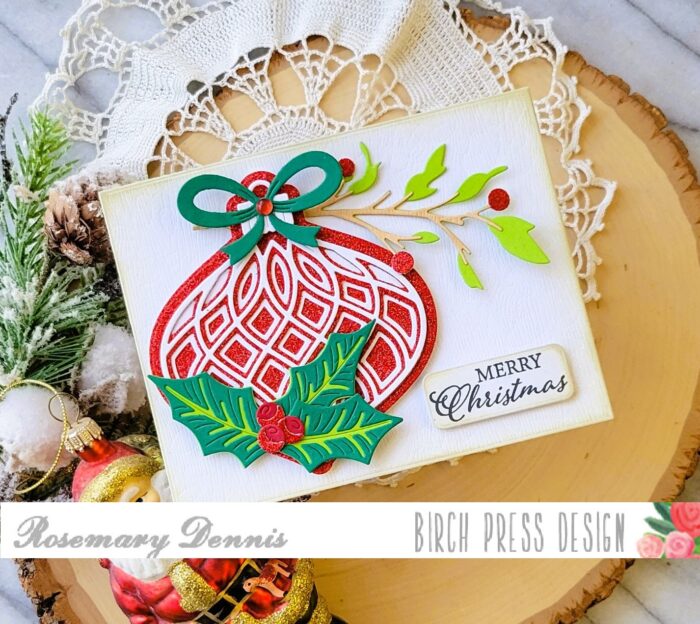
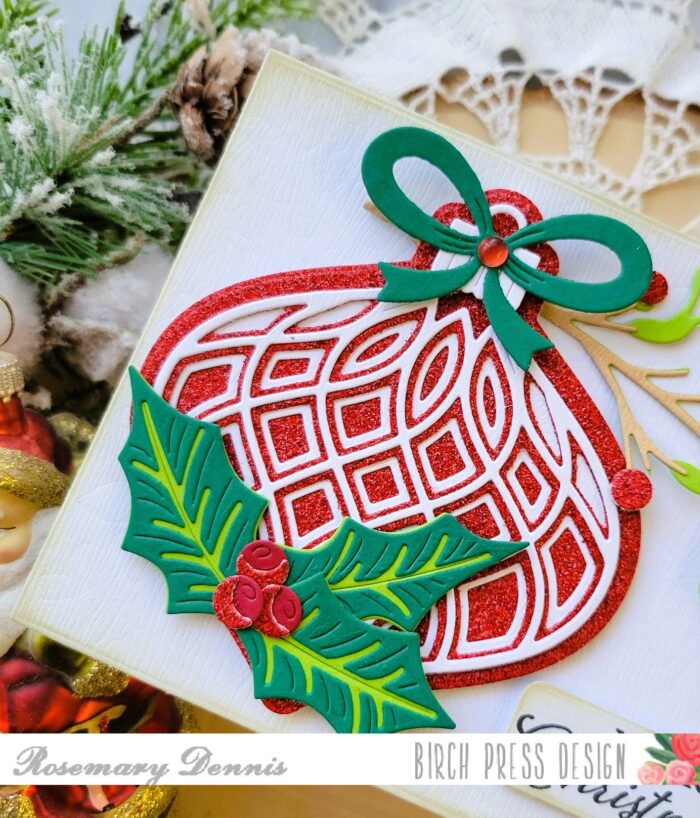
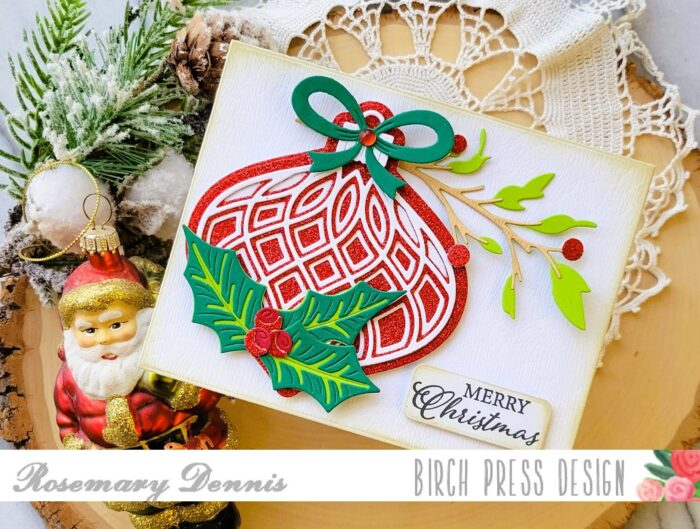
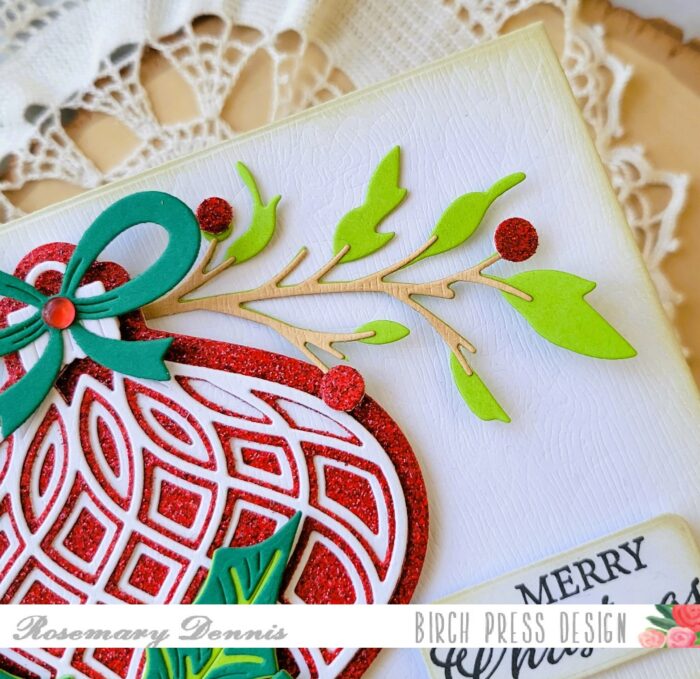
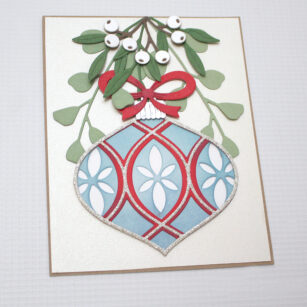
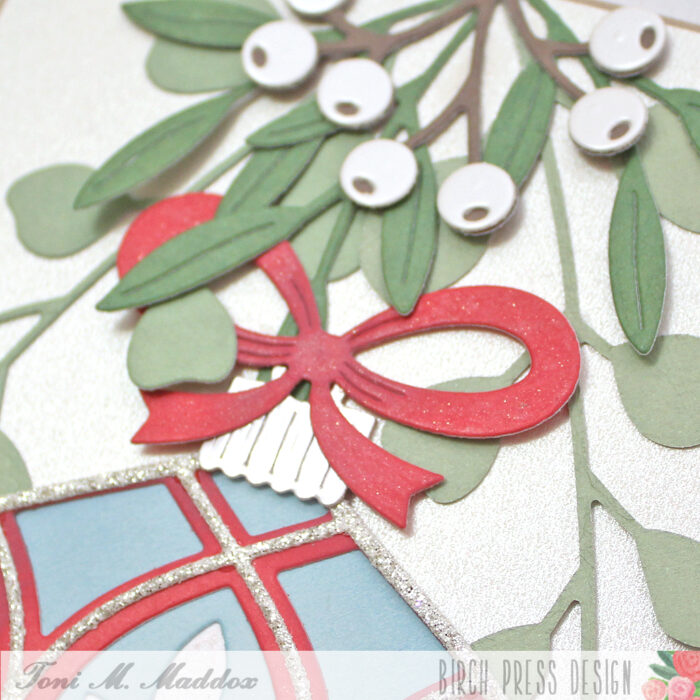
    I started the card by cutting the Meridian Ornament out of Memory Box Berry Red and Fresh Aqua 6×6 cardstock. I also cut out the Christmas Ornament Pop Up Easel elements from this.

    Next I sponged Distress Oxide Aged Mahogany on the red cardstock and Faded Jeans on the blue to give depth and add a vintage touch. I also covered the bow in Lawn Fawn Glitter Pen (Wink of Stella would have worked well too).

    For the Tiny Tuft Flowers & Leaves and Eucalyptus Stem & Berries Contour Layers, I used Memory Box Vintage Pastel Mirror, Lush Green, and Earth Neutral 6×6 cardstocks.

    I adhered those to the card front which used a cream shimmer paper from my stash then nestled the ornament within.

    I hope you enjoyed today’s card and have a great rest of your week!

    Supplies
  • Clean and Simple Holiday Card | By Dilay Nacar

    Clean and Simple Holiday Card | By Dilay Nacar

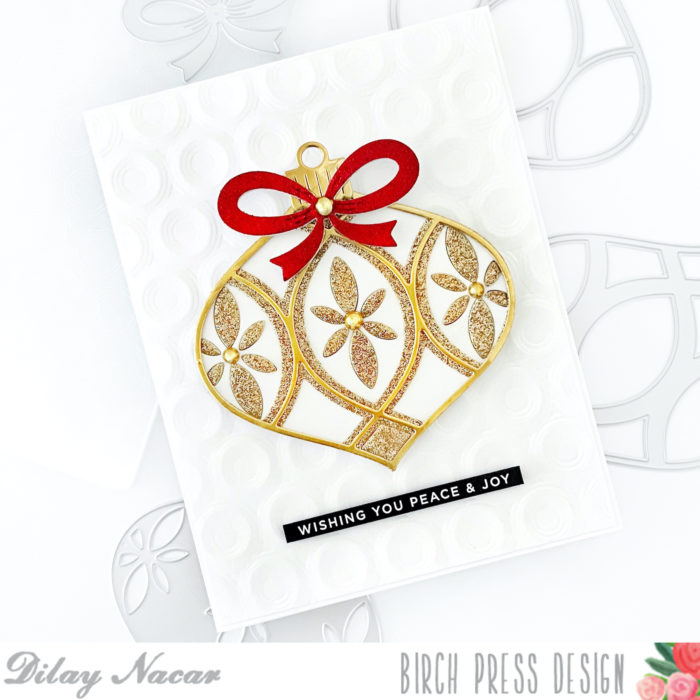
    Hello and welcome back, crafty friends! Dee here today, sharing this clean and simple card featuring the gorgeous Meridian Ornament Layer Set!

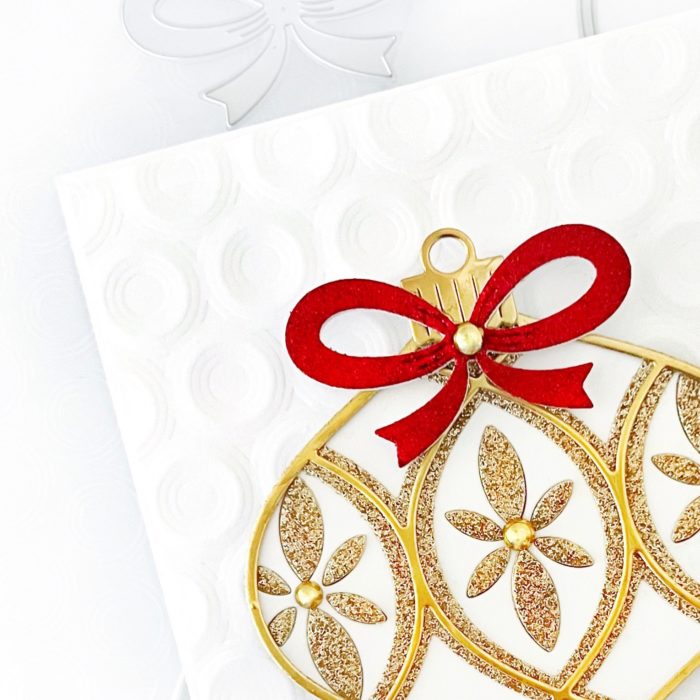
    To create the base, I embossed an A2-sized white panel using the Memory Box Ringadings embossing folder, then adhered it onto the top folding card base.

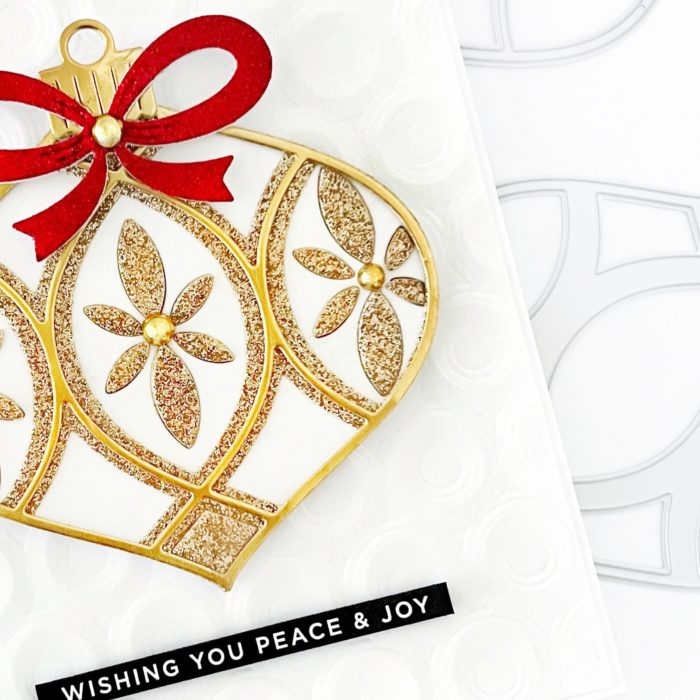
    Next, I cut the Meridian Ornament Layer dies in white, mirror gold, and gold glitter cardstock. Once complete, I adhered the layers together and then onto the center of the background. I cut the bow and ornament cap from the Christmas Ornament Pop-Up Easel set, then adhered them onto the ornament. To finish, I added a few gold embellishments and a simple sentiment strip from my stash! 

    Thank you so much for joining me today!


    Supplies

  • Glitter Ornament by Jeanne Jachna

    Glitter Ornament
    by Jeanne Jachna

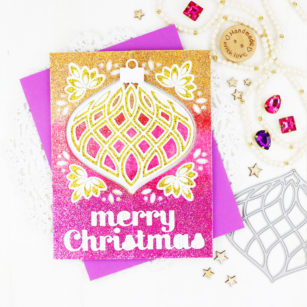
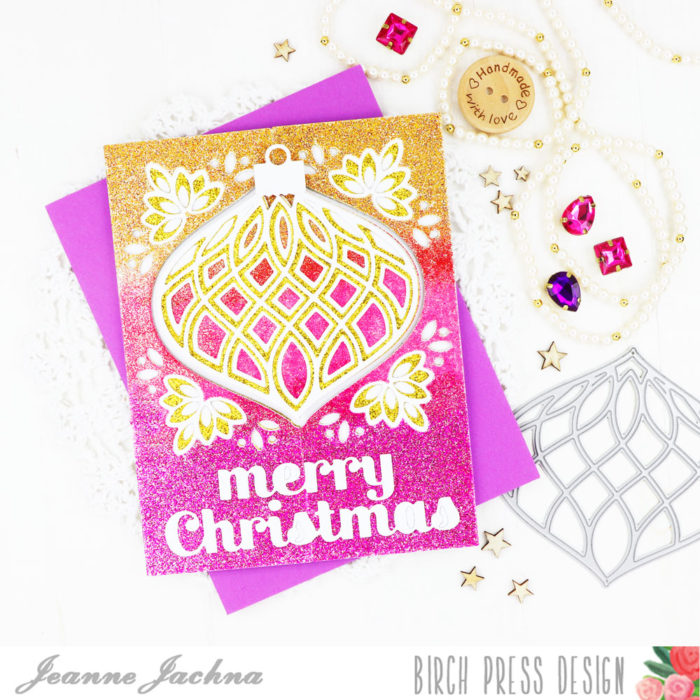
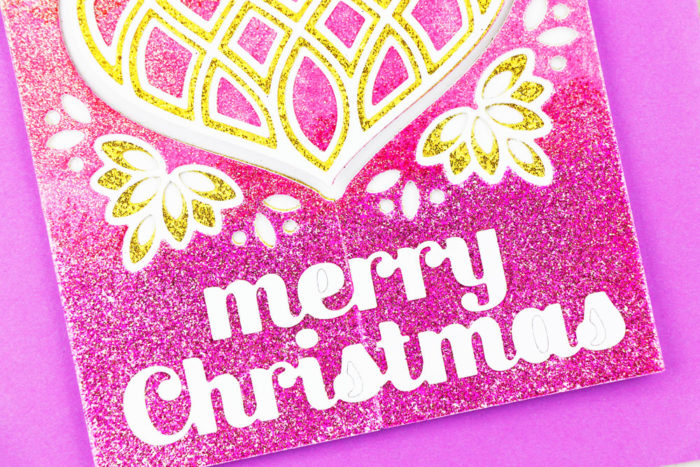
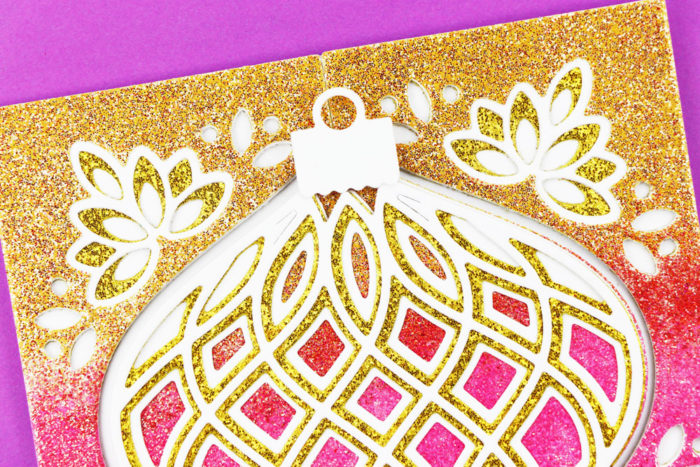
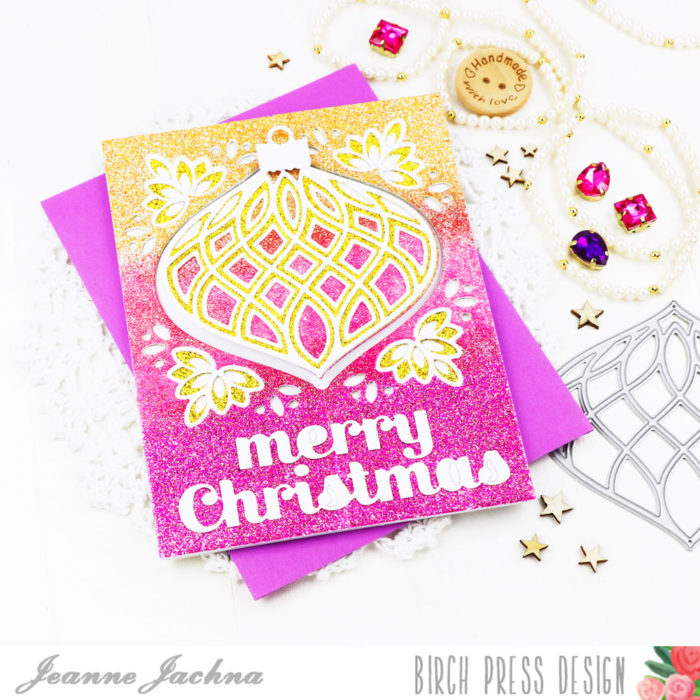
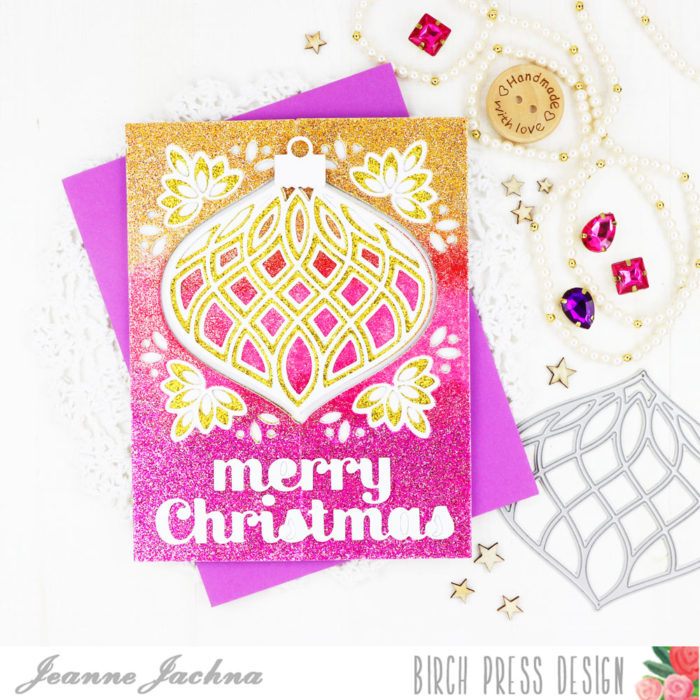
    Thanks for stopping by! Today I’m sharing holiday card that is loaded with lots sparkle and shine because it’s almost entirely coated with GLITTER! But not the messy kind! This card was made with WOW! Embossing powder with glitter!

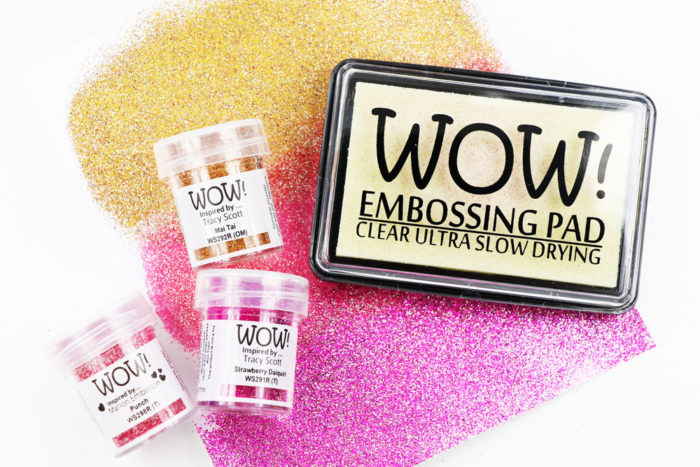
    I feel fairly accomplished at ink blending so I thought I’d give some glitter blending a try! I selected glittery embossing powders from WOW! Just their names sound delicous! Mai Tai, Strawbery Daiquiri and Punch!

    I used an ink blending brush to apply embossing ink to a white panel of cardstock to help avoid straight harsh lines. I applied one color at a time. This gave me the ability to keep it clean by holding opposite ends as the heat melted the powder, and to do some overlapping if necessary.

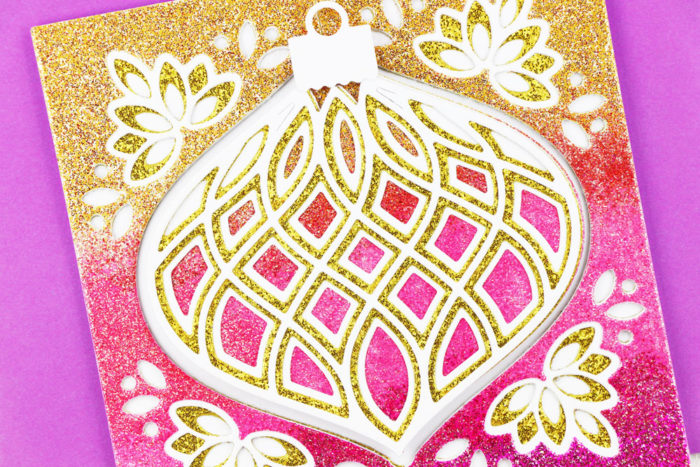
    My paper was quite curly after heating the powder. No worries because when I cut the Flicker Frames they came out nice and flat. I reserved the space in the center to cut a background for the ornament I placed inside the window.

    I alternated glitter and white cardstock to help define the ornament. It’s gorgeous! I hadn’t realized that the ornament I used was no longer available.. but there are several others in stock that will fit in the frame perfectly like the Flicker, Meridian, Twinkle, Belle, and Marisol – and they’re all on SALE! The Flicker Frame set is more than 50% off at $30! (regular price $79) .

    I love the non traditionally colors and swoon! All that sparkle! A simple “merry christmas” sentiment is the finishing touch!

    I hope you feel inspired to try this embossing powder blending. It’s magic when the powder comes to life and melts!

    Supplies