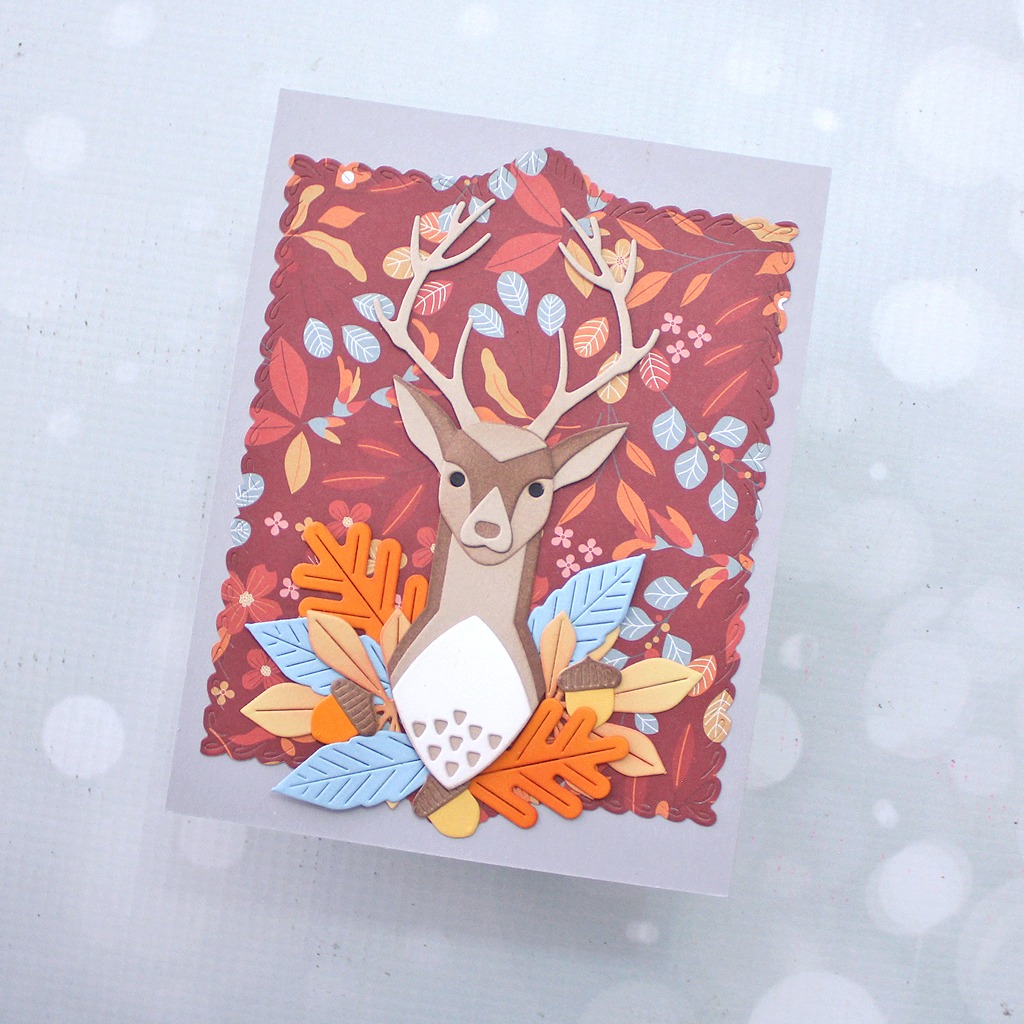
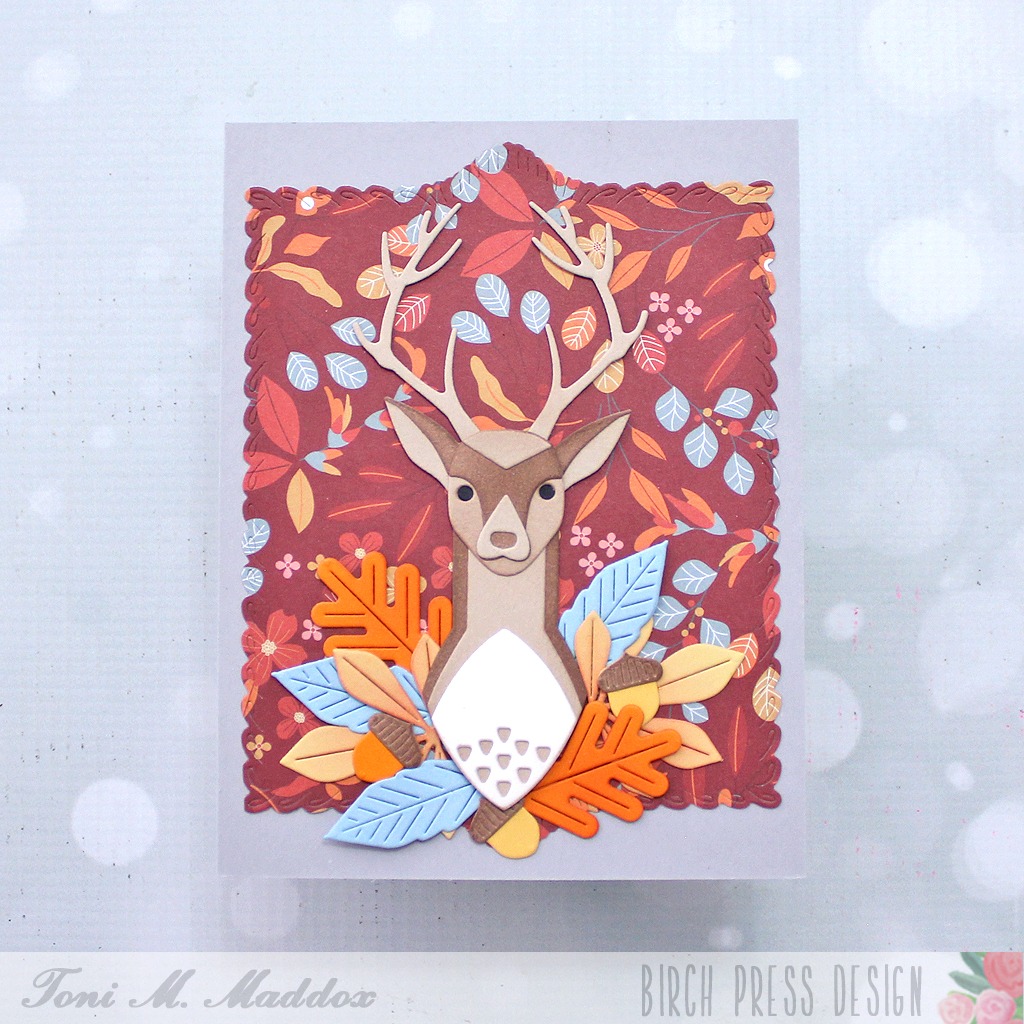
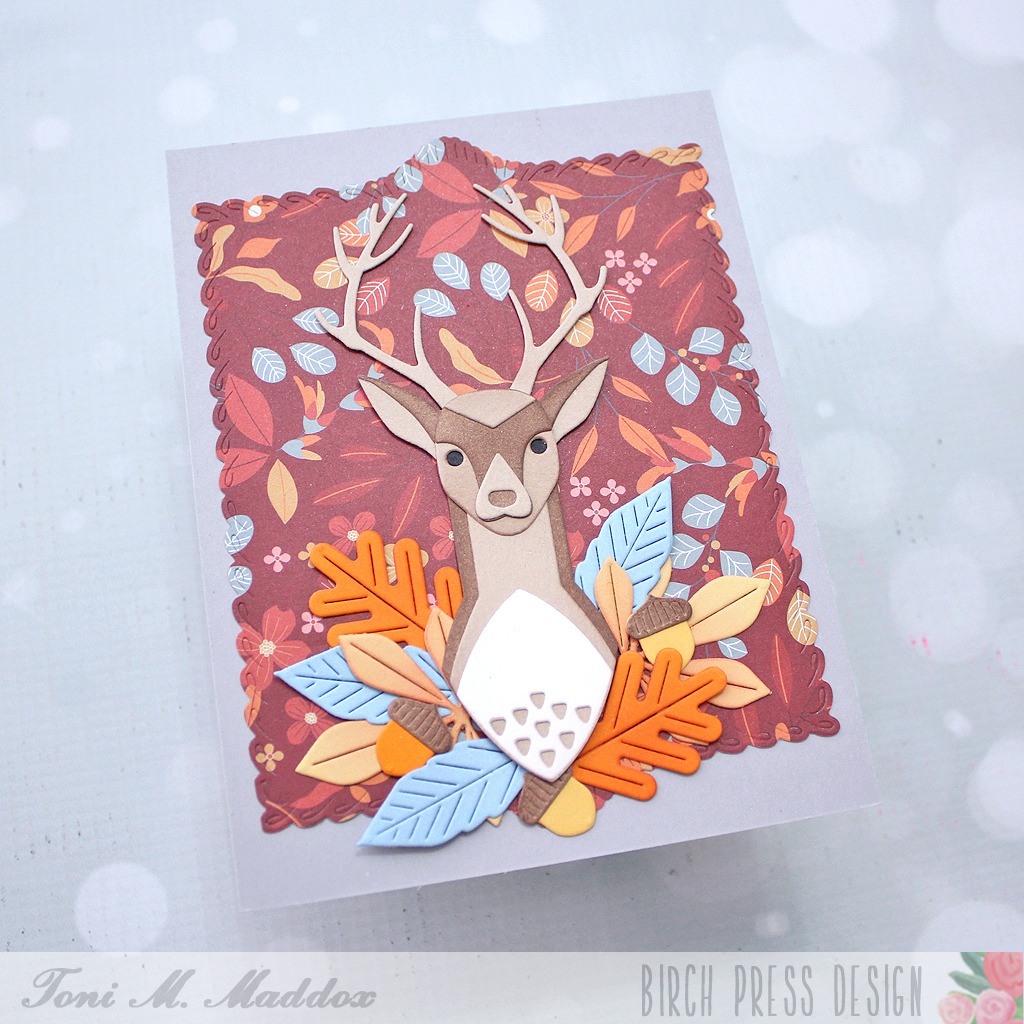
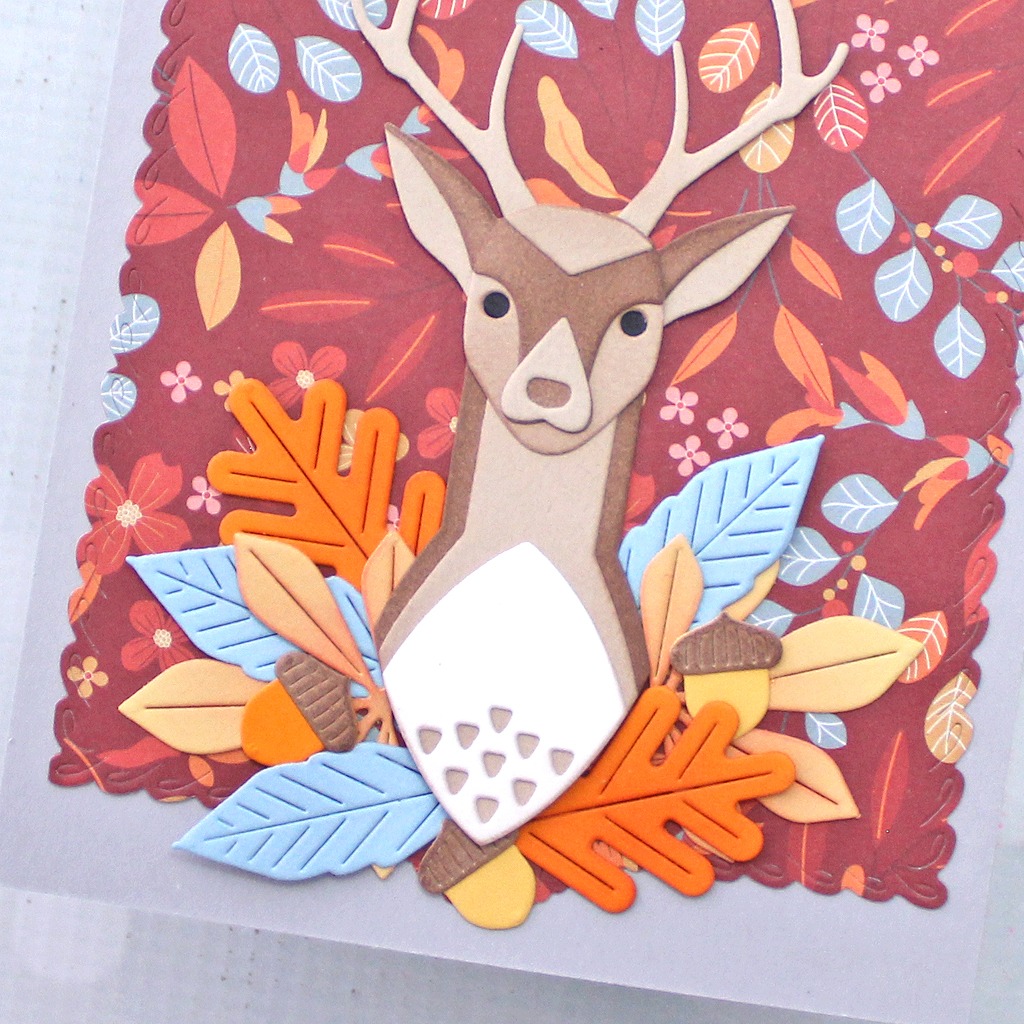
Hello, everyone! Toni with you today with another Autumn-themed card, combining older and new products from the latest release.
I used a Loop Stitch Frame die with Memory Box Nutmeg Forest 6×6 cardstock and mounted that on a gray cardstock.
Next, I cut out a bunch of the Fall Leaves from Sunrise 6×6 cardstock and a pale blue similar to the Nutmeg Forest paper.
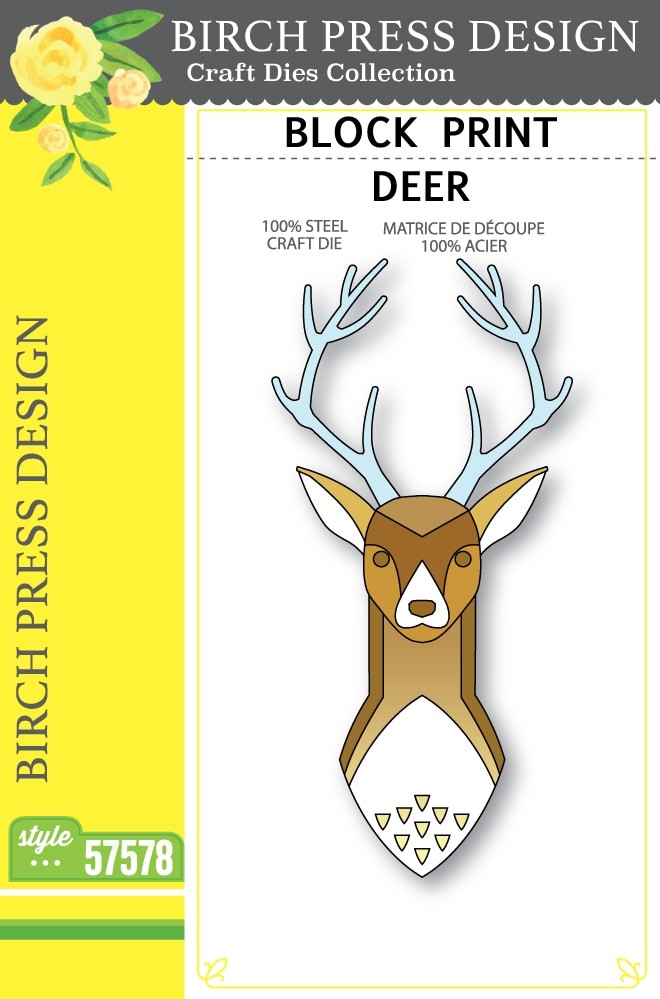
These I arranged beneath the Block Print Deer which I had cut from a kraft cardstock that I sponged with Catherine Pooler Sand Castle to create a variety of browns.
I hope you enjoyed today’s card and have a great rest of your week!
Feel free to visit my blog, Frankie Helps Craft, for a full list of supplies used and to check out my other creations.
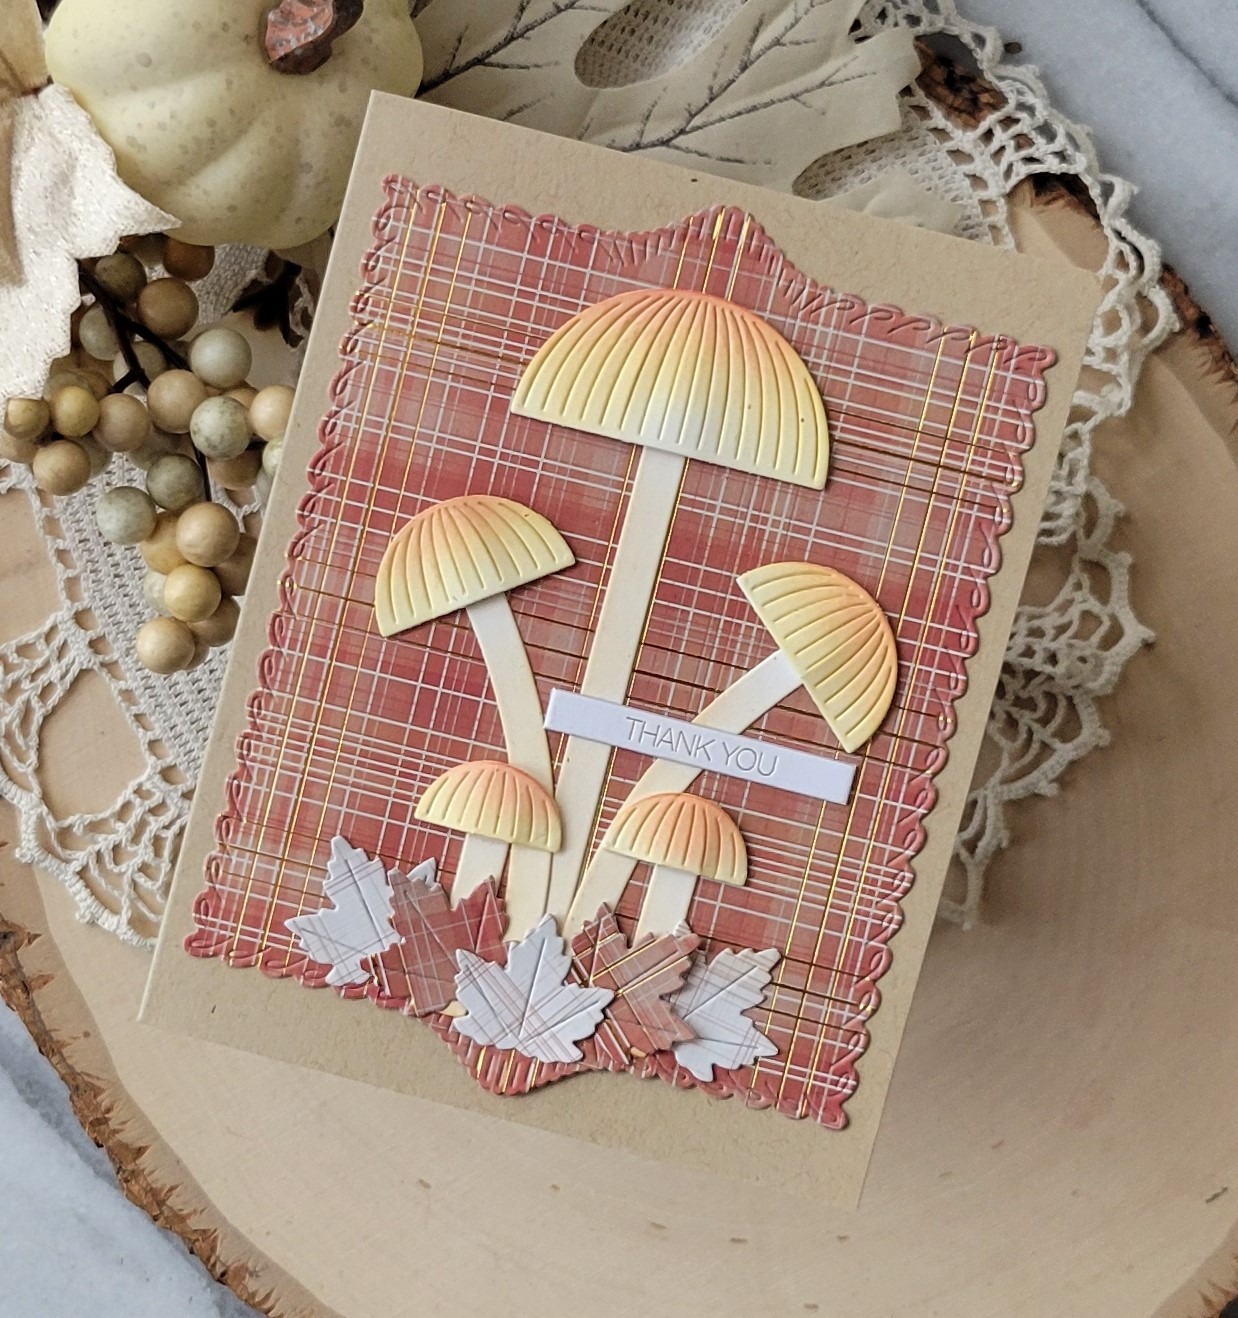
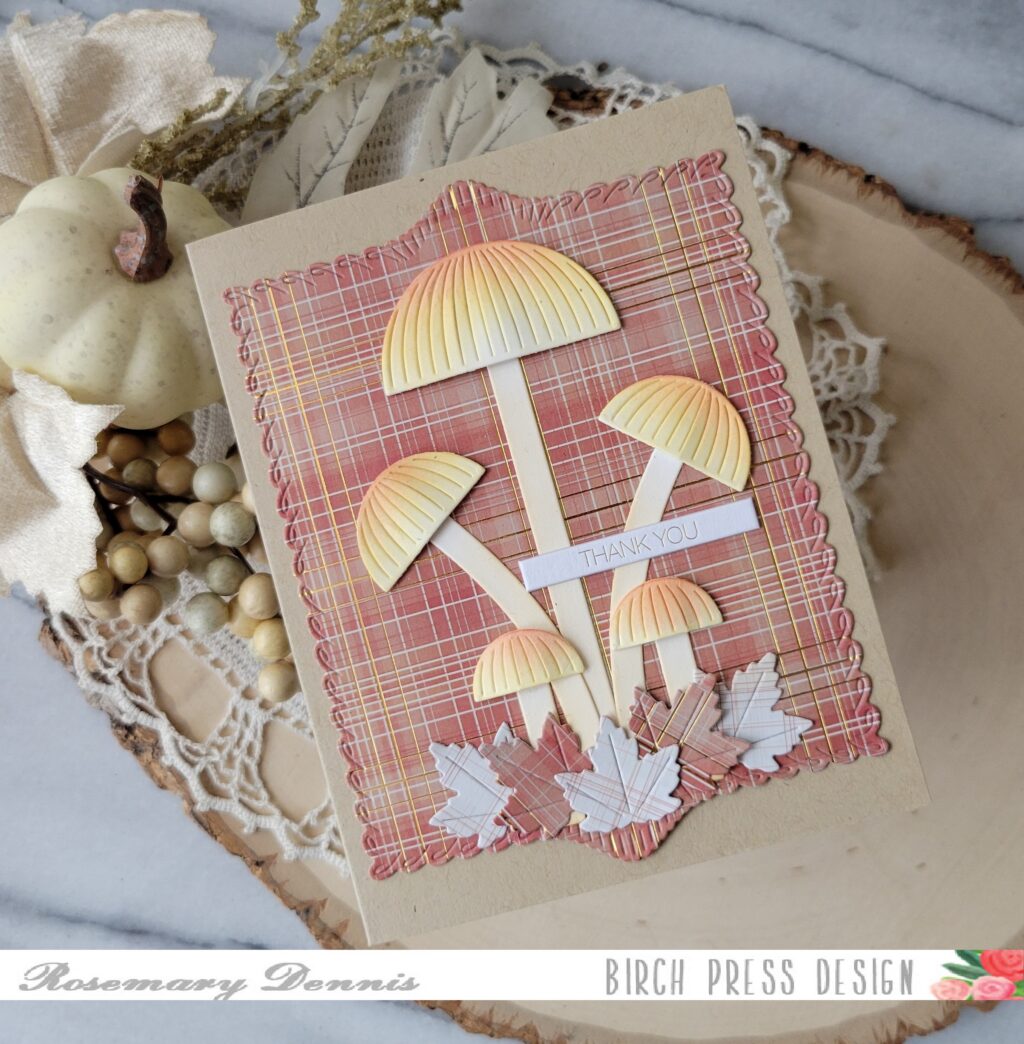
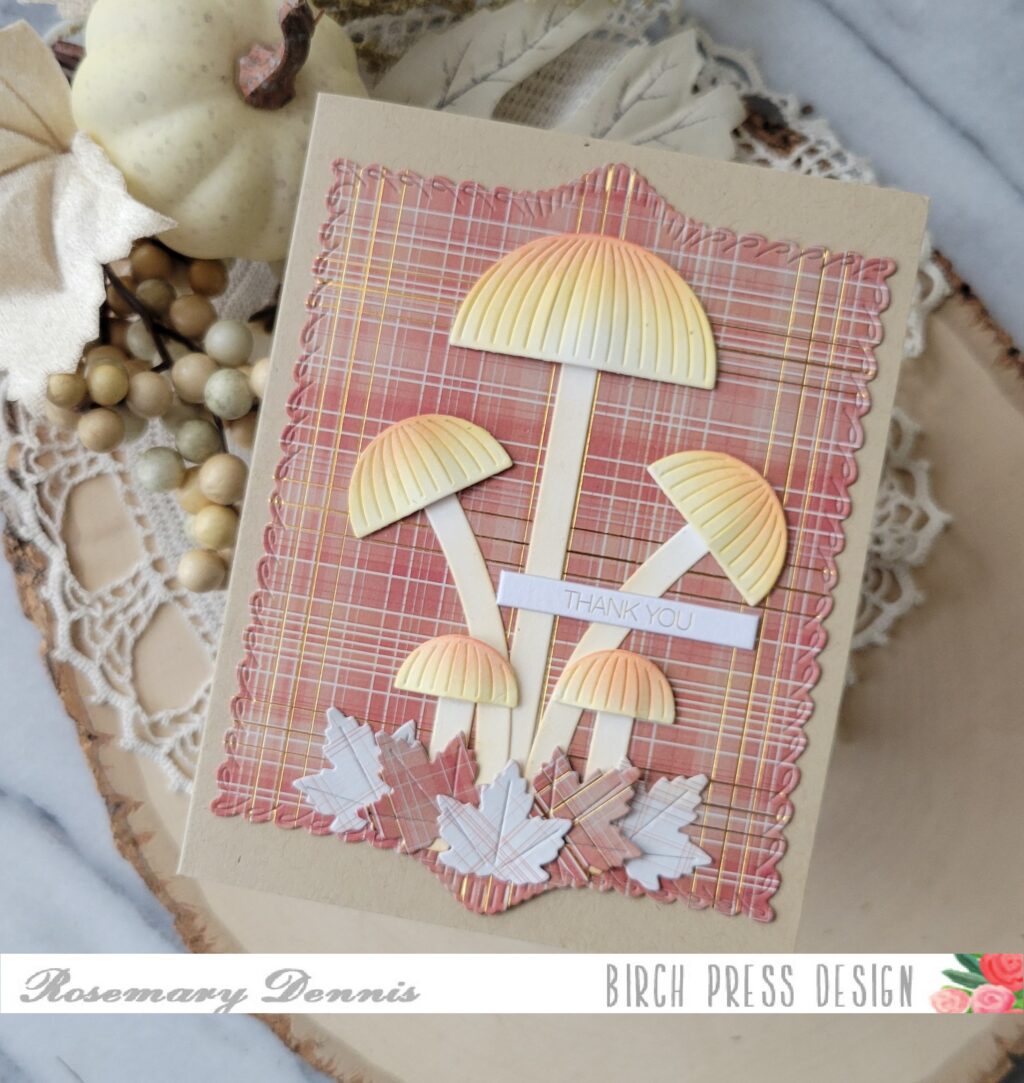
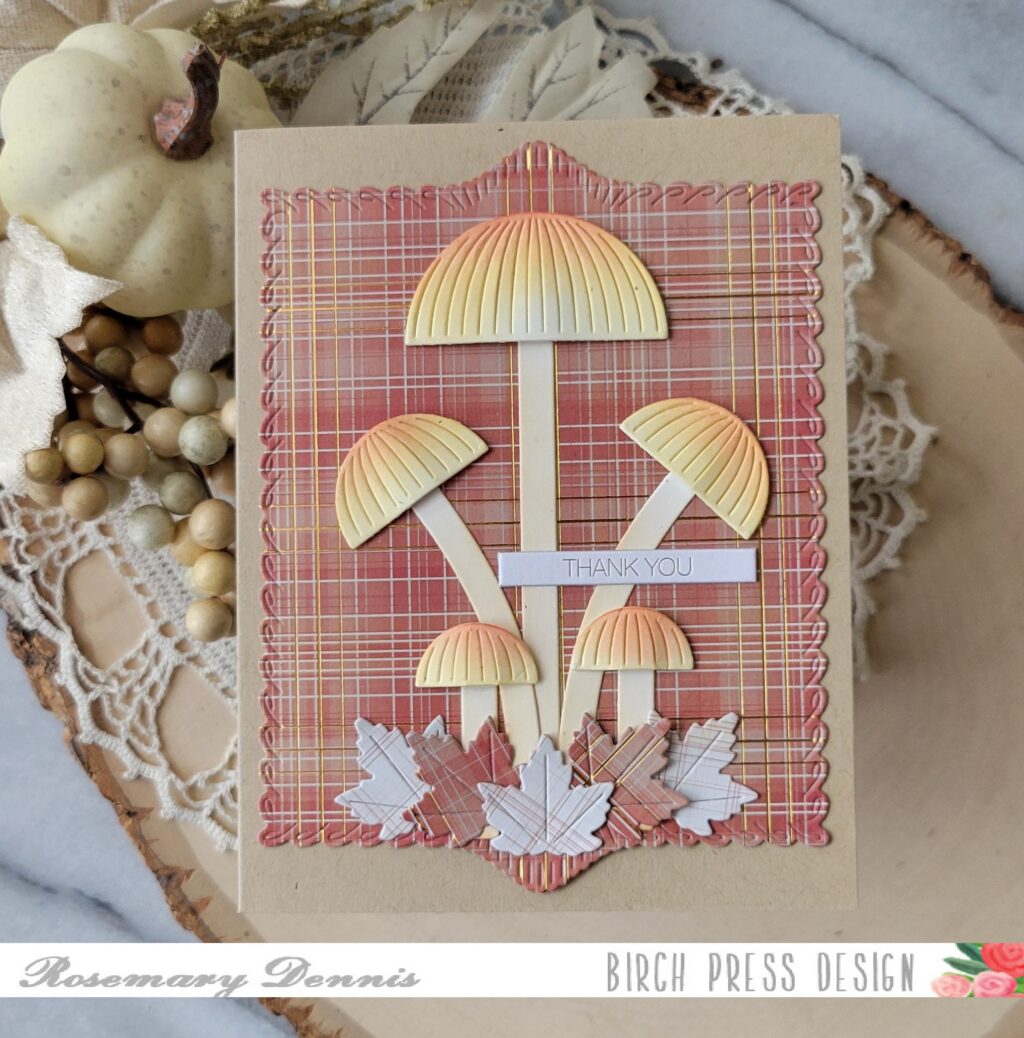
Hello everyone! Rosemary here on the blog today. Fall is on the way and I, for one, cannot wait! I love fall most of all, lol! Today I have a card that features several new Birch Press Design products: Block Print Tall Mushrooms, Fall Leaves and Loop Stitch Frames. Let’s have a look at what I made.
You will be seeing a lot of the new Loop Stitch Frames dies on my cards. They are so fun and versatile! I used patterned paper from the Memory Box Nutmeg 6×6 paper pad for the background, as well as the leaves.
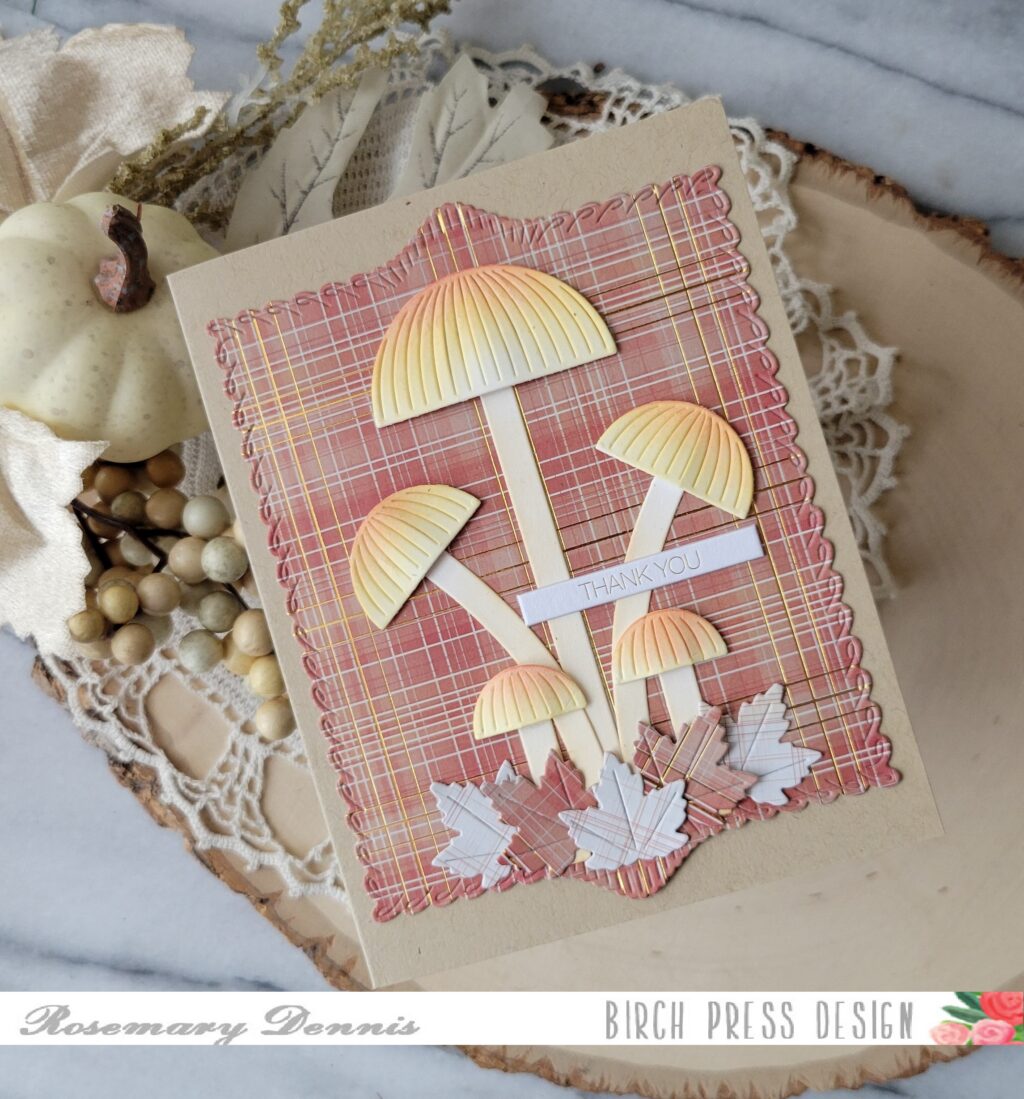
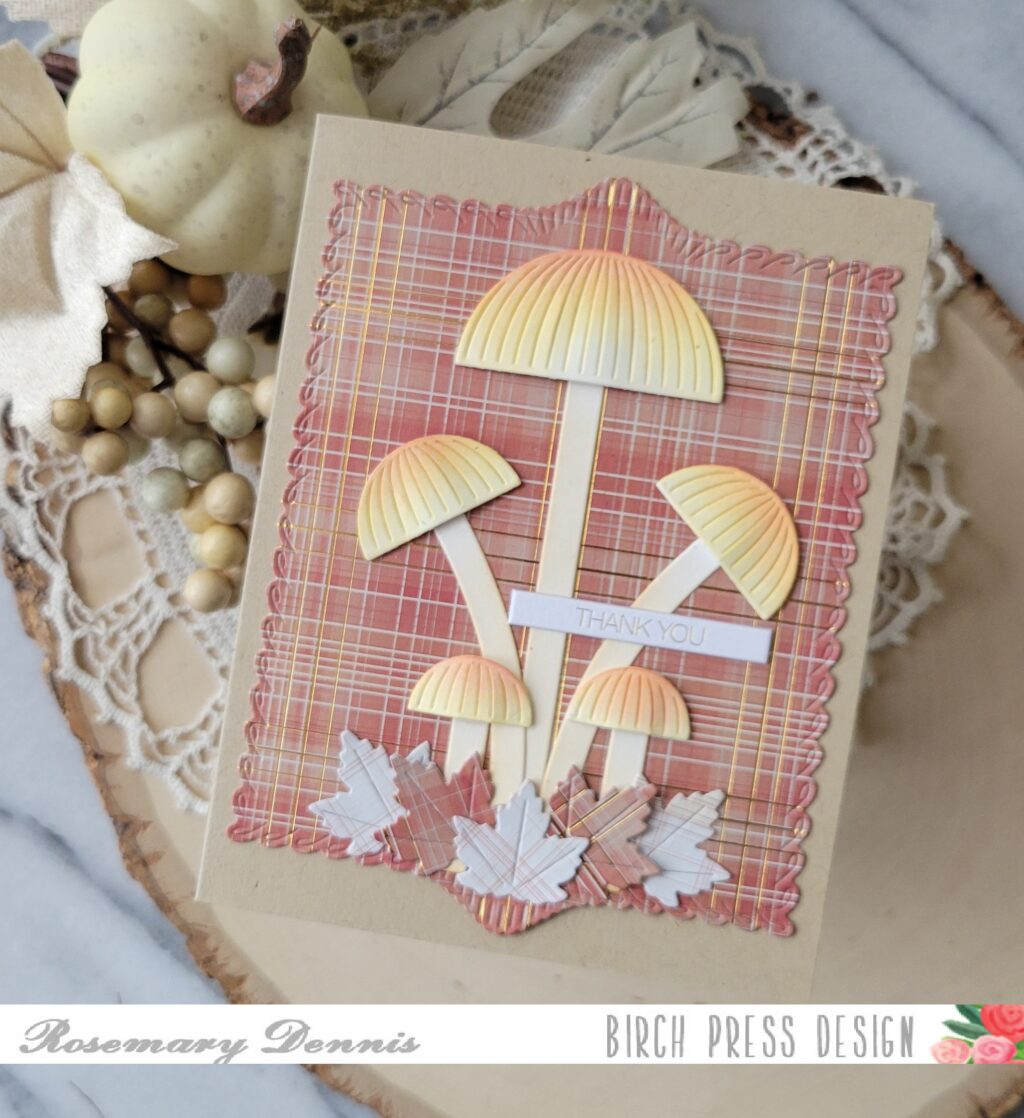
I die cut the mushrooms from off white cardstock and then lightly blended on distress oxide ink in shades of orange and yellow on the mushroom caps and a little bit of brown on the stems.
I flipped through the Nutmeg plain pad and settled on this piece that has little lines of gold foil running through it for my background. I die cut the paper using the largest Loop Stitch Frame die and adhered it to a kraft card base using double sided tape.
Since I had scraps of the background paper left over, I flipped one piece over and die cut three maple leaves from the Fall Leaves die set from that. The other two were cut from the same side as the Loop Stitched Frame.
I adhered the mushroom by attaching the stems with liquid adhesive and the mushroom caps with varying heights of foam squares to give the mushrooms dimension. The leaves where then arranged at the bottom using liquid adhesive. I finished with a gold foil sentiment tab from Memory Box.
I hope you enjoyed today’s project. Thanks for stopping by and have a wonderful day!
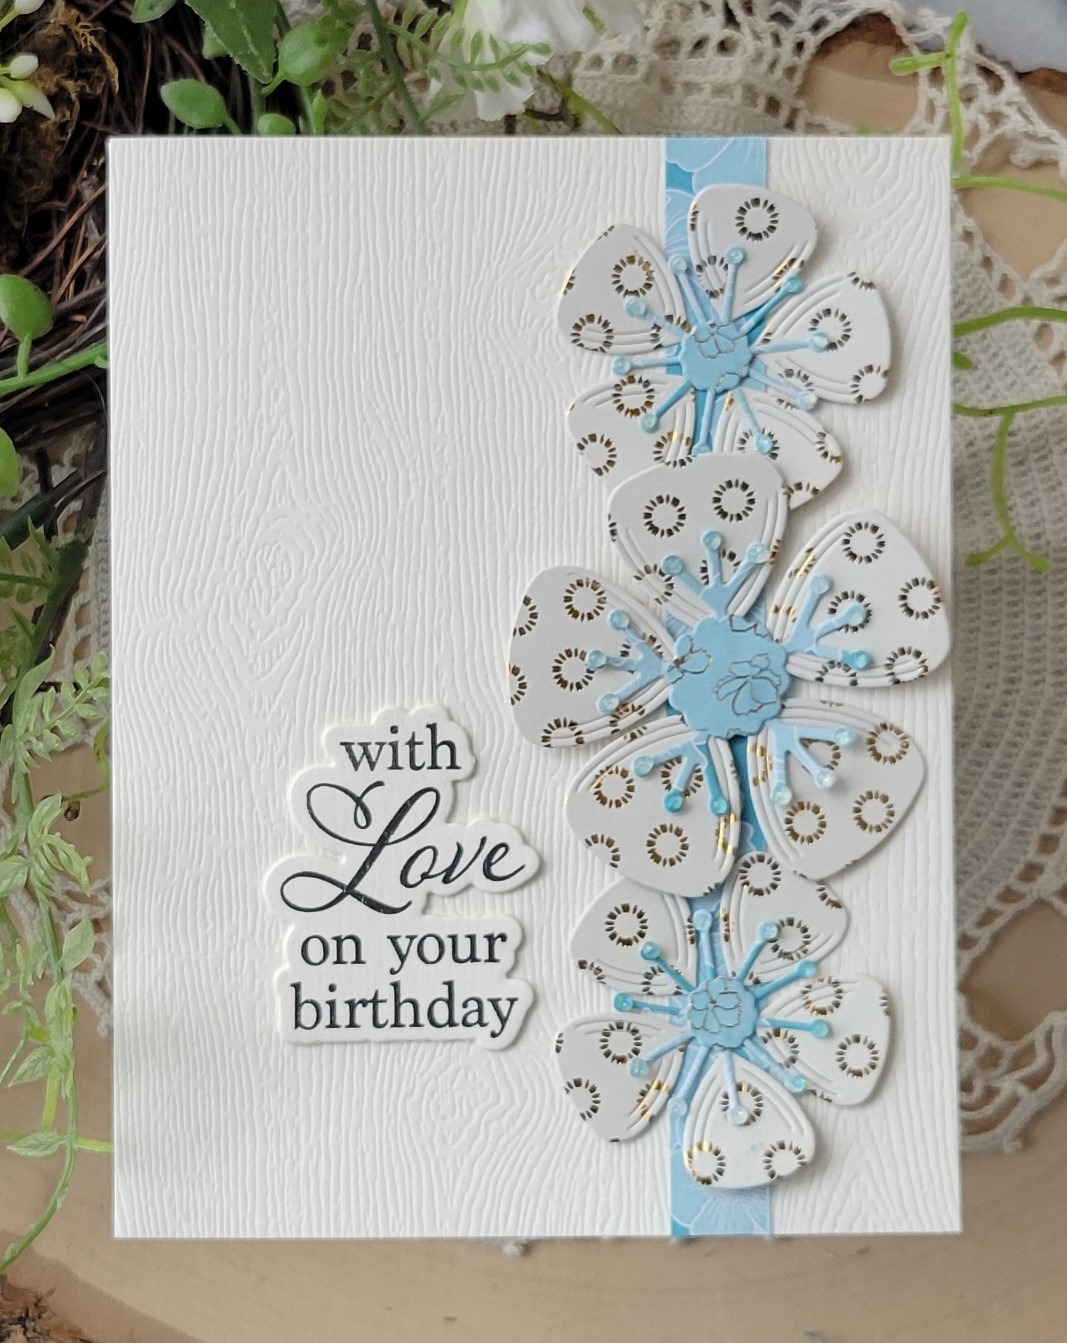
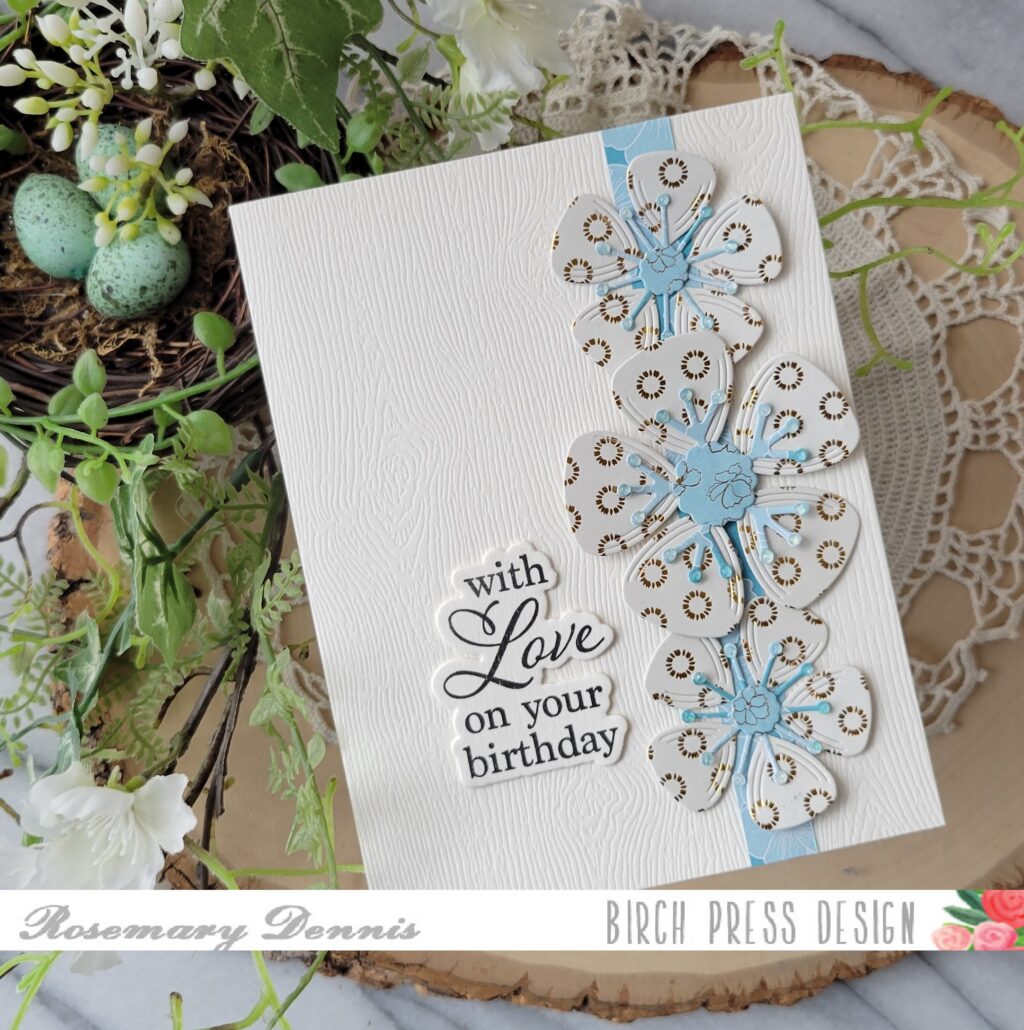
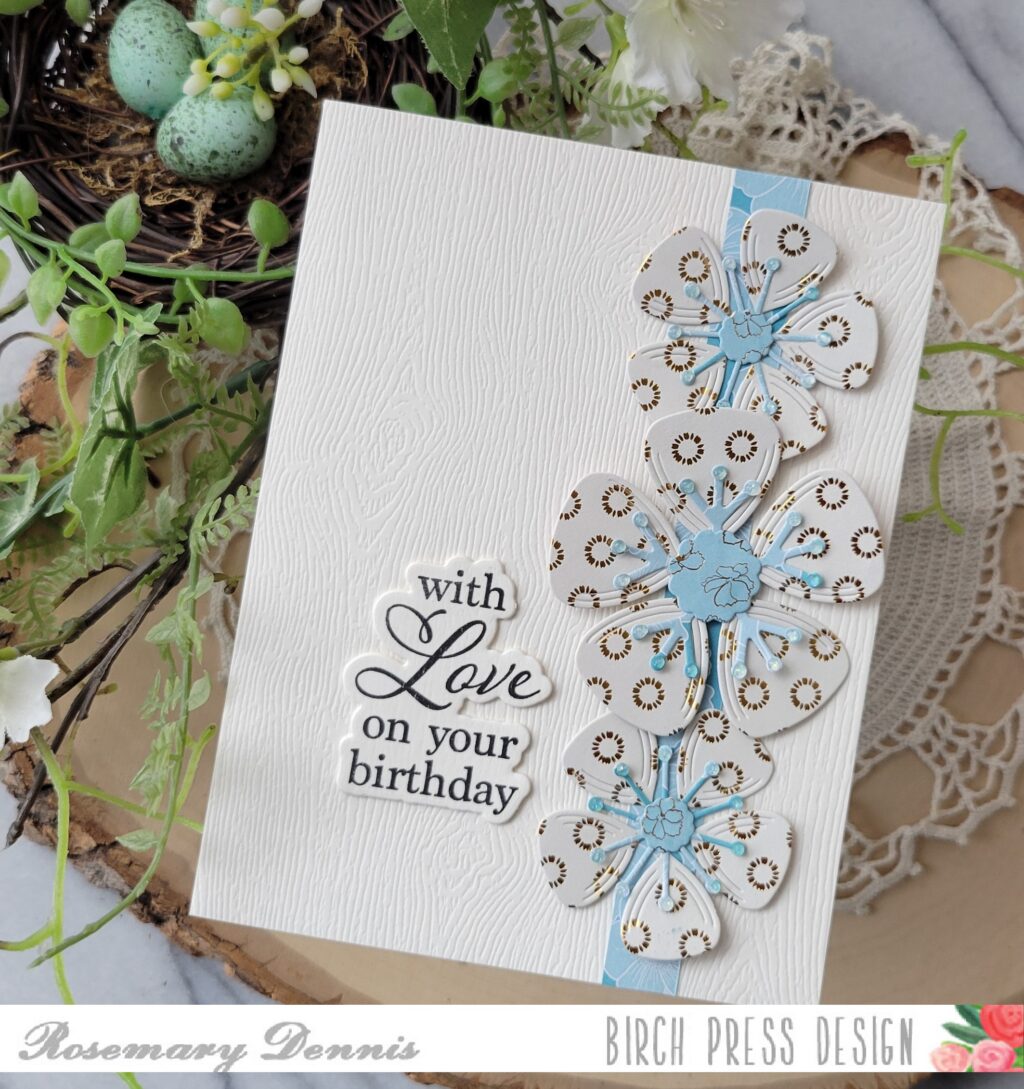
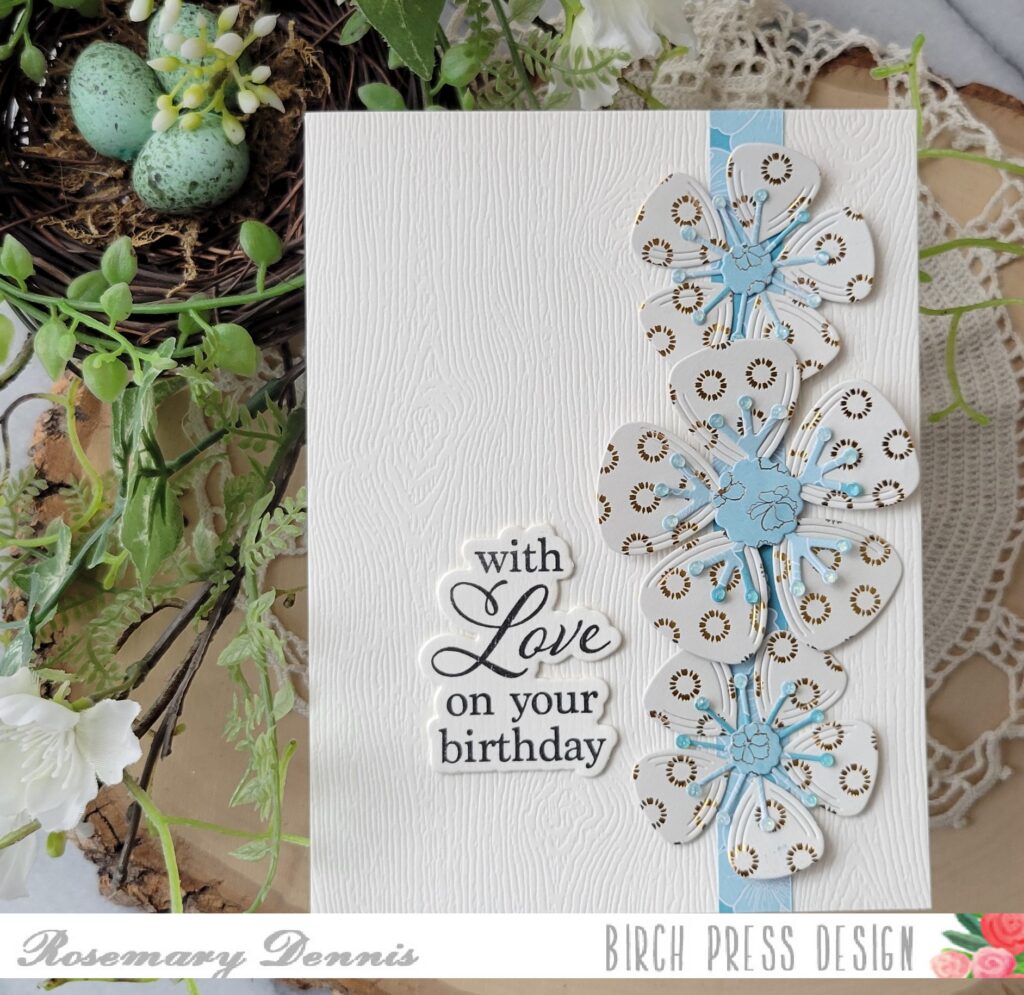
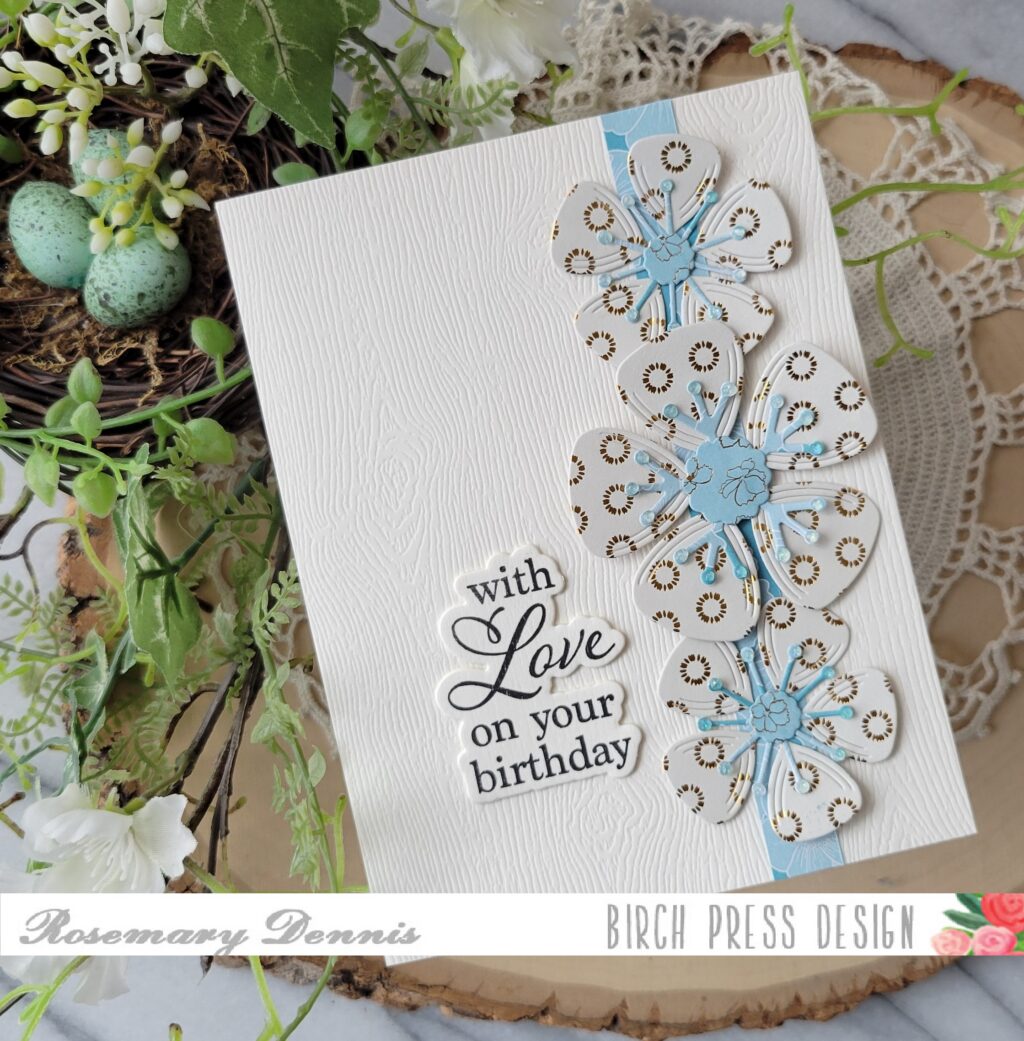
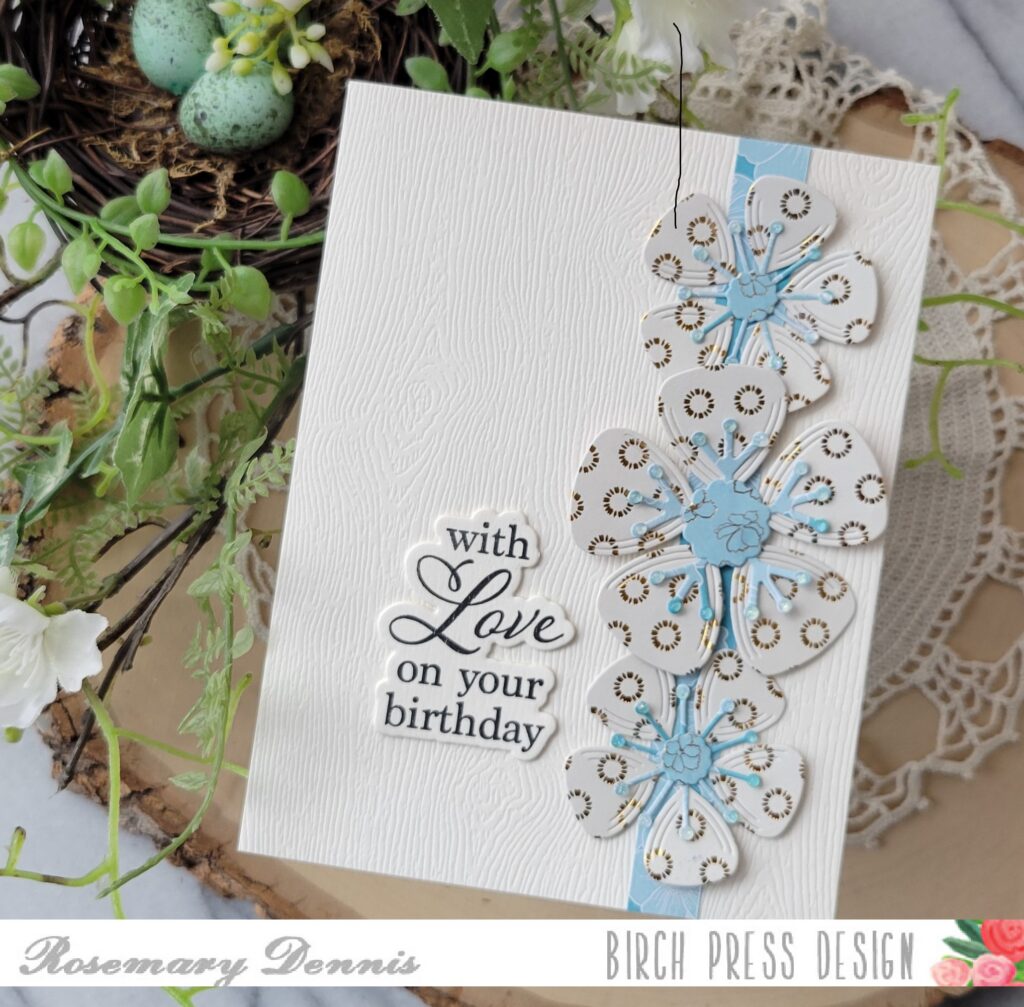
Hello everyone! Rosemary here on the blog today with a simple design using the Block Print Lovely Flower and Elegant Birthday Sentiments stamp and die set. I also used some papers from the Memory Box Anemone Grove 6×6 paper pad. Let’s look at what I made.
I guess this month I have a theme of using patterned paper, lol! I’m often hesitant to use patterned paper for die cutting, but decided that I would give it a try, again. For this card I decided to make sure that I used a more neutral pattern for the flowers. For that I chose a cream paper with gold foiling.
I chose a light blue paper with gold foiled flowers to use for the flower centers. A strip of the flip side for the blue paper was used as an accent as well.
I adhered all the pieces of the flowers together and set them aside to dry. I love the Memory Box woodgrain cardstock for backgrounds as it adds a nice subtle look. I trimmed down a piece of cream woodgrain and then added the strip of patterned paper.
The flowers were then adhered to the paper strip. I used a thin foam square for the large flower and then glue for the two smaller flowers. A dot of a crystal lacquer was added to each of the little stymens and I set aside the panel to dry.
I finished with the sentiment that I stamped in black on the reverse side of a piece of the cream woodgrain cardstock thus achieving a nice cohesive look. I hope you enjoyed today’s project. Thanks for stopping by and have a wonderful day.
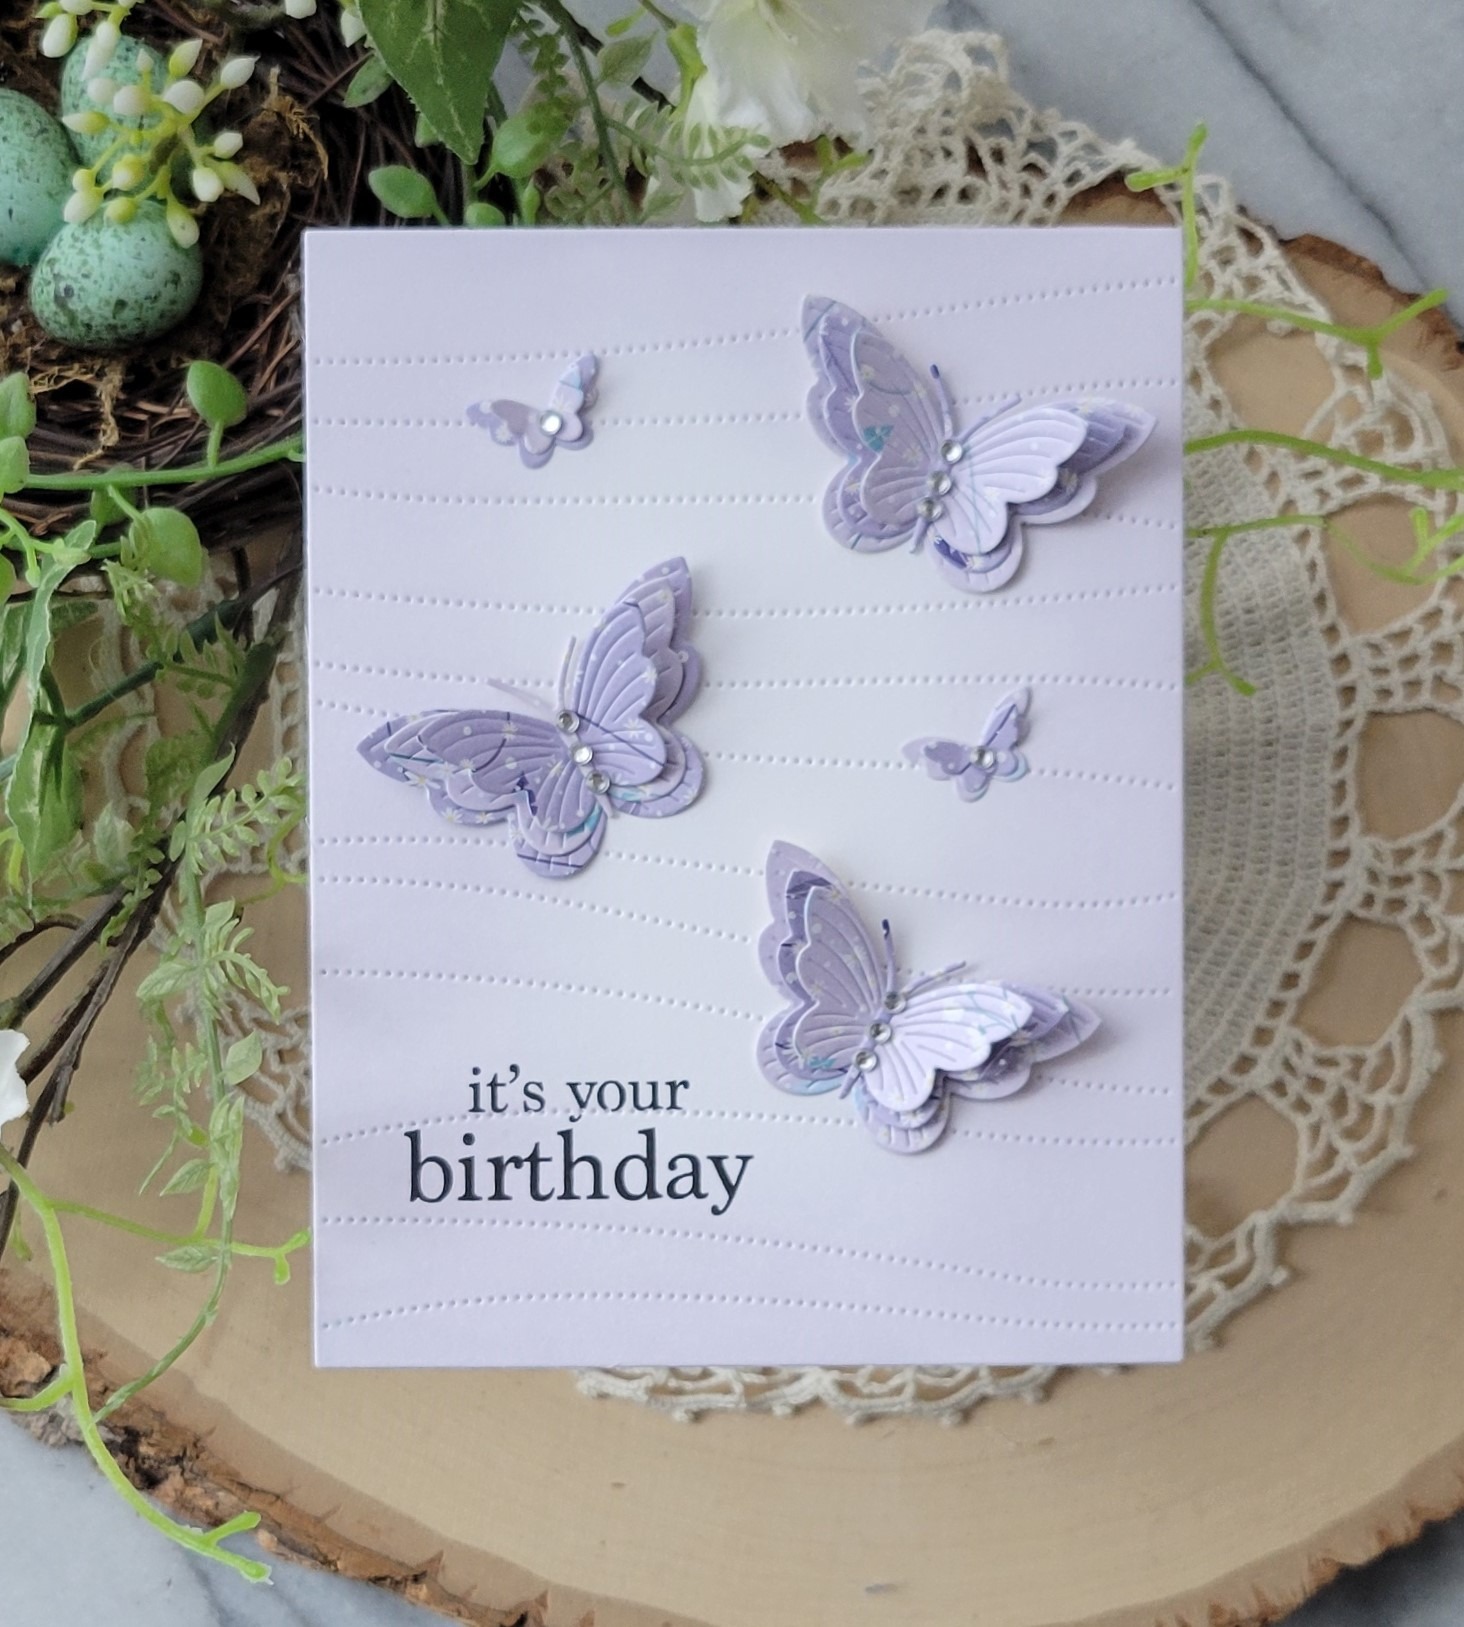
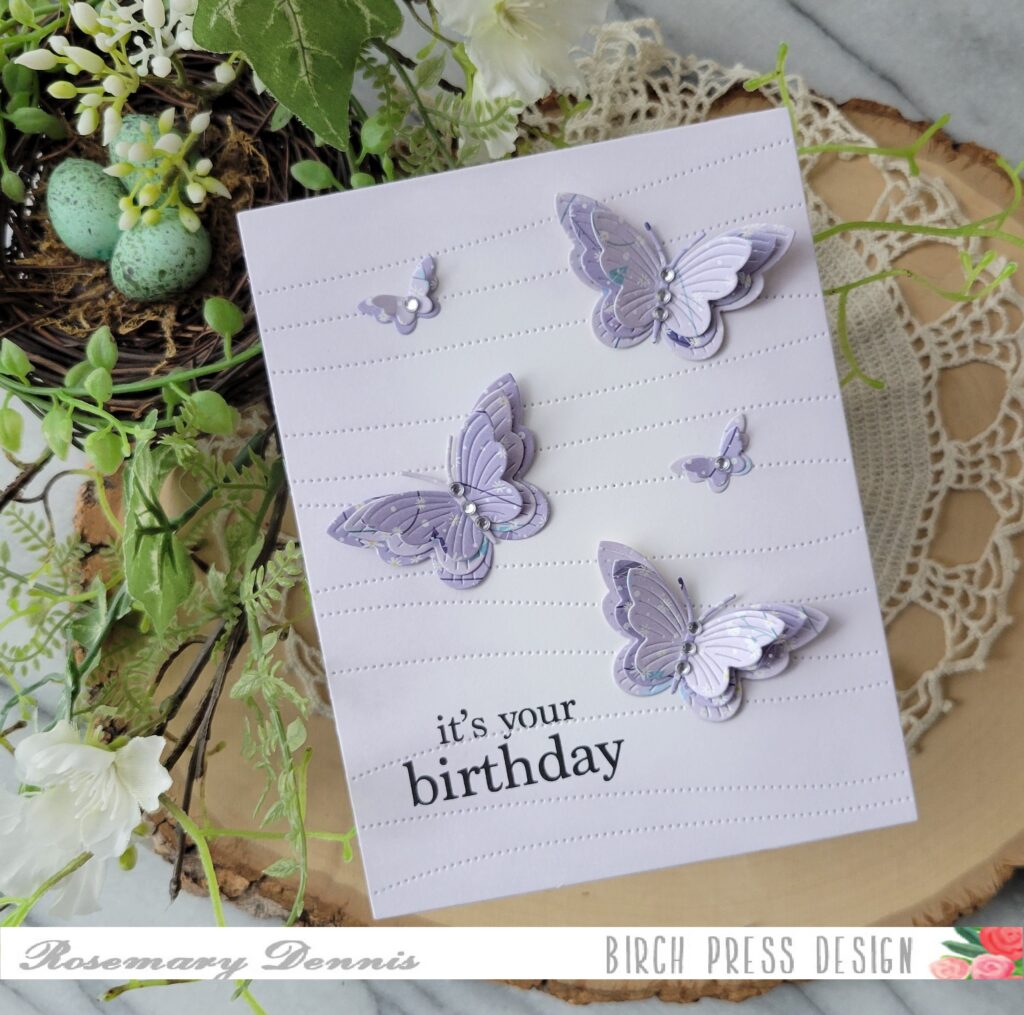
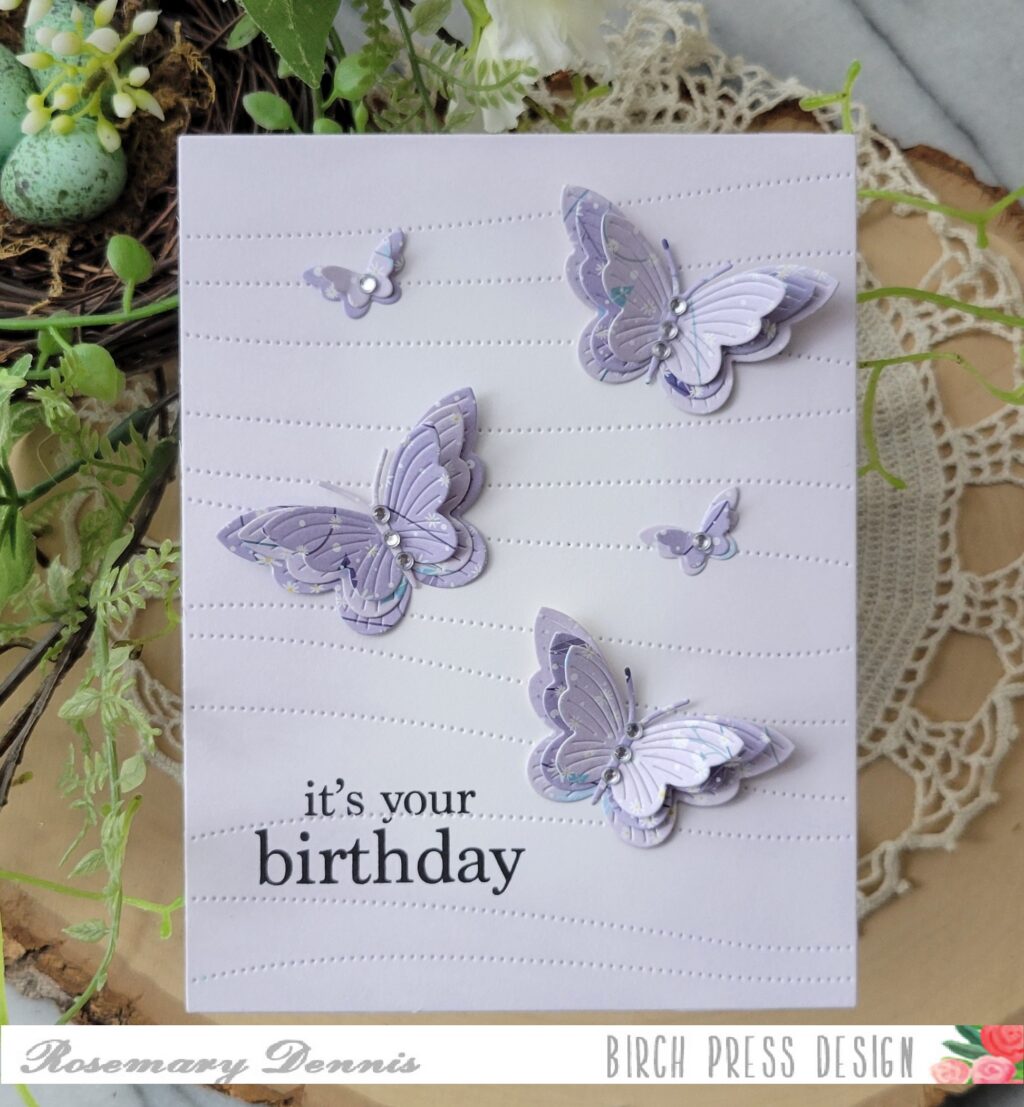
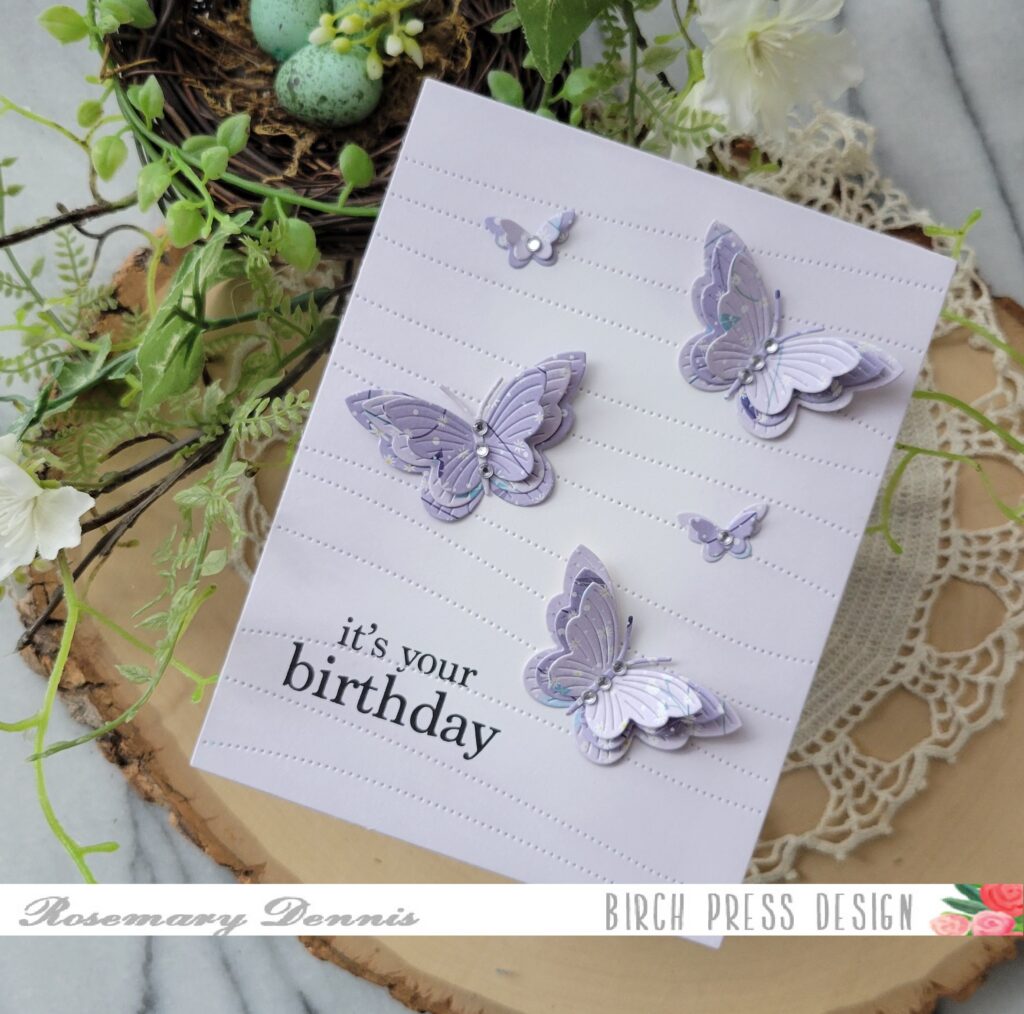
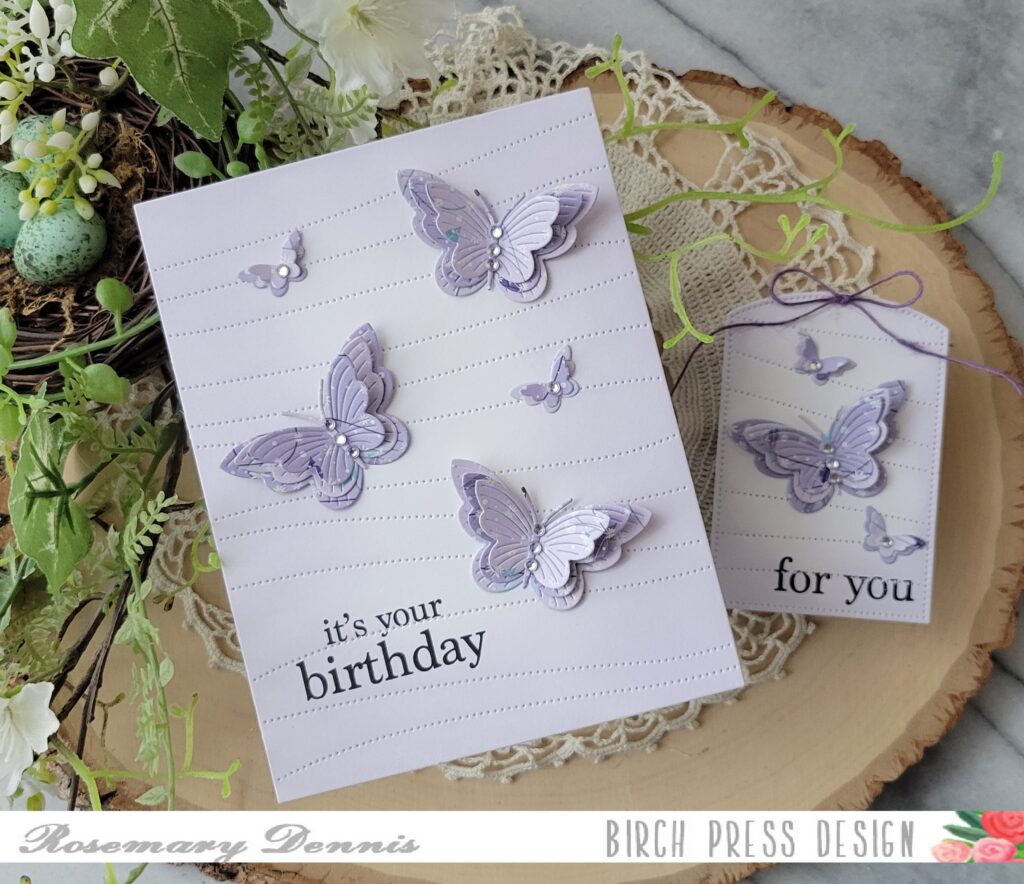
Hello everyone! Rosemary here with a sweet birthday card and tag made with the Linear Boho Butterflies dies and pretty papers from the Memory Box Anemone Grove 6×6 pad. Let’s look at what I created:
As I started thinking about how I wanted to use the Linear Boho Butterflies dies I thought it would be fun to use some patterned paper. I looked through my Memory Box 6×6 pads and settled on the Anenome Grove pad. I went with papers that both had a light purple hue to them and a subtle pattern.
I wasn’t exactly sure how I was going to use the butterflies so I decided to die cut multiples from each piece of patterned paper. The bodies of the butterflies were also die cut from the same papers. As I played around with ideas I thought it would be fun to use the Pinpoint Contour Plate to provide some movement on the background. The panel was die cut from white cardstock and set aside.
There are three large butterflies and two tiny butterflies in the die set. I decided to layer all three of the larger butterflies together by alternating the different patterned papers. The look is very subtle, but pretty. I also layered the two tiny butterflies in the same manner. To finish off the butterflies I added clear Memory Box fairy jewels to the bodies of all the butterflies. To keep the subtle purple going I ink blended a light purple ink around the edges of the background panel and then added the butterflies and sentiment to the card.
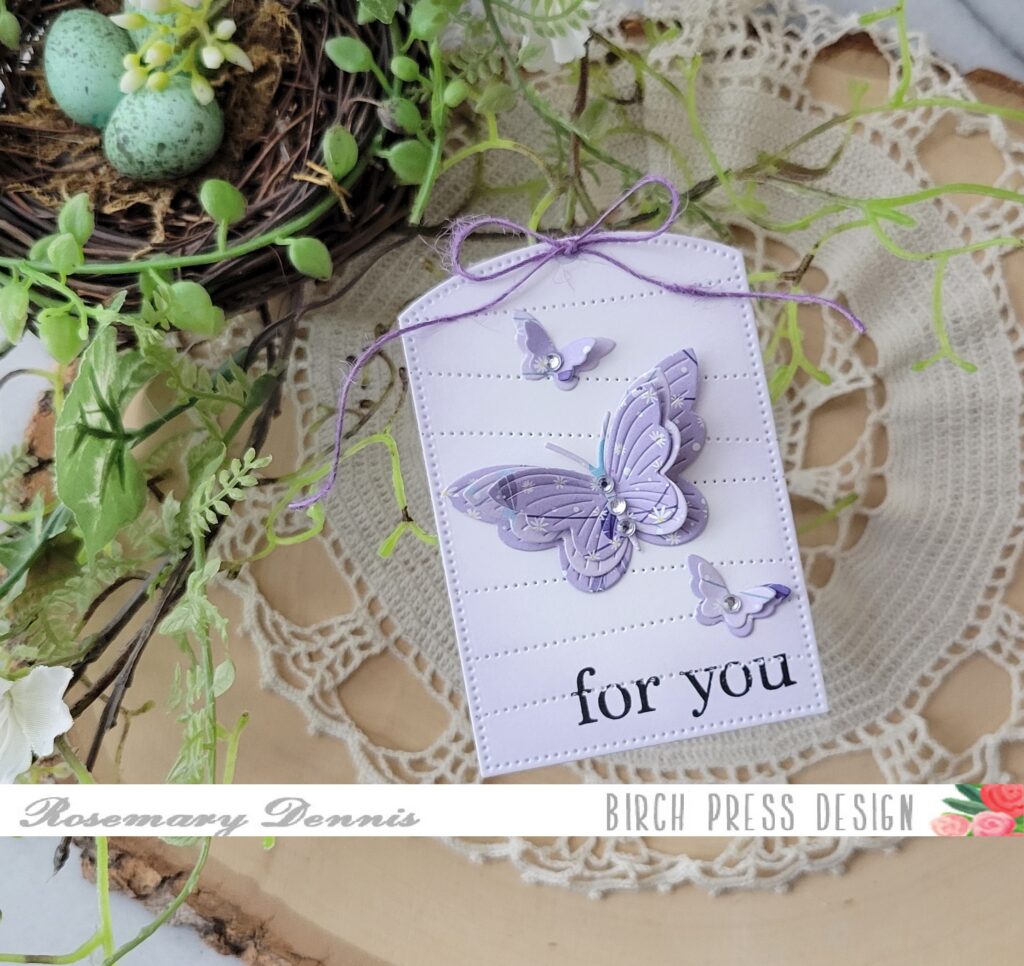
After I finished the card I still had one large layered butterfly and two tiny layered butterflies left. So I thought it would be fun to make a little tag. I used a scrap of white cardstock and die cut it with the Pinpoint Contour Plate and then die cut it further with a Memory Box Curved Cap Pinpoint Layers die. I added the same light purple ink around the edges and stamped the sentiment. Both sentiments are from the Plain and Simple Birthday Greetings. I finished with a little bow made with purple twine.
I love how both the card and the tag turned out. I hope you enjoyed today’s project. I had a lot of fun creating them.
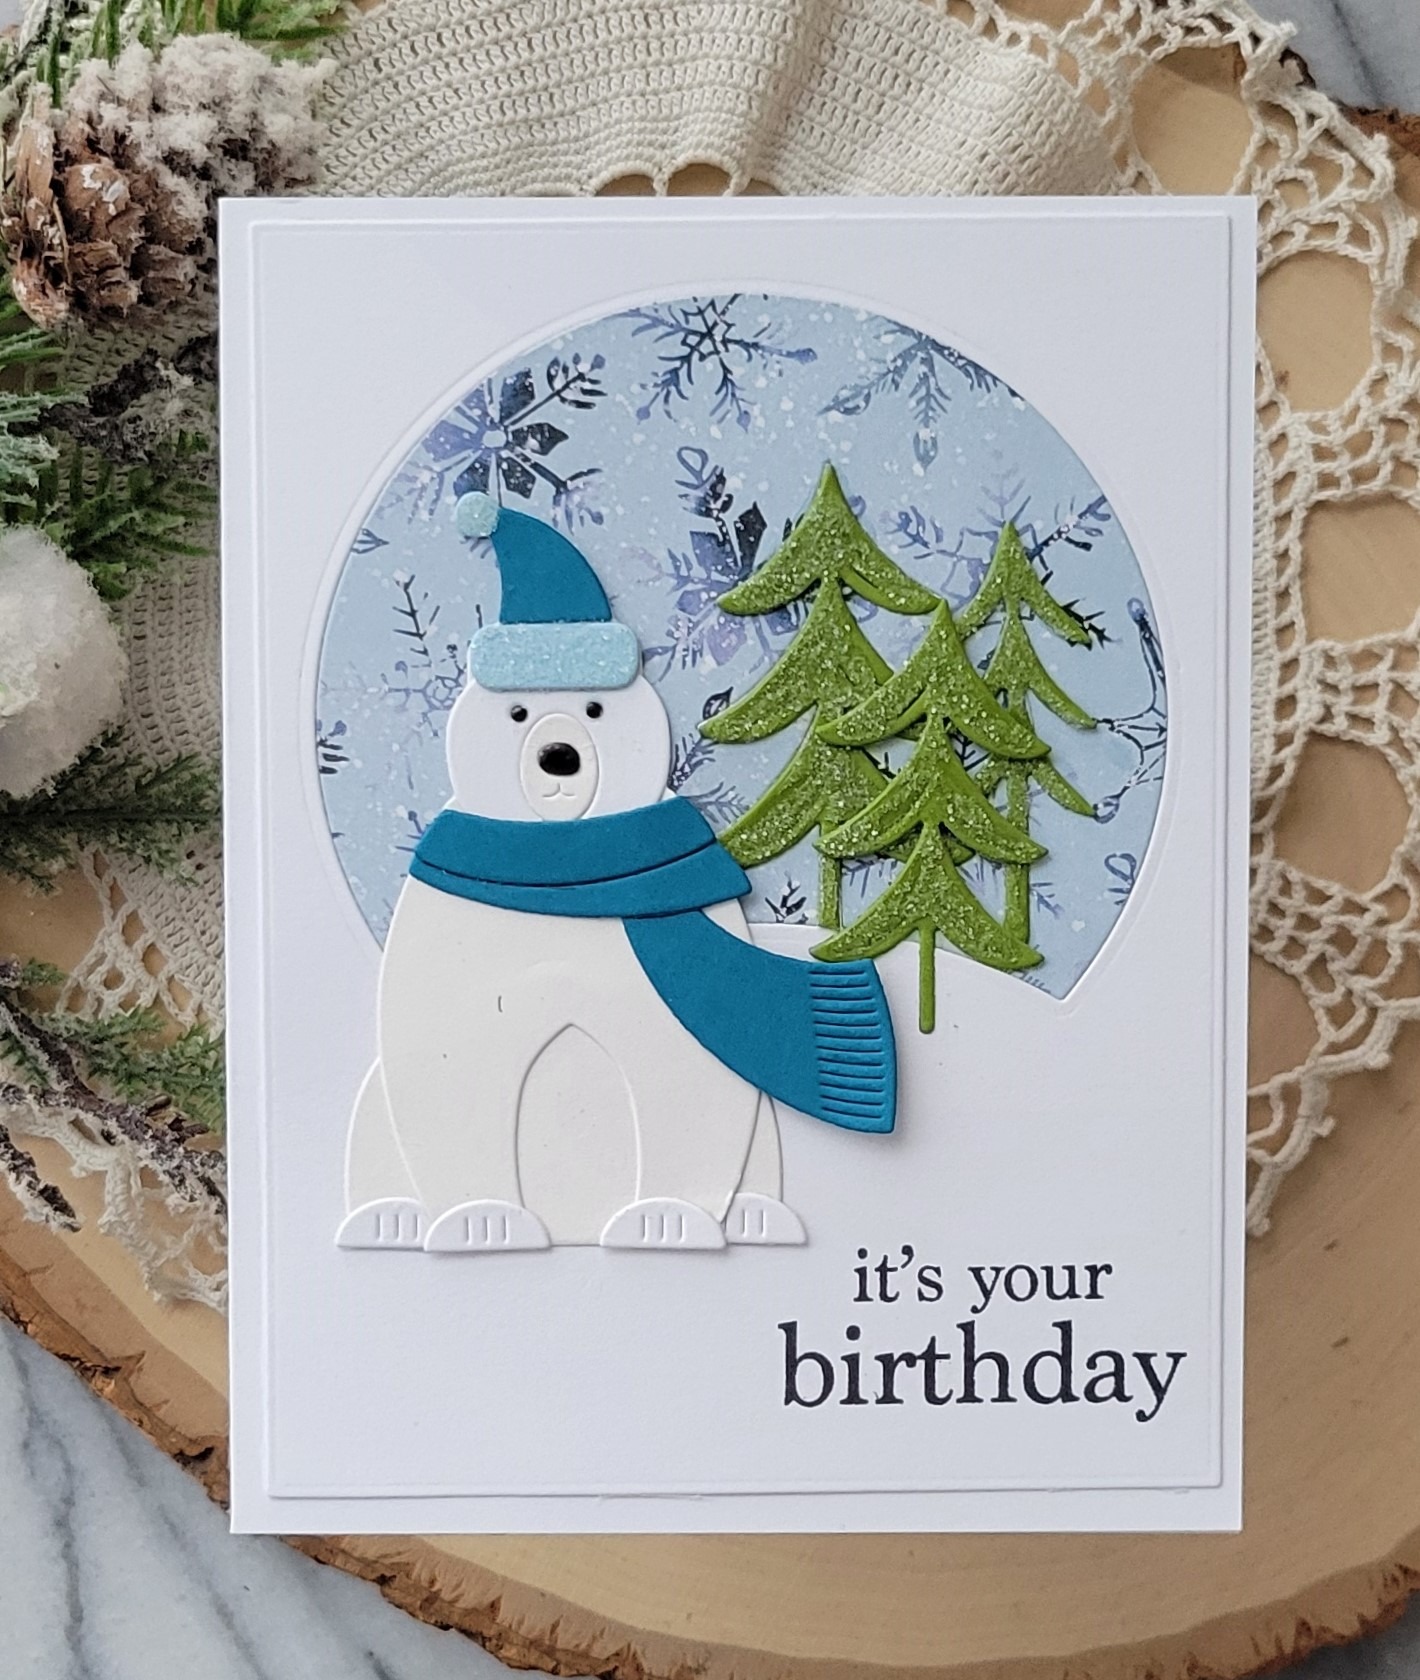
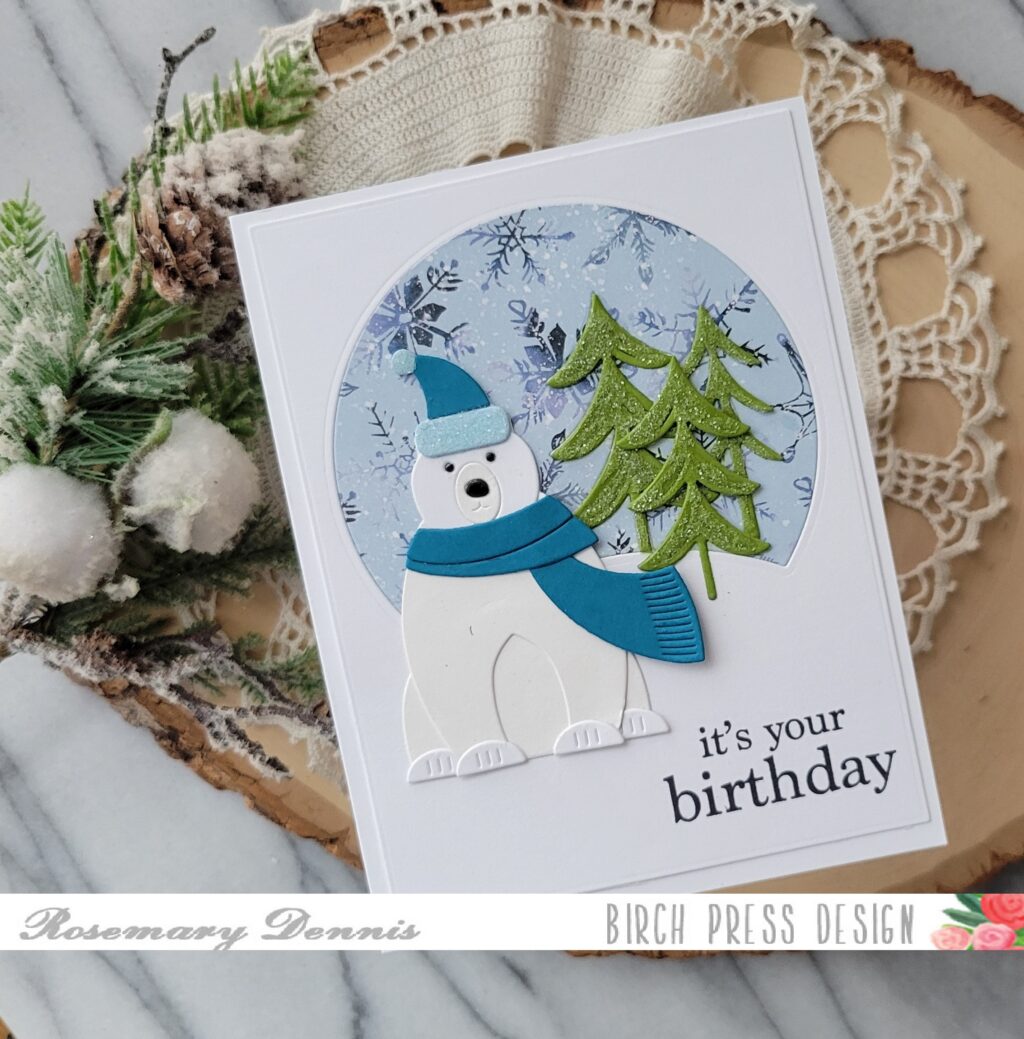
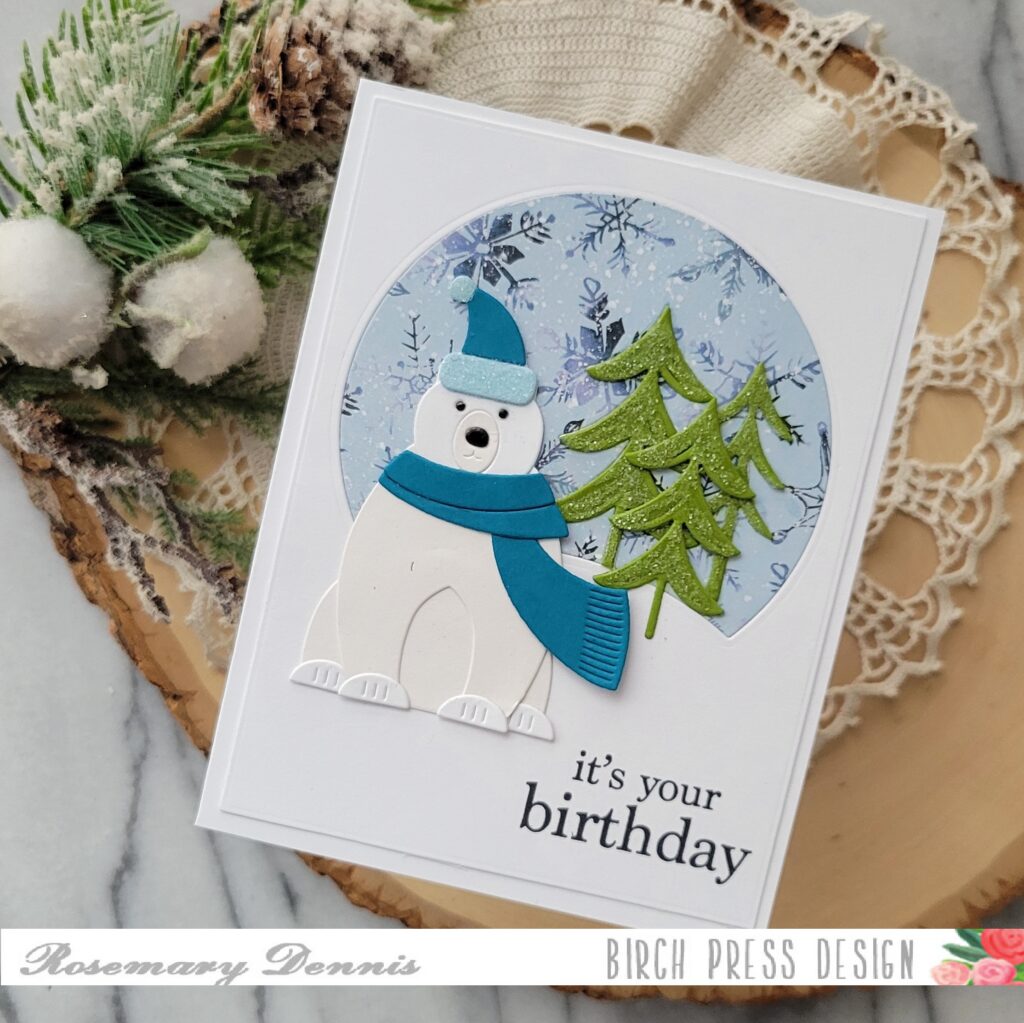
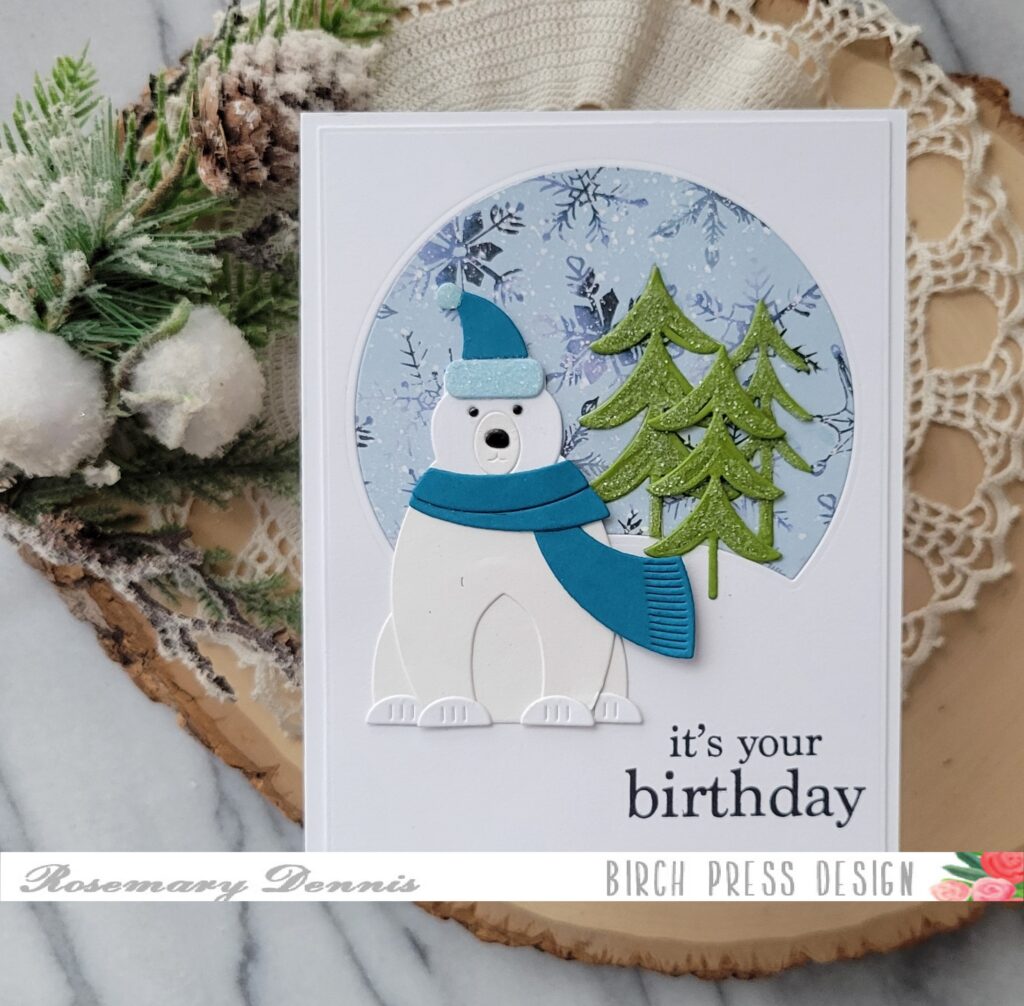
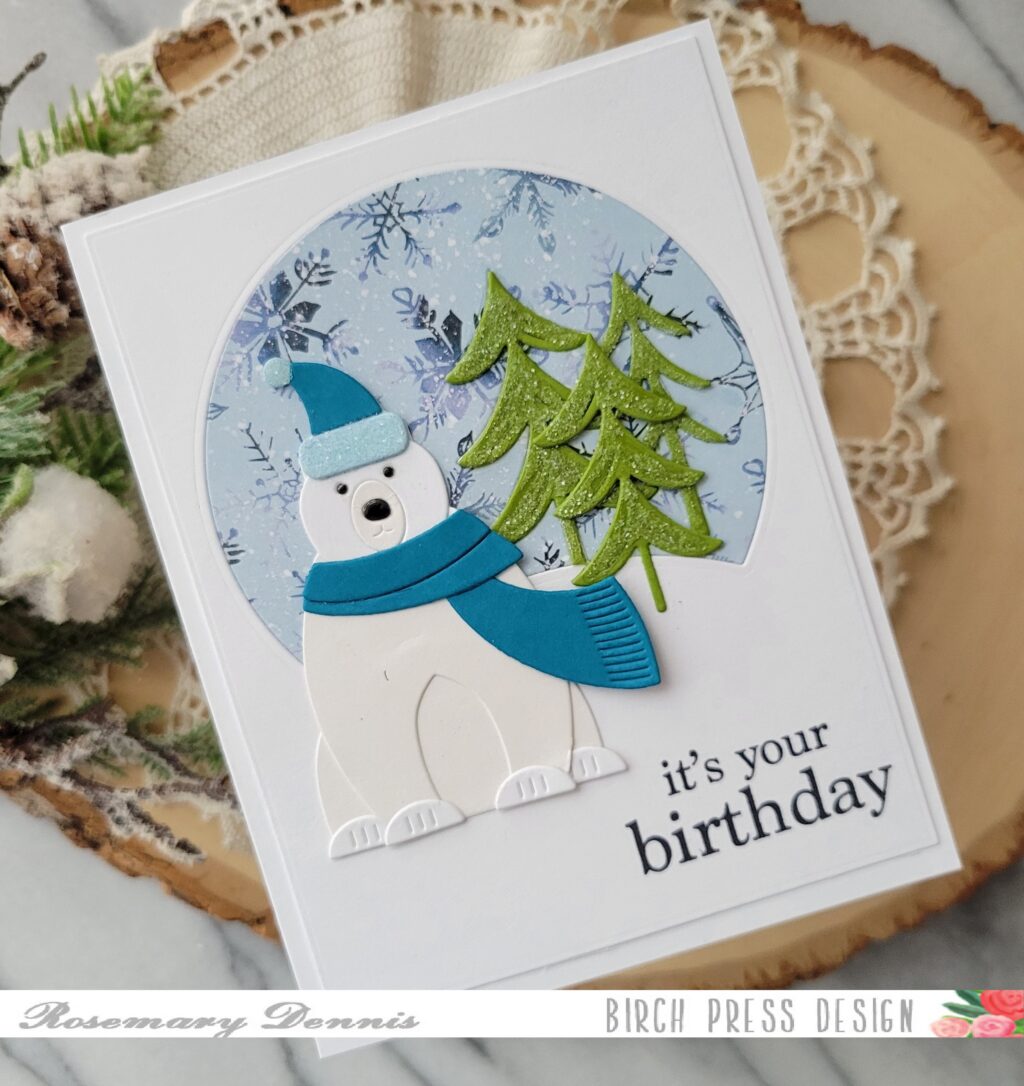
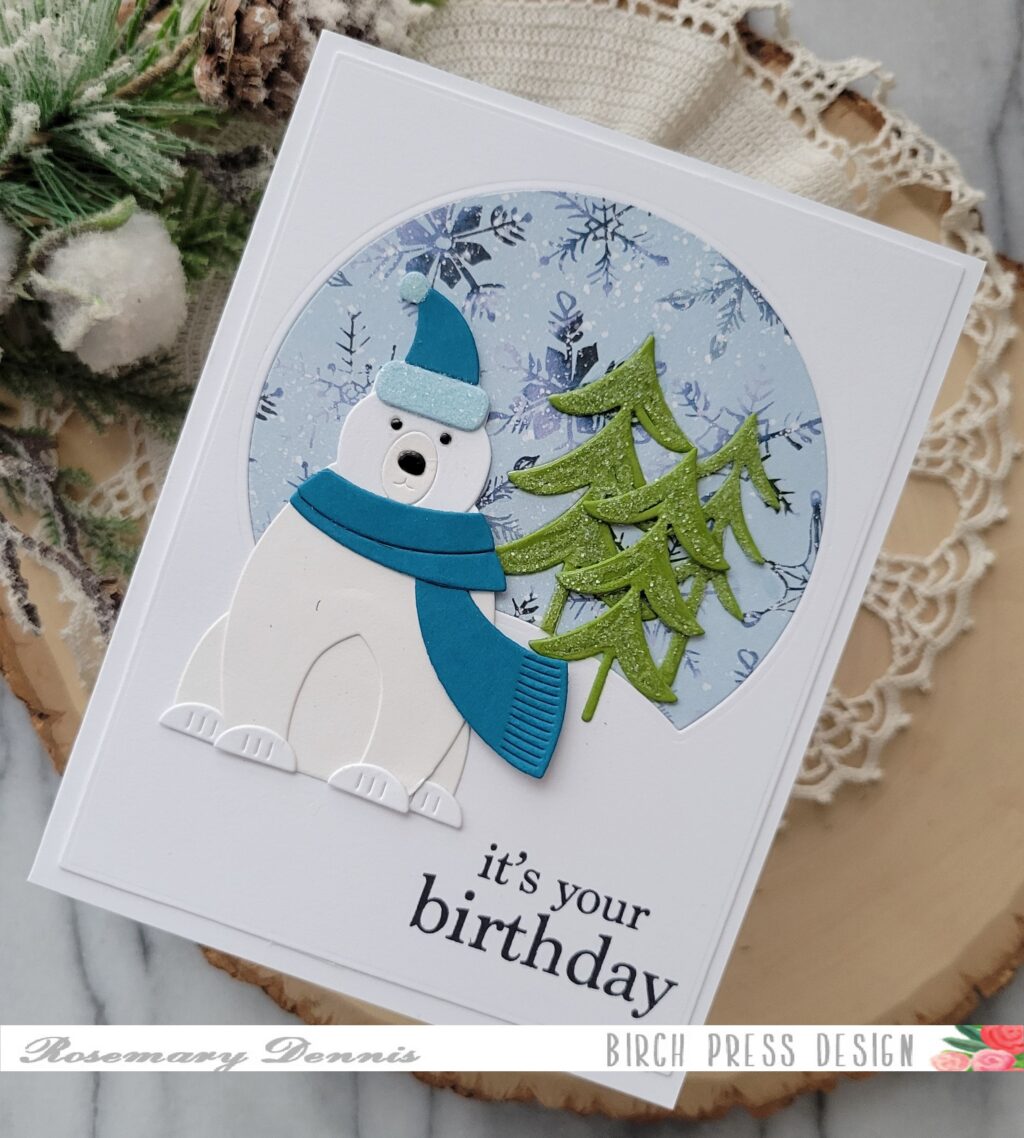
Happy the day after Christmas (or Boxing Day if you are British Commonwealth!)! I hope everyone had a lovely celebration with family and/or friends. Today I have a birthday card to share that combines three products from the BPD holiday release and one from the new release. Let’s have a look at what I created.
The Birch Press Design holiday/winter release included the fun little die set called Block Prink Hats and Scarves. I knew I wanted to pair this die set up with one (or more) of the fun Block Print animals in the holiday/winter release. For my card I obviously chose the Block Print Polar Bear.
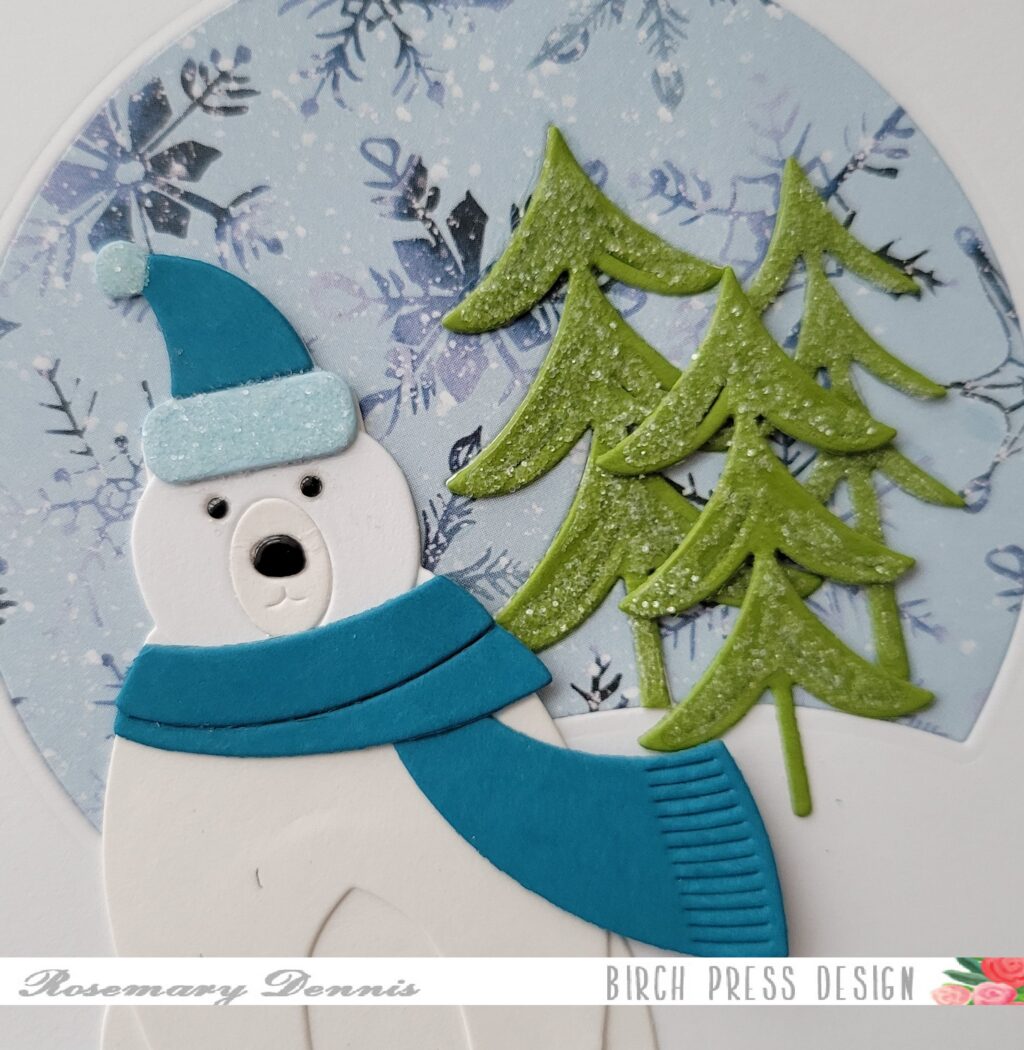
Because we are now past Christmas I made the little hat and scraf using light and dark teal cardstocks. The polar bear was die cut from white and a soft white cardstock for just a tiny bit of contrast. I used black glossy cardstock for the nose and eyes. The glossy black cardstock and teal cardstock are from Memory Box. After adhering the hat together I added some glossy accents to the band and little pompom and then poured on Rock Candy glitter.
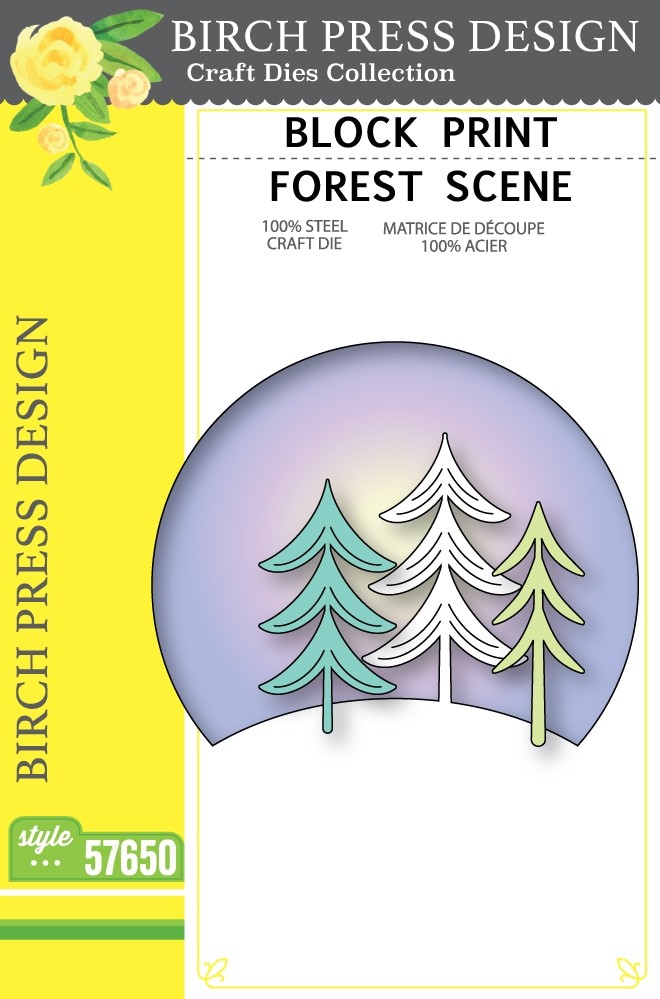
Once the glitter was set I assembled my little polar bear using liquid adhesive and set him aside to dry. Then I worked on my background. For that I used the Block Print Forest Scene die set. I diecut the trees from Memory Box green cardstock. I did have to trim out one of the trees because it is attached to the hill. I then die cut the scene from white cardstock and a patterned paper with snowflakes. I inlaid the patterned paper into the white cardstock panel and secured the back with lots of scotch tape.
I placed the panel in my stamping tool, positioned my bear where I wanted him to be and then stamped a sentiment from the brand new Plain and Simple Birthday Greetings using black ink. I then made a card base from white cardstock and secured the panel to the card base with double sided tape.
Before securing the trees and polar bear to the panel I added glossy accents to the trees and then poured on Rock Candy glitter. I love me some Rock Candy glitter, lol! Once the trees were dry I completed the card by adding the trees and the polar bear. Here is a close up showing all the fun glitter.
I just love this fun little polar bear with his jaunty hat and scarf and I hope you do, too! Thanks for stopping by and have a very happy new year! See you in 2026!
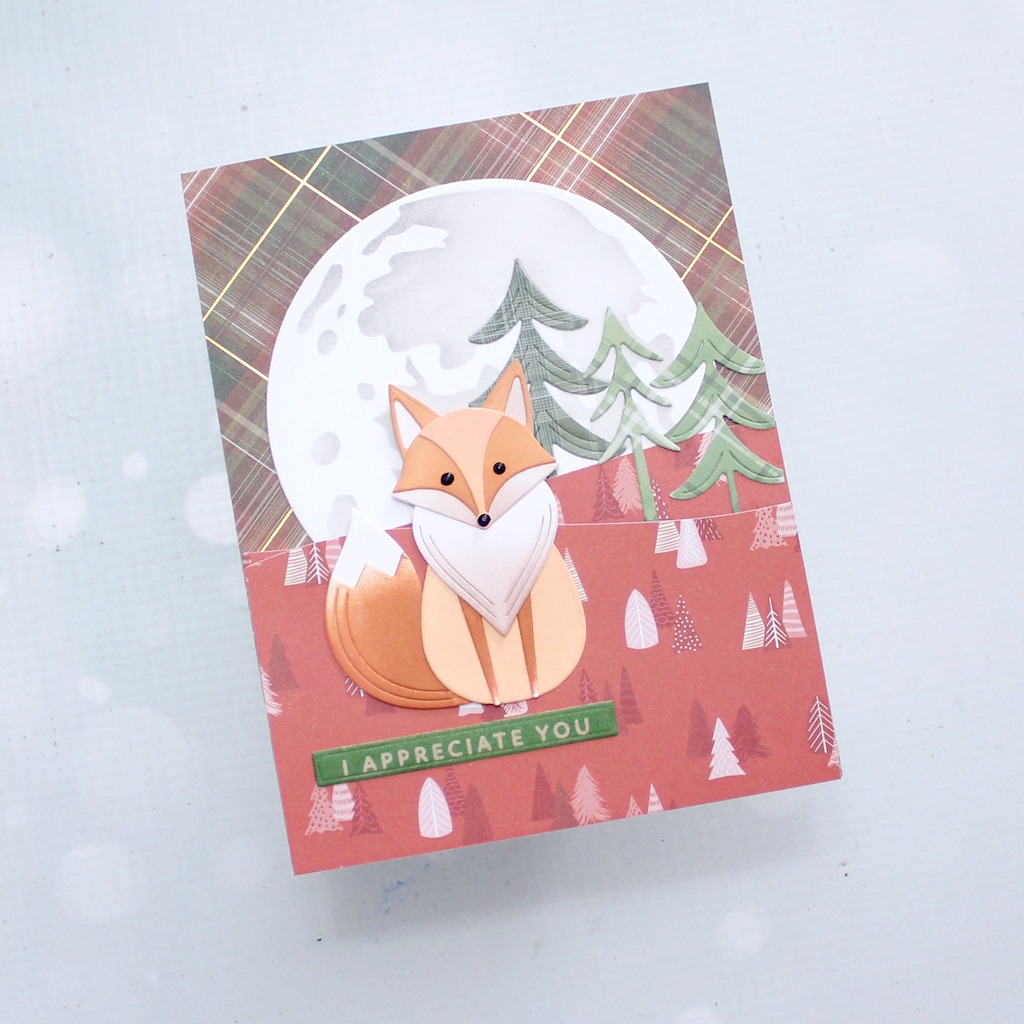
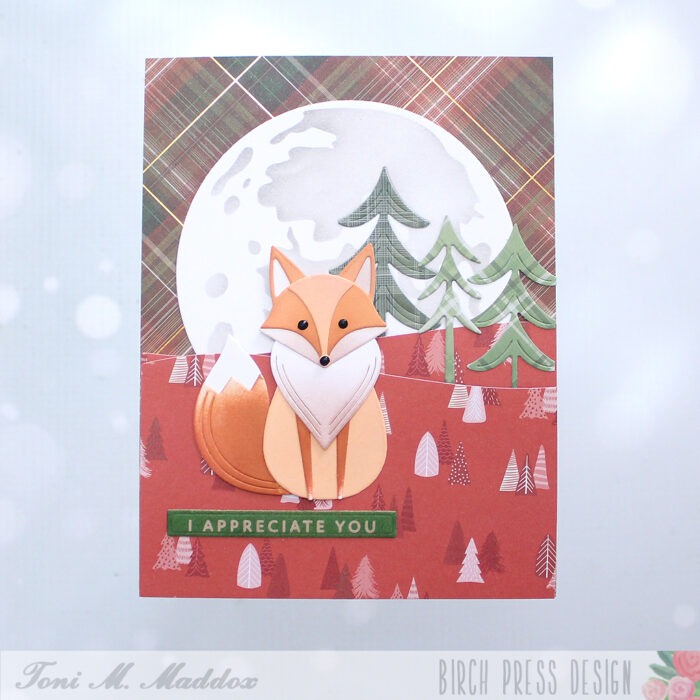
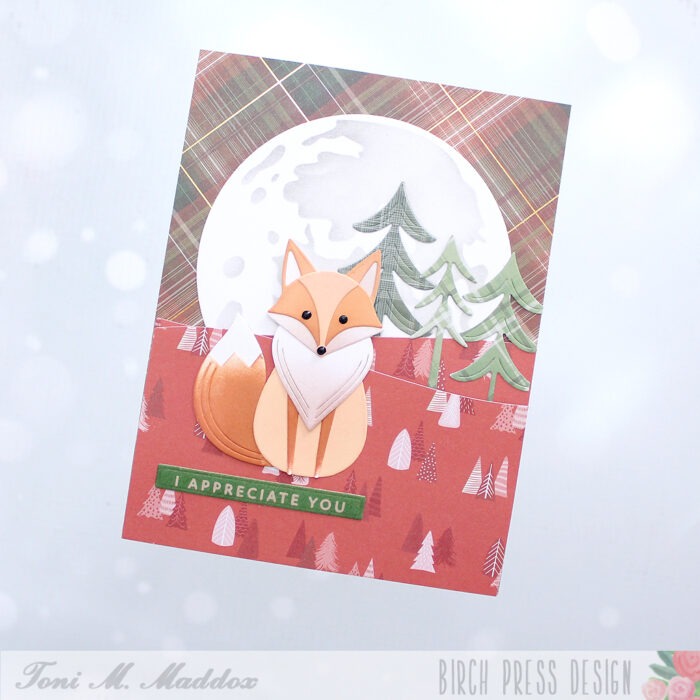
Hey, my foxy friends! Toni here today sharing the first of many projects using the latest release. You are going to love it!
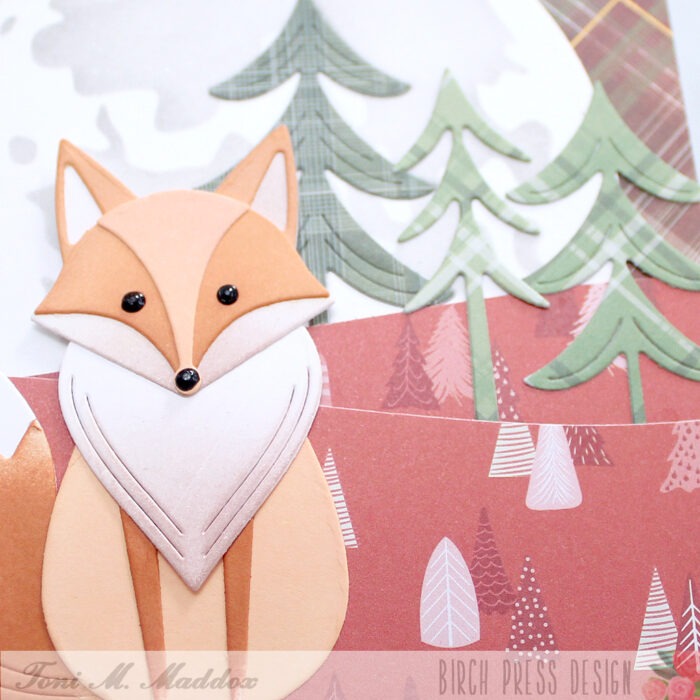
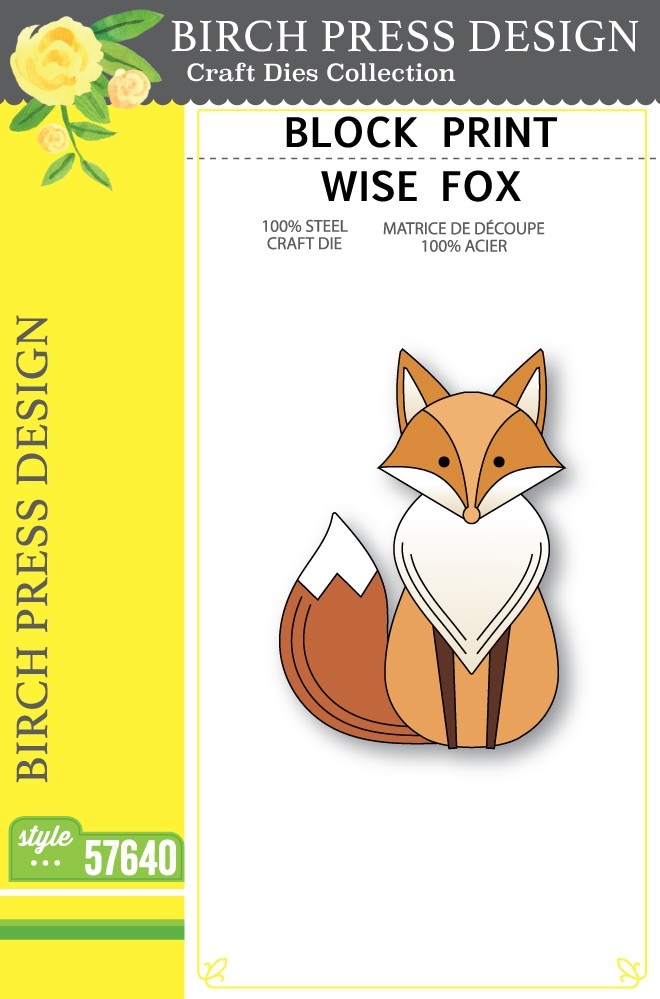
I cut out the Block Print Wise Fox and sponged it using Catherine Pooler inks. I used black Enamel Accents for the eyes and nose.
While that was drying, I cut out the Wavy Hillside, Block Print Evergreen Trees, and Block Print Forest Scene elements using Memory Box Nutmeg Forest and Nutmeg Plaid 6×6 papers.
I used the Tim Holtz Moon Mask on the Block Print Forest Scene moon using Catherine Pooler inks.
I think the sentiment is from Spellbinders but not positive.
Feel free to visit my blog, Frankie Helps Craft, for a full list of supplies used and to check out my other creations.
I hope you enjoyed today’s card and have a great rest of your week!
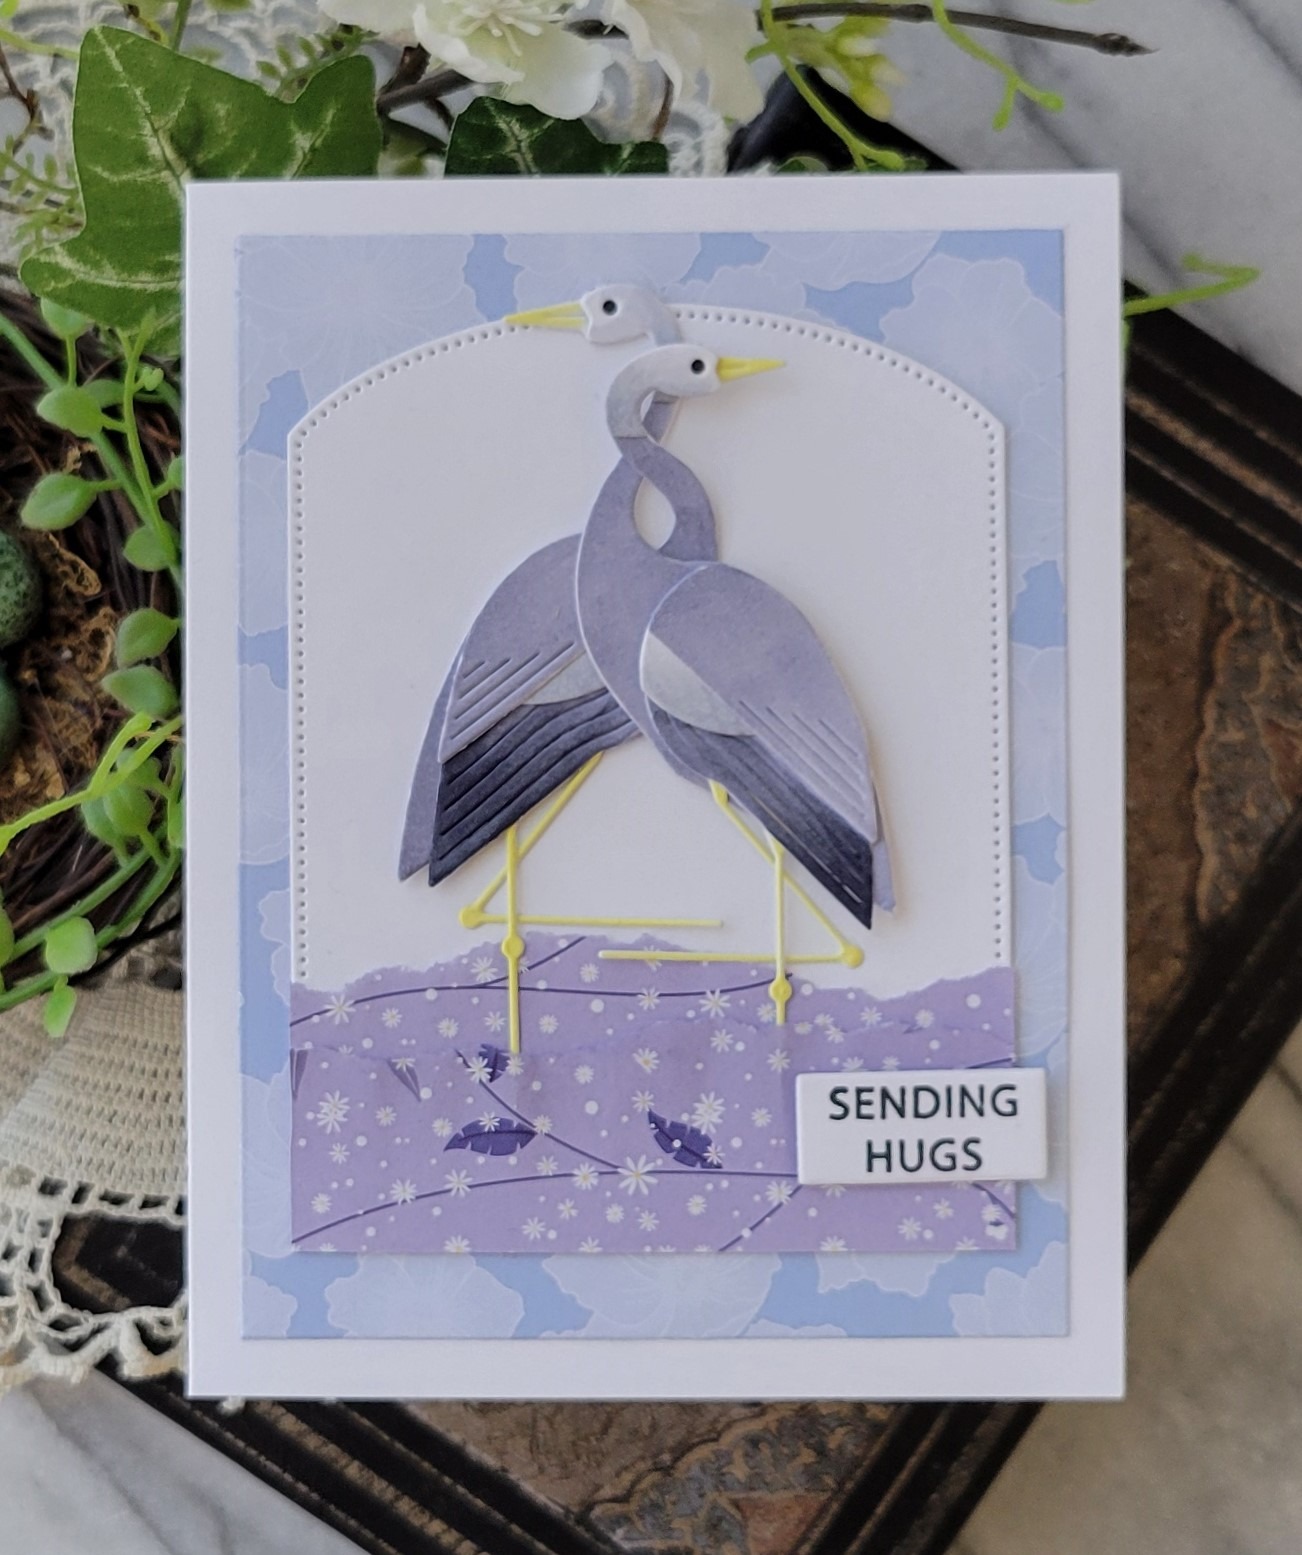
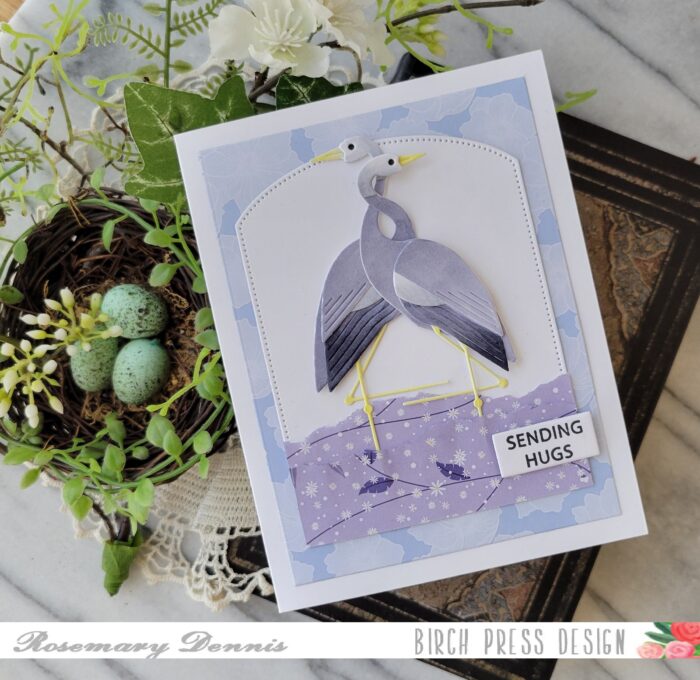
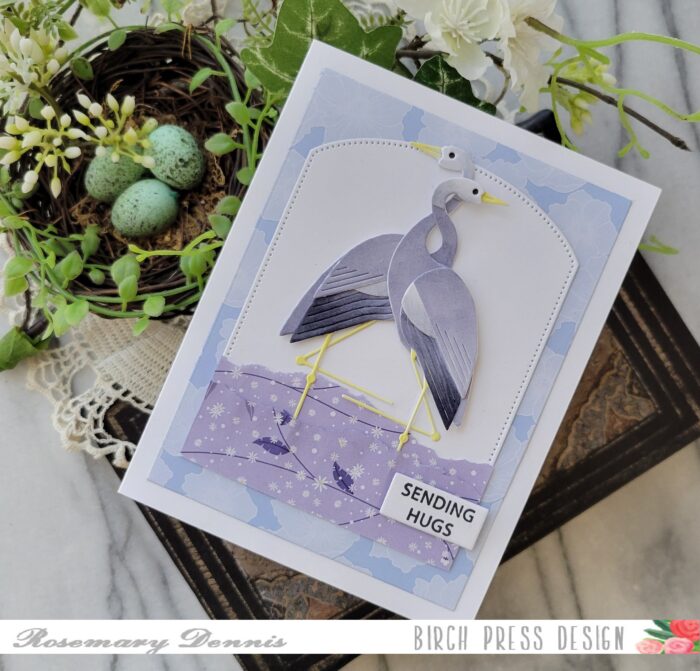
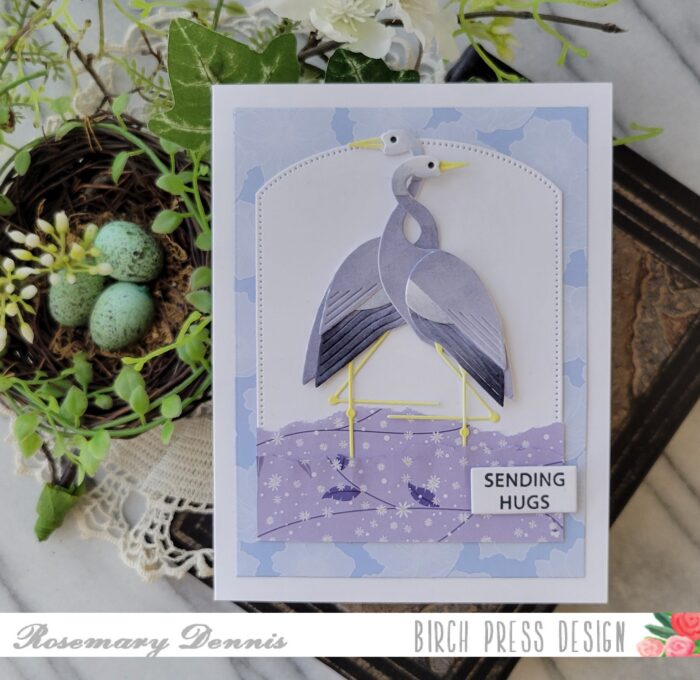
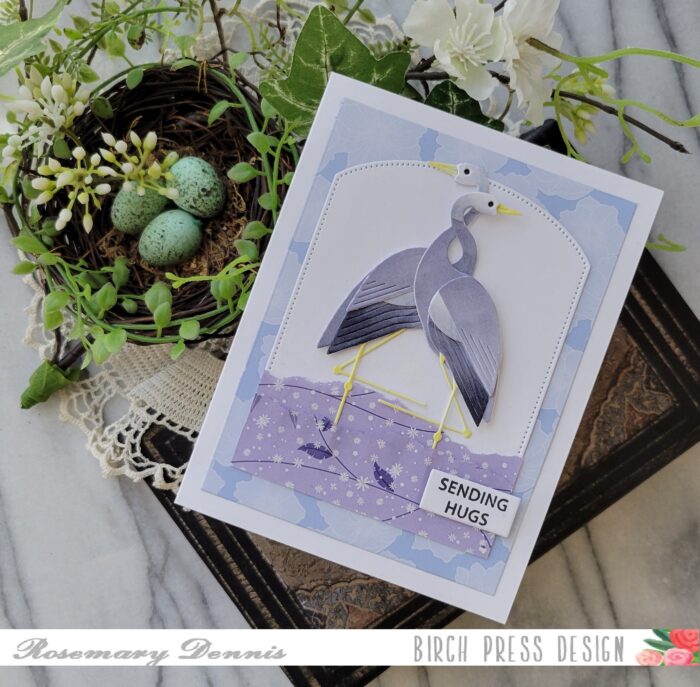
Hello everyone! Rosemary here on the blog today with a friendship style card made with the beautiful Block Print Standing Crane and Block Print Seaside Crane and patterned papers from the Memory Box Anemone Grove 6×6 pad. Let’s look at what I made.
I started my card by die cutting all the pieces of the cranes from white cardstock. Then I decided how I was going to color them. This time around I decided to use my Copic markers and went with a group of light blue violet markers for the body and feathers. A light yellow Copic was used for the legs and beak. I used a very dark gray marker for the eye. I let all the pieces dry and then adhered them together with liquid adhesive.
I wanted to create the look of the cranes standing in water, but decided I wanted to use torn edge patterned paper. I went through all my pads of Memory Box papers and found the Anemone Grove pad fit my design perfectly. I tore the strips from one piece and adhered them to a piece of white cardstock with liquid adhesive. I then die cut the piece with a Memory Box capped pierced die.
I did make sure to leave an area without glue so I could slide the cranes’ legs in between the layers. I used liquid adhesive and thin foam square to adhere the cranes to the panel. Another flip through the Anemone Grove pad and I found a piece that gave the appearance of clouds in the background. That was die cut with a Memory Box rectangle die and adhered to a white cardstock base. I adhered the main panel on top and then finished with the sentiment from the Birch Press Design Rainbow Days stamp set.
Well, that’s it for me. I hope you enjoyed today’s card. Thanks for stopping by and have a wonderful day.
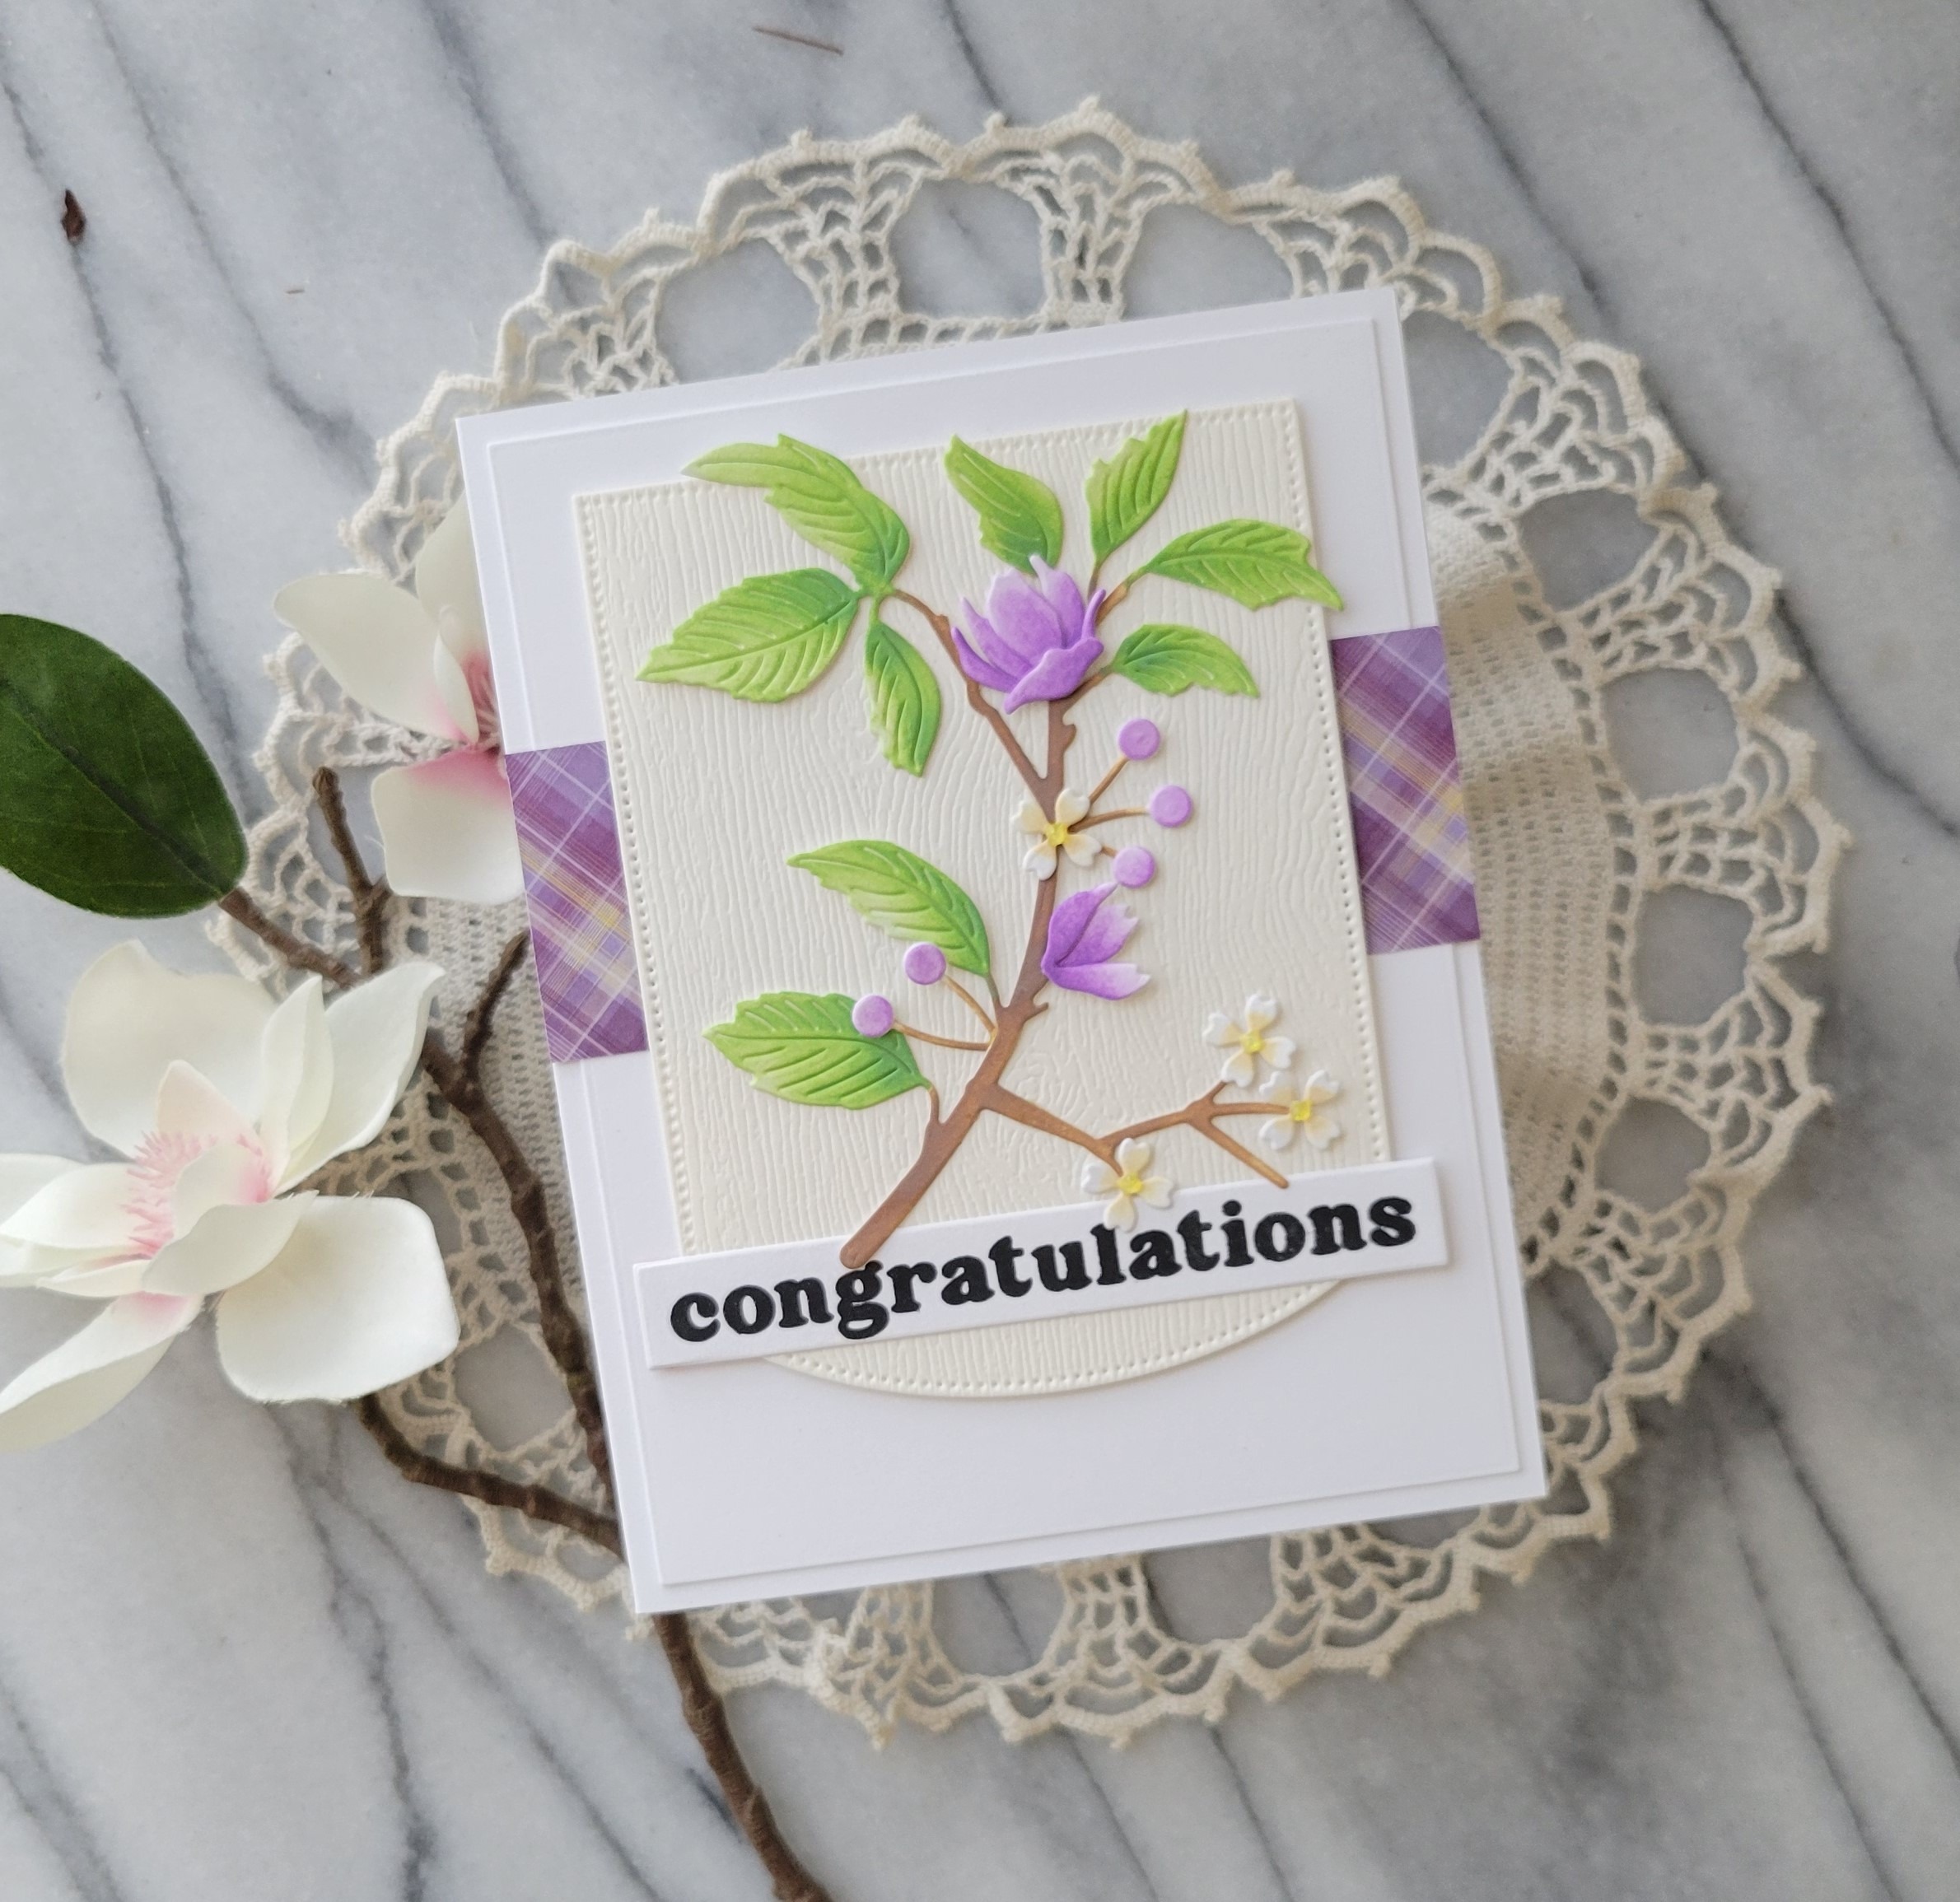
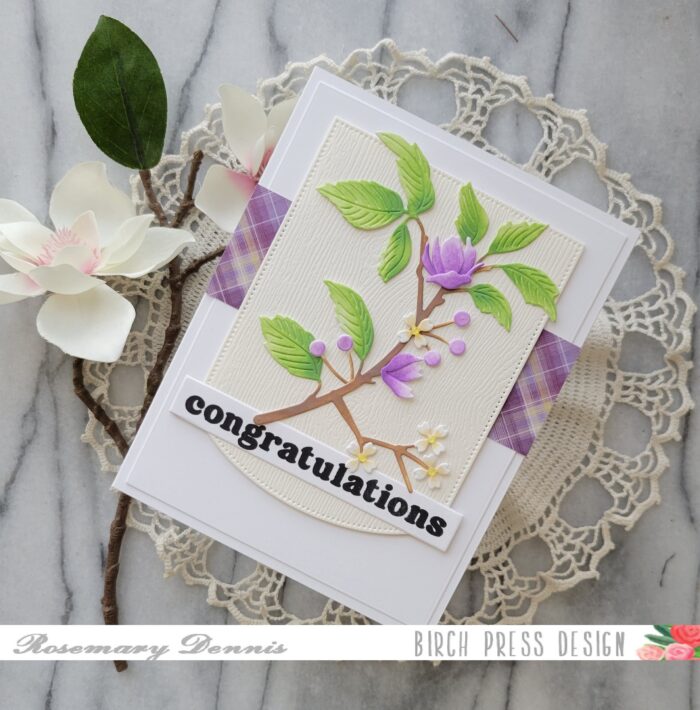
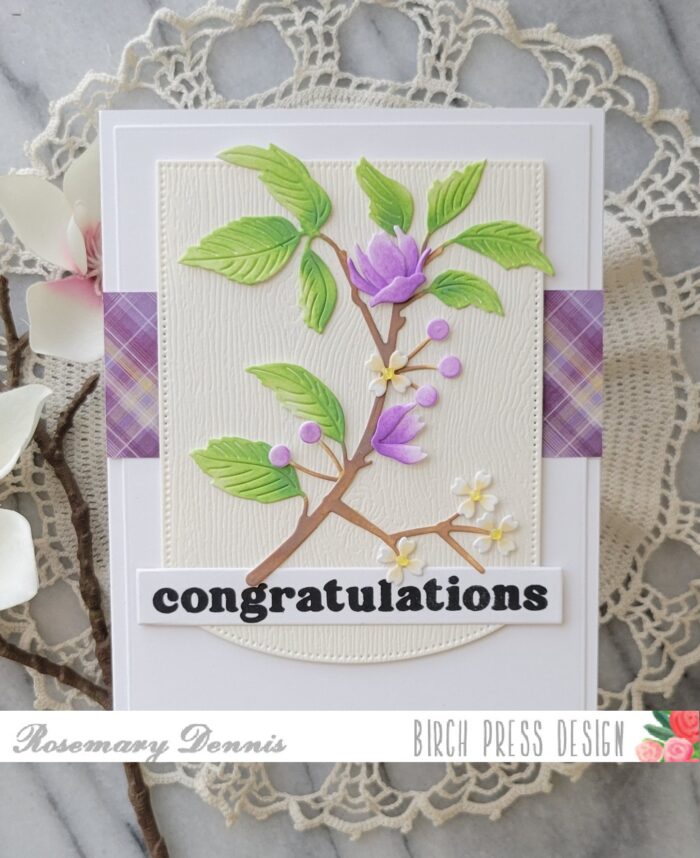
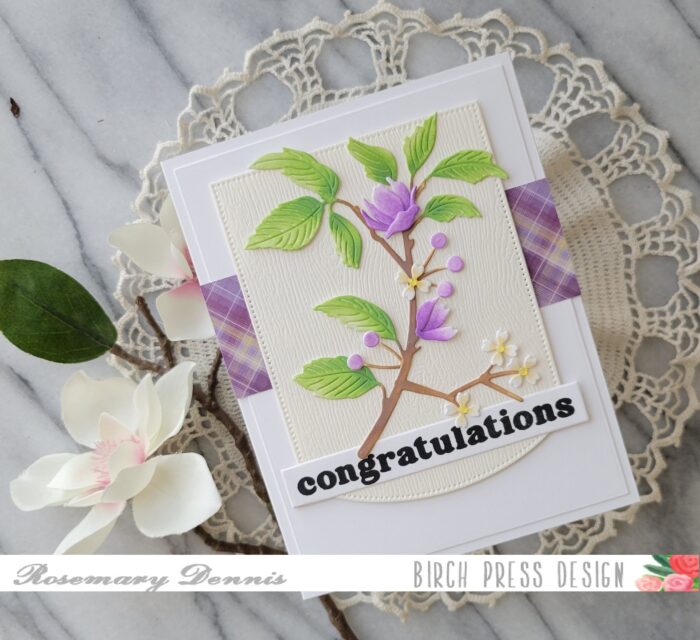
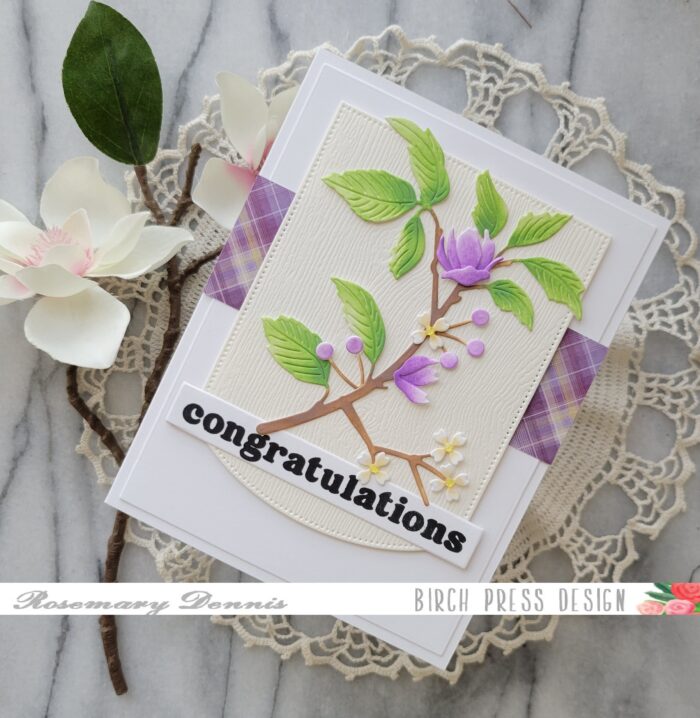
Hello everyone! Rosemary here on the blog. I hope your April is off to a good start. We have been having some wild weather here in the Pacific Northwest! Rain and high winds one day, sun the next. Today I’m sharing a card that I created with the gorgeous Abundant Branch die set. Let’s get started.
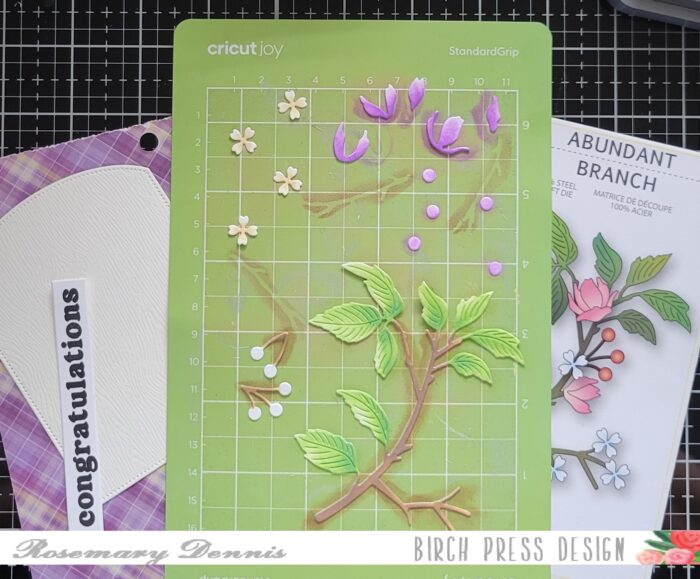
My niece recently graduated from the University of Washington-Tacoma and so I actually made this card for her. UW’s colors are purple and gold, so I went in that direction for my color scheme. I die cut the Abundant Branch pieces from white cardstock and then colored everything with distress oxide inks.
I let everything dry for a little bit before putting the branch together. I pulled a piece of patterned paper from the Memory Box Gladiola Plaid 6×6 pad and trimmed it down into a strip. I had previously die cut a pierced arch from cream woodgrain cardstock (Memory Box) so I added that to the mix.
I die cut white cardstock with a rectangle die and then layered on the plaid paper strip and the cream woodgrain die cut. I used double sided tape and liquid adhesive to adhere the layers to a white cardstock base.
Liquid adhesive was used to put the Abundant Branch together and then adhered to the wood grain panel. I made sure to not put the adhesive on the end of the branch and one of the flowers so I could slip the sentiment underneath. The sentiment from the Vintage Everyday Greetings stamp set was stamped in black and then die cut with a label die. I finished with tiny dots of yellow Nuvo drops to the centers of the flower.
Well, that’s it for me. I hope you enjoyed today’s card. Thanks for stopping by and have a wonderful day!
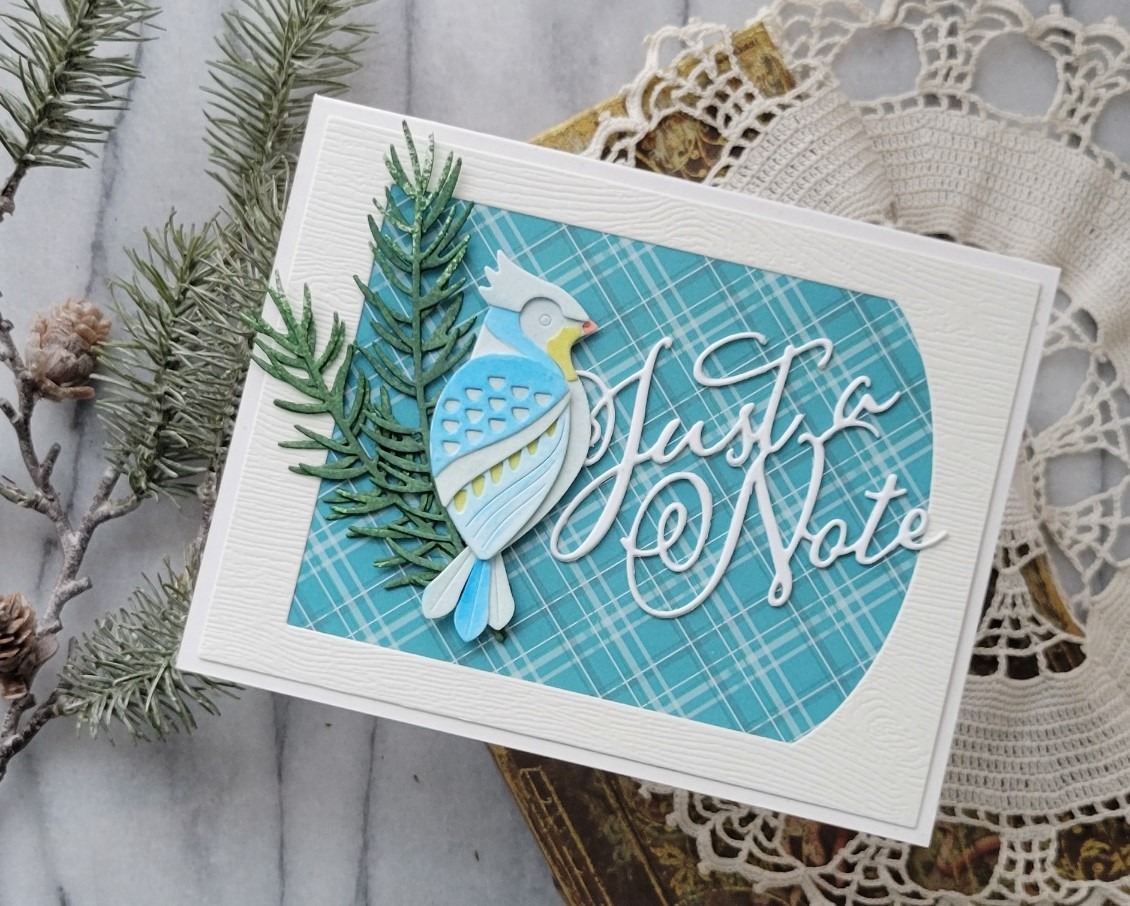
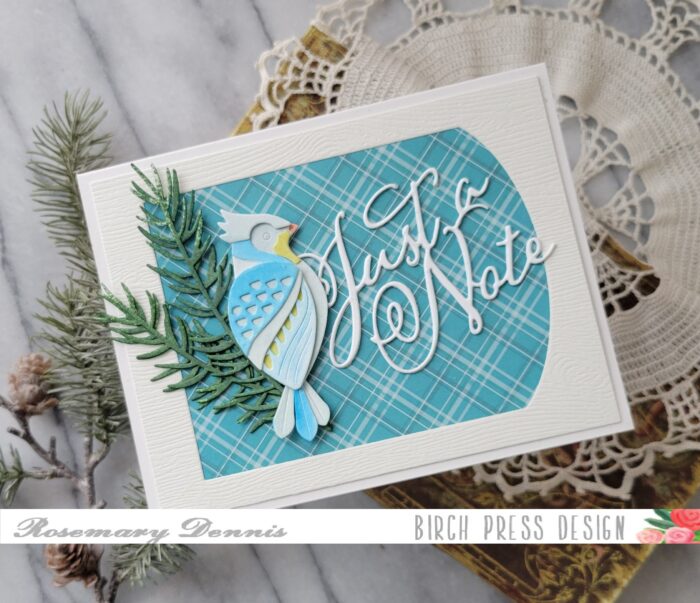
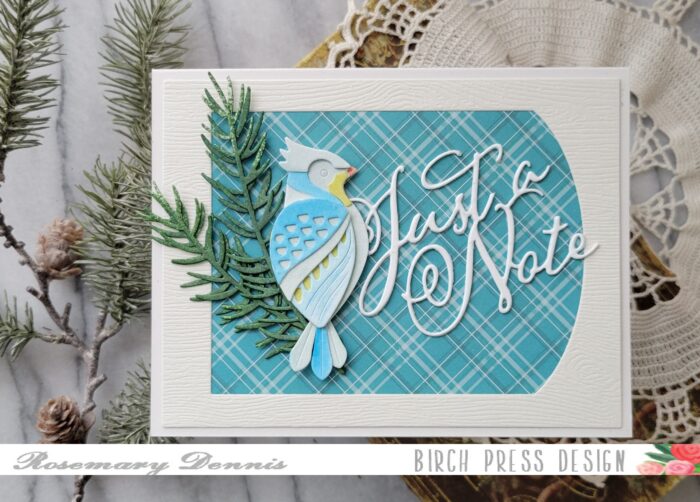
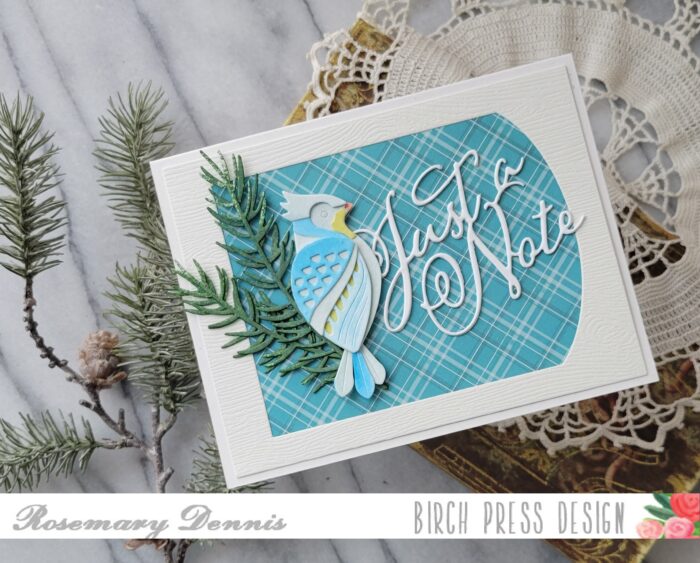
Hello everyone! Rosemary here on the blog today. Have you seen the all the new Block Print products that have been added to the Birch Press Design website? They are absolutely AMAZING and I can’t wait to create some projects with them! Today I’m sharing a card I made with the Block Print Tufted Bird die set. Let’s have a look.
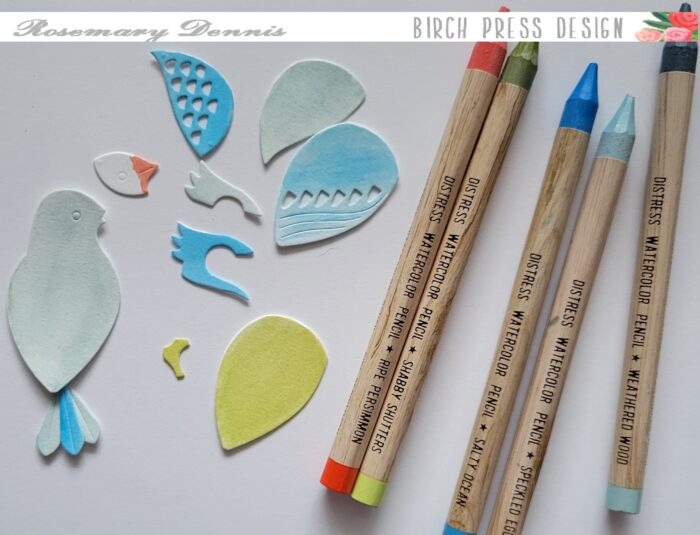
For this card I went with a softer approach using some Tim Holtz woodless distress watercolor pencils to color the pieces of my bird.
In the above photo you can see the watercolor pencils that I used and the pieces prior to assembling my little bird.
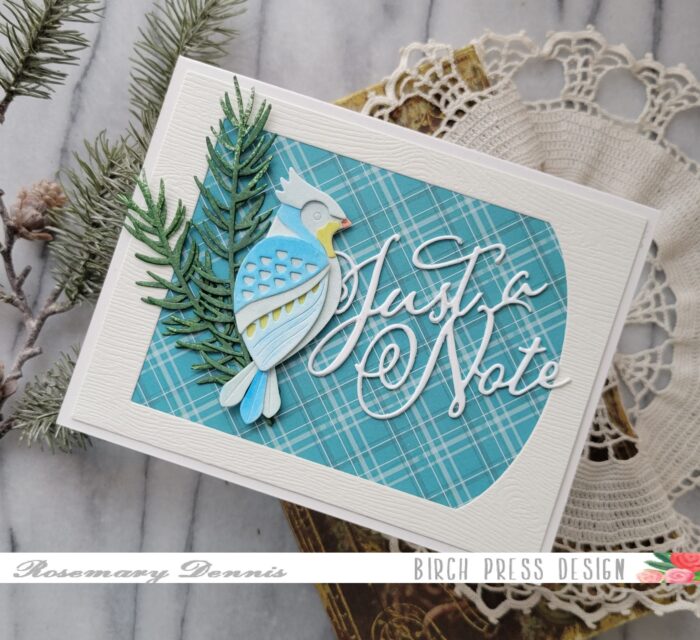
Once all the piece were dry I adhered everything together using liquid adhesive. Once I had the bird together I worked on the rest of the card. I decided to use some plaid patterned paper from the Memory Box Anemone Plaid 6×6 pad for the background for my little bird. Diecutting the paper with a rectangle die. I also diecut pine branches using Pine Needle Twig Contour Layers die set from watercolor cardstock and then sprayed them with distress spray stain in Rustic Wilderness.
I decided to create a frame around my plaid background by using a die from the Memory Box Curved Cap Pinpoint layers die set. I die cut cream Memory Box woodgrain cardstock with the same rectangle die I used for the plaid paper and then die cut the Curved Cap die from the center. The frame was then adhered to the plaid paper with liquid glue. I die cut the Just A Note Scripted die from watercolor cardstock twice and adhered them together.
Now all my pieces are ready to adhere to my card front. I adhered the pine branches and the sentiment first using liquid glue. To finish off the card I added the bird with a combination of thin foam squares and liquid adhesive.
Well, that’s it for me. I hope you enjoyed by project today. Thanks for stopping by and have a great day!
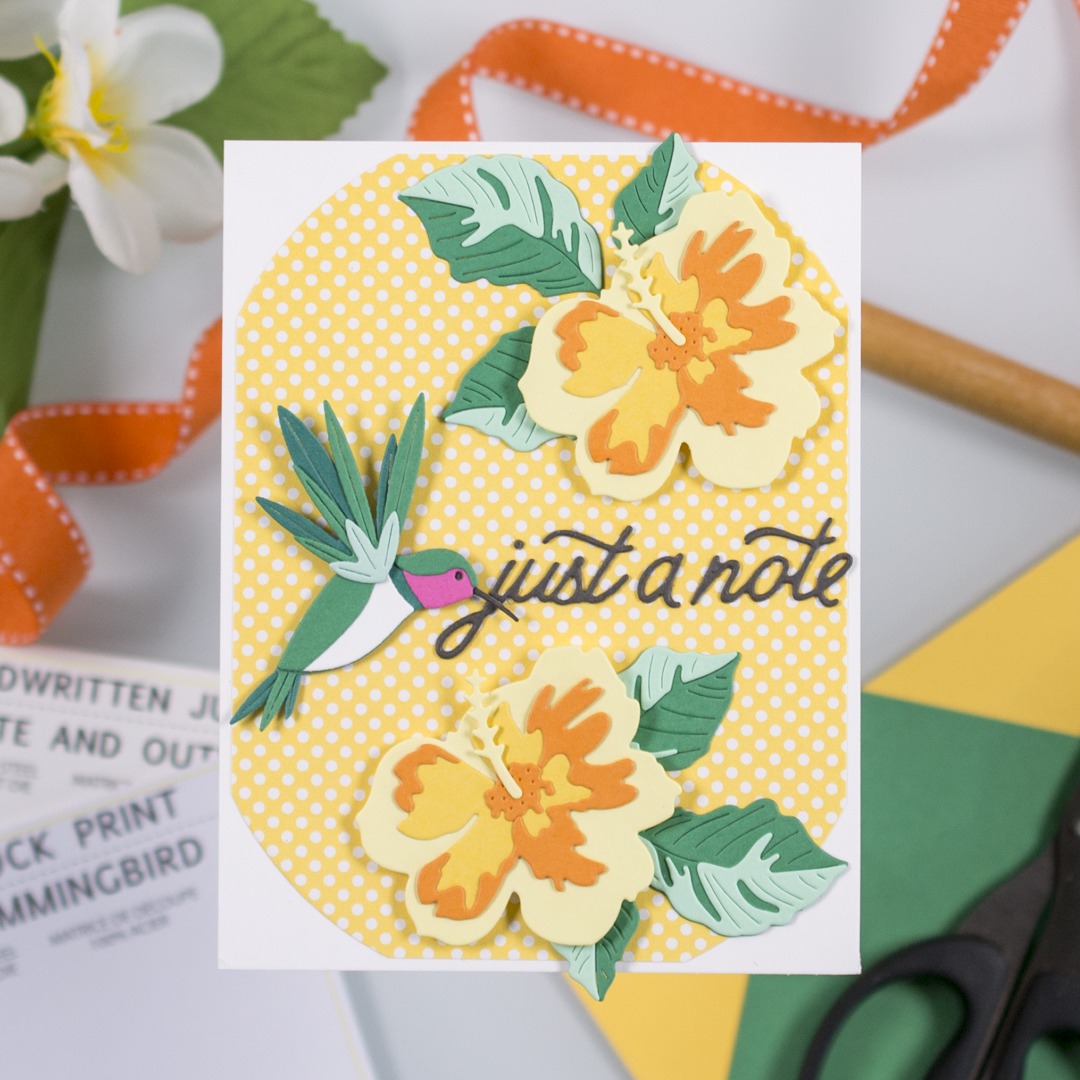
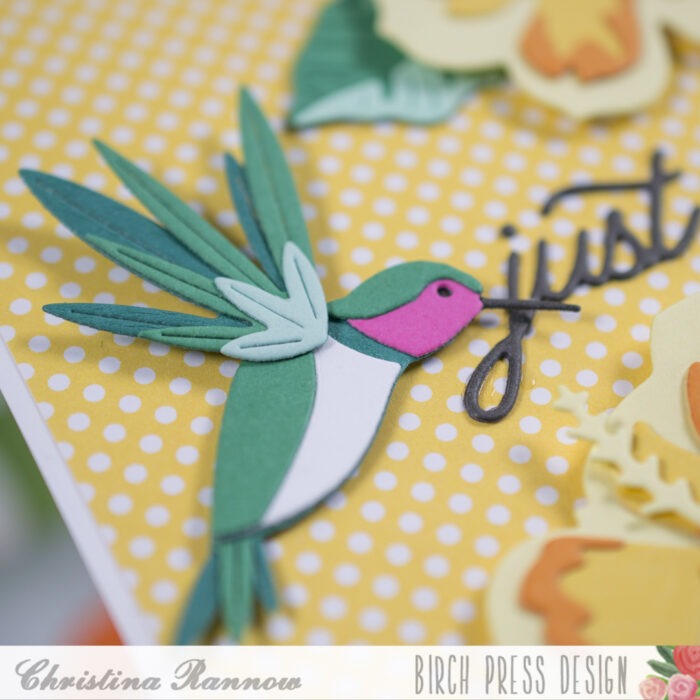
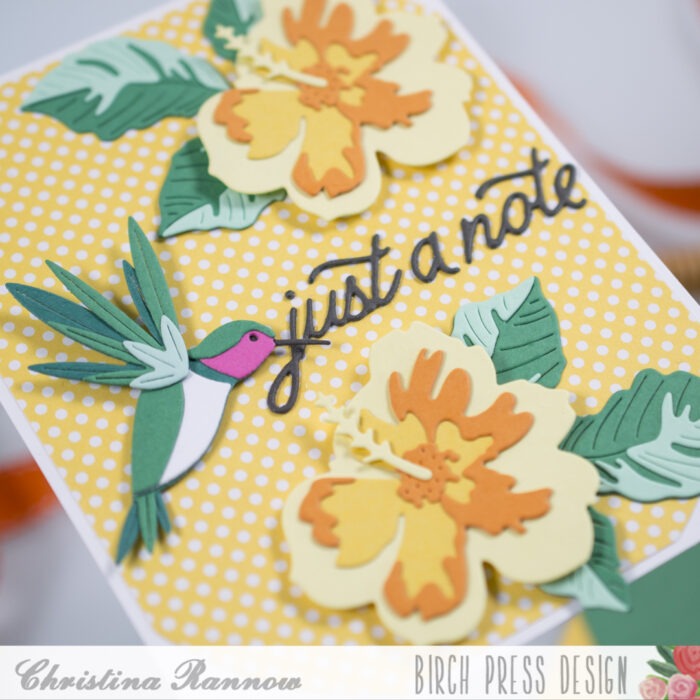
Hello! Christina here to share a sunny tropical card perfect for sending a quick note of happiness to someone. For this card I paired the beautiful new Block Print Hummingbird with the Tropical Hibiscus Contour Layers and added a fun polka dot patterned paper as the backdrop. Keep reading to get all the details for this sunny notecard!
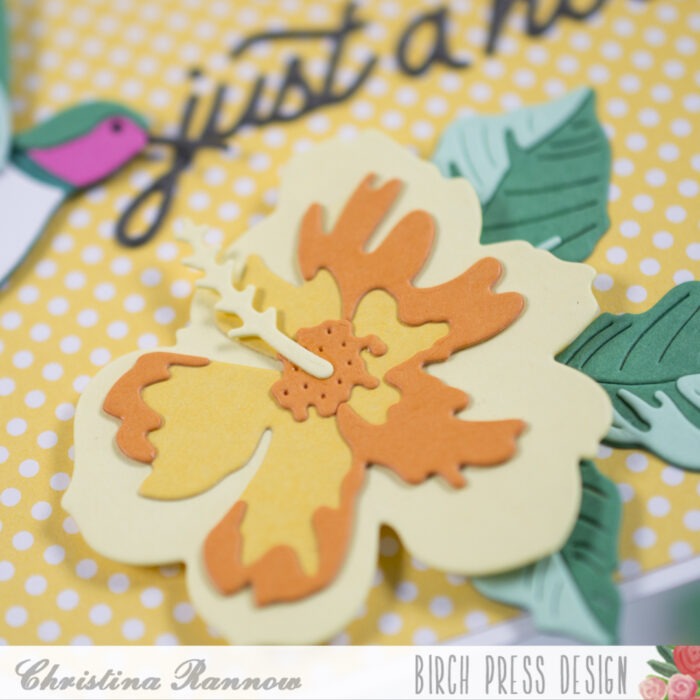
I started by die cutting all the hummingbird and hibiscus elements for my design from brightly colored cardstock. I used yellows, oranges, and teals, with a pop of fuchsia on the hummingbird. All of the die cuts layered together beautifully, plus the Tropical Hibiscus flowers come with a layering guide to make assembly super easy too.
After I assembled and secured my die cut elements with liquid adhesive, I created a simple background. I trimmed a piece of yellow polka dot patterned paper to approximately 4 x 5 ¼ inches and then used a large circle die to round the corners. A corner rounder paper punch would work great for this step if you have one! Then I adhered this rounded panel to an A2 top-fold card base.
Next, I attached the flowers to the card base with foam squares and tucked the leaves under them, securing the leaves with liquid adhesive. I attached the hummingbird with thin foam squares, giving my design multiple levels of dimension. The last step was to die cut the sentiment, the Handwritten Just a Note, from a dark gray cardstock and secure it to my card.
And that completes this sunny tropical card using the Block Print Hummingbird and the Tropical Hibiscus sets. See you again soon!