Category: Savannah O’Gwynn

  • STAMPtember Exclusive with Memory Box  by Savannah O’Gwynn

    STAMPtember Exclusive with Memory Box
    by Savannah O’Gwynn

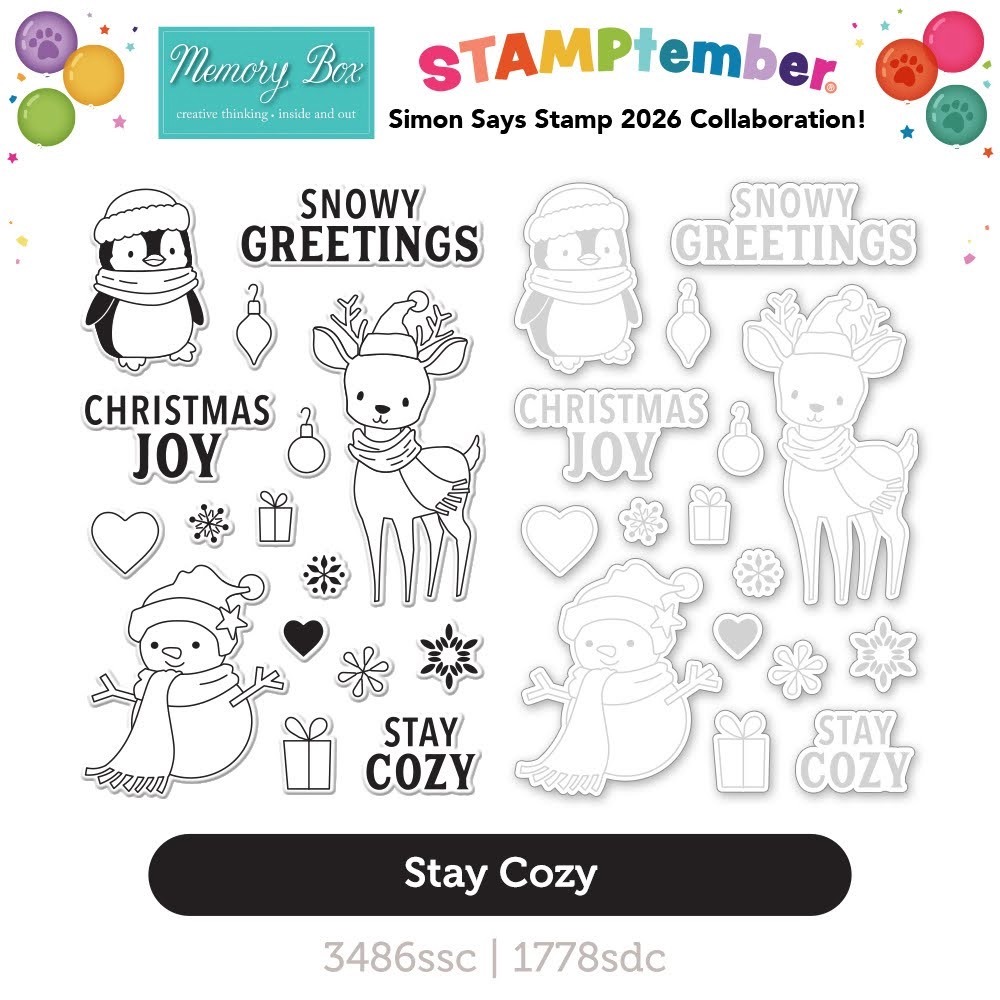
    Today is a very SPECIAL day as we celebrate STAMPtember with Simon Says Stamp and an exclusive stamp/die set by Memory Box!!

    Be sure to grab this stamp/die set soon because it is available for a limited time only! Click HERE or HERE to get it before it’s GONE!

    I’ve created two very different cards to celebrate this exclusive collaboration! The first focuses on the smaller images and the second has the larger ones from this exclusive stamp set.

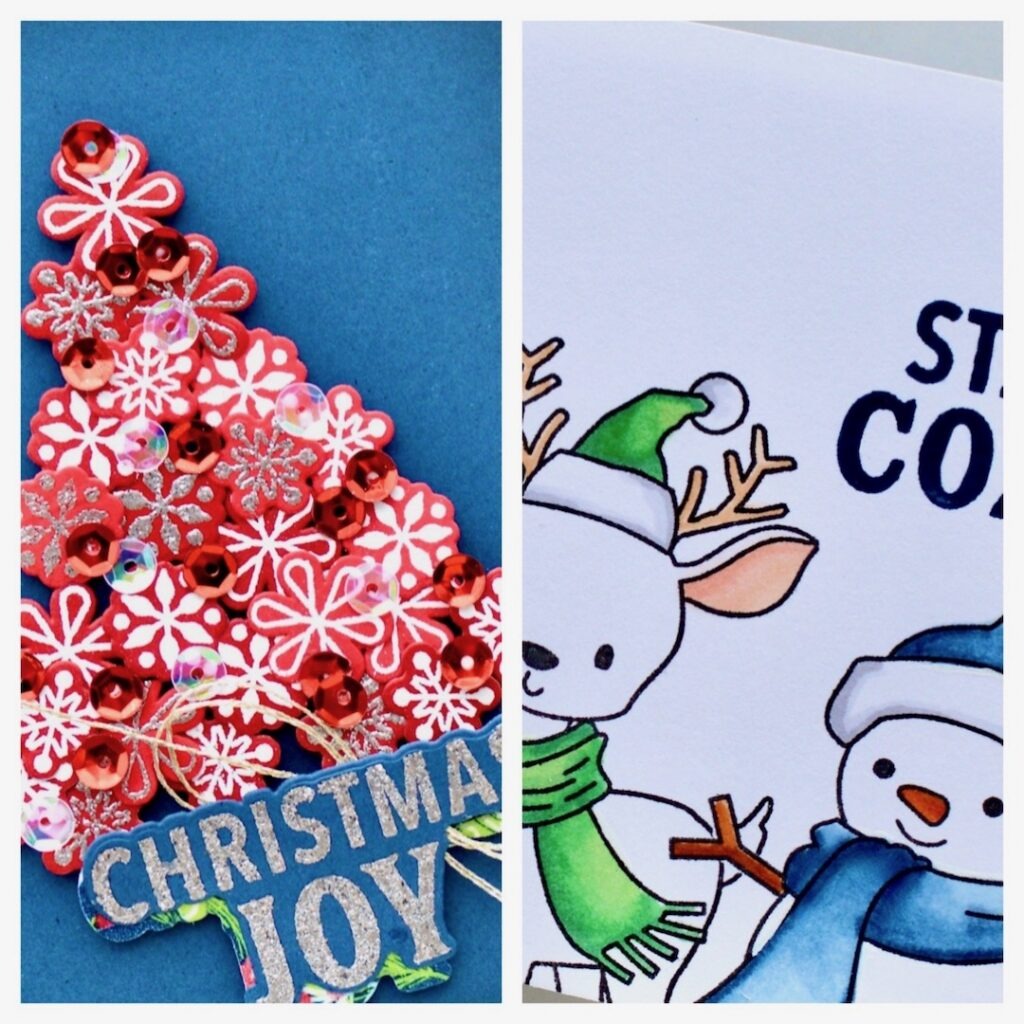
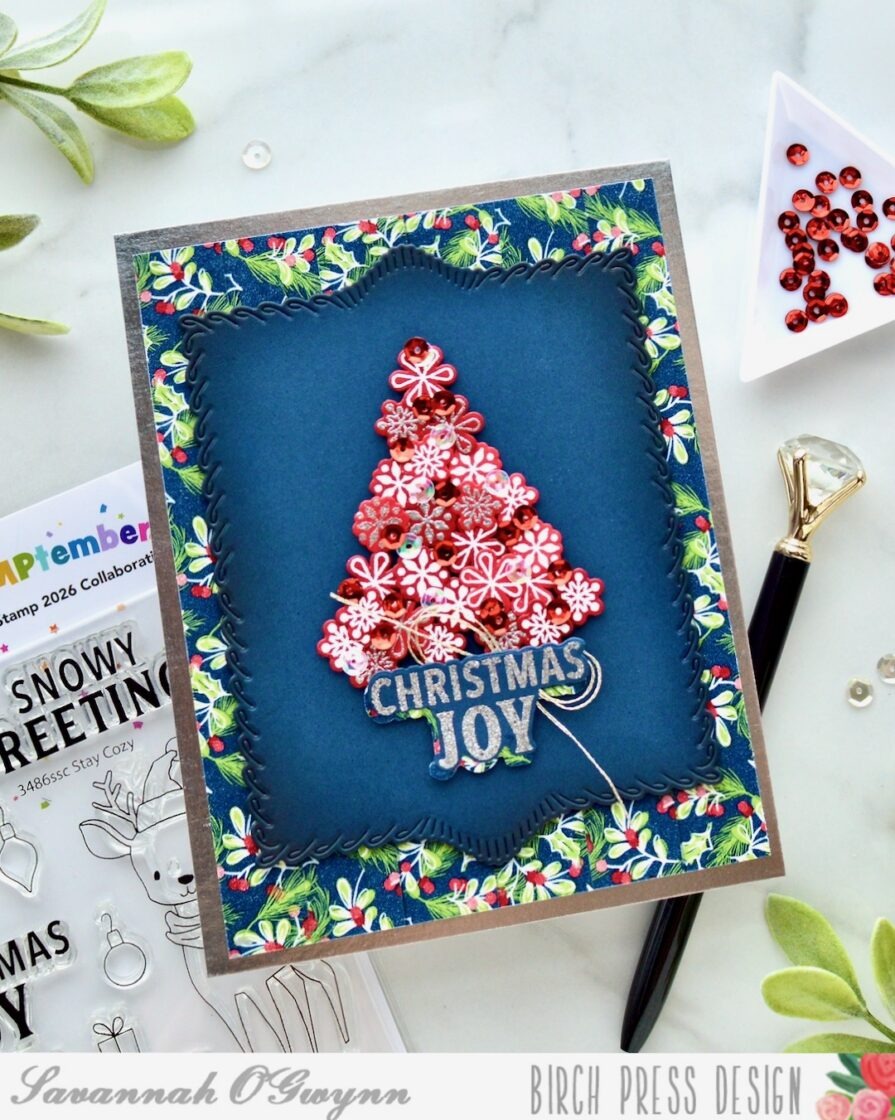
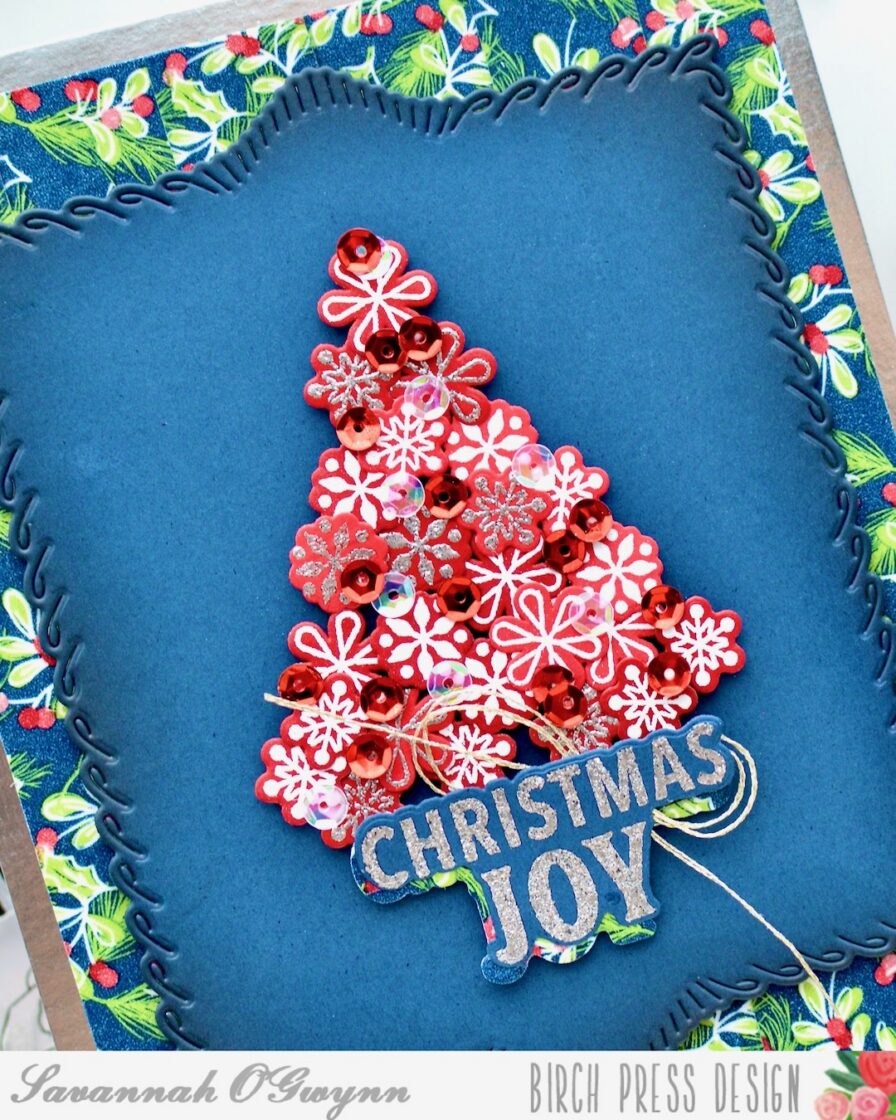
    This first card was created using the smallest snowflakes in the STAMPtember Stay Cozy set. I embossed the snowflake images on red cardstock because I wanted to do something different (if you know me, then you know I’m always thinking outside the box! LOL!). I layered this snowflake holiday tree on a die cut Loop Stitch Frame, as well as a washi tape and metallic panel.

    I added a few sequins and metallic thread to finish this card. I love how it turned out!


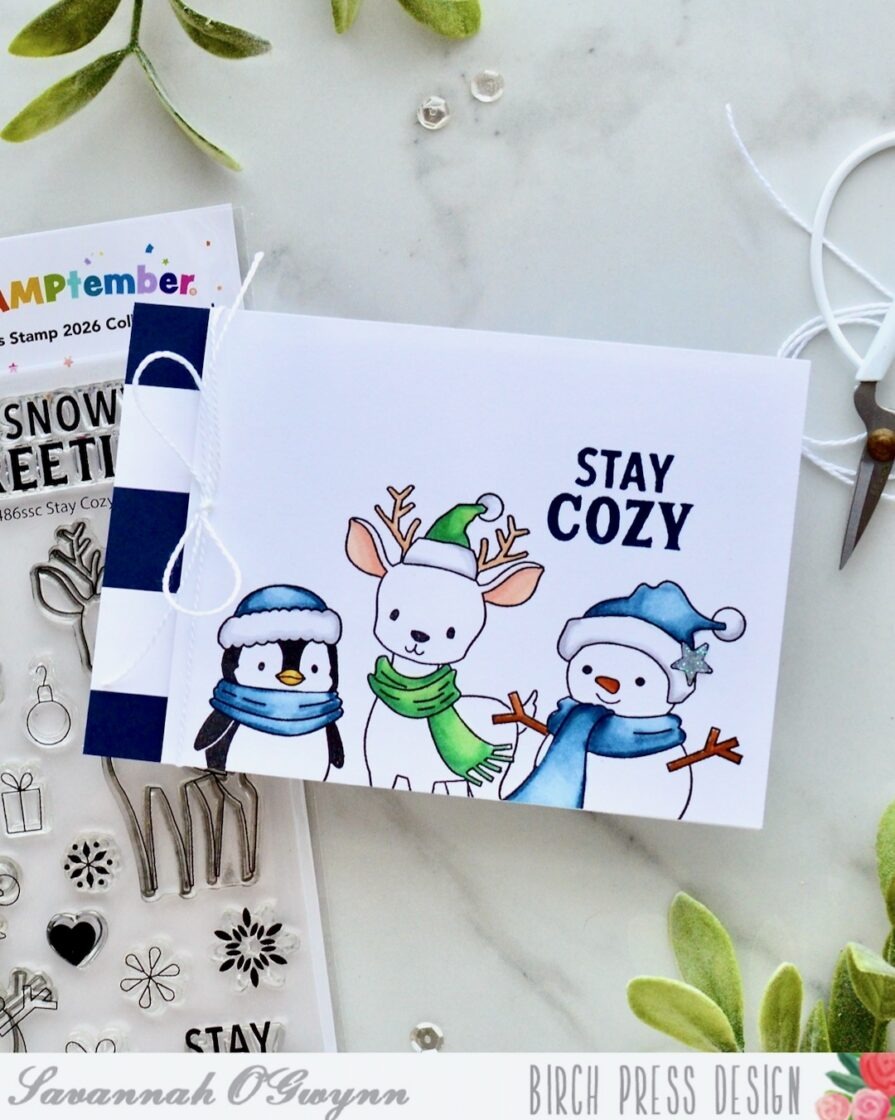
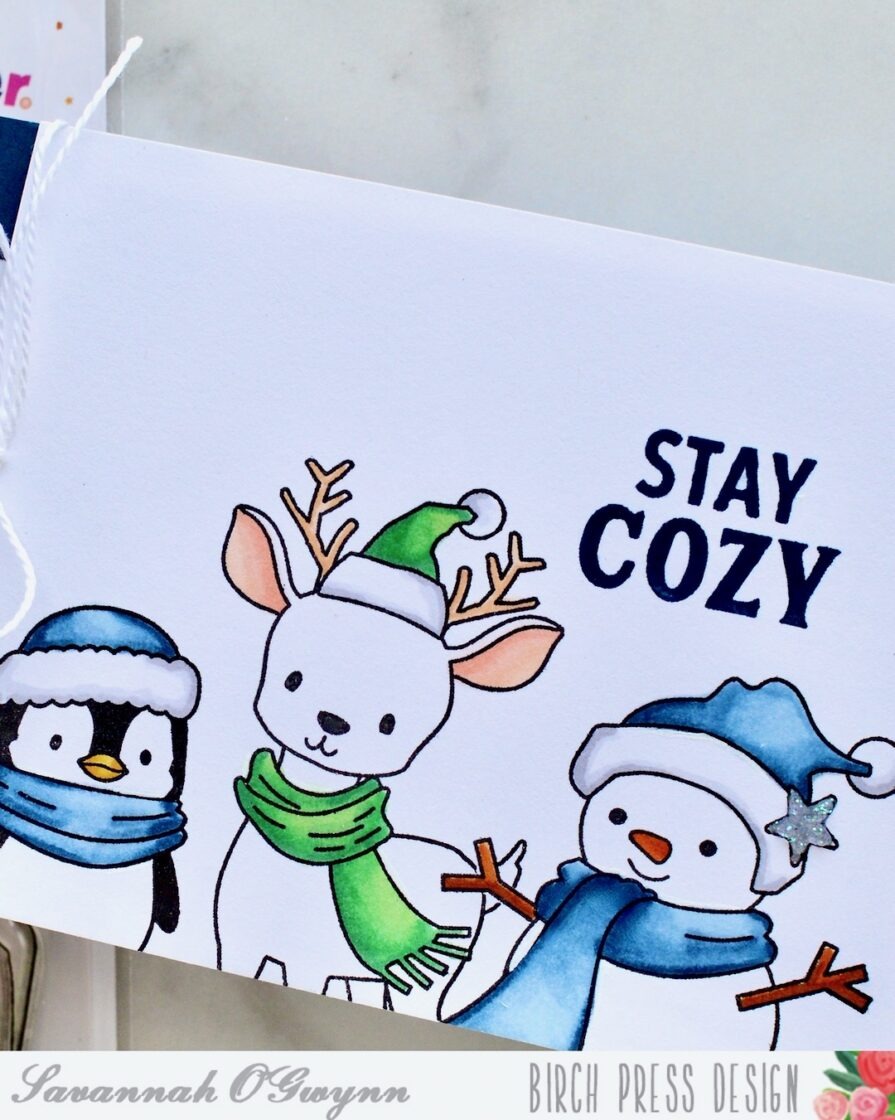
    The second card I created focused on the larger characters from the STAMPtember Stay Cozy set.

    These three characters are just tooooooooo cute! I stamped and masked the snowman and then stamped the other two images. Since the first card was very detailed with layers, I went with a CAS, one layered card design for the second holiday card.

    I love how both of my cards turned out and definitely will be creating MORE holiday cards using this exclusive STAMPtember set!!!

    I hope that you grab your exclusive Memory Box STAMPtember Stay Cozy stamp/die set today! I cannot wait to see what you make using these images!!!

    I’ll be back with MORE soon! 

    THANKS so much for stopping by! Happy crafting:) 

    HUGS <3 Sav

  • Pink Leopard Lookalike  by Savannah O’Gwynn 

    Pink Leopard Lookalike
    by Savannah O’Gwynn 

    Hello, BPD friends!

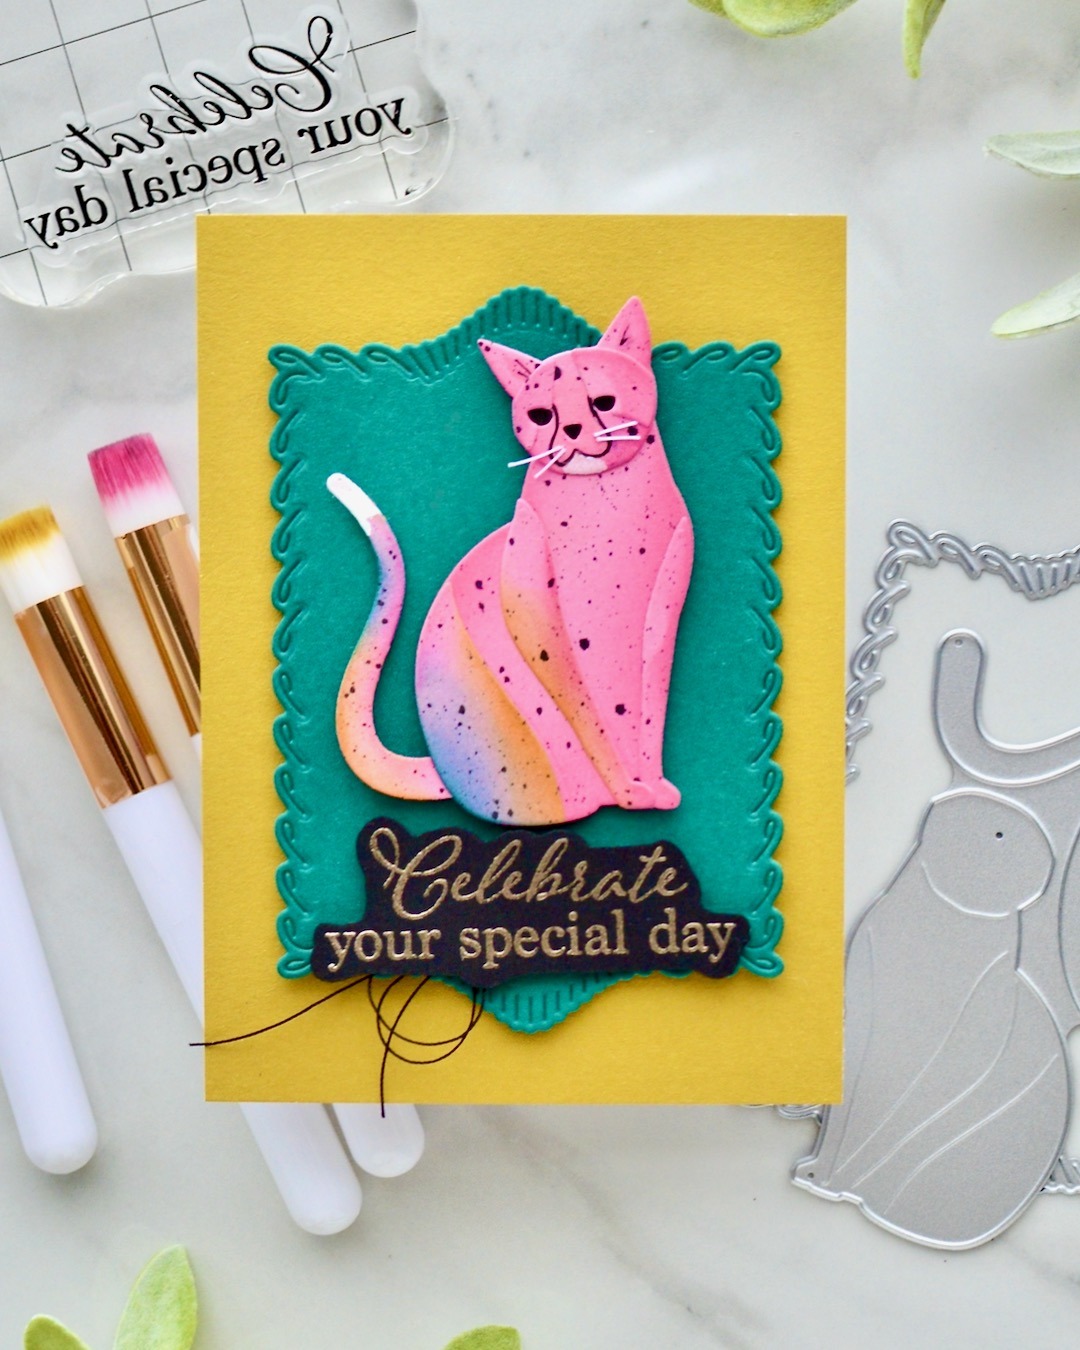
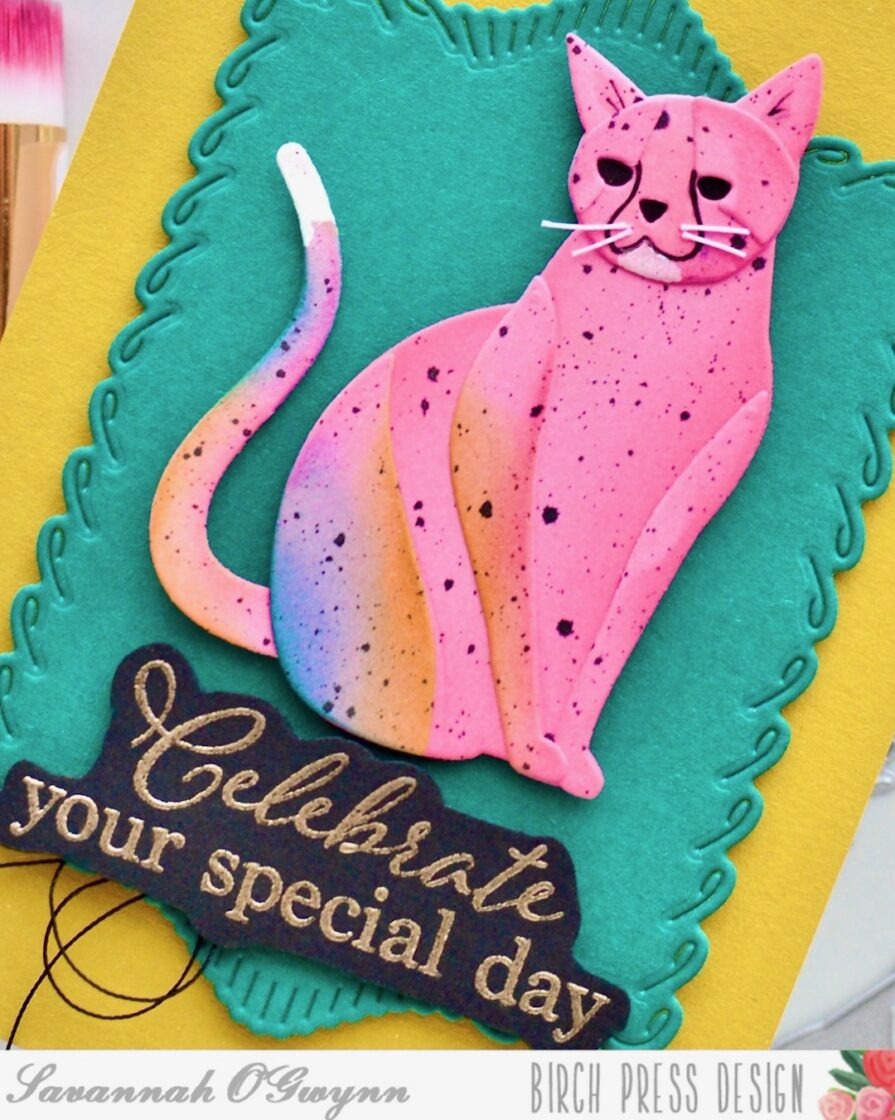
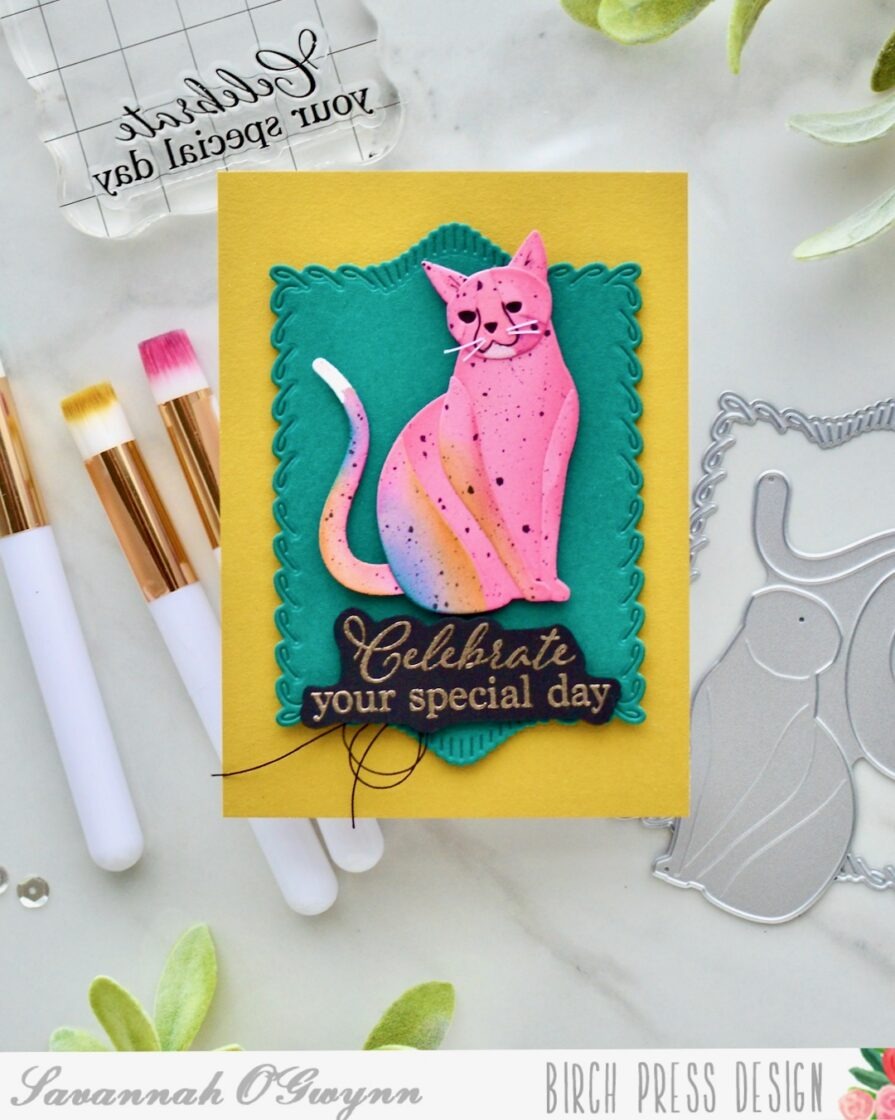
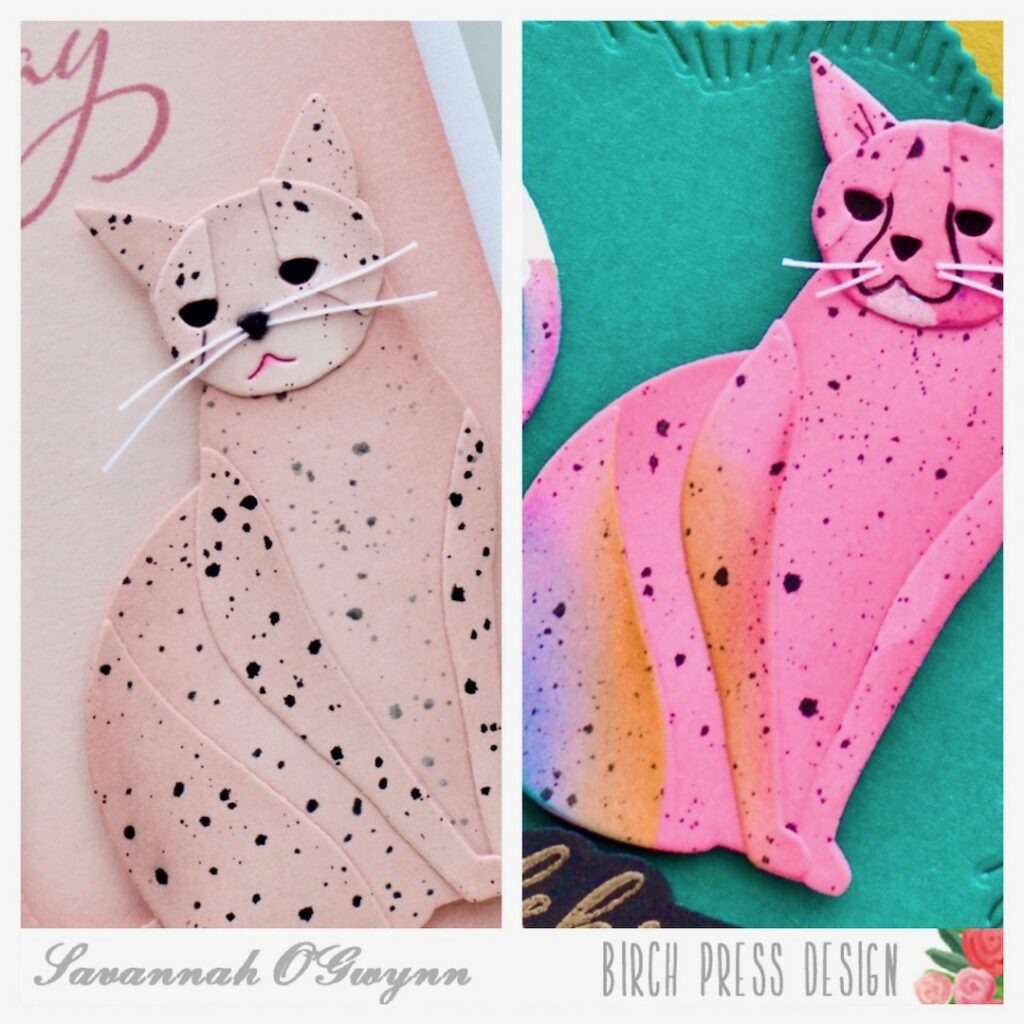
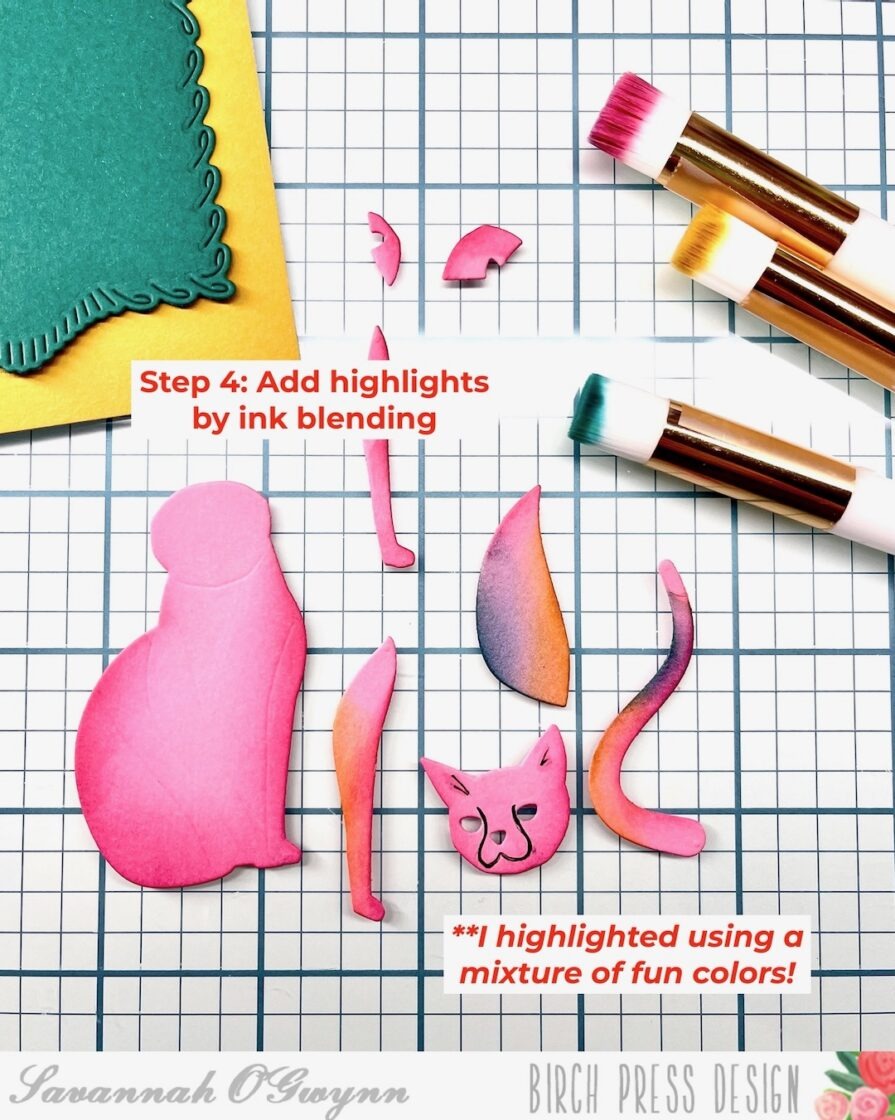
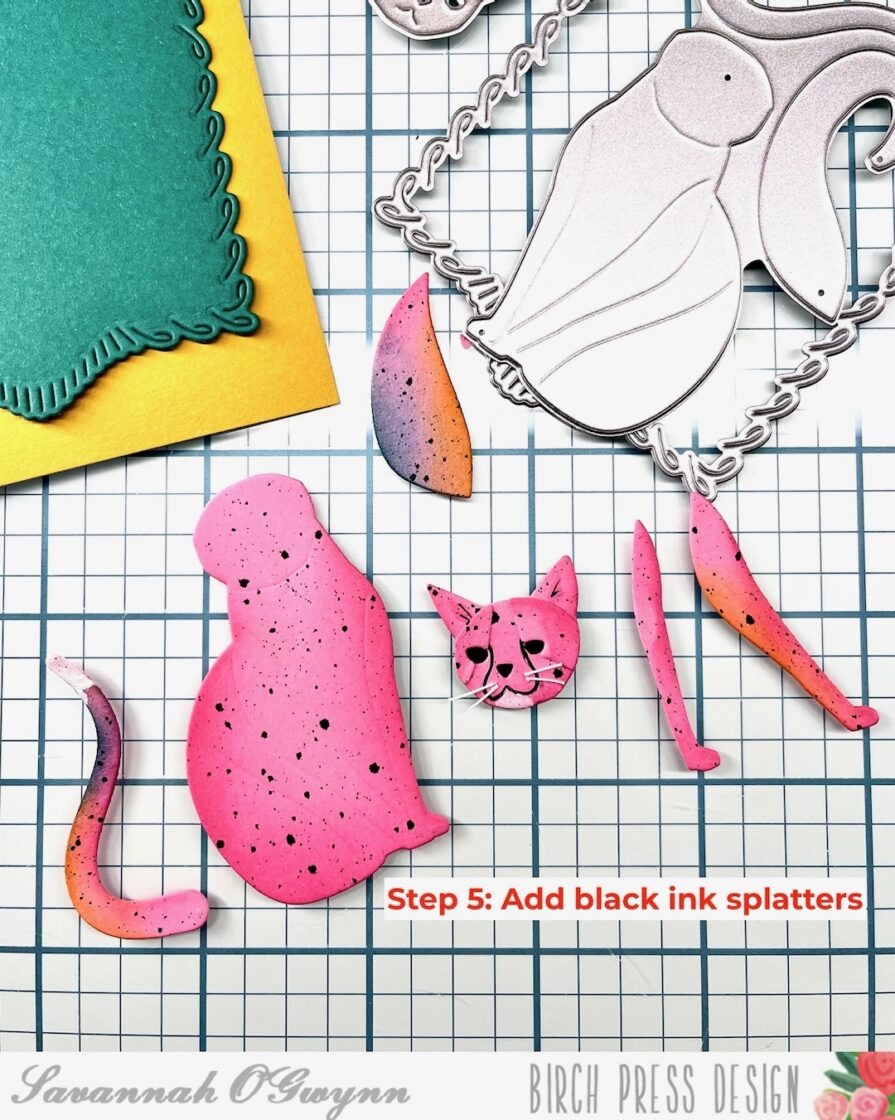
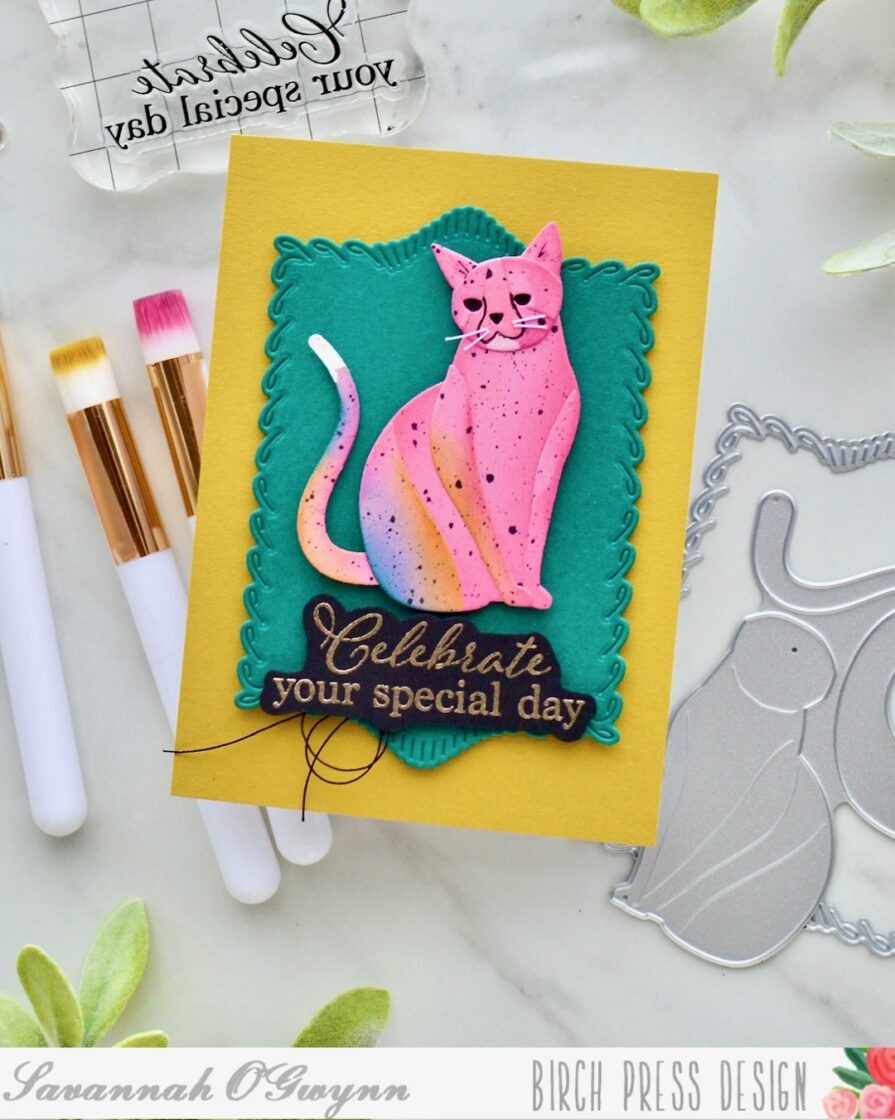
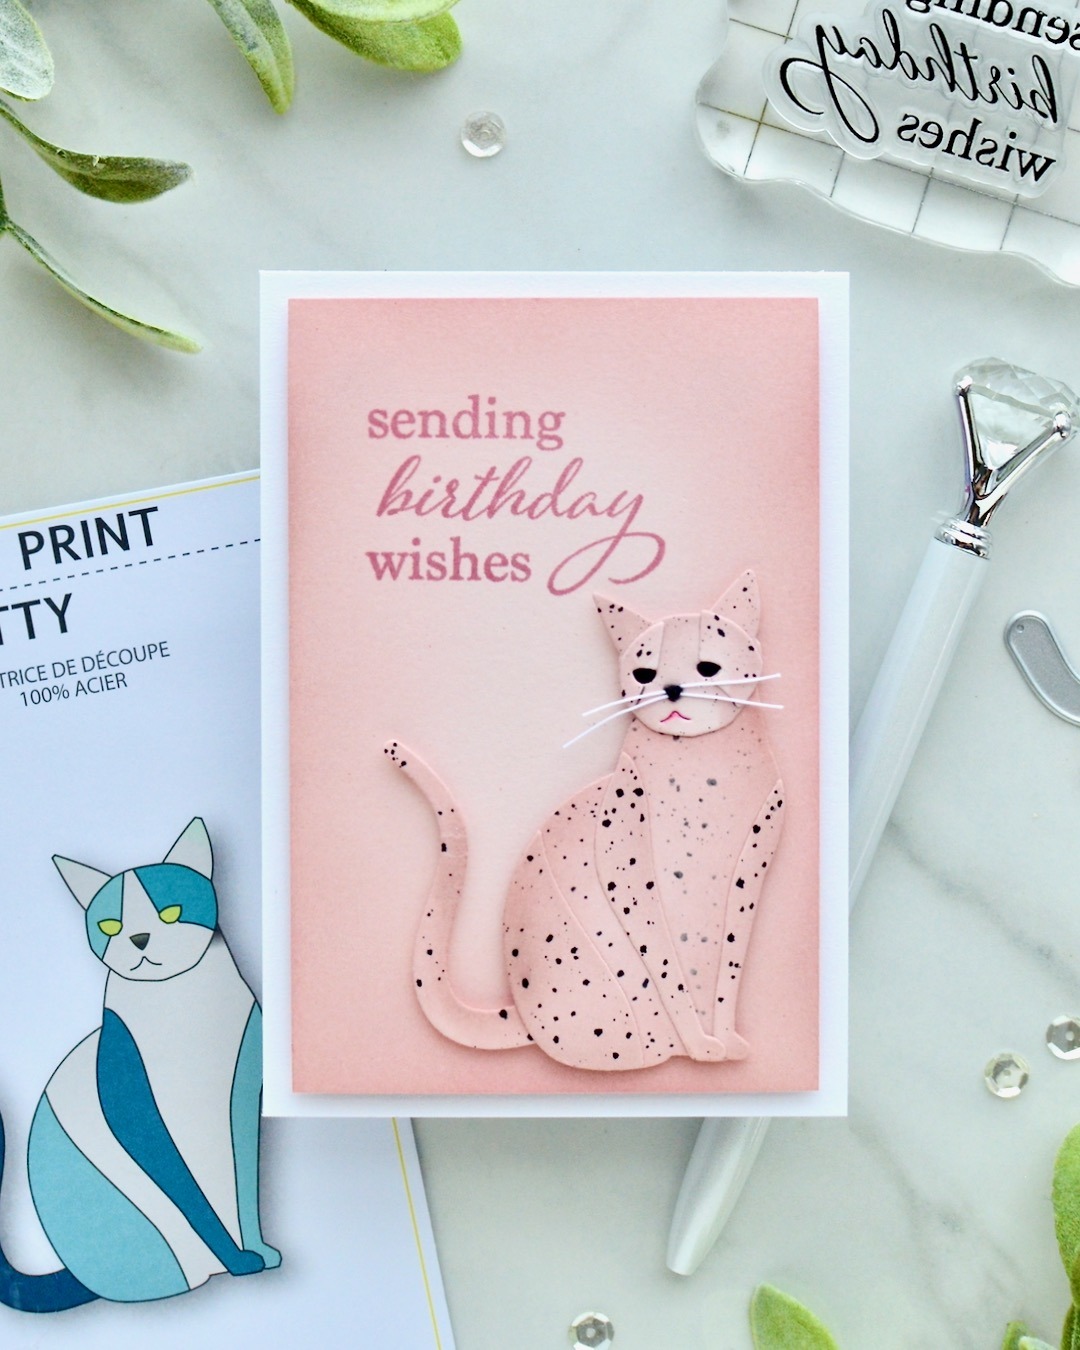
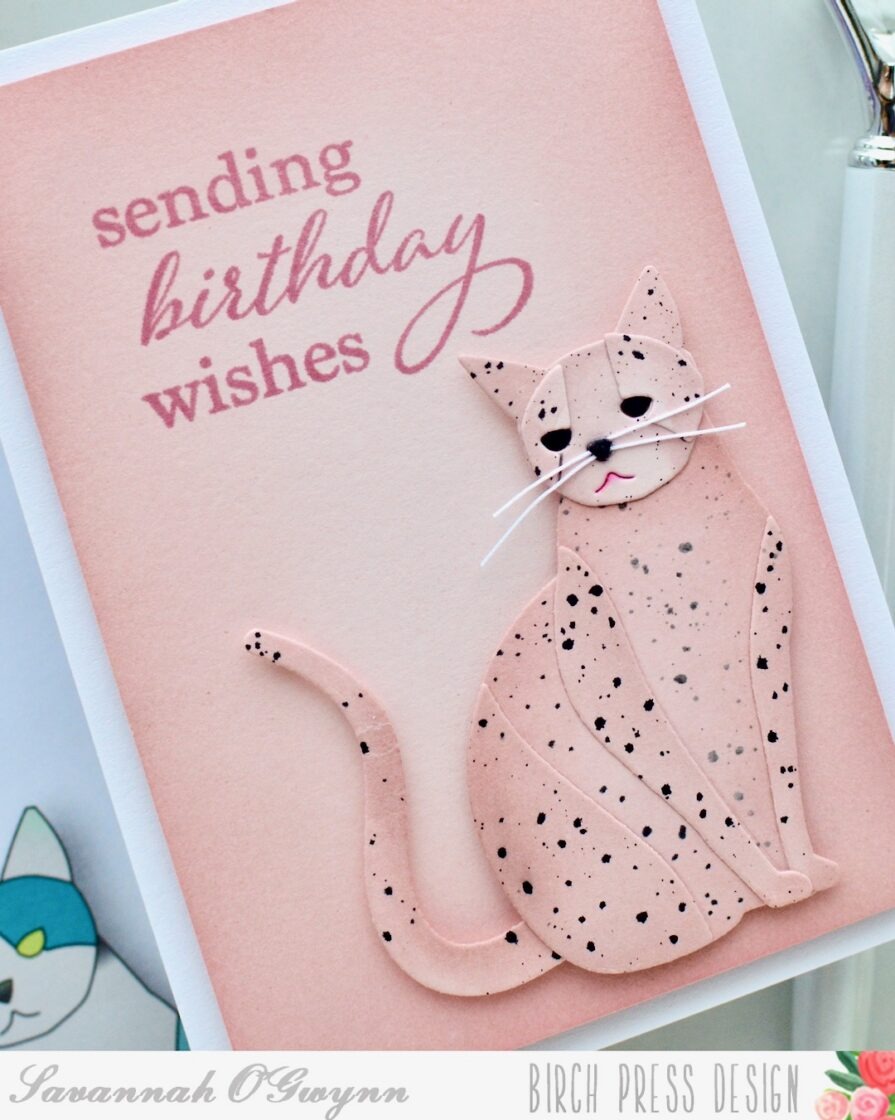
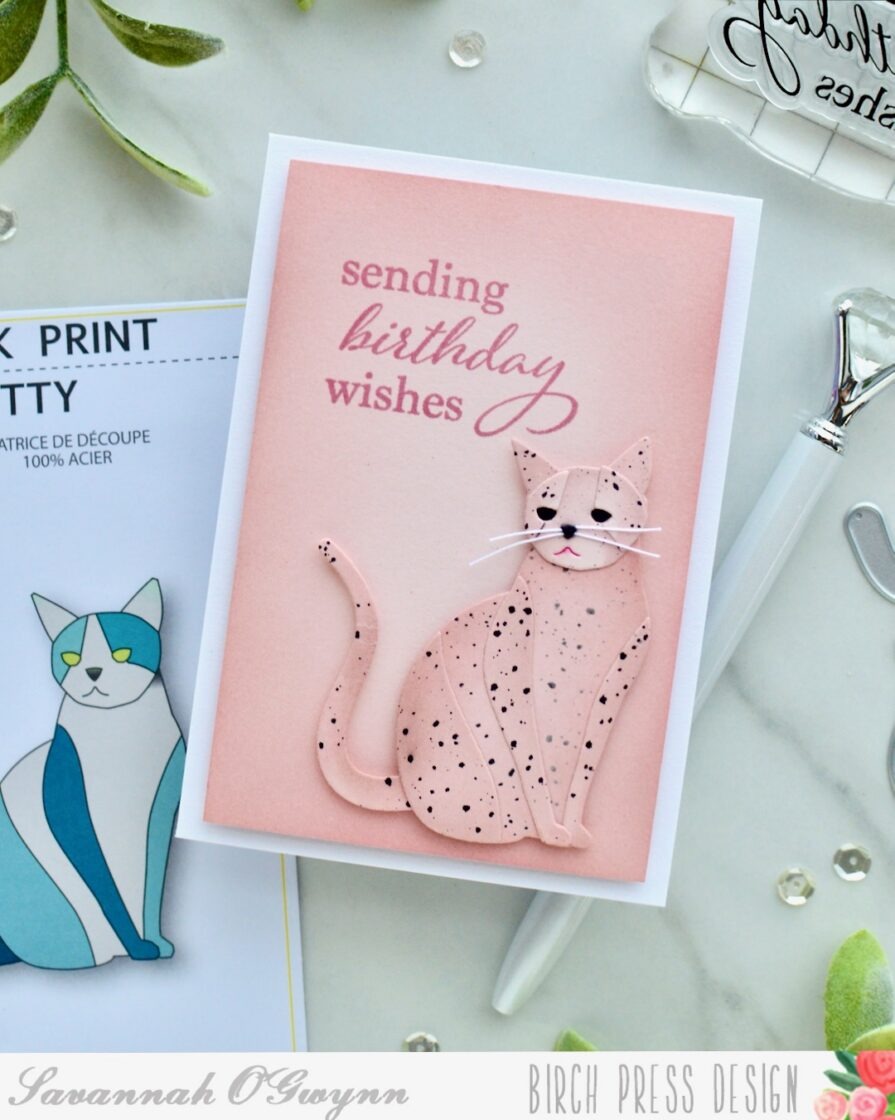
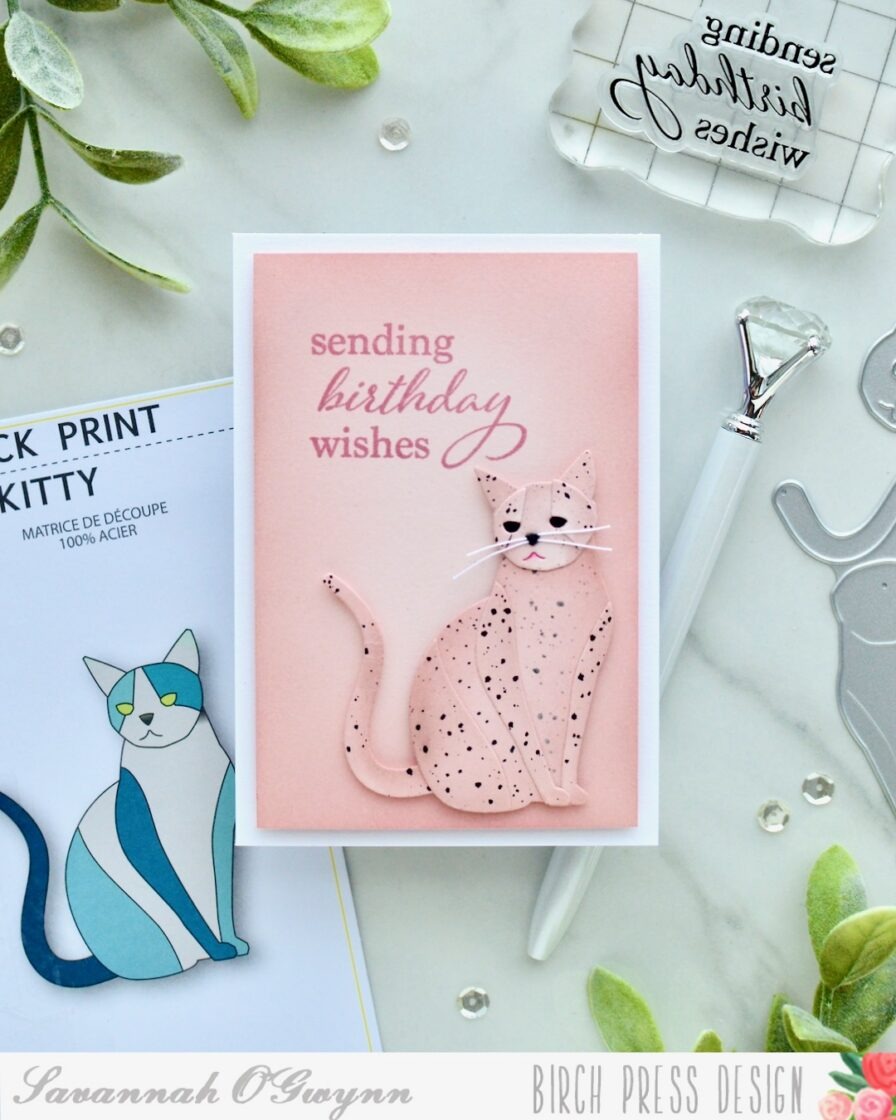
    I’m happy to be back sharing another crazy idea I had 🙃 When I saw the Block Print Kitty dies, I thought it looked a lot like a leopard. So I decided to try and make one… a pink leopard!

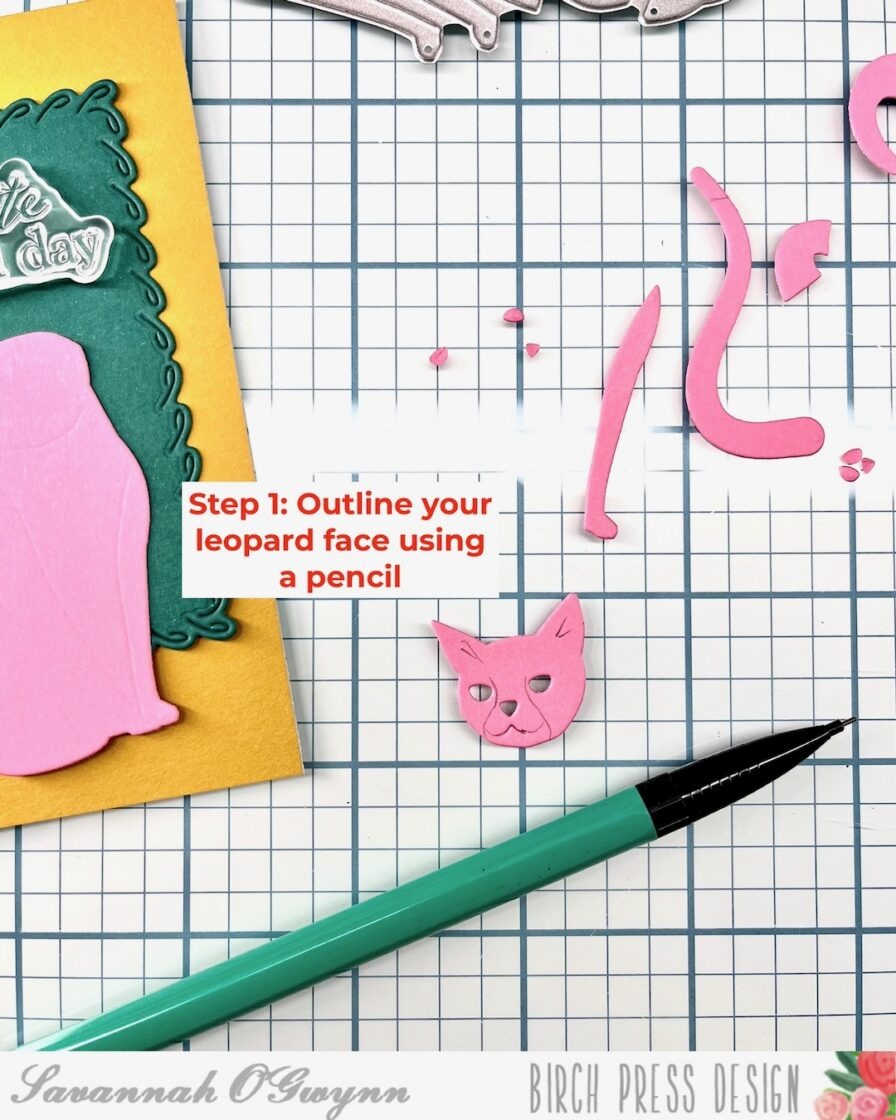
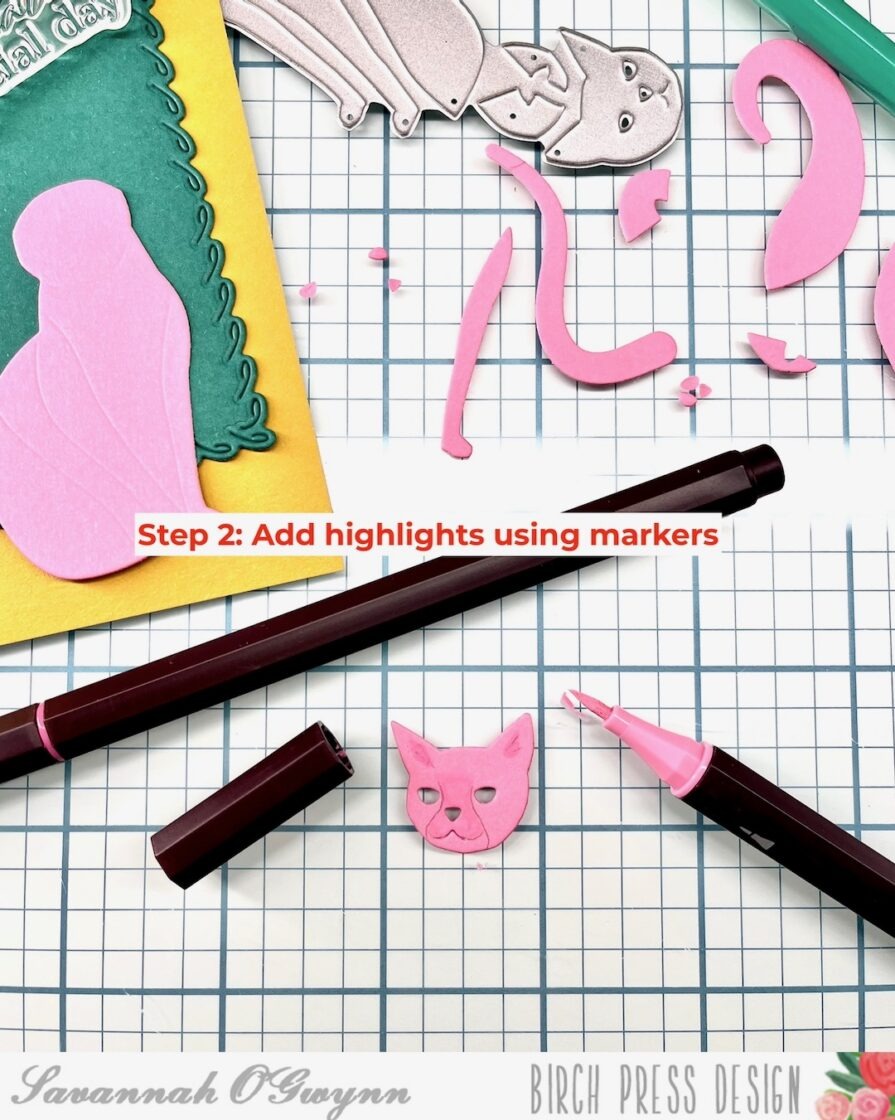
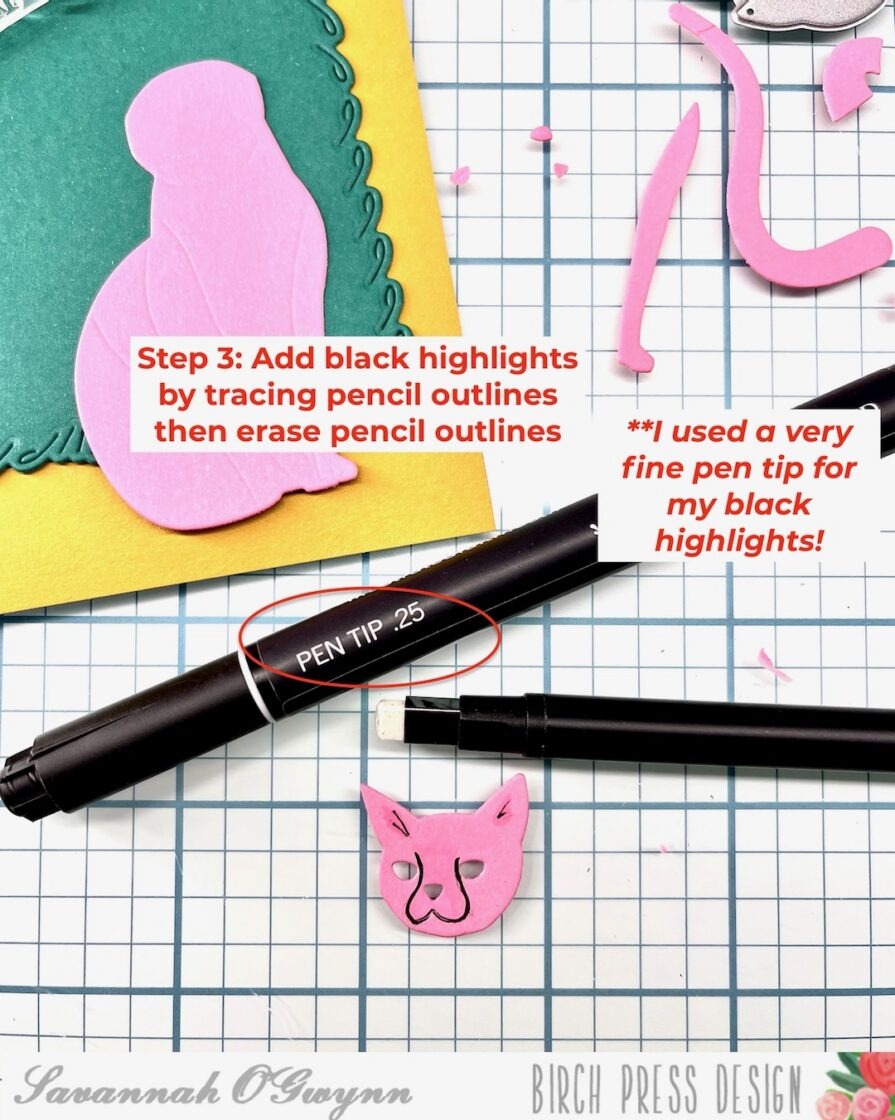
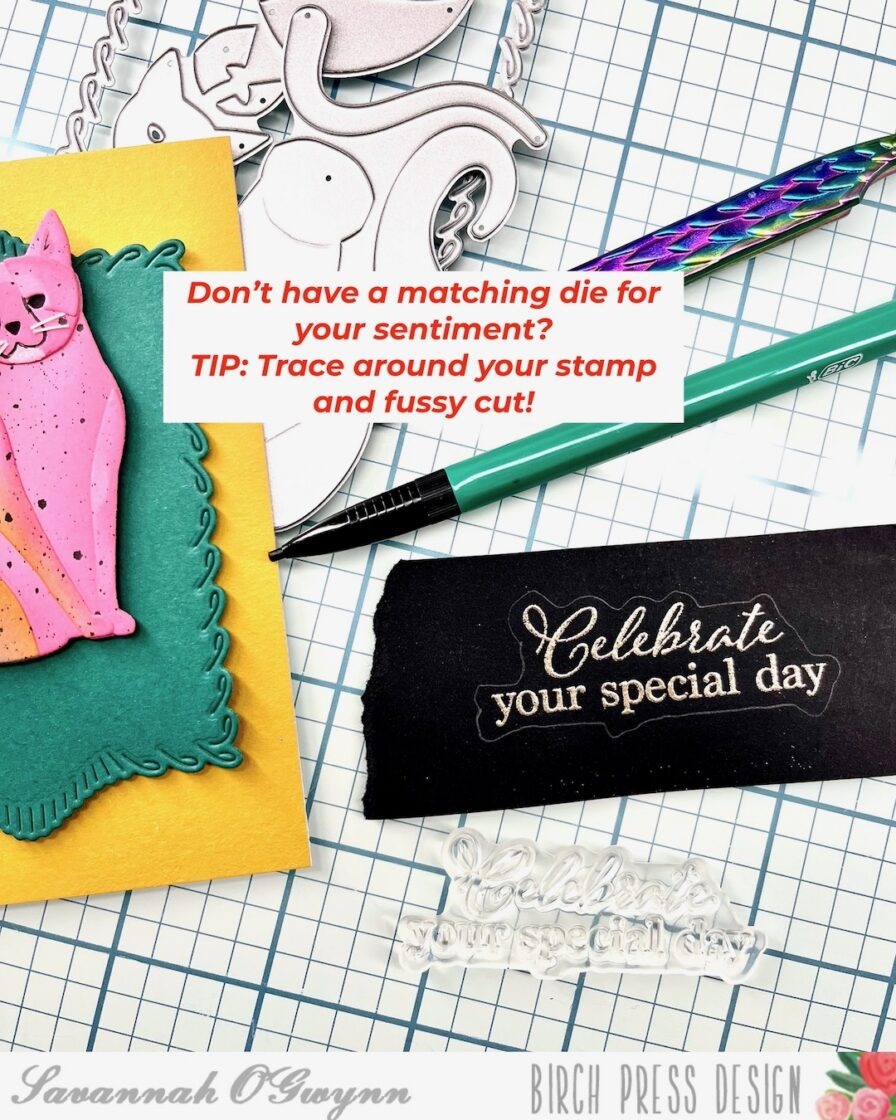
    Here are a few tips and tricks (and maybe a lesson learned for next time) to make this pink leopard:

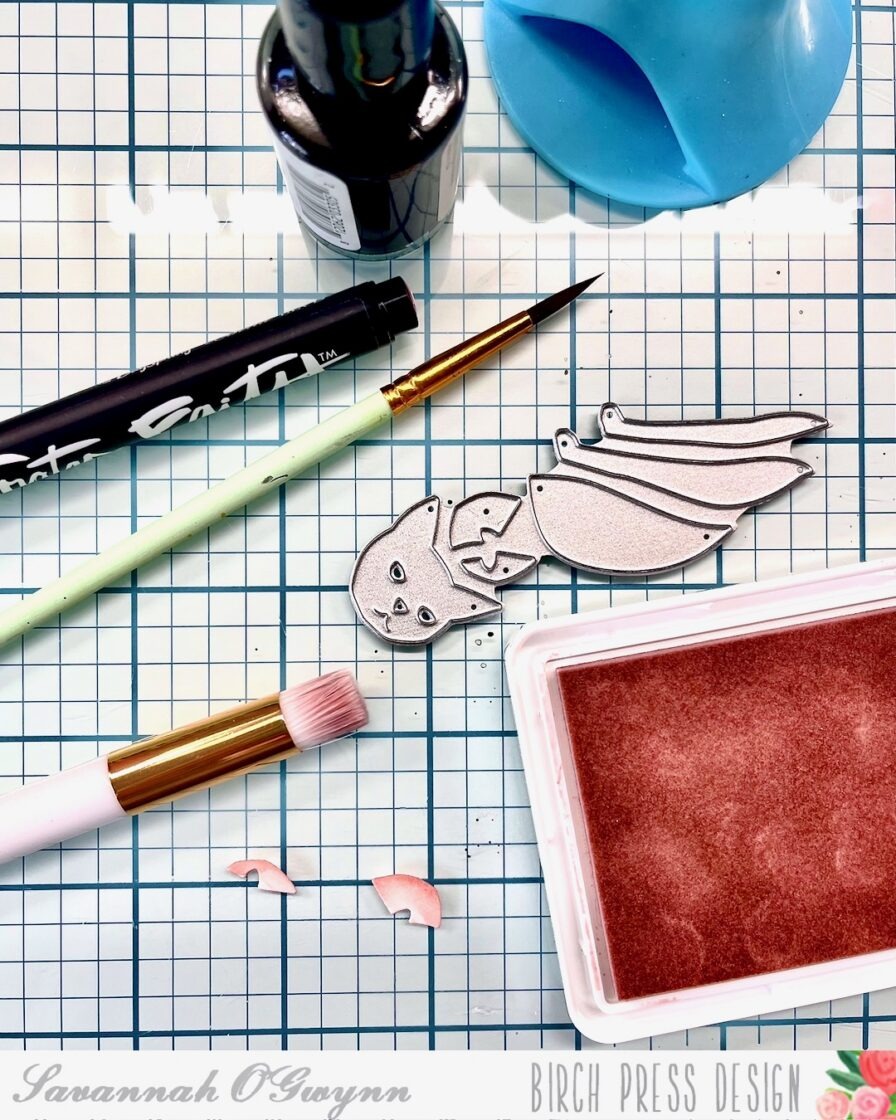
    • Use matching ink and cardstock for a subtle highlight *Lessoned Learned: I think I would do a darker ink highlight to make the pieces stand out more.
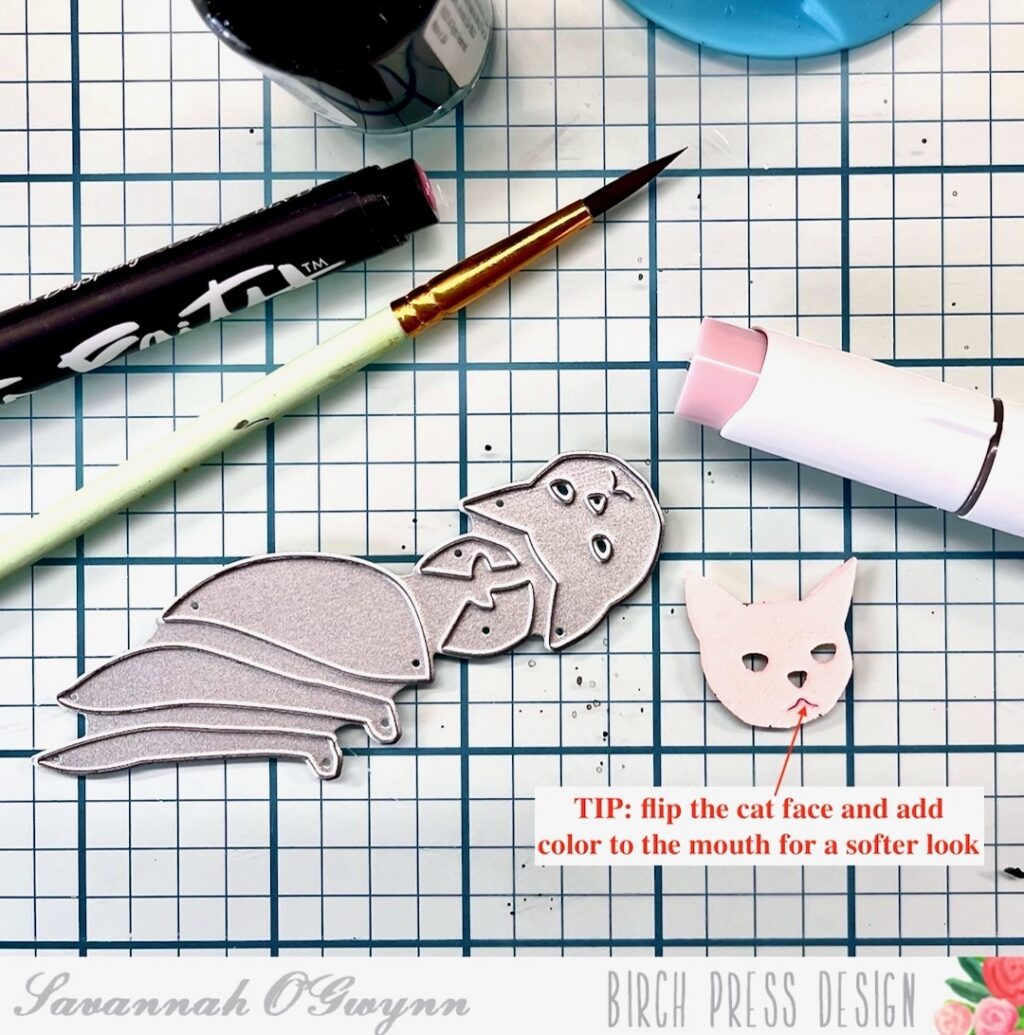
    • Use a light colored marker on the BACK of the cat face for a softer mouth look *Lesson Learned: LIGHT colored marker! I forgot and grabbed a dark marker and had to redo the face! LOL!
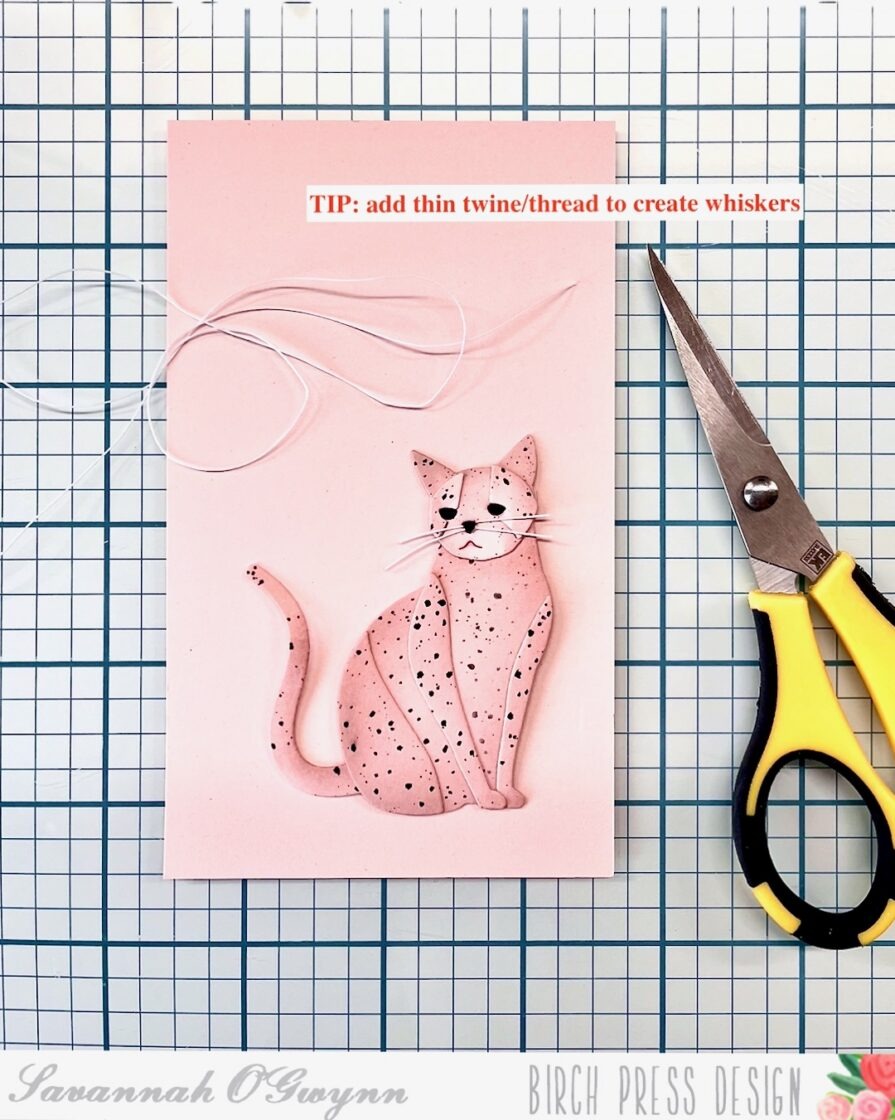
    • Add some thin thread or twine to create whiskers
    • *Overall Lesson Learned: I LOVE everything about this card… but I think I can make the face look a bit MORE like a leopard with just a pencil or black marker. Be on the lookout for “Leopard:Take 2” 🙃

    I hope that you are inspired to create a pink leopard kitty! Or maybe you have a better idea for how to make the leopard face- do share any ideas you have for my Take 2 project!

    Please remember to share what you create using these tips, tricks, and techniques or if you were inspired by my creation- I’d love to see what you make with this idea! 

    I’ll be back with MORE soon! 

    THANKS so much for stopping by! Happy crafting:) 

    HUGS <3 Sav
  • Birch Tree Series: Summer  by Savannah O’Gwynn

    Birch Tree Series: Summer
    by Savannah O’Gwynn

    Hello, BPD friends!

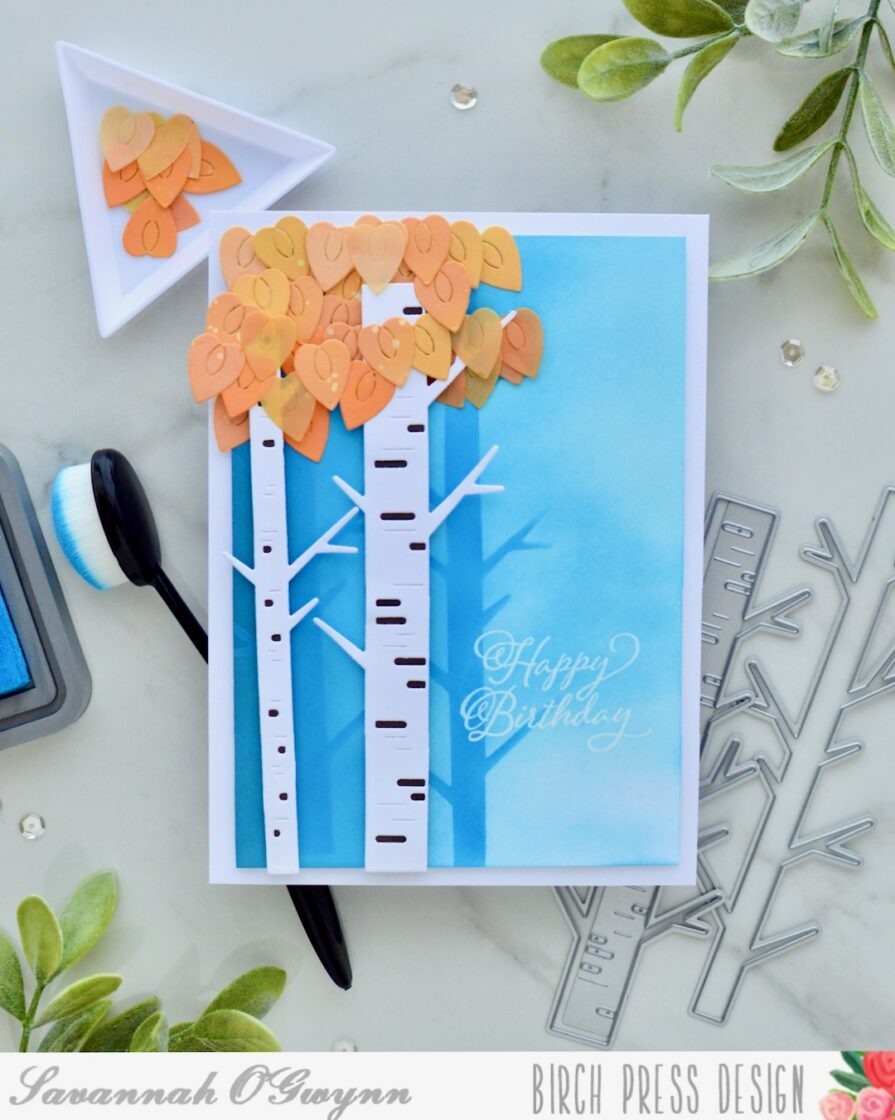
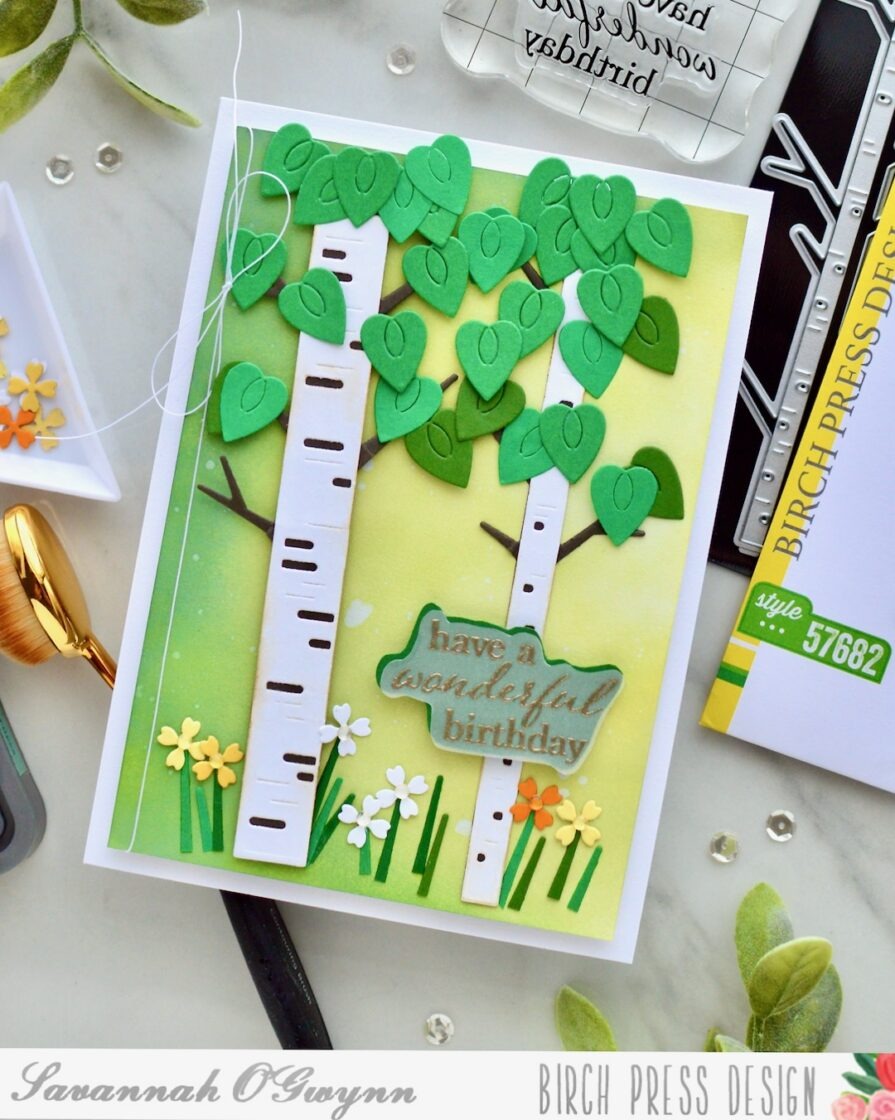
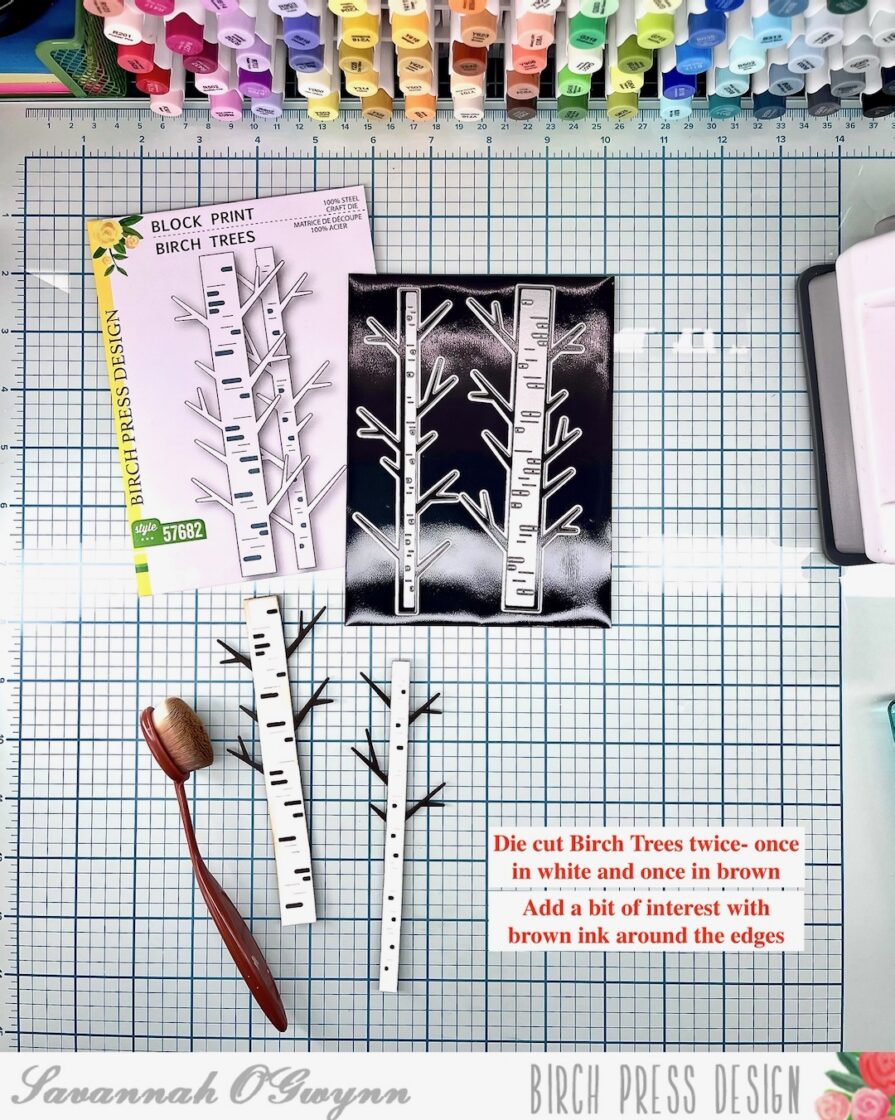
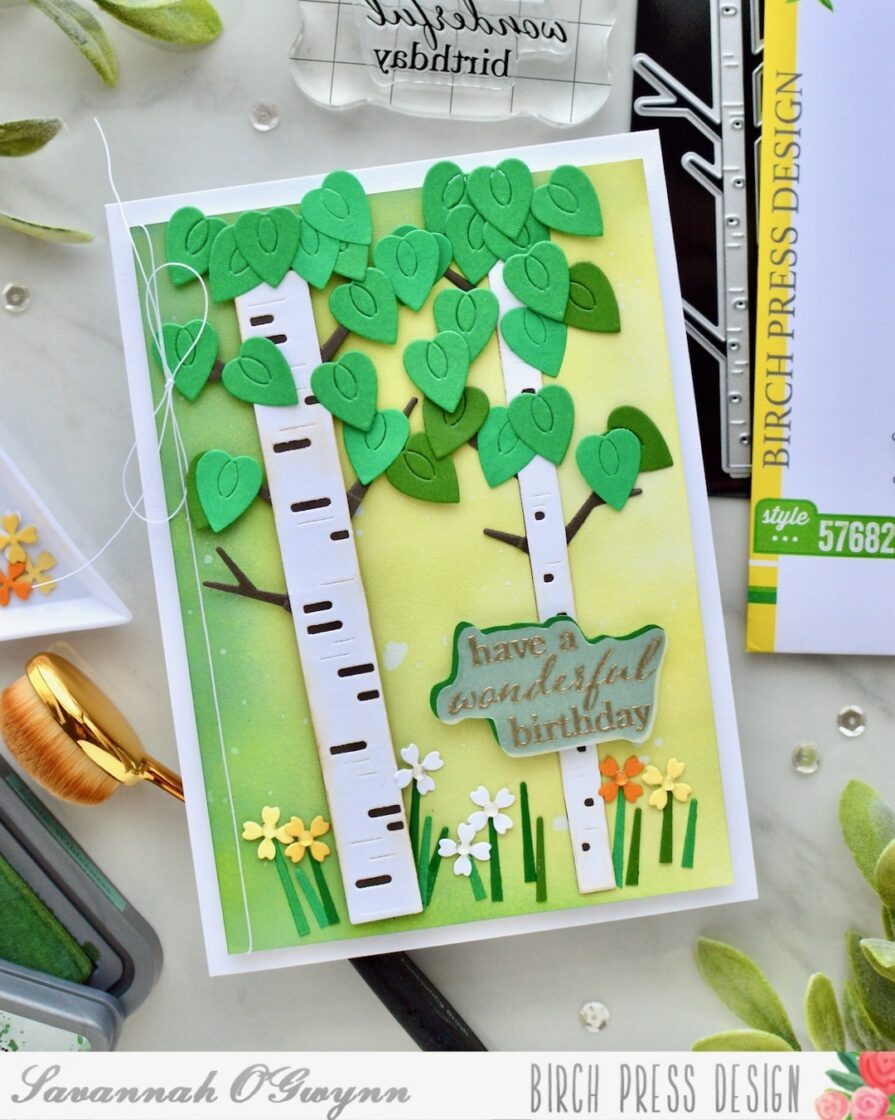
    I’m super excited to be back sharing a NEW series I’m creating using the Block Print Birch Tree dies.

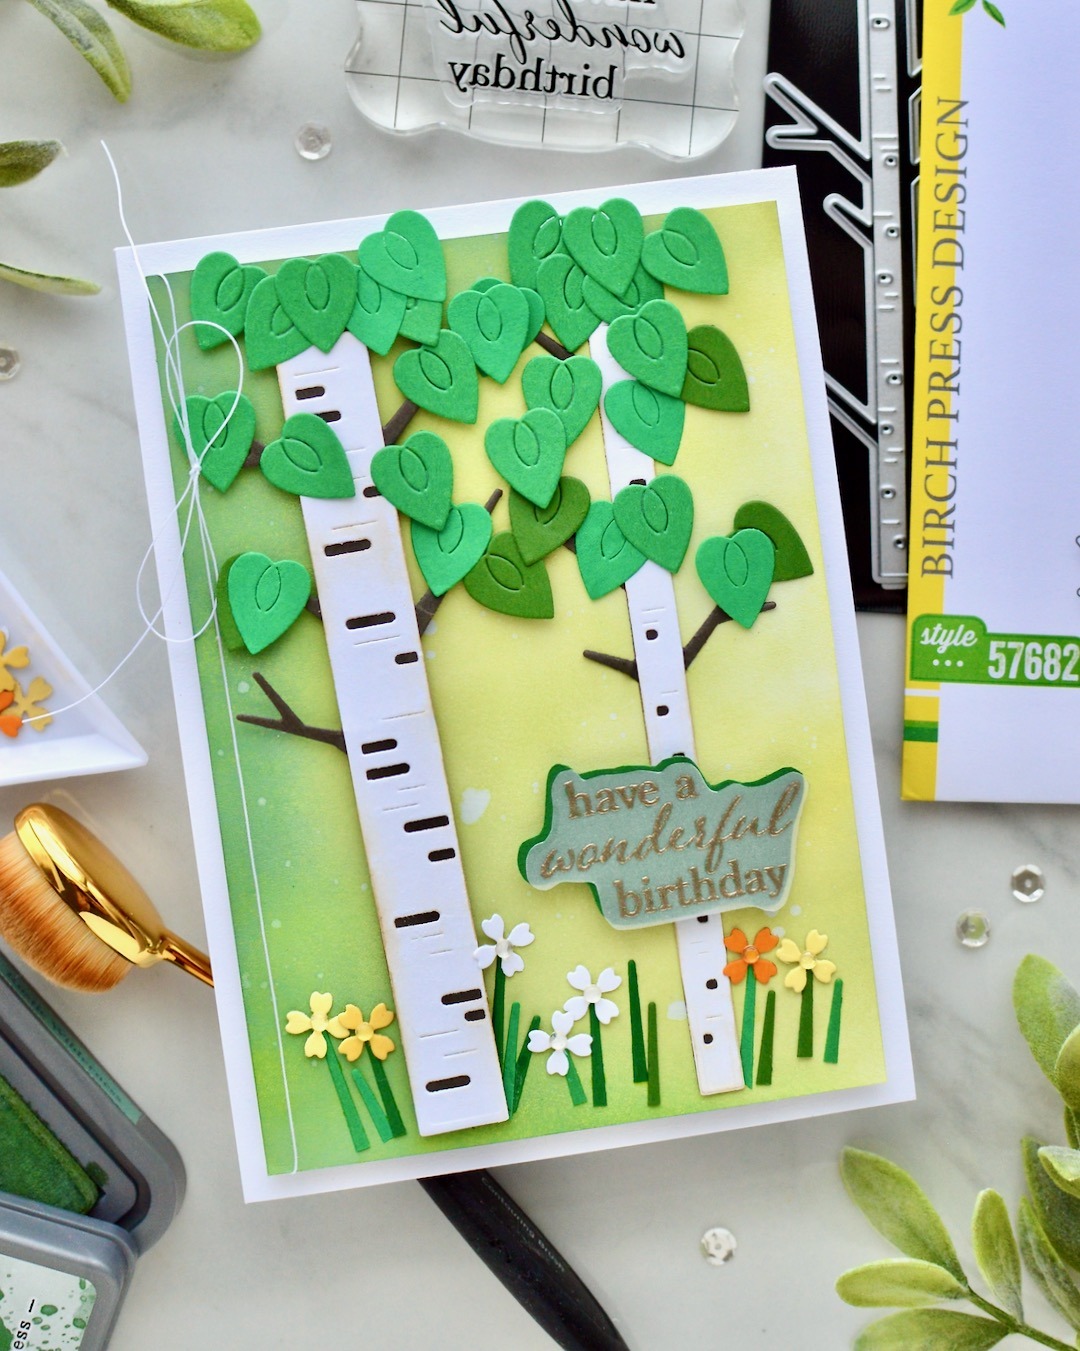
    When I received this die set, I immediately started to think of the tree in different seasons. I knew I wanted to create a series to show my idea! This card design shares the Birch Tree in the summer 🙂

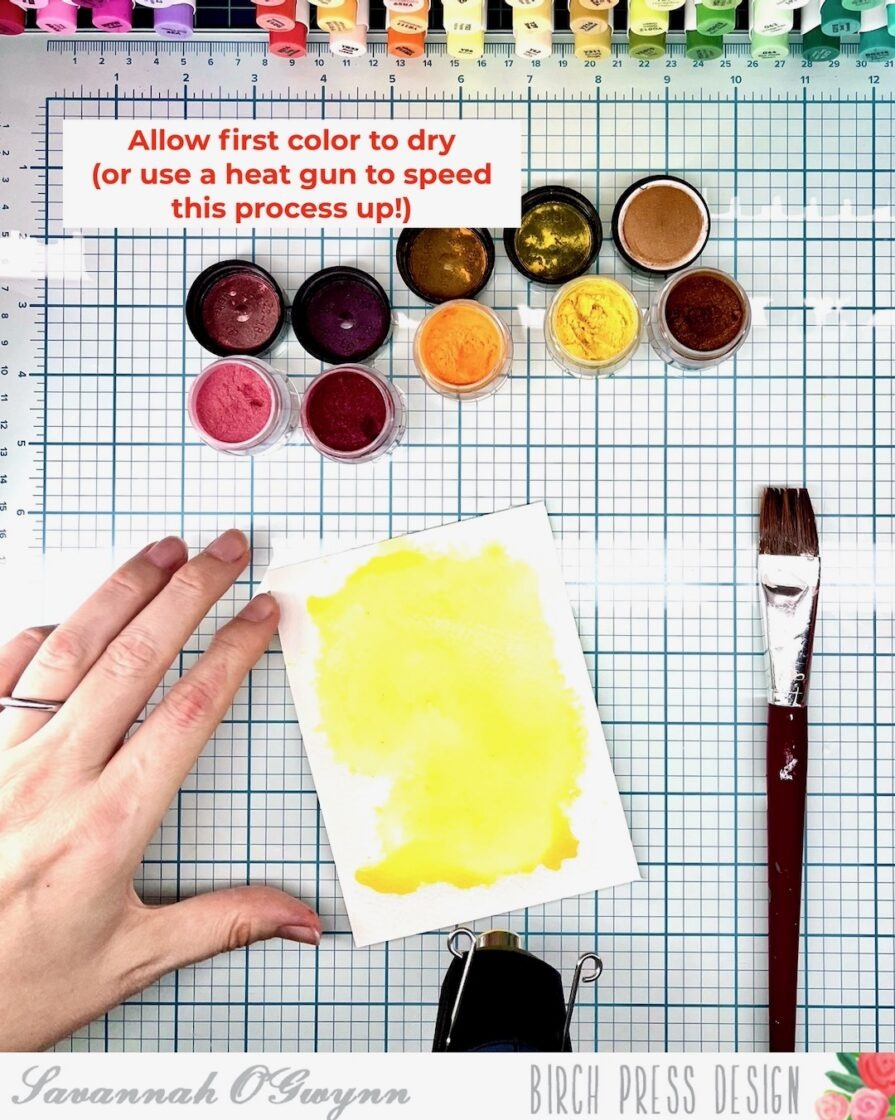
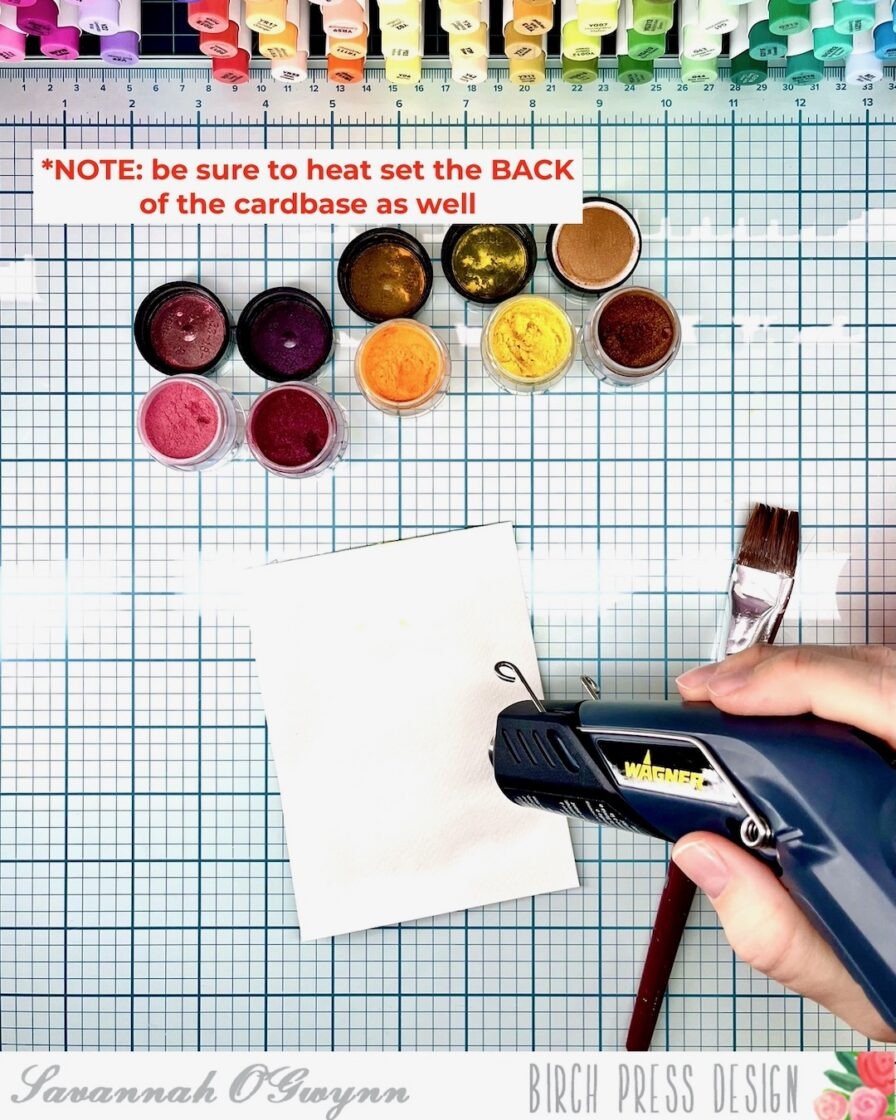
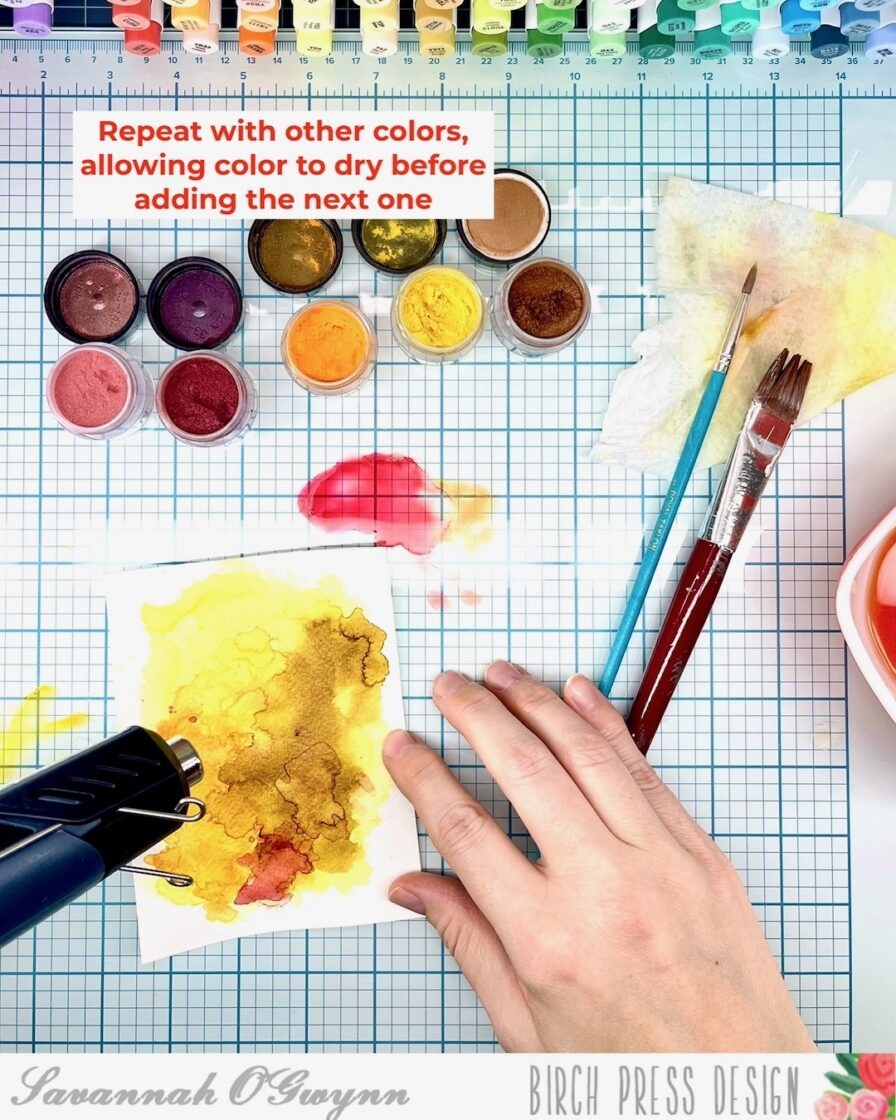
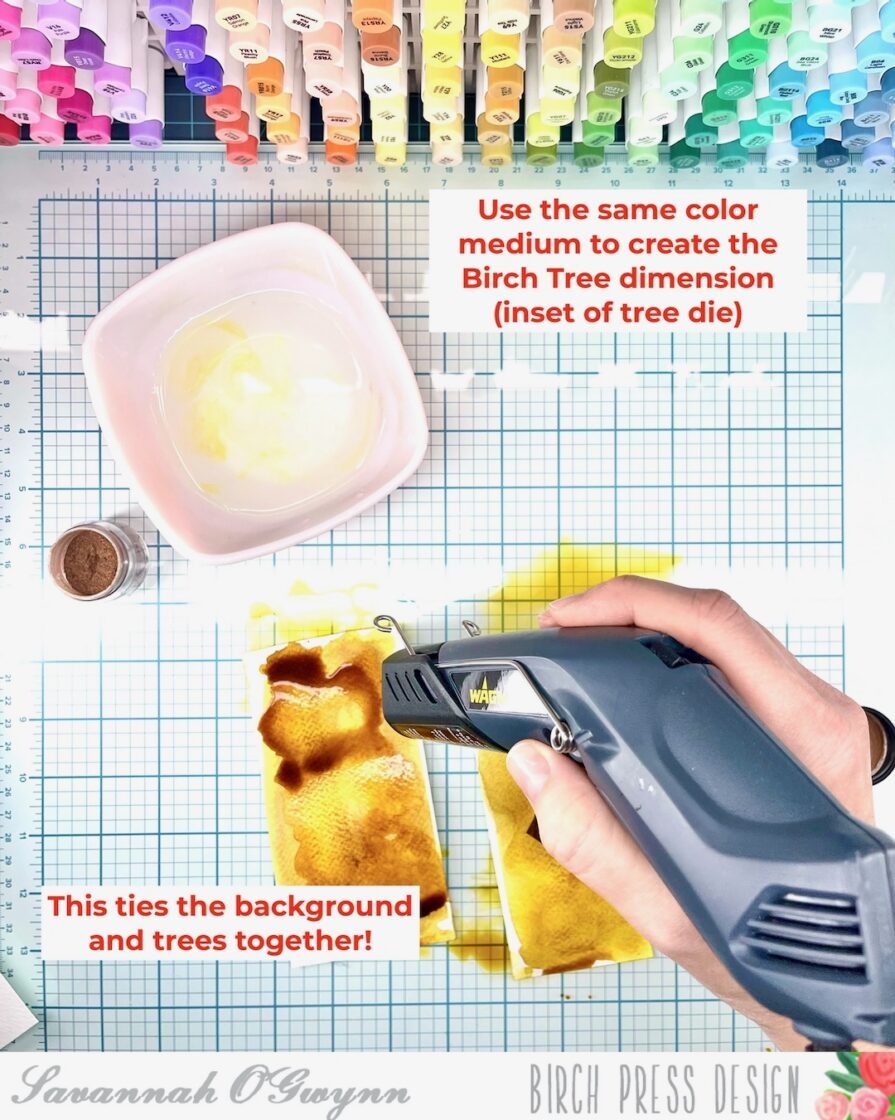
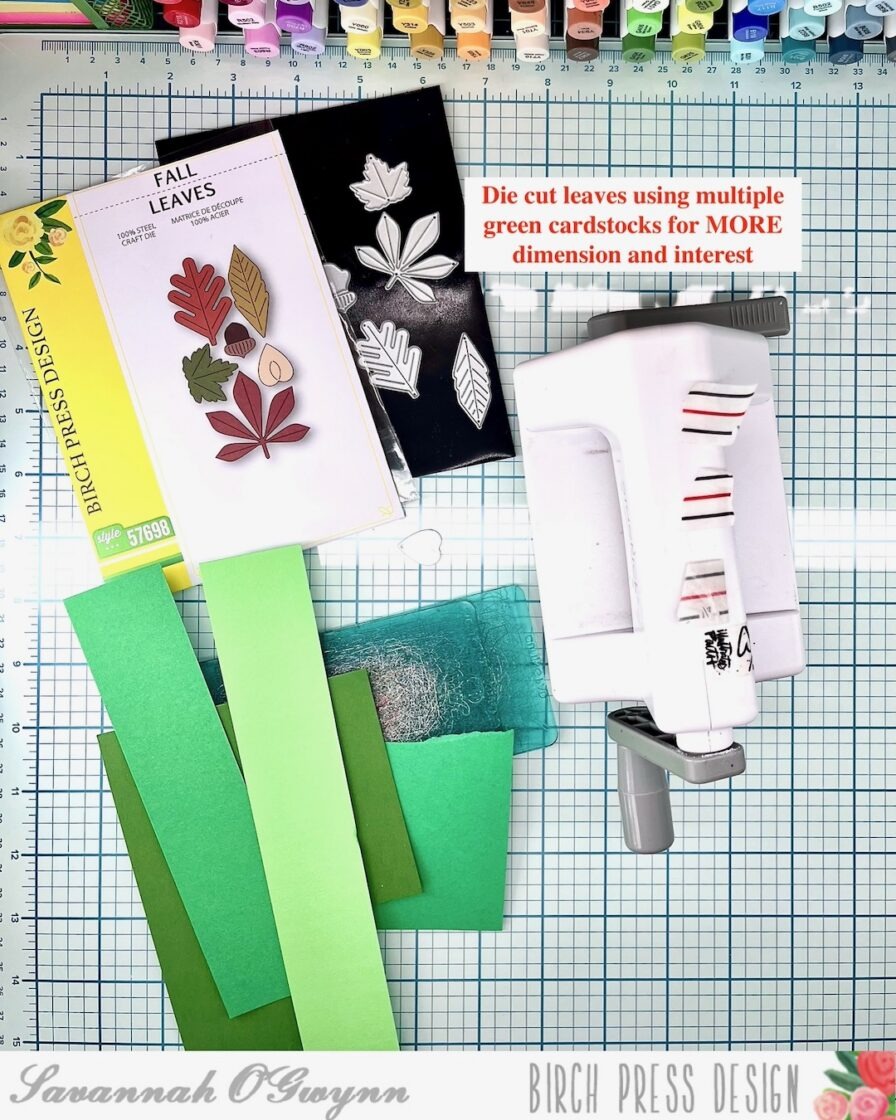
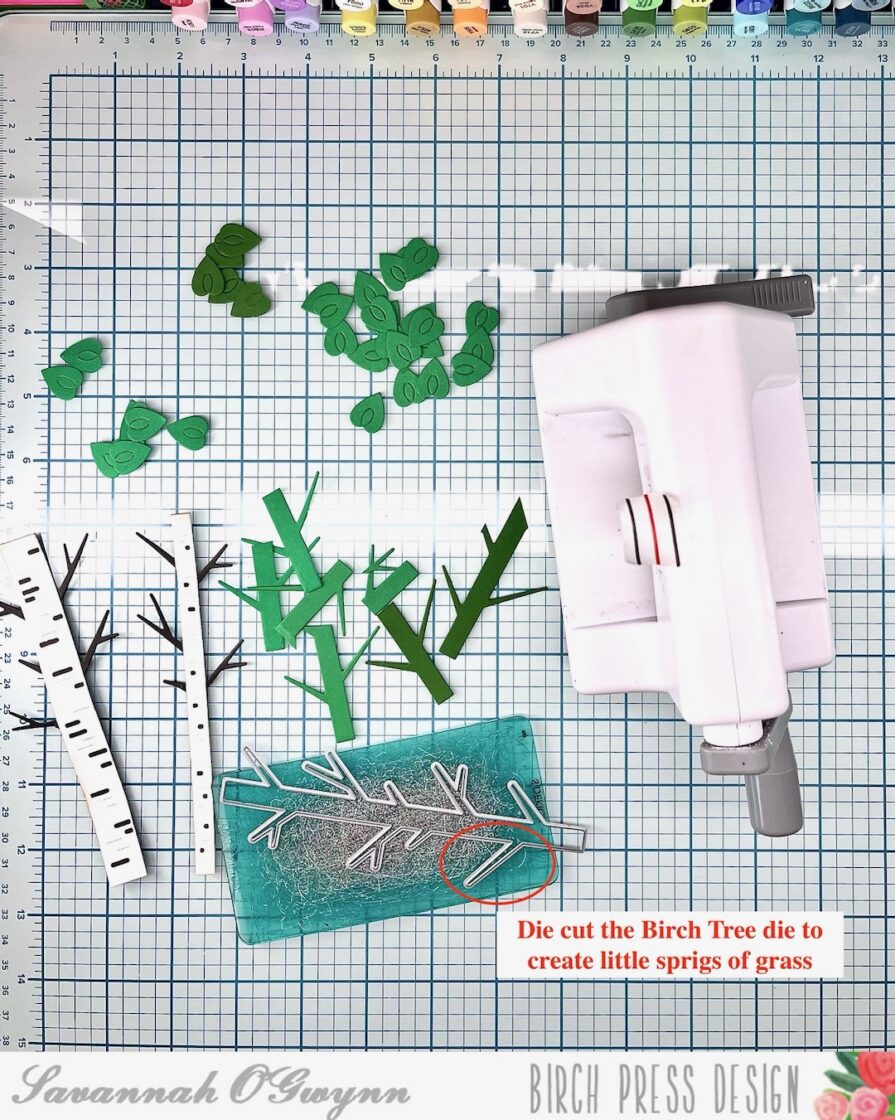
    Here are some tips and tricks that I used to create this card:

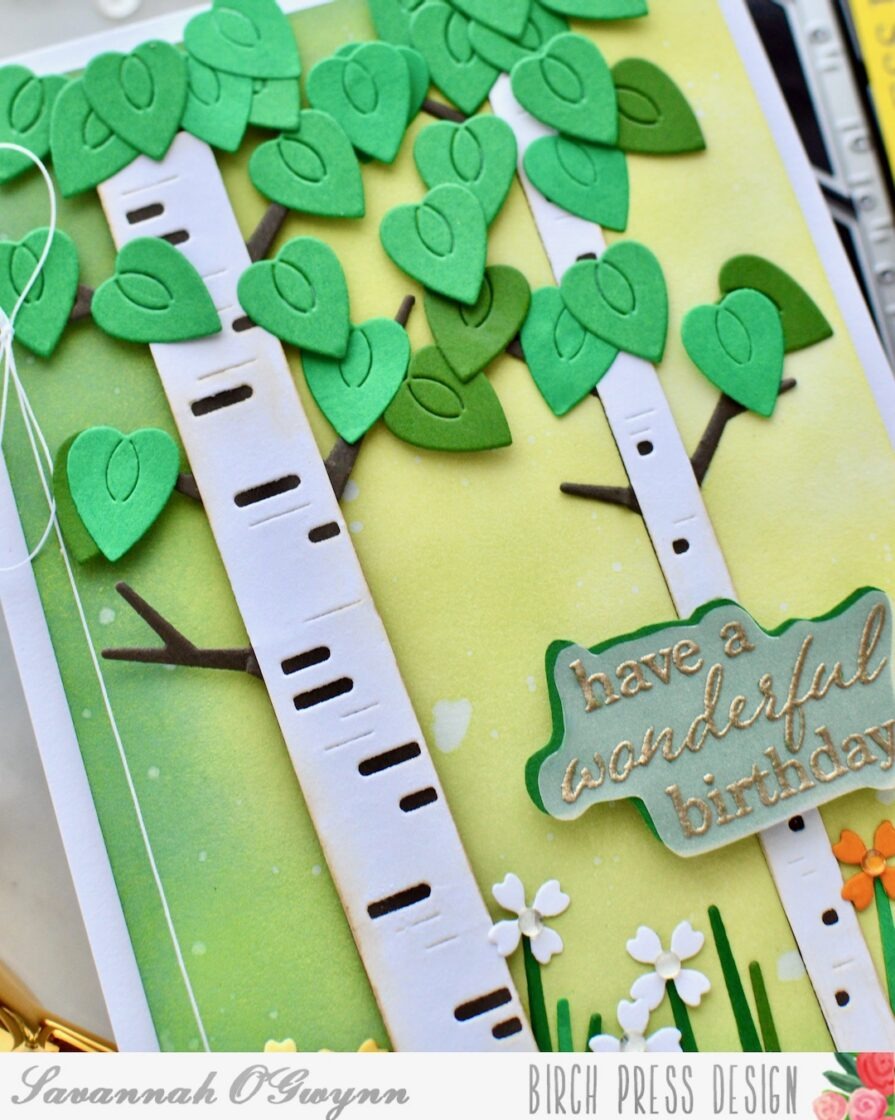
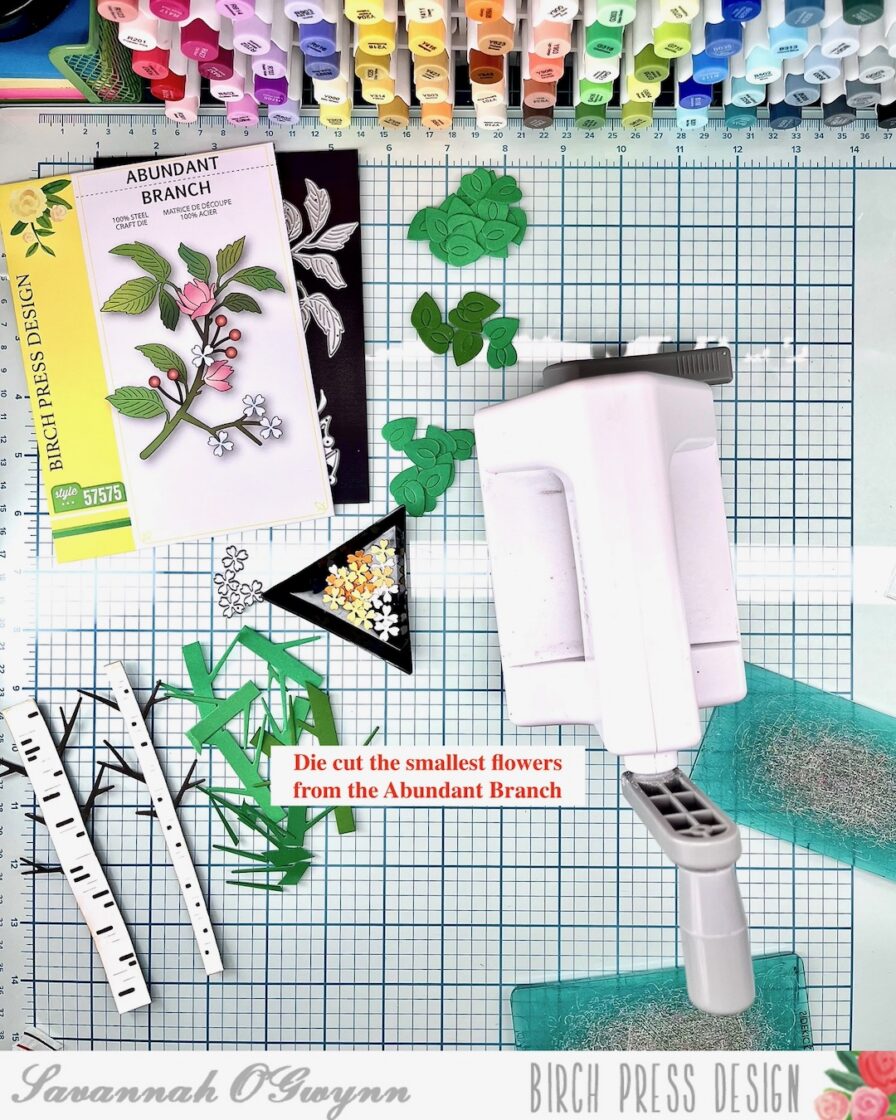
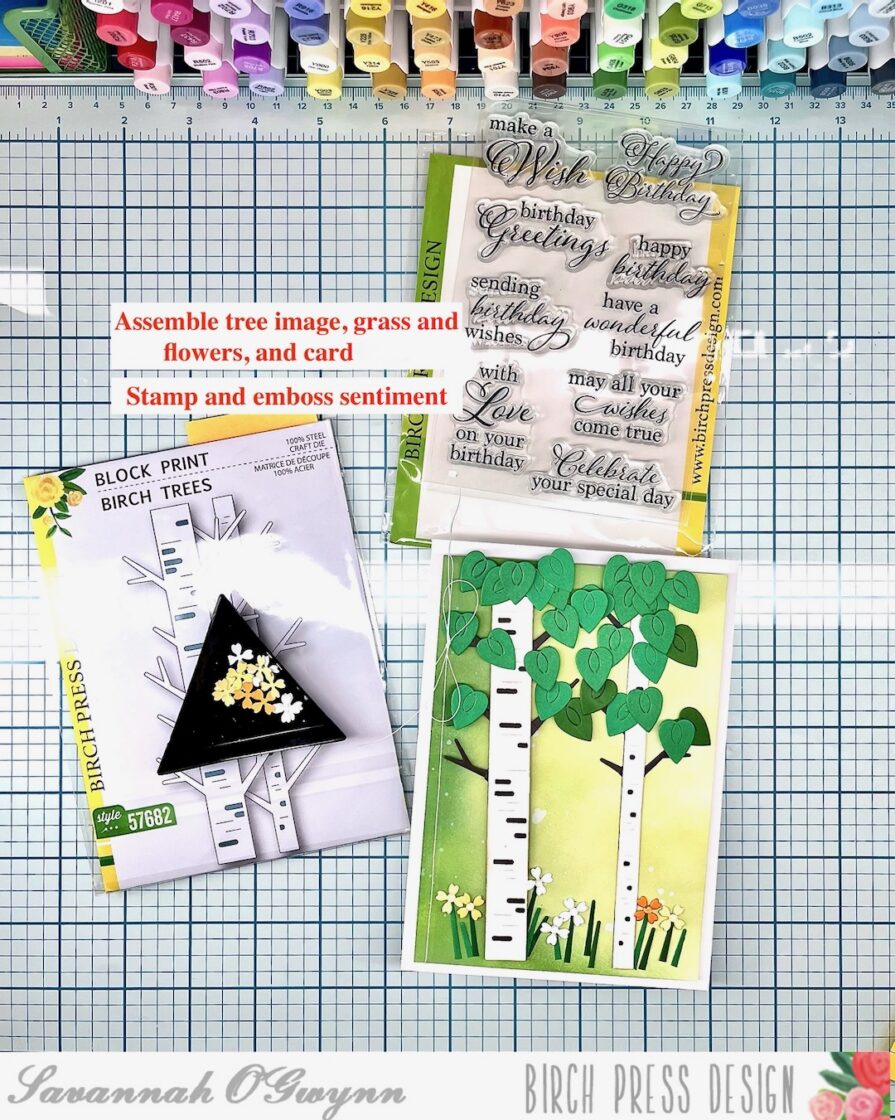
    **I also cut off the branches on the white tree and some of the brown tree. This allowed me to add flowers below the tree 🙂

    **You can actually die cut any or all of the leaves from this Fall Leaves set for your creation! I decided to use only one leaf image- LOL!

    **I stretched my dies again by using the Birch Tree branches for grass images!

    #SAVfact: I love to mix and match my supplies- you can see here that I added the smallest flowers from the Abundant Branch set for my grass/flower images.

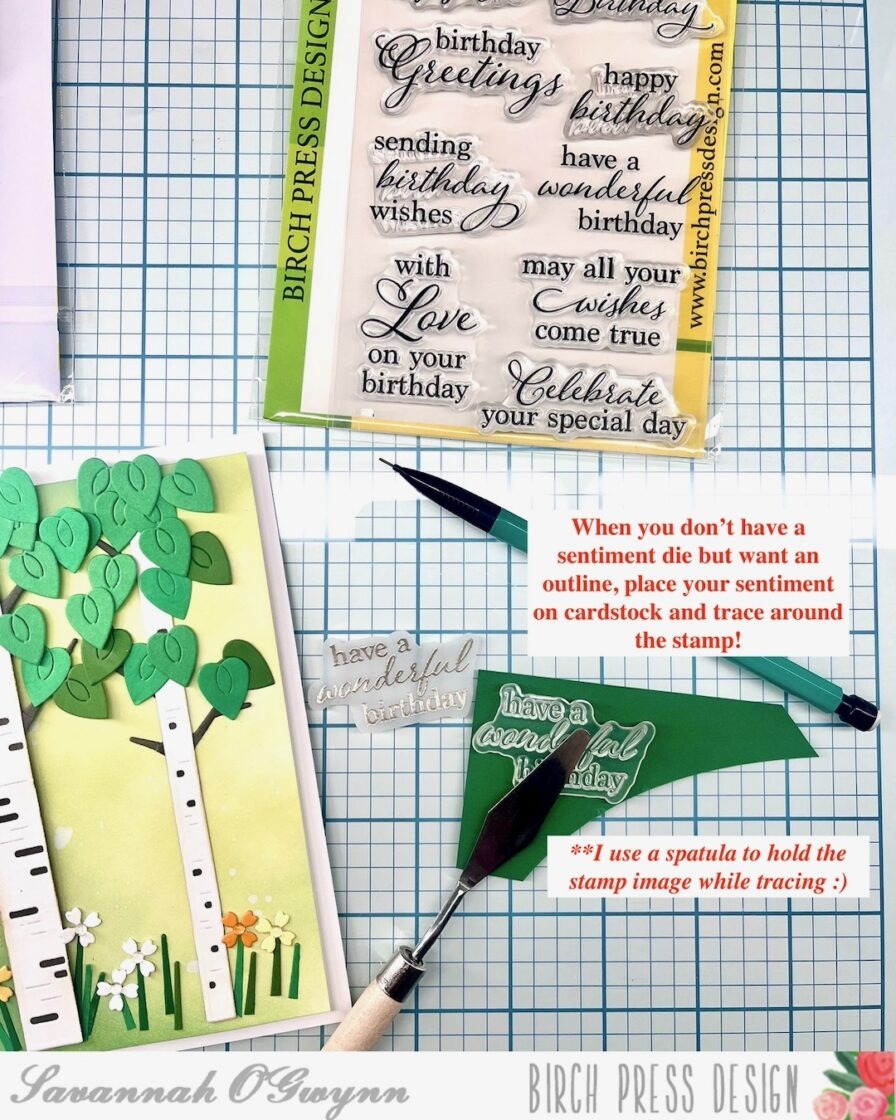
    **I don’t have a die set to match this sentiment set… so I used my stamp image to create an outline 🙂 I use a spatula to hold the image while tracing because when I use my fingers the stamp gets stuck to it! LOL!


    Join me as I continue this Birch Tree series- I honestly think I might even make MORE than just the Birch Tree in different seasons! I’ll keep you posted 🙂 I think it’s going to be FUN trying to make different Birch Tree designs!

    I hope that you are inspired and will join me in making different Birch Tree designs and cards!

    I’ll be back with MORE soon!

    Please remember to share what you create using these tips, tricks, and techniques or if you were inspired by my creation- I’d love to see what you make with this idea! 

    THANKS so much for stopping by! Happy crafting:) 


    HUGS <3 Sav

  • Fall Rainbow Birthday by Savannah O’Gwynn

    Fall Rainbow Birthday
    by Savannah O’Gwynn

    Hello, sweet friends!

    I’m excited to be back with another easy card and video tutorial!

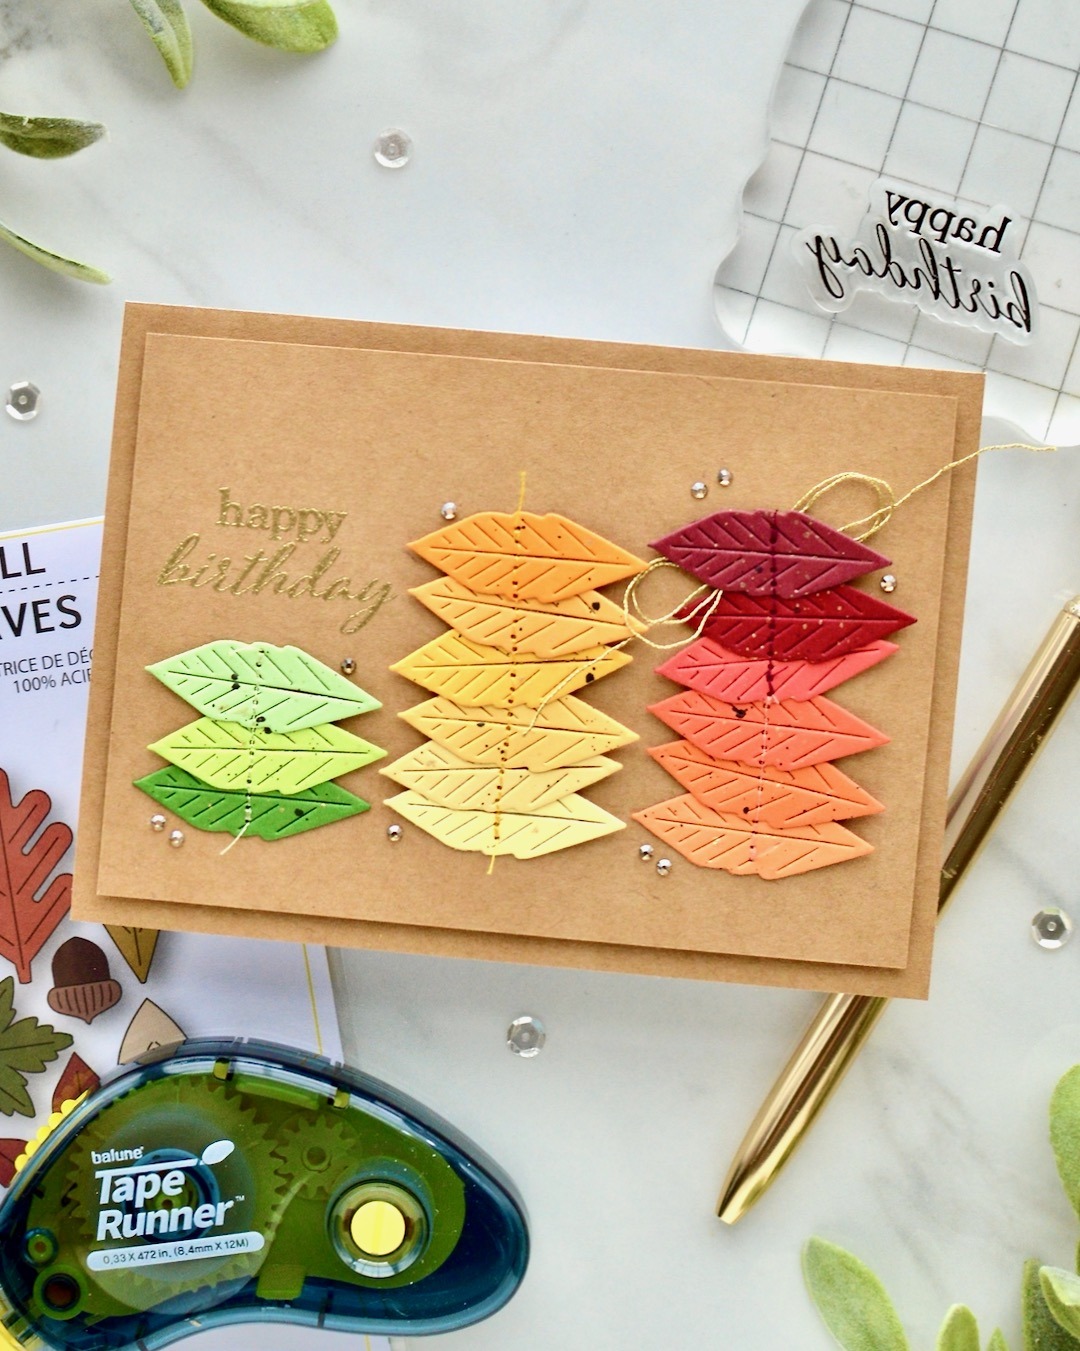
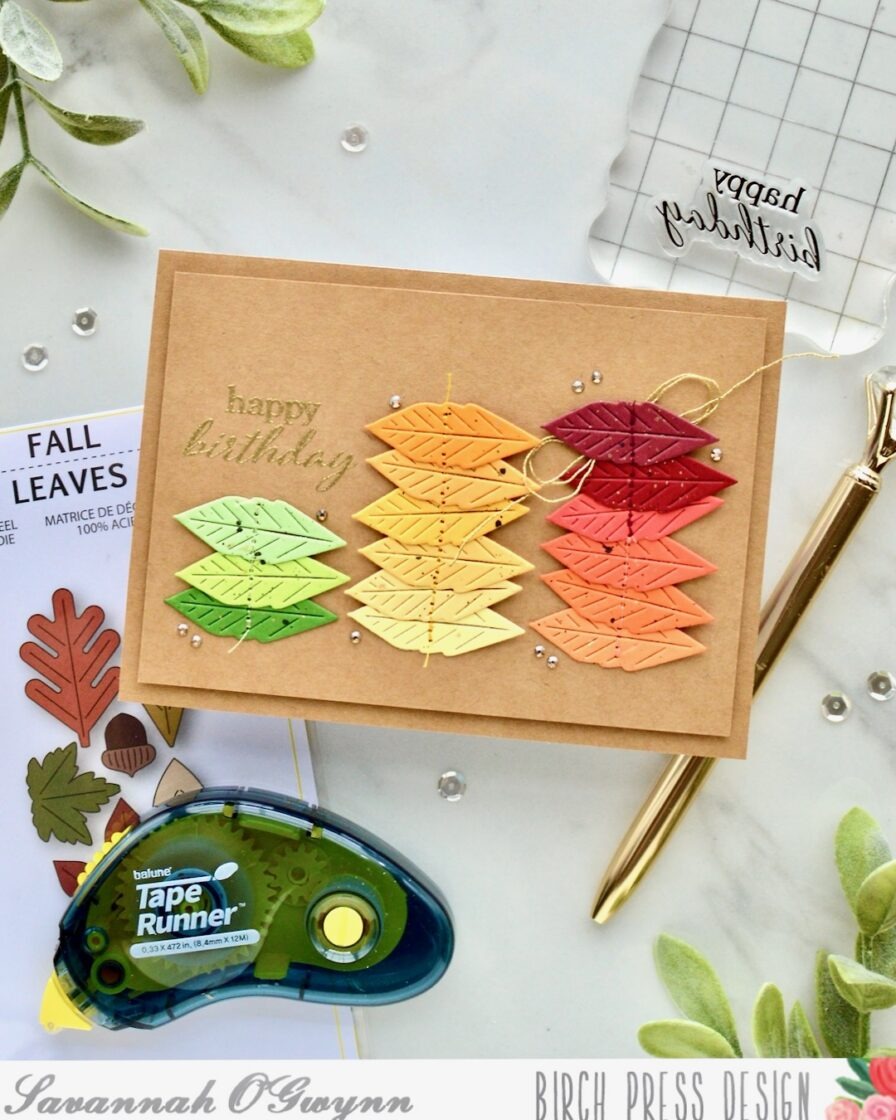
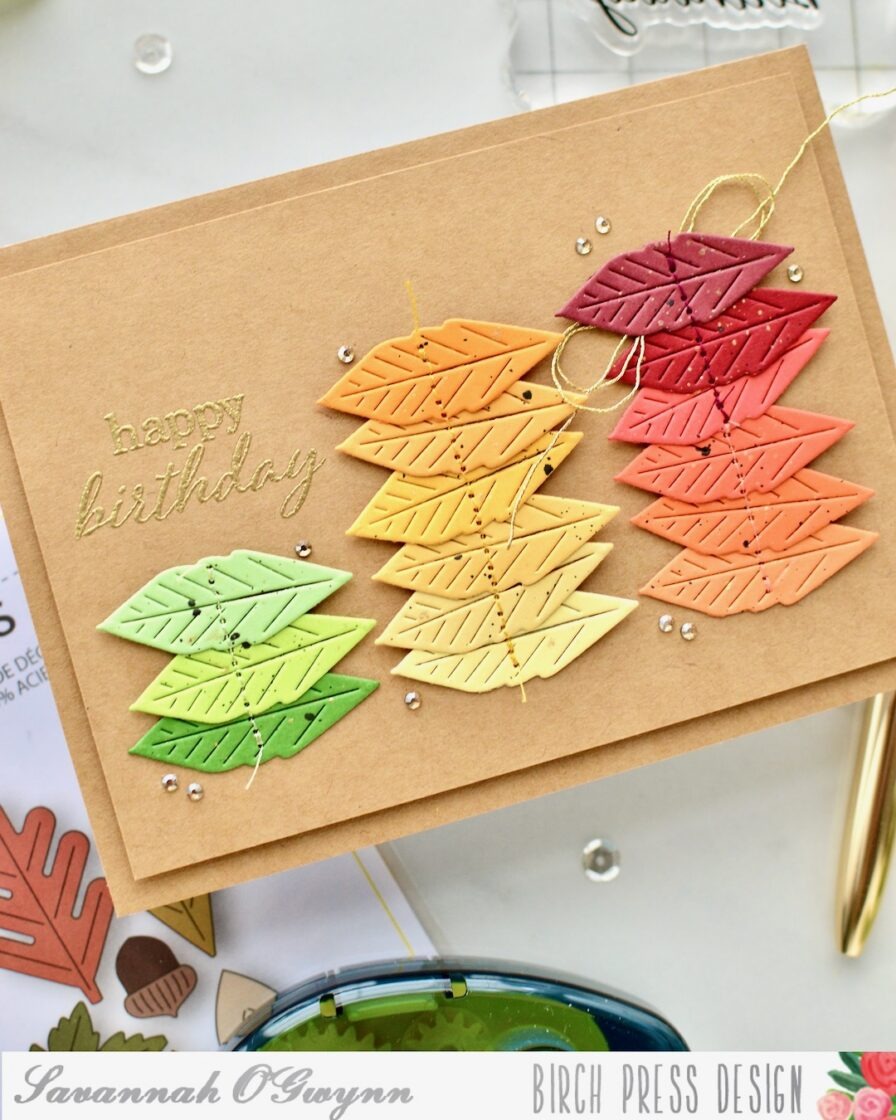
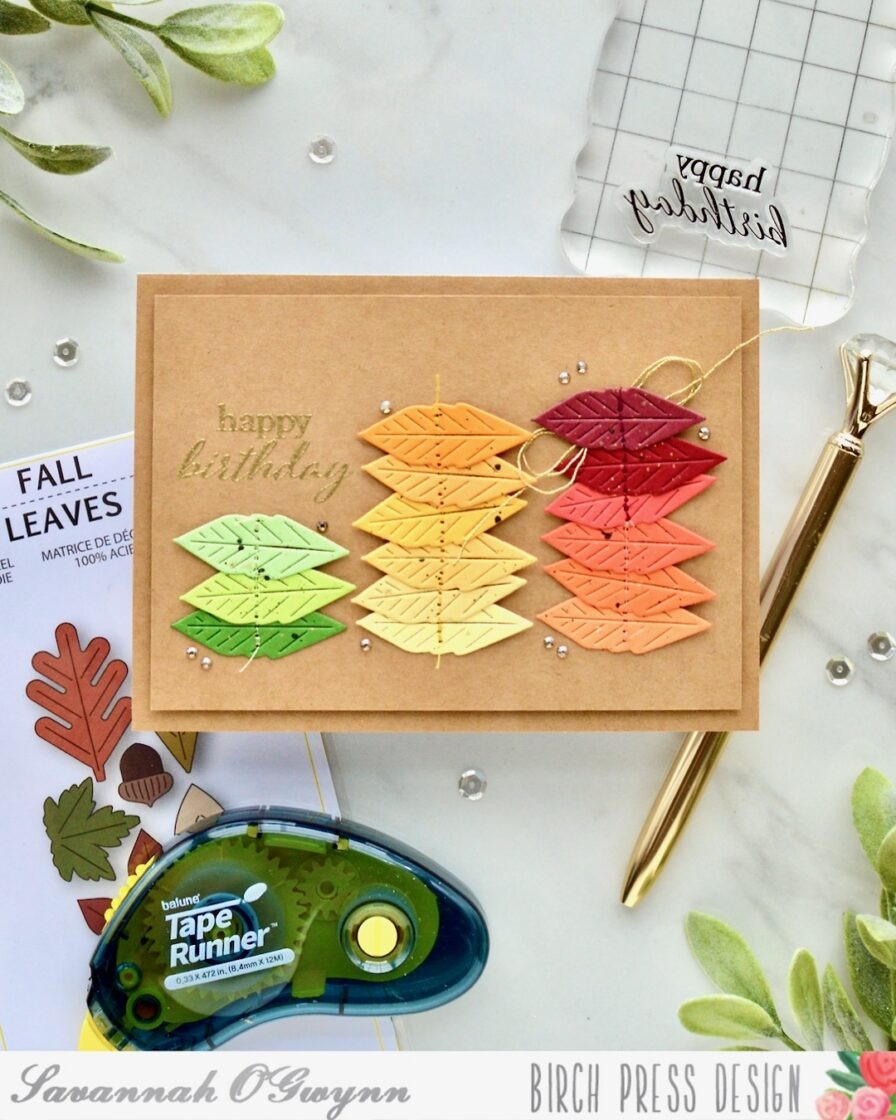
    When I saw the BPD Fall Leaves dies set, I knew I wanted to make a rainbow of leaves but with fall colors!

    If this “stop action/time lapse” video is too quick for you (I hope it doesn’t make you dizzy! LOL!), here are the steps to make this exact card:

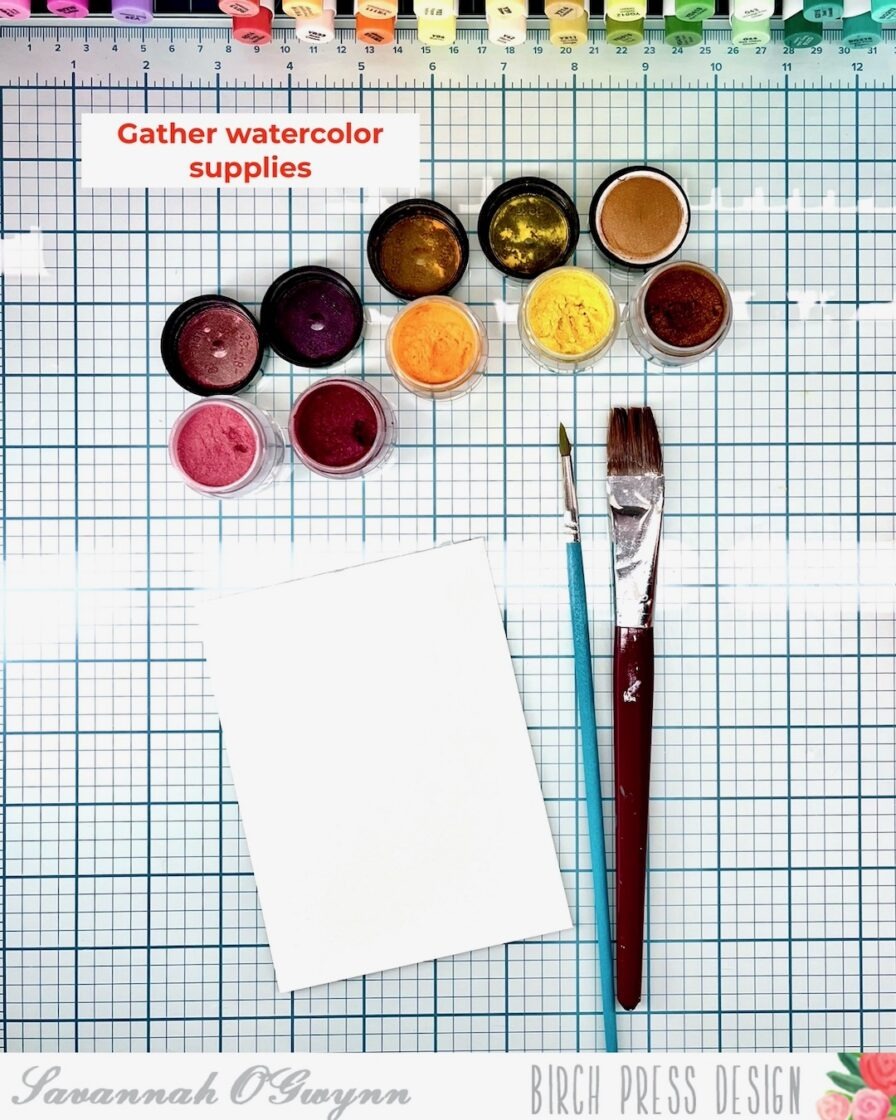
    1. Gather supplies including BPD stamps/dies and Memory Box cardstock
    2. Die cut a BPD leaf image from all cardstock colors **You can cut different leaf images or all one design. I chose just to die cut one image for all colors.
    3. Apply cardstock to cardbase; trim to size
    4. Splatter BPD leaves with ink/paint
    5. Attach each BPD leaf to card panel **I attached mine using adhesive but also used a sewing machine to add interest and dimension.
    6. Choose a sentiment from the BPD stamp set, stamp and emboss sentiment above leaf columns
    7. Add foam tape to attach panel to cardbase
    8. Finish with extra embellishments like gems

    It really was EASY to create! And I love these colors- they are perfect for a fall/autumn birthday! Well actually, now that I think about it… this card could be for ANY fall/autumn occasion with just a switch of the sentiment. It’s perfect🙃

    I hope that you are inspired by my rainbow leaves and easy card tutorial!  

    Please remember to share what you create using these tips, tricks, and techniques or if you were inspired by my creation- I’d love to see what you make with this idea! 

    I’ll be back with MORE soon!

    THANKS so much for stopping by! Happy crafting:) 


    HUGS <3 Sav

  • One Die, Two Tails  by Savannah O’Gwynn

    One Die, Two Tails
    by Savannah O’Gwynn

    Hello, BPD friends! My name is Savannah O’Gwynn, and I’m super excited to share my very first Birch Press Design project as a Design Team Member!

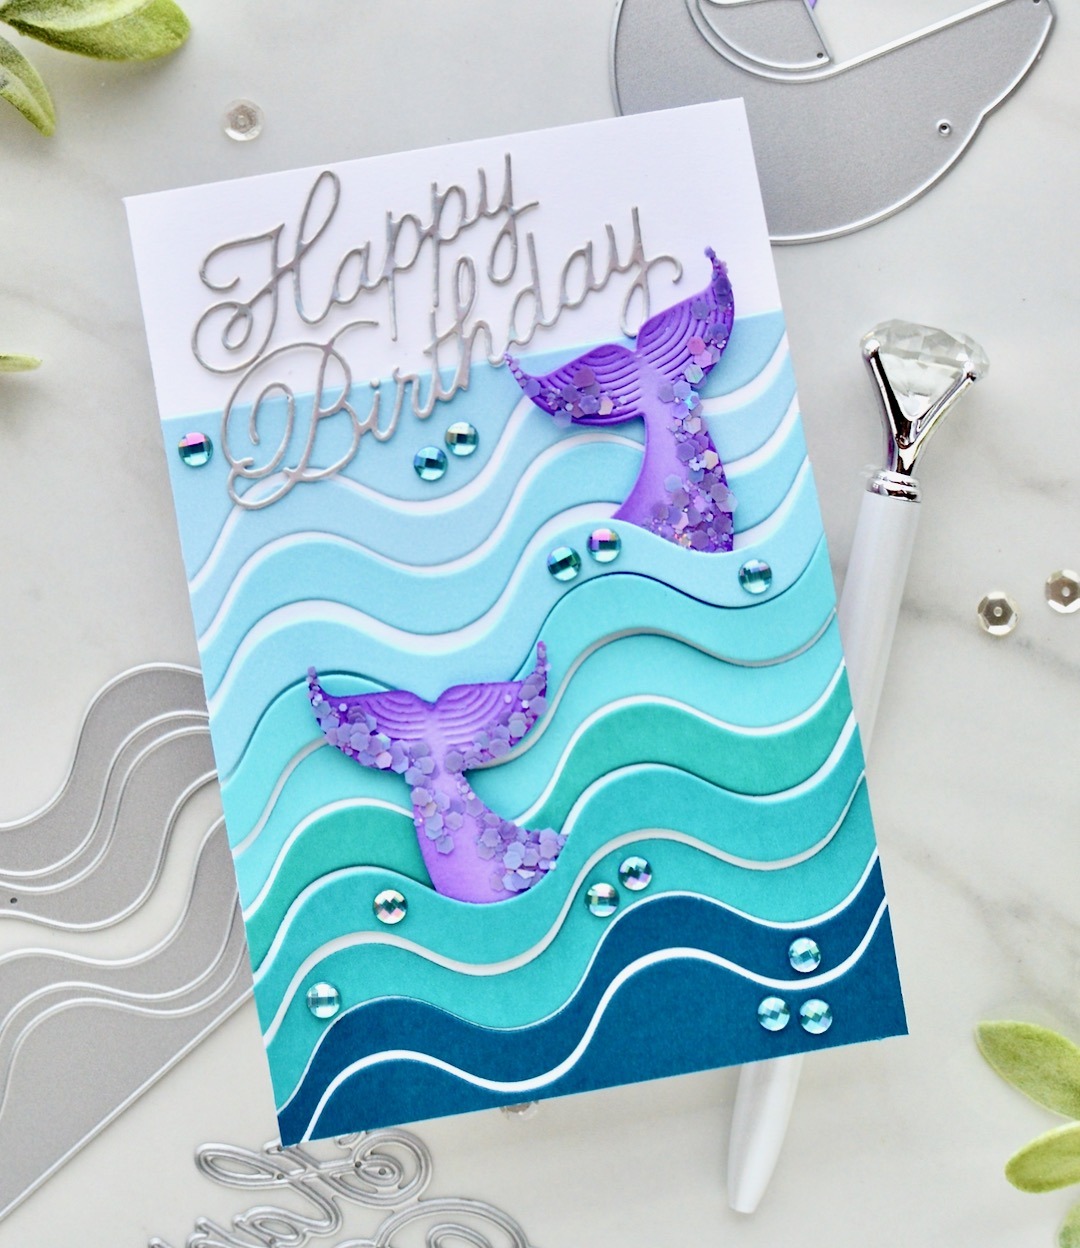
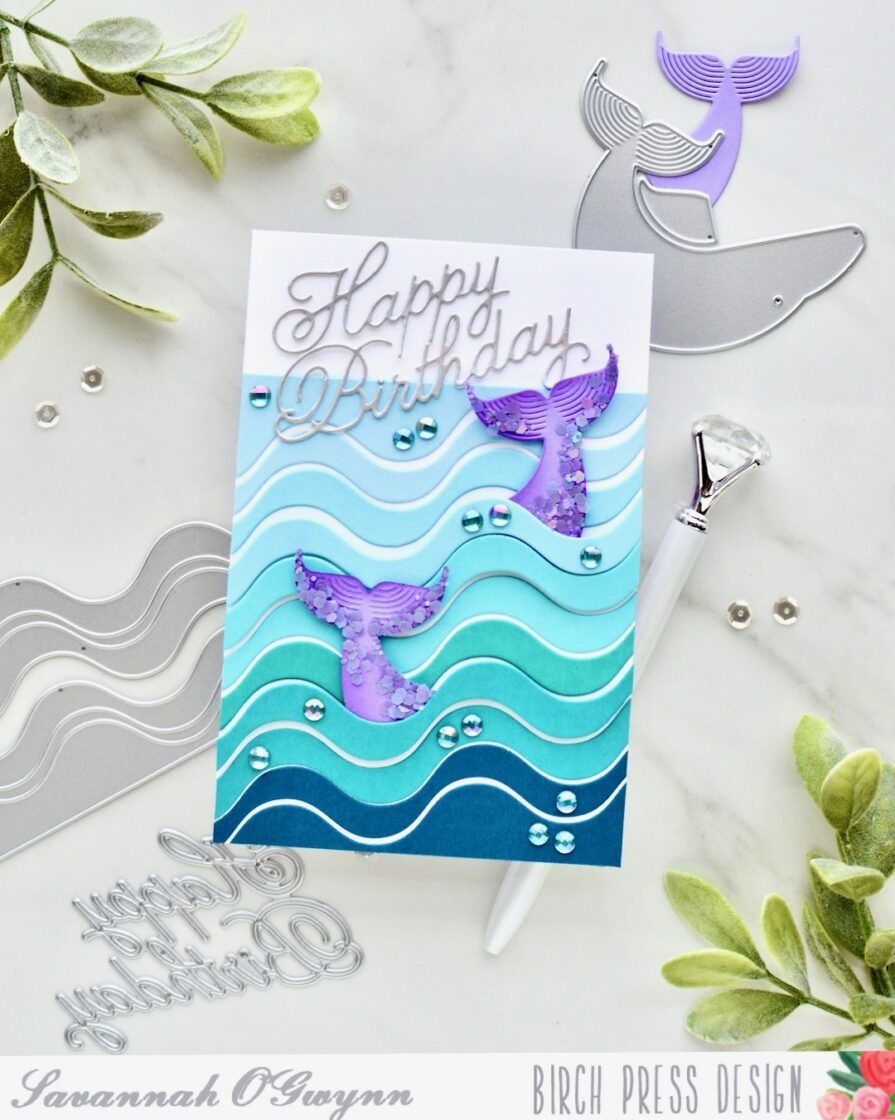
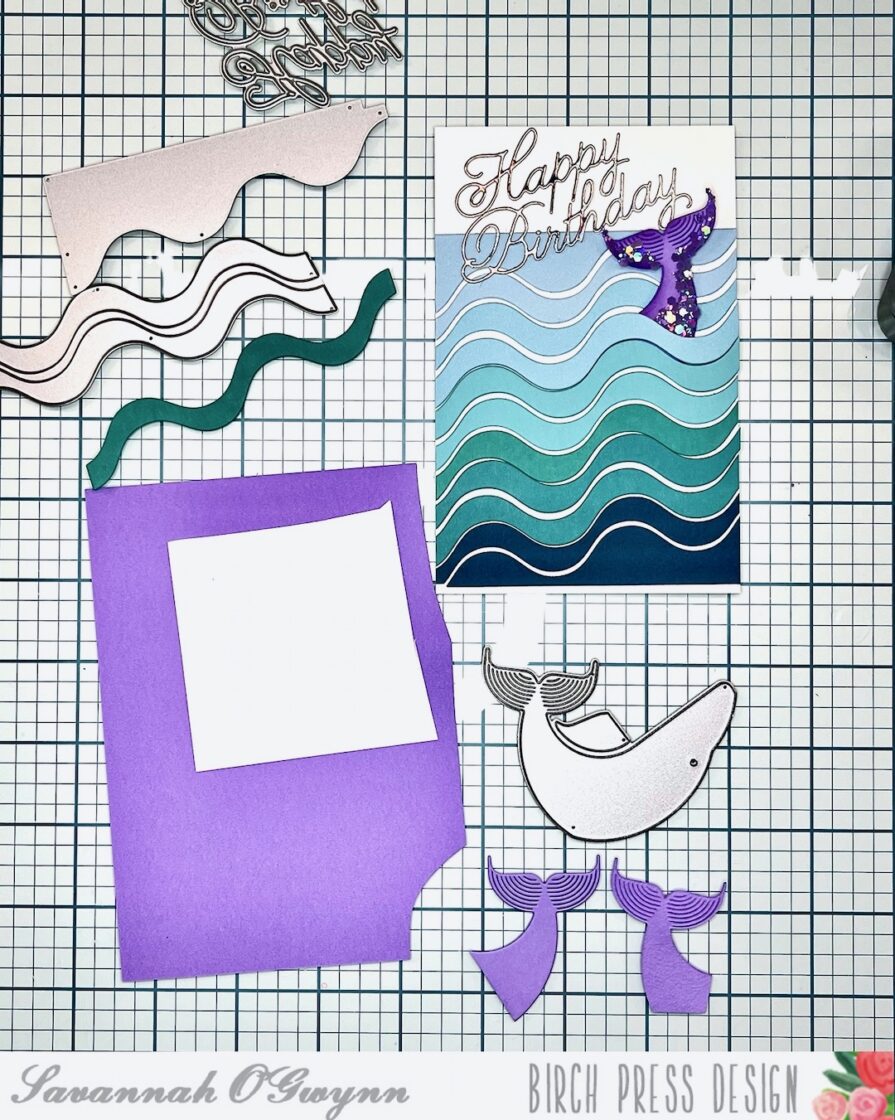
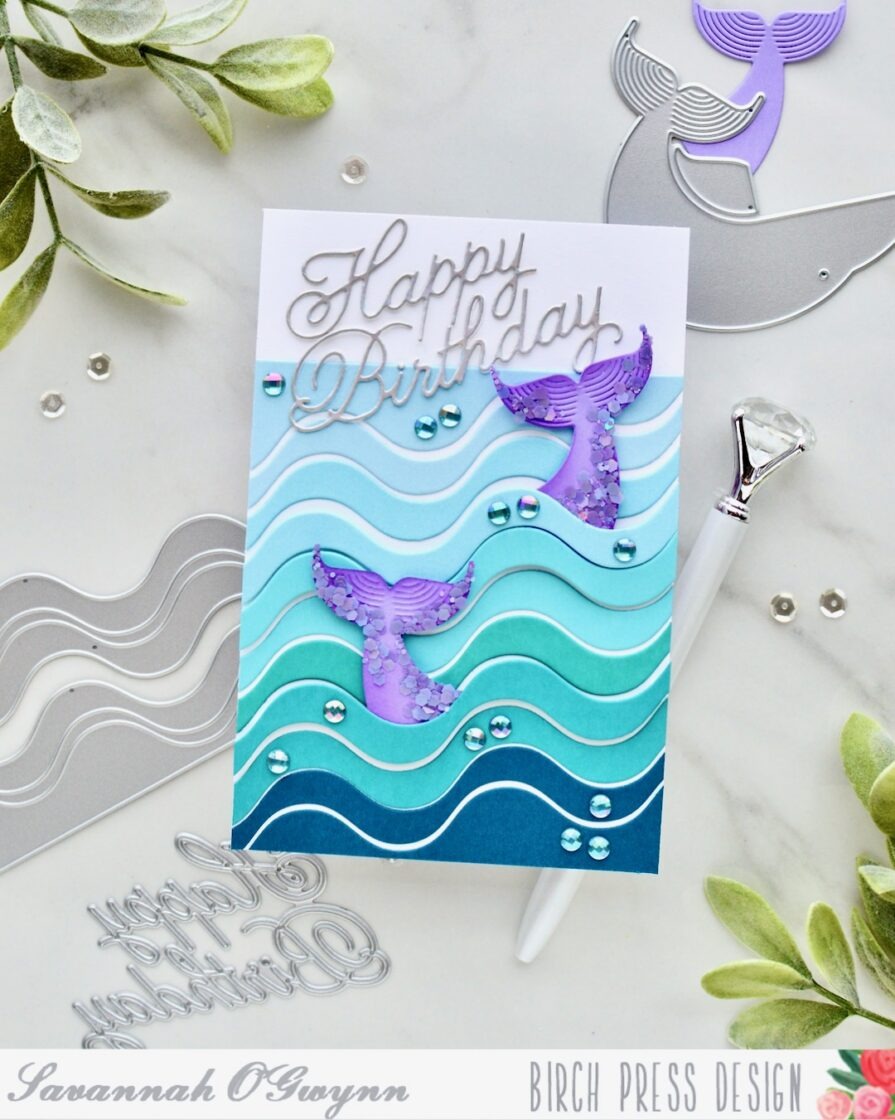
    I am in L-O-V-E with BPD product and knew that I needed the Corner Waves and the Block Print Whale Duo dies… to make a mermaid card, of course!

    It’s really easy to create this card design, just follow these steps:

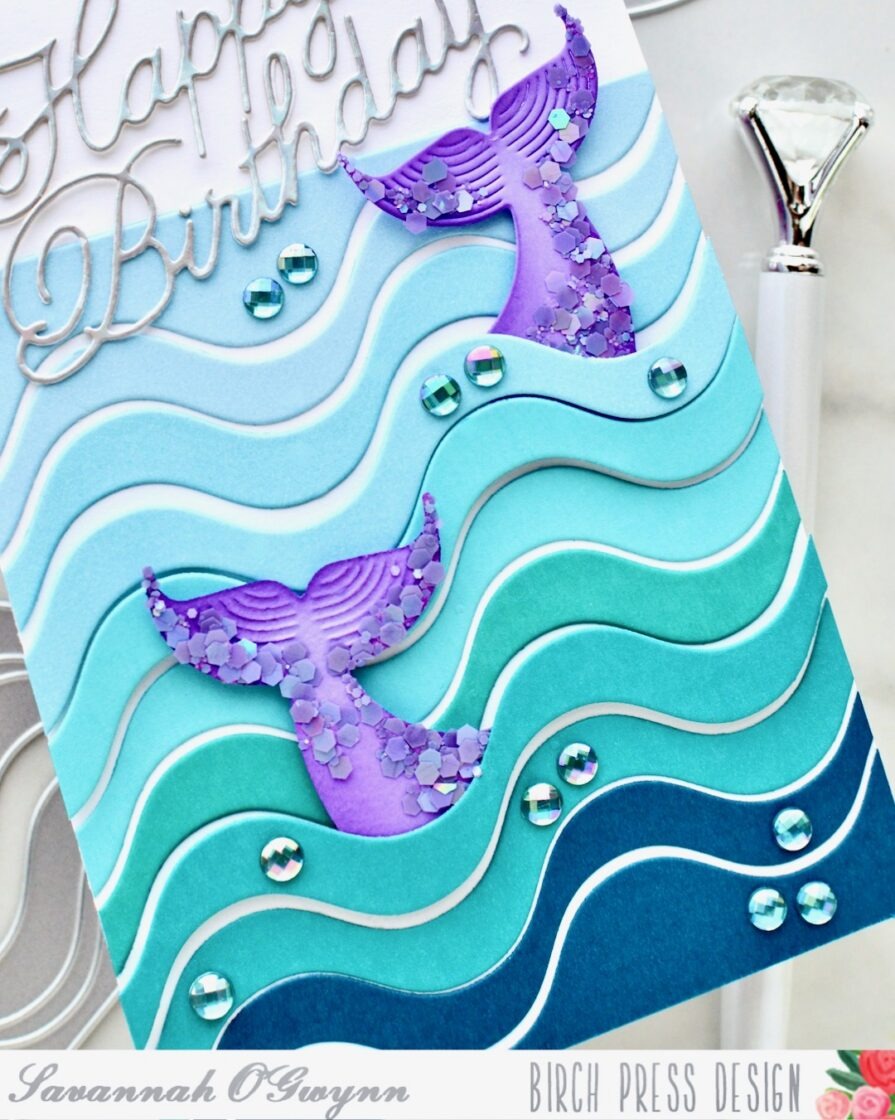
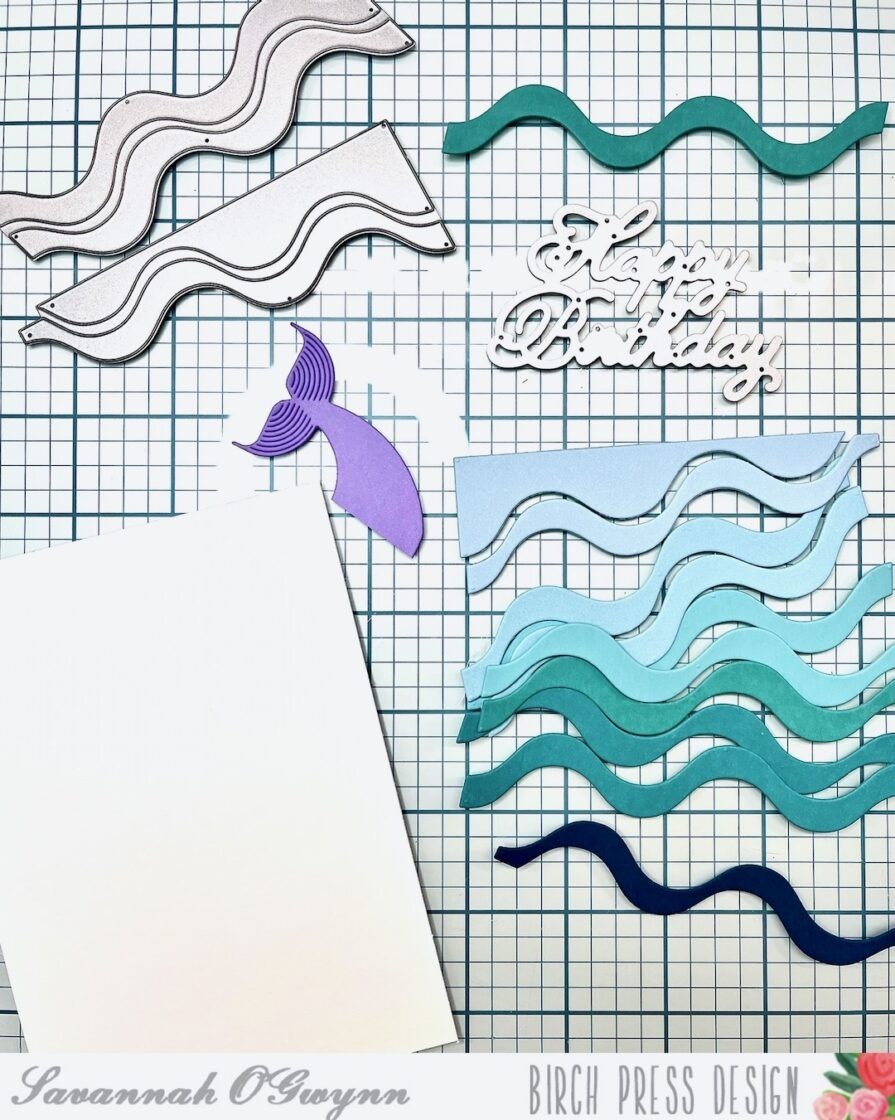
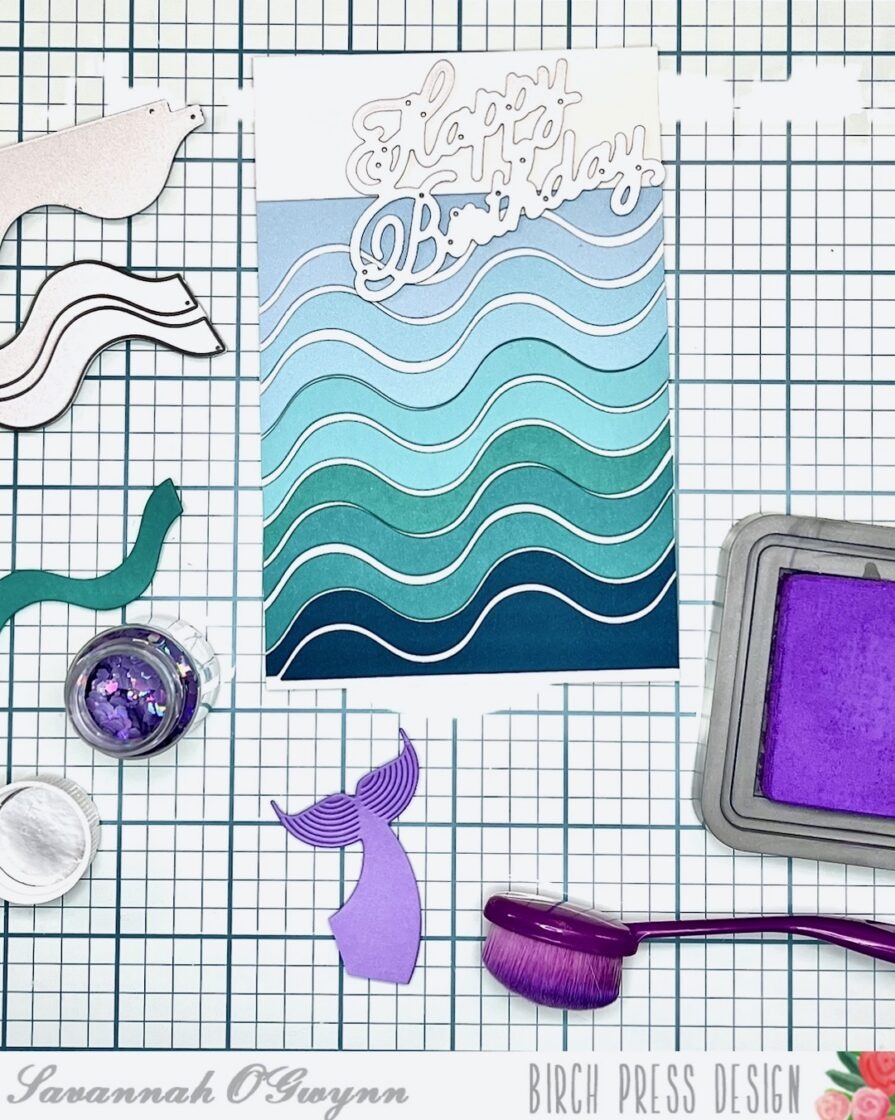
    • Die cut the ocean waves using Memory Box Lagoon cardstock *NOTE: Memory Box cardstocks are the BEST for ombre color designs!
    • Die cut your “whale tail” for the number of “mermaid tails” you will place on your card.

    TIP: To create a mirror die cut of the tail, I placed the whale tail die on the BACK of the purple cardstock and die cut it regularly. *See photo below- left tail is a regular cut; the right tail is the mirror image.

    • Next you add a bit of dimension and glitter to the “mermaid tail”
    • Attach your waves using foam tape where the tails will go, and regular tape adhesive for the other waves. *I left a bit of white space between the waves for extra dimension in my water 🙂
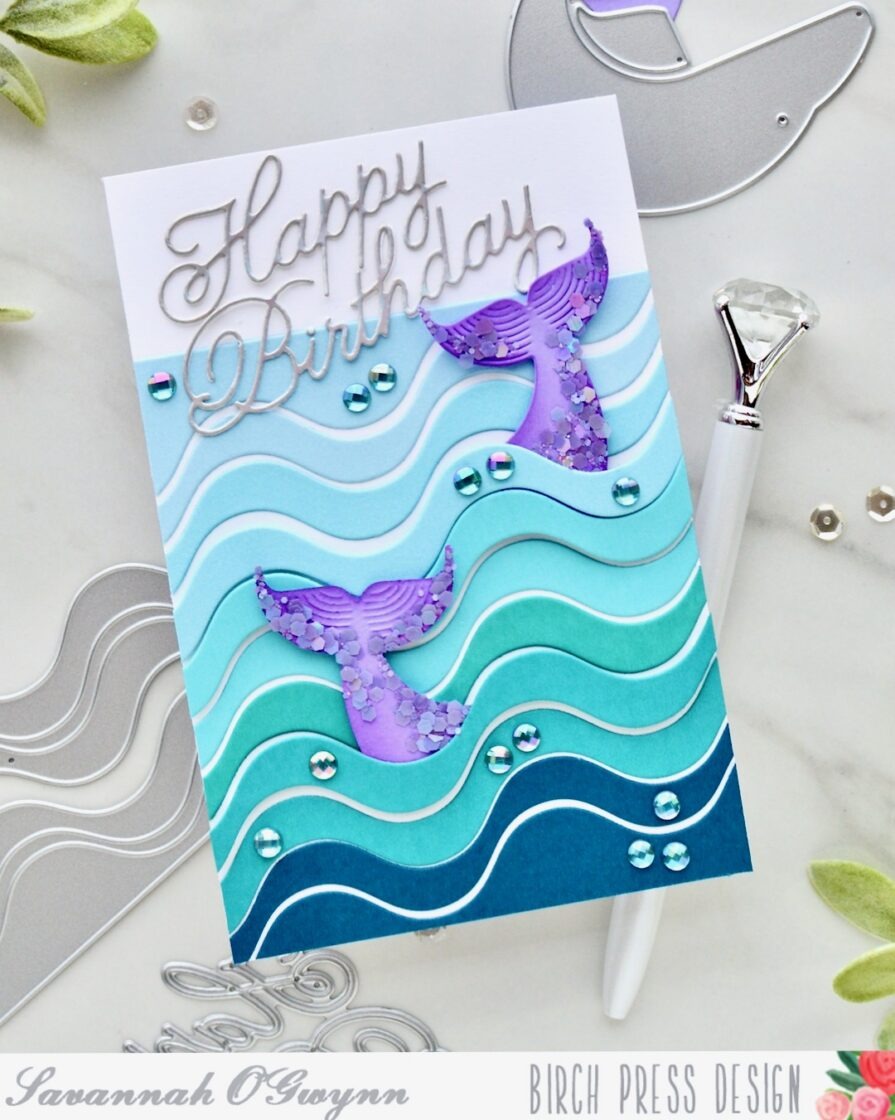
    • Attach your “mermaid tails” using foam tape
    • Die cut your sentiment from rainbow metallic paper and adhere to your cardbase
    • Finish by adding a few gems

    This was super easy to create!

    Here’s what I love about this card:

    • It was easy to make!
    • I can stretch my supplies by thinking outside the box- using a whale tail for a mermaid tail!
    • I love the cardstock colors!
    • This card design is fresh, fun, and heartfelt <3

    I hope that you were inspired to create mirror die cut images or stretch your supplies and think outside the box for their uses!

    I’ll be back with MORE soon!

    Please remember to share what you create using these techniques- I’d love to see what you make with this idea!

    THANKS so much for stopping by! Happy crafting:)

    HUGS <3 Sav