Category: Slimline

  • Sending Hugs & Smiles | by Crystal Komara

    Sending Hugs & Smiles | by Crystal Komara

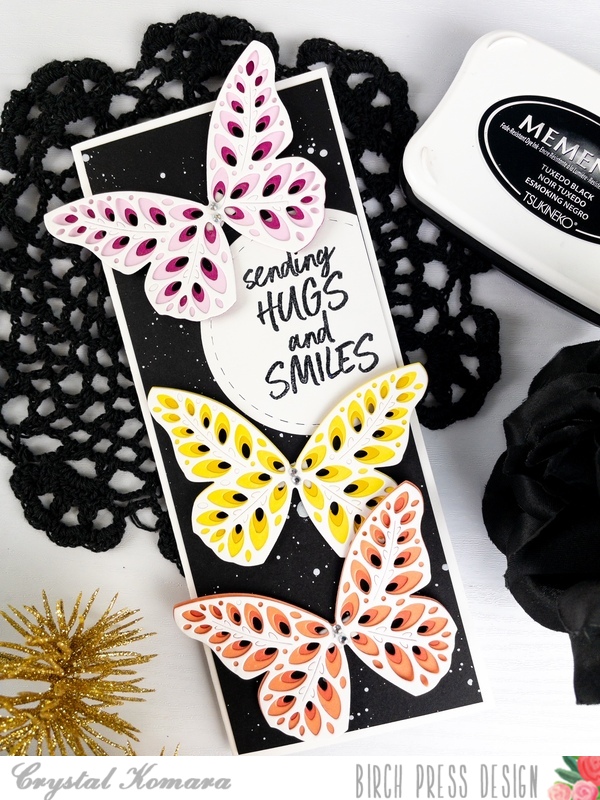
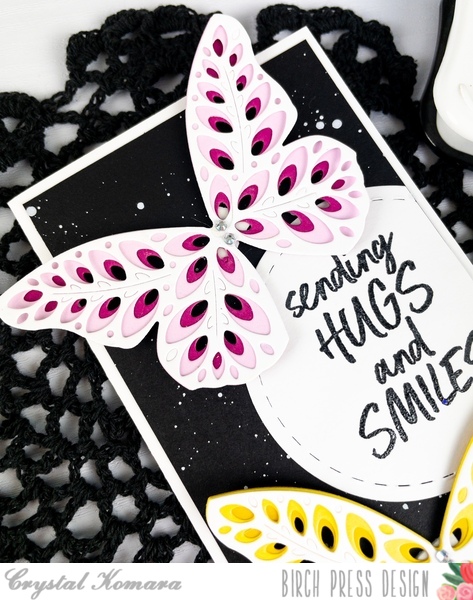
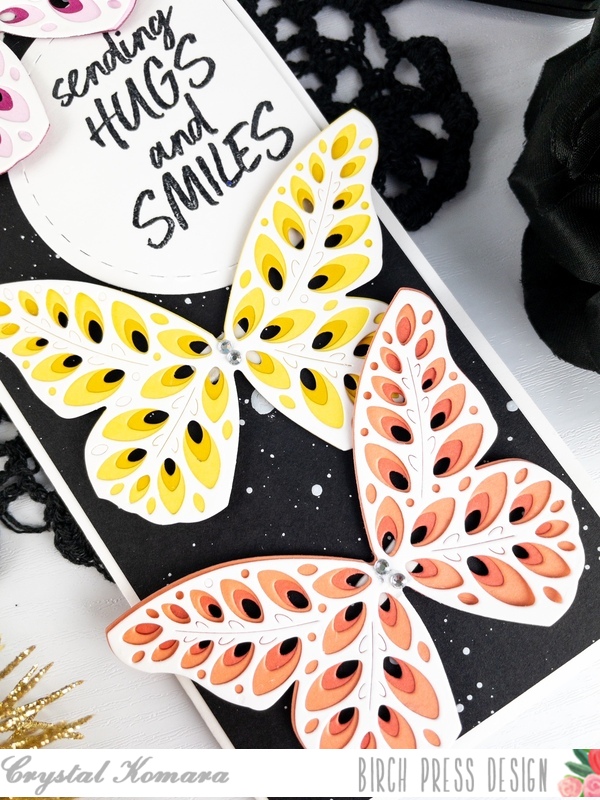
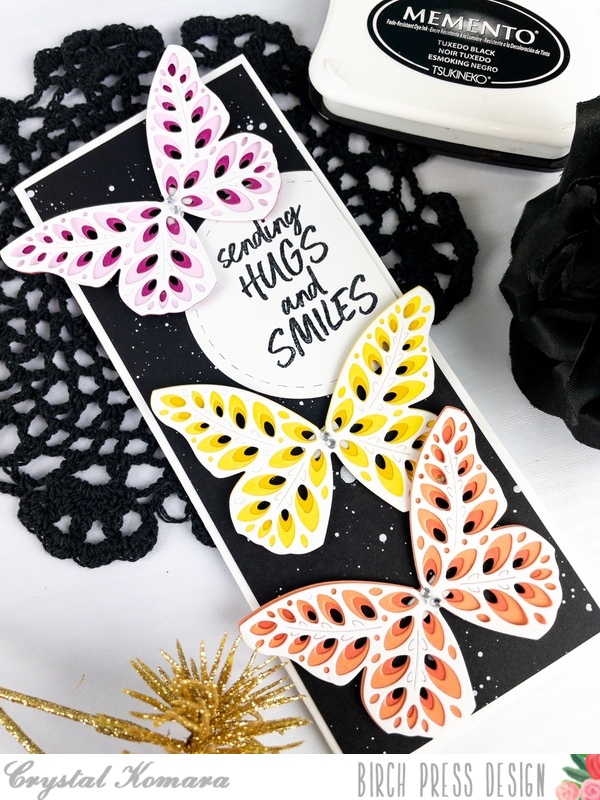
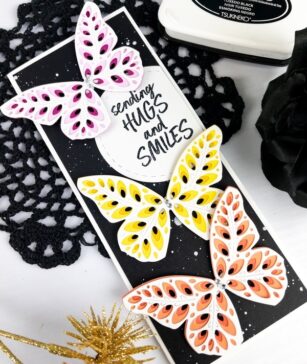
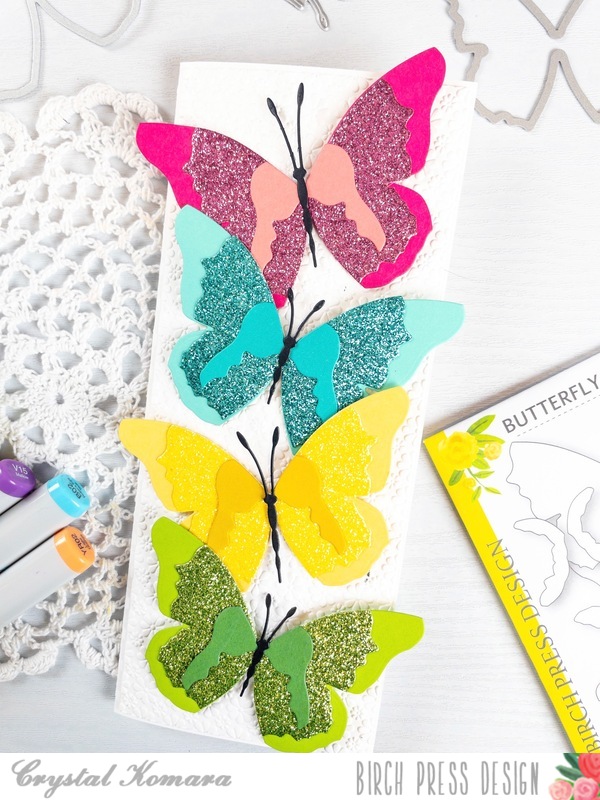
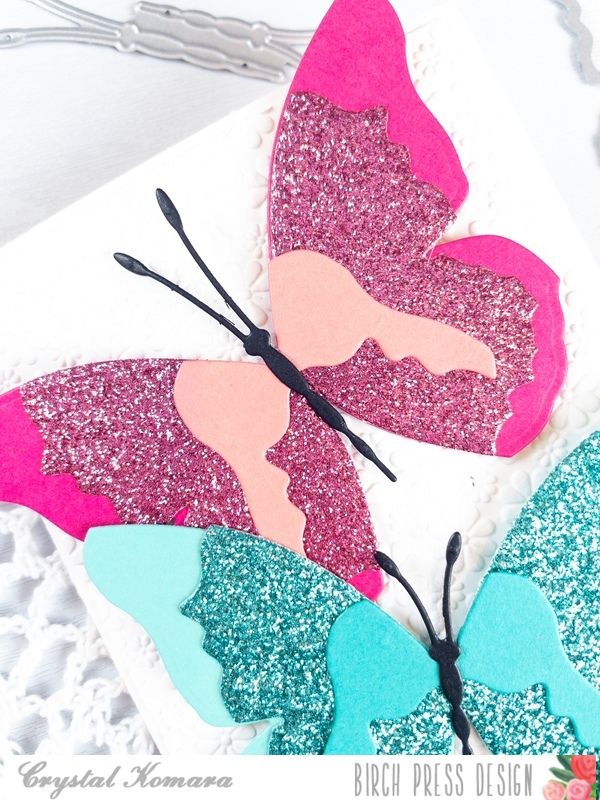
    Hello crafty readers! This is Design Team member Crystal Komara here today sharing a cheerful and uplifting slimline card made using the Eloquent Butterfly Layering set:

    I chose to create a slimline card because these butterflies are decent sized and I wanted to add multiples of them to this card. Because I used a black cardstock base, I also wanted lots of color from the butterflies to really stand out against the dark base.

    The base of this slimline card measures 8 1/2 ” x 3 1/2″. It fits inside a regular #10 business sized envelope.

    I hope you have enjoyed this cheerful and uplifting card! Thanks for visiting and have a wonderfully creative day!

    Supplies
  • Birthday Balloons | by Rosemary Dennis

    Birthday Balloons | by Rosemary Dennis

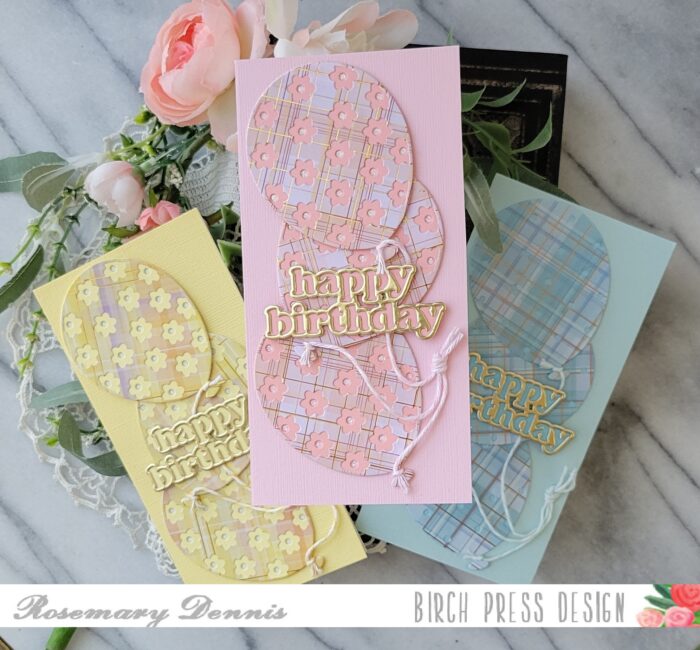
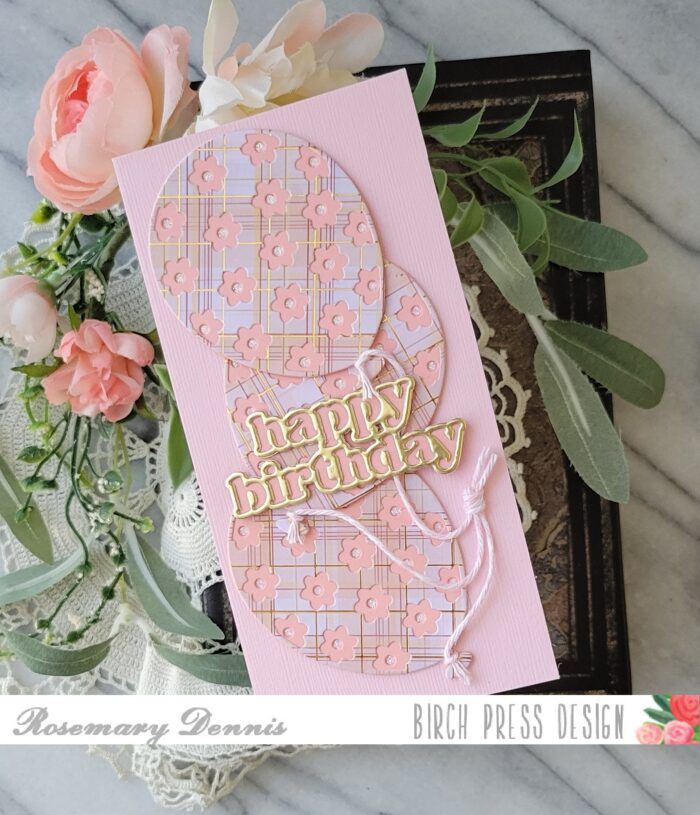
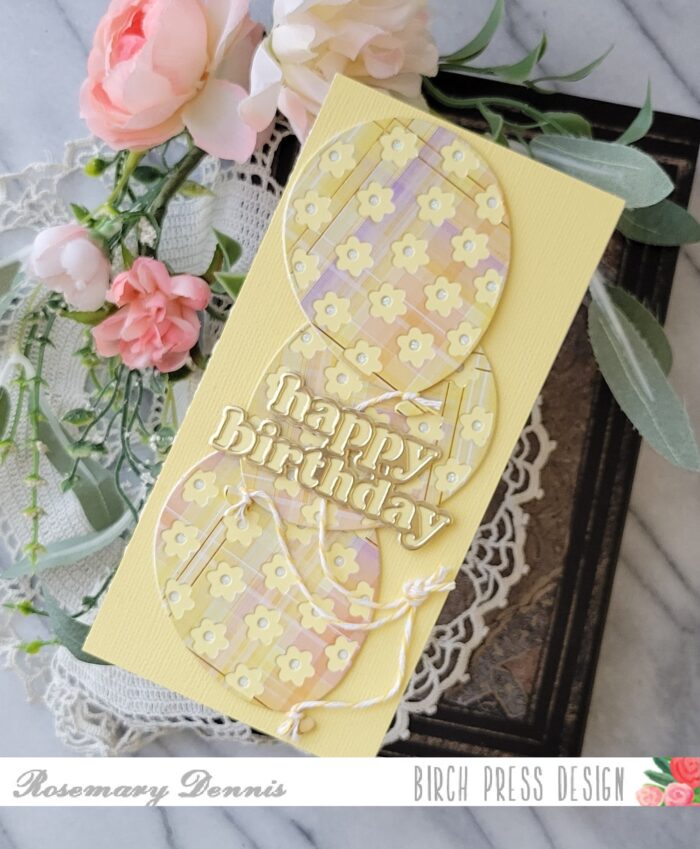
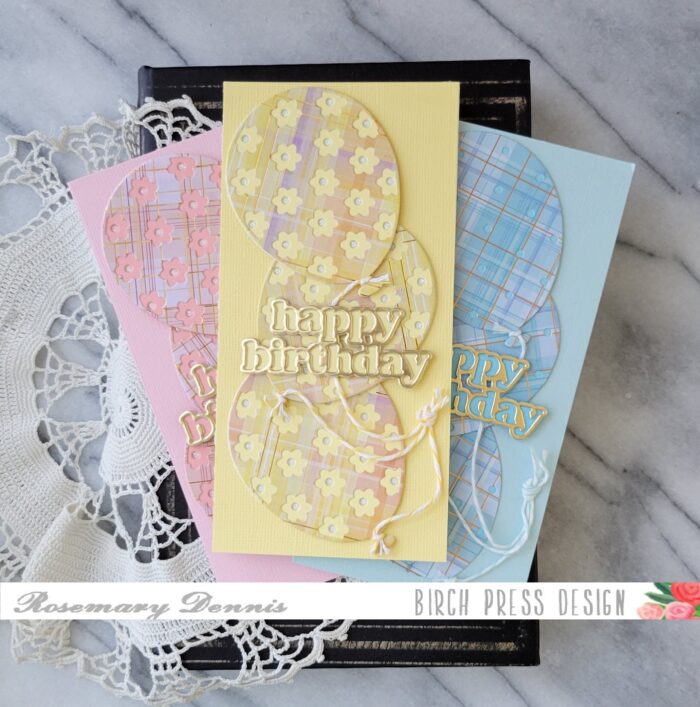
    Hello everyone! Rosemary here on the blog today sharing three birthday cards that I created with the Floral Balloon Layering die set, the new Happy Birthday Vintage Sentiment die set and pretty patterned papers.

    I have been wanting to make a card (or cards) with the Floral Balloon Layer dies for along time. When the new Birch Press Word dies landed in my mailbox and one of them was the Happy Birthday Vintage Sentiment die I knew that time had finally arrived! Along with the dies I also received the new Memory Box Gladiola Plaid 6×6 pad. The papers in that pad are just gorgeous and so I used them for two of the cards. For the third card I used the Anemone Plaid 6×6 pad.

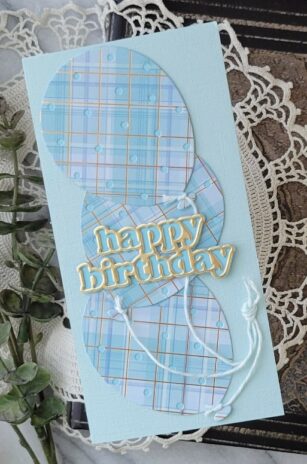
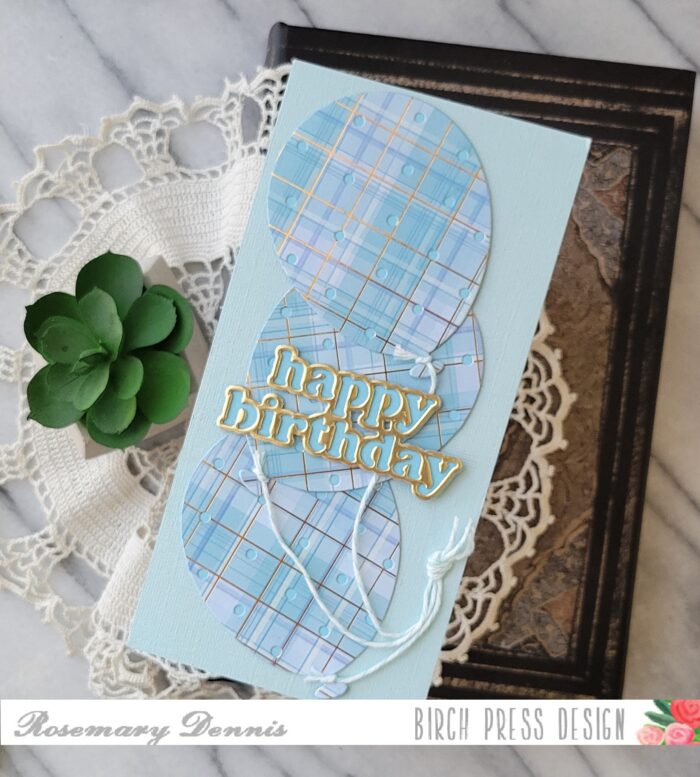
    My mom is the proud great gramma of three great granddaughters and one great grand son and about 2 years ago I started making the birthday cards that my mom gives the little ones. So, these cards will be going to three of the four. I will be making something a little bit different for the oldest great granddaughter. For the card for the great grandson, I omitted the balloon layer that cuts out the flowers to create a balloon with little dots. I pulled colors from the plaid for the background cardstock as well as the back layer of the balloon. All three cards are mini slimline in size.

    For the cards for the great granddaughters the bottom layer was die cut from glitter cardstock that coordinated with the patterned paper and cardstock used for the balloons. You don’t see alot of the glitter cardstock, but I think it adds a fun touch. All the balloons were adhered together using liquid adhesive.

    To finish off the cards I die cut the Happy Birthday Vintage Sentiment die from gold mirror cardstock for the top layer and then the same cardstock I used for the middle layer (or in the case of the first card, the bottom layer) for the bottom layer. Liquid adhesive was used to adhere everything together. Coordinating baker’s twine was tied around the bottom of each balloon, gathered together and tied in a knot so I could glue them to the card front once the balloons were attached using liquid adhesive.

    That’s it for me today. I hope you enjoyed my idea for using the Floral Balloon Layers dies and patterned paper. Thanks for stopping by and have a wonderful day!

    Supplies
    Supplies
  • Happy Birthday Butterfly | by Rosemary Dennis

    Happy Birthday Butterfly | by Rosemary Dennis

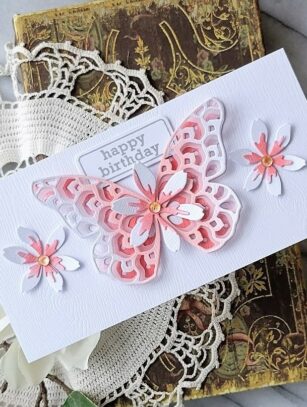
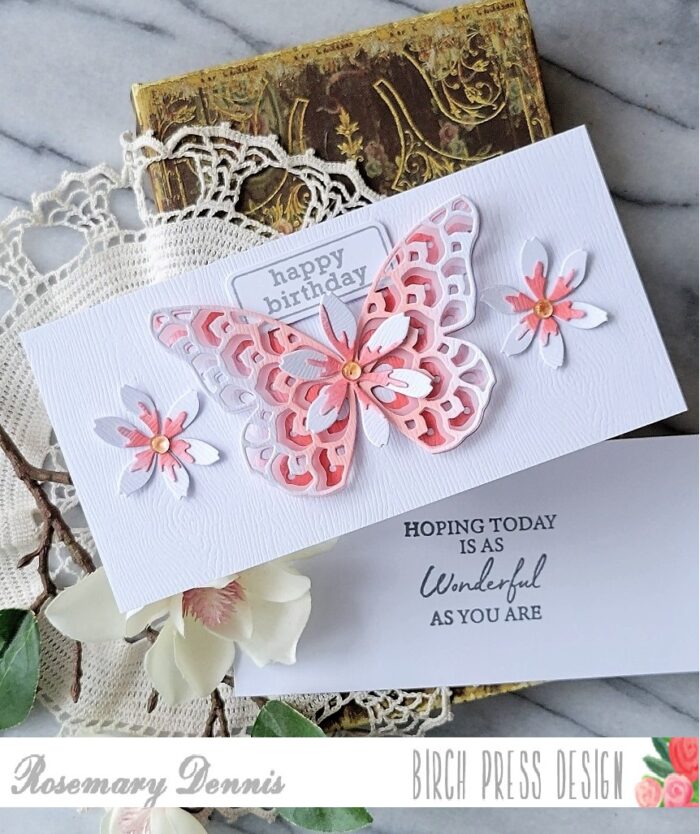
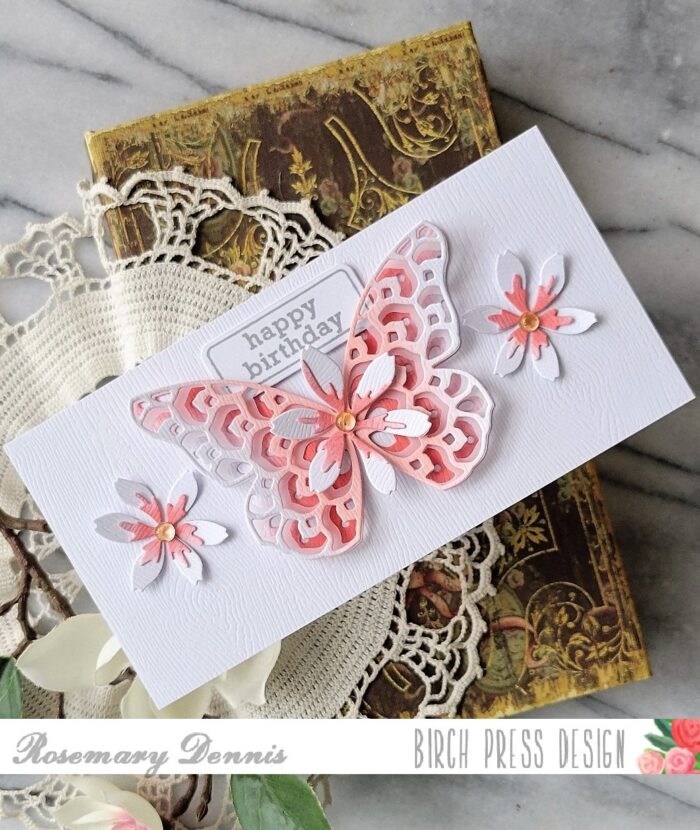
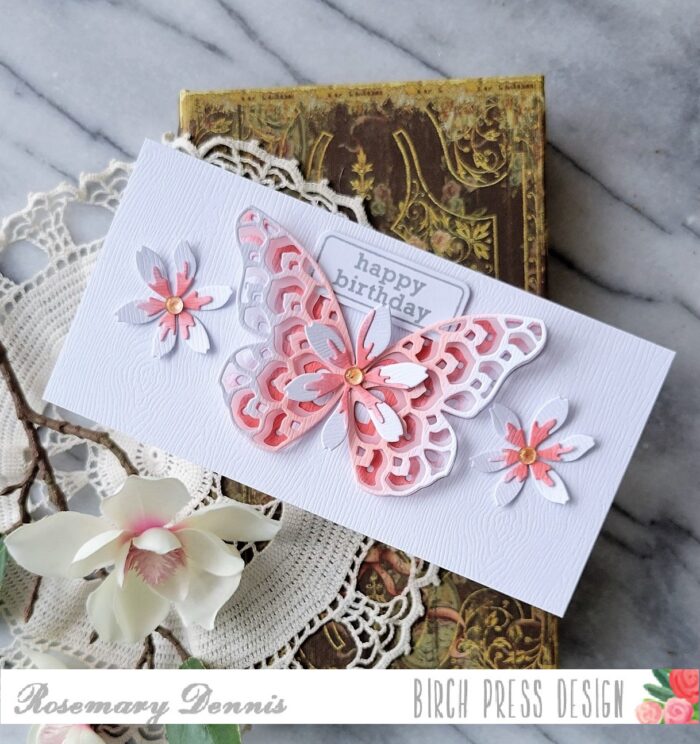
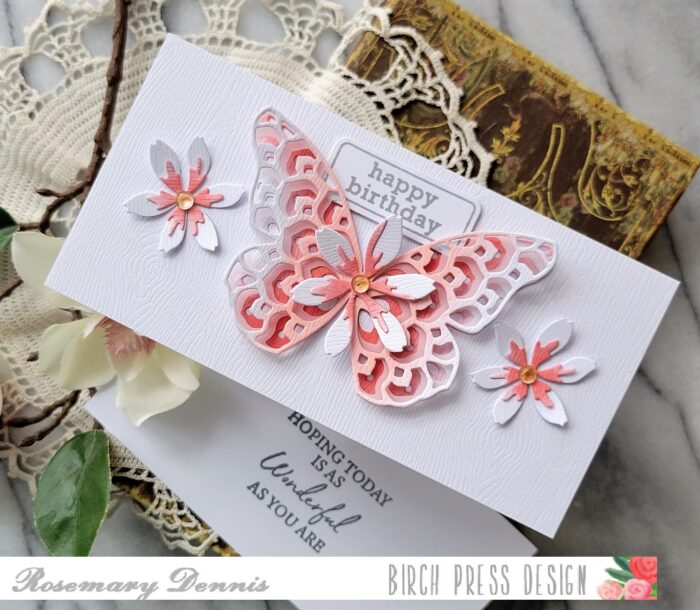
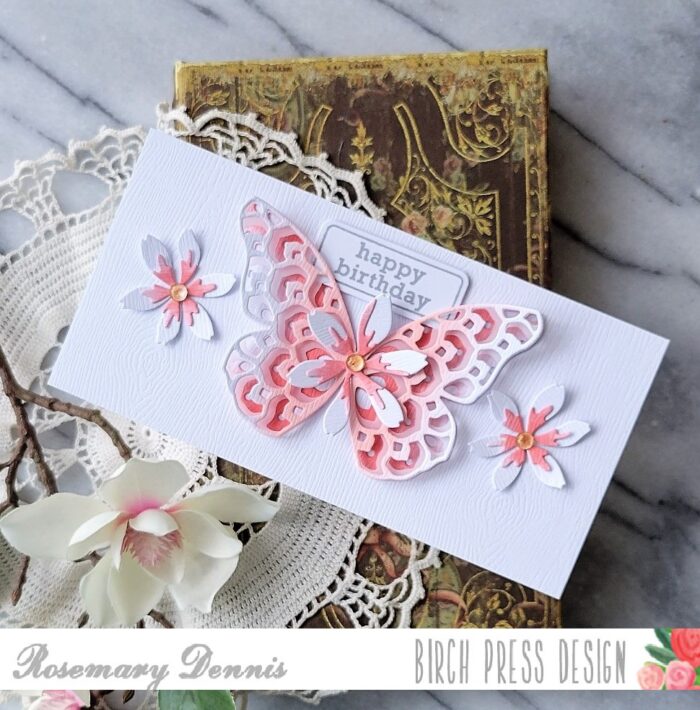
    Hello! Today I have a clean and simple mini slimline birthday card to share. I used the Star Flowers Contour Layers dies along with the Glimmer Butterfly layers dies and sentiments from two different stamp sets.

    For this card I decided to use the Memory Box white woodgrain cardstock. The only thing I didn’t use it for was the card base! I die cut the the A and C layers of the Glimmer Butterfly from the woodgrain cardstock. The middle (or B) layer was die cut from vellum. I then used to shades of coral ink to ink up the centers of the top and bottom layers. Darker coral on the bottom and light coral on the top. When I had the color to my liking I used liquid adhesive to adhere the butterfly only in the center.

    I then created the flowers. All the layers were die cut from the woodgrain cardstock and then I added the darker coral to the second layer. There is a flower center die, but I decided to not use it this time. I layered the flowers and then added a fairy gem to the center of each flower that had a peachy tint to it. To make sure that the gems stayed in place I added a drop of liquid adhesive to the center of each flower.

    A piece of the woodgrain cardstock was trimmed to fit the mini slimline cardbase and then adhered with double sided adhesive tape. The large flower was added to the center of the butterfly with a drop of liquid adhesive. Once everything was dry I adhered the elements to my card front using liquid adhesive. Now it was time to determine where to place the sentiment on the card front.

    The sentiment on the card front comes from the Contempo Greetings stamp set. I decided to keep it soft my stamping it in a light gray. I then die cut it with the label die from the matching die set. I played around a little with where to place the sentiment and finally settled on the top. I added thin foam squares to the back and then nestled it into the wings of the butterfly. I don’t generally create a sentiment for the inside of the card, but for this card I did.

    The reverse side of the woodgrain cardstock is smooth and perfect for stamping on. I trimmed down a piece to fit the inside of the card and then stamped the sentiment from the Kind Hearts stamp set using the light gray ink. This piece was then added with double sided adhesive.

    I hope you enjoyed today’s project. Have a wonderful day!

    Supplies
    D2

  • Butterfly Basics | by Crystal Komara

    Butterfly Basics | by Crystal Komara

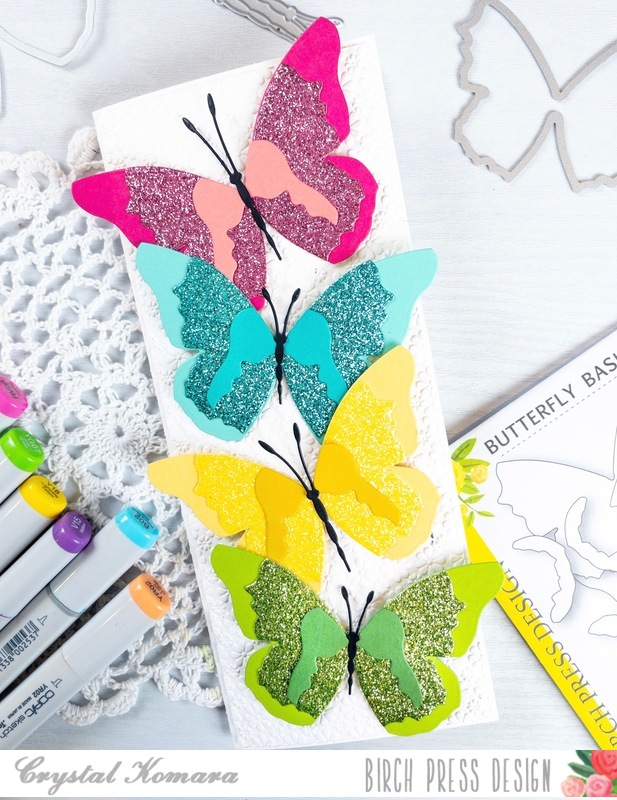
    Hello Birch Press Design readers! This is Design Team member Crystal Komara here with you today sharing a slimline card made using the Butterfly Basics die set. I have owned this beautiful die set for a while and for as much as I love butterflies, I can’t believe I hadn’t used it yet! So, while there is a whole new gorgeous release of products (to include foils!) from Birch Press Design, today I’m going back to the (butterfly) basics.

    Card details:

    The base of this slimline card is made from 80 lb. Neenah Solar White smooth cardstock. This slimline card measures 8 1/2′ x 3 1/2′ and will fit inside a regular #10 business sized envelope and, as such, requires no additional postage. I used a slimline die to create the first matted background.

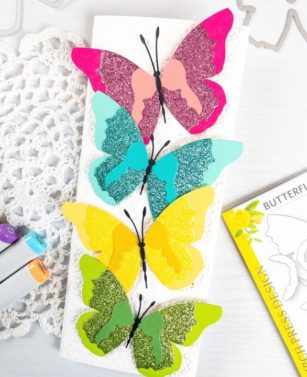
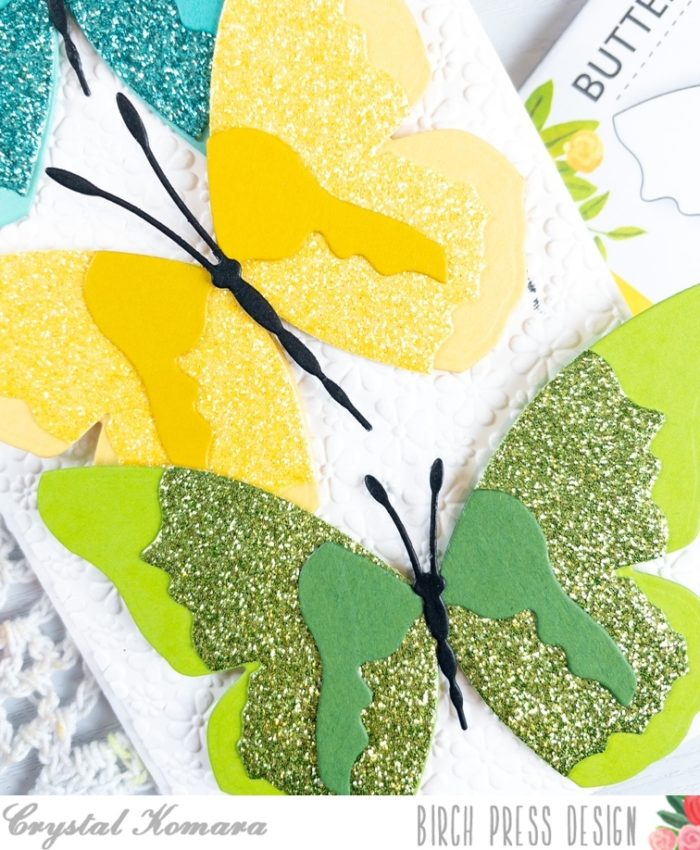
    Using the Butterfly Basics die, I cut the large open base frame from solid cardstock. I used four primary colors (pink, blue, yellow and green). I used the following pads of cardstock:

    Lush Green

    Fresh Aqua

    Berry Red

    Sunny Orange

    I die cut the middle portion of the butterfly from glitter cardstock. I used the Glitzy Glitter 6 x 6″ pad.

    I adhered the butterfly basic together with LineCo ph neutral bookbinding glue. This is my favorite liquid adhesive and it works well when holding glitter cardstock to other paper. I die cut the butterfly bodies from black cardstock. After adhering all the individual butterflies together, I adhered them to the card using 3M foam adhesive for added dimension.

    I really like the bold and bright colors of these butterflies. Due to their slightly larger dimension size, I felt like putting them on a slimline card would showcase more colors. I hope you like today’s fun card! Thank you for visiting and have a wonderfully creative day!

    Supplies
  • Layered Triangle Slimline | By Allison Frazier

    Layered Triangle Slimline | By Allison Frazier

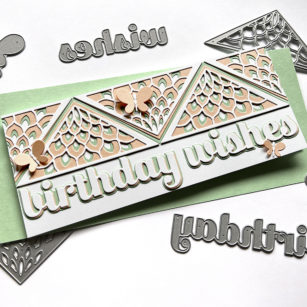
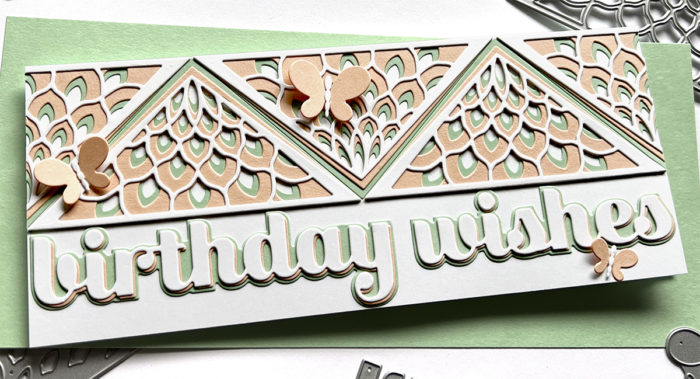
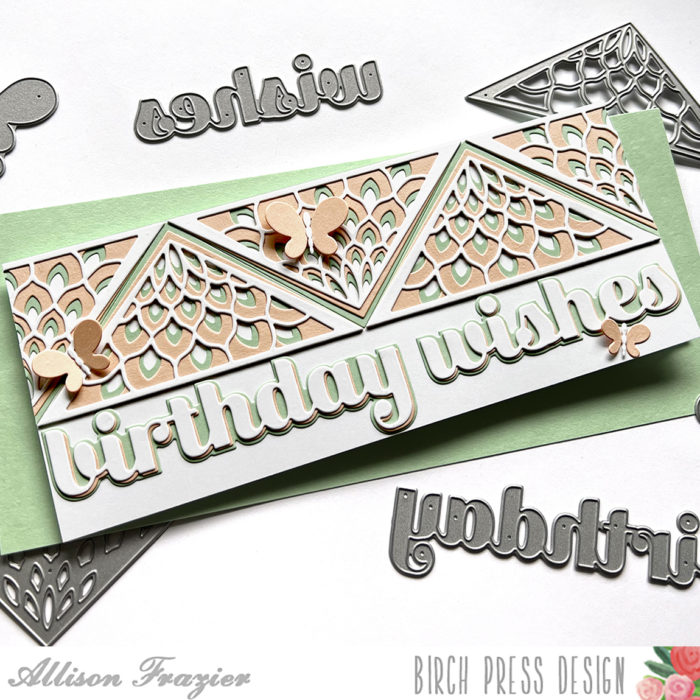
    Hello, Everyone! If any of you have wished for a birthday greeting that would stretch across a slimline card, then the Birthday Wishes Sugar Script die set is for you! I paired the greeting with the Petal Triangle Layer die set, which also fills up a slimline card when you use it in an unexpected way.

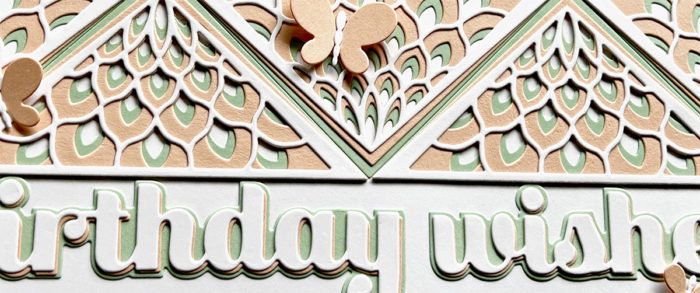
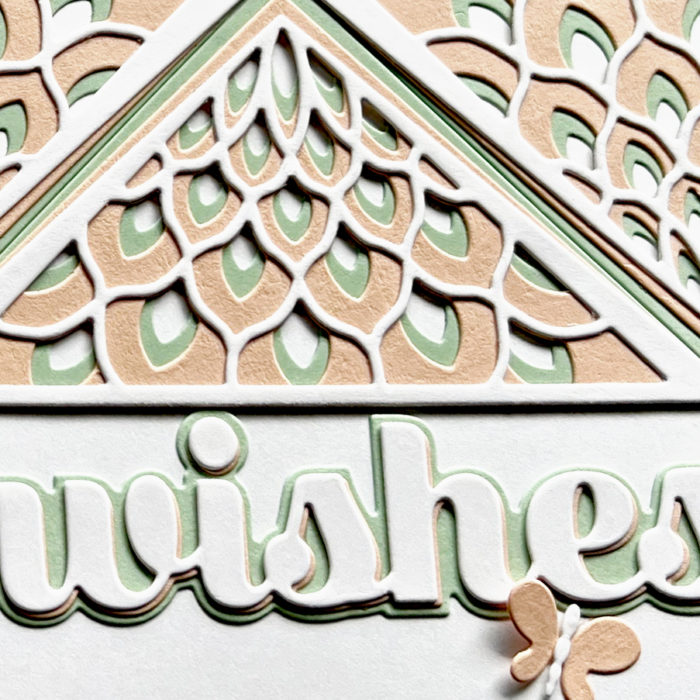
    I started off by creating my slimline card base out of white card stock – it measures 3.5″ x 8.5″. I then started die cutting my triangles. I used each of the layer dies to create four die cuts – Layer A from white card stock, Layer B from peach card stock, and Layer C from mint card stock. I assembled all of these with liquid glue to create four layered triangles. Once assembled, I cut one of the triangles in half.

    I glued the triangles across the top of my card base, flipping the orientation of each one. The triangle that I had cut in half filled in the corners of each side just perfectly. I then cut the birthday wishes greeting, using mint card stock for the shadow and both white and peach card stock for the words. I layered the white words over the peach words, creating a bit of a drop shadow effect, and then glued those onto the mint shadows. I love how this repeated the same layering as the triangles.

    To finish the card, I scattered a few peach butterflies that I made using the new Simple Butterfly Contour Layers set.

    Thank you so much for joining us today. I hope this card brings a smile to your face.

    Wishing you a crafty day,
    Allison


    Supplies