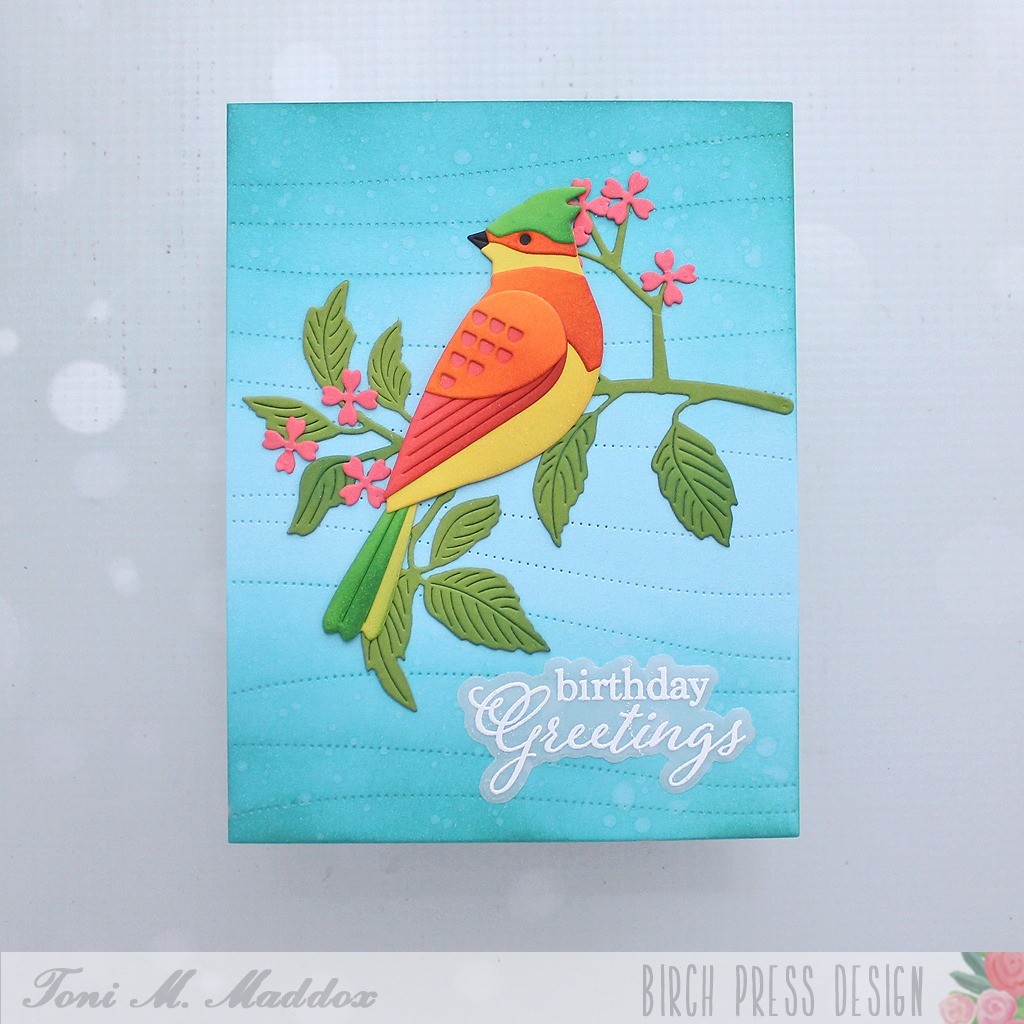
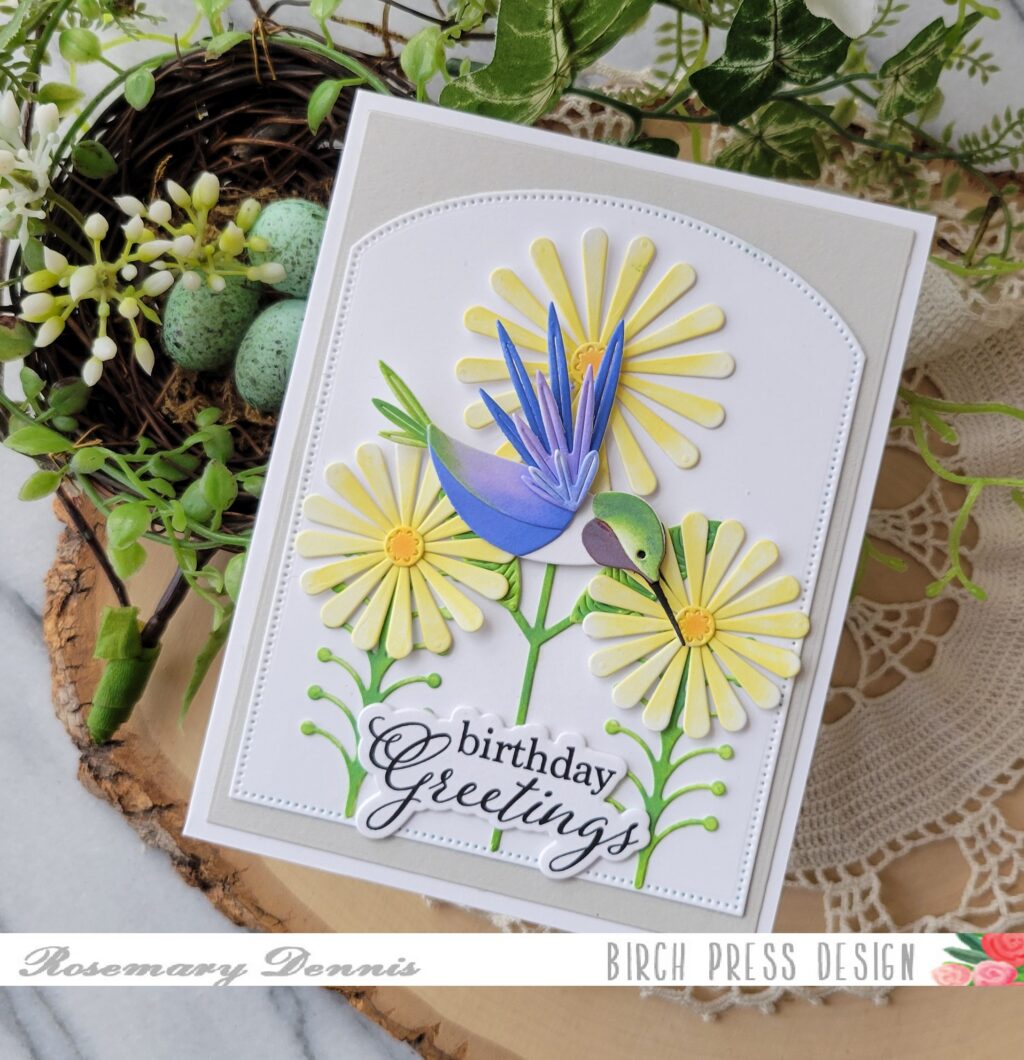
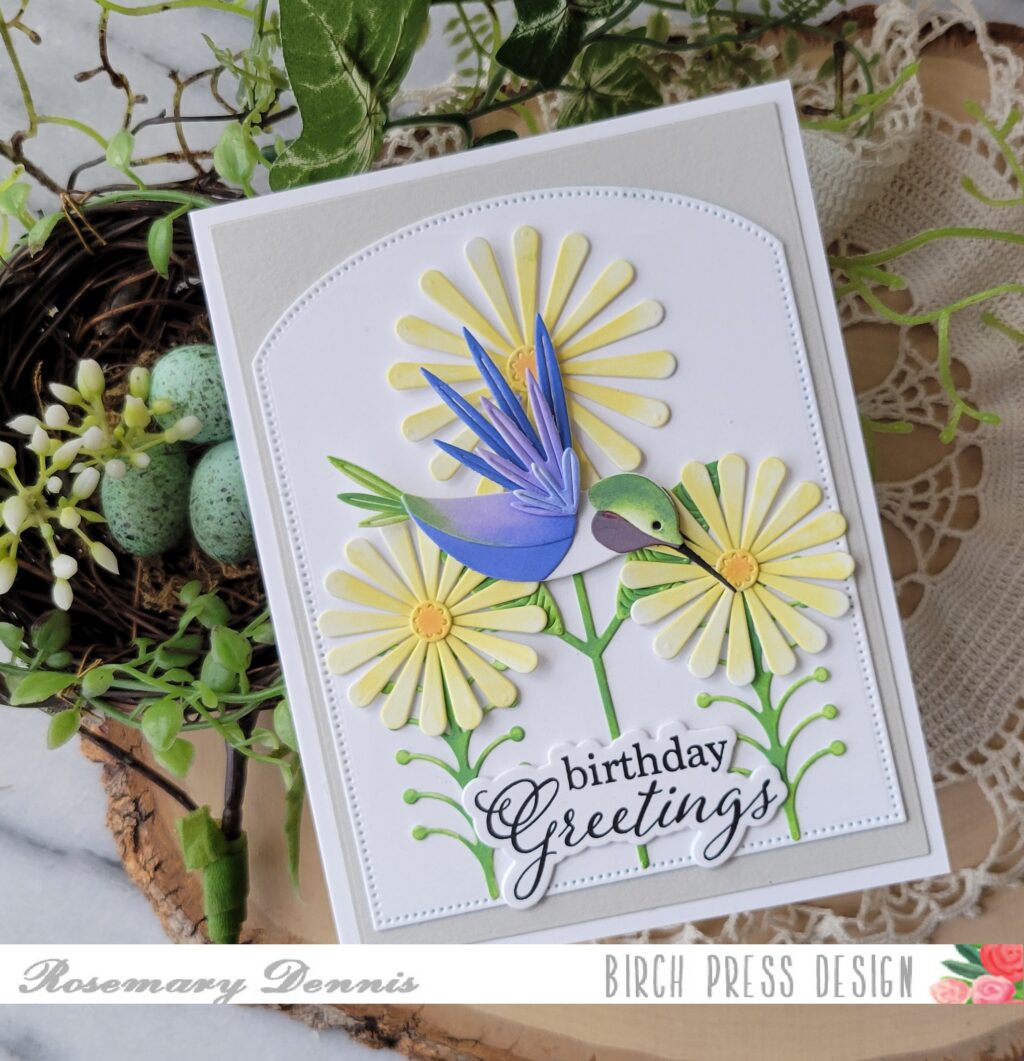
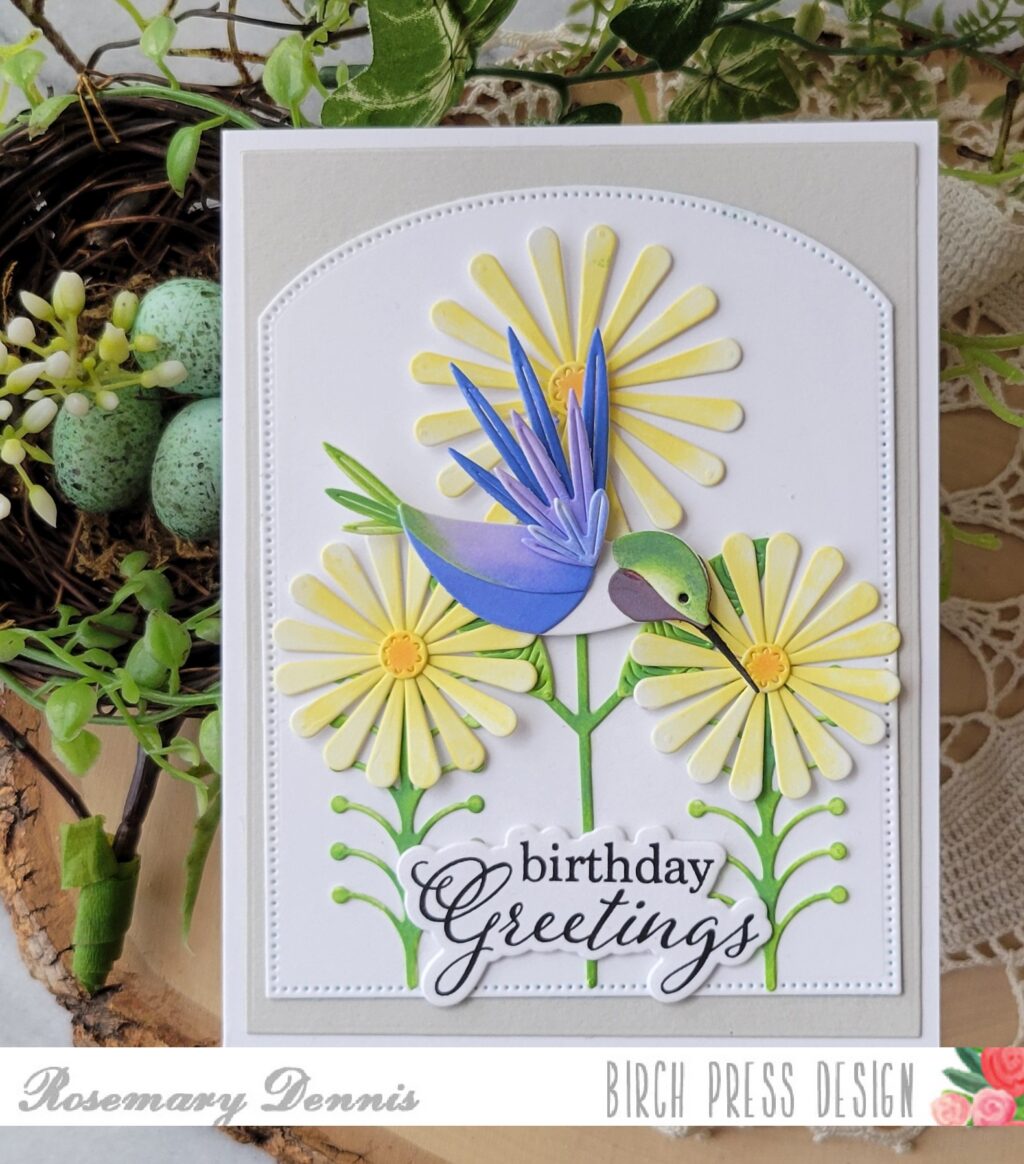
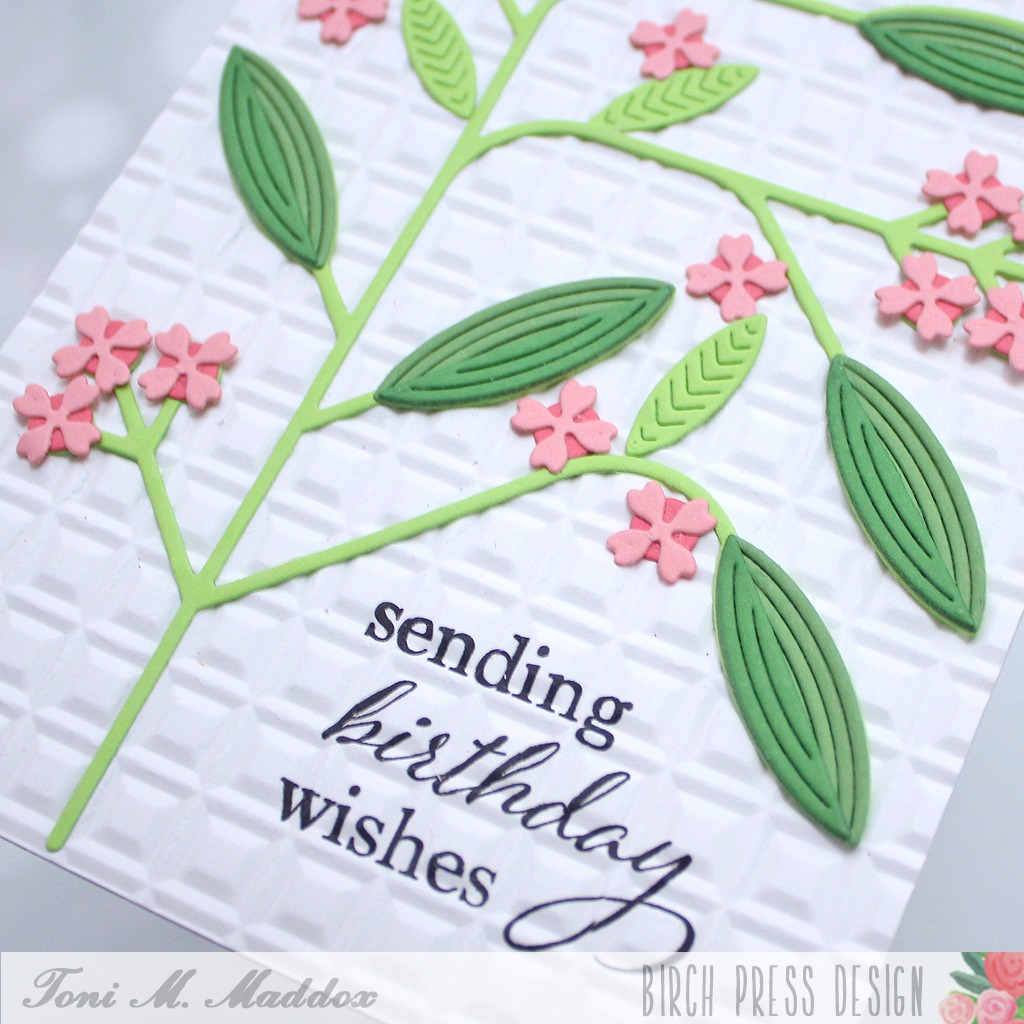
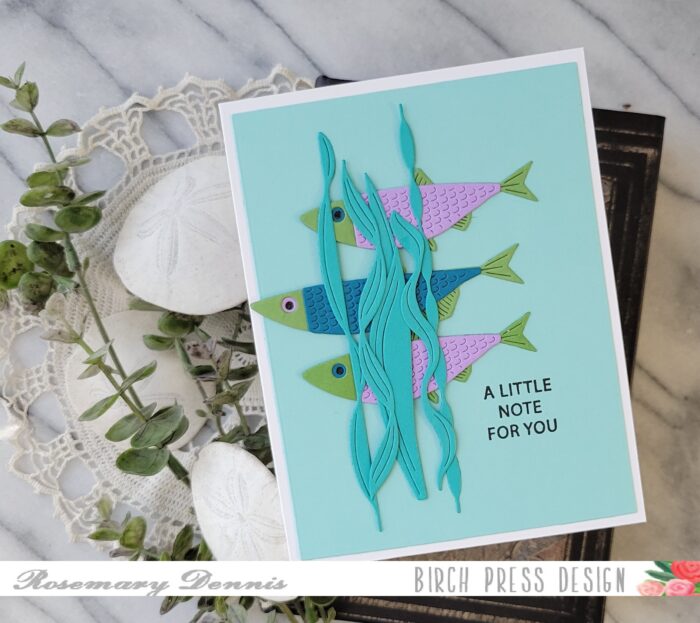
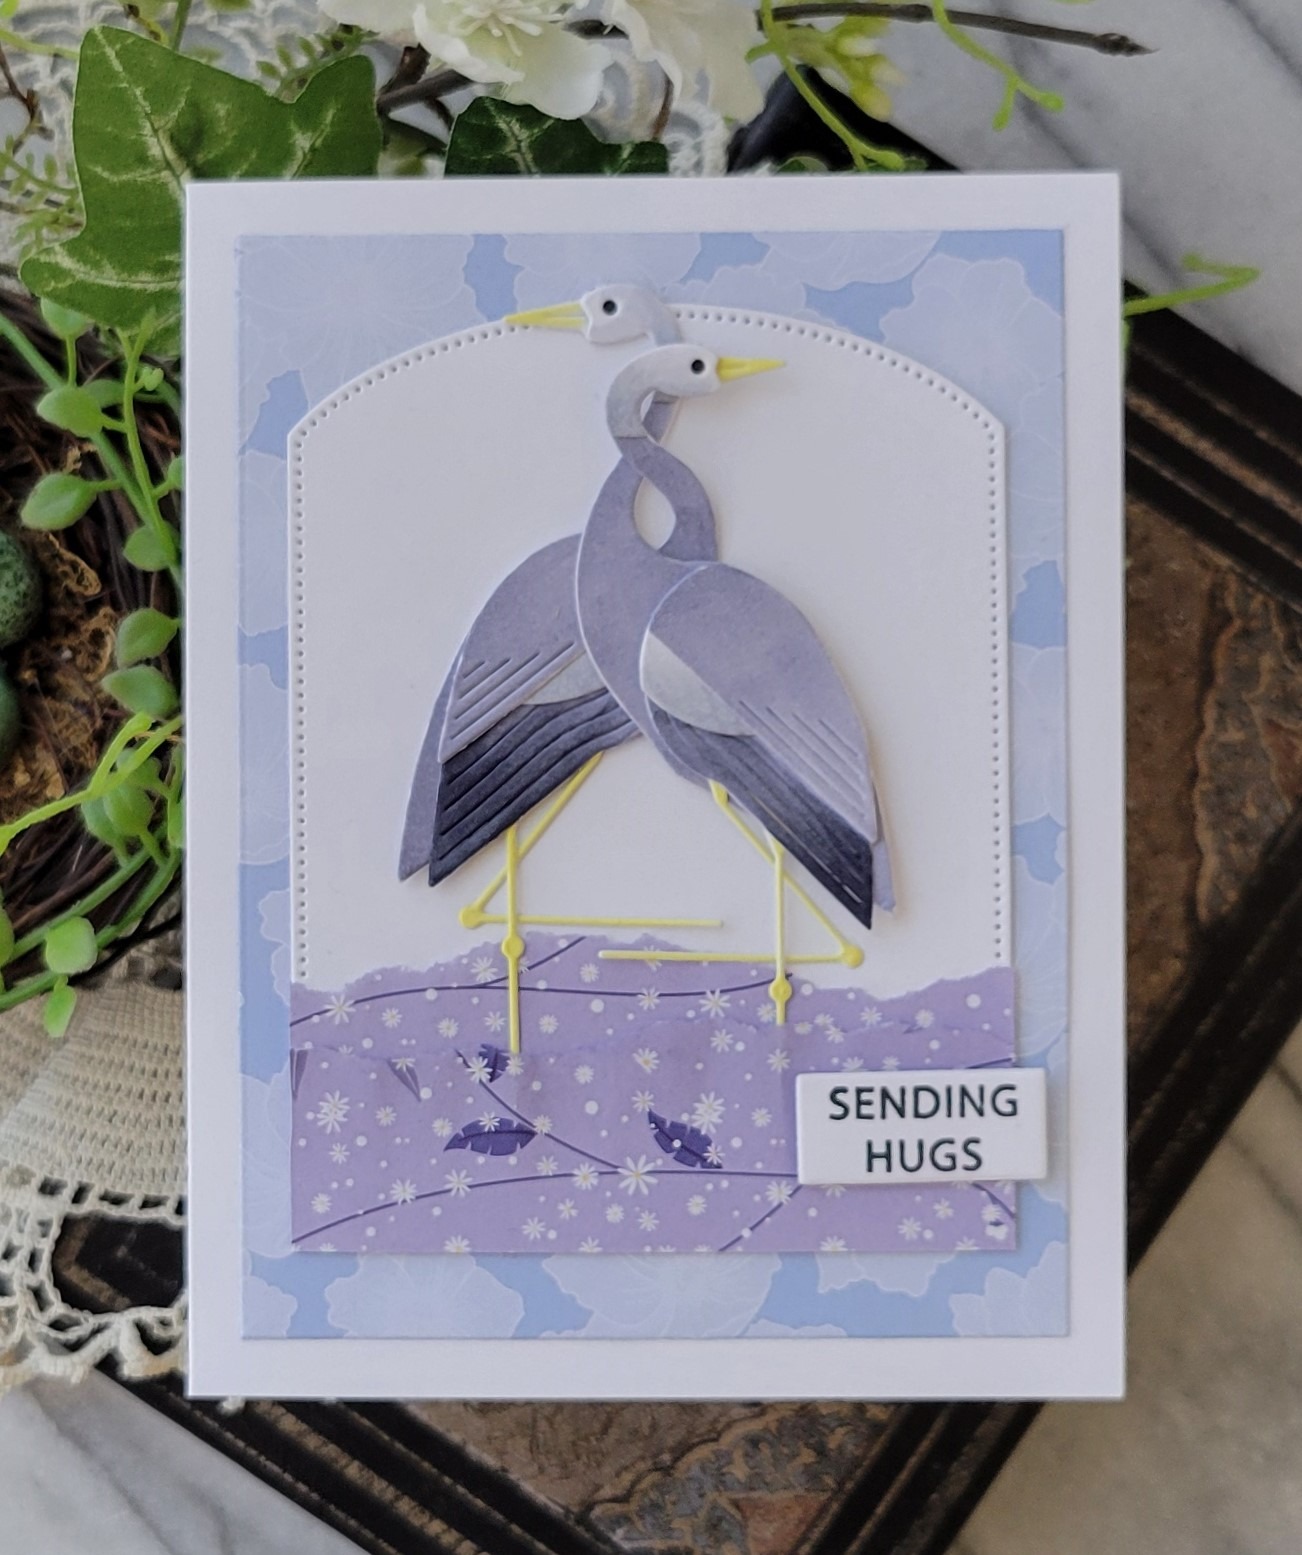
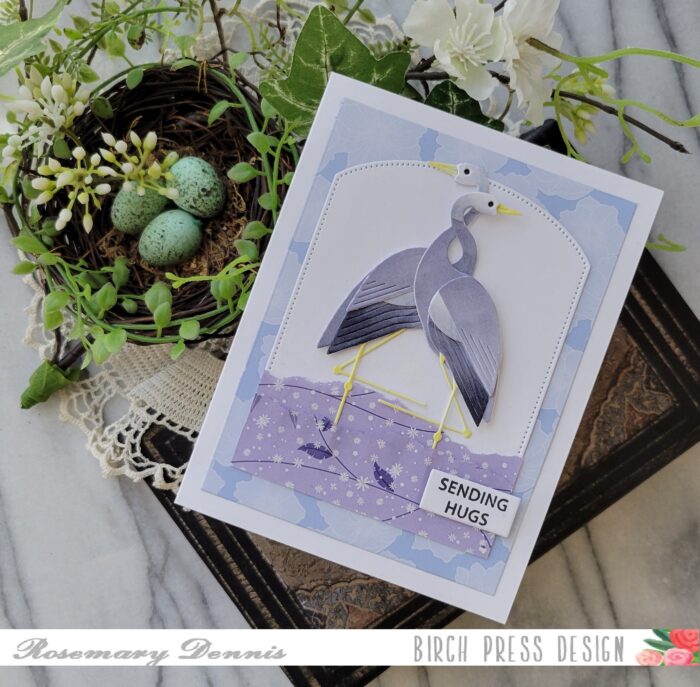
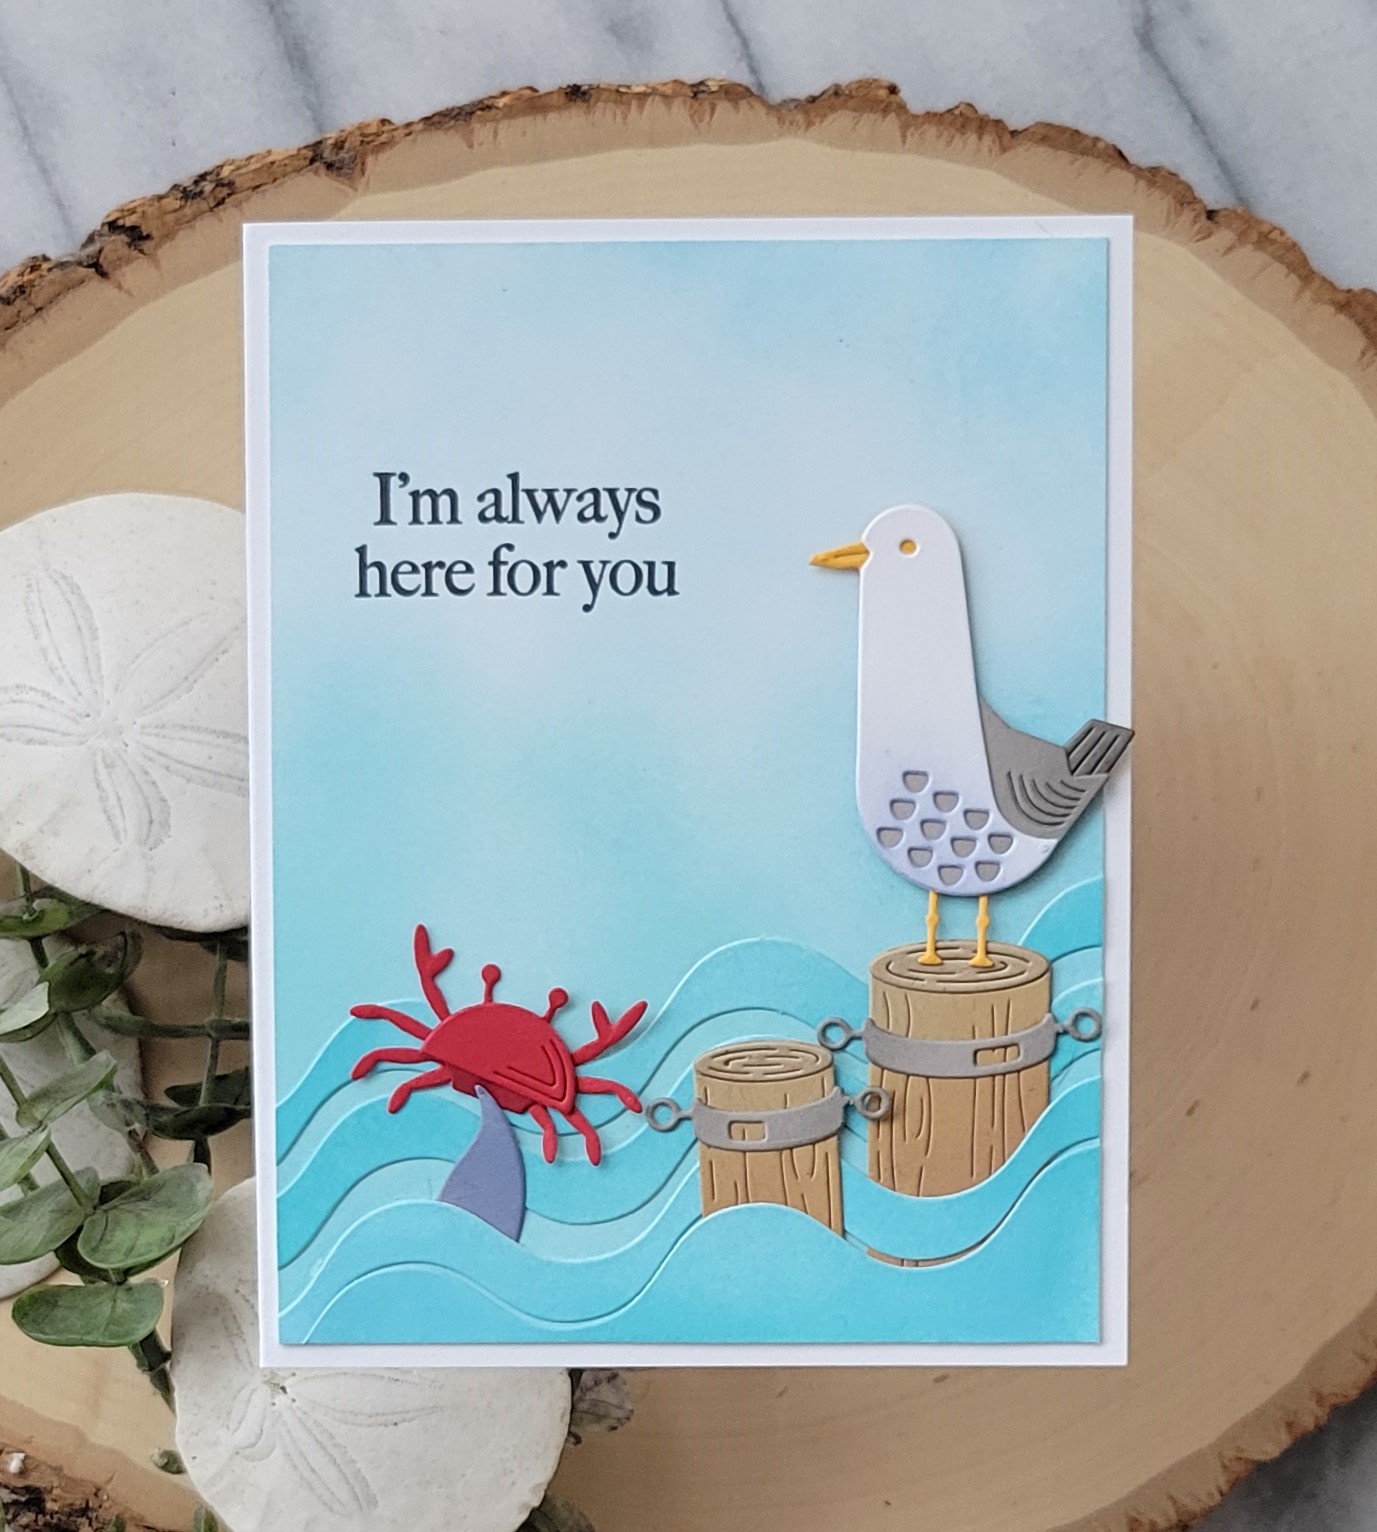
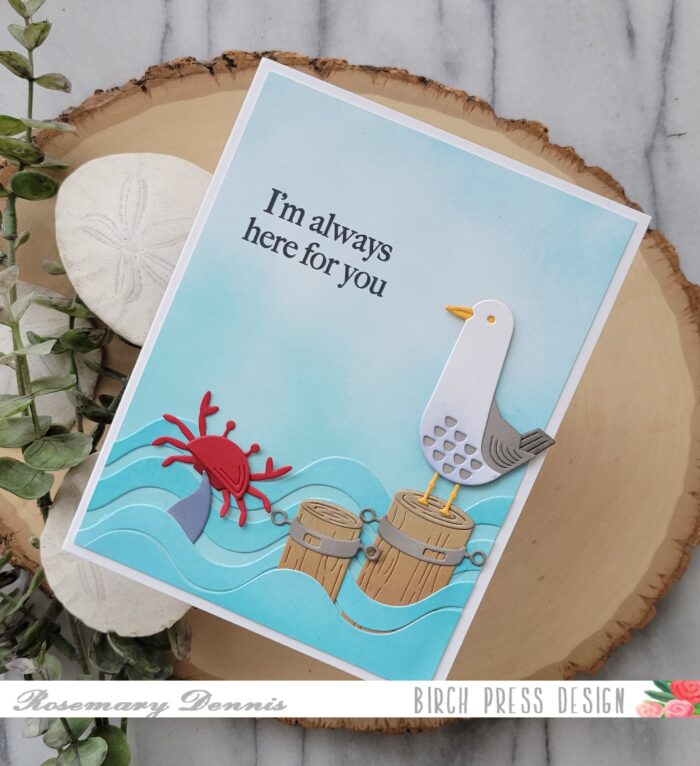
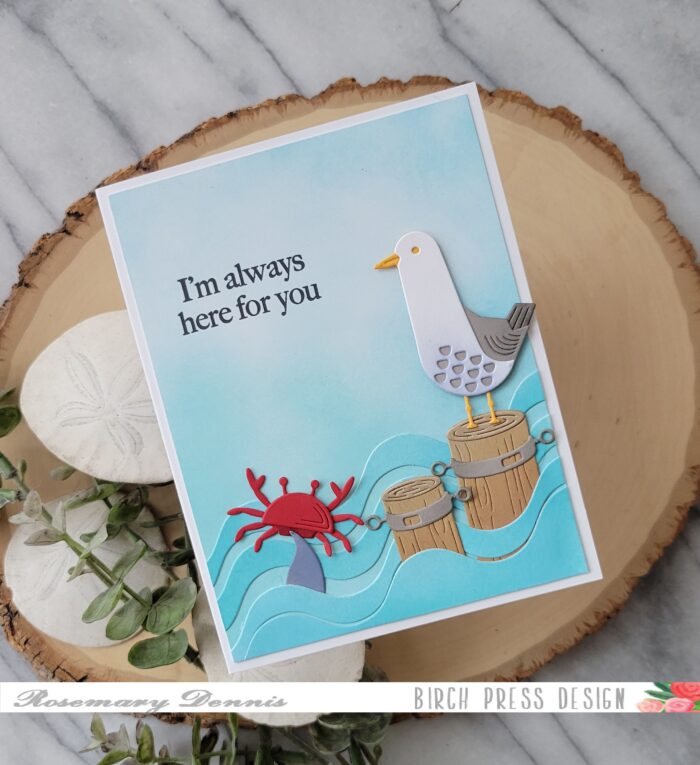
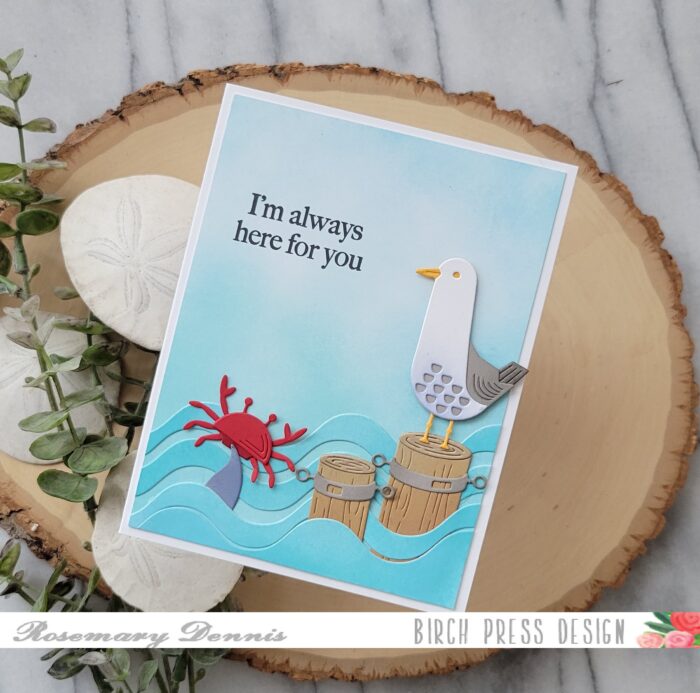
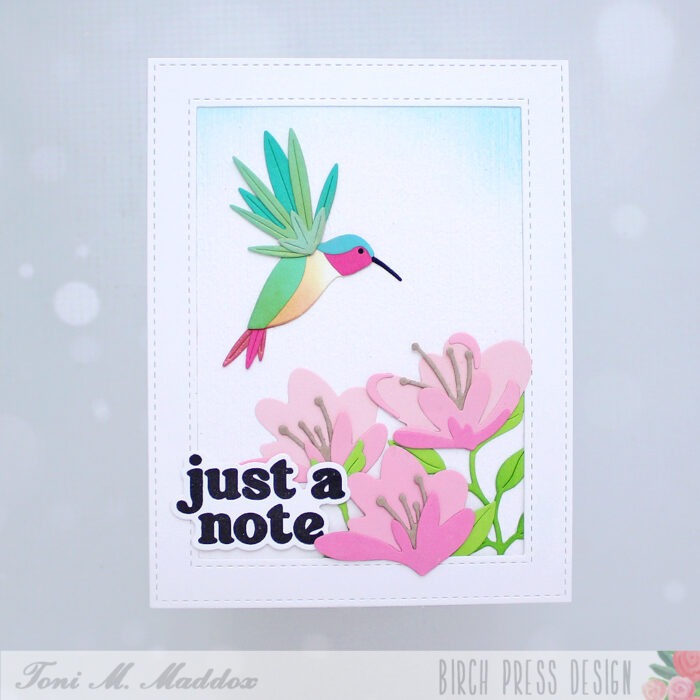
Hello and happy March everyone! Rosemary here on the blog today with a sweet birthday card that I think just says “spring”! I used the new Block Print Bird Duo, Block Print Mod Branches and Elegant Birthday Sentiments for my card. Let’s have a look at what I made.

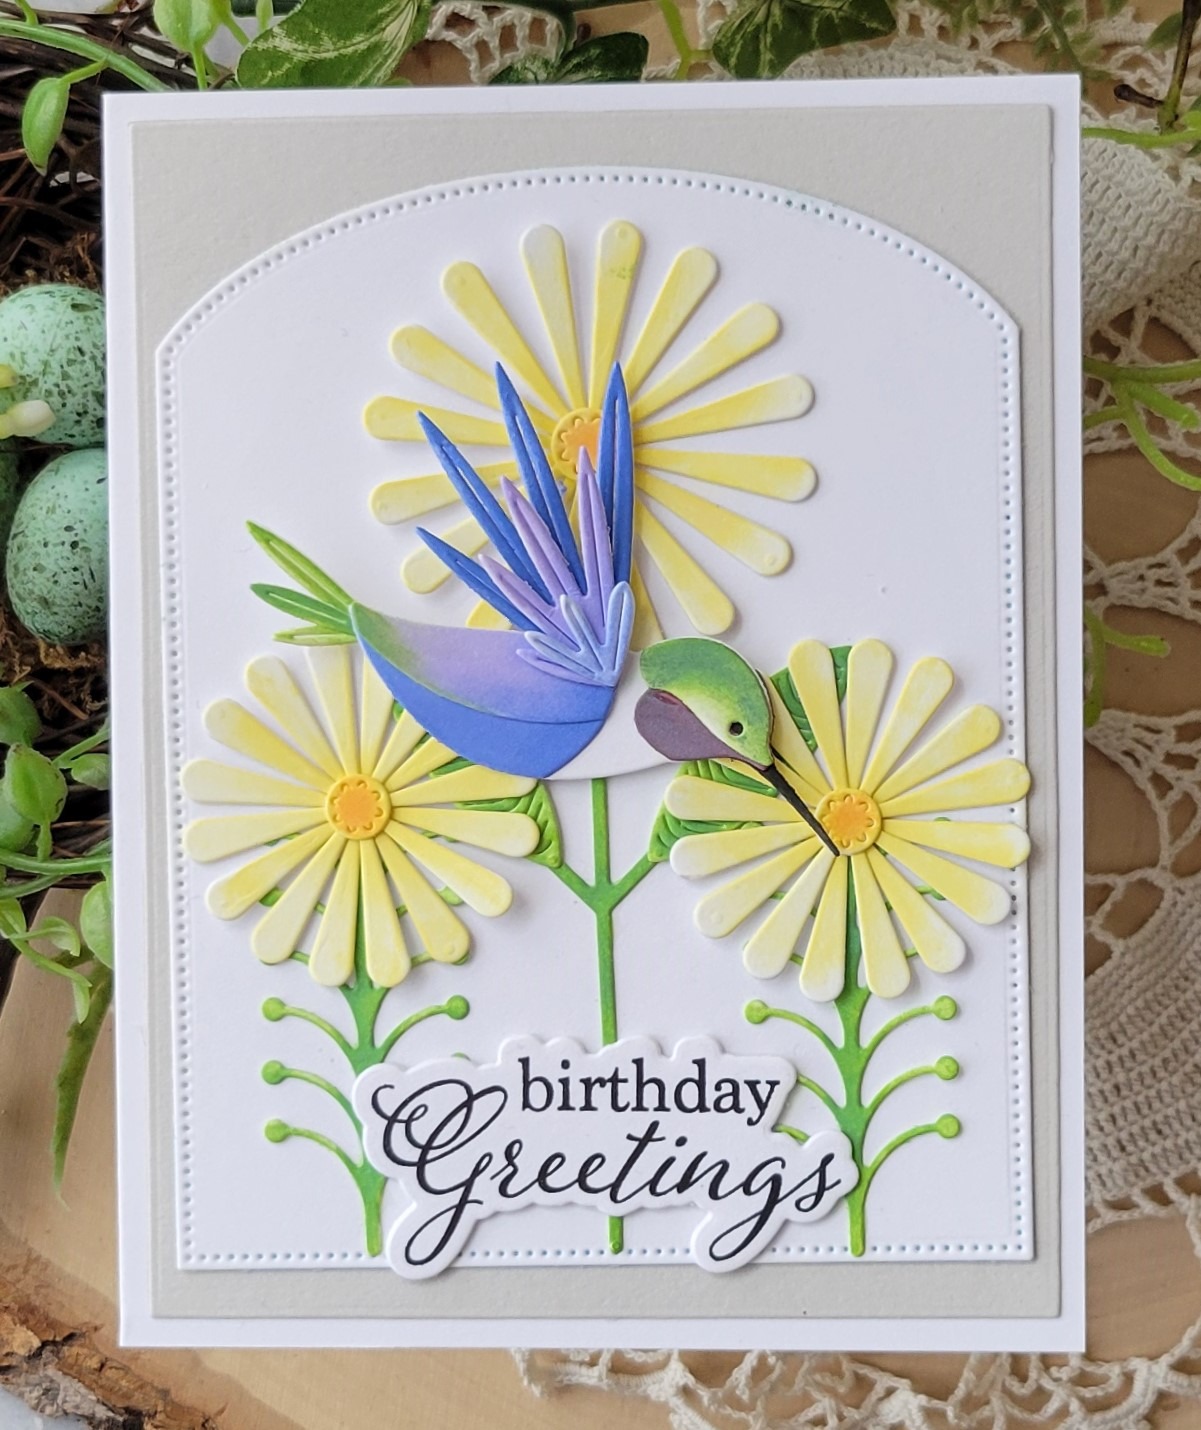
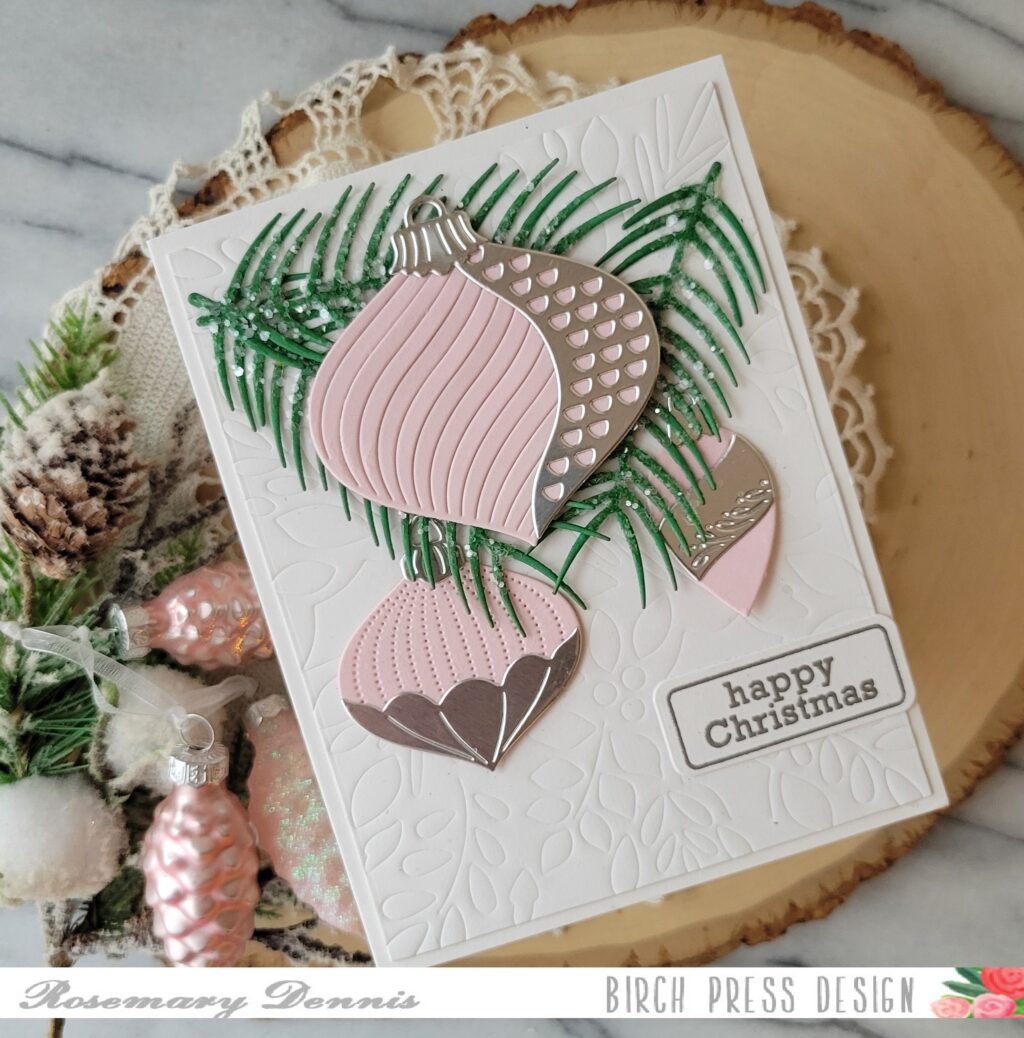
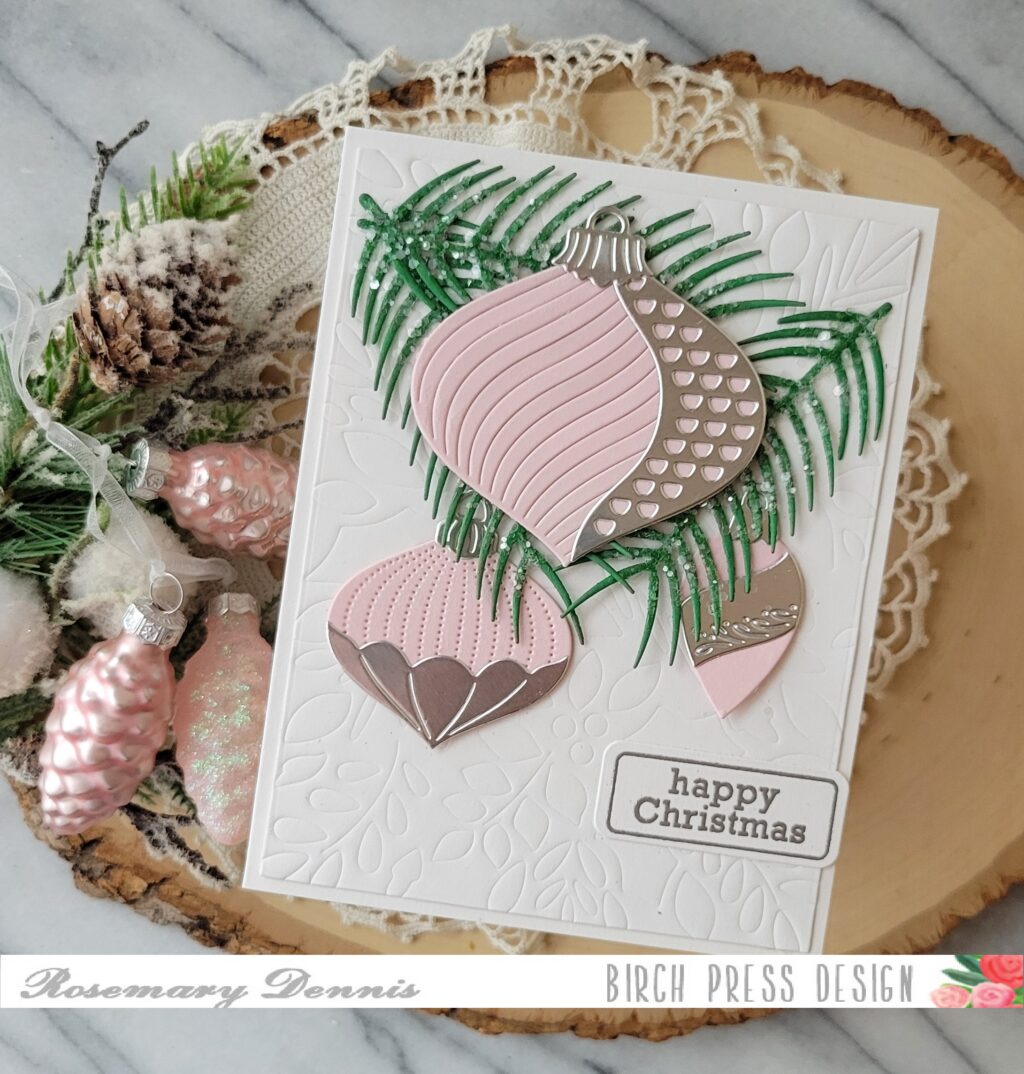
This card is similar to the card I posted at the end of February in that I die cut white cardstock and then blended on the ink. But this time I decided to use Memory Box white woodgrain cardstock for all my die cutting to give the the birds and branch a little bit more interest.

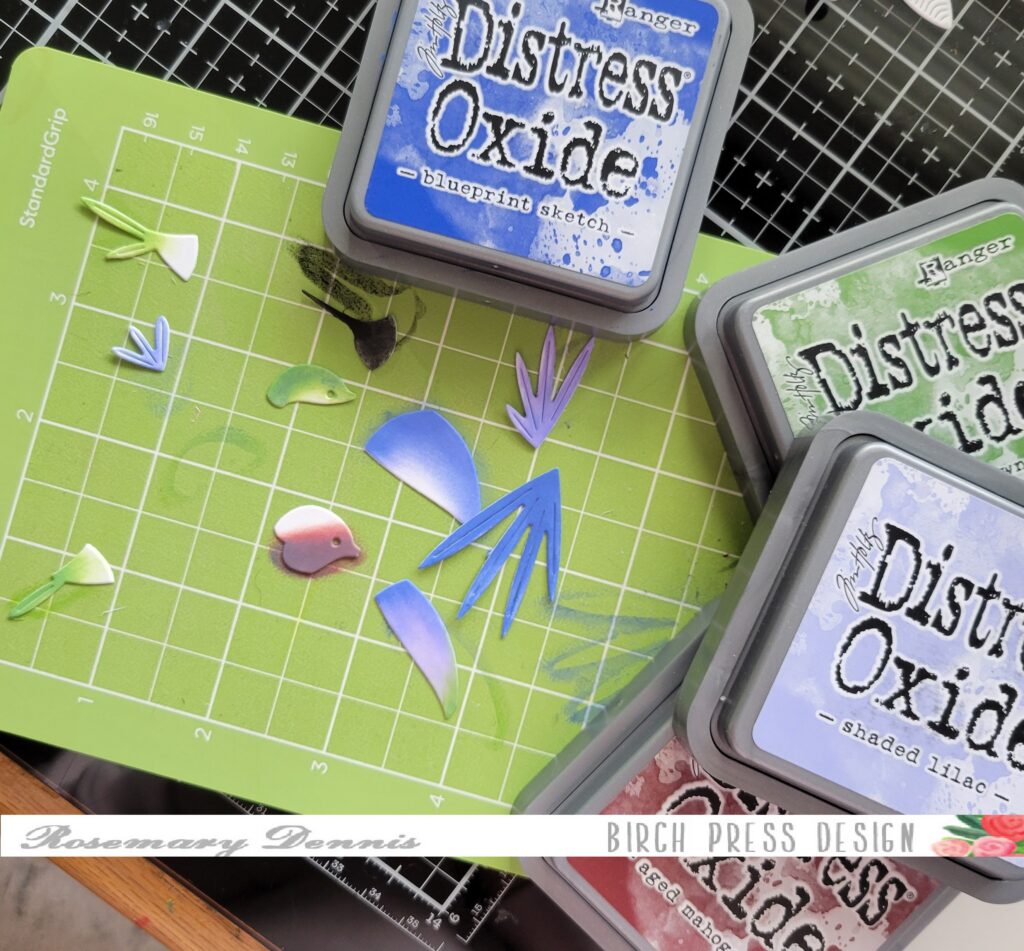
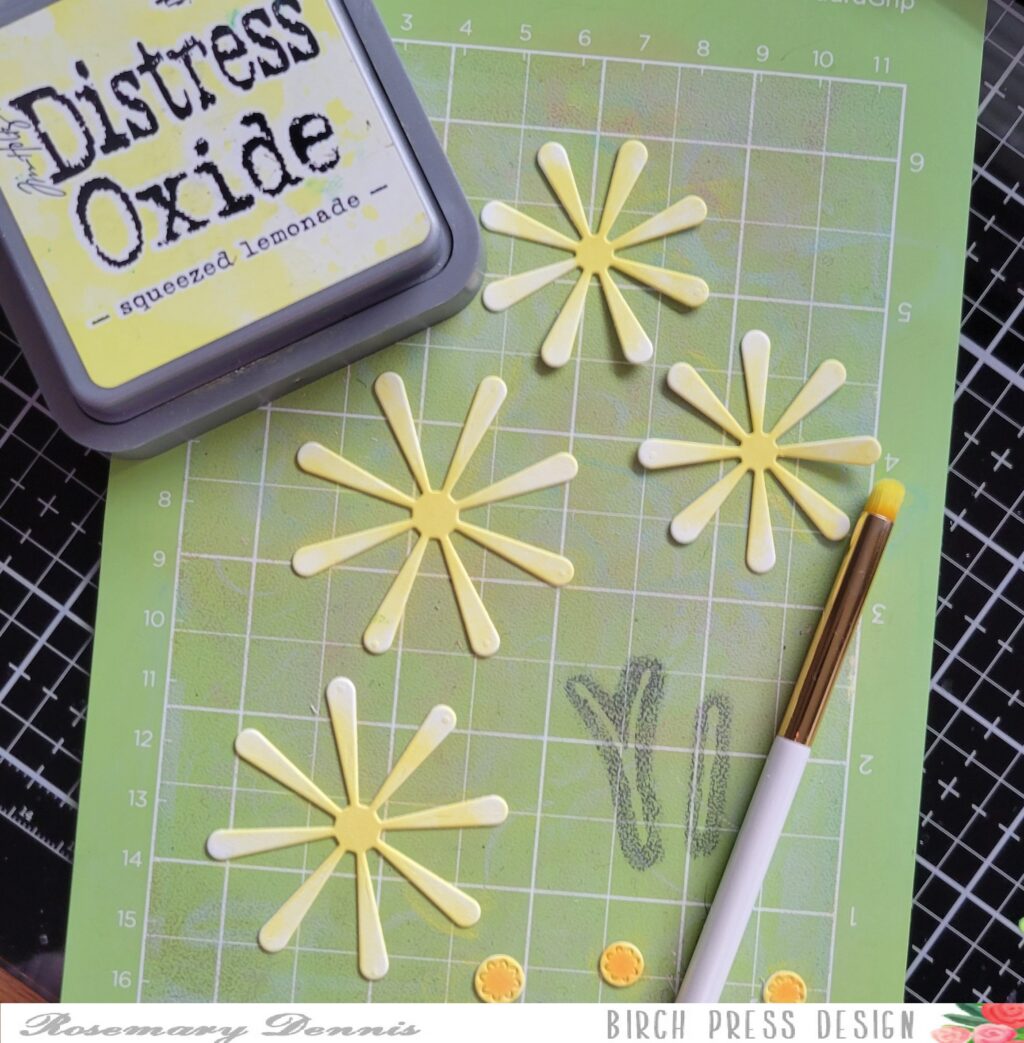
To do the blending on these small pieces I love to use my Waffle Flower 0+ blending brushes. You can see them in the photo. Inking tiny pieces with them is a breeze!

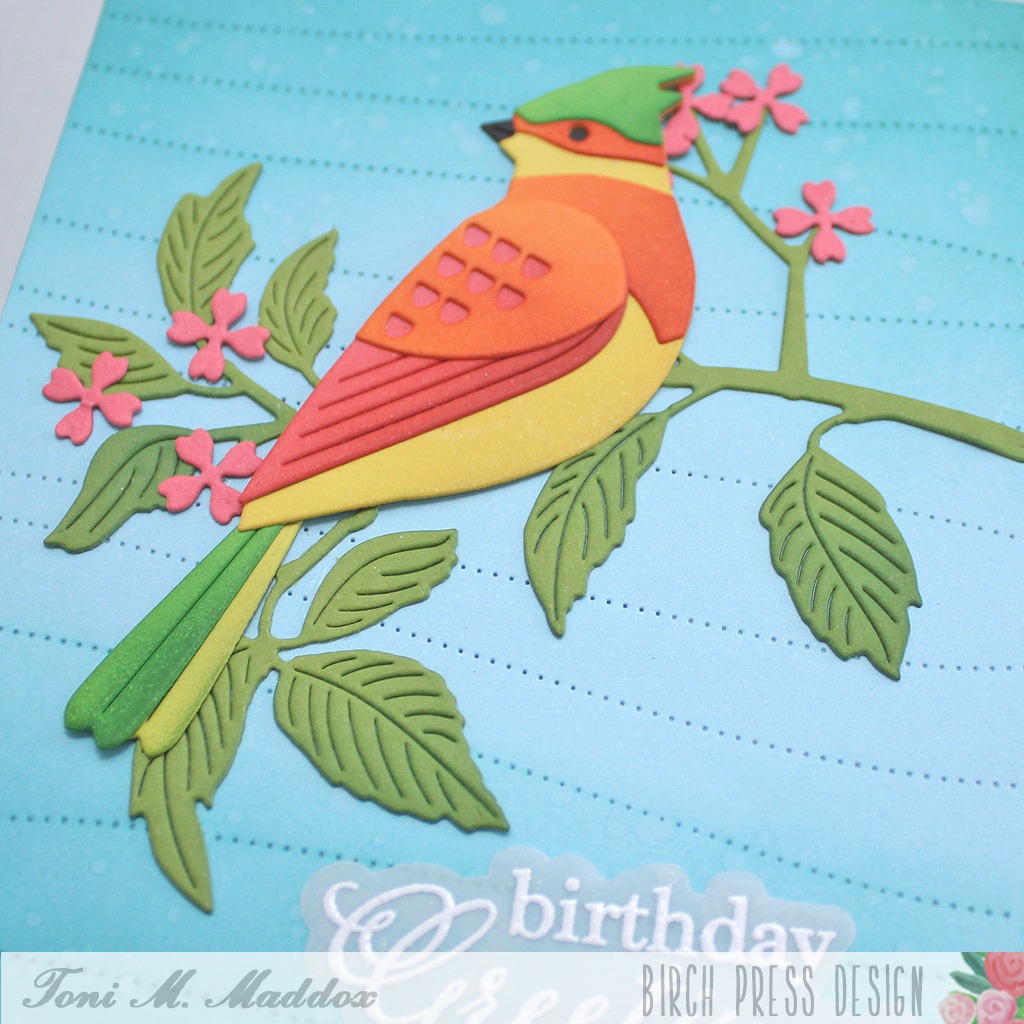
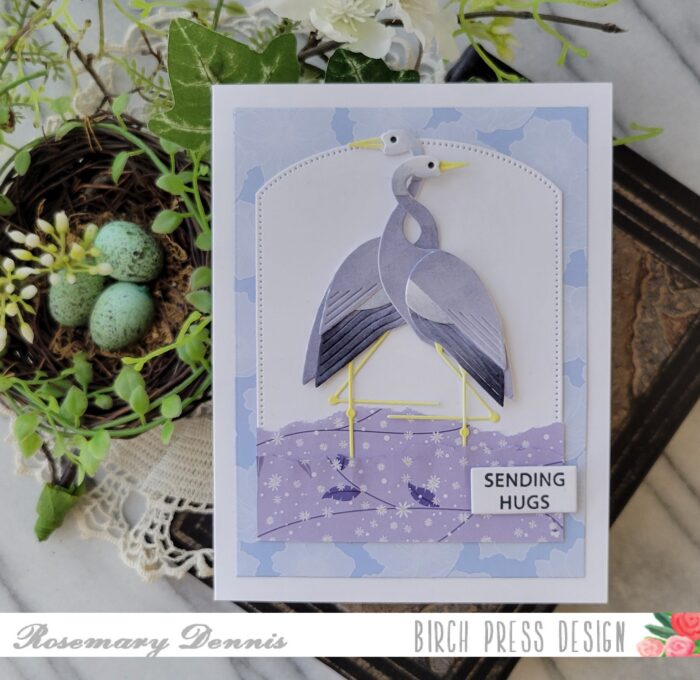
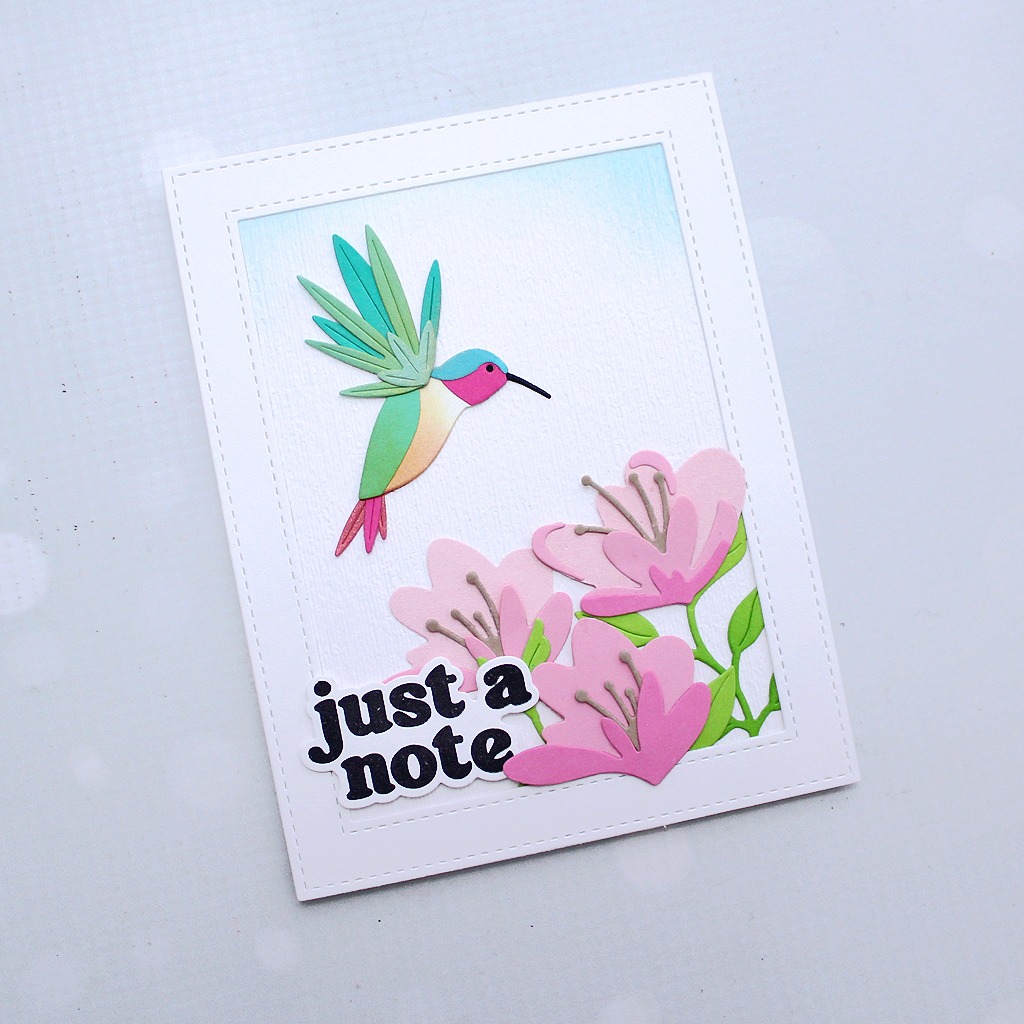
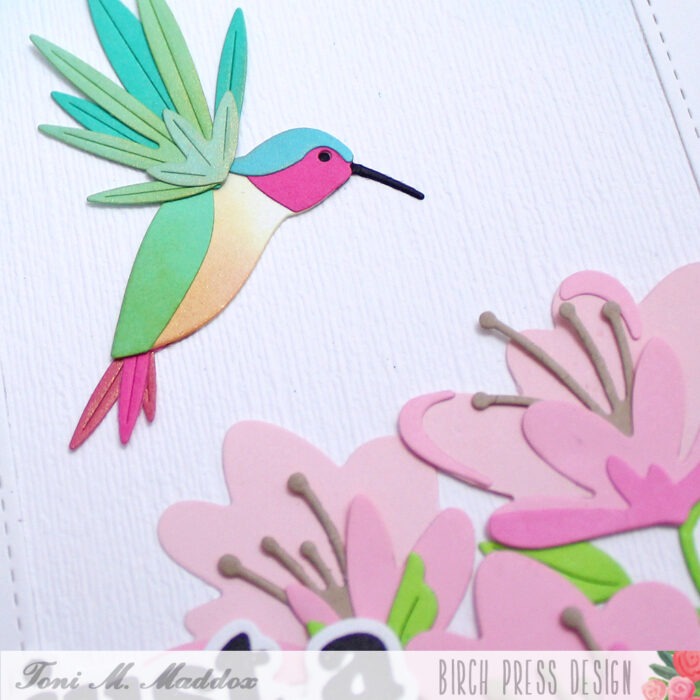
I decided to keep a relatively cohesive color scheme to keep things simple and allow me to complete the card rather quickly. I used two shades of green ink for the leaves, stem and parts of the bird. Then I threw blue, yellow and a little bit of red for the berries into the mix.

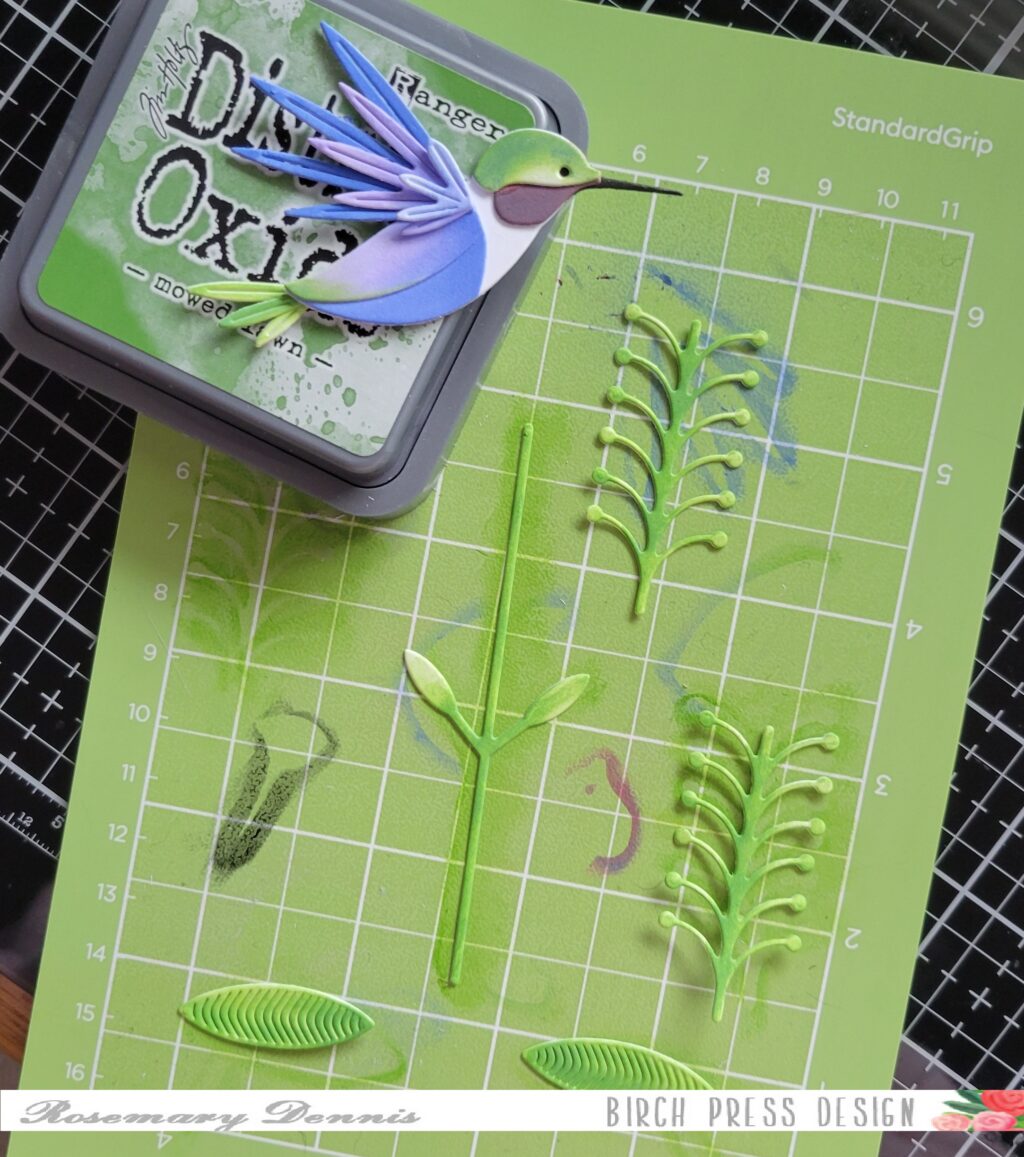
Here I have the branch mostly completed. Below are all the pieces of the birds inked up and ready to be assembled.

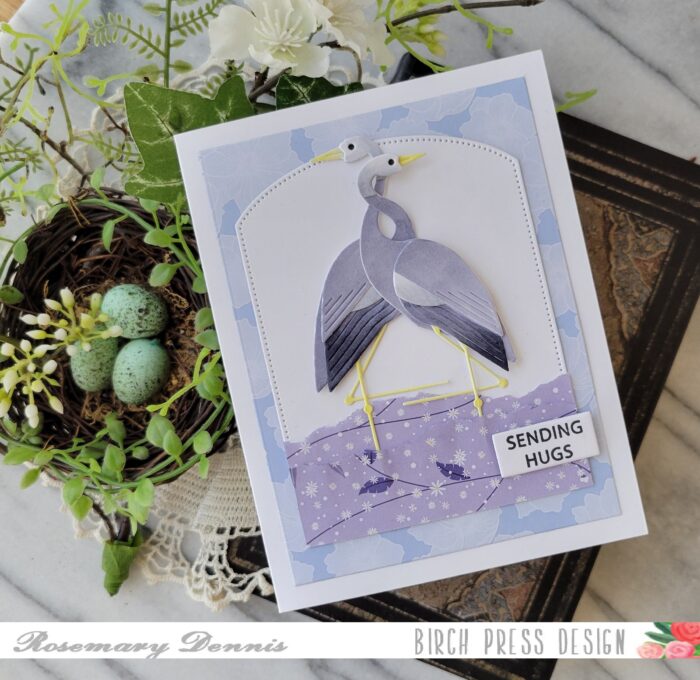
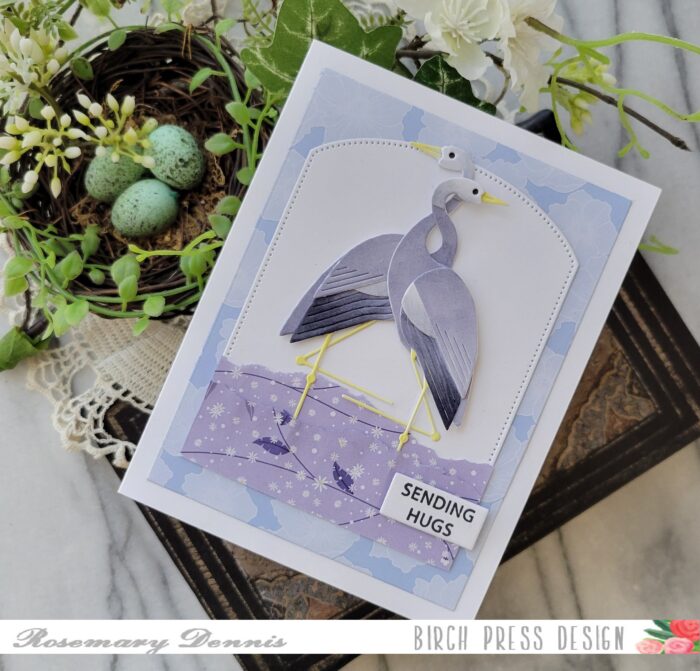
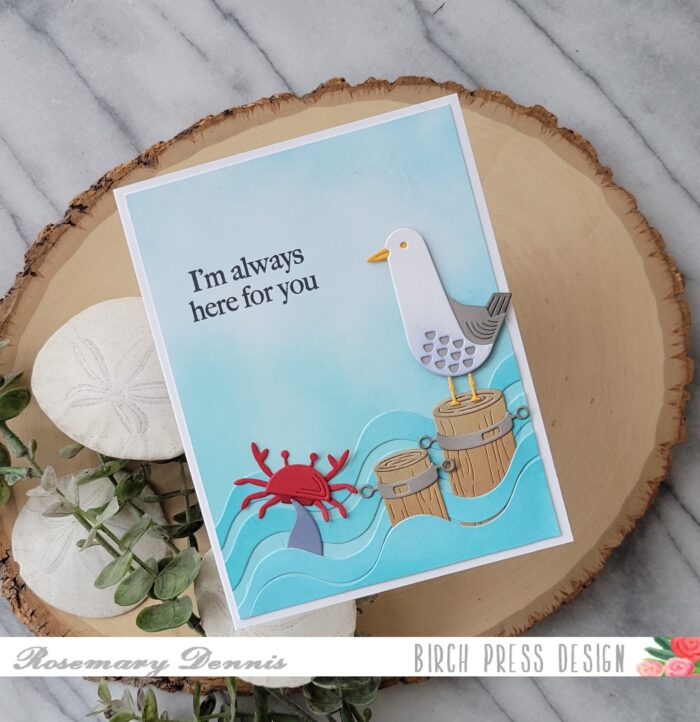
I love dimension on my cards, but with the cost of postage being so high now days I often refrain from using foam squares. In order to obtain some dimension without adding thickness I will often not completely glue down pieces. For example, the leaves are only glued down at the base of the stem and the wings of the birds at the top. That way I can lift up the pieces and give the illusion of dimension.

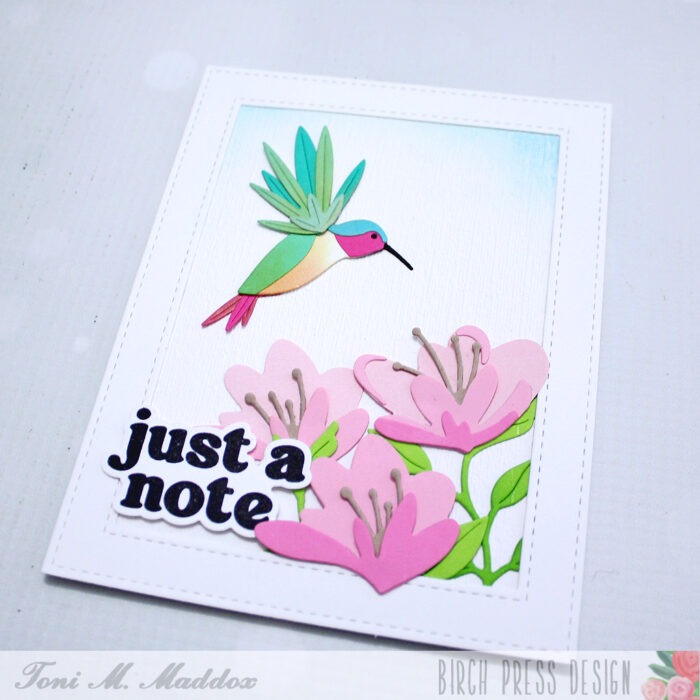
Once everything was assembled I die cut another piece of white woodgrain cardstock with a medium sized rectangle and adhered that to a bright green cardstock base with double sided tape. I then adhered the branch (which was a little tricky, lol) and the birds using glue. I finished with the sentiment that was stamped and die cut with the matching die.
I hope you enjoyed today’s card. Thanks for stopping by and have a lovely day!