Category: Stencils

  • Birch Tree Series: Fall by Savannah O’Gwynn 

    Birch Tree Series: Fall
    by Savannah O’Gwynn 

    Hello, sweet BPD friends and fans!

    I am super excited to share my next Birch Tree Series design using Block Print Birch Tree dies! **You can read about my first Birch Tree design HERE– it was a summer theme.

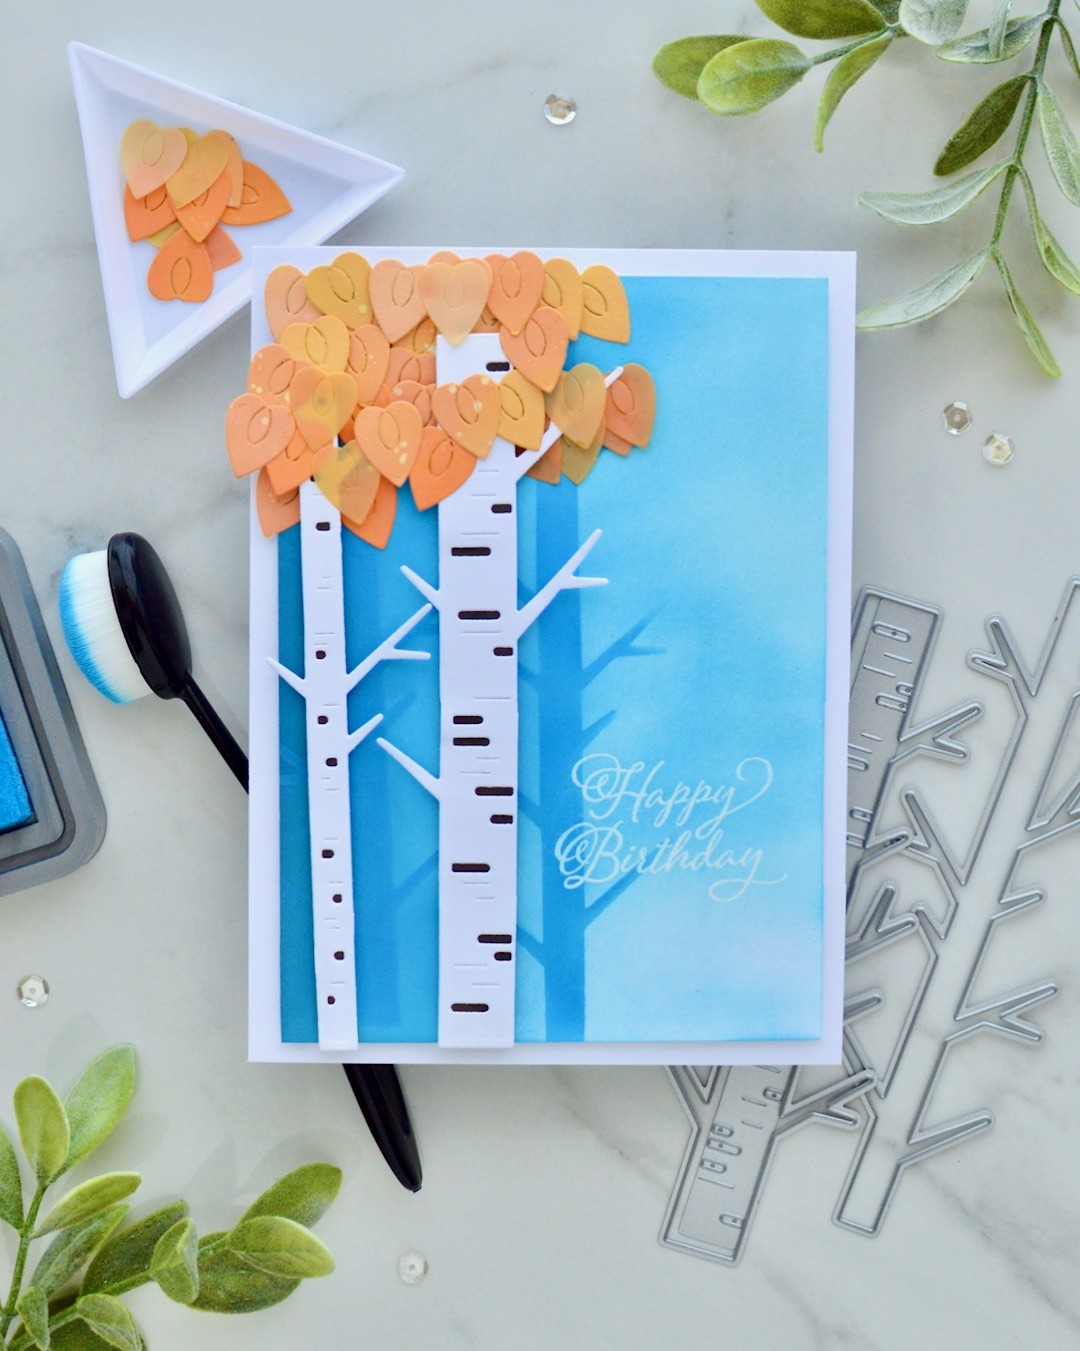
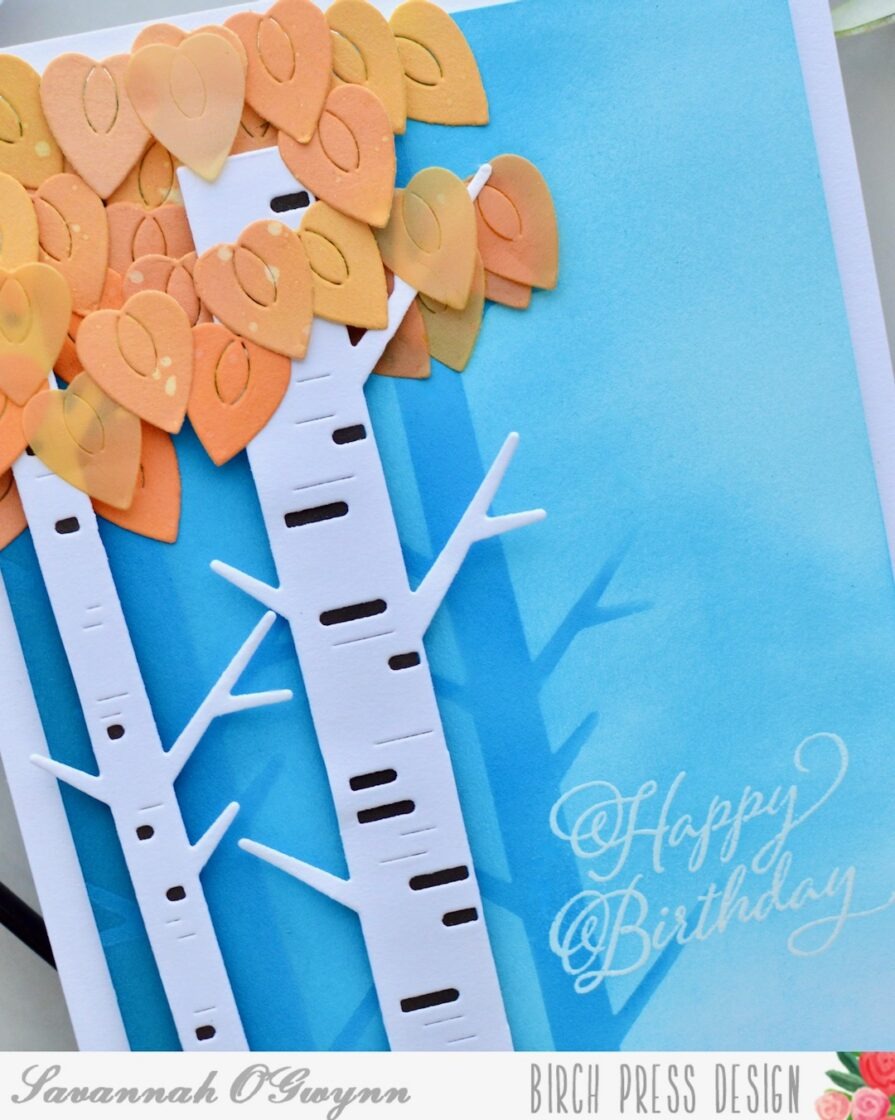
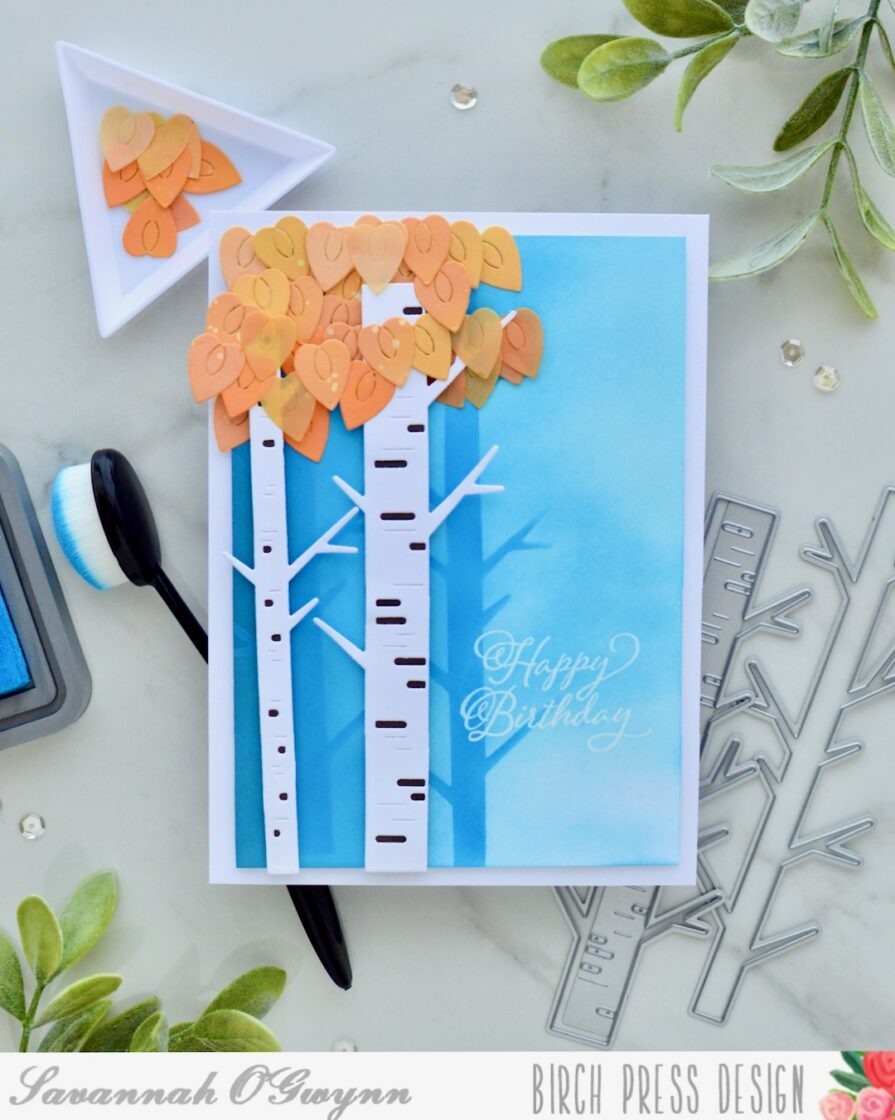
    This second design is more fall themed because it’s almost October! I went with a misty, shadowy background and orange ink blended leaves.
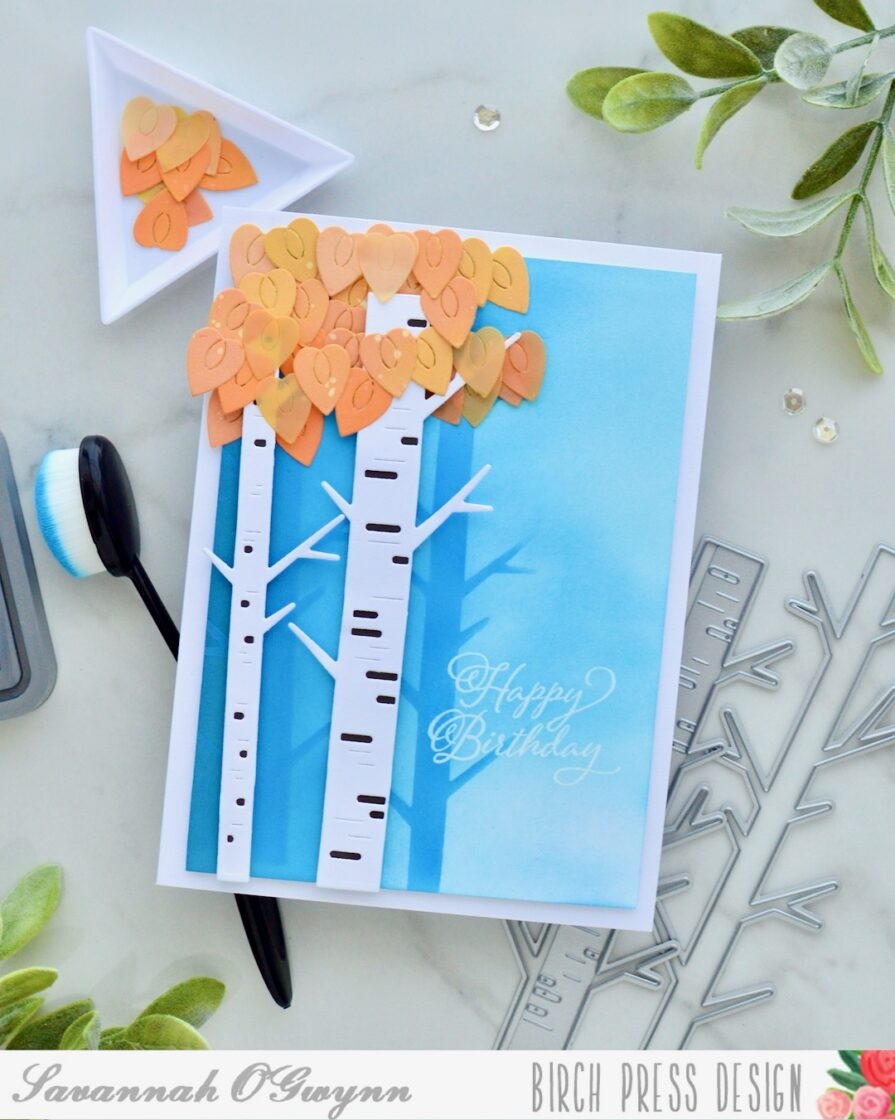
    Here are a few tips and tricks when creating this design:
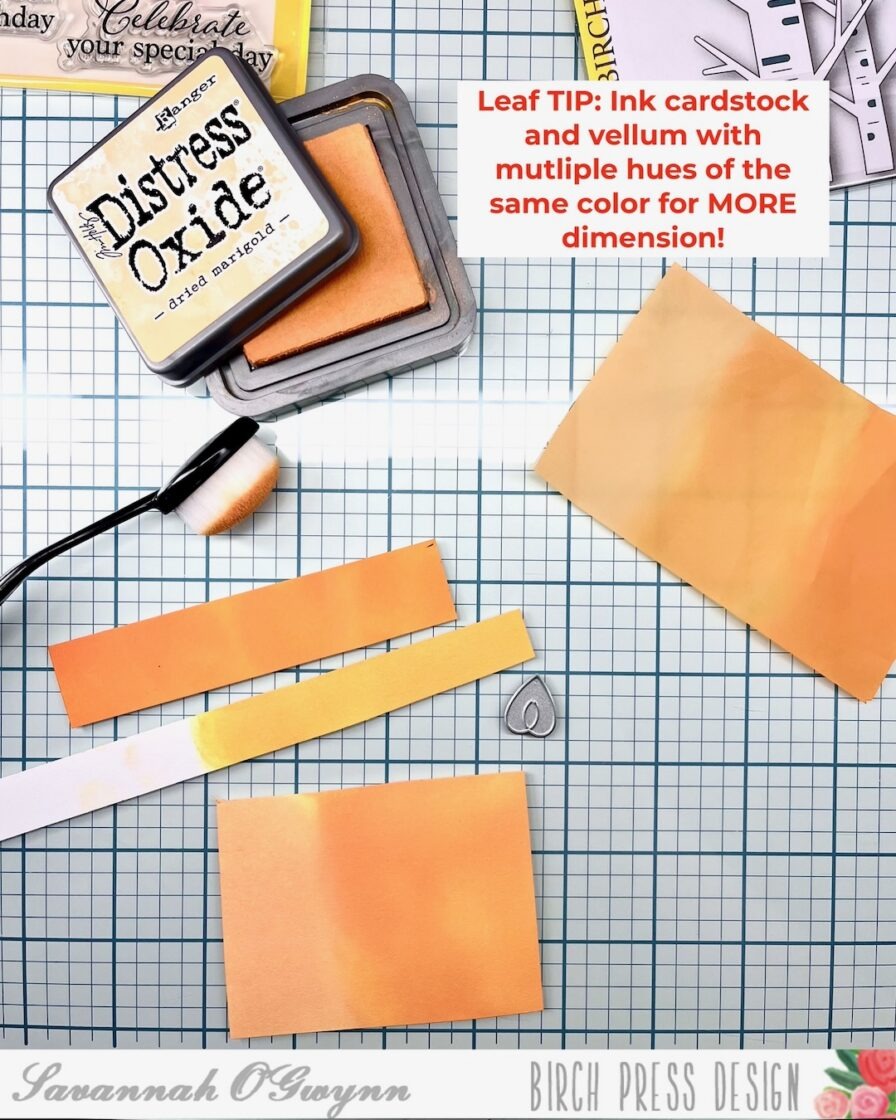
    TIP: You can use multiple hues of the same color or multiple ink colors for the leaves. You can also different cardstock types for extra dimension.

    I used three different hues of orange inks, as well as thick white cardstock, thin white cardstock, and vellum paper, for my leaves.
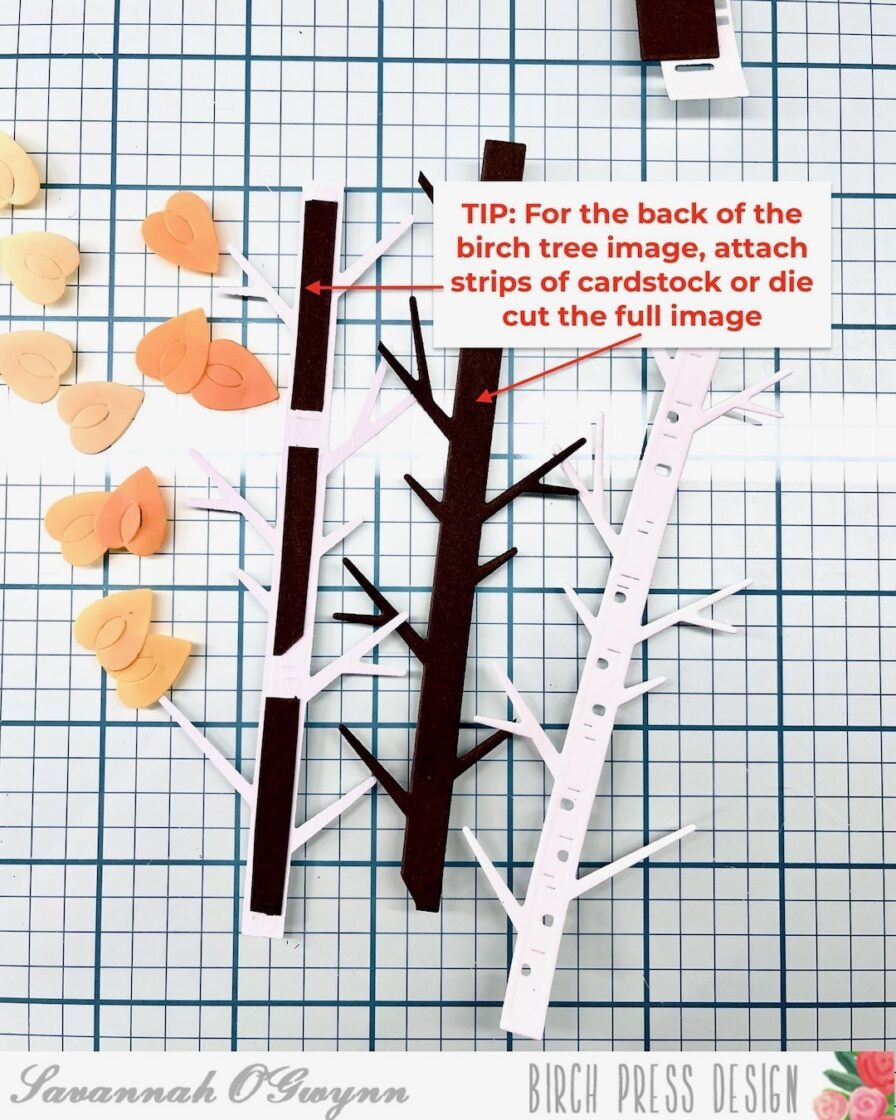
    TIP: There are two different ways to fill in/cover the holes of the birch tree die image. You can attach just strips [scraps] of darker paper or die cut a second tree using the darker cardstock to layer your tree image.
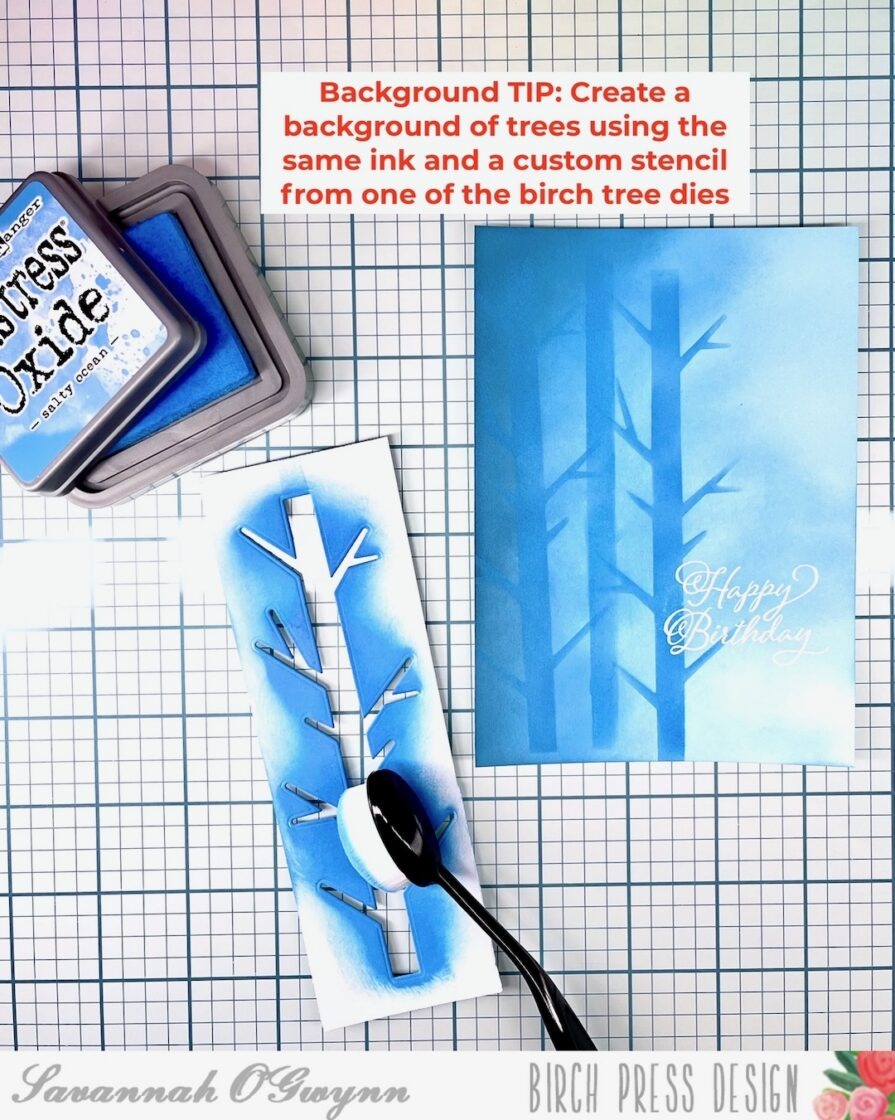
    TIP: Create a stencil by die cutting a tree image.

    You can die cut both sizes of trees for your stencil(s) or use just one tree image like I did. BONUS TIP: I would only one image per stencil piece this way you can cleanly add ink for your stenciled image. I also used the same ink as the background as the stenciled trees- this helped create a layer of interest but also helped the trees blend in and not stick out too much. Once the background was completed I added some darker ink blending to the left side of the cardbase.
    Join me as I continue this Birch Tree series- which type of card design or theme with the Birch Tree die do you think I will make next? Should I do winter? Or a fun design? I’ll keep you posted 🙂

    **Don’t forget to see my first Birch Tree Series designs HERE.

    I hope that you are inspired and will join me in making different Birch Tree designs and cards! 

    I’ll be back with MORE soon!

    Please remember to share what you create using these tips, tricks, and techniques or if you were inspired by my creation- I’d love to see what you make with this idea! 

    THANKS so much for stopping by! Happy crafting:) 


    HUGS <3 Sav
  • A Bokeh Hello by Nora Noll

    A Bokeh Hello
    by Nora Noll

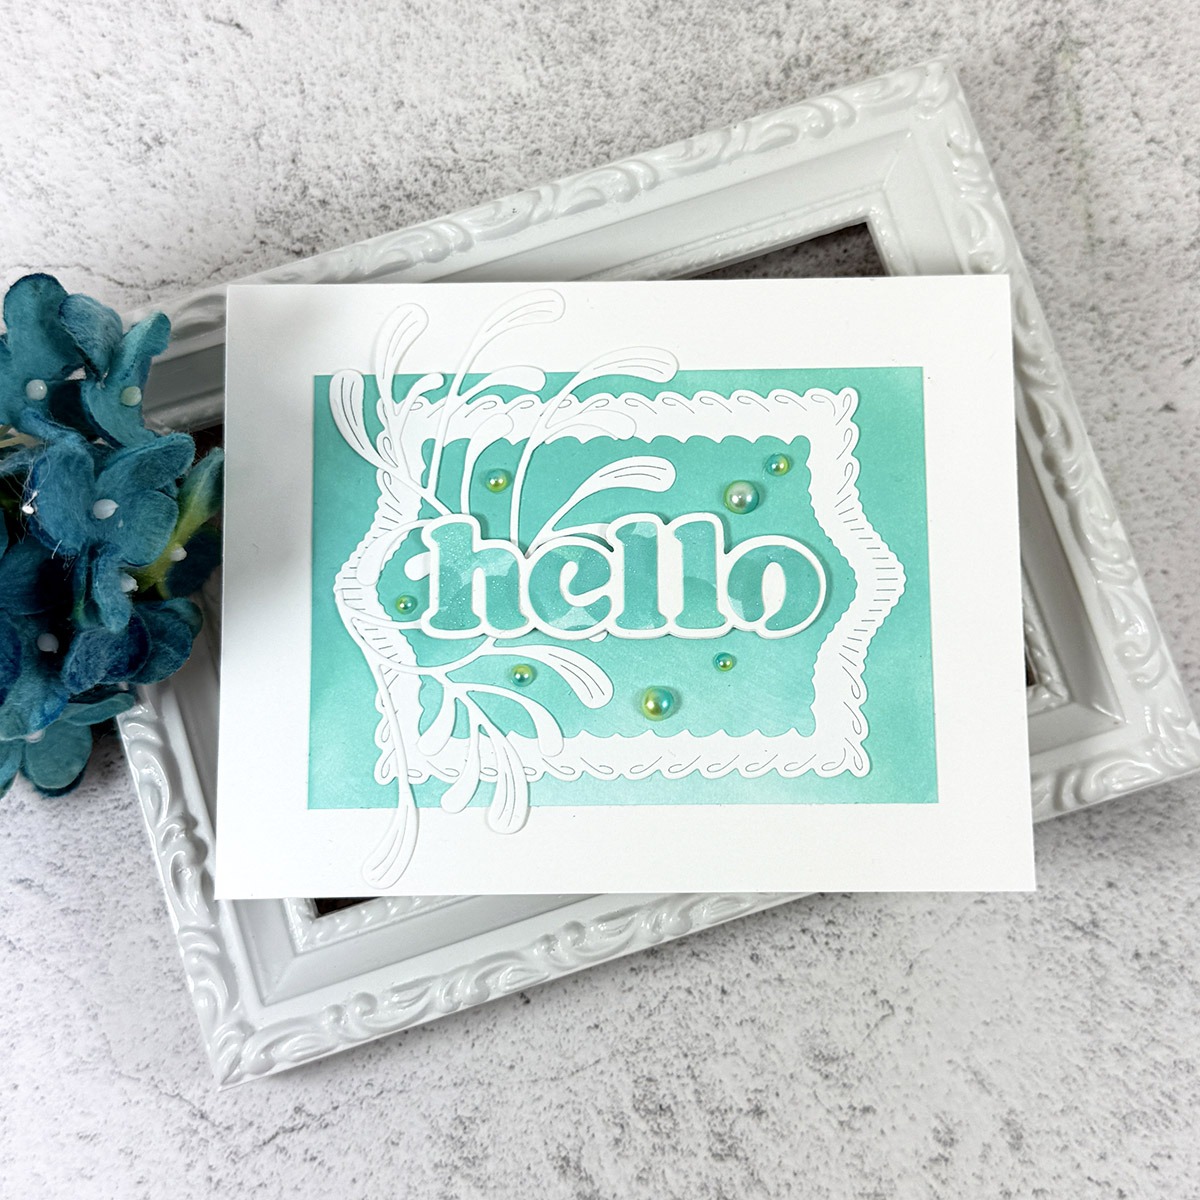
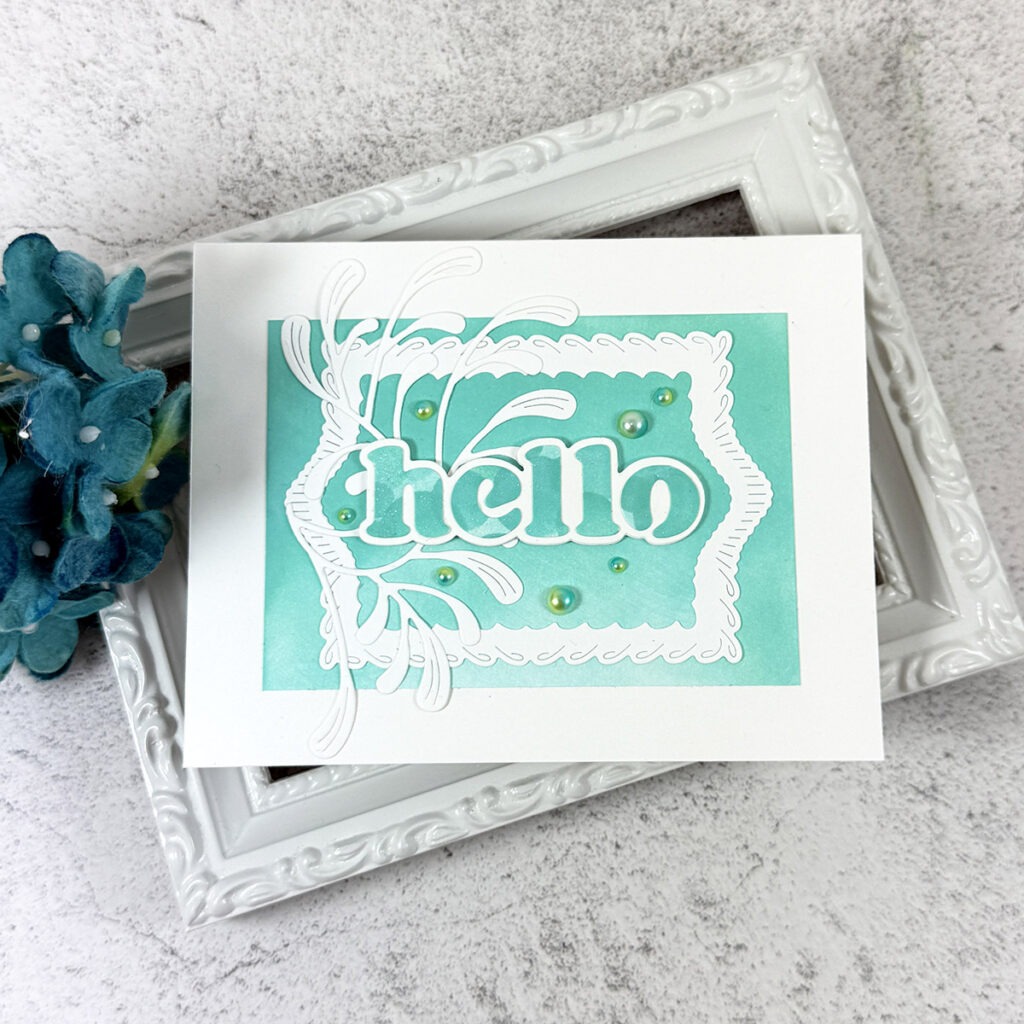
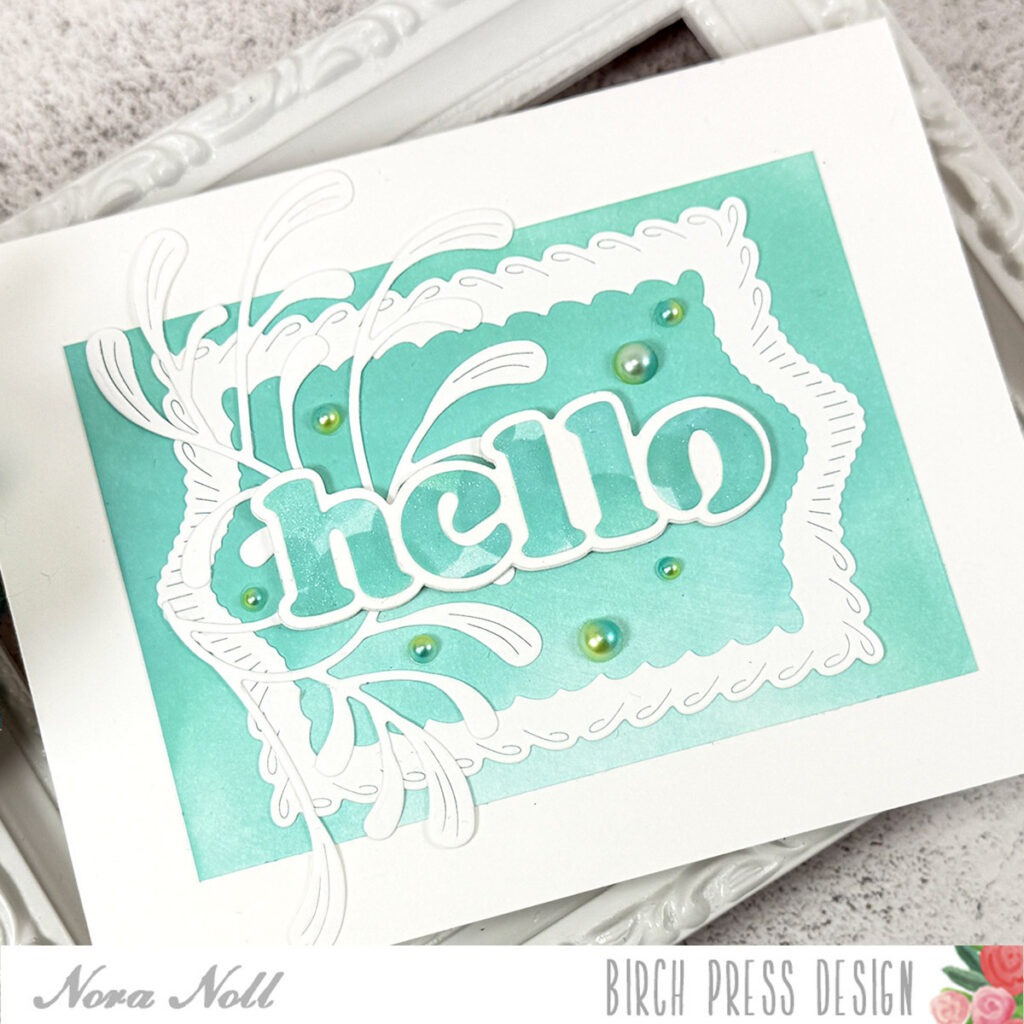
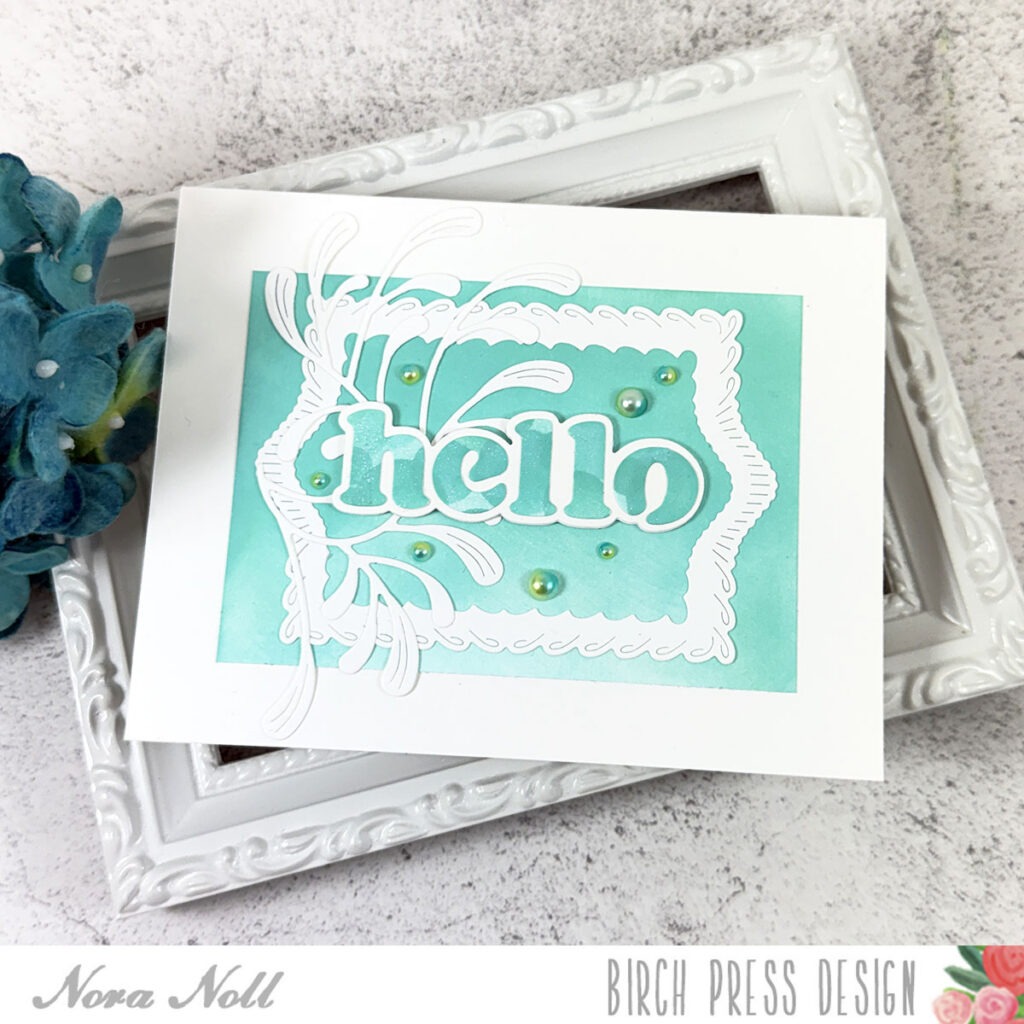
    Hello friends!! Nora here on the blog today with my first card as a Design Team Member!! I used the Bokeh Stencil Set (42048) with the Ornamental Branch die (57601), the Big Hello Vintage Sentiment die (57549) and the Loop Stitch Frames (57688) to create a simple card.

    I started off my card by ink blending aqua ink on a 4” by 3” piece of white cardstock. I then adhered the paper to an A2 sized white card base.

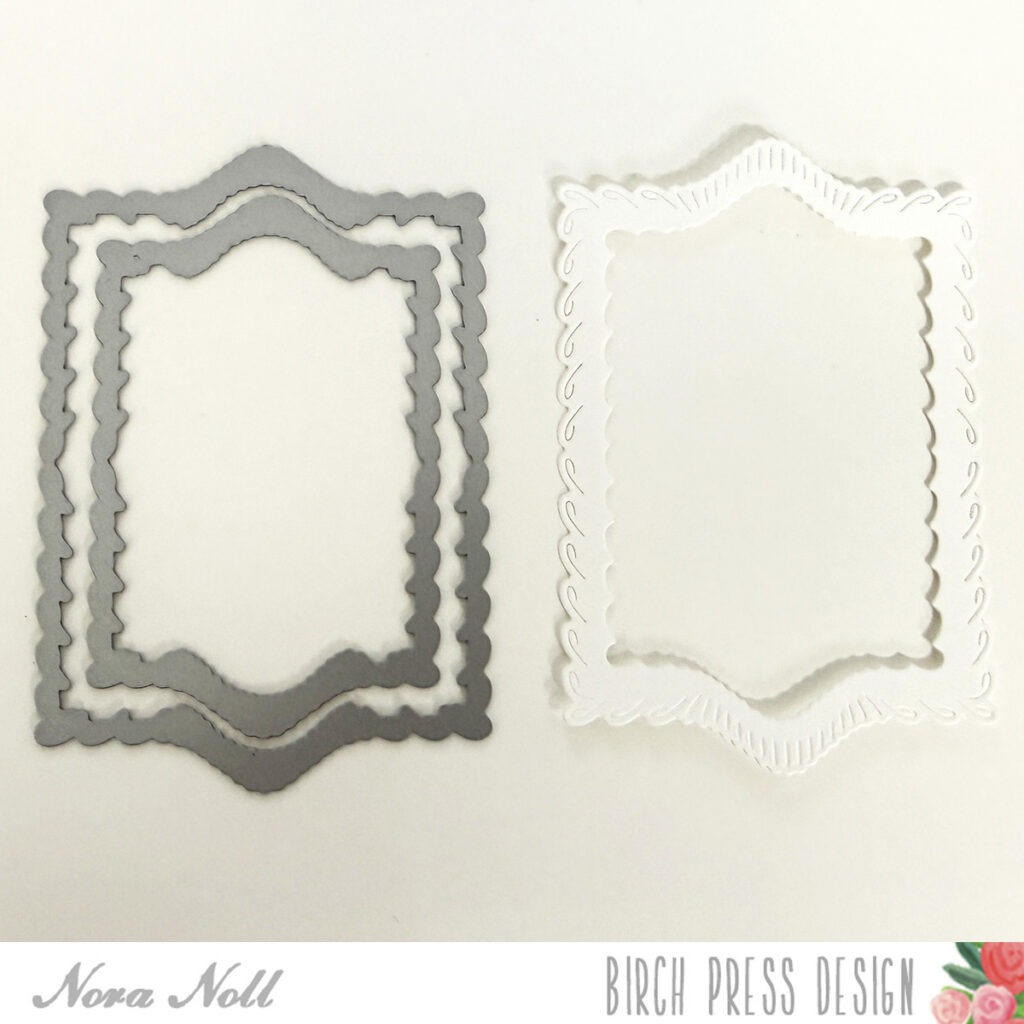
    Next I created a frame out of white cardstock using two of the Loop Stitch dies. I adhered the frame over the top of the aqua on the card front.

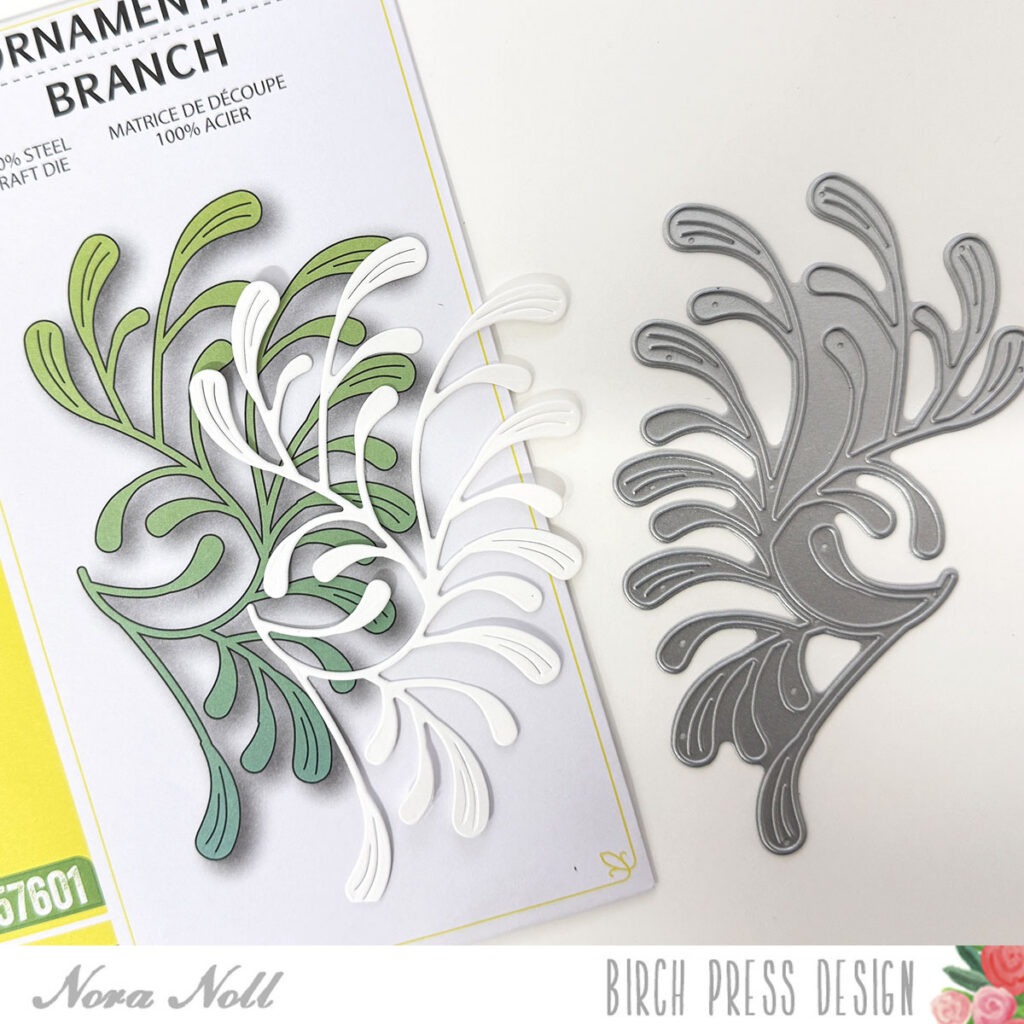
    I used the Ornamental Branch and cut a bough out of white cardstock. I adhered the branch over the left side of the Loop Frame.

    I had so much fun using the Bokeh Stencil Set to stencil a small piece of white cardstock. I actually used the stencil by lifting it up and moving it over and over to get the circles where I wanted them to go.

    I used the Big Hello Vintage Sentiment outline die to cut the “hello” out of the stenciled paper. I used the solid sentiment die to cut four, white sentiment bases. I adhered the bases together and then glued the bokeh hello over the top.

    I added my sentiment to the front of the card and finished it up by adhering some ombre pearls randomly across the card front.

    This was a fun card to make. I have never used a stencil to create paper for a die cut sentiment and I will be using this technique again in the future. I think it has a big impact for any card front.

    I hope that my card has inspired you to try this fun technique. I thank you for taking the time to stop by. Have a FABULOUS day.

  • Ornament Dies As Lemons! by Toni M Maddox 

    Ornament Dies As Lemons!
    by Toni M Maddox 

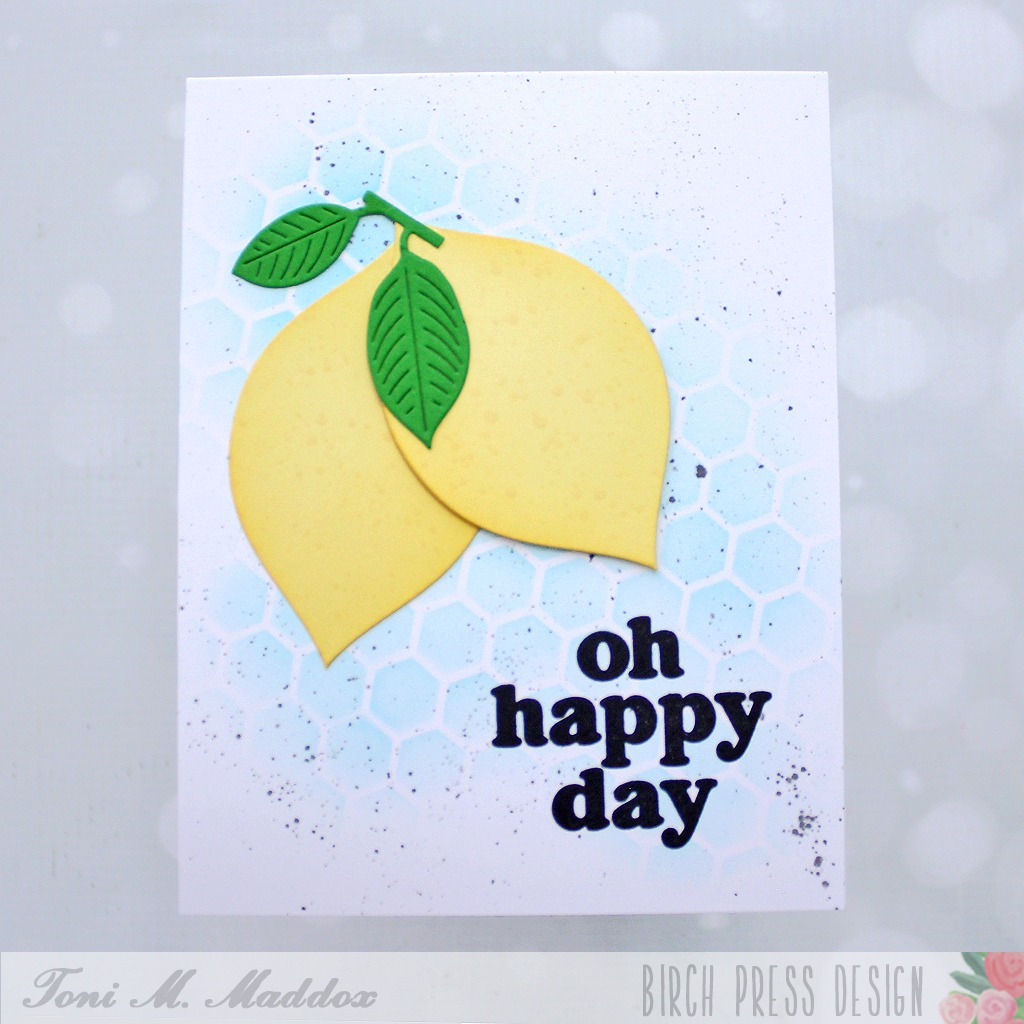
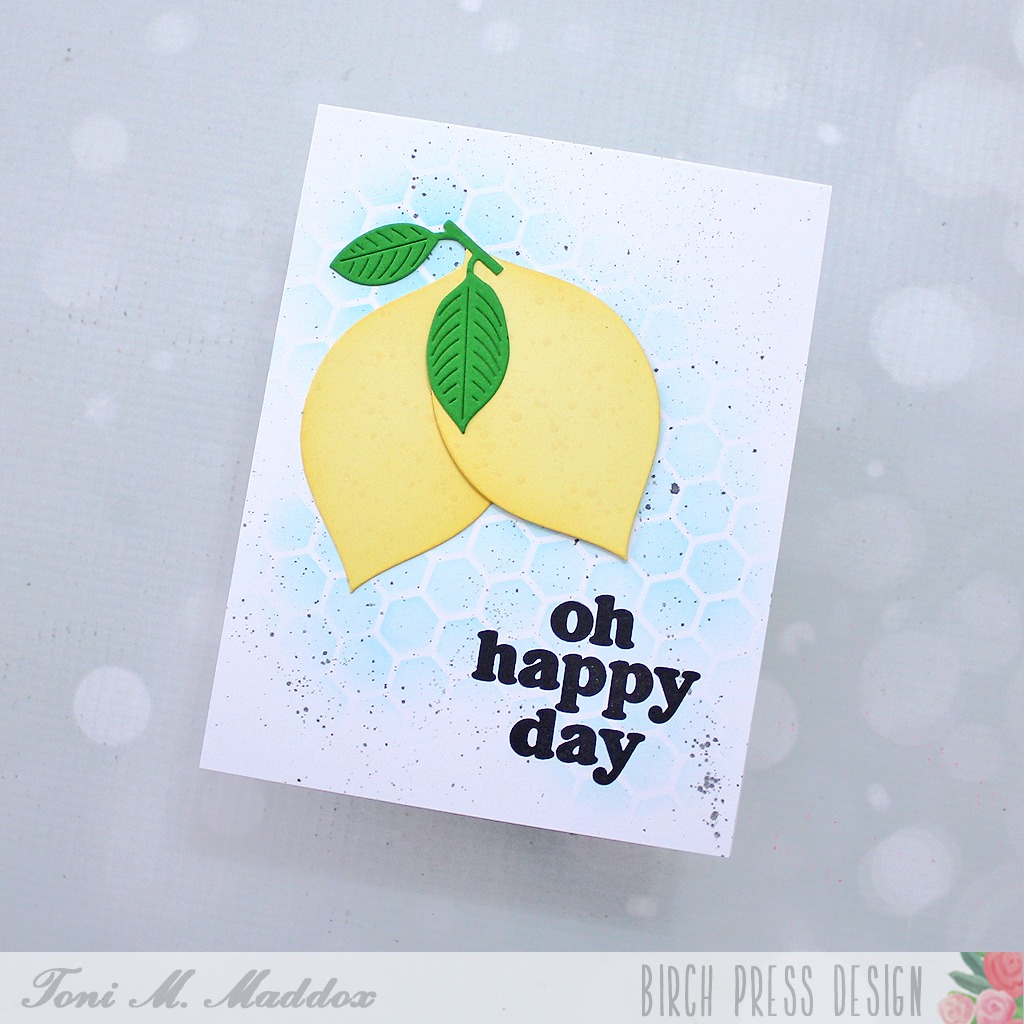
    Hello, friends! Toni here with a summery project created from . . . ornament and poinsettia dies. That’s right–stretching my supplies as always!

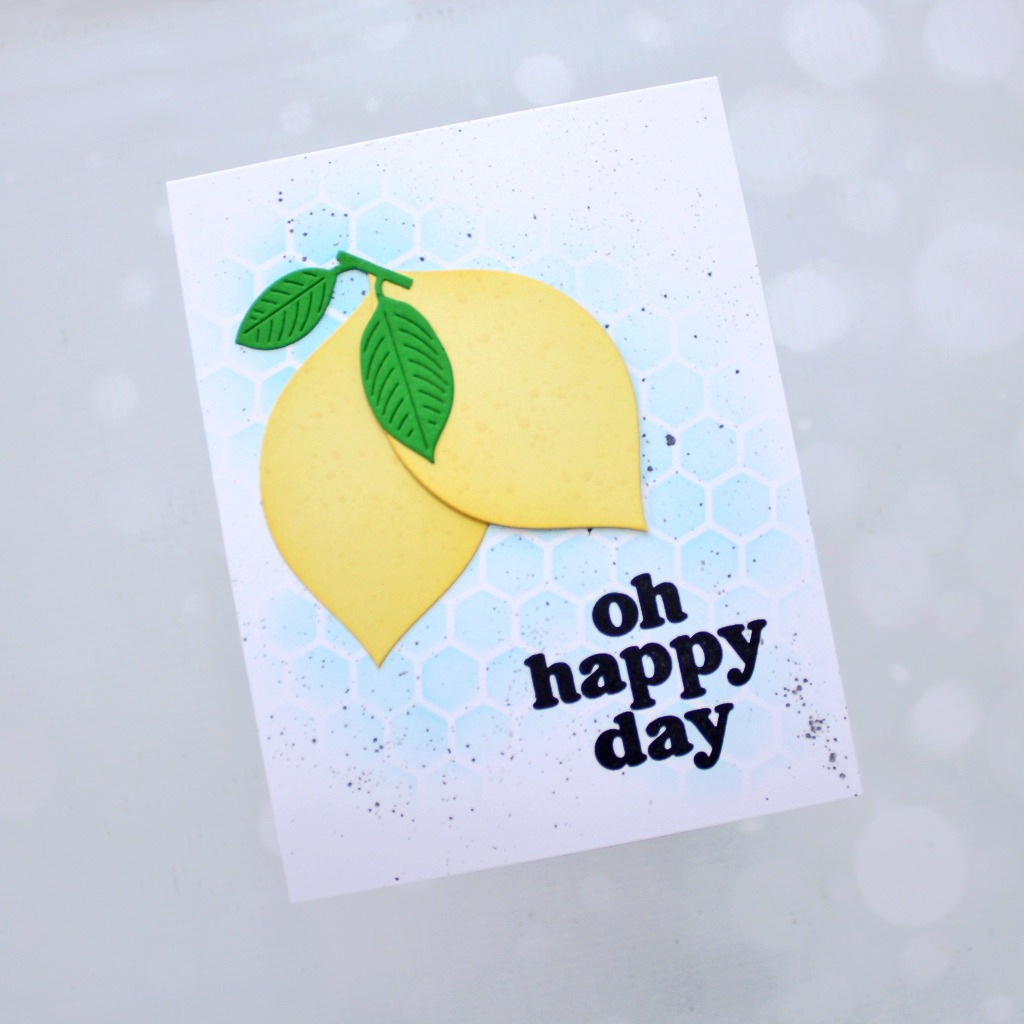
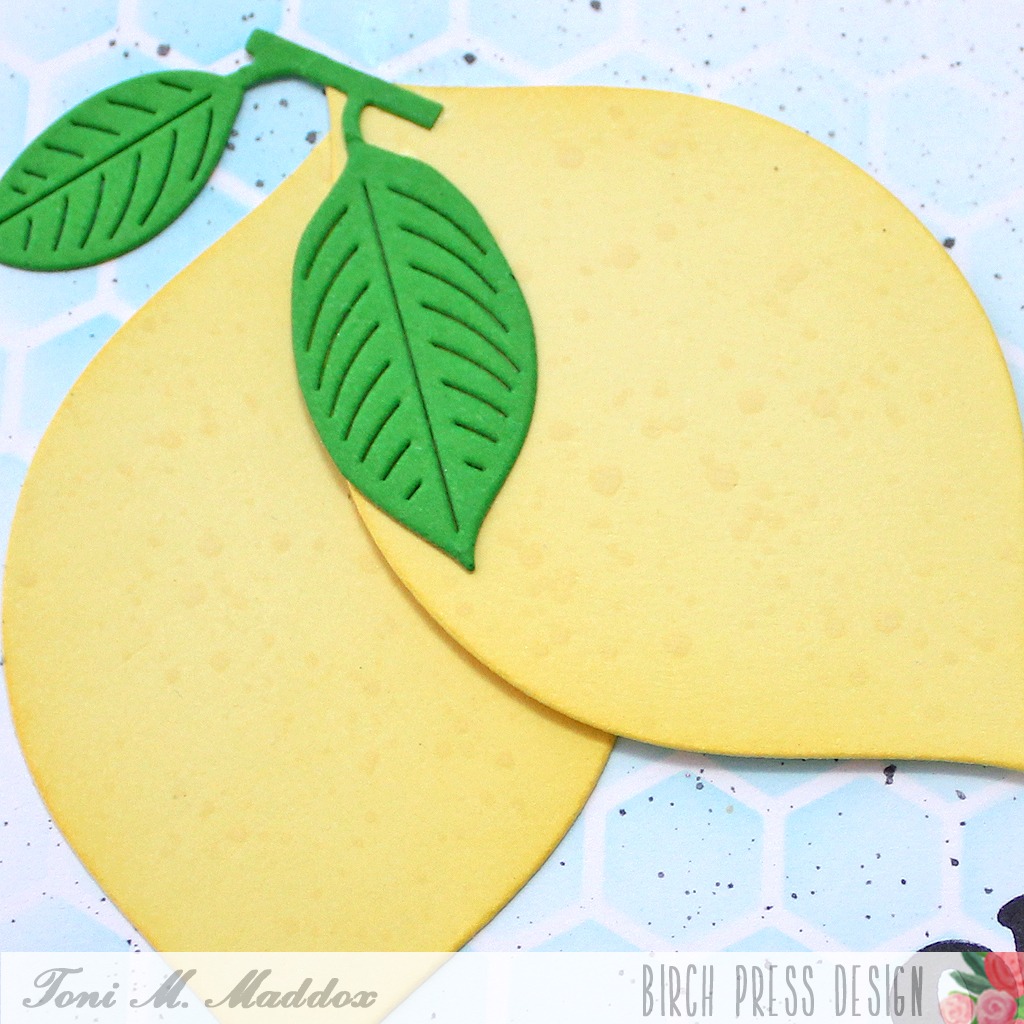
    As I was designing a different card featuring the Block Print Loop Ornament, I noticed that the base layer was rather shaped like a lemon. Of course, I had to run with that idea!

    I cut out two “lemons” from Memory Box Sunrise 6×6 cardstock and spattered them with a touch of Catherine Pooler Tiara ink. Next, I used leaves from the Block Print Poinsettia Vase cut from Memory Box Greenery 6×6 cardstock.

    To create the background, I lightly sponged the Birch Press Design Honeycomb Stencil with CP Fiesta Blue ink on the card base. For a bit of added interest, I spattered Ranger Black Soot Distress Ink as well.

    This nicely tied in the Vintage Everyday Greetings stamped in a Versafine Clair Nocturne.

    I hope you enjoyed today’s card and have a great rest of your week!

    Feel free to visit my blog, Frankie Helps Craft, for a full list of supplies used and to check out my other creations.

  • Wishful Daisies by Toni M Maddox

    Wishful Daisies
    by Toni M Maddox

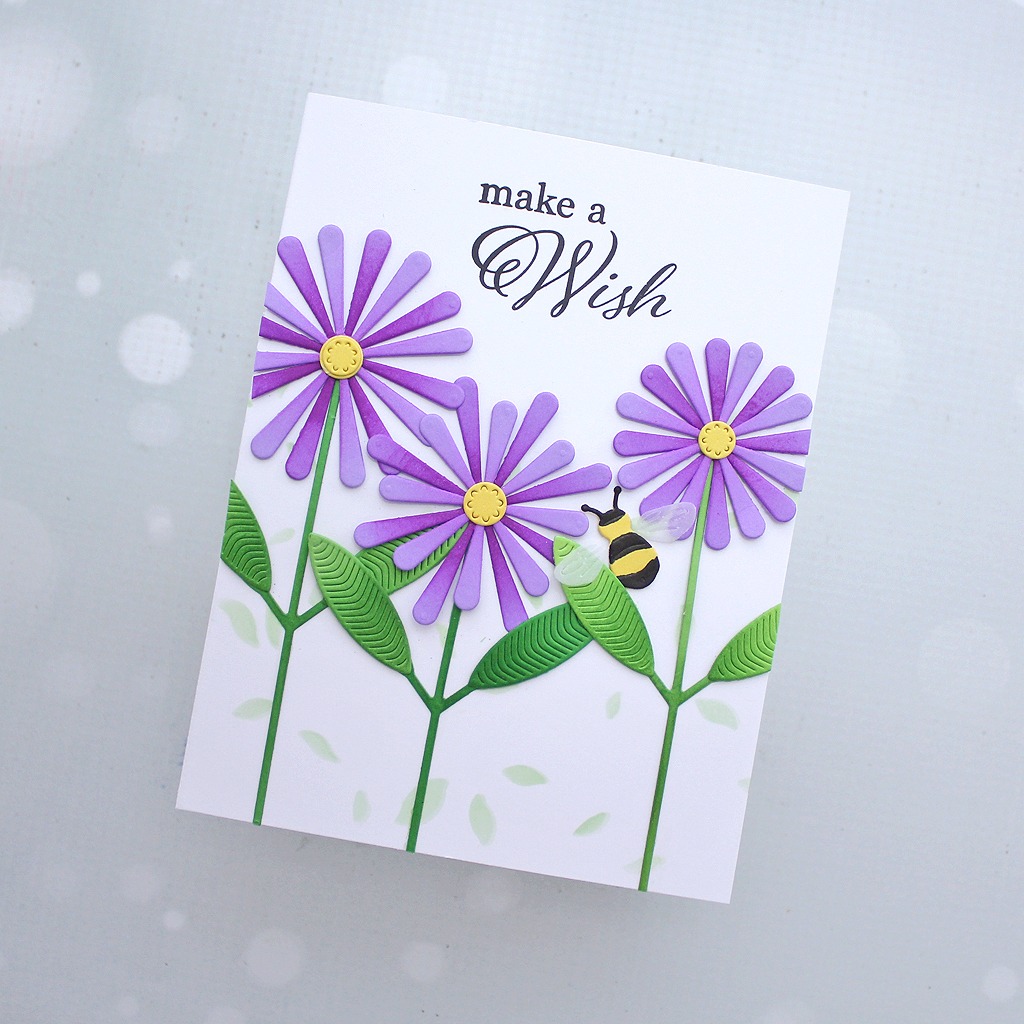
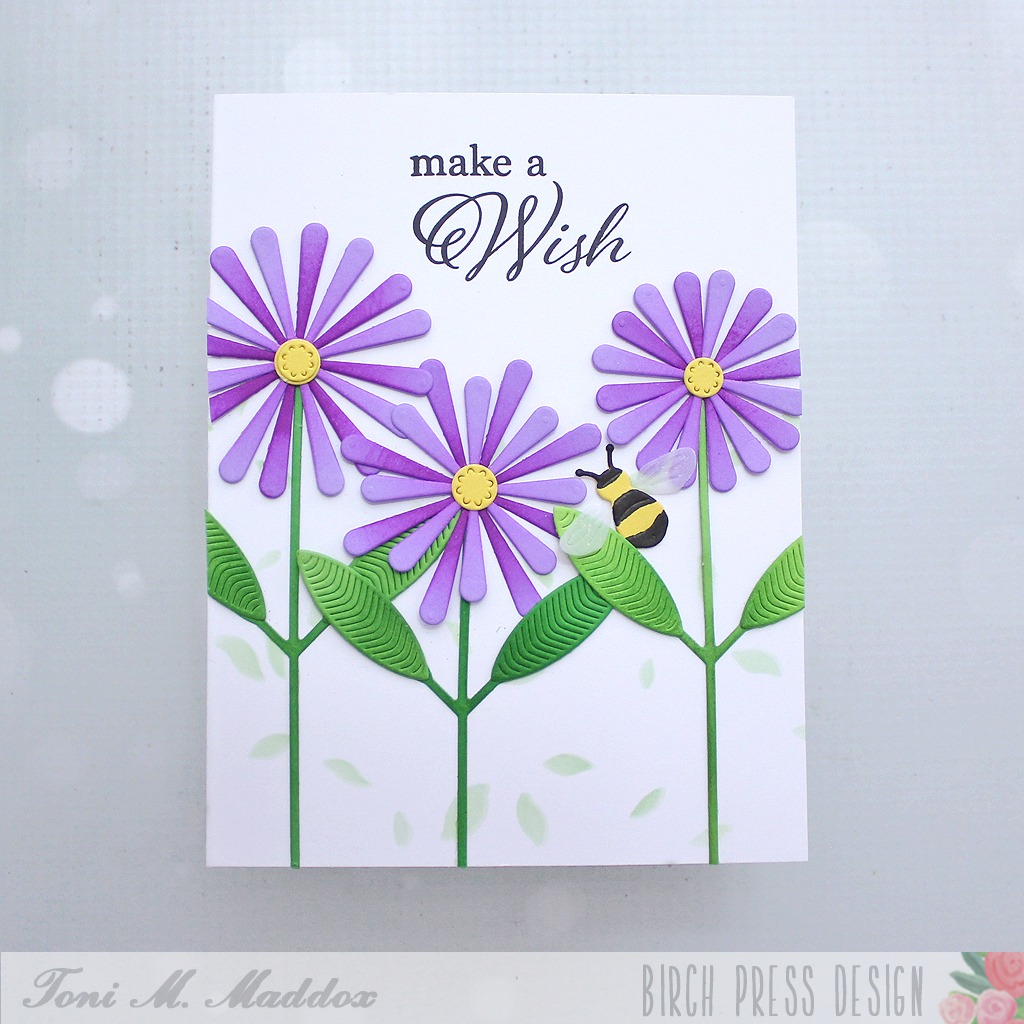
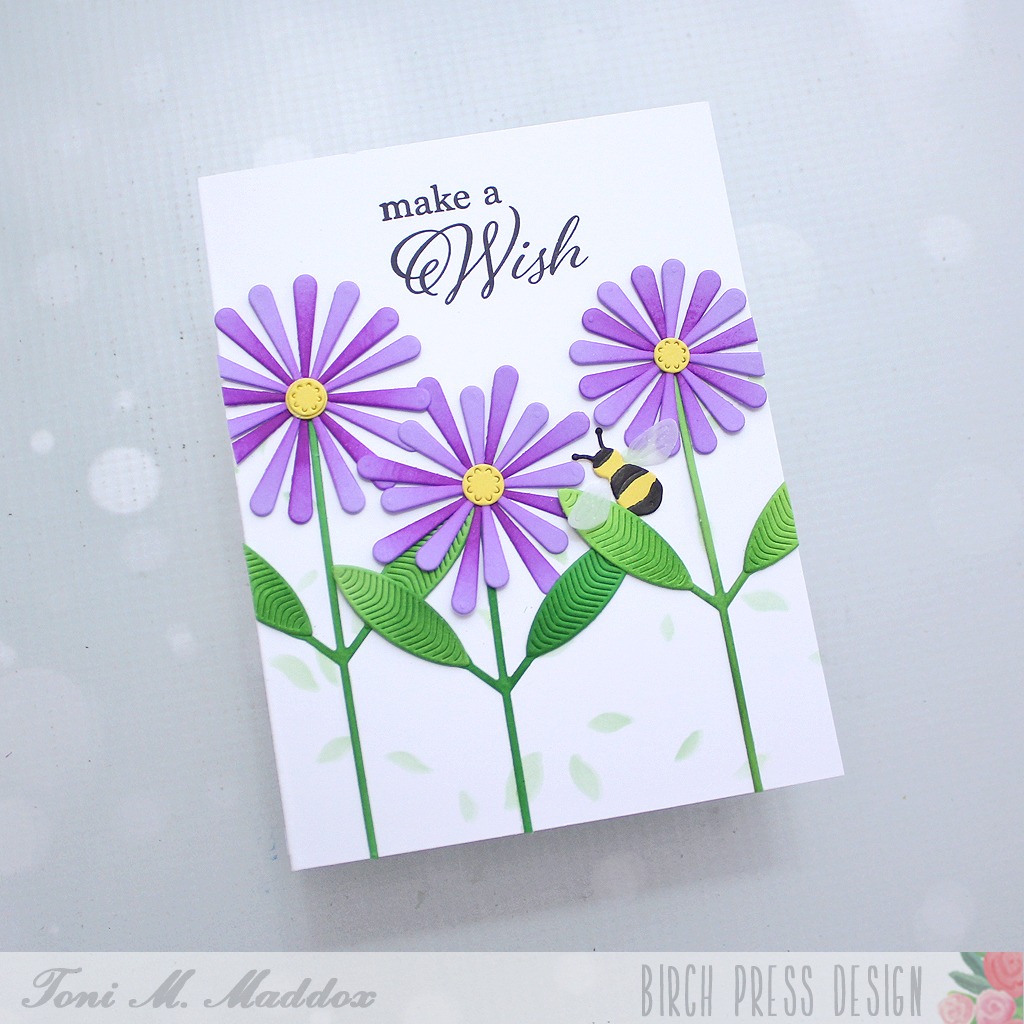
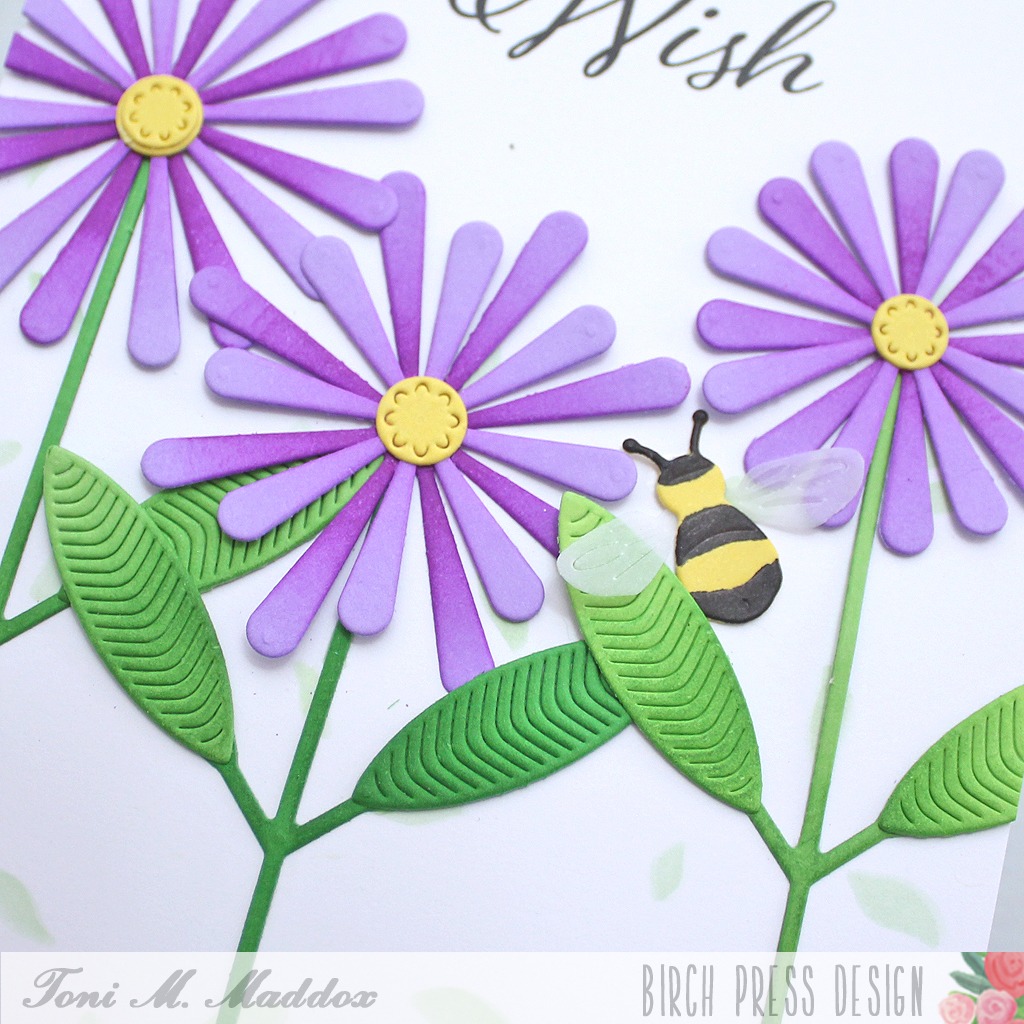
    Greetings, friends! Toni here with you today and I’m sharing a cheerful birthday card featuring Block Print Daisy Flowers.

    I cut out a few of the Block Print Daisy Flowers using Memory Box 6×6 Lagoon cardstock for the petals. I then used Catherine Pooler ink to add some variation in the color.

    In addition, I sponged the Memory Box 6×6 Greenery cardstock with a bit of ink to create shadow on the stems.

    I used a Poppy Stamps Fanciful Flowers stencil with Catherine Pooler ink to add the idea of more greenery behind the daisies.

    For the Block Print Buzzing Bumblebee, I used the same shade of Memory Box 6×6 Sunrise yellow I had used for the flower centers. Super cute!

    My final step was to add the Elegant Birthday Sentiments at the top, stamped in Versafine Clair Nocturne.

    I hope you enjoyed today’s card and have a great rest of your week!

    Feel free to visit my blog, Frankie Helps Craft, for a full list of supplies used and to check out my other creations.

  • Happy Birthday by Rosemary Dennis

    Happy Birthday
    by Rosemary Dennis

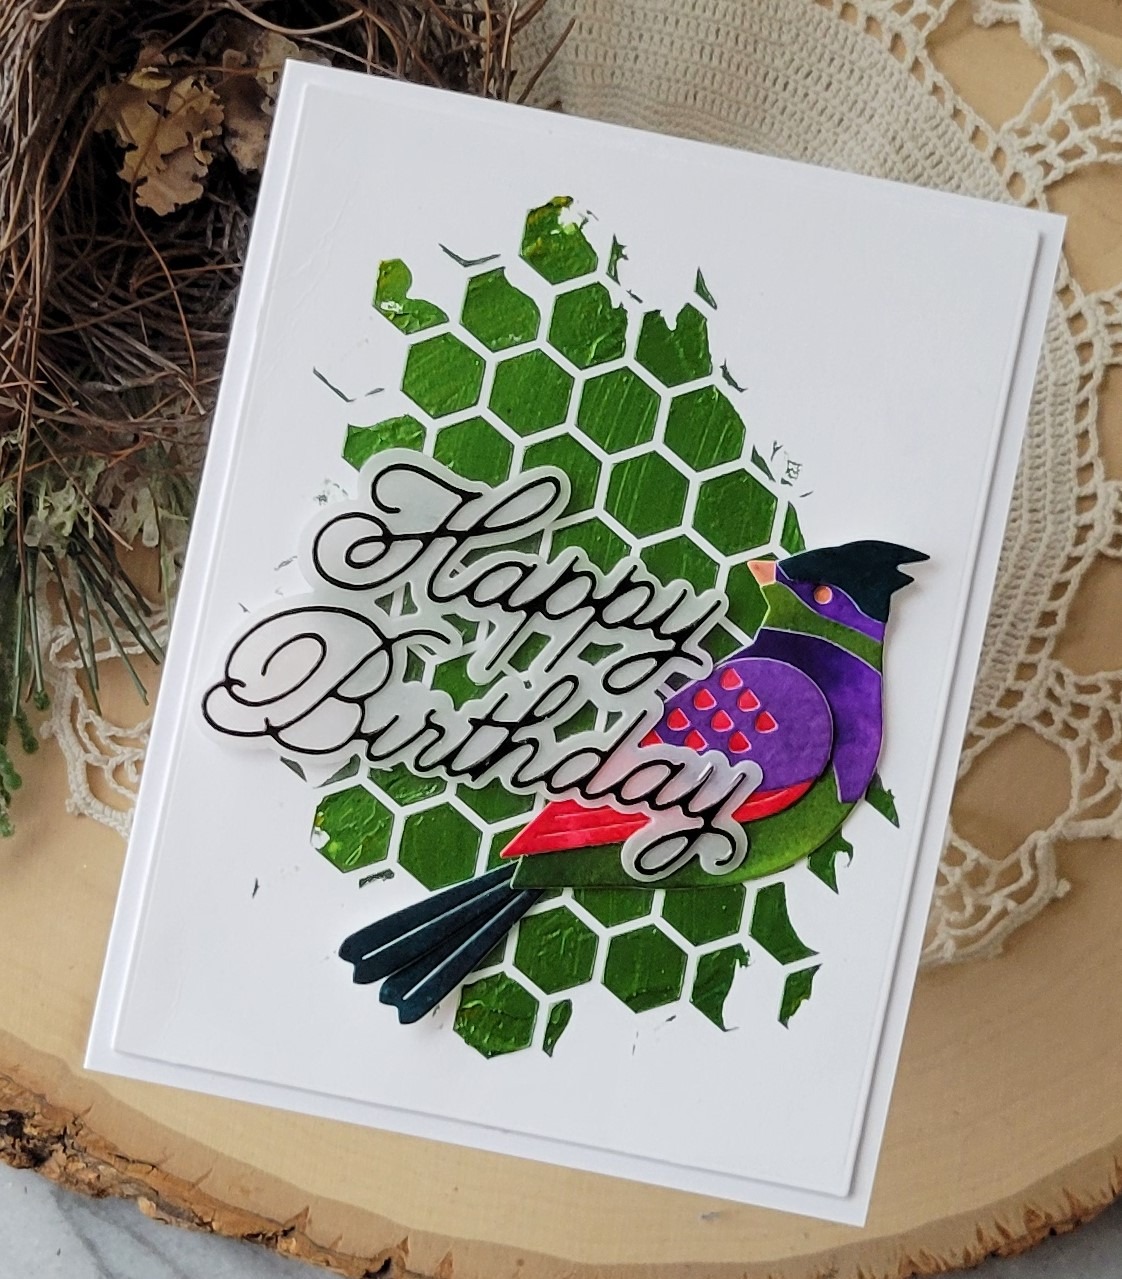
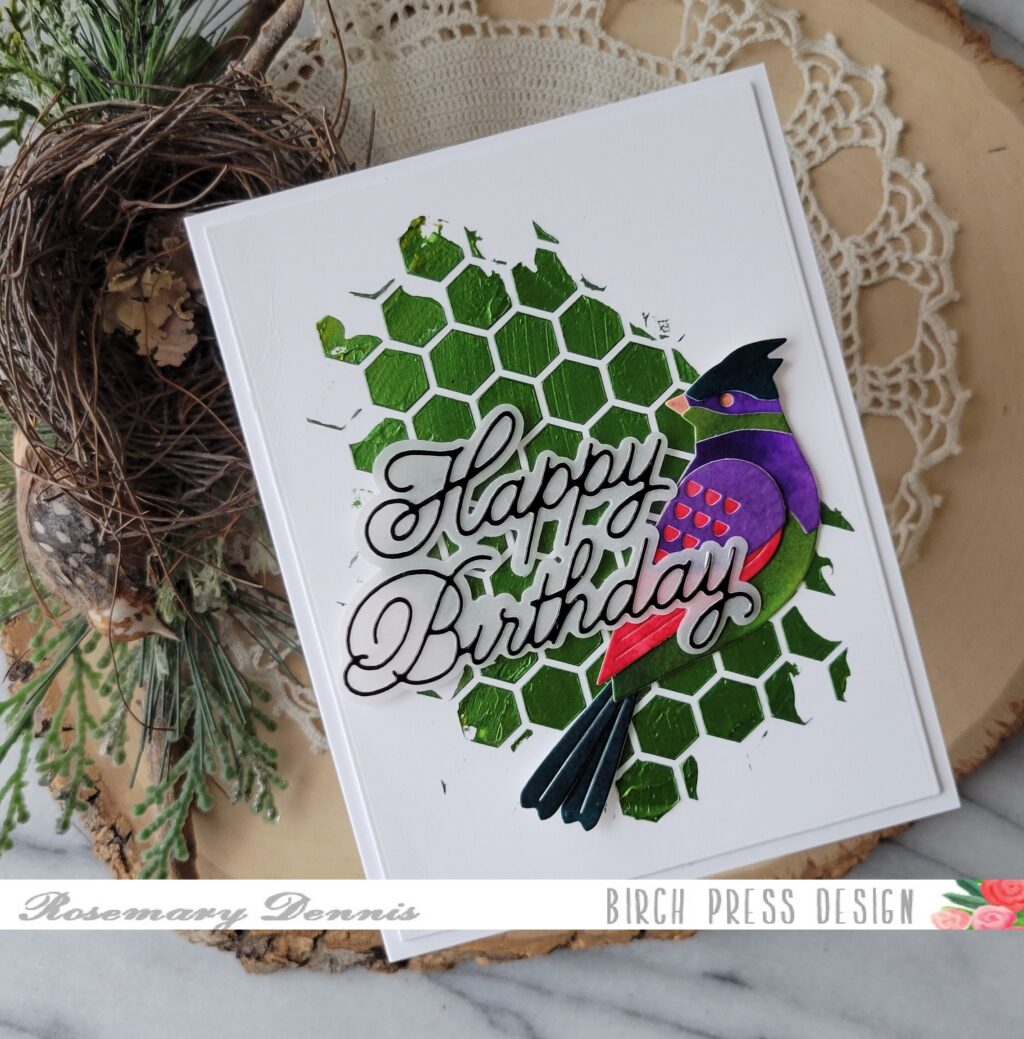
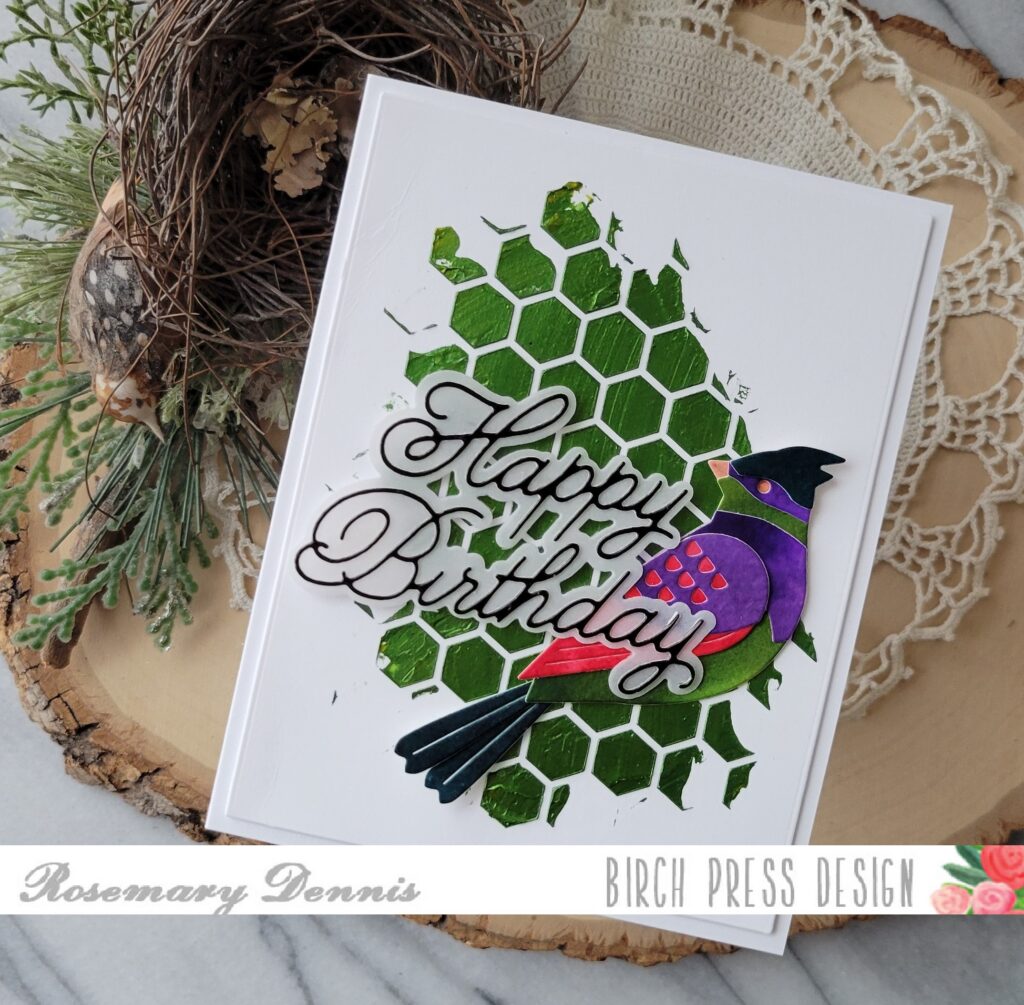
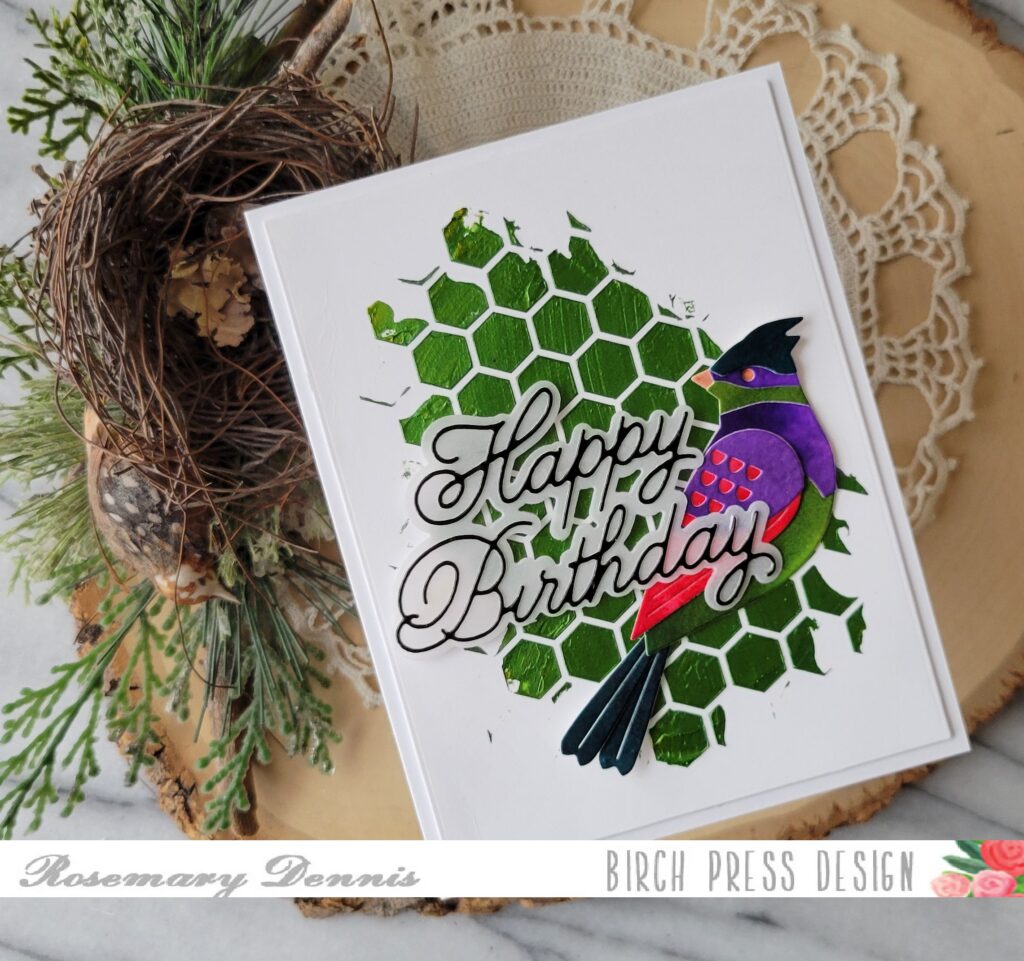
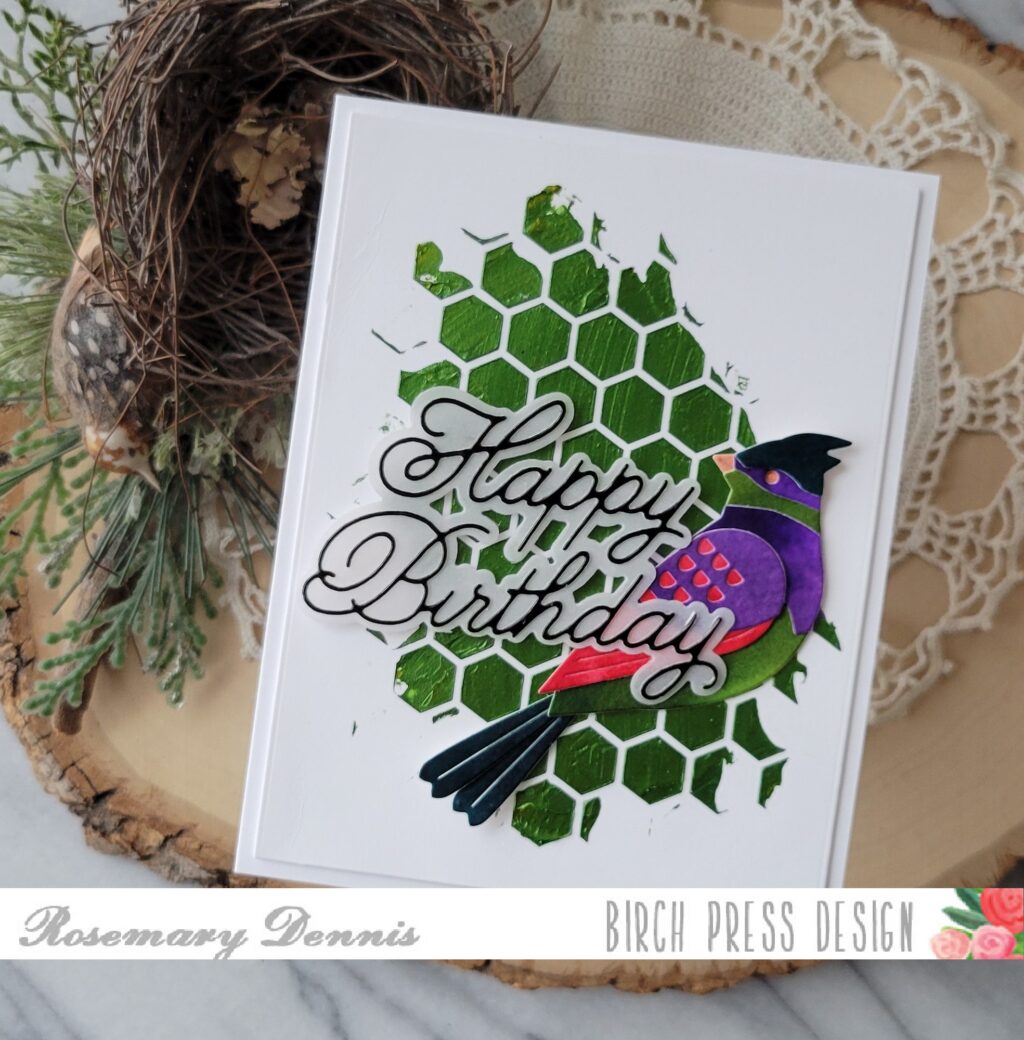
    Hello, hello! Rosemary here on the blog today share a fun mixed media card that I made with the new Block Print Tropical Perched Bird and Handwritten Happy Birthday and Outline dies. I also used the Honeycomb Stencil for the project. Let’s take a look at what I made.

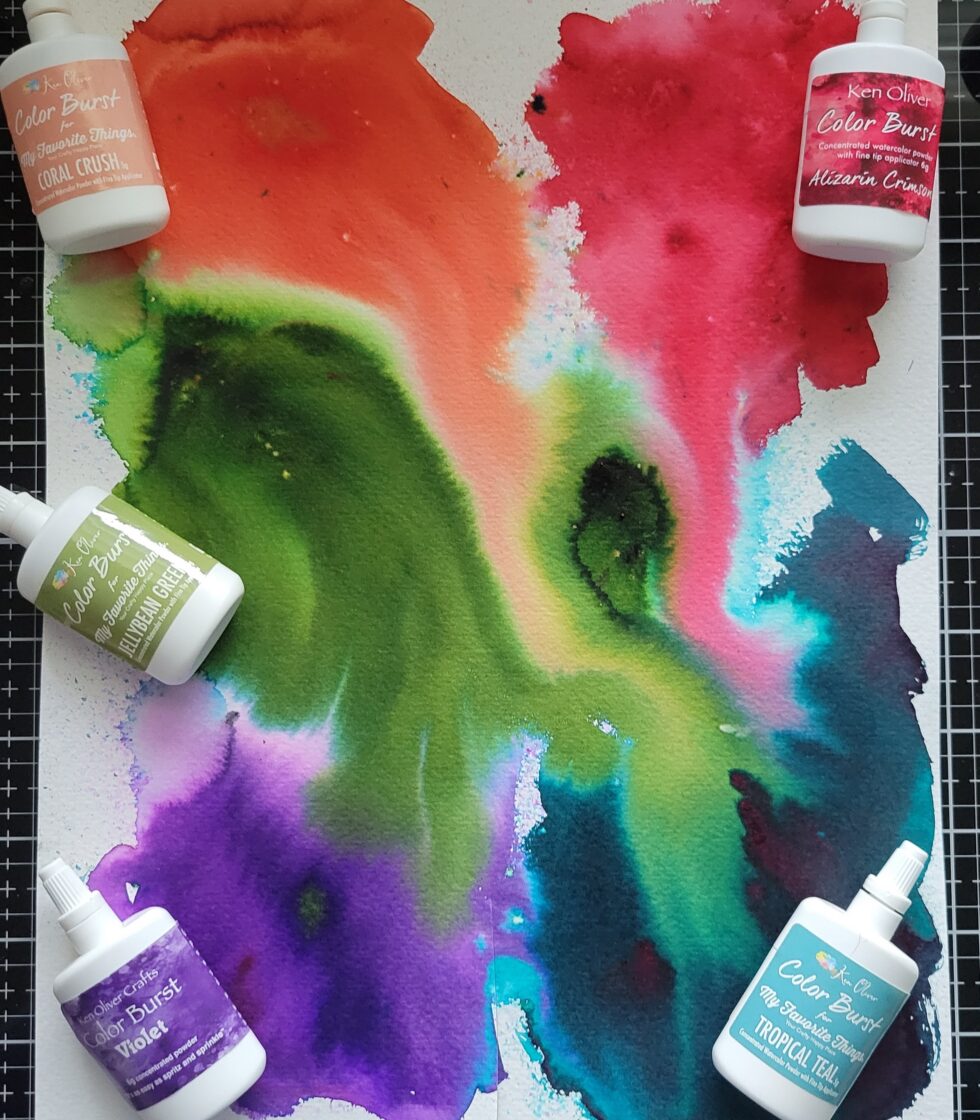
    When I started the card I used just going to use some colored cardstock to create my bird. Then I started going through my supplies and I found containers of some Ken Oliver color burst medium that I had purchased long ago. So I decided to grab a sheet of watercolor cardstock and see what happened. Below is what happened, lol.

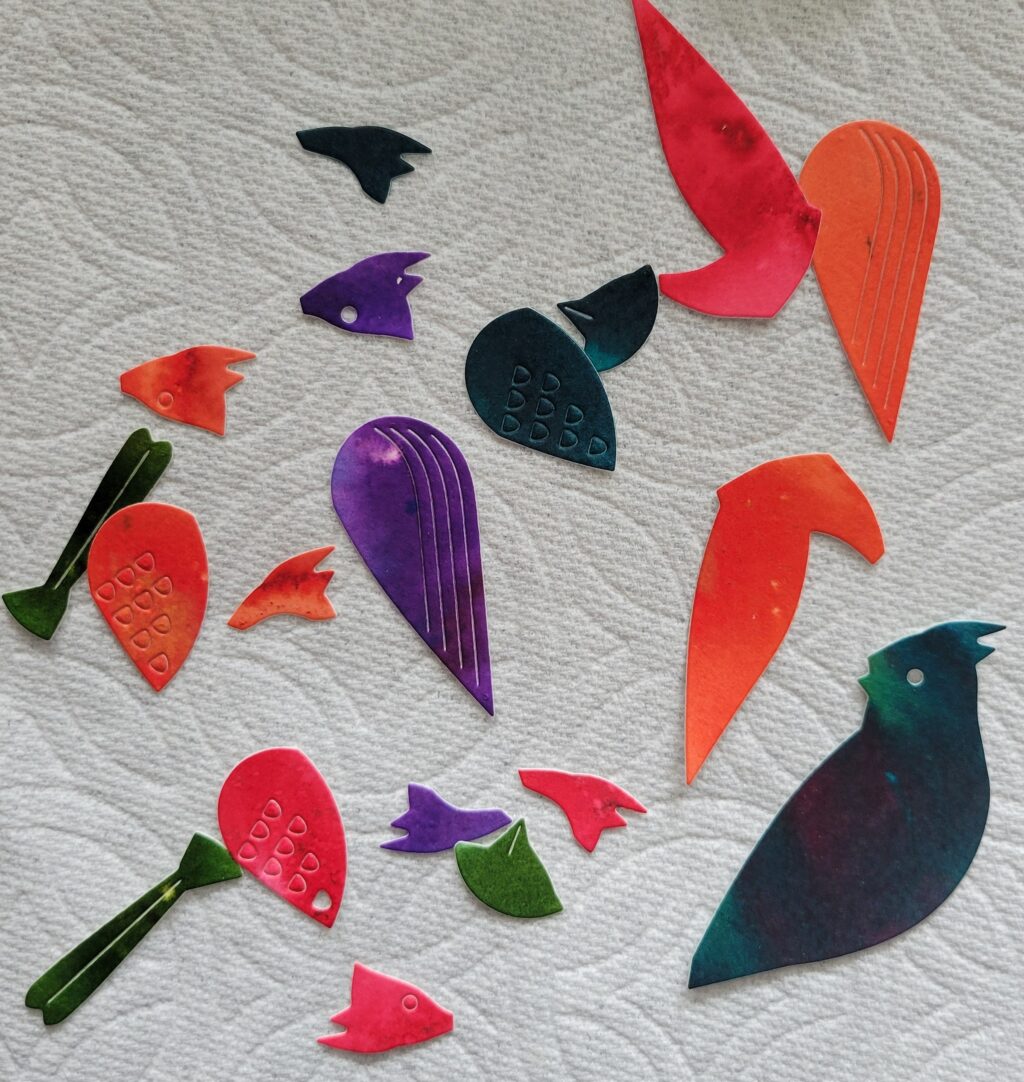
    Bit of a mess, right? But I knew I could make something out of it once I cut all the pieces. I cut both dies multiple times so that I would have enough pieces to come up with the right combination.

    Here are the majority of the pieces.

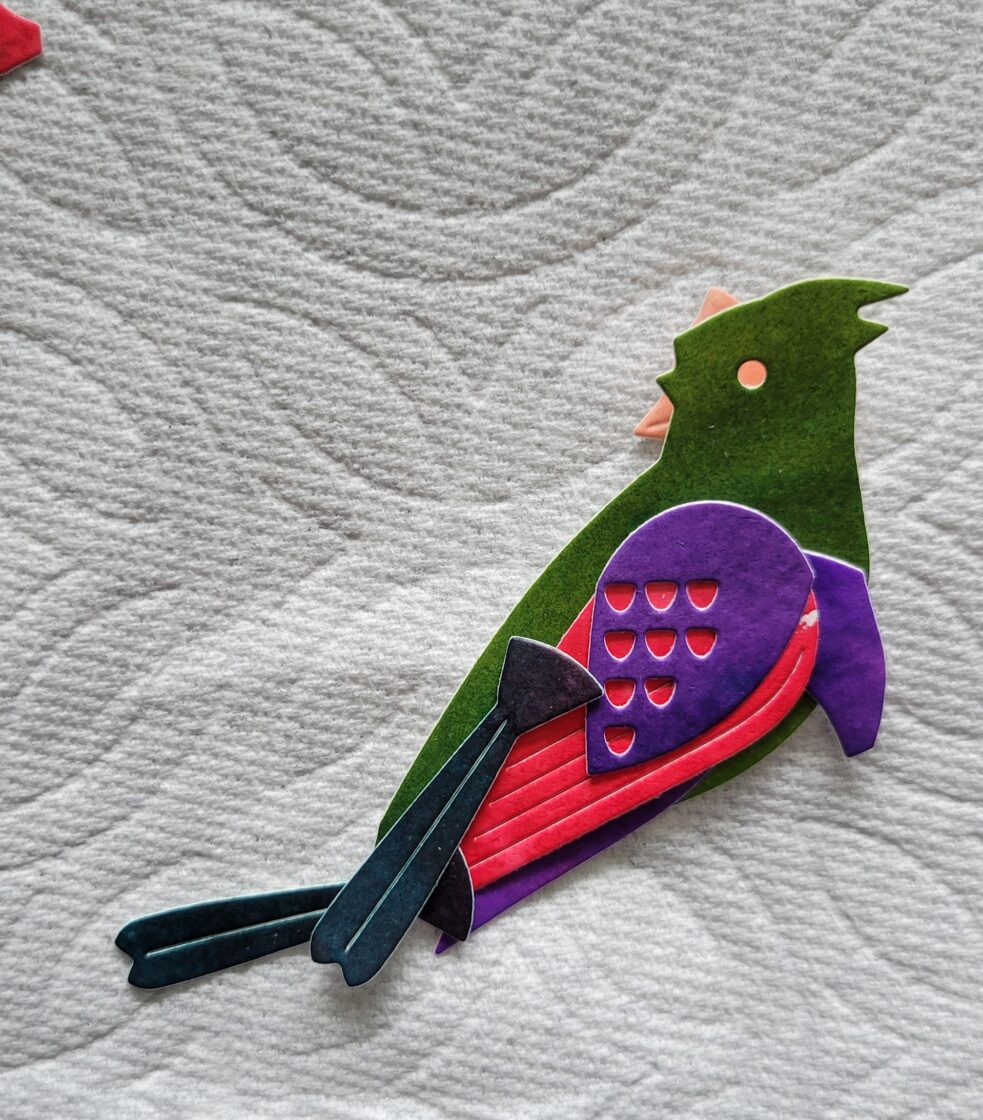
    And here is the combination that I decided upon. Originally I was going to have more red in the bird, but in the end decided to limit that color to just the wing.

    I adhered the bird with liquid glue and then set him aside to dry. I used a sketch layout for my card and decided to use the Honeycomb stencil for the background. I thought I would just do some ink blending, but then decided to take a look at some of the stencil butters that I had. I decided to combine a bright yellow and bright green and came up with this darker green that you see. I die cut white heavystock cardstock and then applied my stencil butter mix.

    Once the panel was dry I got to work putting the card together. I adhered the bird with glue and then added the sentiment (which I had already had die cut and ready to go) with rolled up glue dots and glue

    I hope you enjoyed today’s project. I had a lot of fun creating it using supplies that to be honest I had forgotten I had! Thanks for stopping by and have a wonderful day!

  • Birthday Greetings Two Ways by Toni M Maddox

    Birthday Greetings Two Ways
    by Toni M Maddox

    Greetings, friends! We can never have too many birthday cards on hand, right? Toni here sharing two birthday cards, one quite feminine and the other cheerfully unisex.

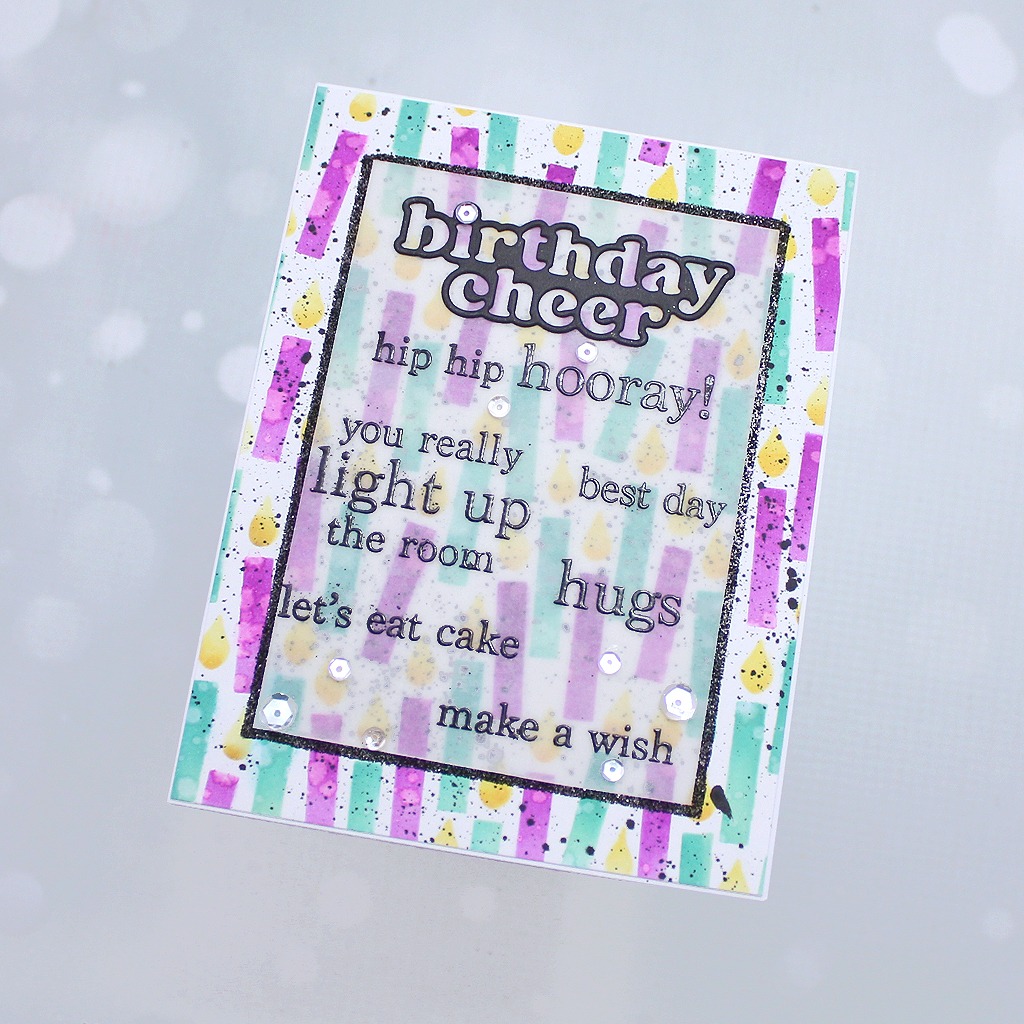
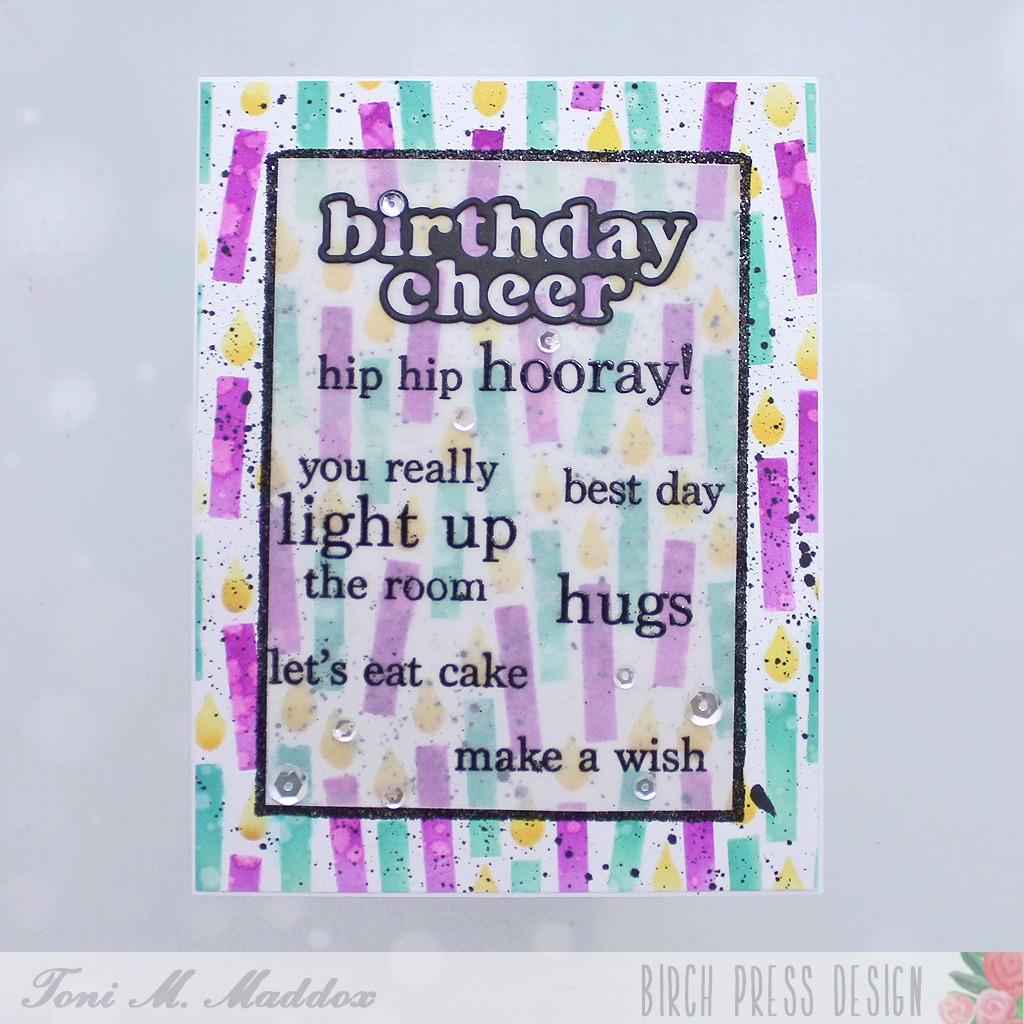
    I created the background of my first card using the Birthday Candle Blowout Stencils. I spattered that with ink for a funky vibe.

    Next, I arrange some of the Plain & Simple Birthday Greetings on my MISTI and embossed them on sturdy vellum. I left a space at the top to add the Plain & Simple Birthday Greetings sentiment diecut.

    I covered the back of the vellum panel with double-sided tape, leaving a small margin that I burnished with black glitter.

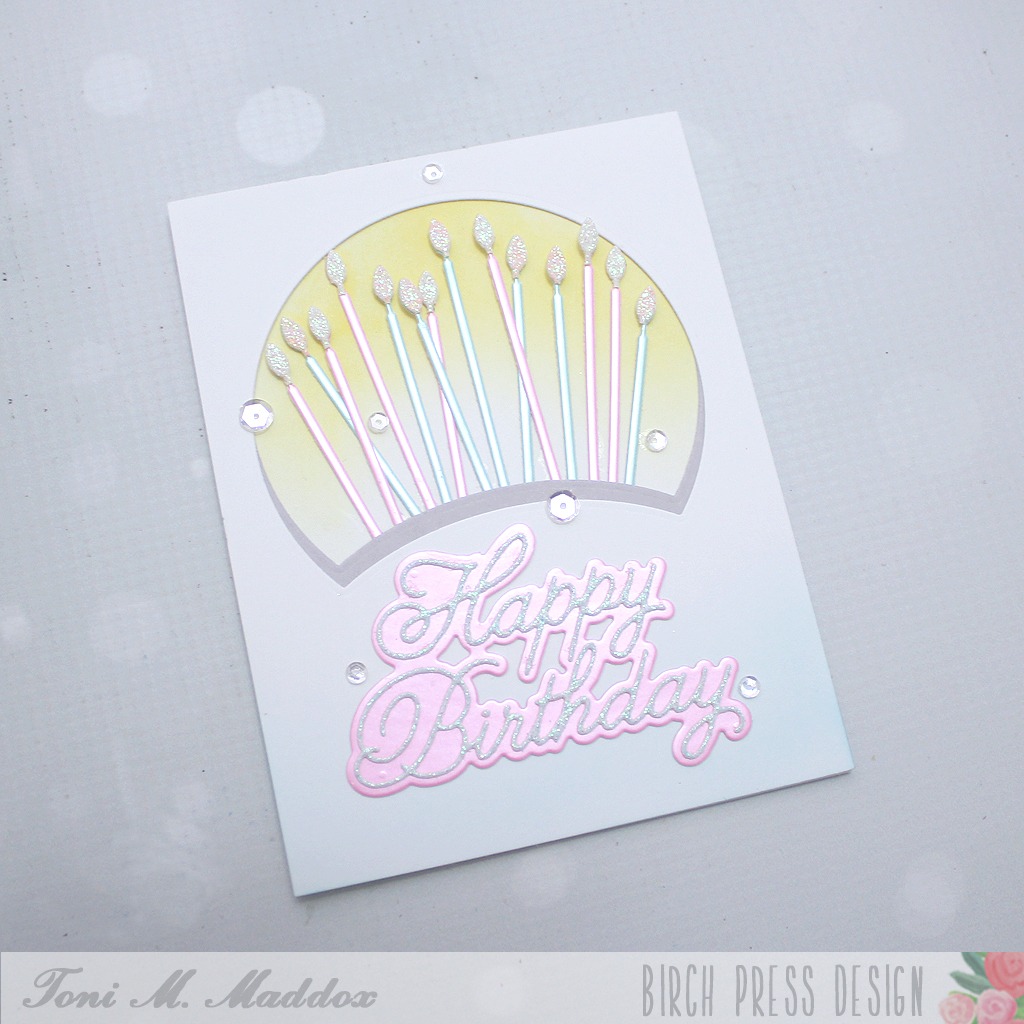
    My second card definitely has a more feminine feel to it, don’t you agree?

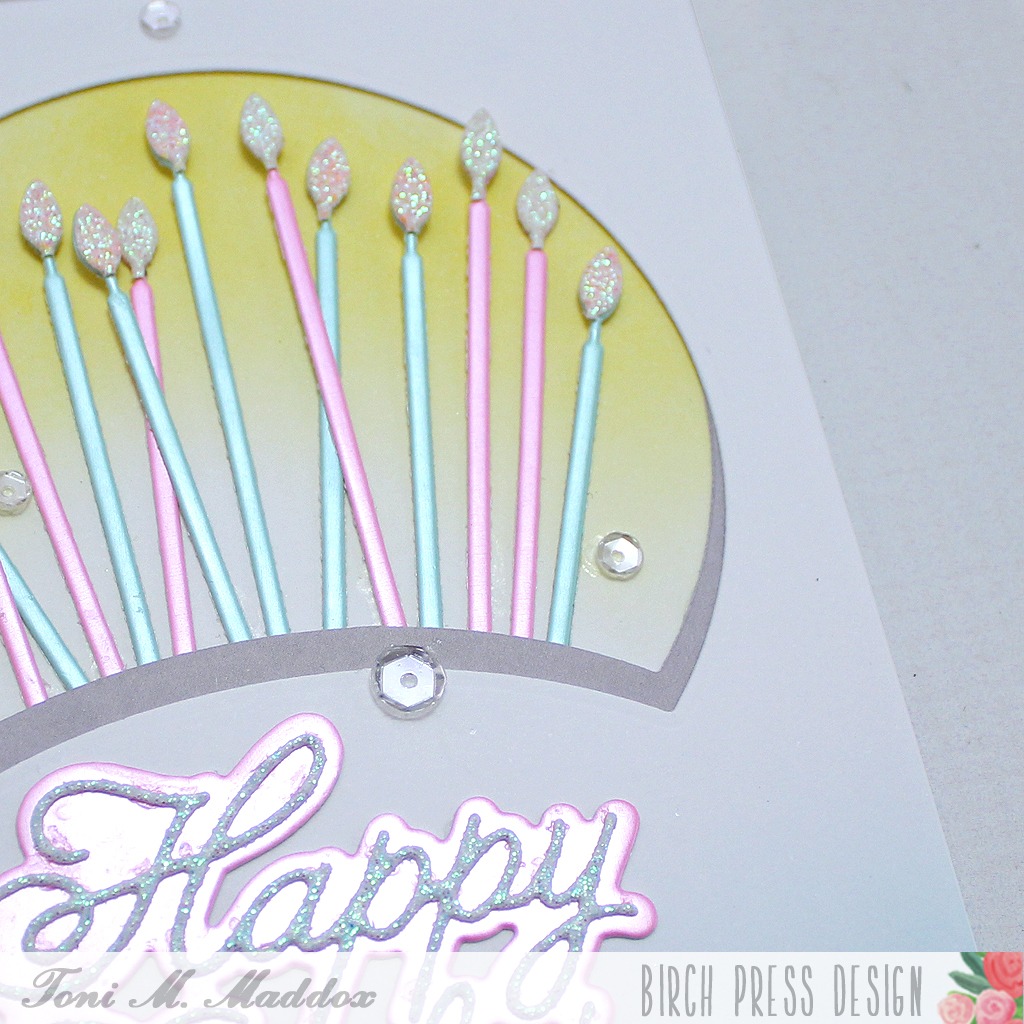
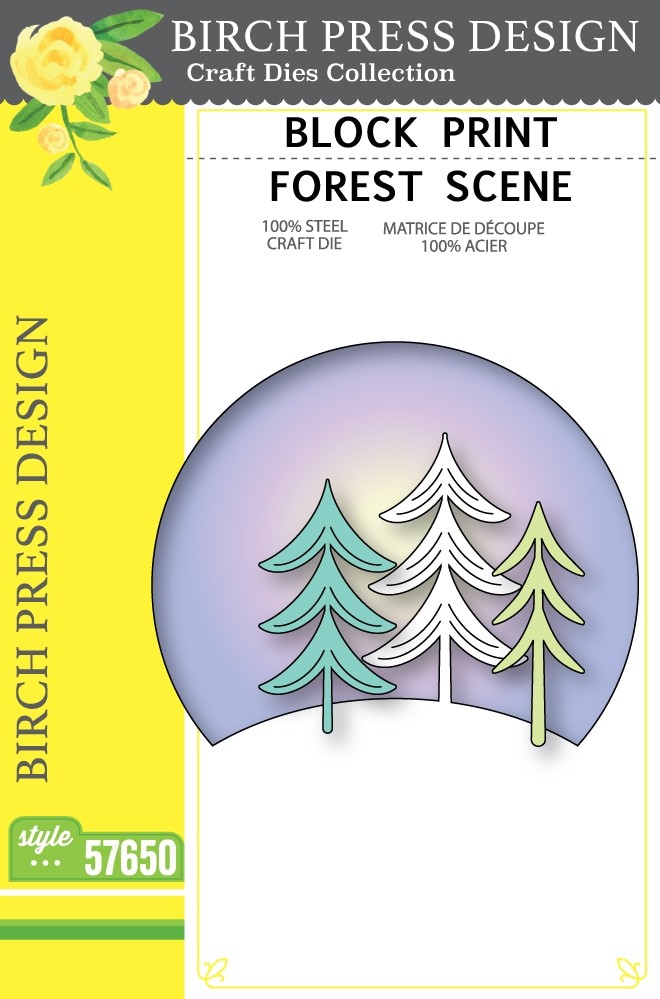
    I created an aperture and shadow with the Block Print Forest Scene die. A random assortment of Tall Party Candles cut from mirror and glitter cardstocks fill the space.

    Finally, I sponged a bit of blue at the bottom of the card front before adding the Handwritten Happy Birthday & Outline. Pretty!

    I hope you enjoyed today’s card and have a great rest of your week!

    Feel free to visit my blog, Frankie Helps Craft, for a full list of supplies used and to check out my other creations.

  • Birthday Cheerby Rosemary Dennis

    Birthday Cheer
    by Rosemary Dennis

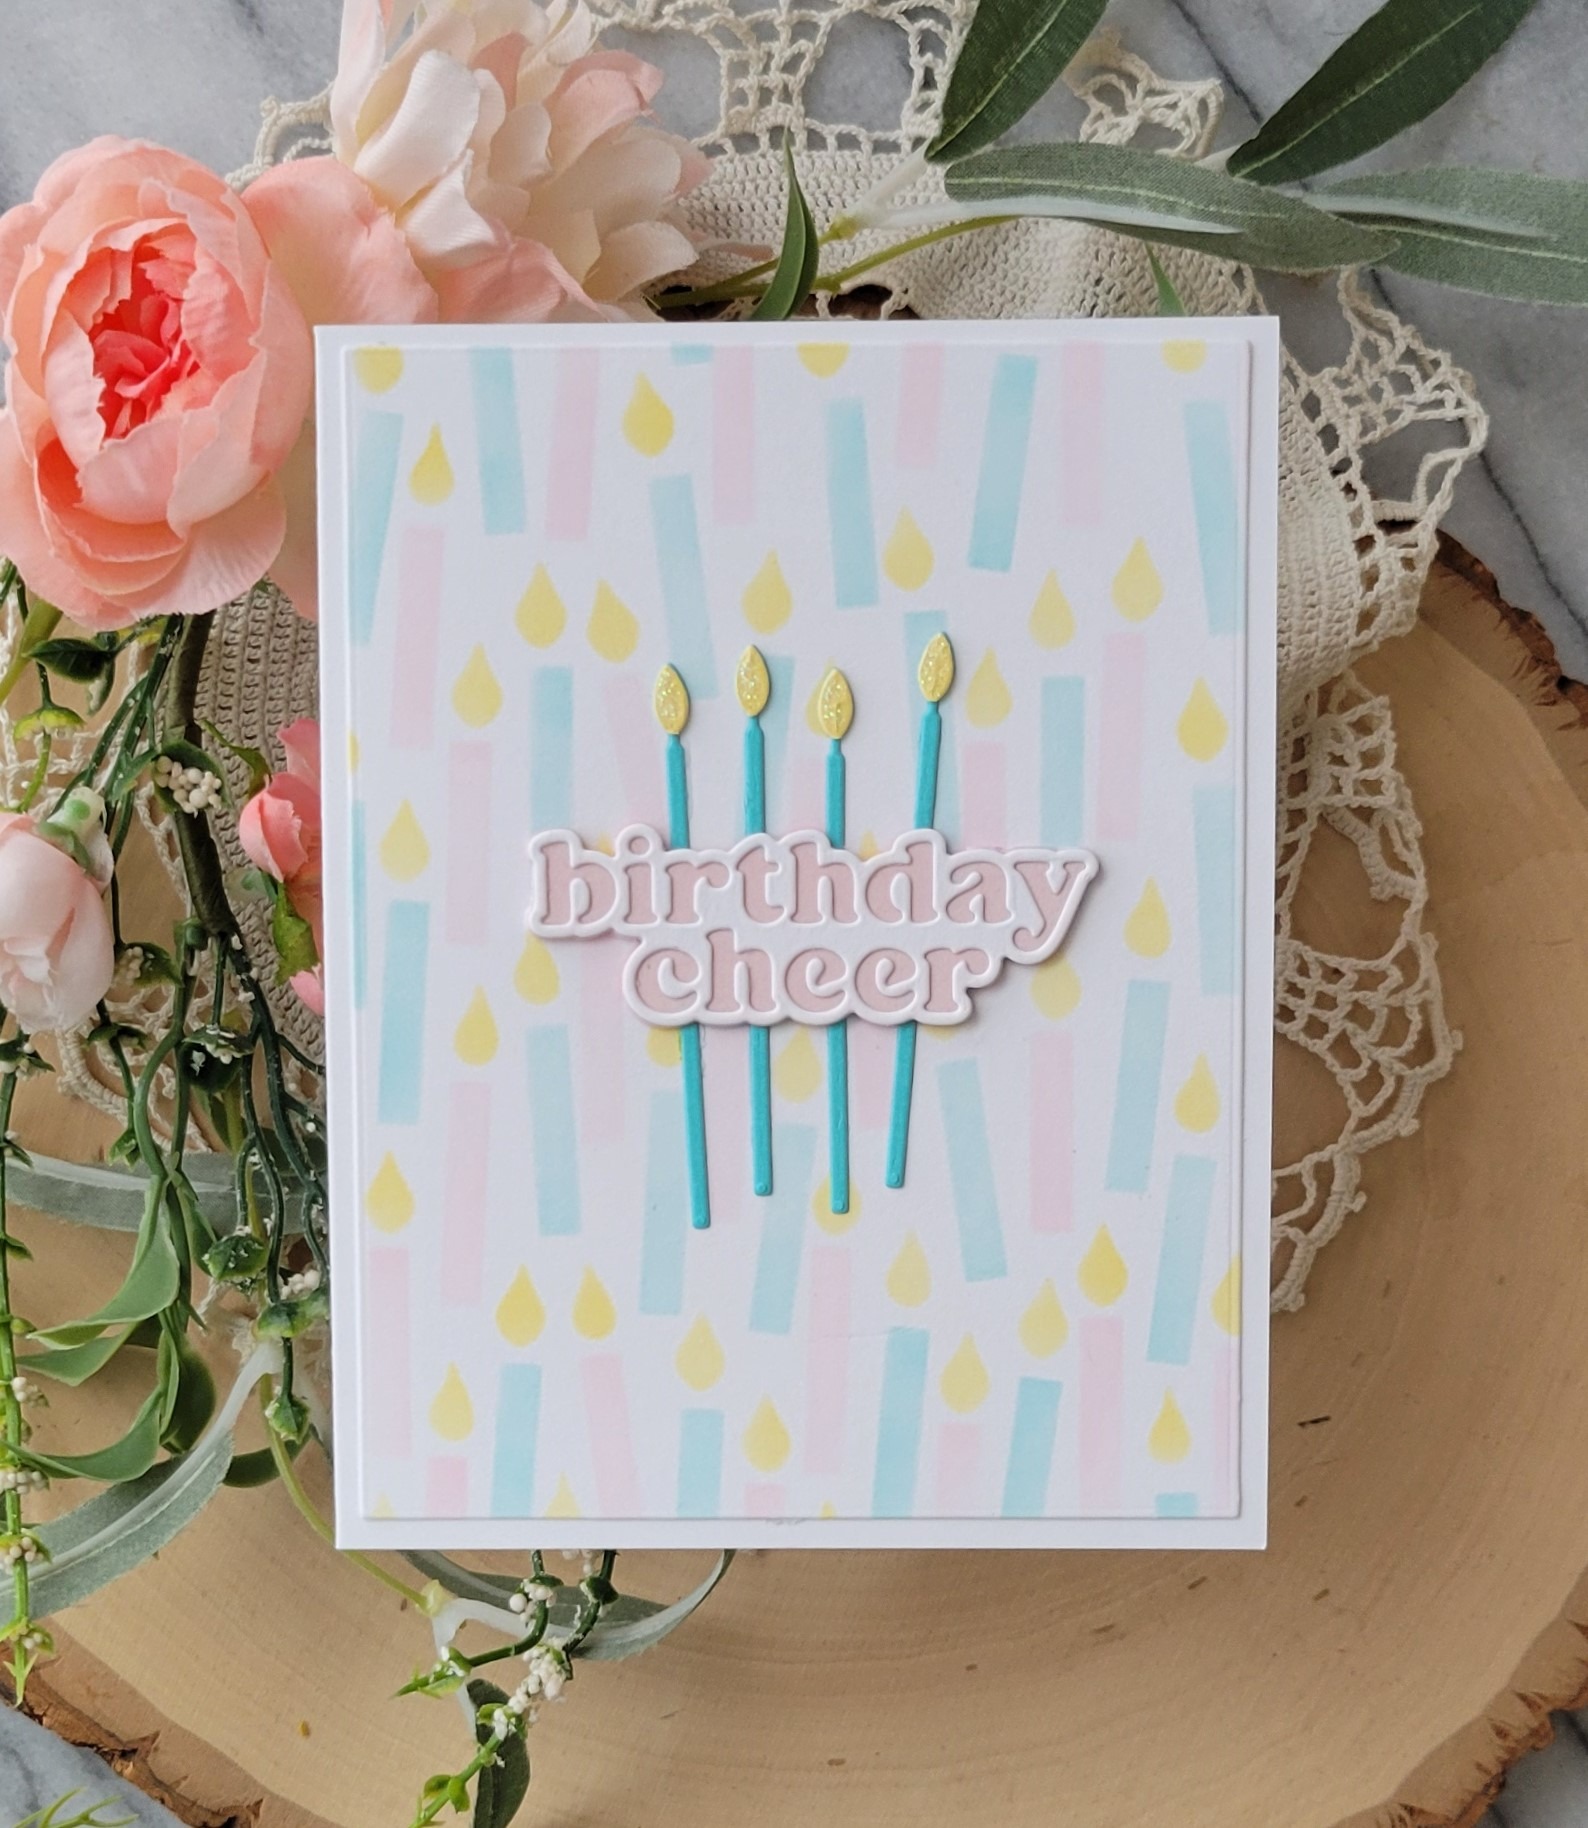
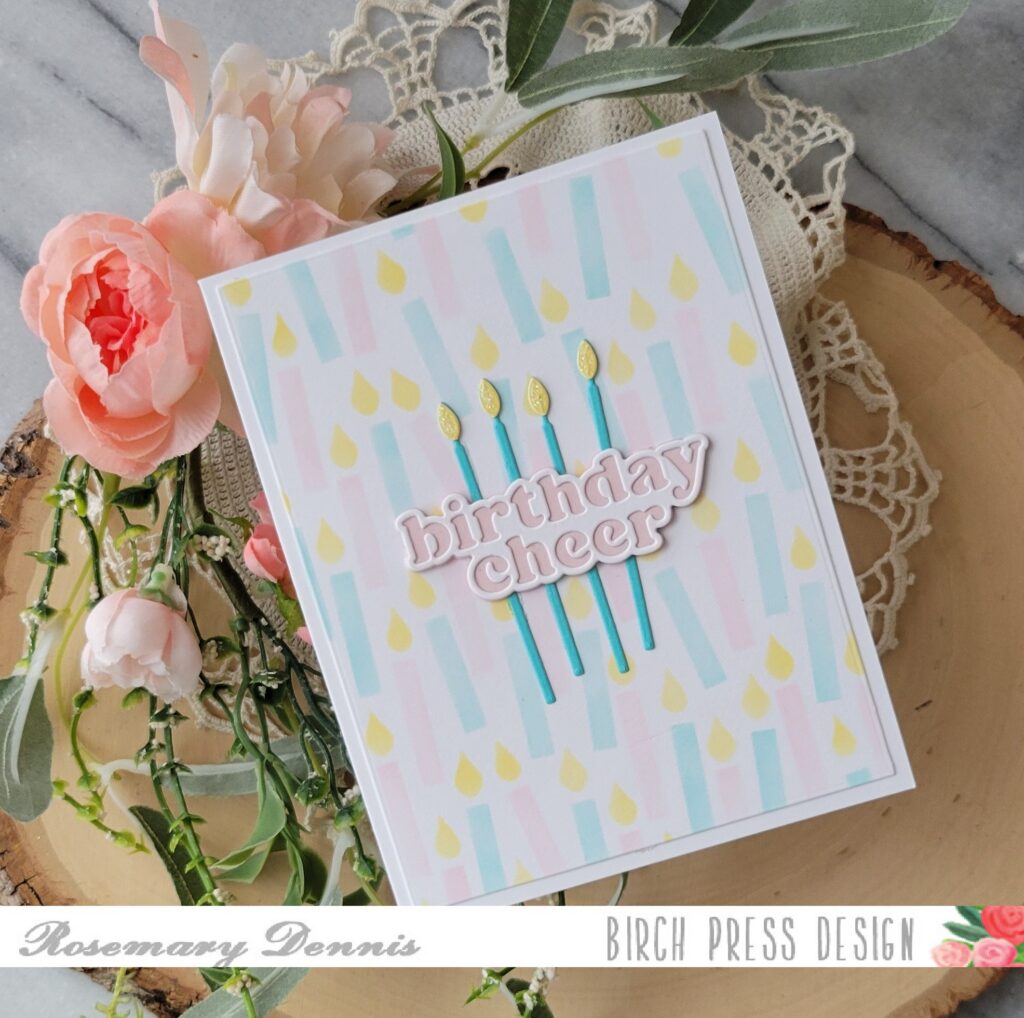
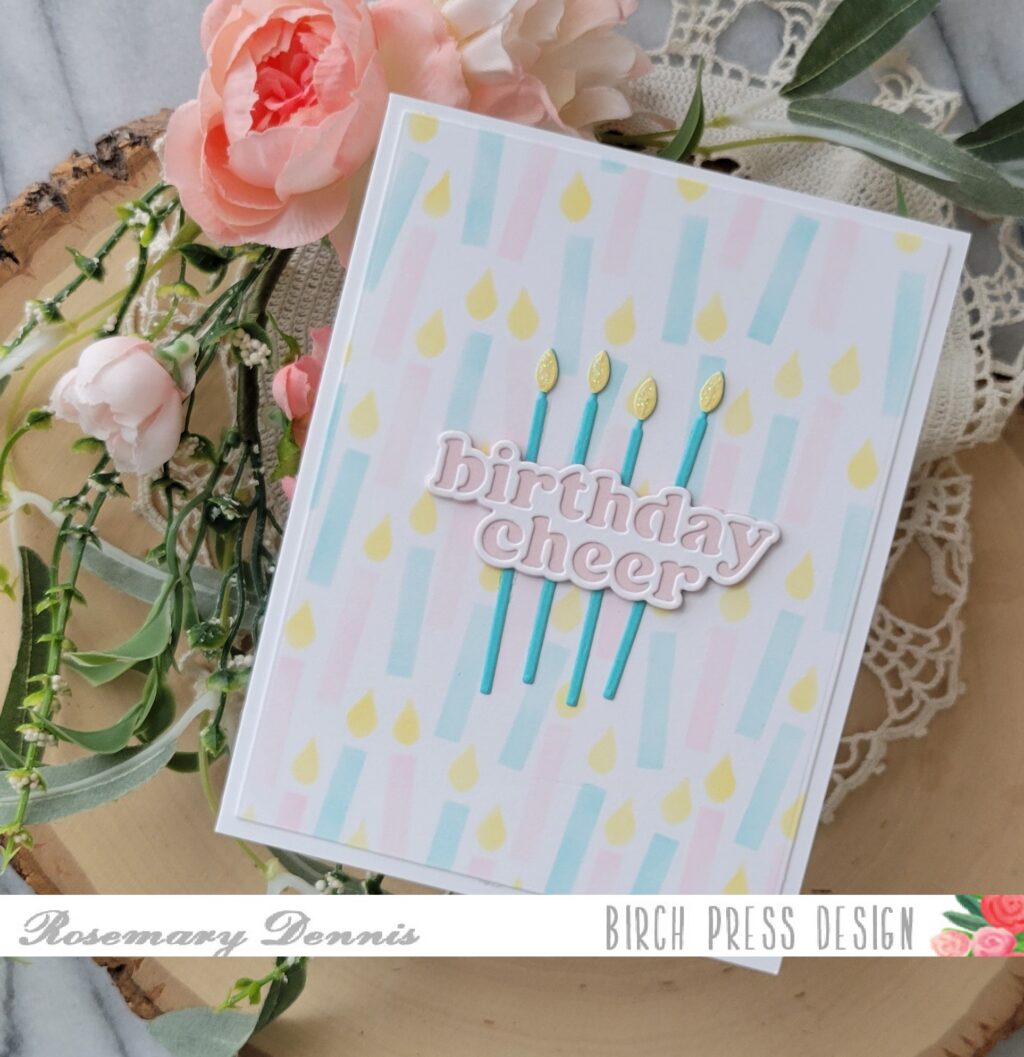
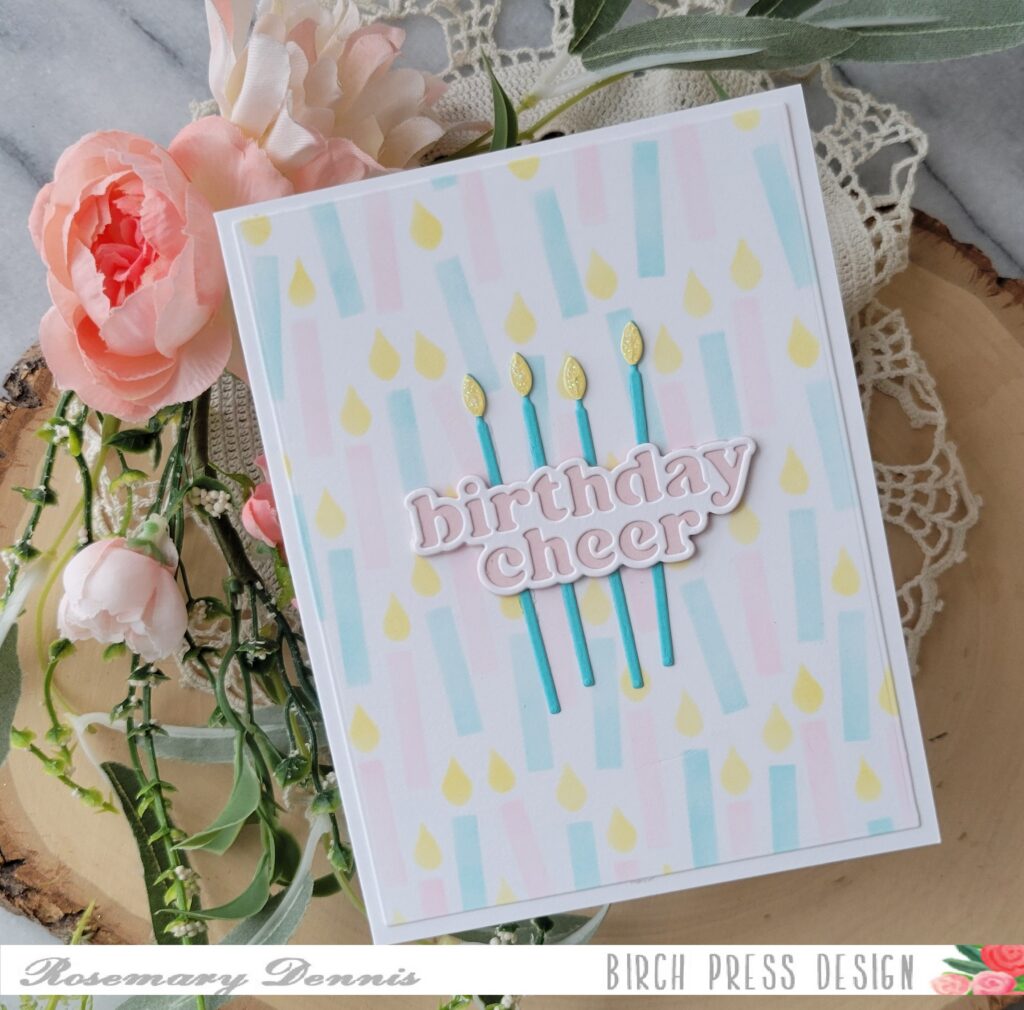
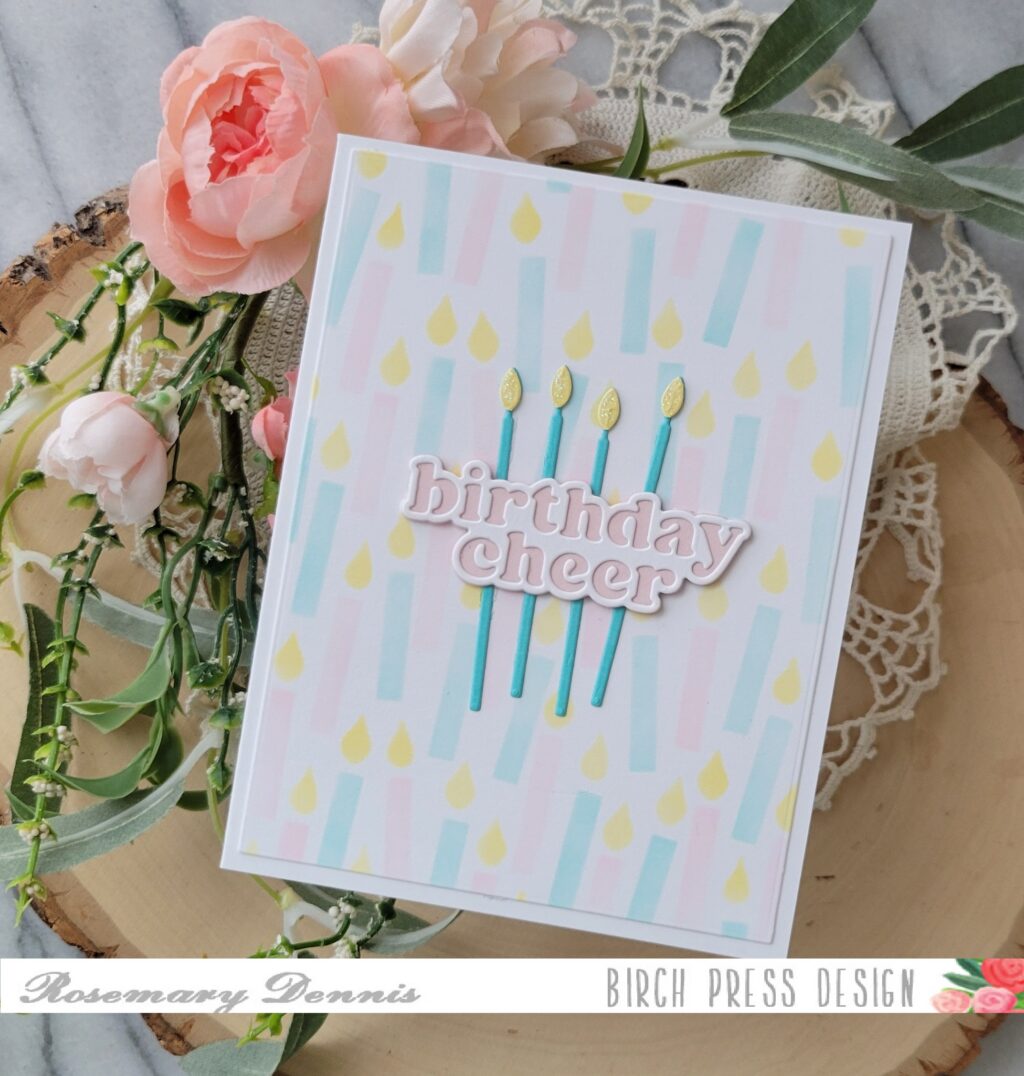
    Hello everyone! Can’t believe it is already the end of January! I’m popping in to share a birthday card that I made for my great niece who is turning 4 soon. I used several new Birch Press Design products that have a birthday theme: Birthday Cheer Vintage Sentiment, Tall Party Candles and Birthday Candle Blowout stencil set. Let’s look at what I made.

    The card is pretty simple. I started by stenciling the party candles using just the ink left on the blending brushes that I use with my distress oxide inks. I wanted a soft look for the background so using the residual ink on your blender brushes is a great way to do that. After stenciling the panel I die cut it down with a rectangle die.

    I found cardstock colors that matched the stenciled background fairly well to die cut the candles and sentiment. I pulled a light aqua blue from the Memory Box Lagoon 6×6 cardstock pack, a light yellow from the MB Sunset cardstock pack and a light pink from my stash.

    After diecutting all the pieces I adhered everything with liquid adhesive. For the flames I simply trimmed those from candles that I die cut from the yellow cardstock. I added the panel to a white cardstock base and then added the candles and the sentiment. I finished off the card with a little bit of Nuvo drops in White Blizzard to the candle flames.

    Simple, but cute don’t you think? I hope my great niece likes it. I hope you enjoyed today’s project. Have a wonderful day!

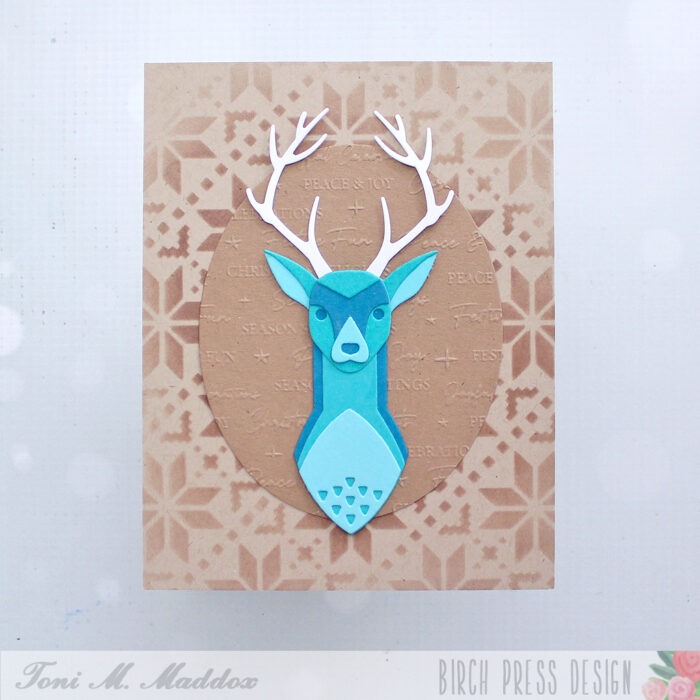
  • Masculine Deer Holiday | by Toni M Maddox

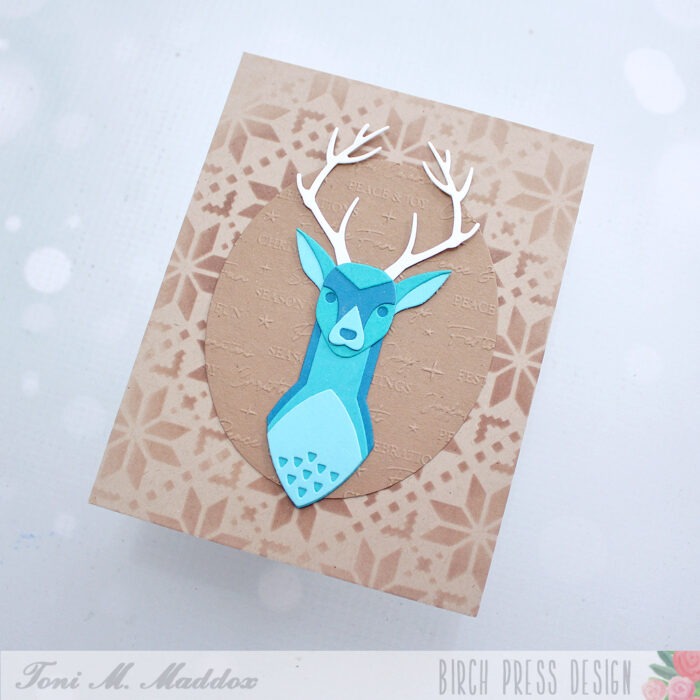
    Masculine Deer Holiday | by Toni M Maddox

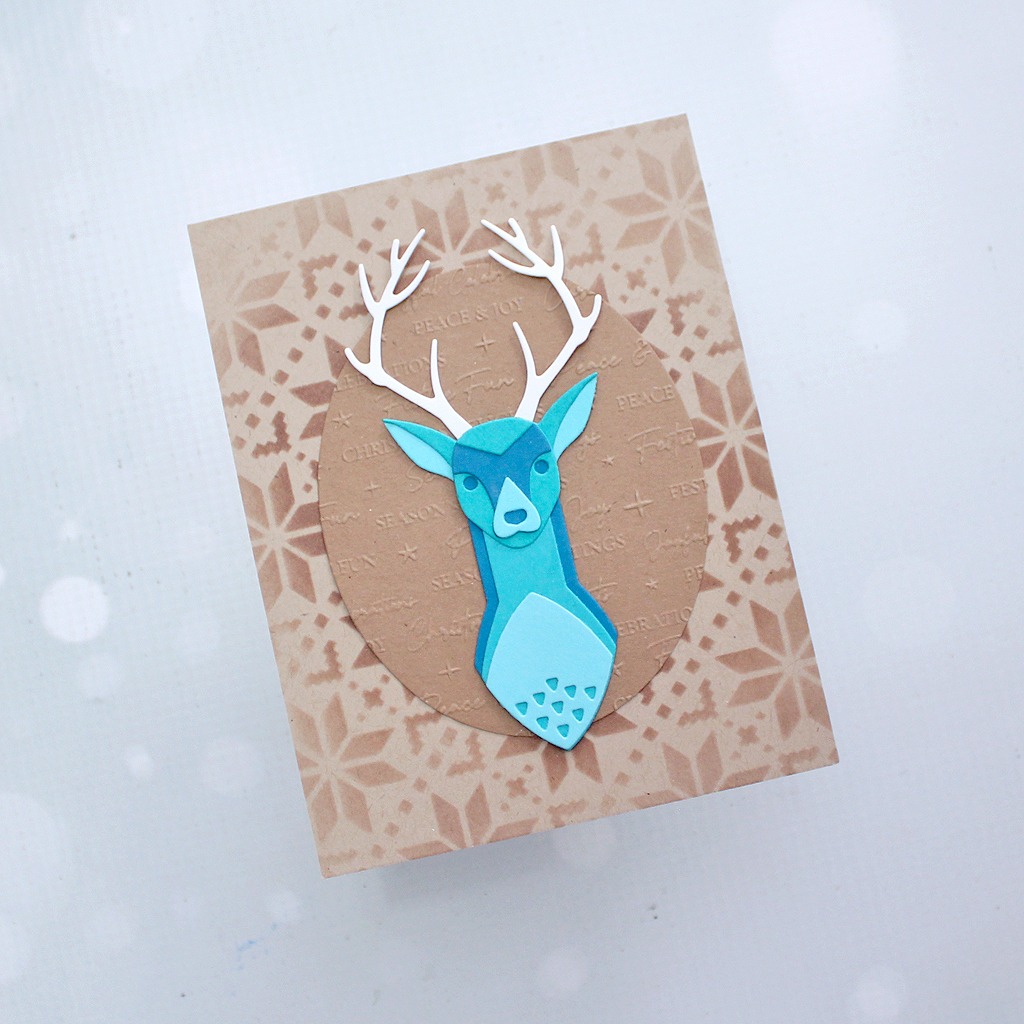
    Hello, my crafty friends. Toni here and today I’m sharing a masculine holiday card with unconventional colors.

    For the background, I kept everything very neutral using Catherine Pooler Macchiato with the Poppy Stamps Nordic Motif Stencil (used at an angle) on the front.

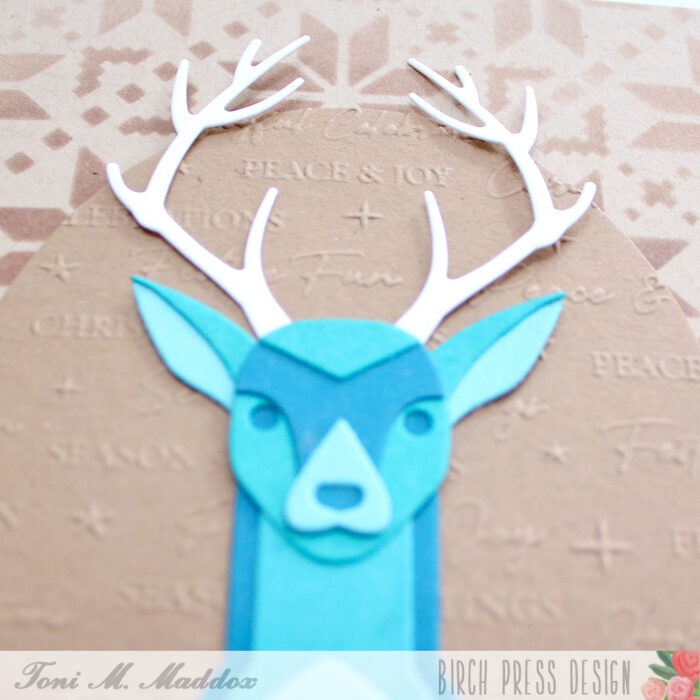
    The diecut oval is cut from kraft cardstock then embossed with holiday sentiments.

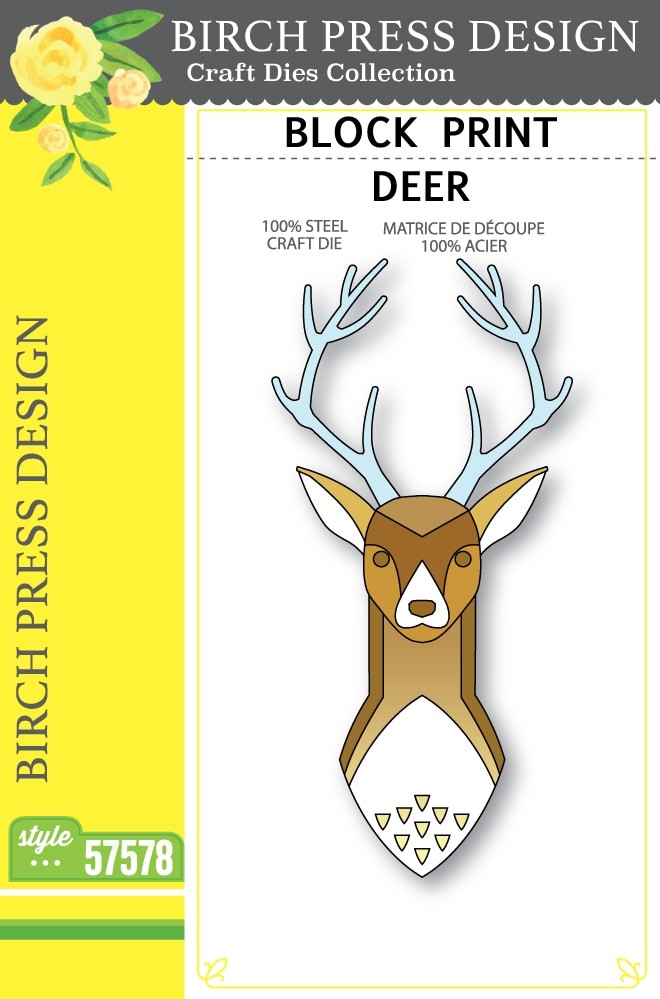
    I got my hands on some Memory Box Lagoon 6×6 paper and thought it would really jazz up the Block Print Deer. I love it so very much!

    Feel free to visit my blog, Frankie Helps Craft, for a full list of supplies used and to check out my other creations.

    I hope you enjoyed today’s card and have a great rest of your week!

    Supplies

  • Underwater Hugs | by Toni M Maddox

    Underwater Hugs | by Toni M Maddox

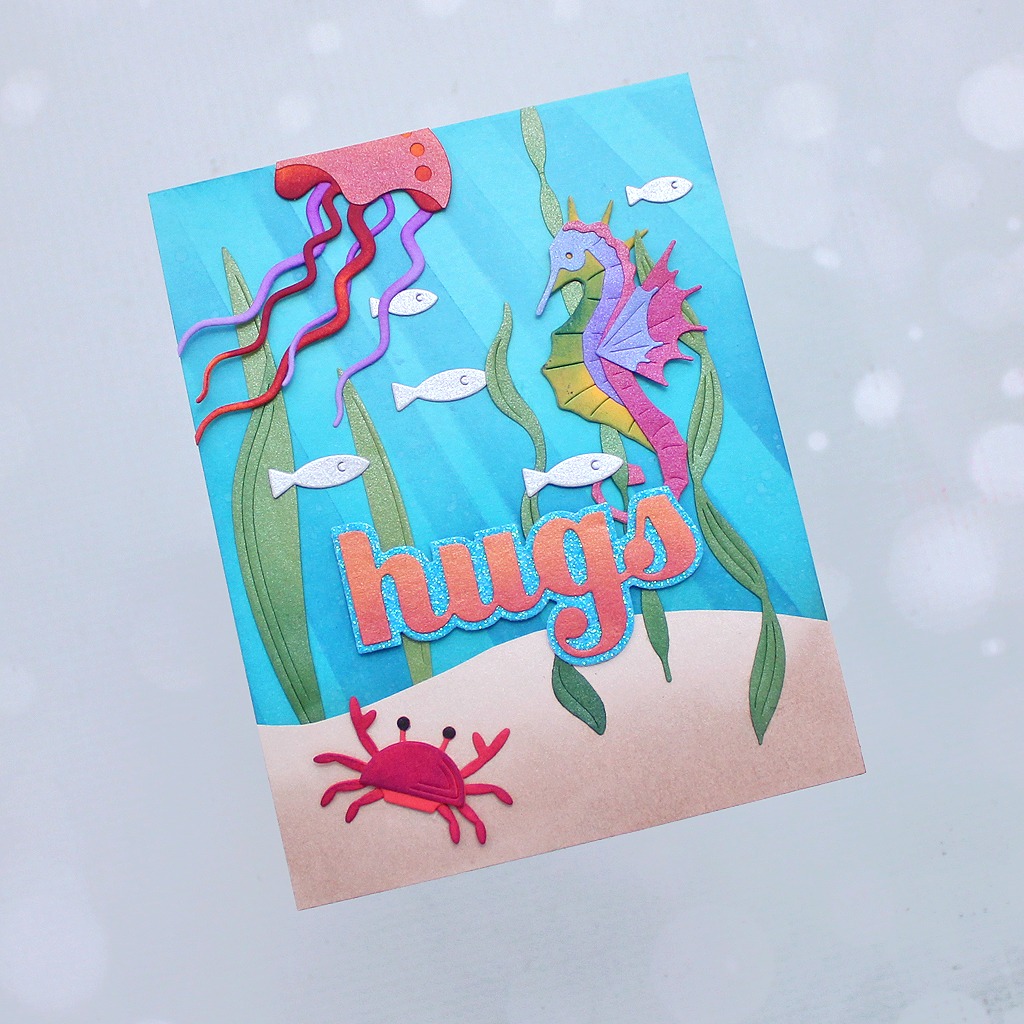
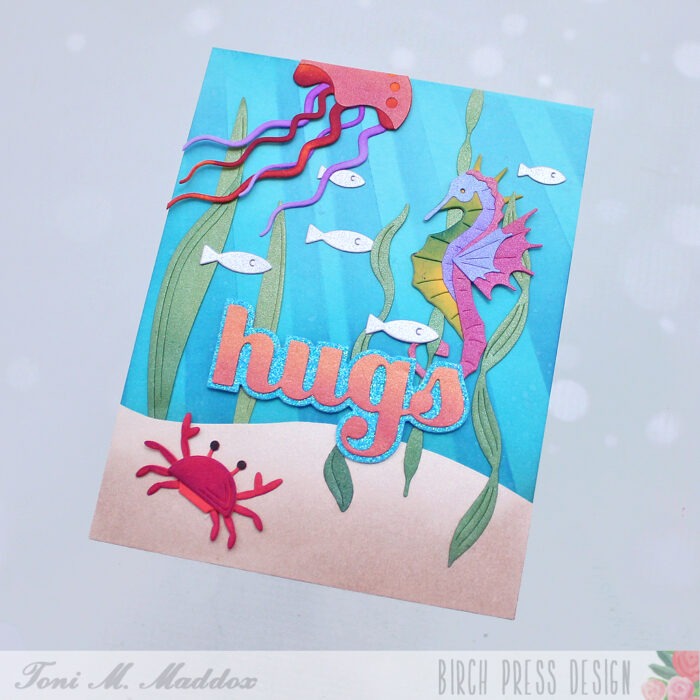
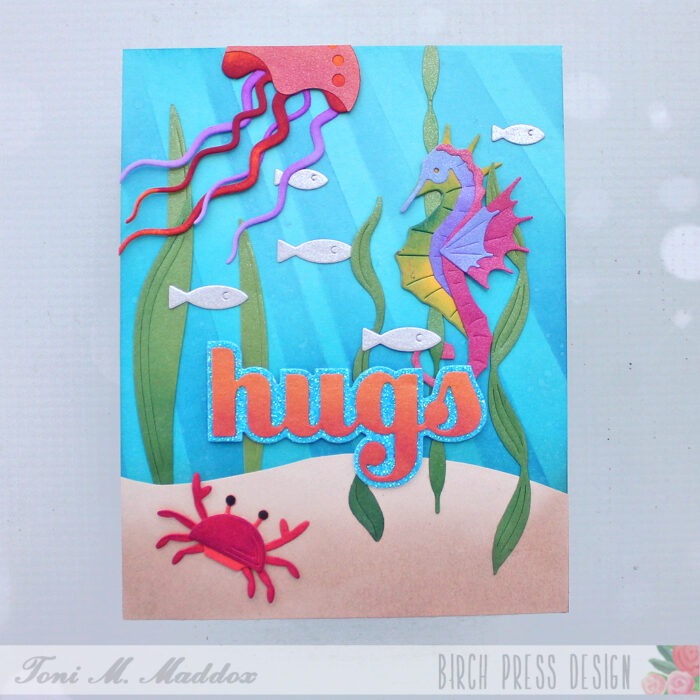
    Hello, everyone! This underwater scene was so fun to create. I love seahorses. And that jellyfish–look at it!

    My first step was to sponge the blue card base with Catherine Pooler inks and one layer of the two-part Light Ray Stencil. I spattered this with water and set aside.

    Next I fussy cut the sand layer using a piece of scrap kraft cardstock and sponged it with CP Sand Castle ink.

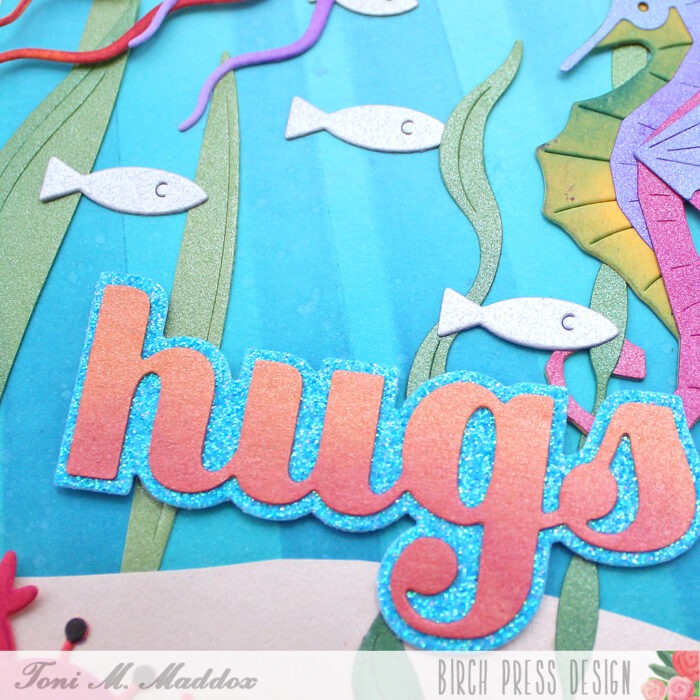
    I cut a few of the Block Print Sea Kelp & Mini Fish from a shimmery green and silver cardstock. I sponged the Sea Kelp with CP ink for a bit of shading.

    I diecut the Block Print Proud Seahorse, Block Print Floating Jellyfish, and Block Print Dancing Crabs from a few Memory Box cardstocks with shimmery cardstock scraps for highlights.

    I sponged the cardstocks, including the Sugar Script Big Hugs sentiment, with CP inks. I assembled the final scene, tucking the creatures in among the greenery. So cute!

    Do visit my blog, Frankie Helps Craft, for a full list of ingredients and to check out my other projects.

    I hope you enjoyed today’s card and have a great rest of your week!

    Supplies

  • A Whale of a Day | by Toni M Maddox

    A Whale of a Day | by Toni M Maddox

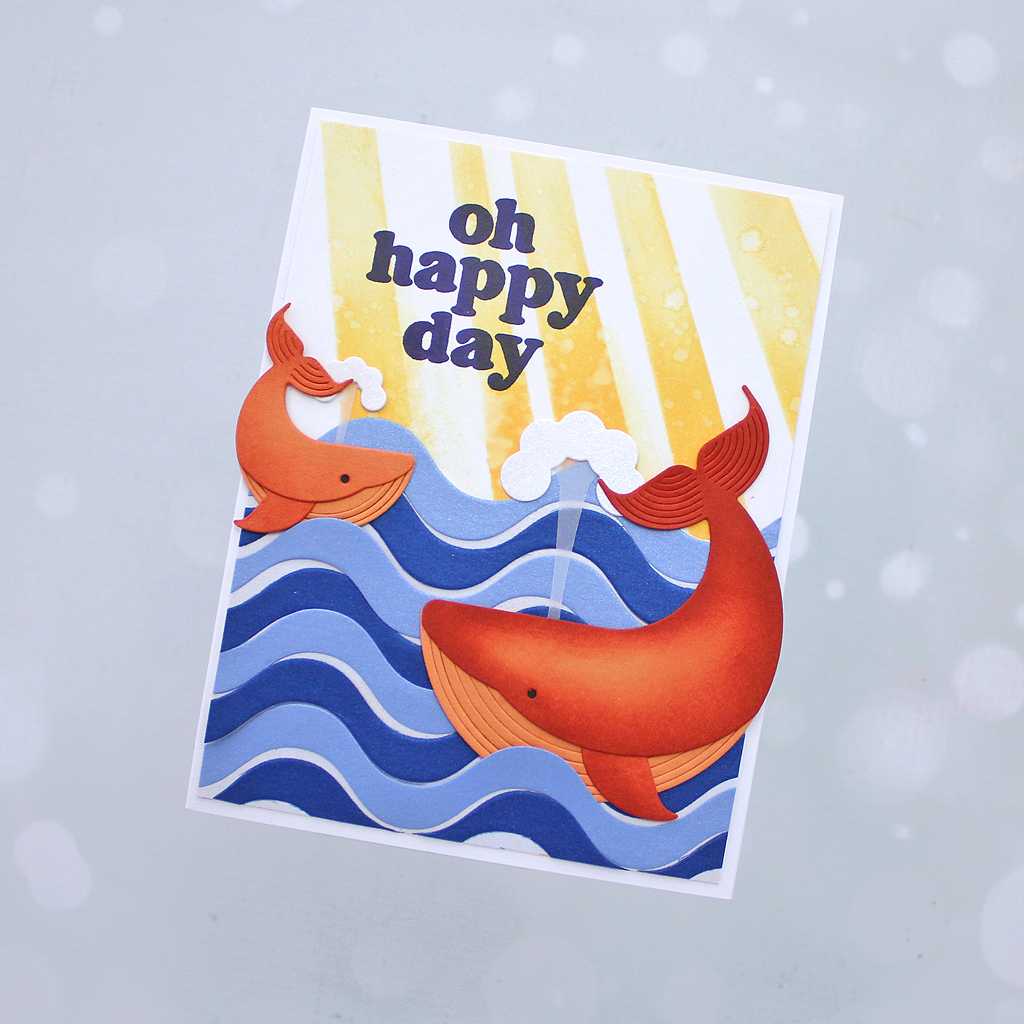
    Hello, friends! Today I’m sharing a a cute birthday or any occasion card that’s perfect for summer.

    To start my card I used one of the two-part Light Ray Stencils along with Catherine Pooler ink to create a sunny backdrop.

    I then cut out the Corner Waves from two different shades of shimmery blue cardstock and loosely adhered them to a third piece of shimmery cardstock.

    Next I cut out the Block Print Whale Duo, sponging them to create shading on that fun orange. I particularly love the spout and plume–so cute.

    My last step was to stamp the Vintage Everyday Greetings directly onto the card front using Versafine Clair Medieval Blue.

    Feel free to visit my blog, Frankie Helps Craft, for a full list of supplies and to check out my other projects.

    I hope you enjoyed today’s card and have a great rest of your week!

    Supplies