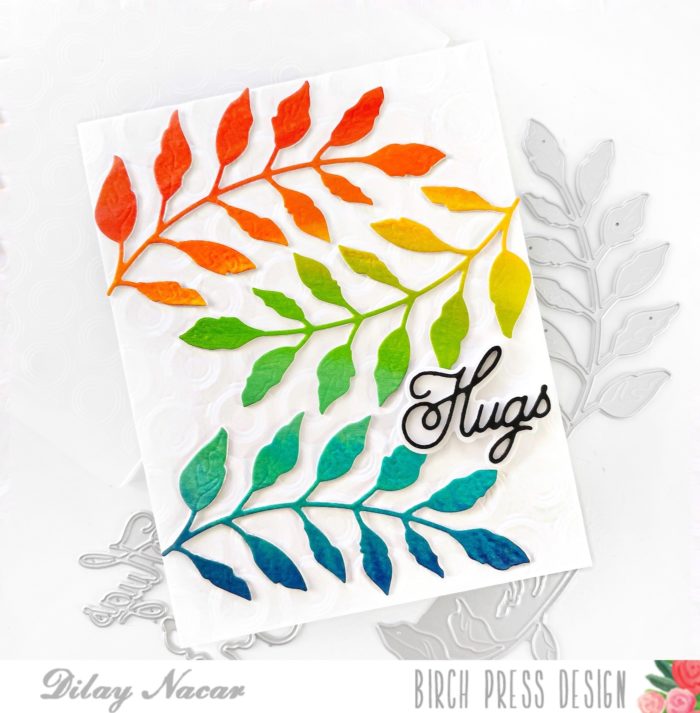
Happy Monday, friends! Dee here today to share this vibrant watercolored card featuring the brand new Fuddled Leaf Branches dies!
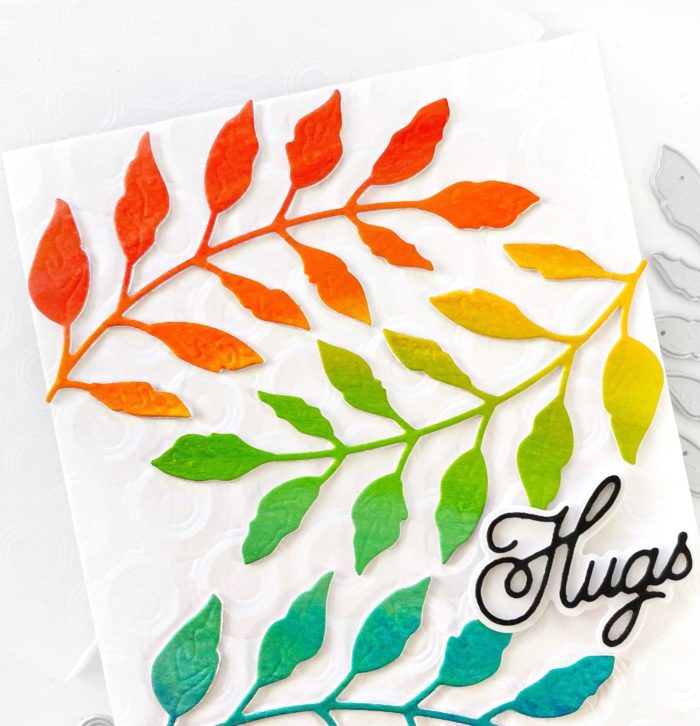
To begin, I applied a few of my favorite colors using watercolor brush markers onto a piece of watercolor paper and once dry, I die cut the larger leaf in each color.
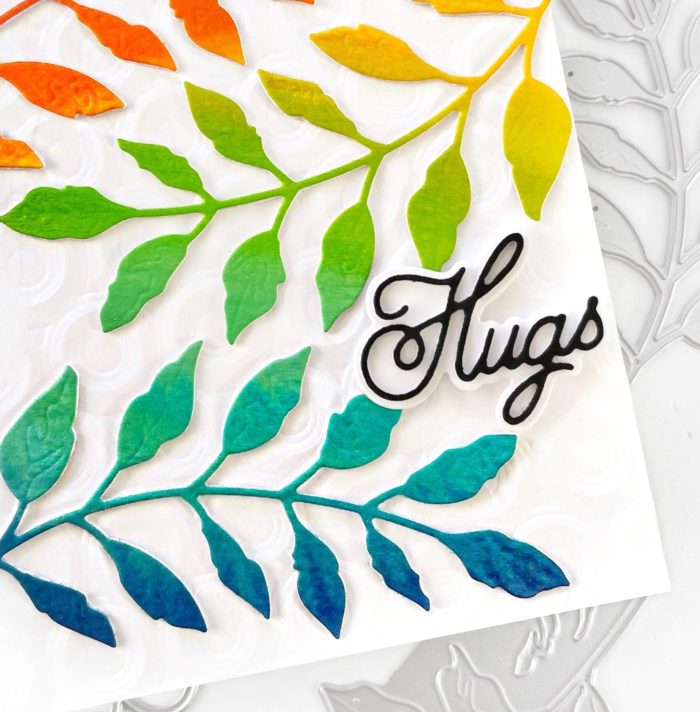
Next, I used the Ringadings 3D embossing folder and an A2-sized panel to create a fun and textured backdrop for the leaves, adhering each one with foam adhesive. To finish, I cut the Handwritten Hugs sentiment in black and the shadow in white and adhered to the panel using foam tape!
Thank you so much for joining me today! I hope everyone has a wonderful week!
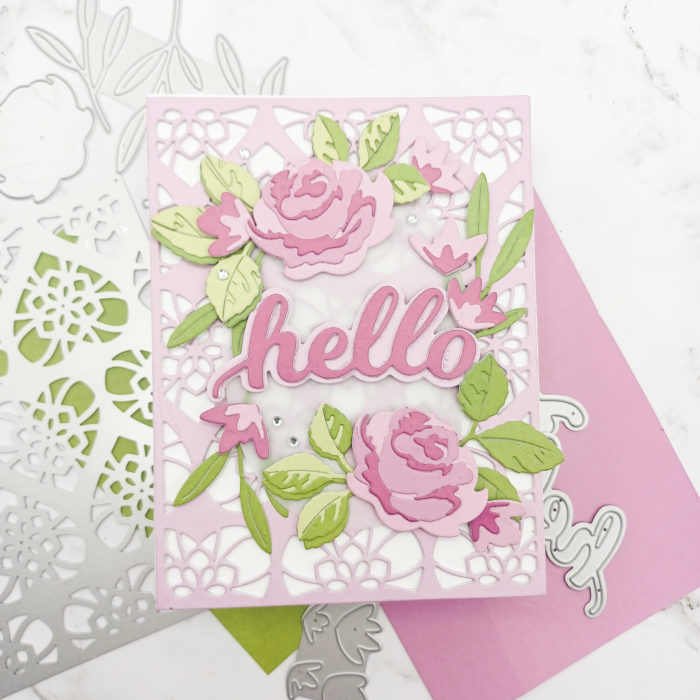
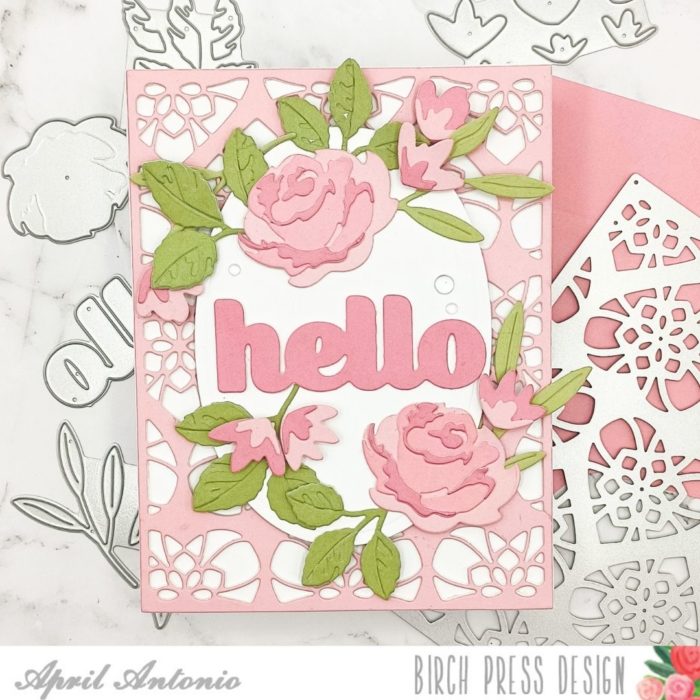
Happy Sunday everyone! I am excited to be back on the blog today sharing a layered card using the new Dainty Rose & Leaves die set. Birch Press recently released a line of beautiful layering dies and they all coordinate so beautifully with each other.
For the card I am sharing today I am using two of the layering dies along with a layering background die for some extra dimension and interest.
To start, I used the Kinsley Heart Plate Layer A and die cut it three times — twice from heavyweight white cardstock and once from lavender cardstock taken from the Memory Box Vibrant Violet cardstock pack. I glued those layers together, putting the lavender layer on top, and then adhered it to a A2 card base.
Next, I wanted cut florals that would match the background so I used the same Vibrant Violet cardstock pack and chose three shades of violet that were light, medium and dark to cut the flowers from so I could add some dimension to the die cuts. I cut the leaves from green cardstock pulled from the Memory Box Lush Green cardstock pad
Fun tip: For layering flowers, starting with a light base and then working your way to the darker base on top is always a tried a true formula.
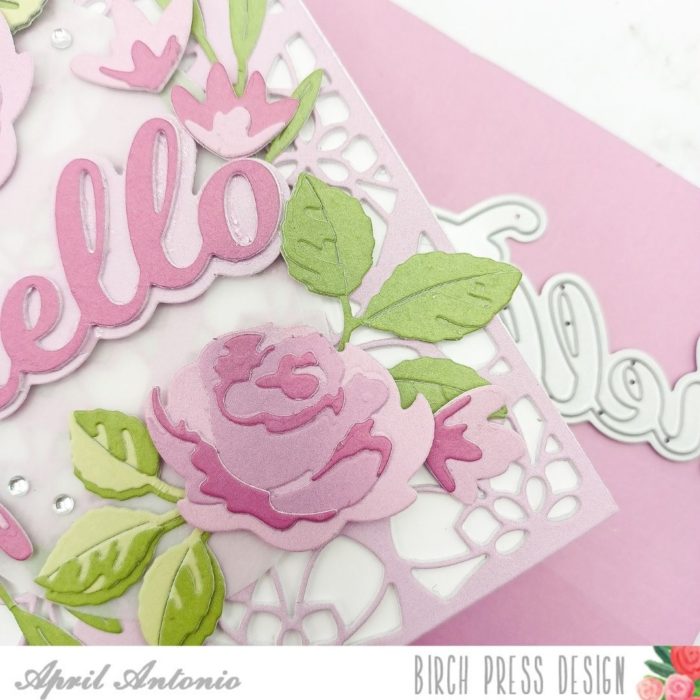
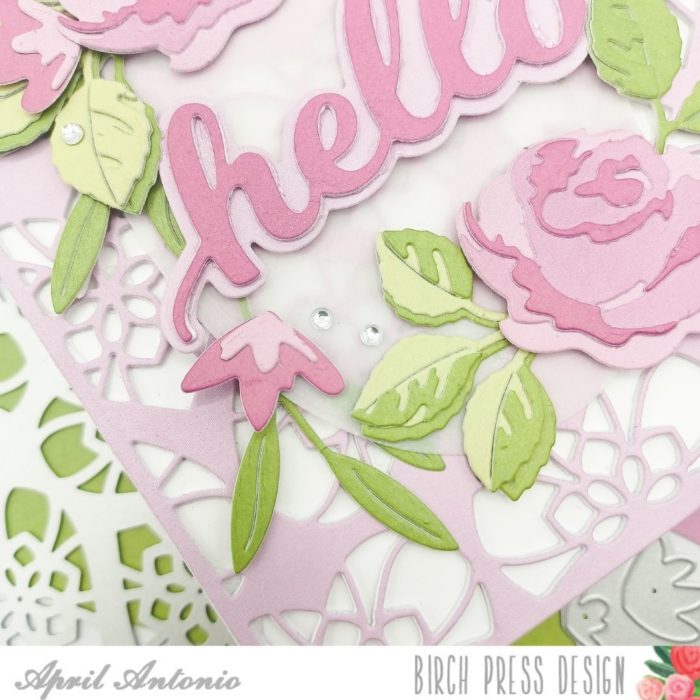
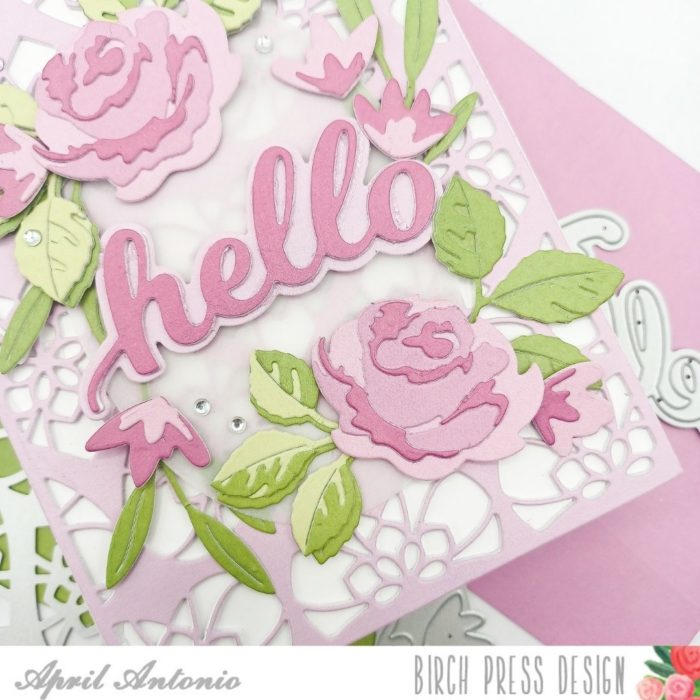
For my florals I realized that I wanted a prominent flower so I used the Dainty Rose & Leaves layering die set to die cut the lavender roses. Later, after adhering the roses and leaves to the card I realized that I had a lot of open space so I decided to fill it in with smaller flowers and leaves from the Tiny Tuft Flowers & Leaves die set.
Both of these sets are easy to use and I will usually die cut all of my pieces and then assemble them all at once to save time.
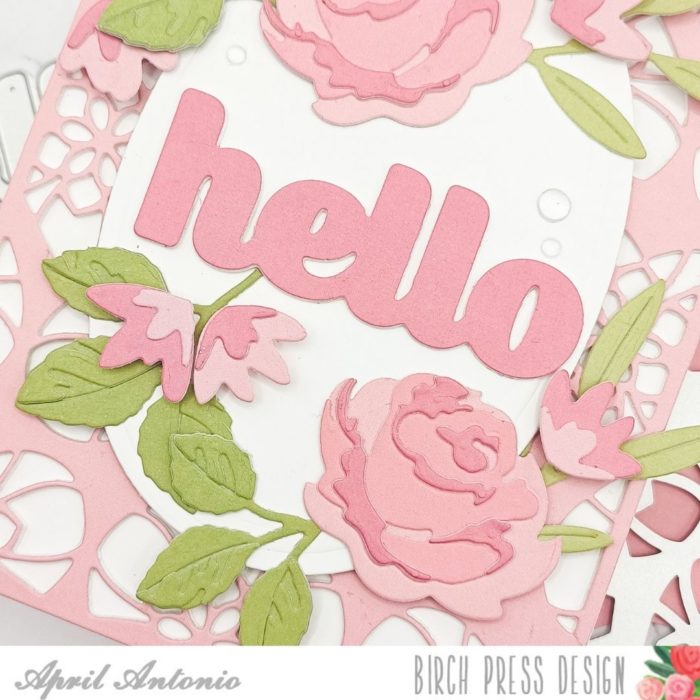
After cutting out my flower layering pieces I took a piece of heavy weight vellum and die cut a small sized oval to use as the base for the sentiment on my card. For my sentiment I chose the Honey Script ‘Hello’ die set. Using the same violet paper pad as I did for the flowers, I die cut the sentiment from a medium toned purple and the shadow from a lighter, lavender color. I also cut the sentiment a few times from white cardstock and layered it all together using liquid glue for extra dimension.
Now, here is one of my tricks for gluing down vellum to a card, since it’s very see-through. Remember that vellum oval I cut earlier? I took that oval, adhered the stacked ‘hello’ die to it, and arraned all of the flowers and leaves I had assembled around the edge of the oval. I did all of this with the oval on top of my card base so I wouldn’t accidentally go too far over the edge of the card.
Once I had all of the florals arranged how I wanted to them I glued them down to the oval with either liquid glue or foam dots, then flipped the entire arrangement over to the back. I then only put adhesive on the parts of the vellum that were covered with the florals and leaves so the glue wouldn’t show through on the front. I turned the arrangement back over and adhered the entire thing to the front of the card.
I added some Memory Box clear jewels as a finshing touch and the card was done!
————————————————————————————–
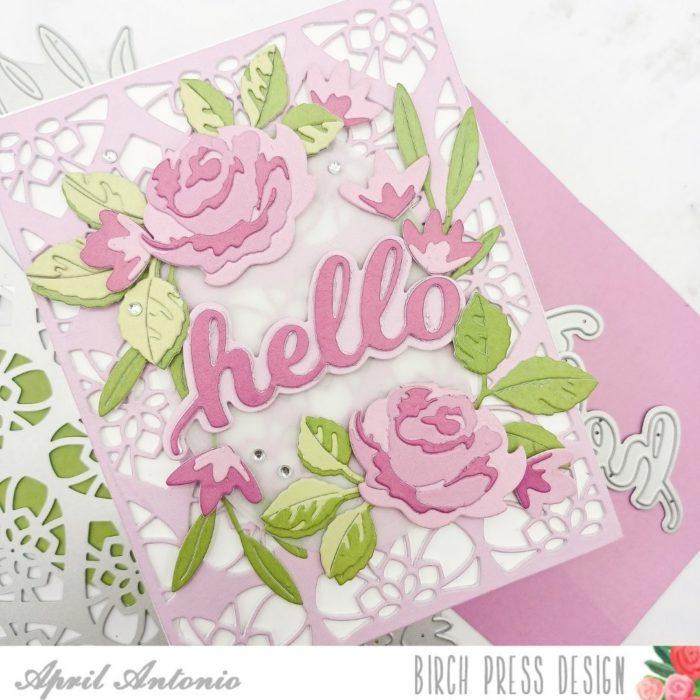
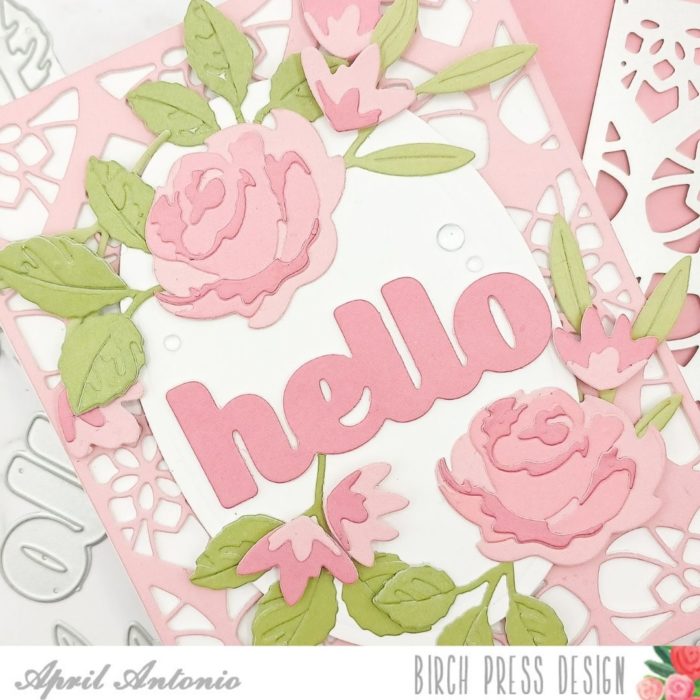
For the second card I created, I used the same design but used a different color scheme and sentiment. The new layering dies are so versatile and work in a rainbow of colors.
I used pink cardstock from the Memory Box Berry Red cardstock pad, as well as the shadow layer from the Honey Script ‘Hello’ die set. I die cut the ‘Hello’ a few times from white cardstock and once from pink cardstock, and layered it all together. One other change I made is to use an oval cut from white cardstock, instead of vellum, as the mat for my sentiment.
I finished off the card with Memory Box clear fairy drops.
That is all for today! Thank you so much for stopping by and I really hope you will give the new layering floral dies a try. They are fun to use and can help you create some amazing card designs.
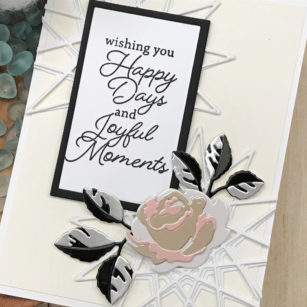
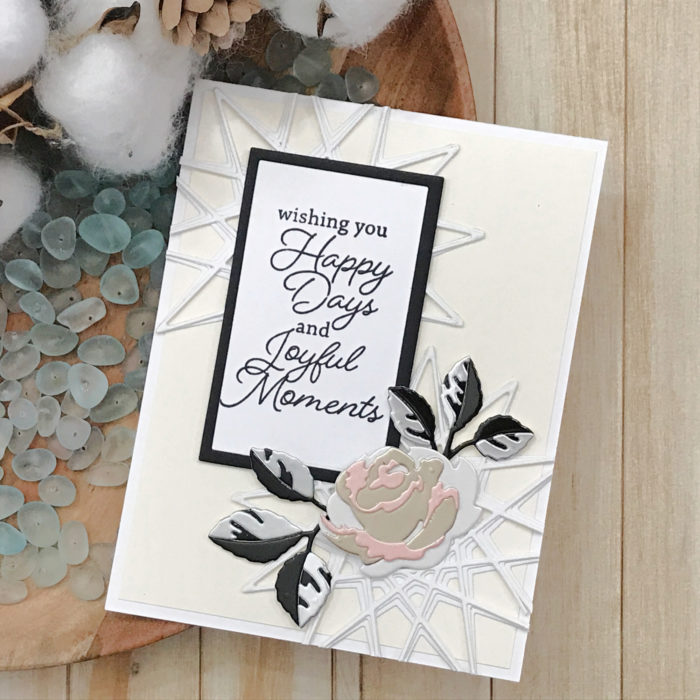
Today let’s see how we can use our layering die cuts as both a focal and background element in our card making!
For today’s project we will be featuring the Dainty Rose and Leaves Contour Layers and the Starburst Layering Die Sets!
As always, let’s get our die cutting done and out of the way and then start putting our card together.
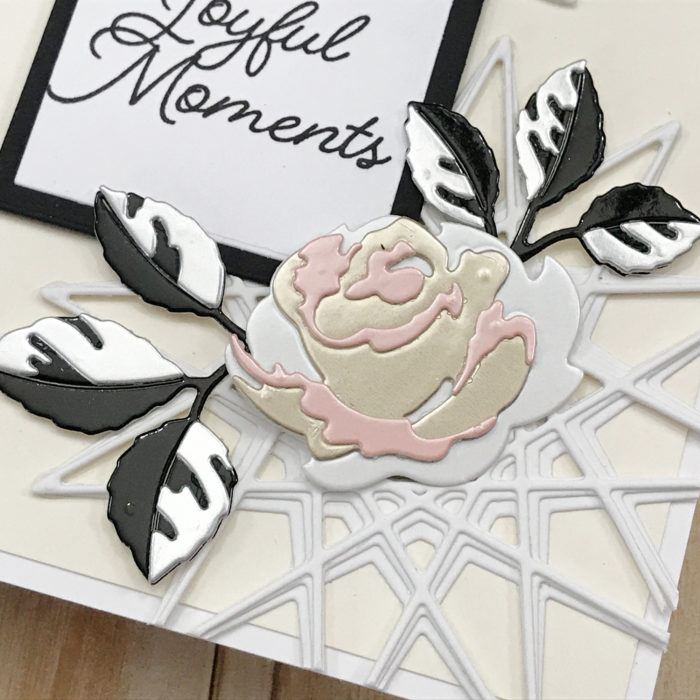
I chose a solid white for the starburst and made sure I had two of them layered using liquid adhesive. For the Dainty Rose and Leave I chose the Vintage Pastel Mirror Card Stock to add some shimmer to our focal point.
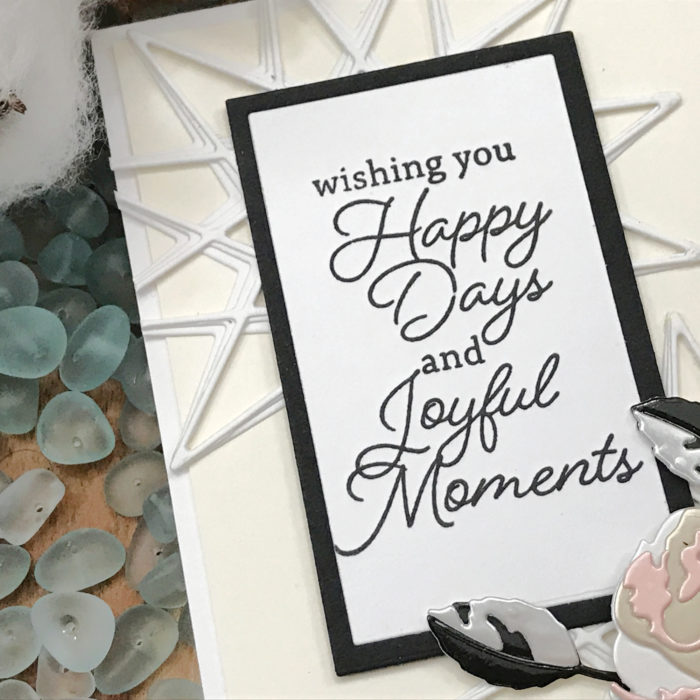
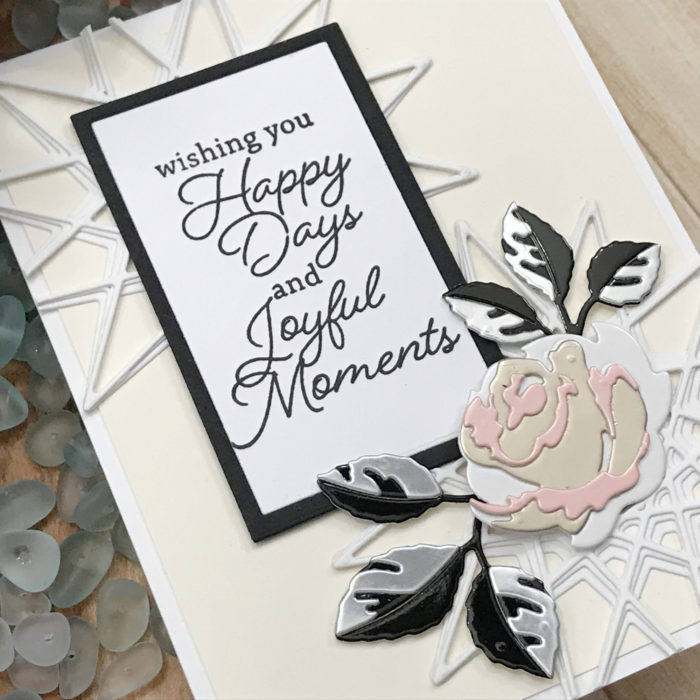
My card base is a Standard A2 size (4 ¼ in x 5 ½ inc) with a cream panel cut to 4 in x 5 ¼ in. I placed my Starbust die cuts on an angle across the front of the card panel and trimmed off the edges once it was adhered to my card base.
I set my sentiment in place and set the Dainty Rose of the bottom right hand corner.
In no time we created a card to bring a simile to anyone!
Make sure you stay tuned for more wonderful projects coming soon!
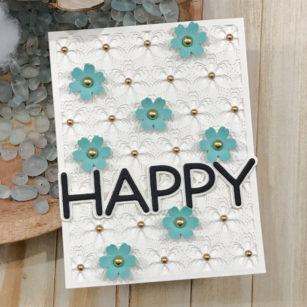
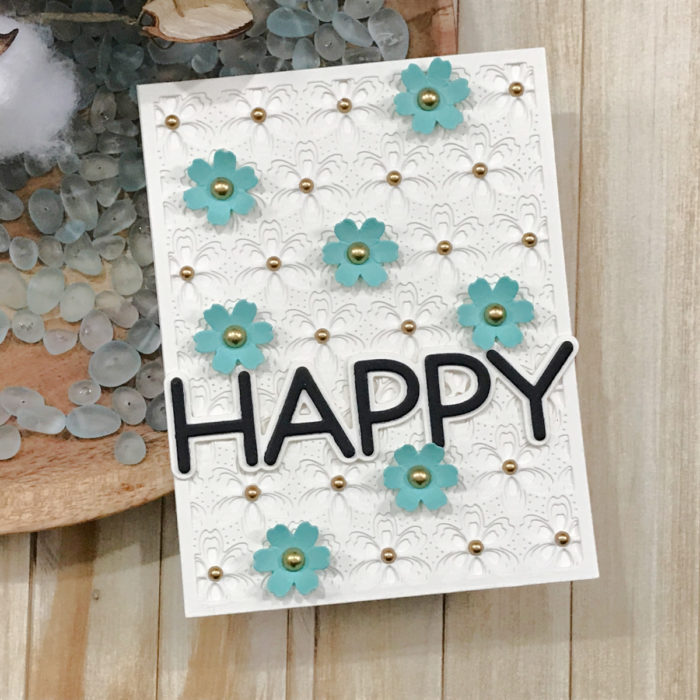
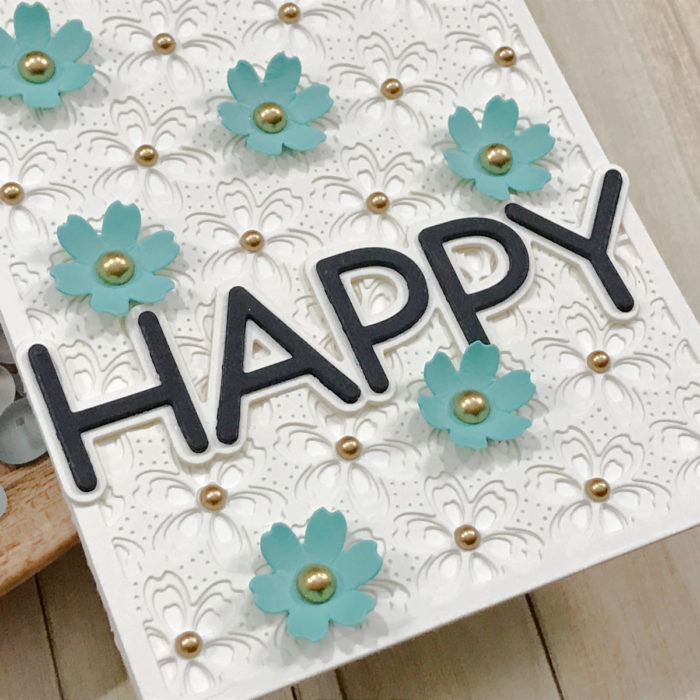
Let’s use up those scraps that come from some of our die cutting plates! The Flora plate is perfect for this as the top layers leaves wonderful flower images left behind! Save them!
I die cut all my plates using one color card stock; I chose ivory. I also cut another top layer from an aqua color card stock and made sure I kept the full flower images and set them aside.
Layering my die cuts I used liquid adhesive to ensure a strong bond. Once dry I set it up on my Standard A2 size top folding card base. We want to set that aside and work on our flowers.
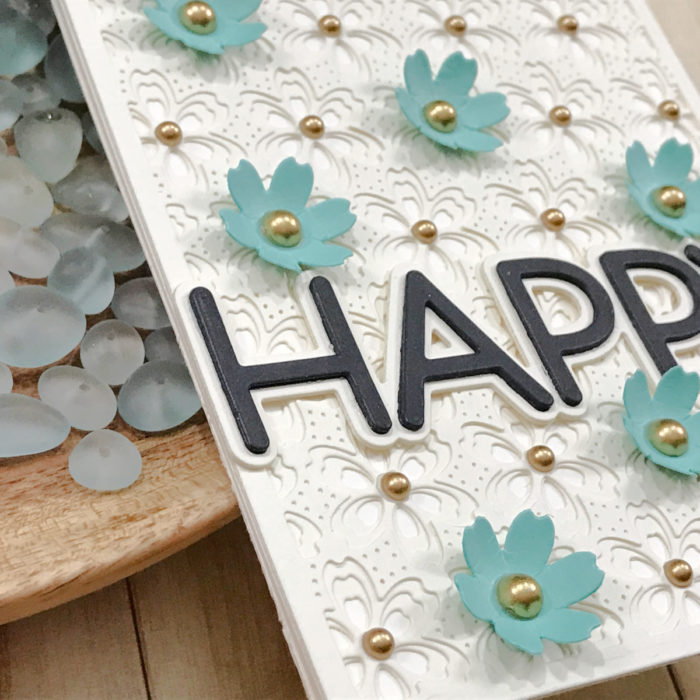
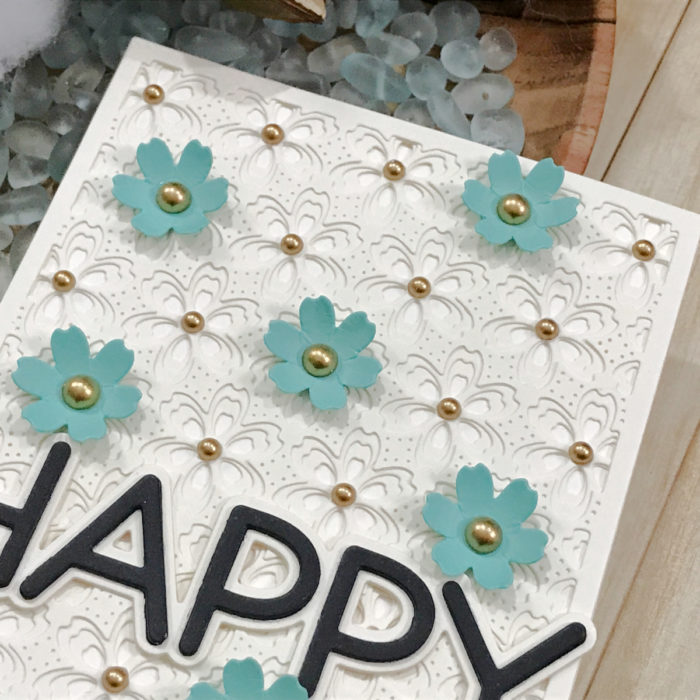
I grabbed a foam mat and a rounded edge tool, it can be a stylus or even a pen, use what you have! I cupped each of the flowers, so they form a cup shape. When these were done I layered my sentiment together to get ready for finishing my card.
I placed the sentiment first on my card base so I could know the placement of my flowers. Once the sentiment was set the flowers were placed sporadically around the card base.
Added satin gold pearls in my flowers and also on the layering die background!
As always, I hope you enjoyed today’s project… and if you want to see more details just click on the video below and see how these projects come together step by step!
Make sure you stay tuned for more wonderful projects coming soon!
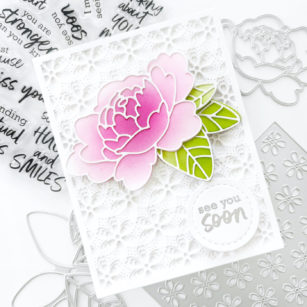
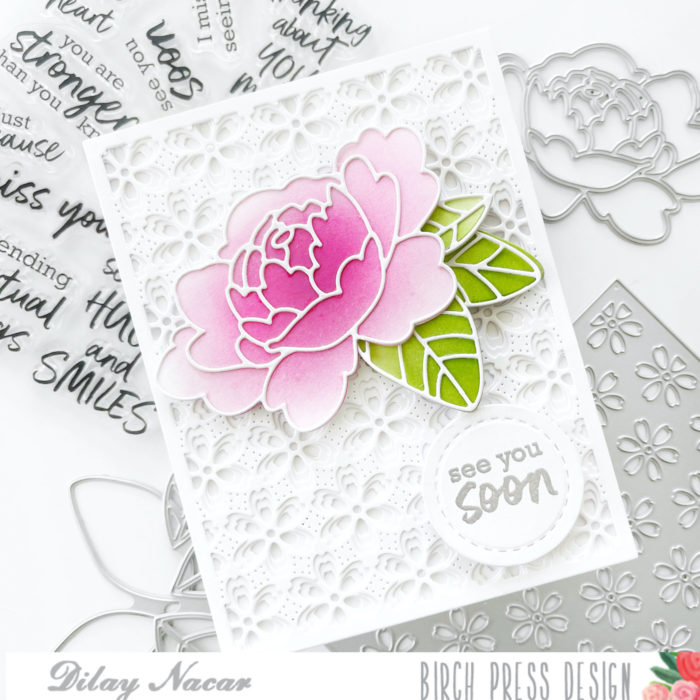
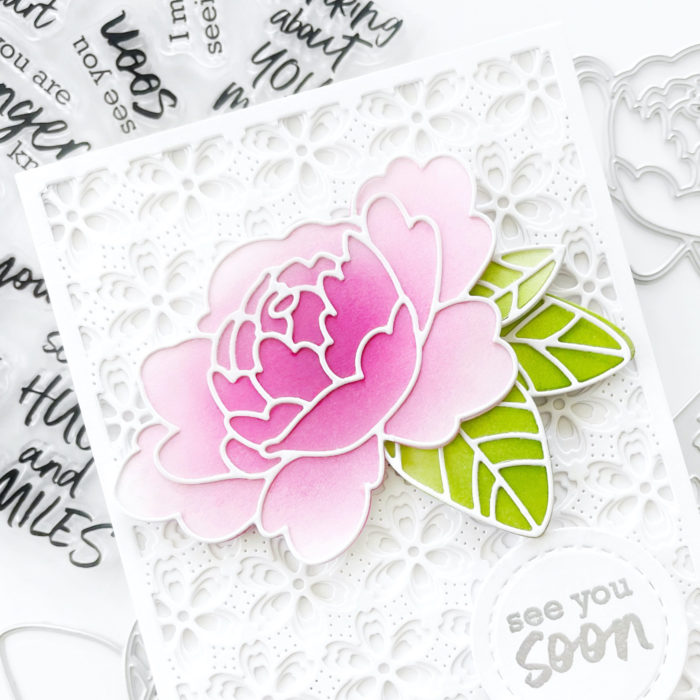
Happy Monday, friends! I hope everyone is having a wonderful start to their week! Today I am sharing this card featuring the new Flora Layers and Adornment Peony Dies!
I started by die-cutting then adhering the Flora Layer plates together. Next, I die cut the Peony and ink blended it with shades of pink and the leaves in green. I then assembled them together and adhered it to the center of the card.
I used the Brush Sentiments Greetings set to heat emboss the See You Soon sentiment, then die cut it with a circle die from my stash.
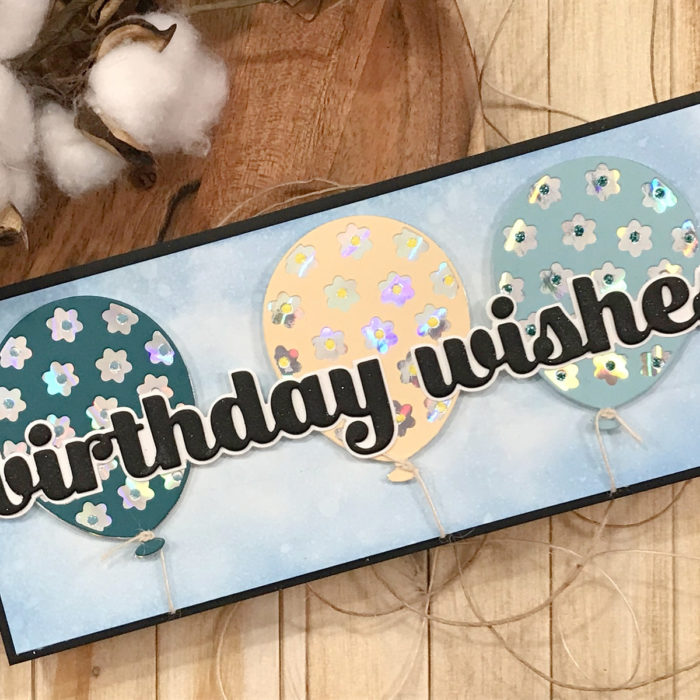
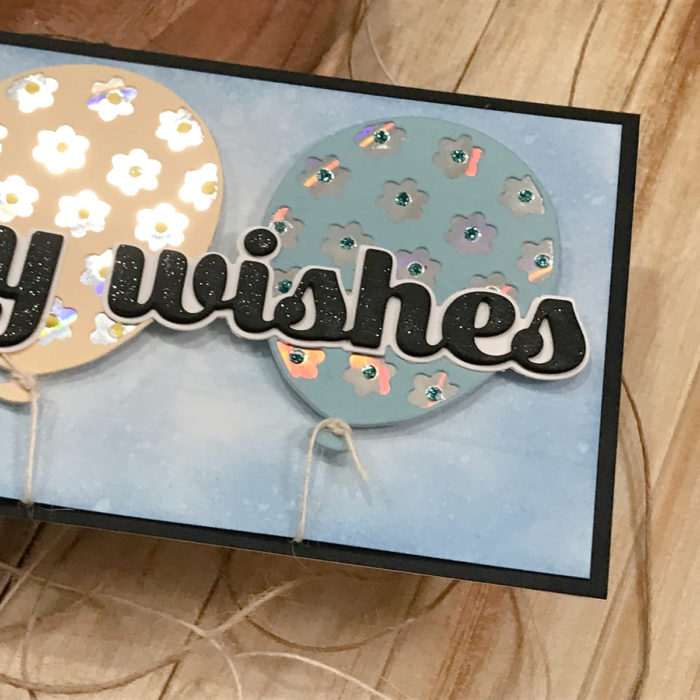
Today I will be creating a Slimline Card featuring the Floral Balloon Layering Die Set along with the Birthday Wishes Sentiment!
As always, I start with getting all my die cutting out of the way and then start layering my card stock with liquid adhesive. For the middle layer I chose a holographic card stock!
I grab my panel and use my distress oxide to create the look of the sky and then added water droplets to create texture to the background.
I chose a slimline card base, so I would have more room to add my elements to the front of the card. After the balloons are layered, I added string to the bottom of each balloon and double-sided foam squares so they would be propped up!
All the balloons were place on my panel and then we added the sentiment across all the balloons with a little bit of sparkled added with a glitter pen!
To add some sparkle, I grabbed my glitter glue and added dots in the center of all the flowers on each of the balloons!
As always, I hope you enjoyed today’s project… and if you want to see more details just click on the video below and see how these projects come together step by step!
Make sure you stay tuned for more wonderful projects coming soon!
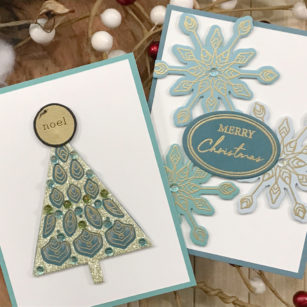
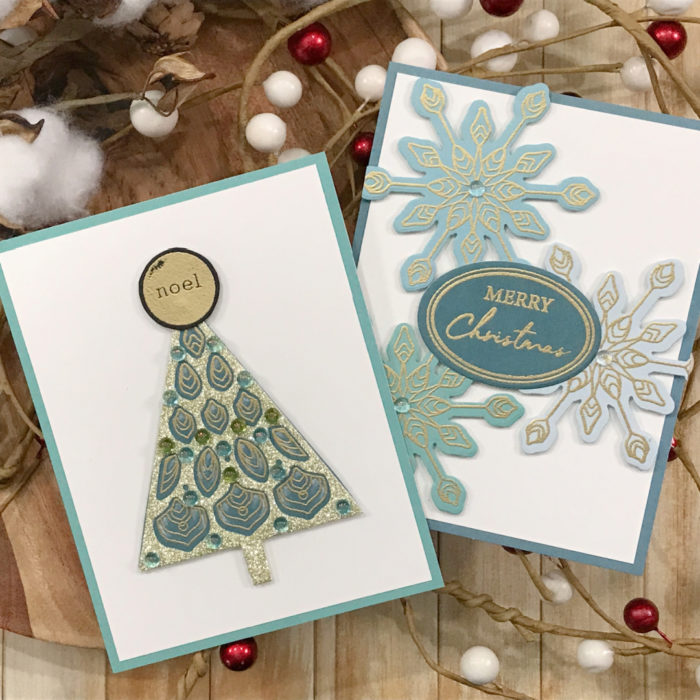
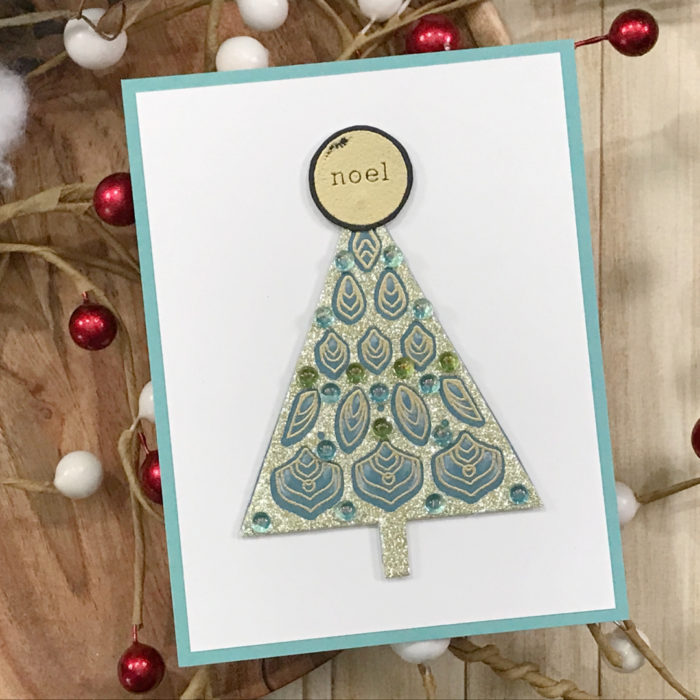
For today I will be creating two cards featuring the Christmas Mandala Stamp and Die Set! We can now combine stamping and die cutting together to achieve the look of layers!
First, I stamped all of my images using a clear sticky ink for the embossing powder application! I chose aqua card stock and gold embossing powder as my colors for today’s cards…
After all the images are stamped and covered with embossing powder I will heat set the images until the powder is smooth and melted. I use the coordinating die to cut out our images.
For the first card I used three snowflakes set as the background and popped up using double sided foam squares with my sentiment set off to the side.
The second card I stamped the tree and added a highlight with white charcoal pencil and blended with a blending stump. I grabbed my glitter cards stock and the tree die from the set to create the layer on top of my stamped image.
Once the design panels were set onto a standard A2 size card base, I chose aqua and green fairy crystals to embellish each card!
As always, I hope you enjoyed today’s project… and if you want to see more details just click on the video below and see how these projects come together step by step!
Make sure you stay tuned for more wonderful projects coming soon!
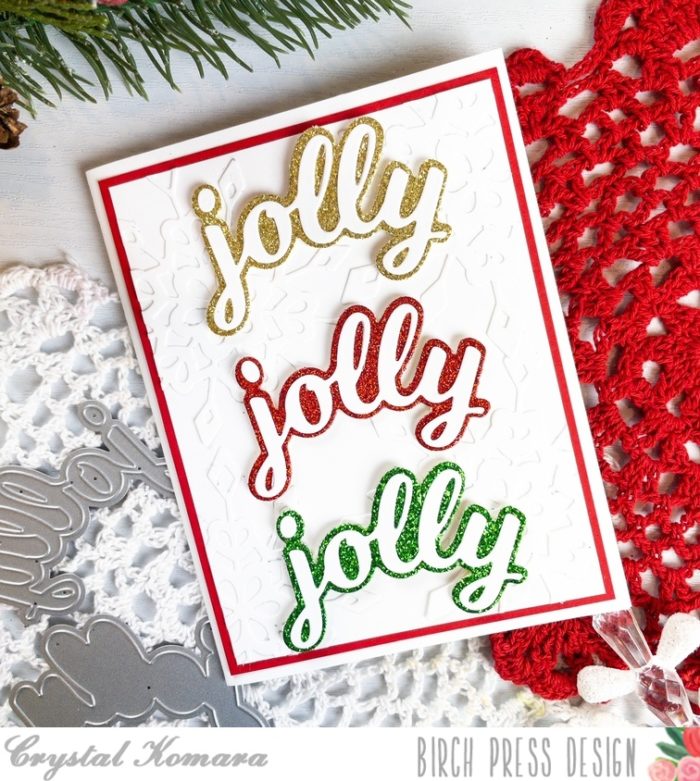
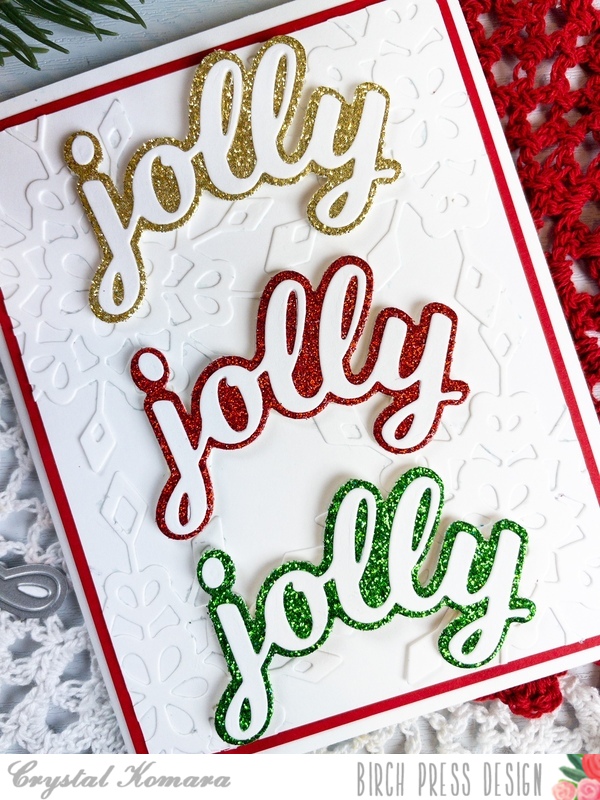
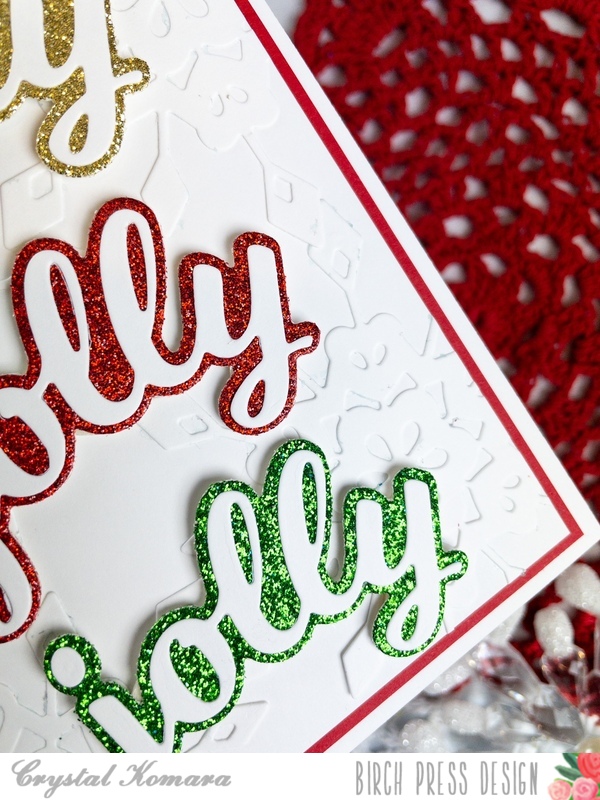
Hello Birch Press Design friends! This is DT member Crystal Komara here with you and it’s a mad dash to the finish line to create those holiday cards and get them out in time! Today I’m sharing a fun and festive way to use a simple holiday shadow word die as the focal point of your card.
Card details:
The base of this A2 sized card is made from 80 lb. Neenah Solar White Smooth cardstock. I cut a 5″ x 3 3/4″ piece of white cardstock for the first layer and matted that with a 5 1/4″ x 4″ piece of red cardstock. Using Layer B of the Frosty Flake Layering Set, I cut four snowflakes from white cardstock. I adhered these four snowflakes onto the white cardstock to create my background. It’s a very subtle look to allow the colorful words to POP! I die cut the word “Jolly” three times using the Jolly Honey Script Word Die. I die cut one word from gold glitter cardstock, one from red glitter cardstock and one from green glitter cardstock. All of the glitter cardstock was from the 6″ x 6″ Frosted Glitter pad. I cut the thinner shadow portion of the “jolly” from white cardstock. I layered the two “jolly” layers together with a fine-tip liquid adhesive. I then placed the three “jolly” sentiments going down the middle of the card using 3M foam adhesive for added dimension.
I hope you have joined this fun way to use your shadow word dies to create holiday cards, no stamping required! Thanks for visiting and have a wonderfully creative day!
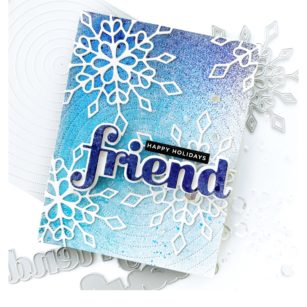
Dee (@dilaynacar) here today sharing a fun snowflake card featuring one of my favorite layering dies and a background that I created using acrylic sprays and die cuts! Let’s get started!
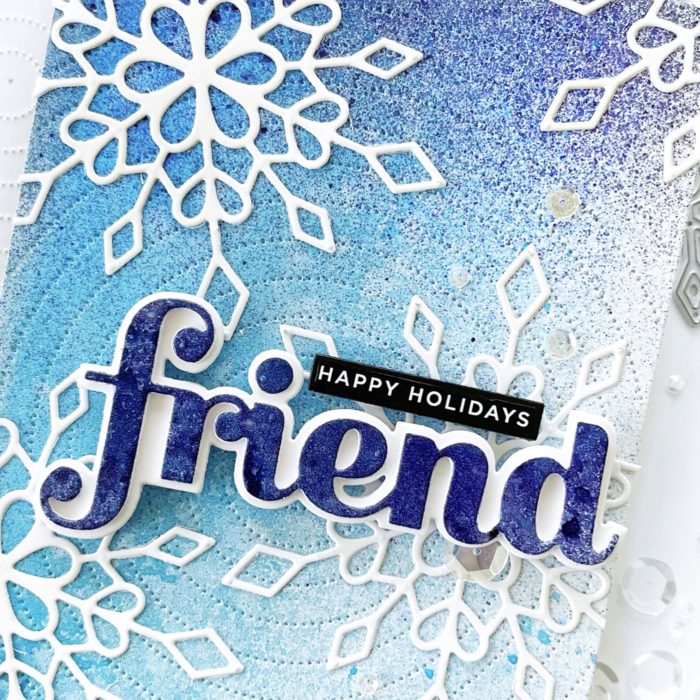
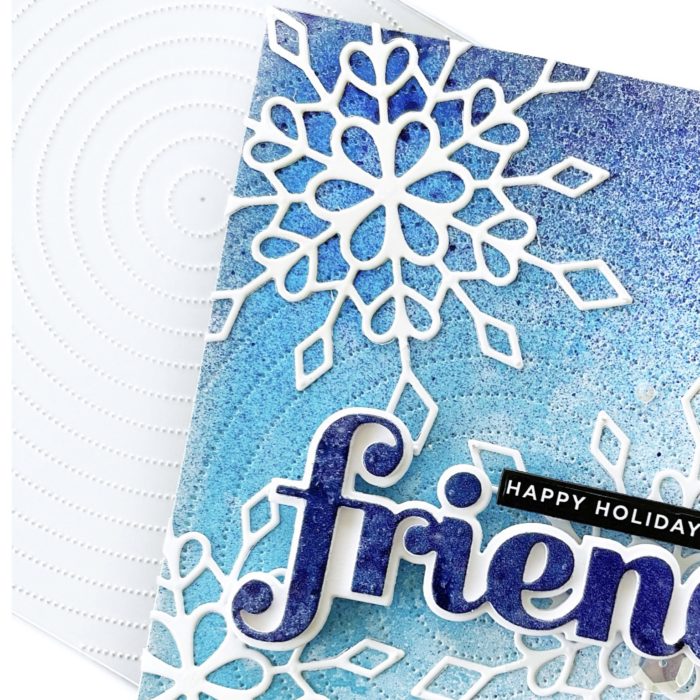
To begin, I took an extra background that I had previously created and cut it with the Pinpoint Radial background die (you can use any background that you like!) Next, I die cut three of the Frosty Flake snowflake die (only Layer A), adhered them to the background, and trimmed off the excess.
Next, I cut the Big Friends Sugar Script die with the leftover acrylic-sprayed cardstock and the shadow die in white, then adhered them to the card using foam tape. To finish, I added a sub-sentiment from my stash and some clear sequins for a little extra sparkle!
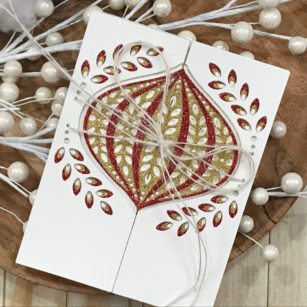
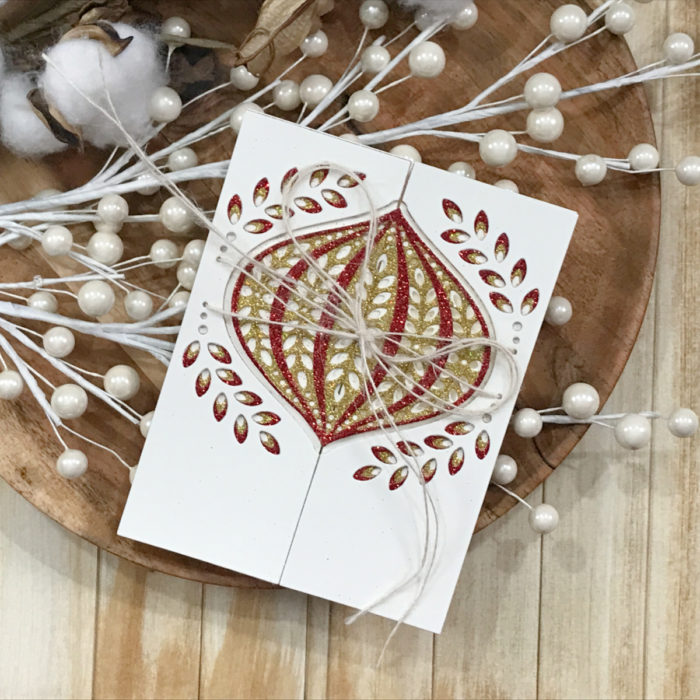
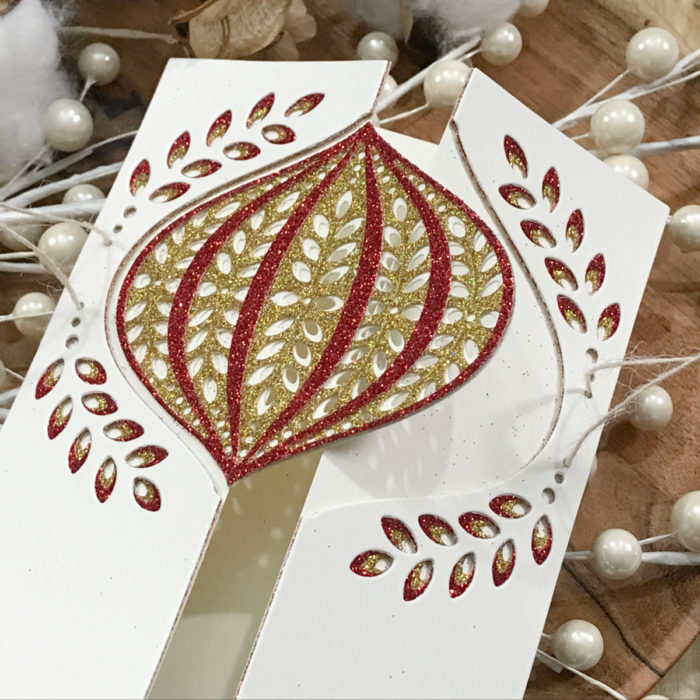
For today we will be creating a Gate Fold Card featuring the Marisol Ornament and Frame layering Die Sets!
We start with getting all our die cutting out of the way and then start laying our card stock with liquid adhesive. For two of the layers, I chose glitter card stock, liquid adhesive is perfect to make sure all our layers stay together!
From the C Layer of the Marisol Frame Die Set there is a tab, for our card we will be cutting that tab off.
I cut a piece of card stock to measure 5 1/2 inches x 8 1/2 inches and score along the long side at 2 1/8 inches. When these are folded in you can see a light gap between the two panels.
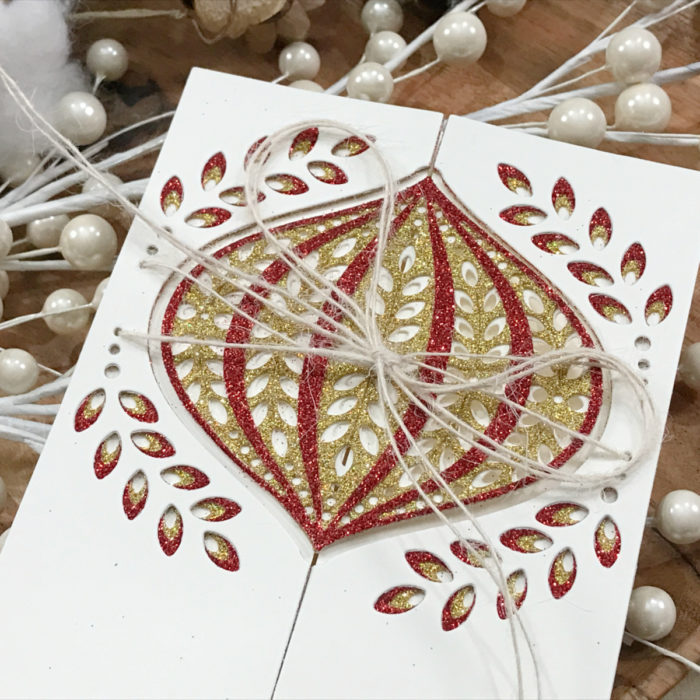
I grabbed some twine out of my stash and treaded it through the holes already die cut in each panel and started to layer my card.
I started with each frame panel on each side making sure my twine was not caught under the panel when gluing into place and then only added glue to one side of the card within the ornament opening and setting my ornament.
You only have to then tie your twine in front and your card is ready to be sent to someone special for the holidays!
As always, I hope you enjoyed today’s project… and if you want to see more details just click on the video below and see how these projects come together step by step!
Make sure you stay tuned for more wonderful projects coming soon!