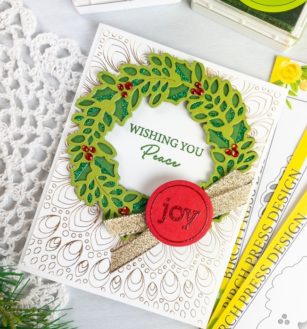
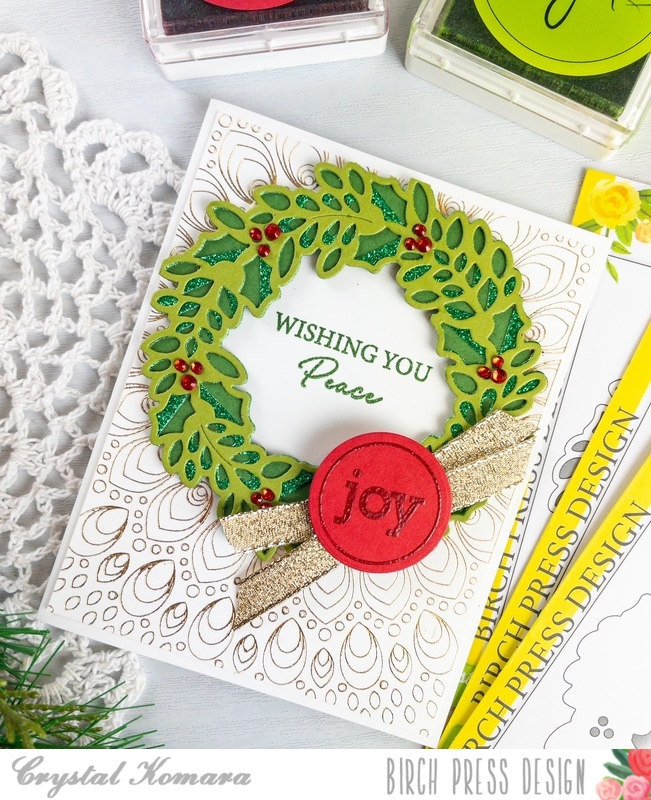
Hello crafty readers! This is Design Team member Crystal Komara here with you today sharing a holiday card with you featuring the beautiful new Holly Wreath Plate Layer set. But, there’s a lot more going on with this card than just a dimensional wreath, there is also a heat foiled background and heat embossed sentiment too, so read on for all the fun details!
Card details:
The base of this A2 sized card is made from 80 lb. Neenah Solar White Smooth cardstock. This is my go-to white cardstock for e-v-e-r-y-t-h-i-n-g! Using the Gilded Grace Hot Foil Plate, I foiled the first layer of the card. I use a Gemini Foilpress machine for my foiling. I used the Crafter’s Companion Foil Press paper in brass. I adhered this foiled layer directly to the card base.
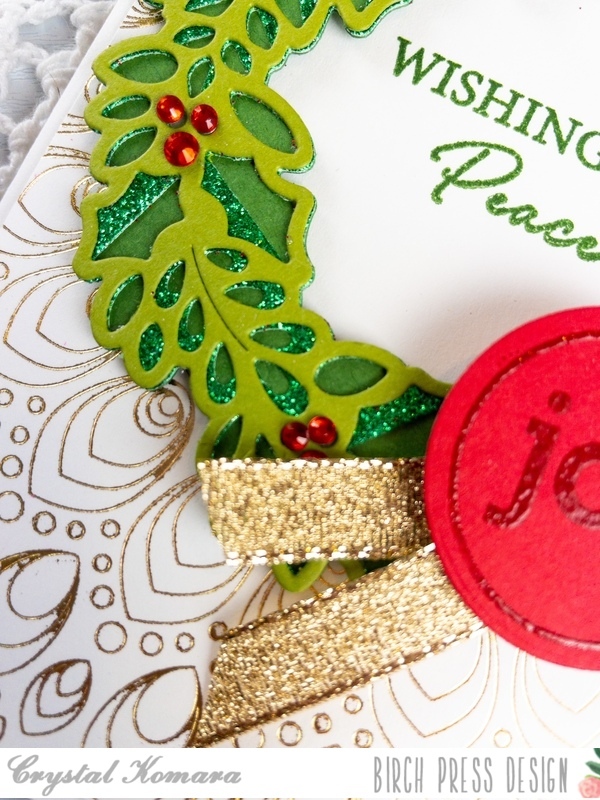
I did not foil the inner circle of the Gilded Grace Plate, so instead I stamped the sentiment “wishing you peace” in the center of the circle. Next, I created the wreath. I die cut Layer C (bottom layer) of the Holly Wreath from dark green cardstock. I die cut Layer B (middle layer) of the Holly Wreath Plate from green glitter cardstock. Finally, I cut Layer A (top layer) of the Holly Wreath Plate from light green cardstock. The green cardstock is from the 6″ x 6″ Lush Green paper pack and the 6″ x 6″ Glitzy Glitter paper pack. I adhered all three layers of the wreath together with a fine-tip liquid glue.
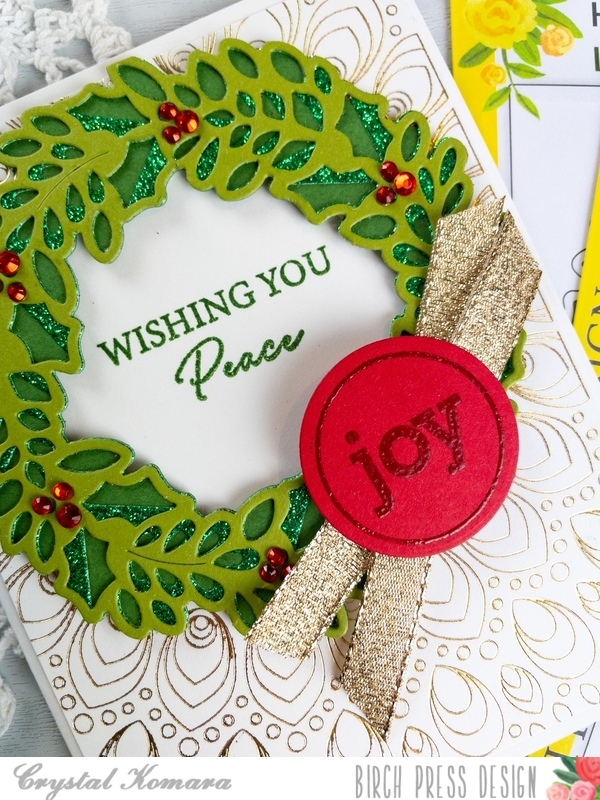
I adhered the wreath to the center of the card using 3M foam adhesive for added dimension. I stamped the sentiment “joy” in Versamark ink on a piece of red cardstock. I heat embossed the sentiment with the Red Robin embossing powder from WOW! I used the coordinating circular die to die cut the sentiment out. The “joy” sentiment and die is from the Contempo Christmas Greetings stamp set and coordinating dies.
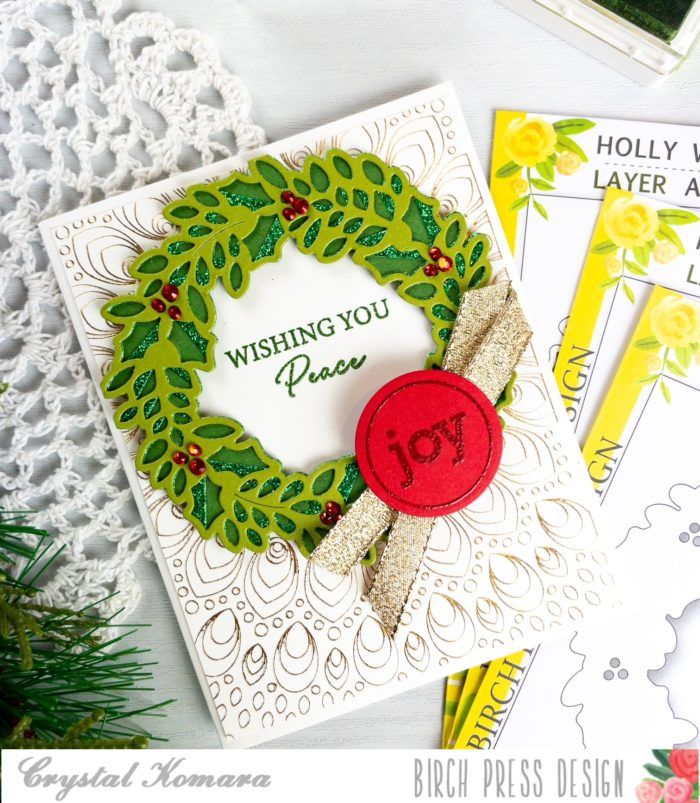
Lastly, I adhered a small piece of gold ribbon underneath the “joy” circular sentiment. I also added a couple red rhinestones to the wreath to resemble berries.
This card has it all – gold foil, sparkly glitter paper and heat embossing! It sparkles AND it shines!
I hope you have enjoyed today’s card! You can visit me on my website, Instagram and YouTube! Thanks for visiting and have a wonderfully creative day!

Supplies