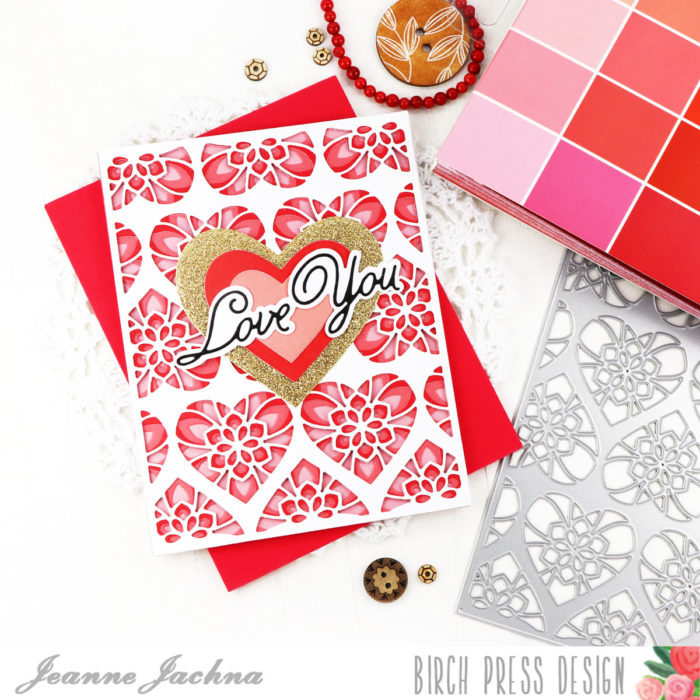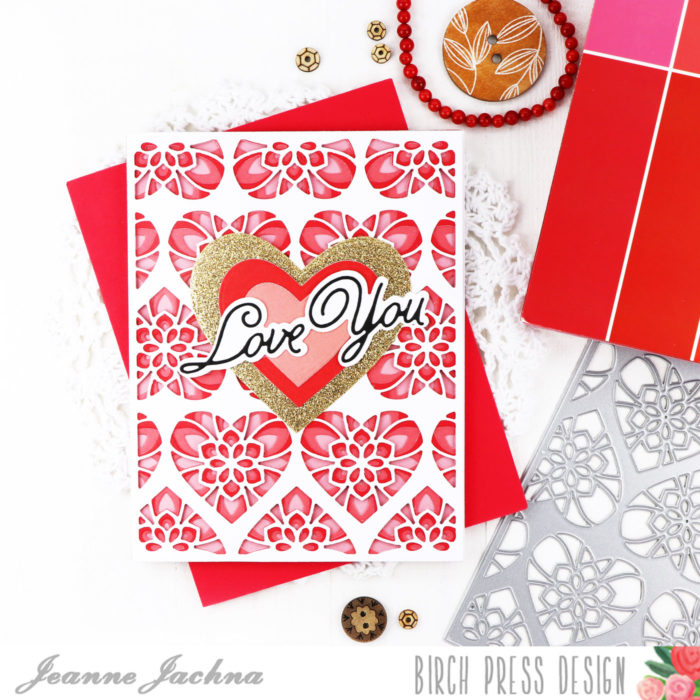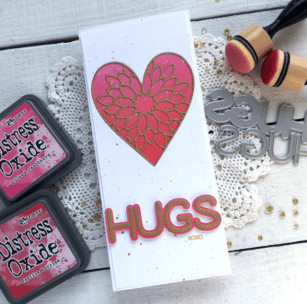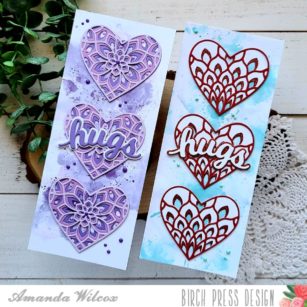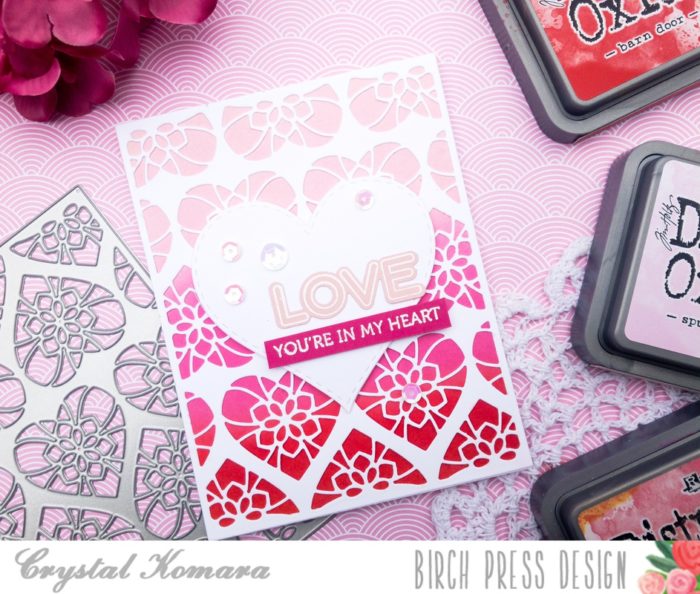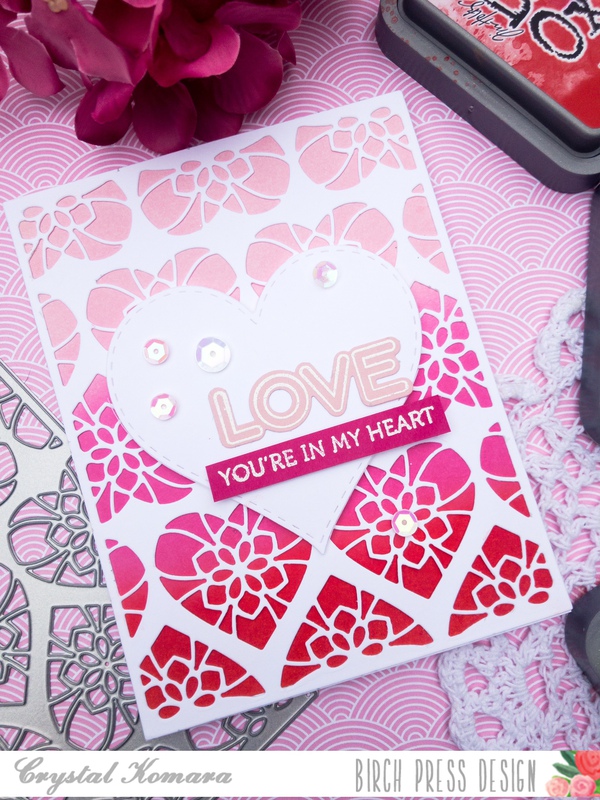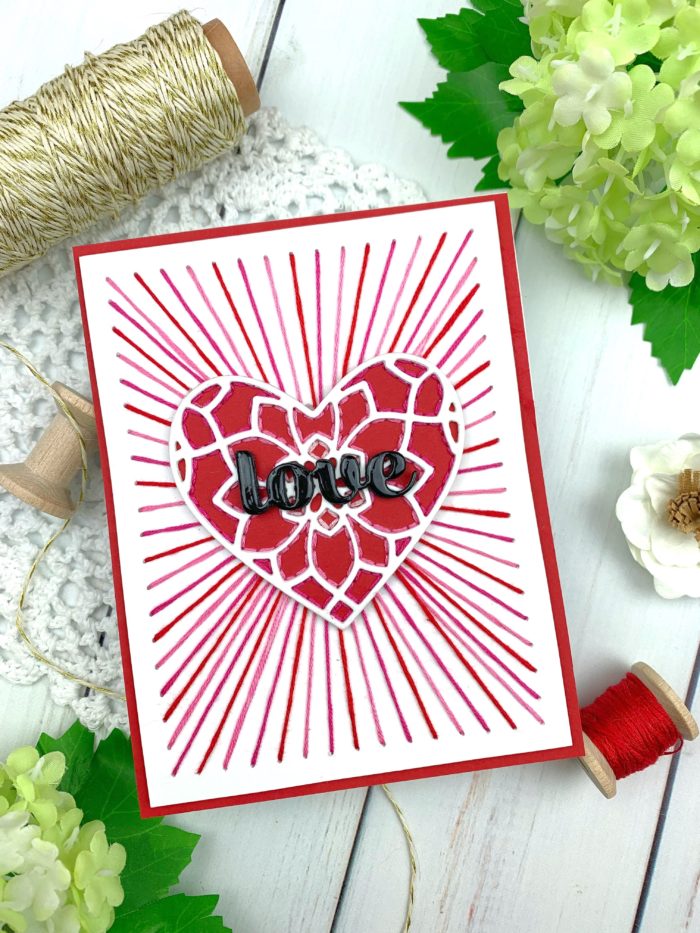
Hello, friends! I am so excited to be here today sharing this super simple string art-inspired card featuring just one layer of the Kinsley Heart Layer set! I love how you can take one simple layer and really highlight its individual features.
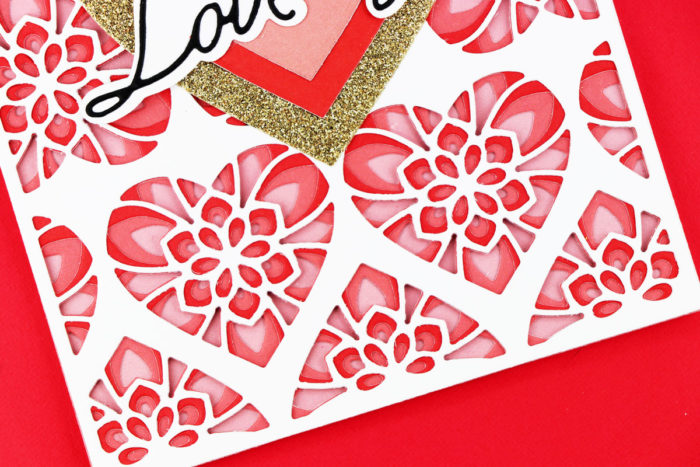
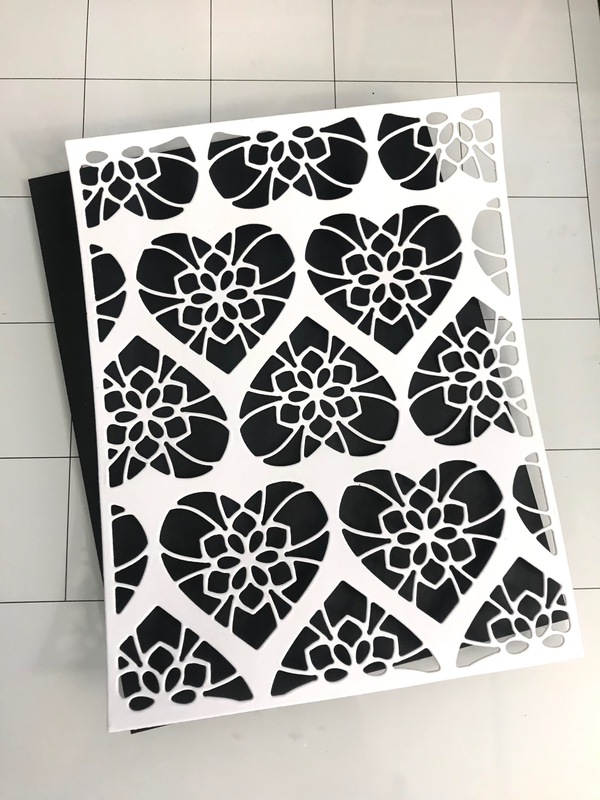
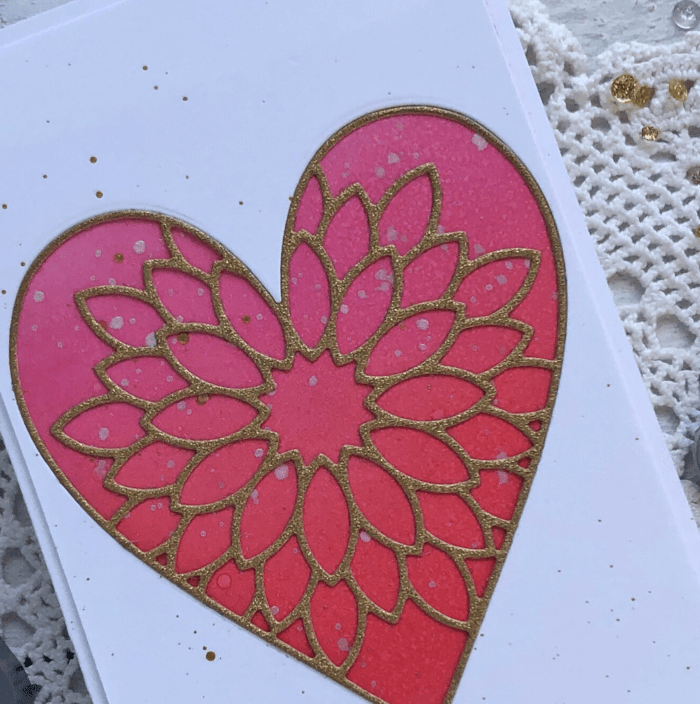
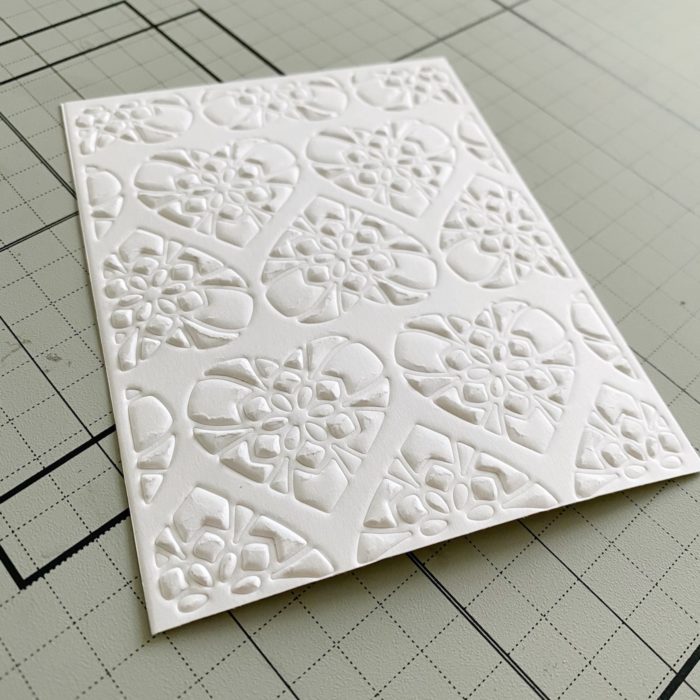
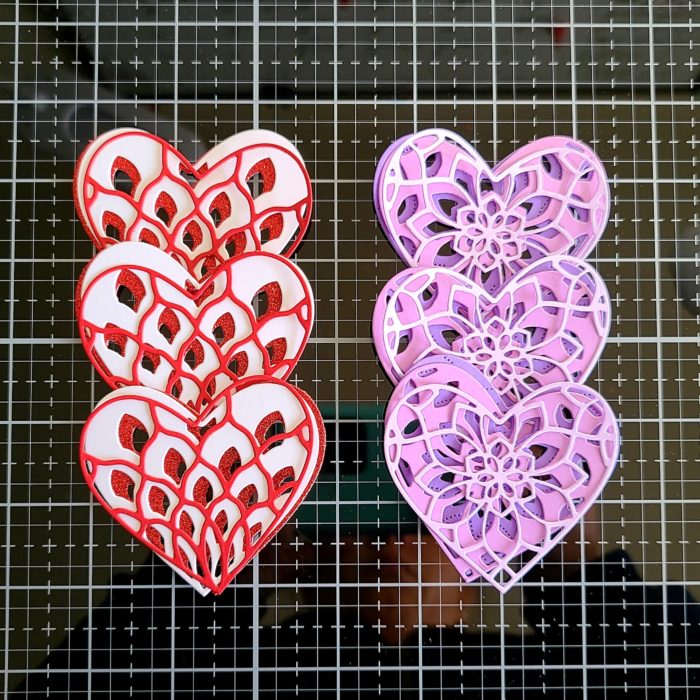
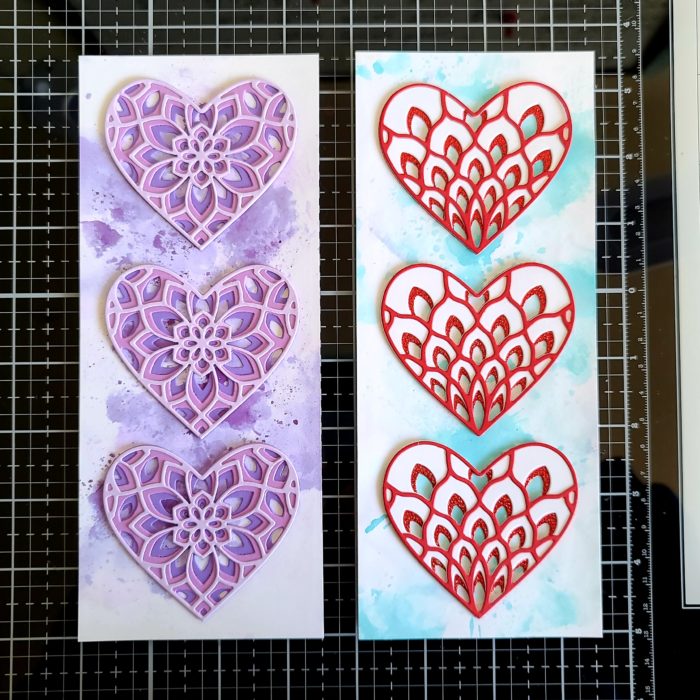
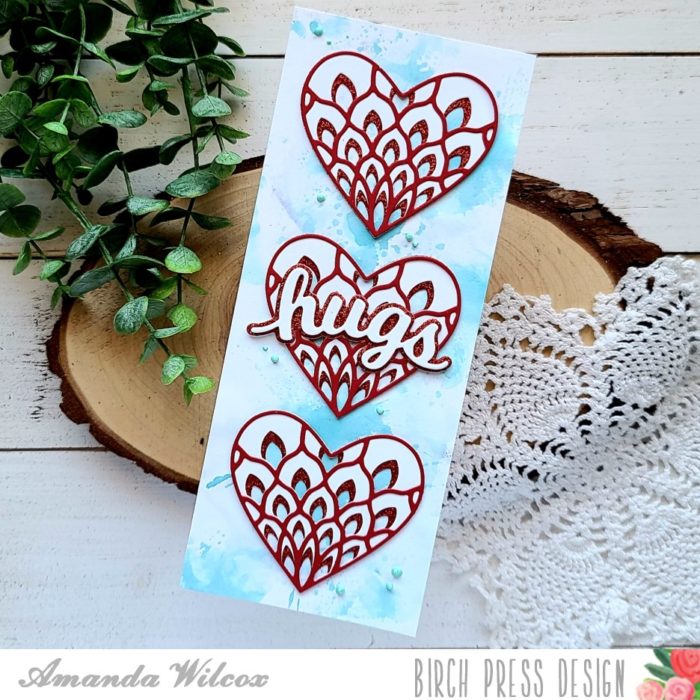
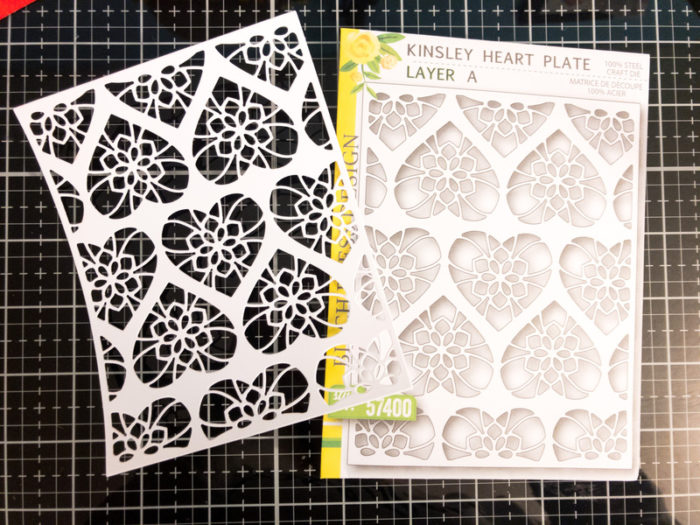
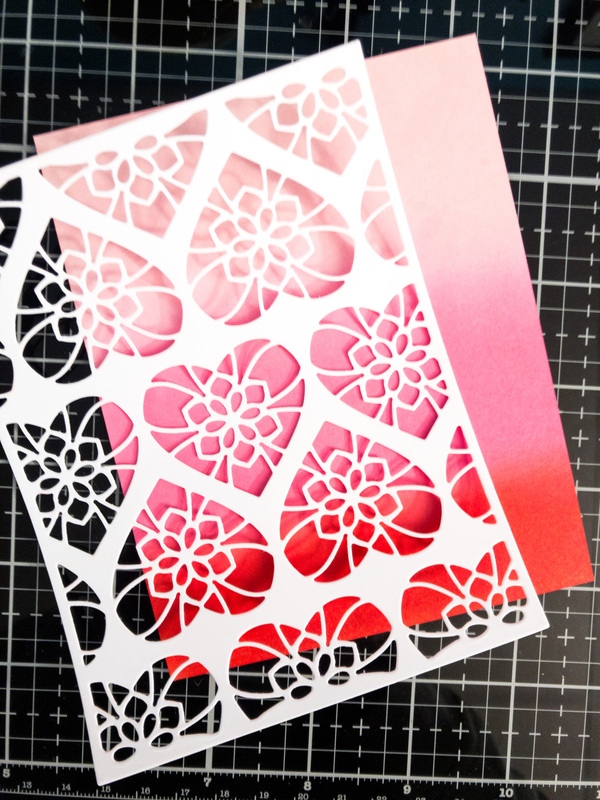
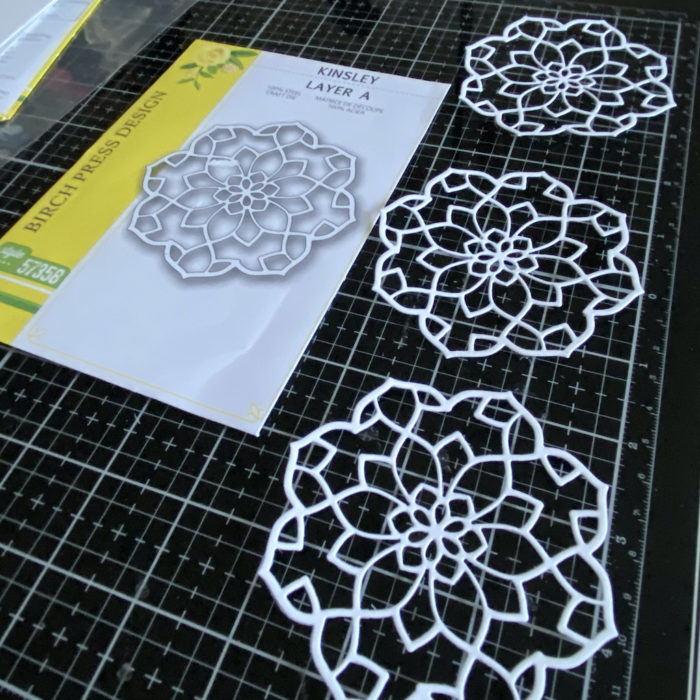
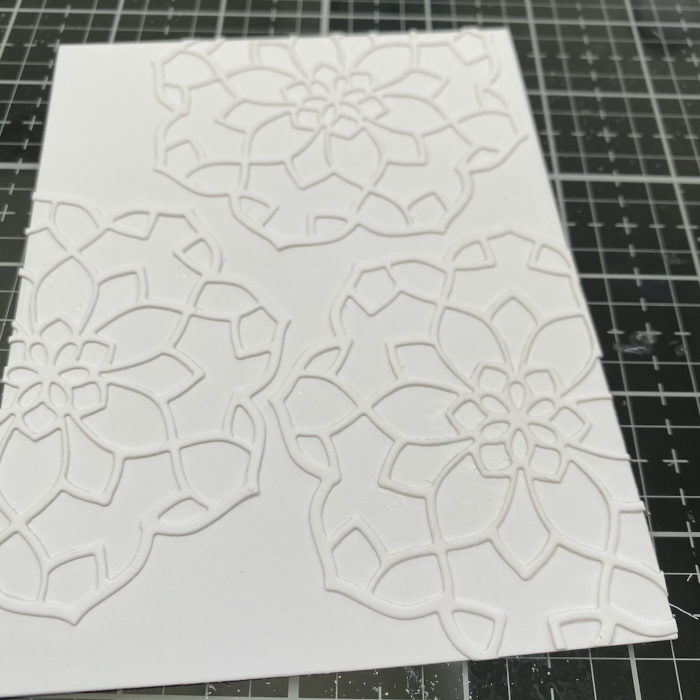
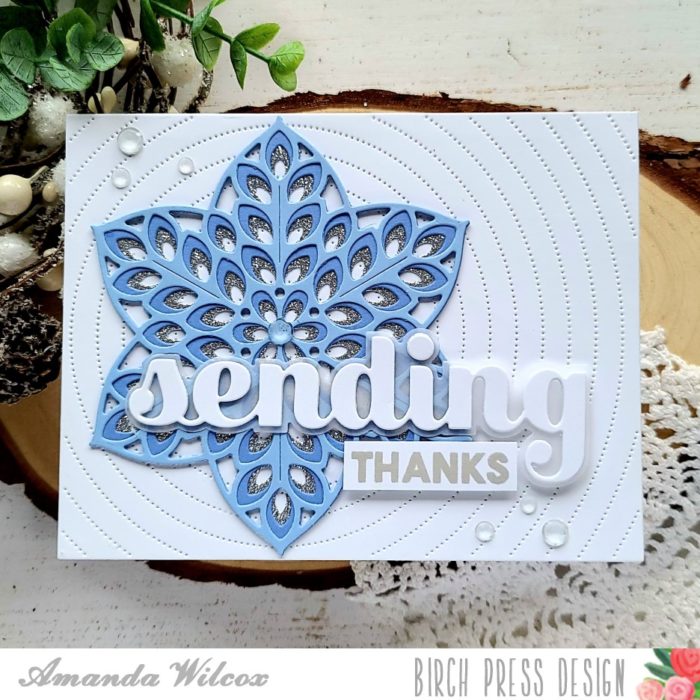
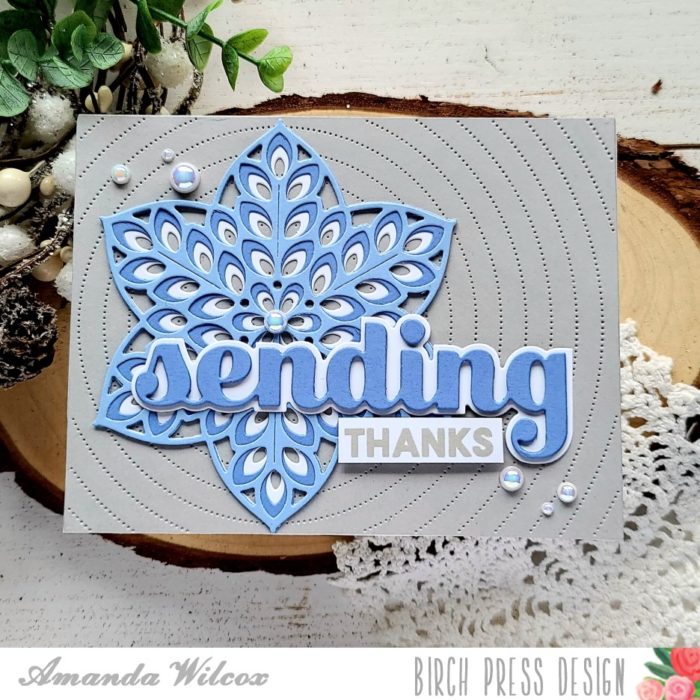
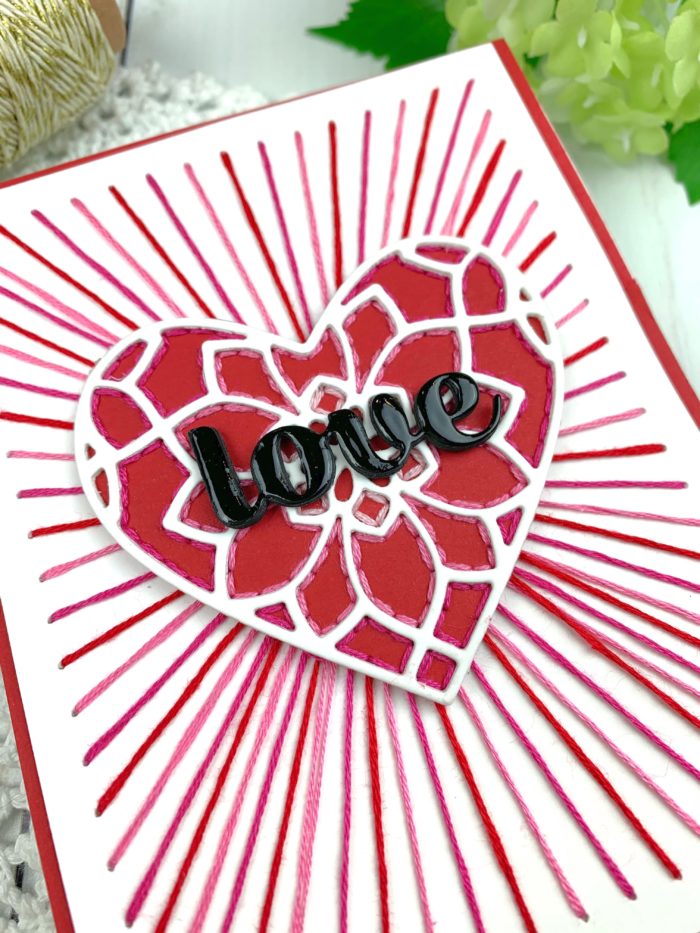
I started my card by die cutting Layer A from the Kinsley Heart Layer Set from white 110# cardstock. I glued this to a piece of red cardstock using liquid adhesive and trimmed around the edges. To add some dimension and texture, I poked holes around the inside of each of the cutouts and added some simple backstitching in pink embroidery floss. This was so simple, quick, and relaxing!
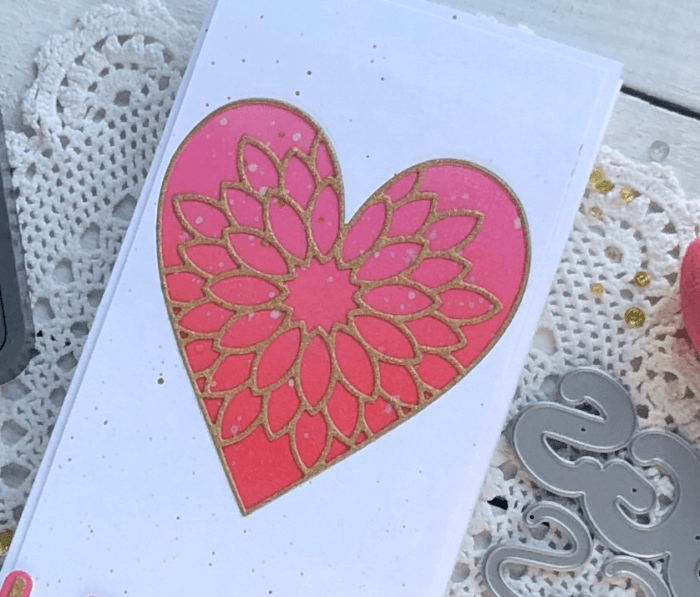
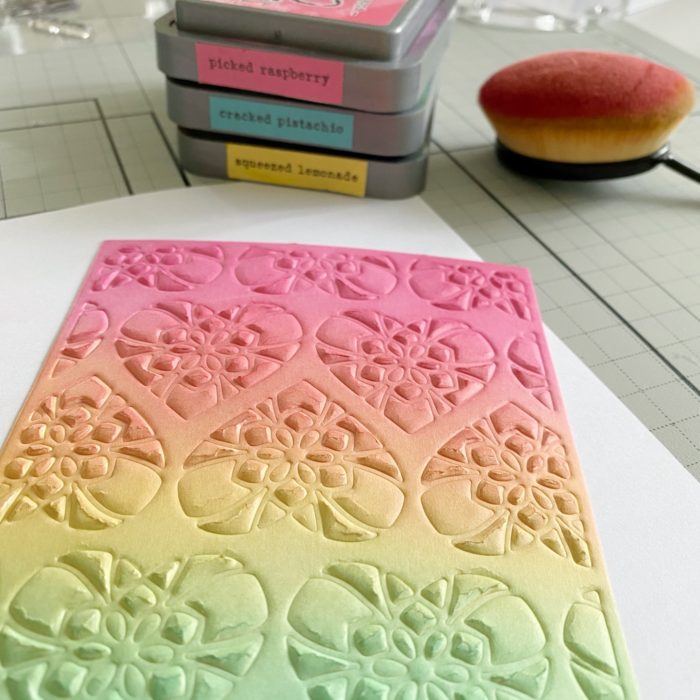
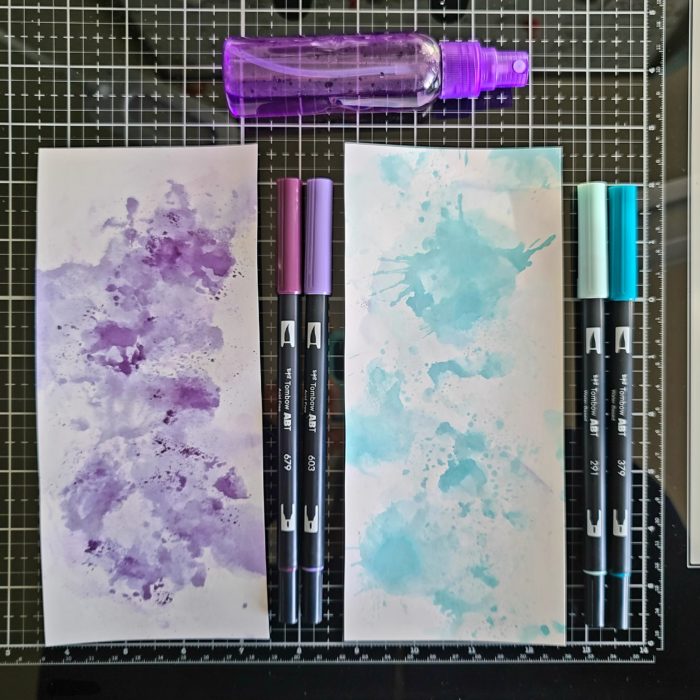
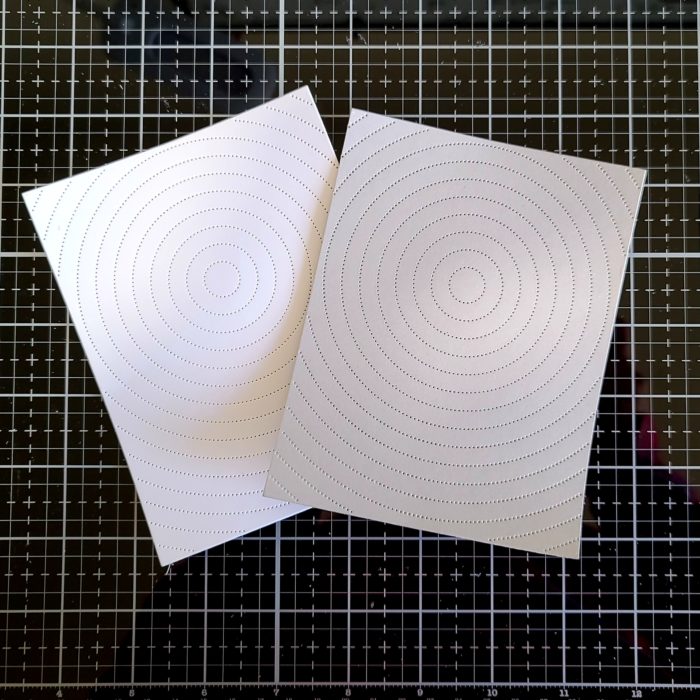
To add even more texture and dimension, I decided to add a string art-inspired background to my card. For a detailed tutorial on how I made this background, you can check out this post. For this card, I used two shades of pink and one shade of red thread.
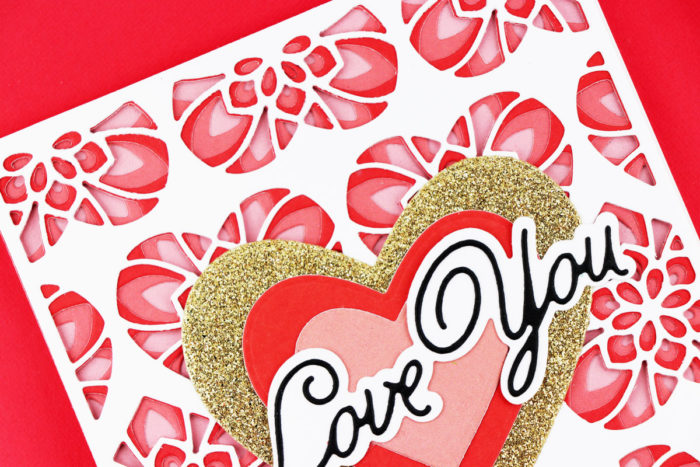
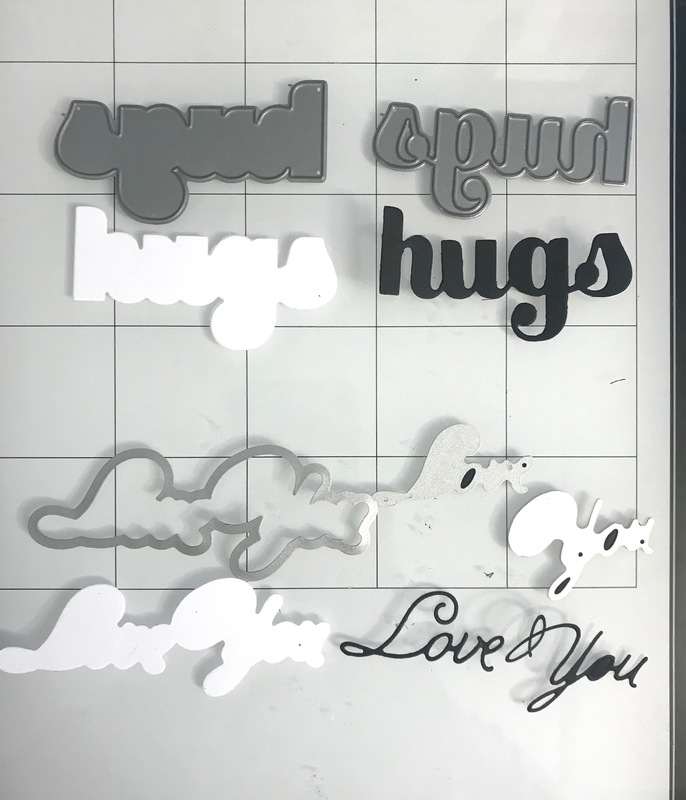
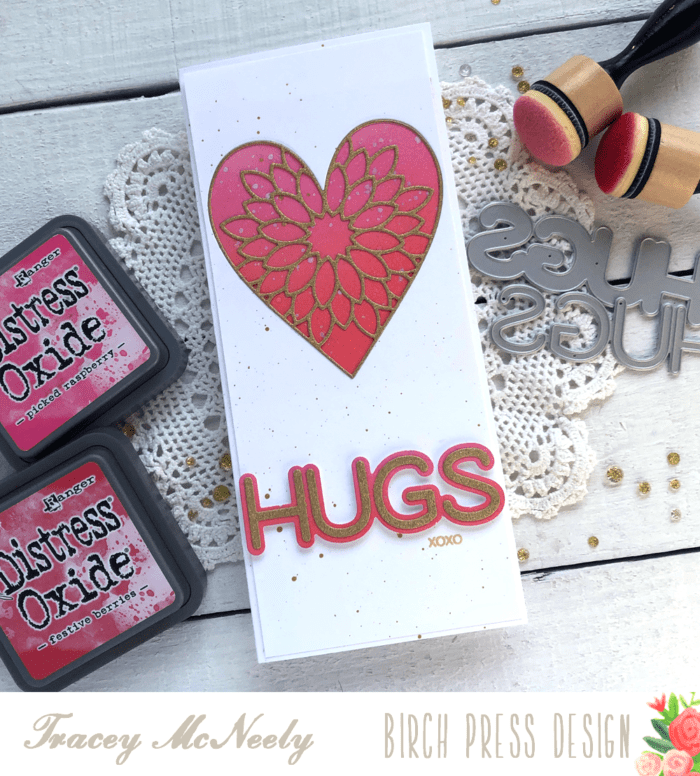
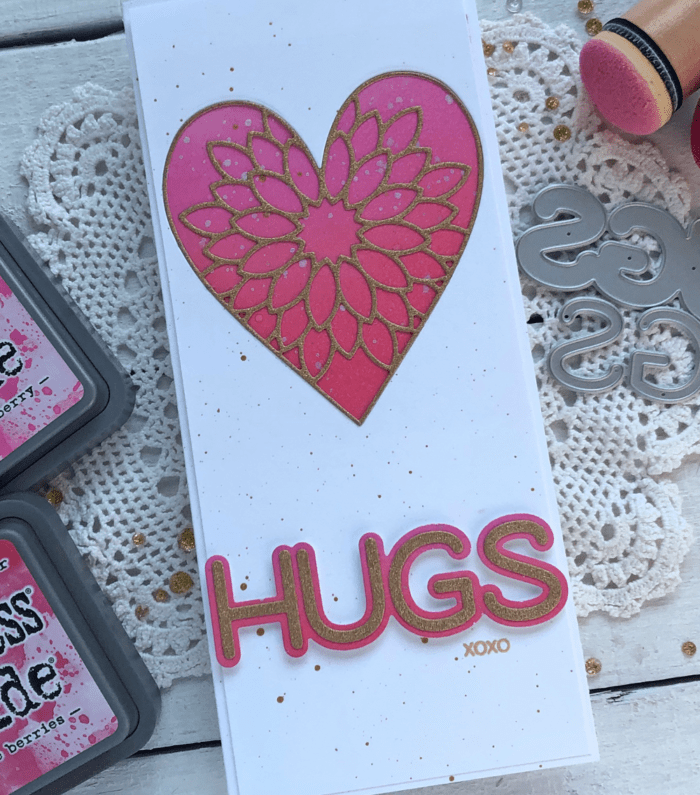
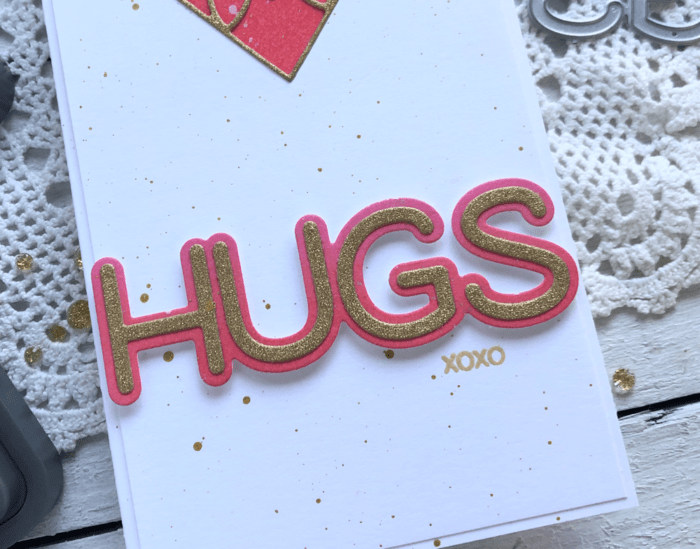
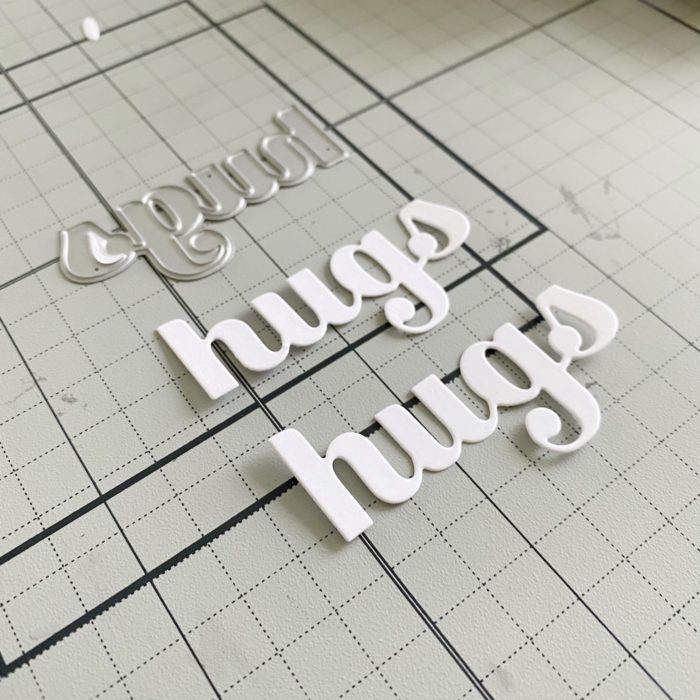
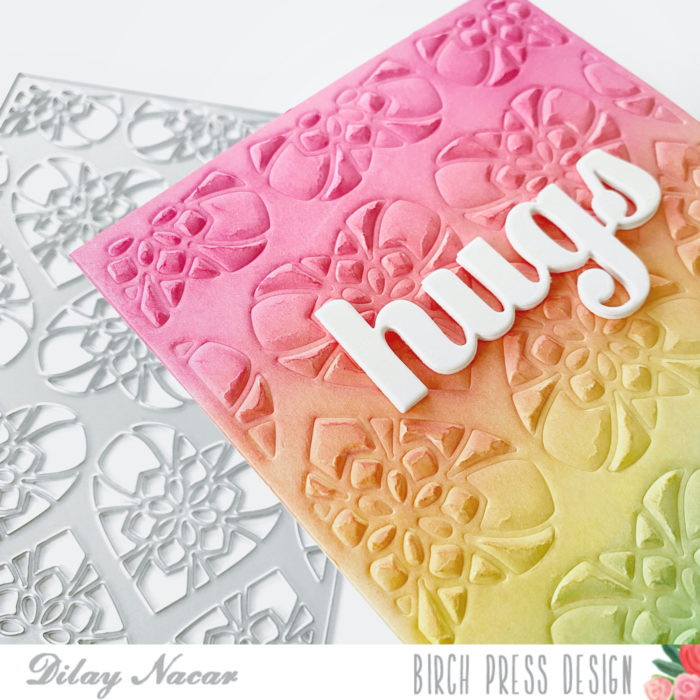
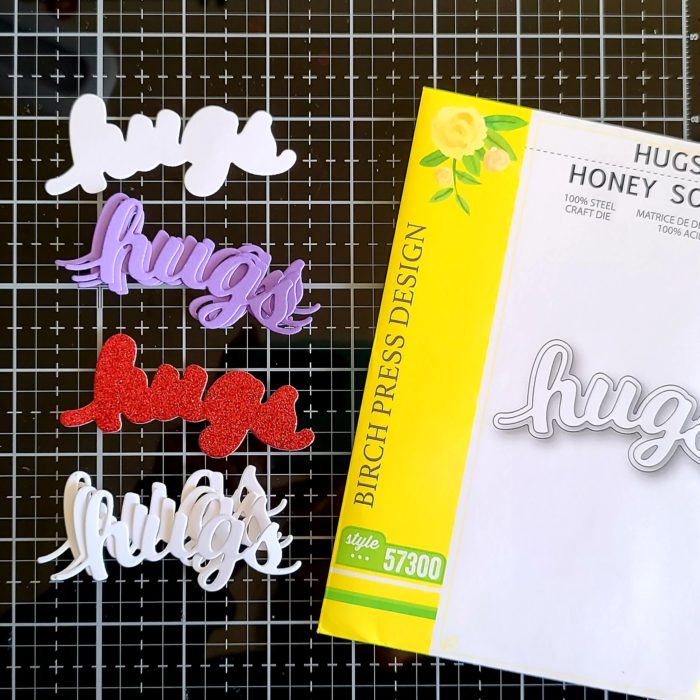
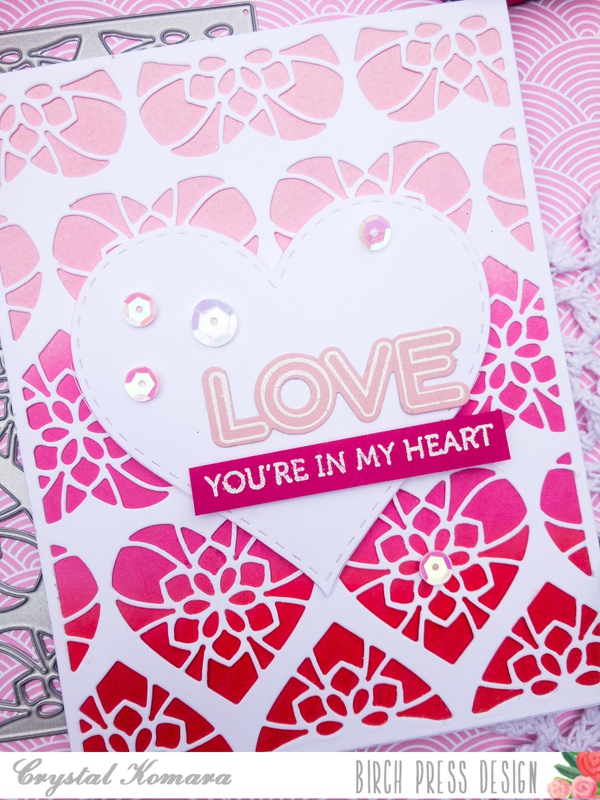
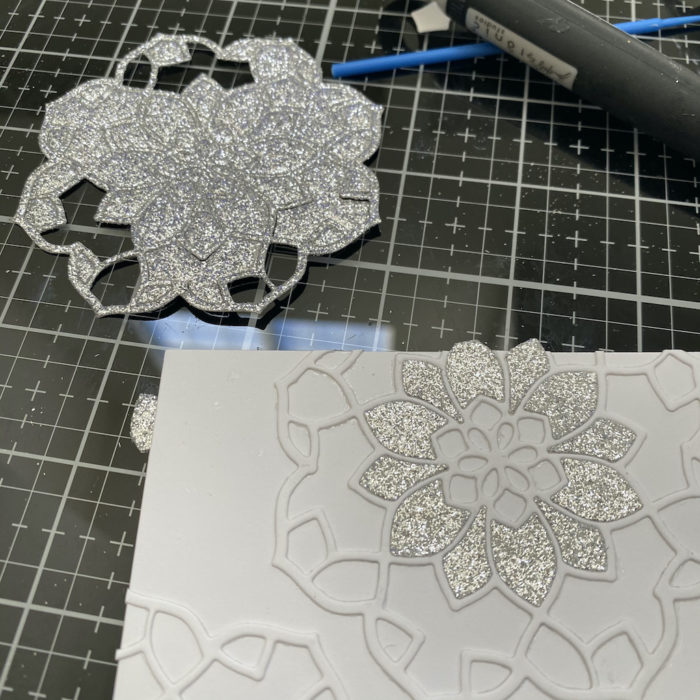
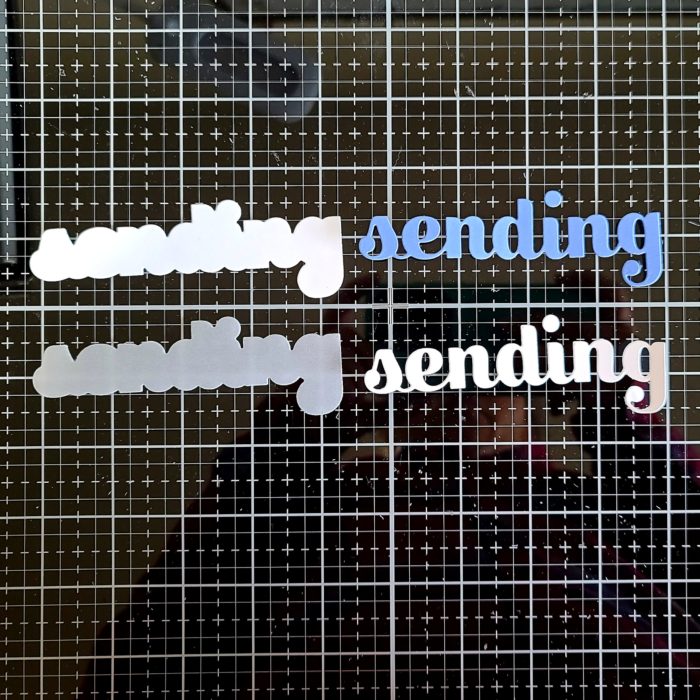
To finish my card, I die cut the Love Sugar Script die four times, stacking it for dimension. I adhered it to the center of my heart and added some crystal glaze on top for some shine. All that was left to do was adhere the stitched heart to the center of the card and this project was finished!
Thanks so much for stopping by today. I’ll be back in a couple of days featuring another way to add stitching to your Birch Press Designs projects. See you soon!
Supplies