Hello friends! It’s hard to believe we are only 9 days away from Christmas, so I hope you’ve got all your holiday cards in the mail by now! This is Design Team member Crystal Komara here with you today featuring a fun and vibrant card using the Block Print Edge Snowman.
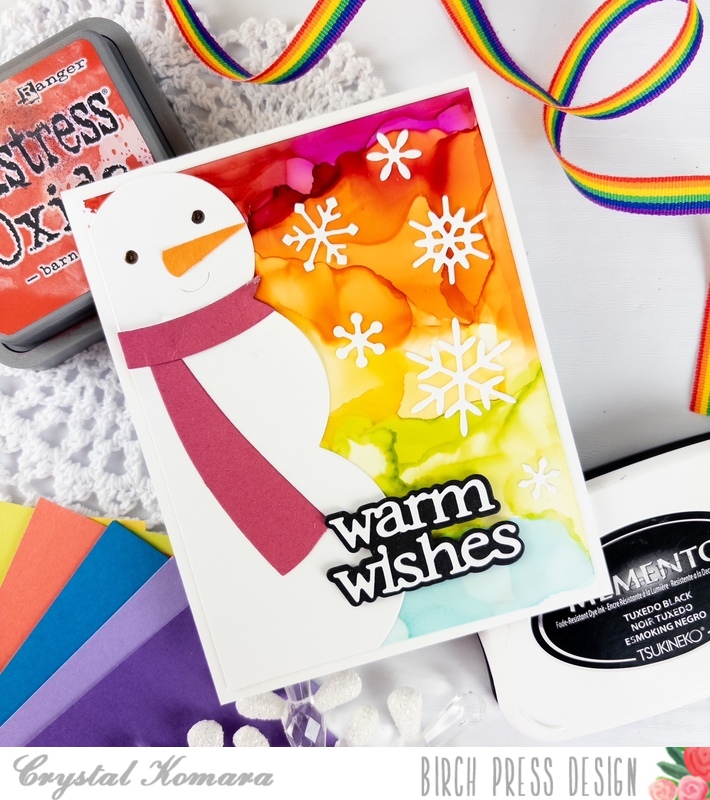
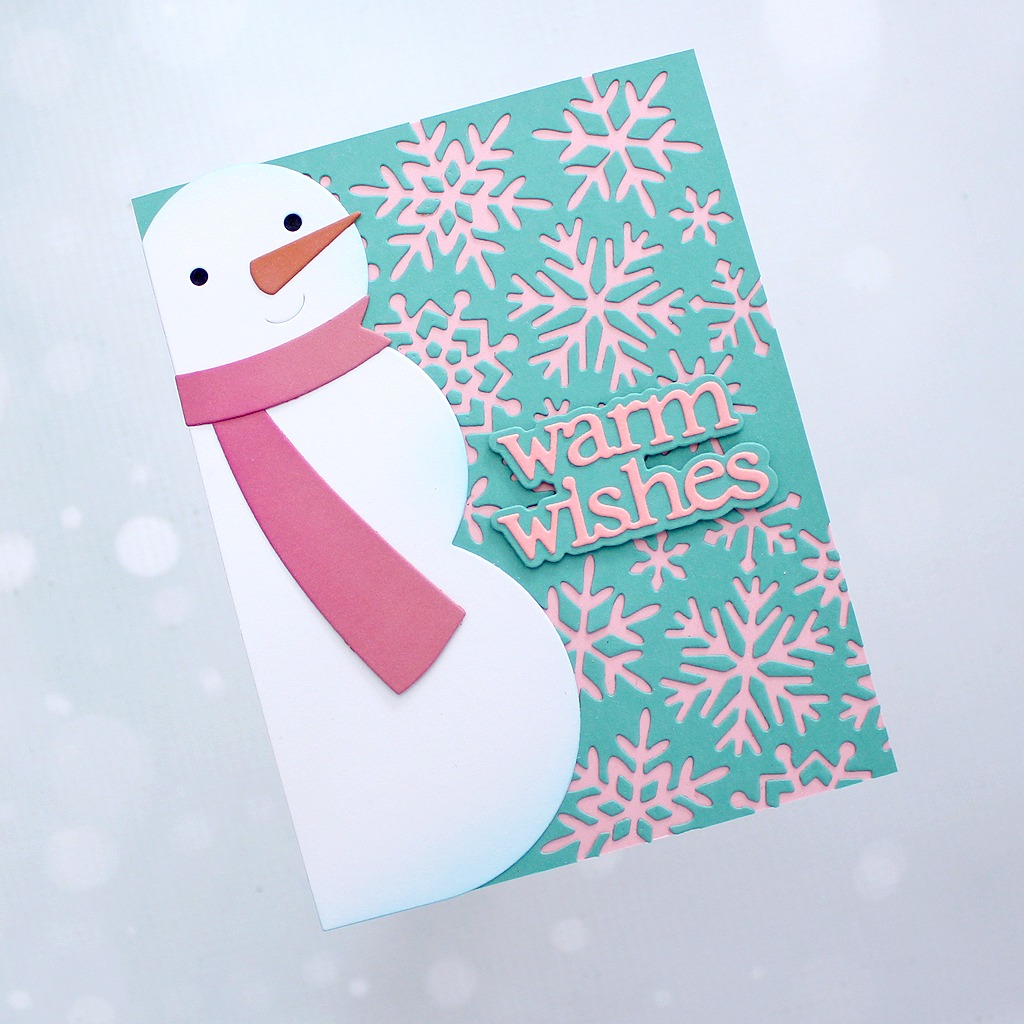
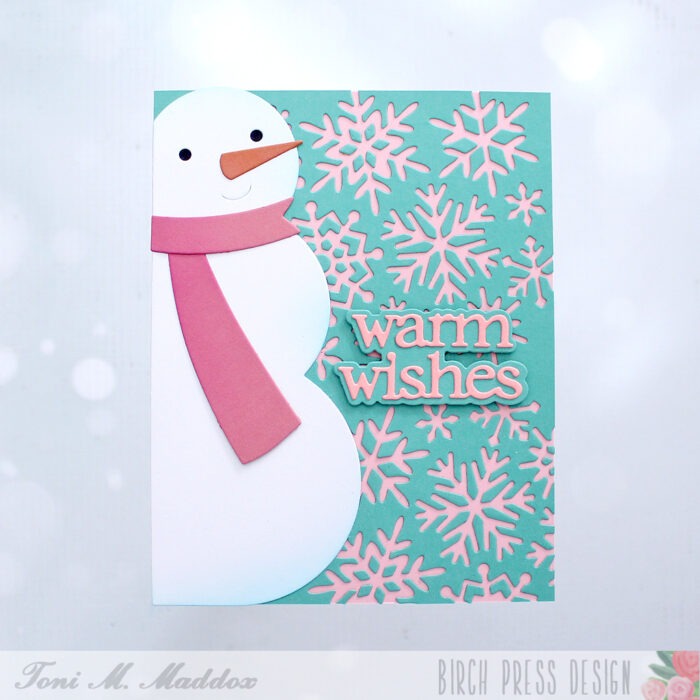
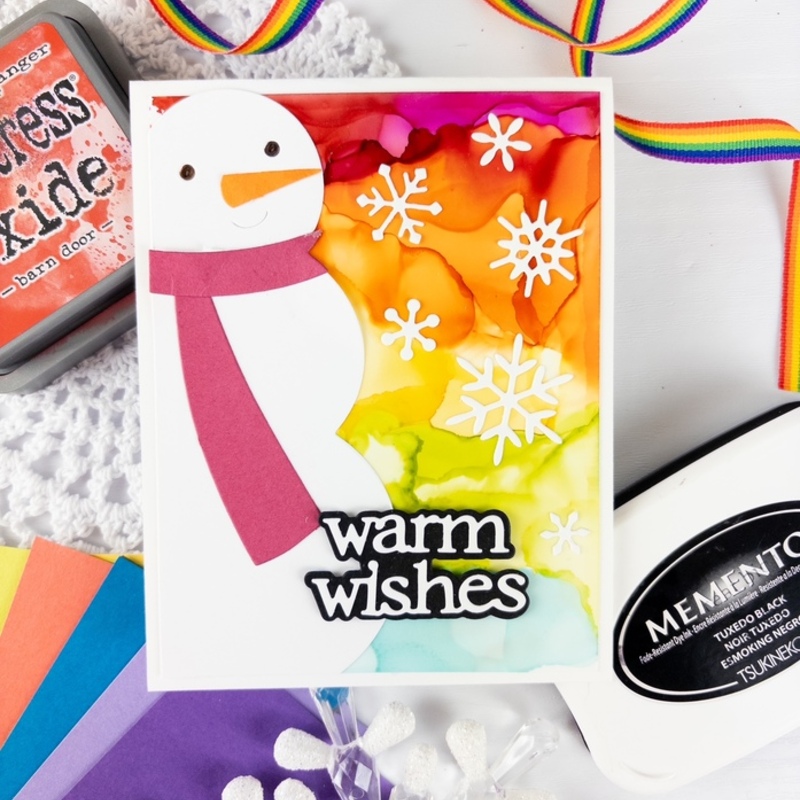
The base of this A2 sized card is made from 110 lb. Neenah Solar White Smooth cardstock. I pulled a pre-made rainbow alcohol ink background from my stash of alcohol ink backgrounds (such as time saver!) and used it as the first use layer of the card. Using the Block Print Edge Snowman, I die cut the snowman from white cardstock and his carrot nose from orange cardstock. The scarf was die cut from a magenta pink cardstock.

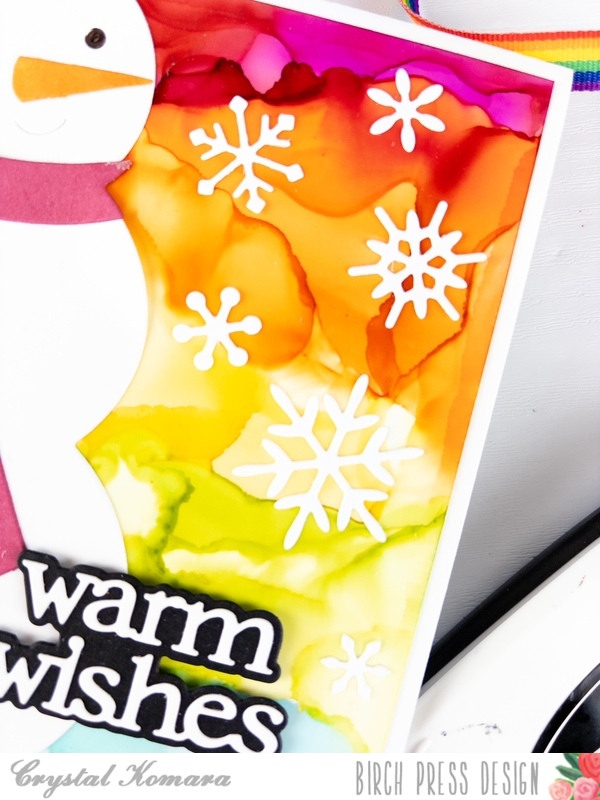
I die cut the Bright Snowflakes dies from white cardstock and adhered the snowflakes to the card using liquid adhesive. Lastly, using the Warm Wishes Vintage Sentiment dies, I die cut the sentiment from black and white cardstock. I adhered the sentiment to the card using 3M foam adhesive for added dimension.
I LOOOOVE how this card came out, it just really makes me smile. And, I think rainbow colors make cold and snowy winters seem much less dark and well. . . cold.
Thanks for visiting and have a wonderfully creative day!