Tag: 3D embossing folder

  • Just a Note | by Sandhya Iyer

    Just a Note | by Sandhya Iyer

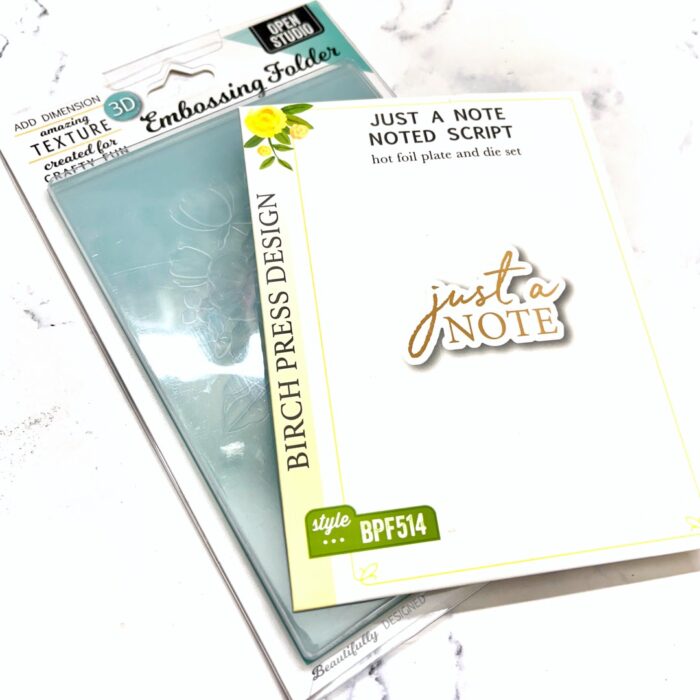
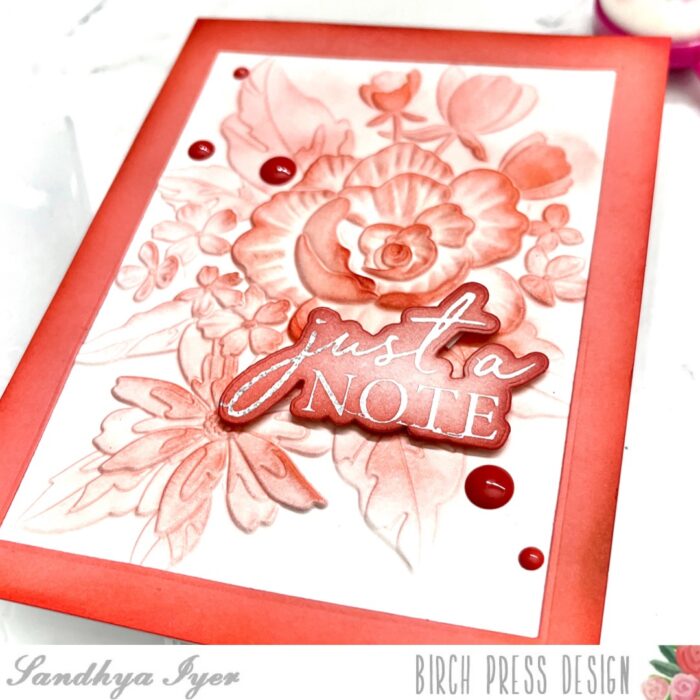
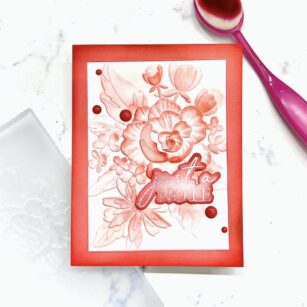
    Hello, friends! This is Design Team member, Sandhya Iyer, and today I am sharing a monochrome floral card. For this project, I used the gorgeous Cheerful Floral 3D Embossing Folder and Just a Note hot foil plate and die set.
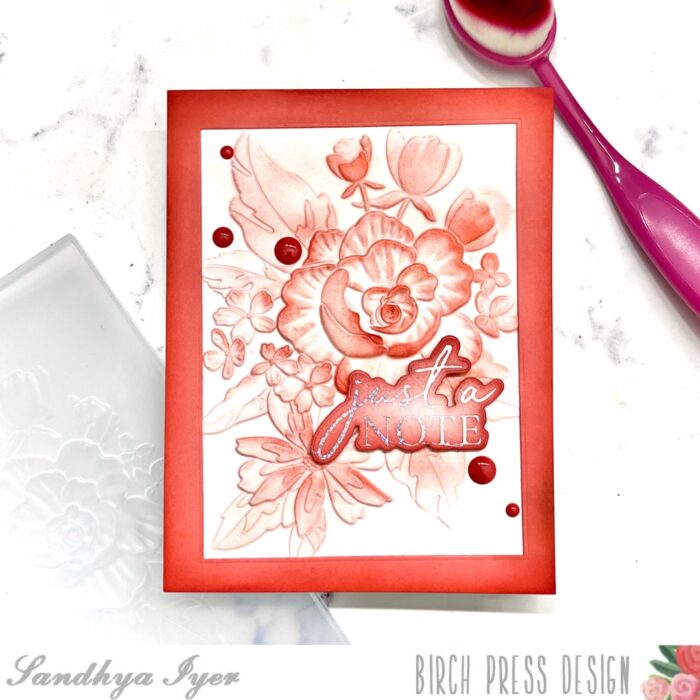
    I started by embossing a piece of watercolor cardstock using the the Cheerful Floral 3D Embossing Folder. Next, I pulled out dye inks in shades of peachy corals and used a blending brush to gently ink up the raised portion of the embossed panel.
    Next, I ink cut out a rectangular frame from coral-colored cardstock. I inked around the edges to add more interest. Then, I adhered the frame over the embossed floral panel.
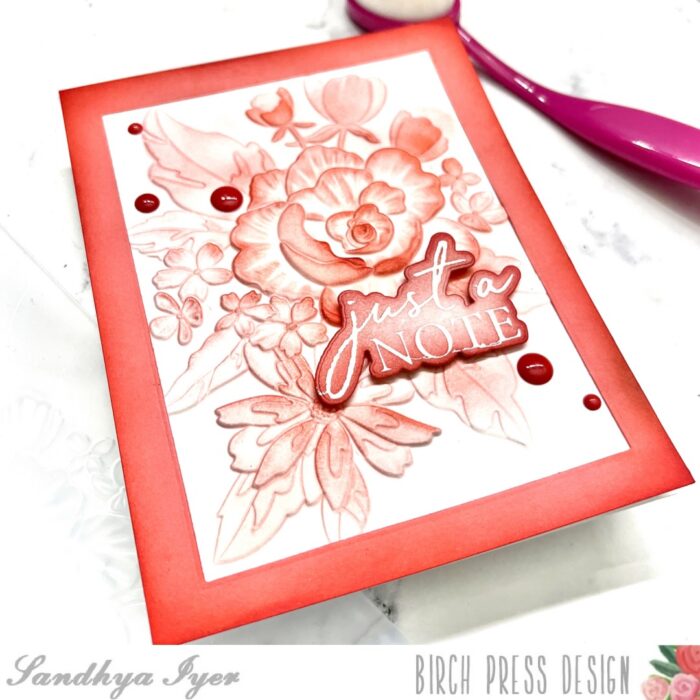
    Finally, I used the ‘just a note’ Hot Foil Plate and Die Set to create a glittery silver foiled sentiment die-cut. I inked around it in the same color and popped it over the floral panel with some foam tape. Then, I attached the panel to a white A2 card base and finished off with a few coordinating enamel dots.
    This brings us to the end of today’s post. Thank you so much for stopping by and I hope you have fun crafting today!
    Supplies:

  • Floral Birthday Wishes | By Sandhya Iyer

    Floral Birthday Wishes | By Sandhya Iyer

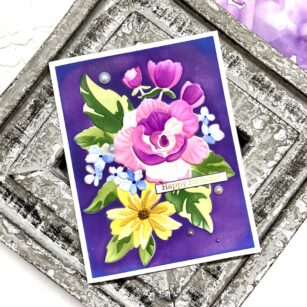
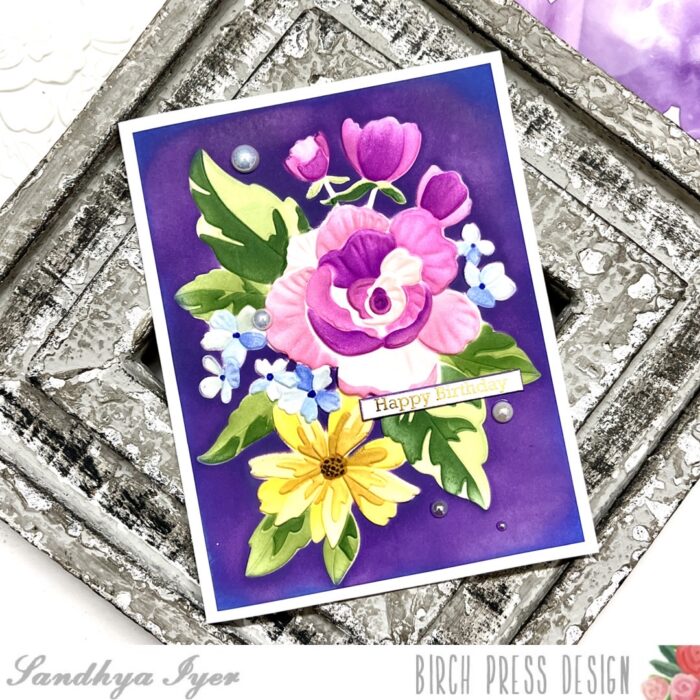
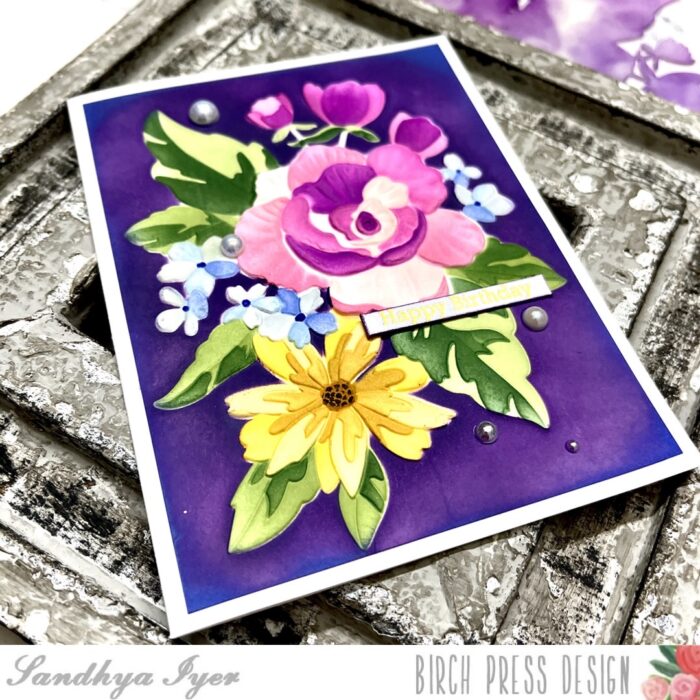
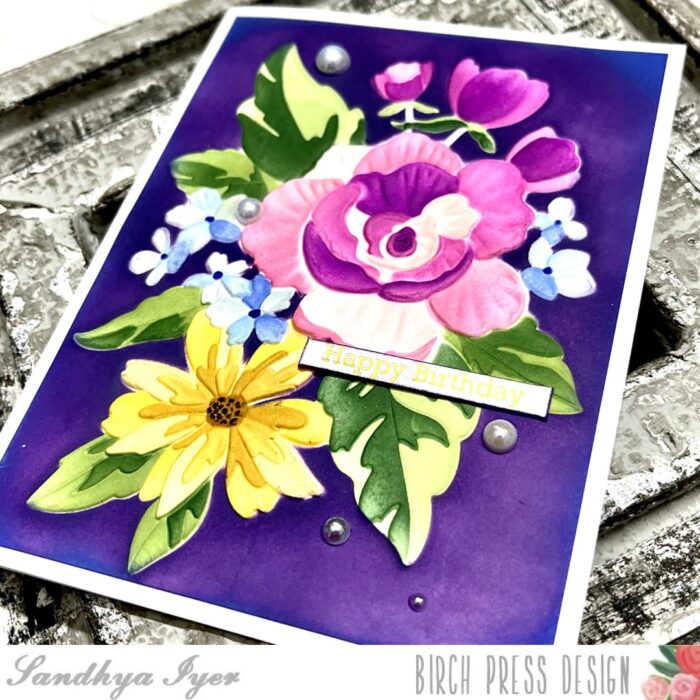
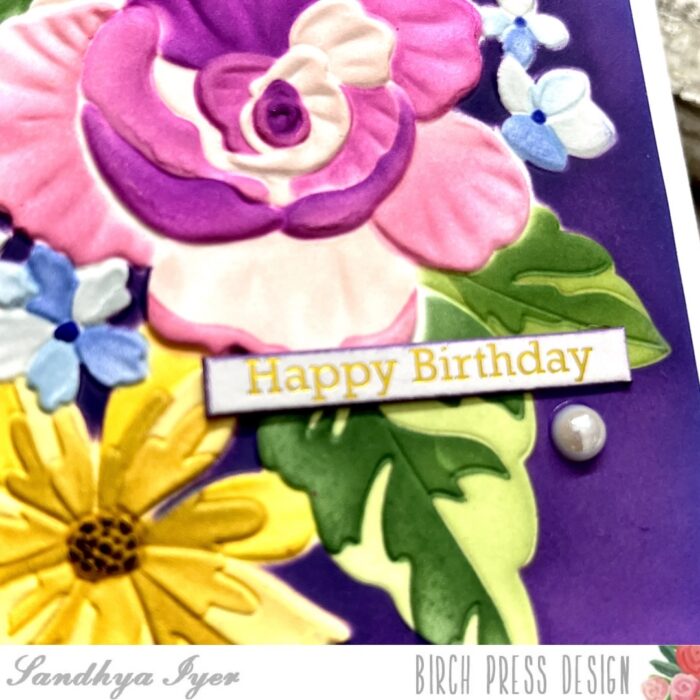
    Hello, friends! This is Design Team member Sandhya Iyer here today and I am sharing a floral birthday card featuring a gorgeous new coordinating embossing folder and stencil set. The Cheerful Floral 3D Embossing Folder and Die and coordinating Stencil set from Memory Box is fun to play with and creates gorgeous embossed florals for card fronts. Another fun new product I instantly fell in love with is the Happy Birthday Foil Greetings White Tabs. There are birthday and thank-you versions of these tabs as well as black and white versions.

    I started by gently spritzing a white card panel with water to make it damp. Then, I placed it inside the 3D embossing folder and ran it through my die-cutting machine. Next, I used the layering stencil set to ink blend my way through the layers. The floral swag looked amazing just like that.

    But then I saw the masking stencil and wanted to give it a go. So I masked the colored floral swag and ink blended a purple background with Distress oxide ink. Honestly, I was super nervous going over the background with such a dark color. But I secured my masking stencil with strong magnets and the background blending went pretty smoothly.

    Finally, I ink-blended around the edges with blue distress oxide to add more interest. I also inked around the edges of the birthday tab and adhered it to the panel. I attached the completed panel to a white card base and finished off with a few pearl embellishments.

    This brings us to the end of today’s post. Thank you so much for stopping by and I hope you have fun crafting today!

    Supplies: