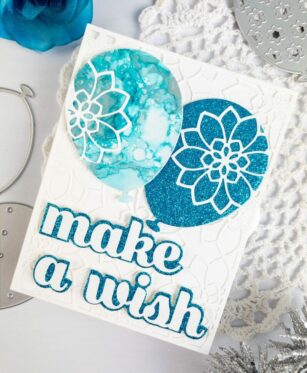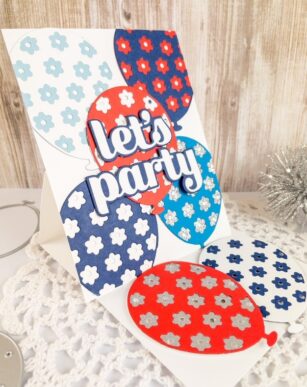
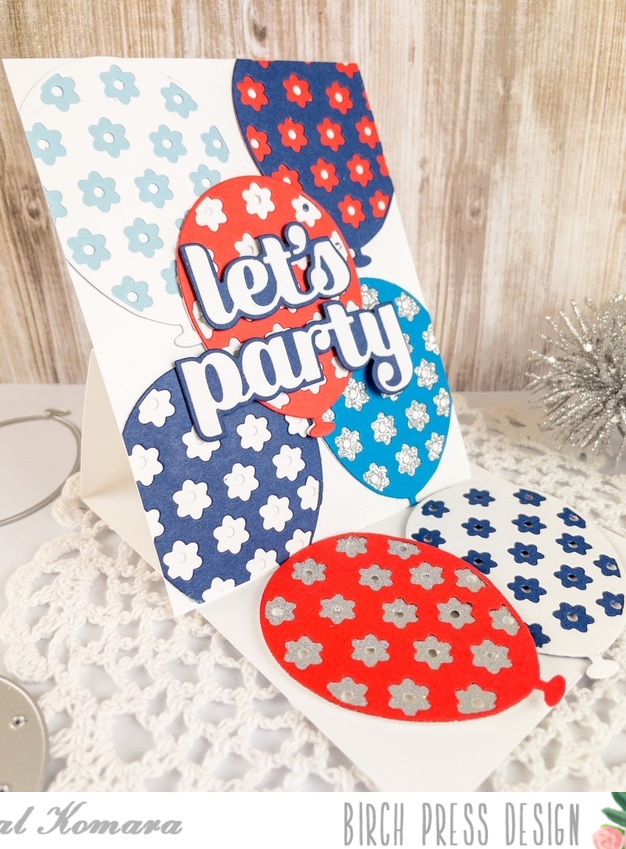
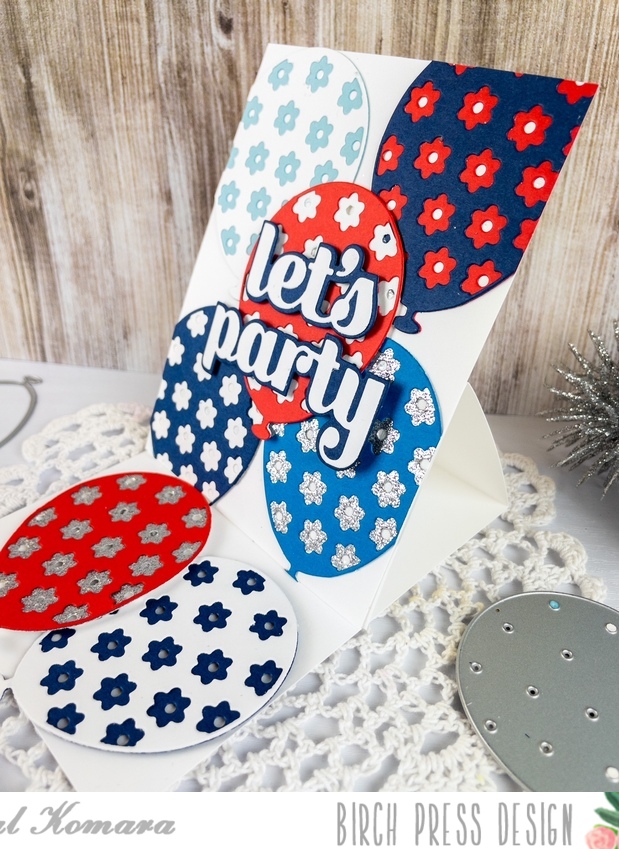
Happy 4th of July friends! This is Design Team member Crystal Komara sharing in the red, white and blue celebration with you today with this patriotic themed balloon easel card.
Card details:
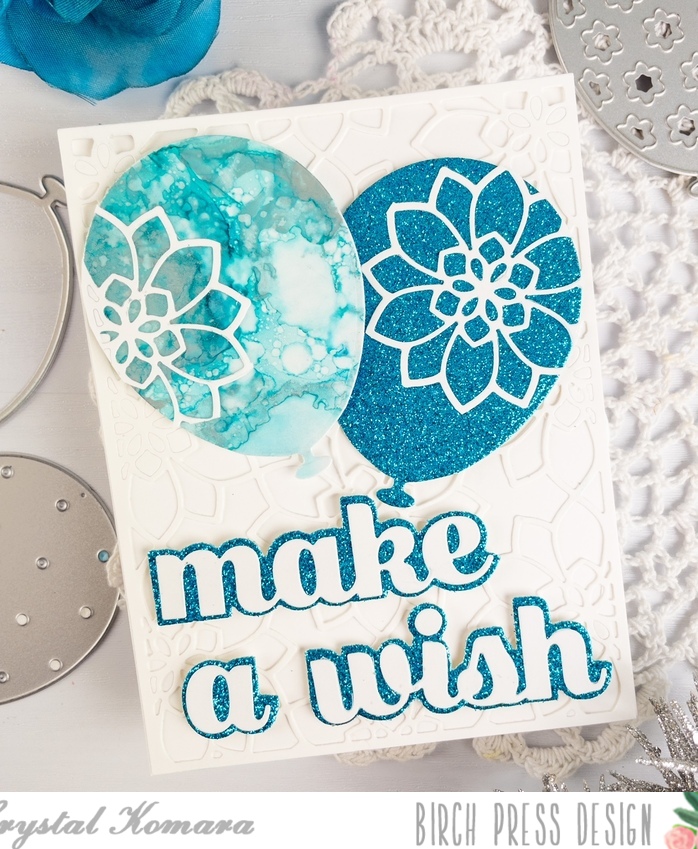
The base of this A2 sized card was made with 80 lb. Neenah Solar White Smooth cardstock.
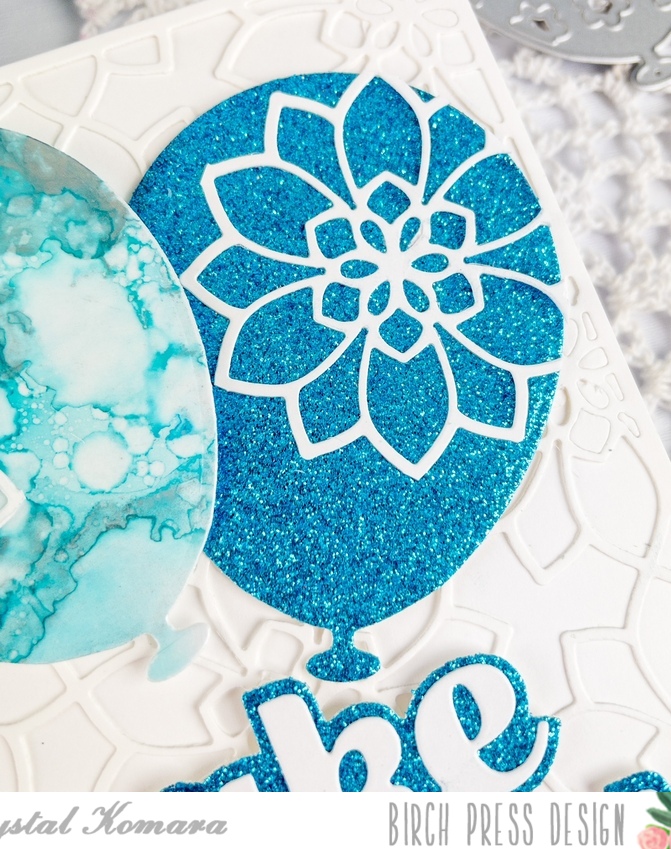
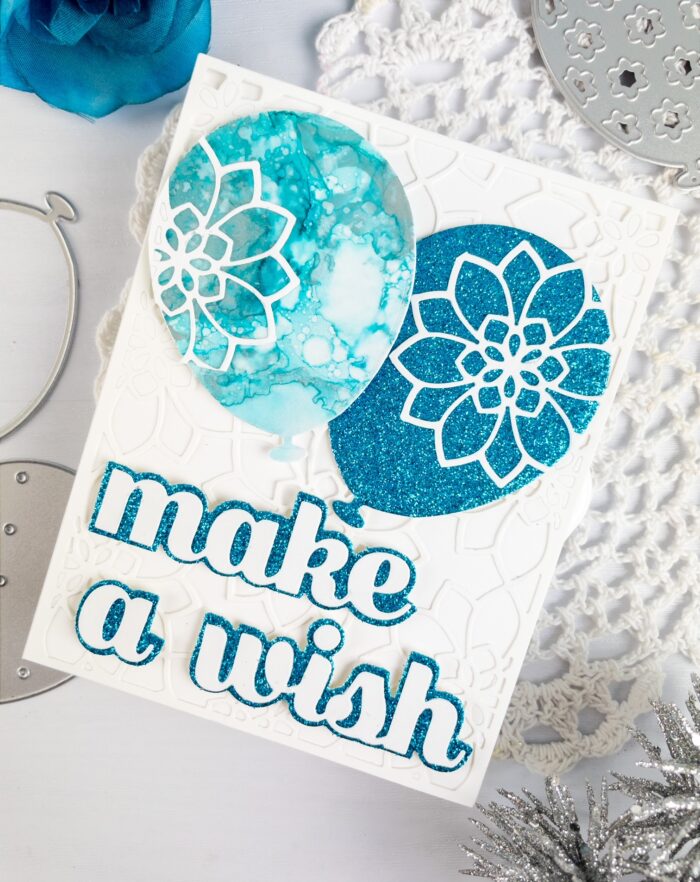
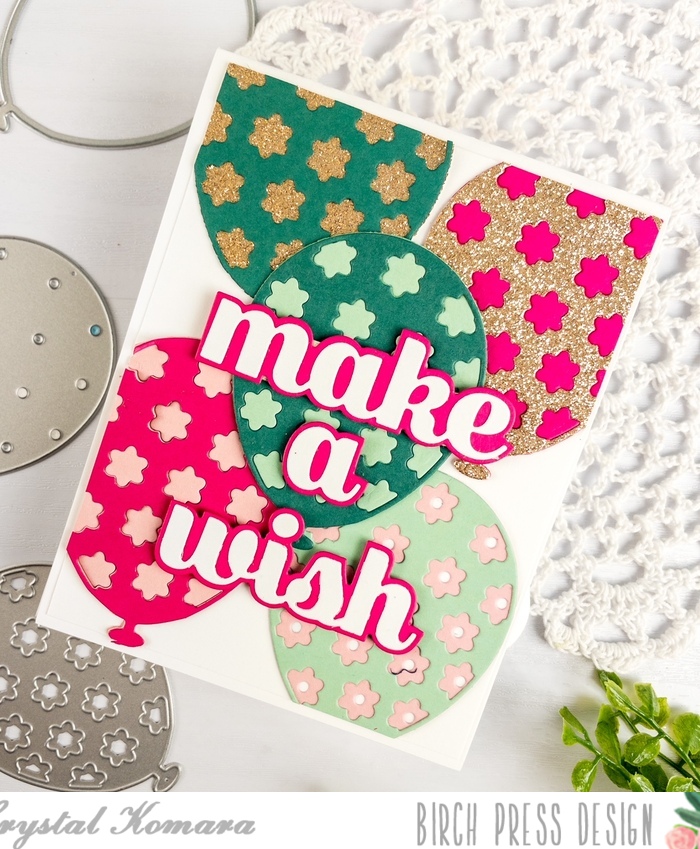
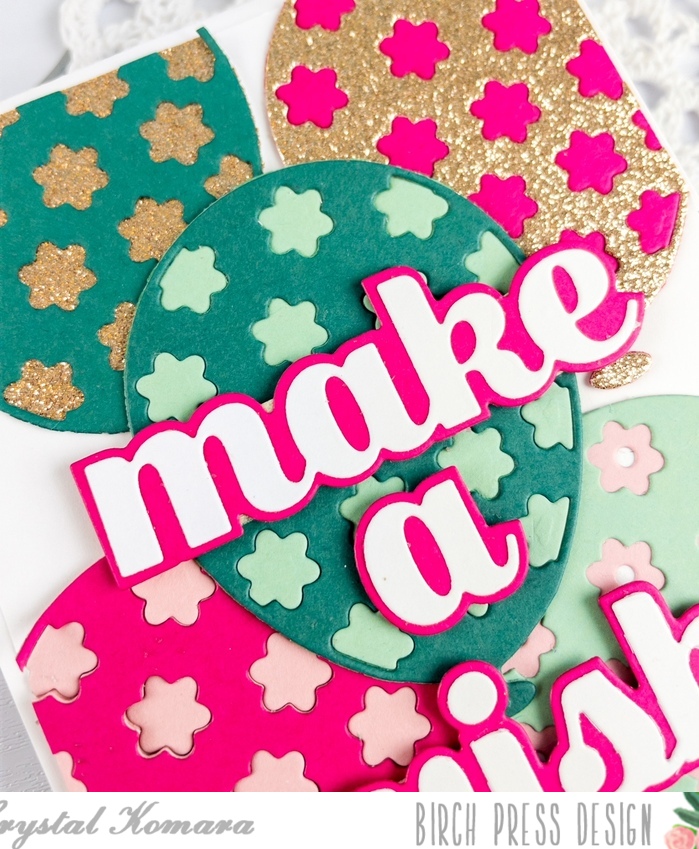
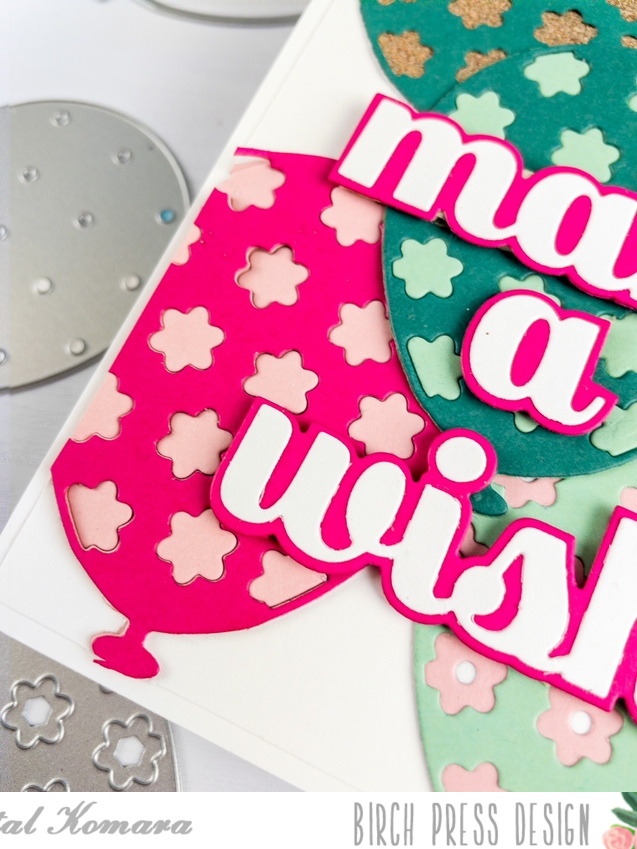
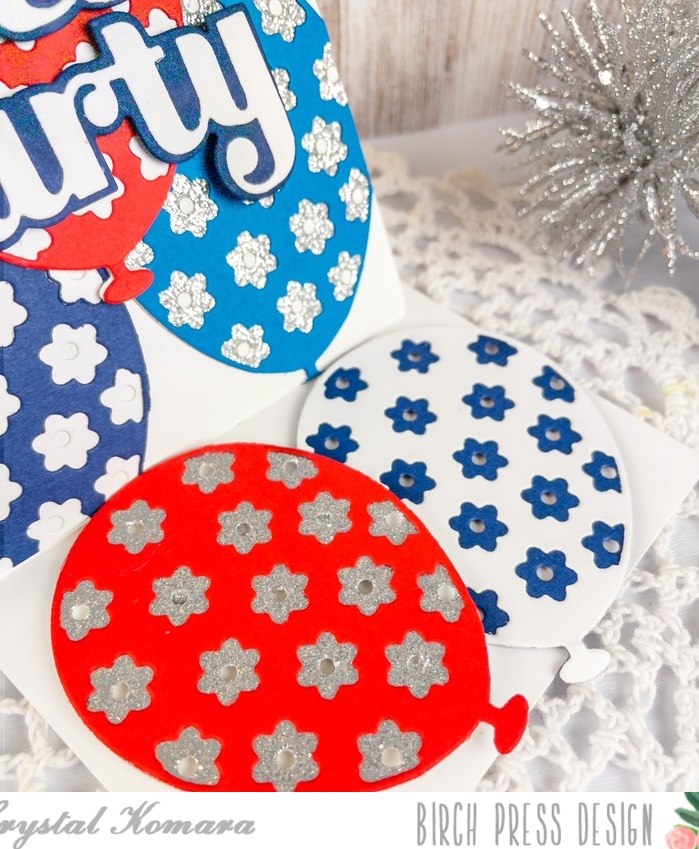
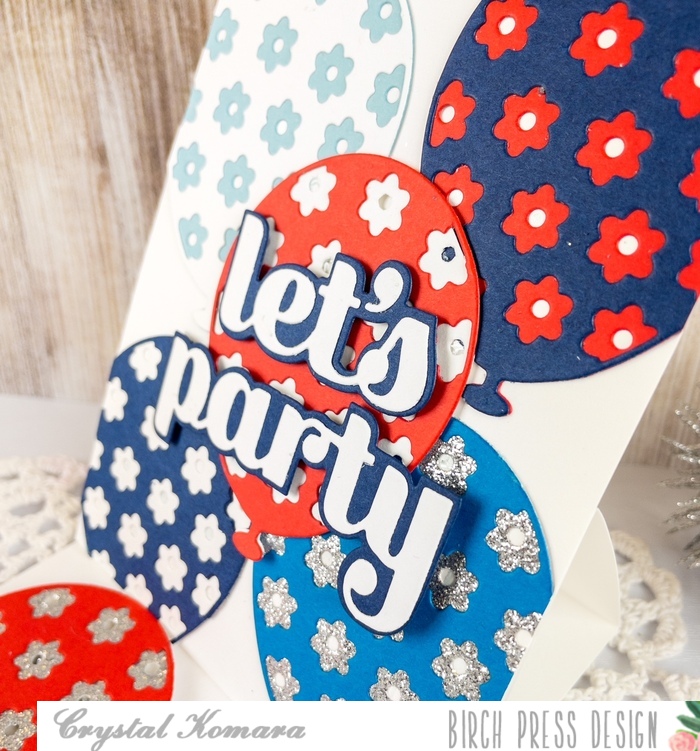
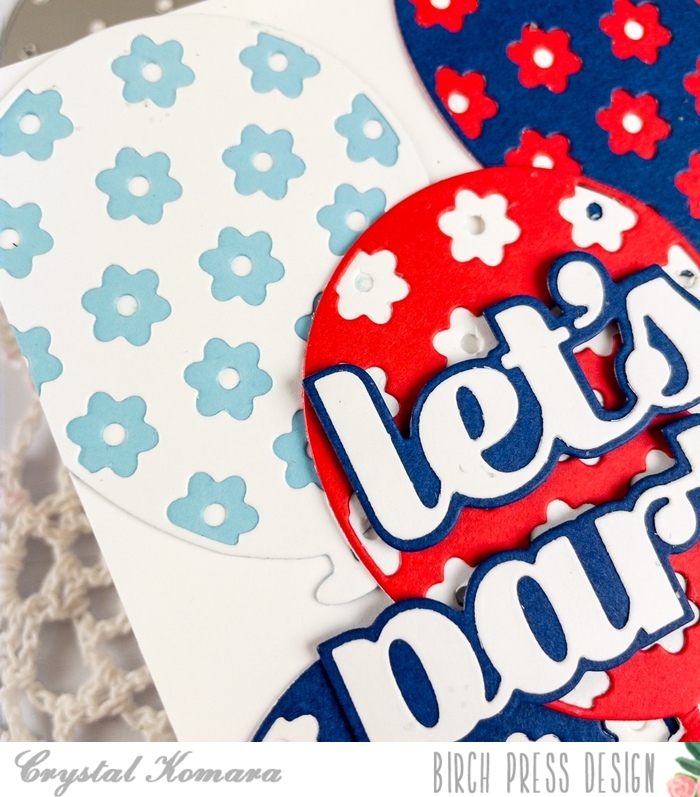
Using all three layers (A, B, and C) of the Floral Balloon Layer Set, I die cut four of every balloon in red, light blue, dark blue, white and silver glitter cardstock. (I really didn’t know how many balloon pieces I would need, so this gave me plenty to mix and match!) I really could have made two cards with all the pieces I had leftover.
I then began playing around with the balloons to see which colors I liked layered over each other, until I found an arrangement that was pleasing to my eye. I saved two balloons for the base of the card, to act as the “stopper” so the easel fold won’t collapse once it is standing.
*To make the easel fold, simply look up a tutorial on YouTube, there are a wide range of ideas, but all you need is the basic cutting instructions which are super easy!
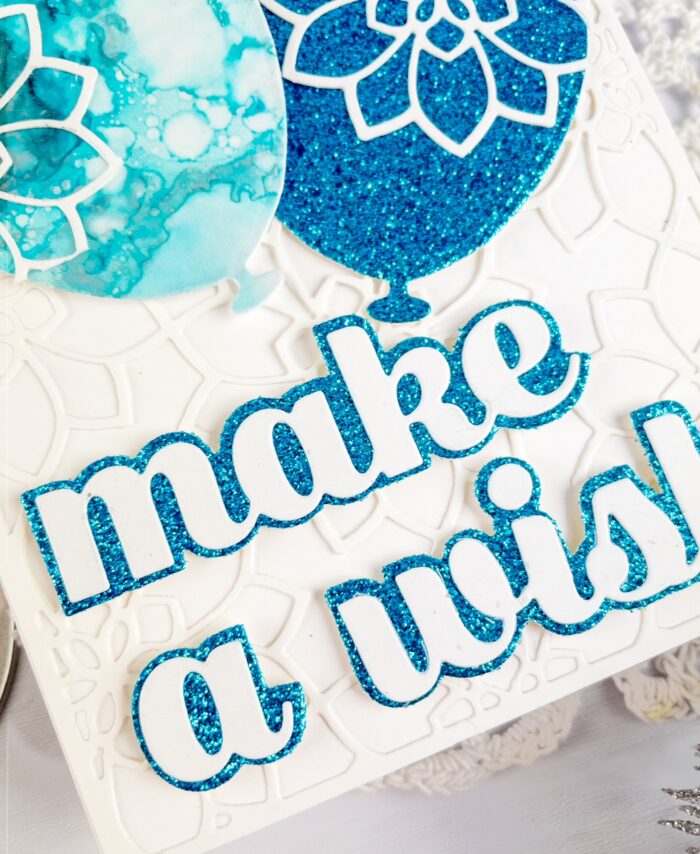
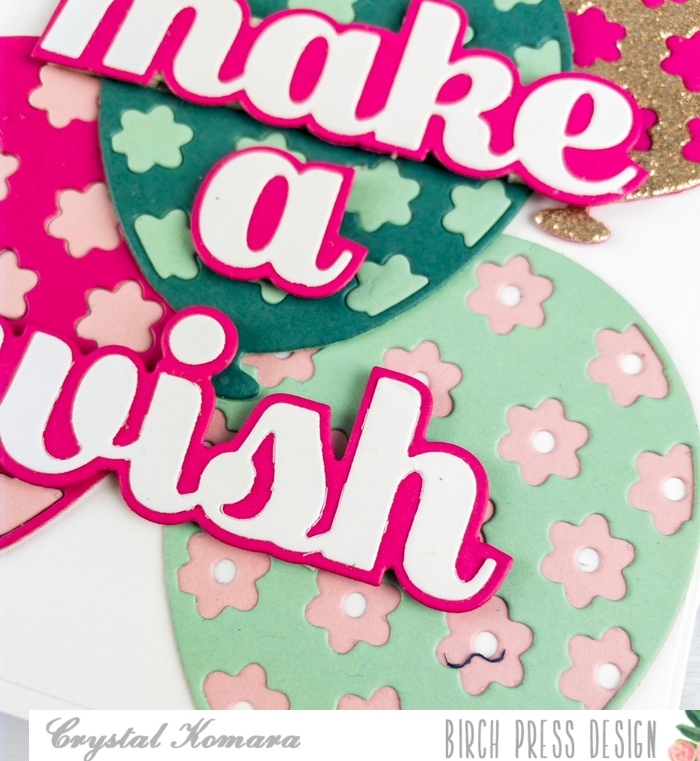
I die cut the Let’s Party sentiment from both navy blue and white cardstock. I layered the two together with a fine-tip liquid glue and then adhered the sentiment to the card with 3M foam adhesive for added dimension.
Have a wonderful, safe and happy 4th of July celebration friends! Thanks for visiting!

Supplies