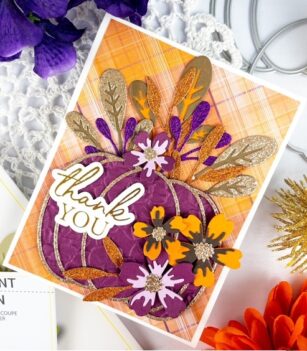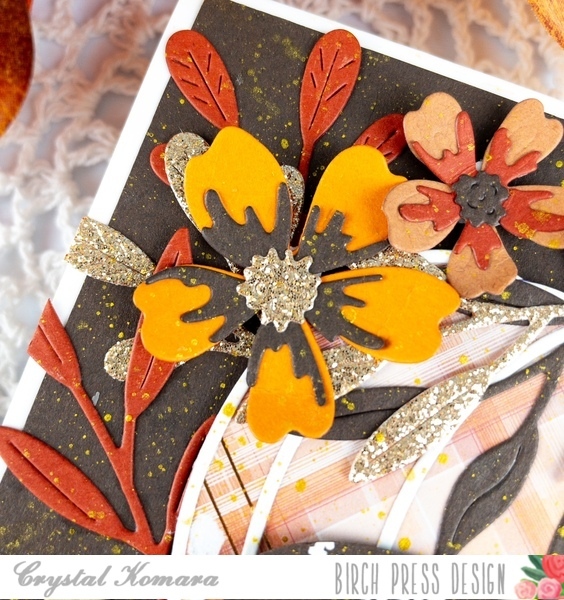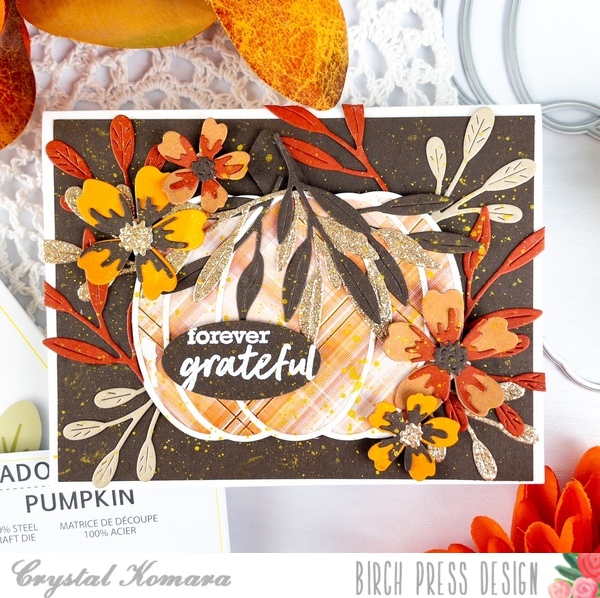
Hello crafty friends! I’m back on the Birch Press Design blog with another vibrant summer-inspired project! Today’s card is full of warm colors, bold texture, and cheerful florals—with a couple of bees buzzing in to say hi! 🐝
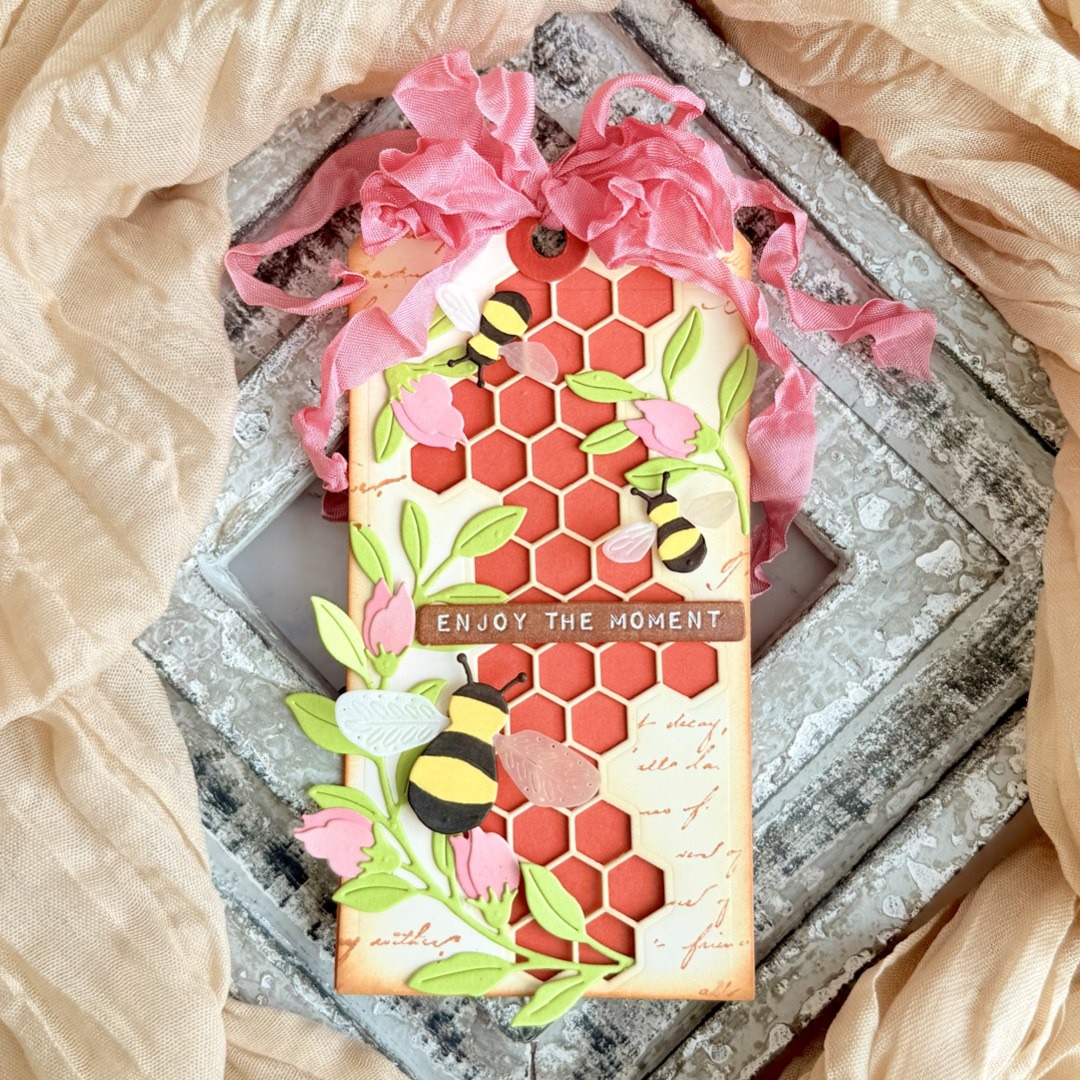
This time, I used a rich orange-red background paired with layers of delicate florals and a bold sentiment to create a card that radiates sunshine and warmth.
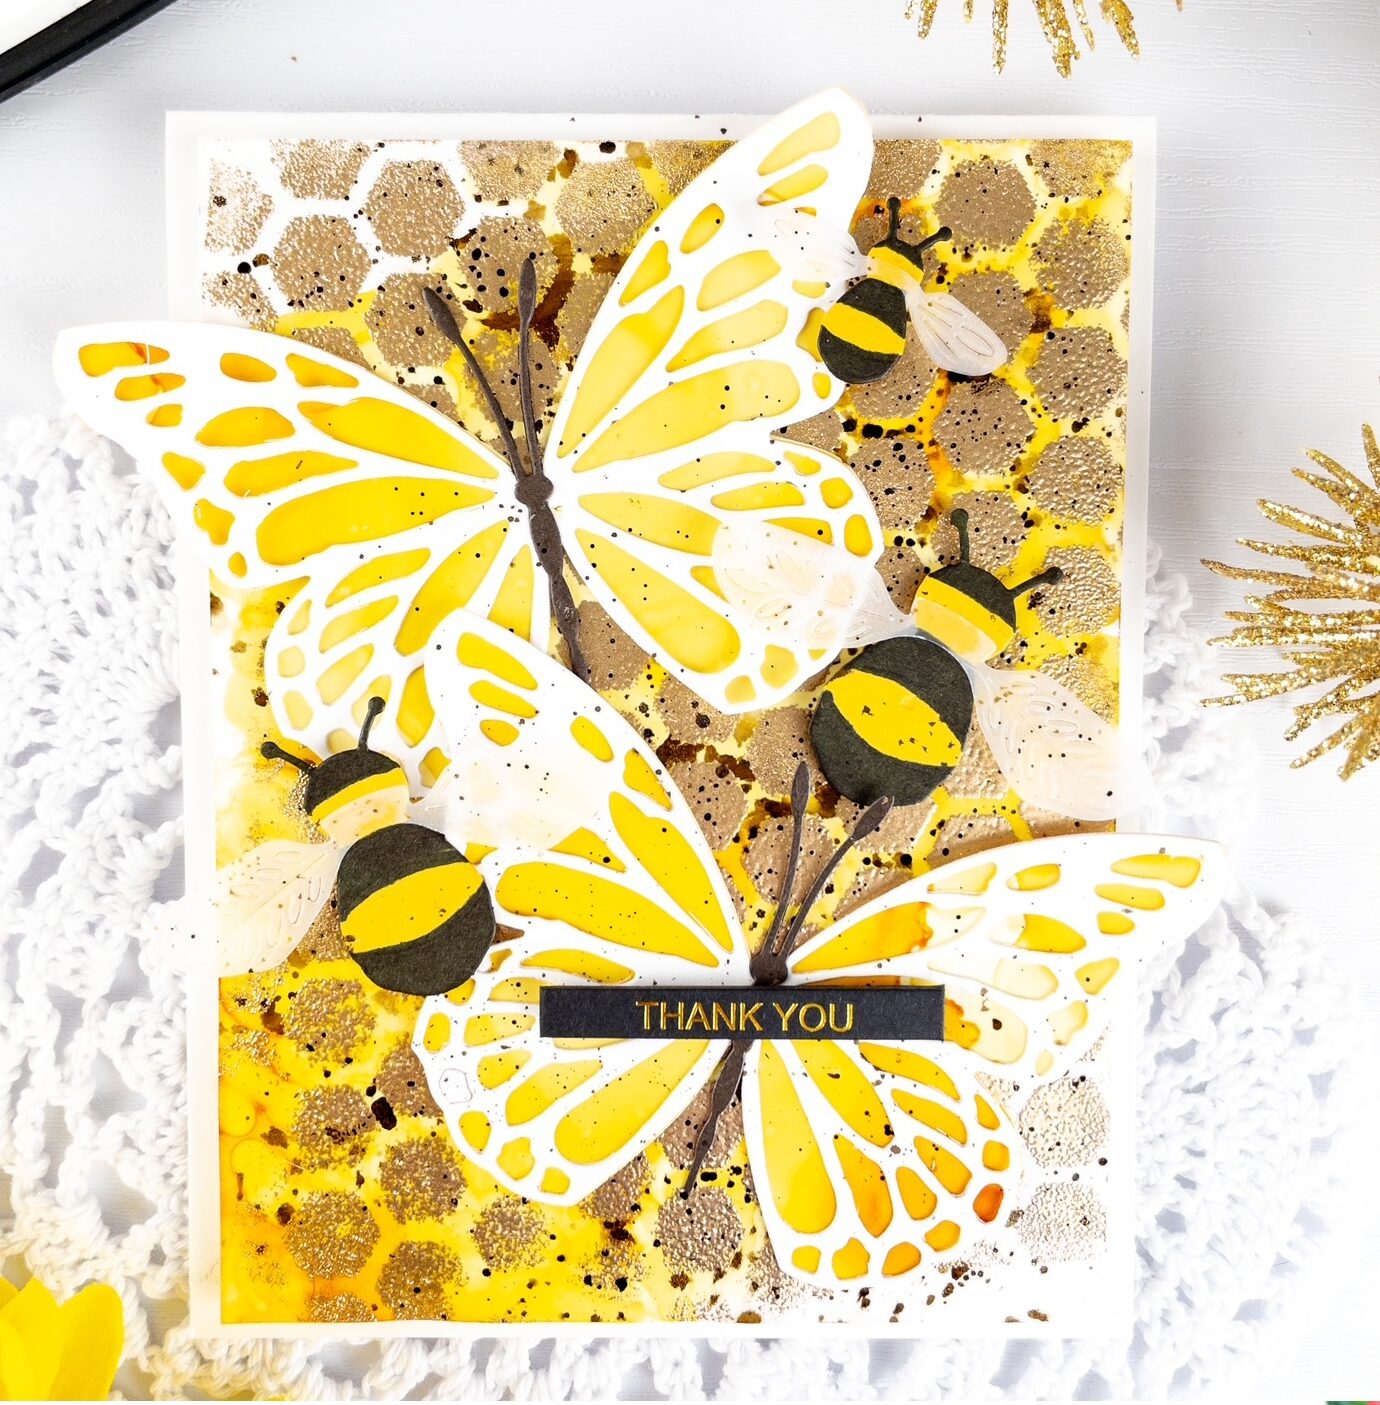
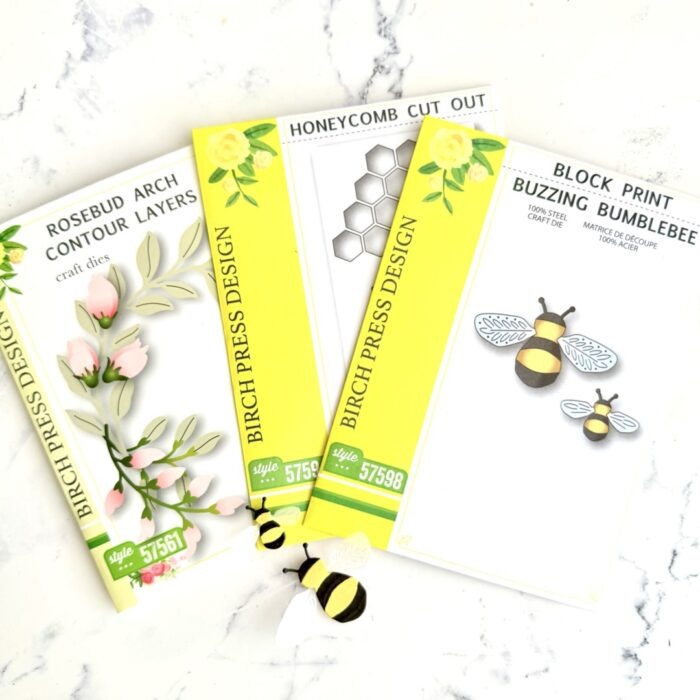
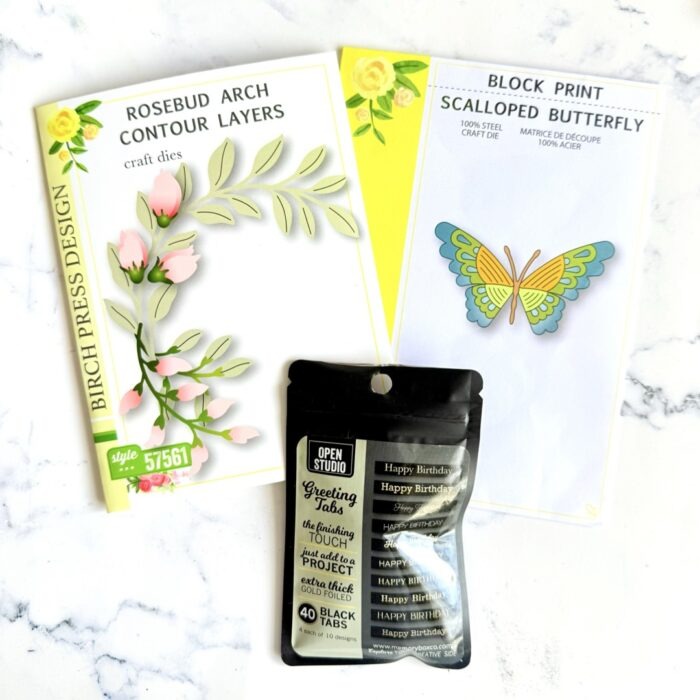
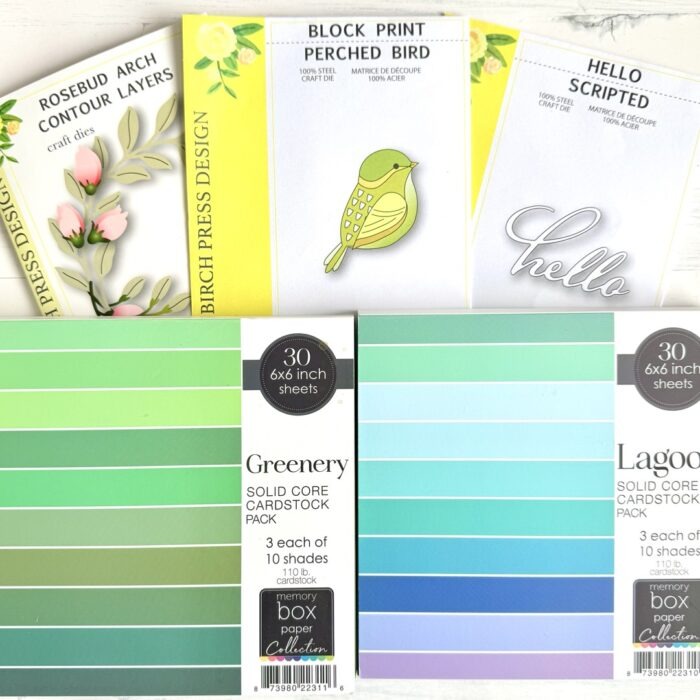
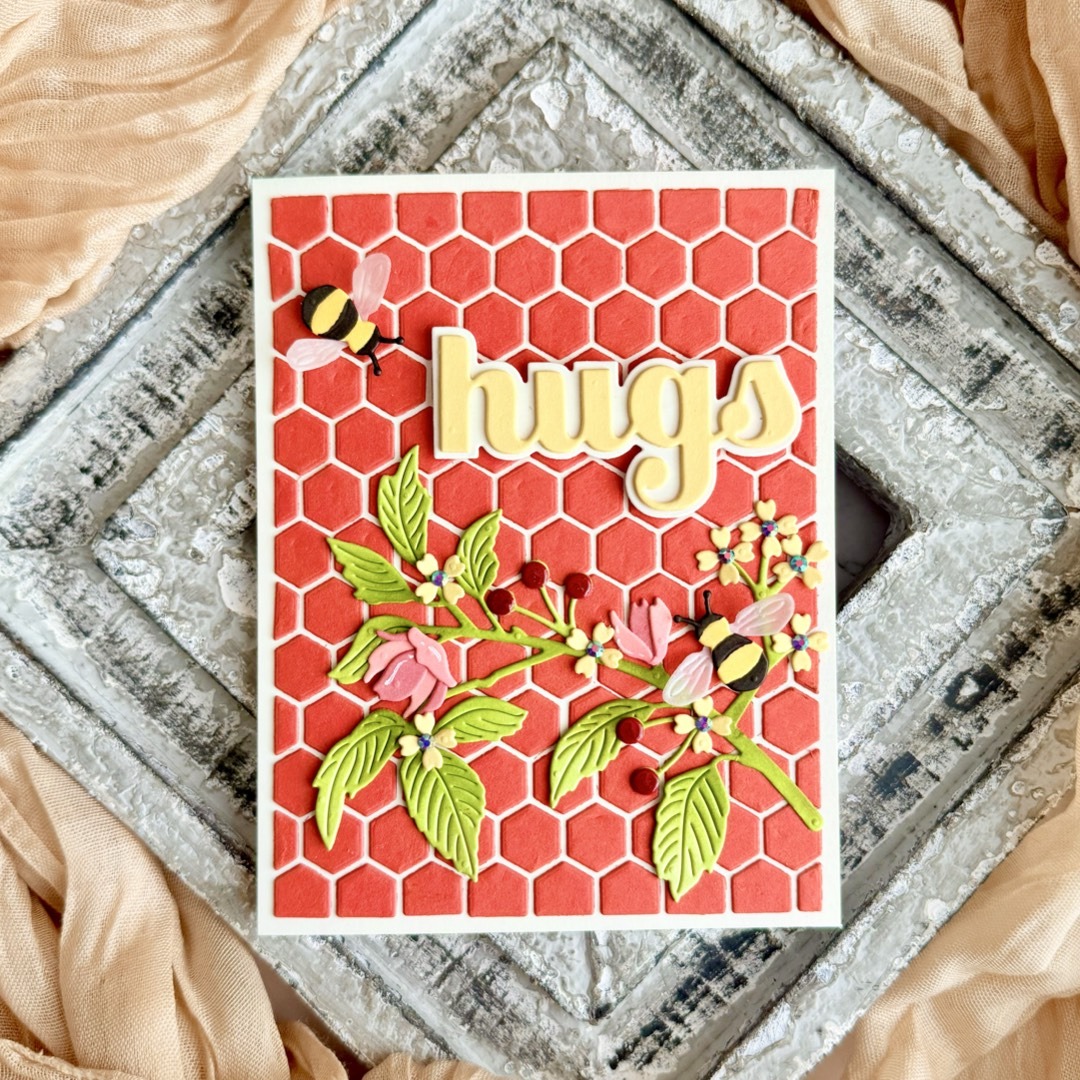
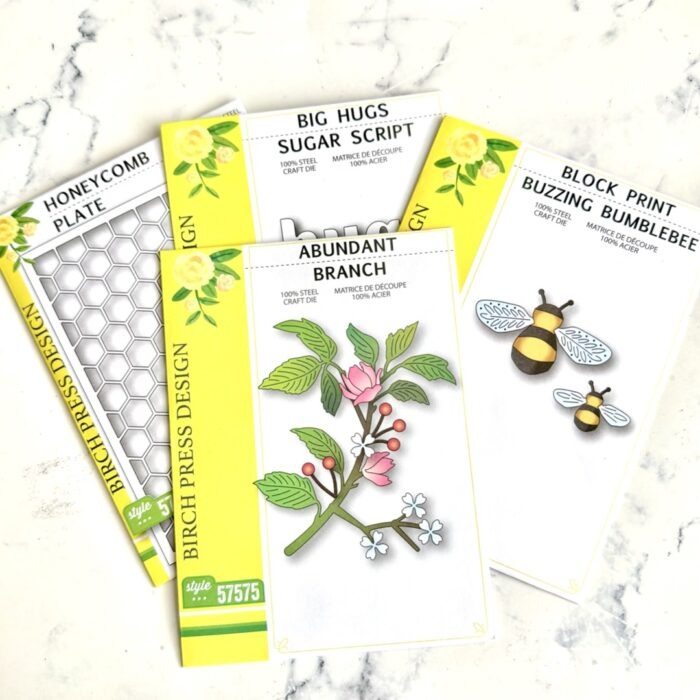
Here’s a quick rundown of the featured products:
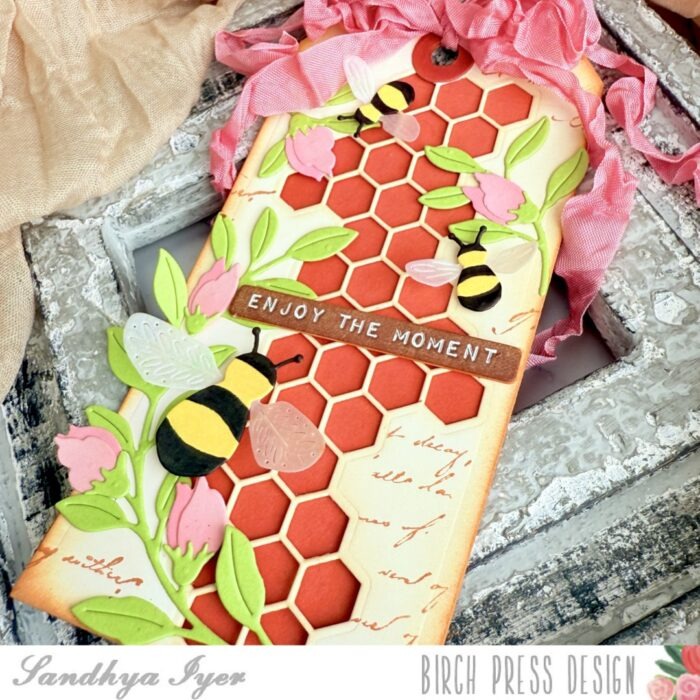
Honeycomb Plate – for that stunning dimensional background
Abundant Branch Die – the layered branch, leaves, and florals that add softness and movement
Block Print Buzzing Bumblebee Die Set – adorable bees with layered wings for a fun, summery vibe
Big Hugs Sugar Script Die Set – the perfect bold-yet-sweet sentiment to bring it all together
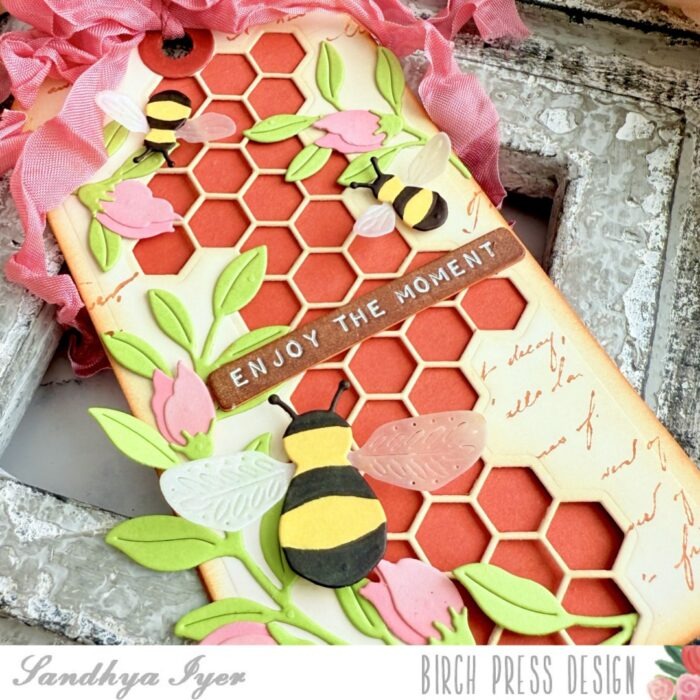
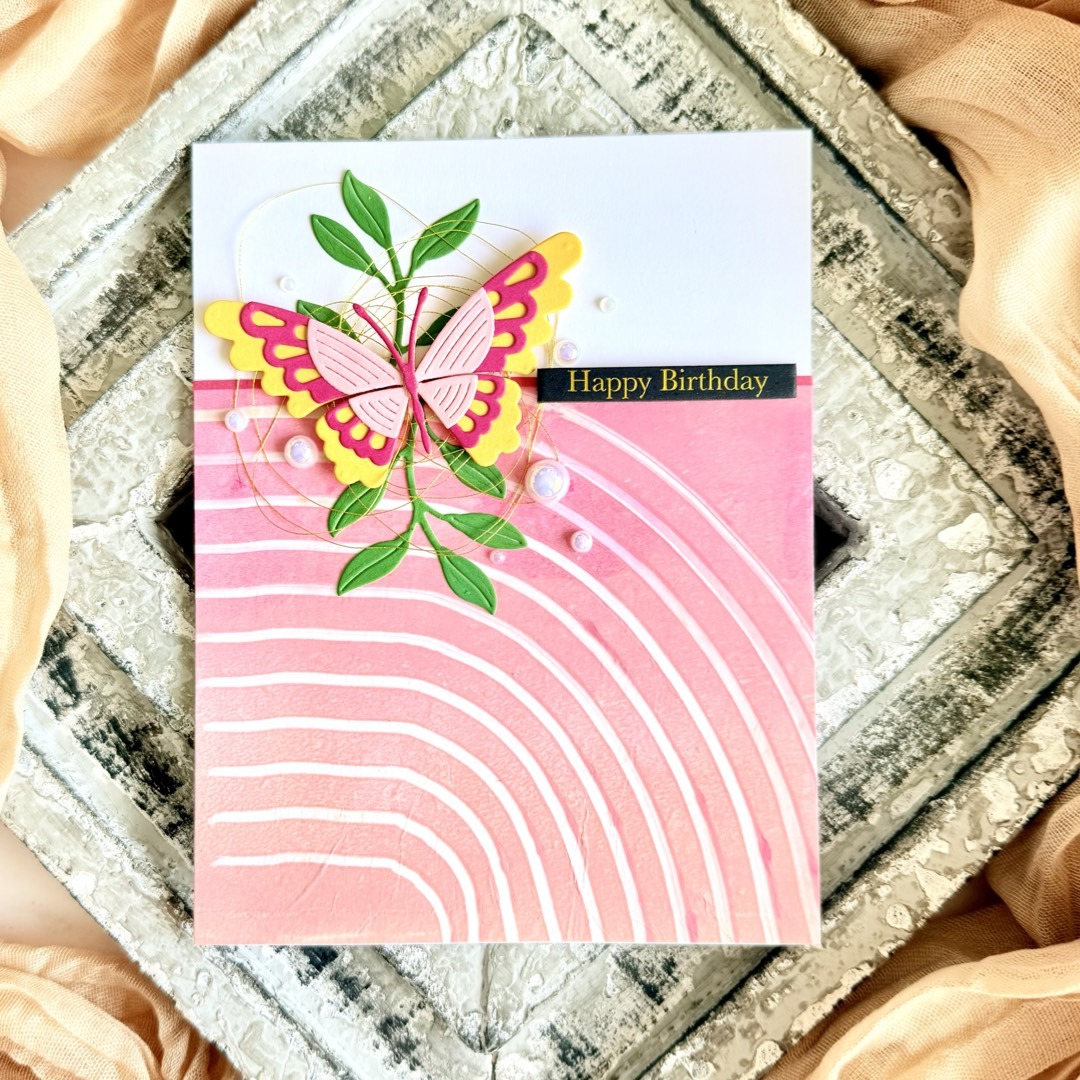
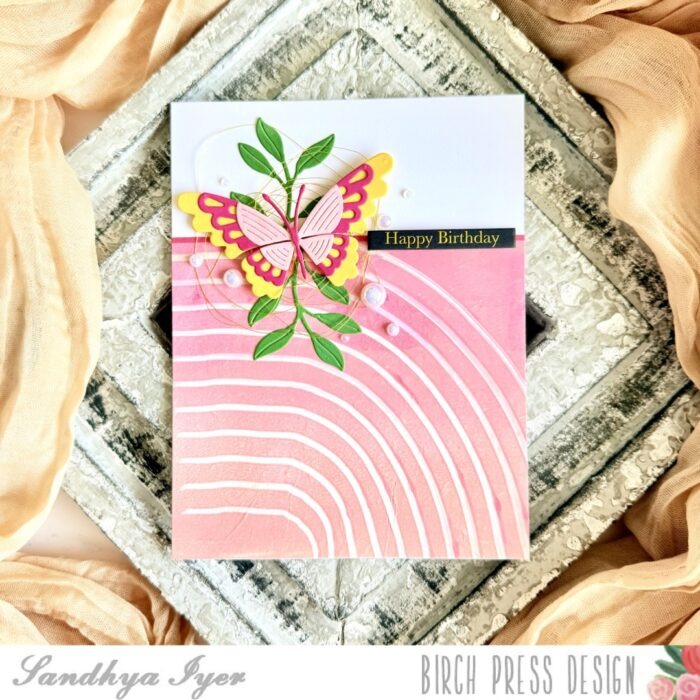
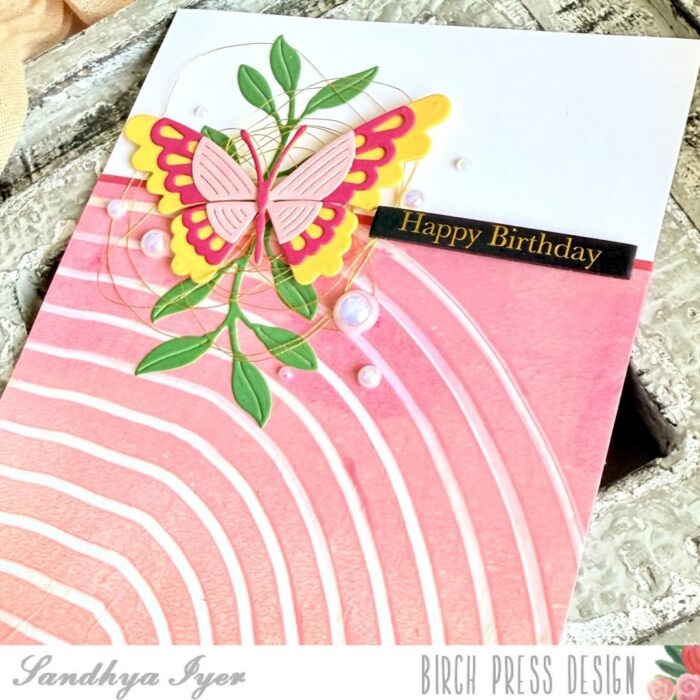
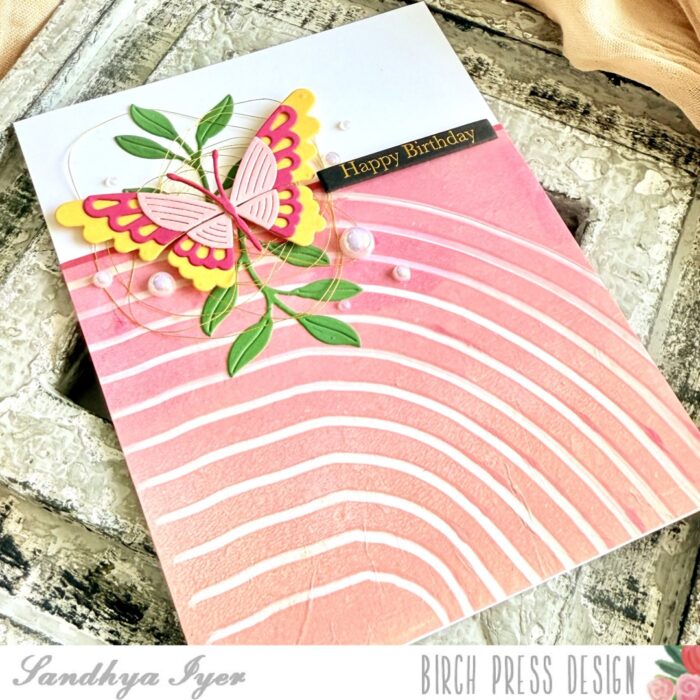
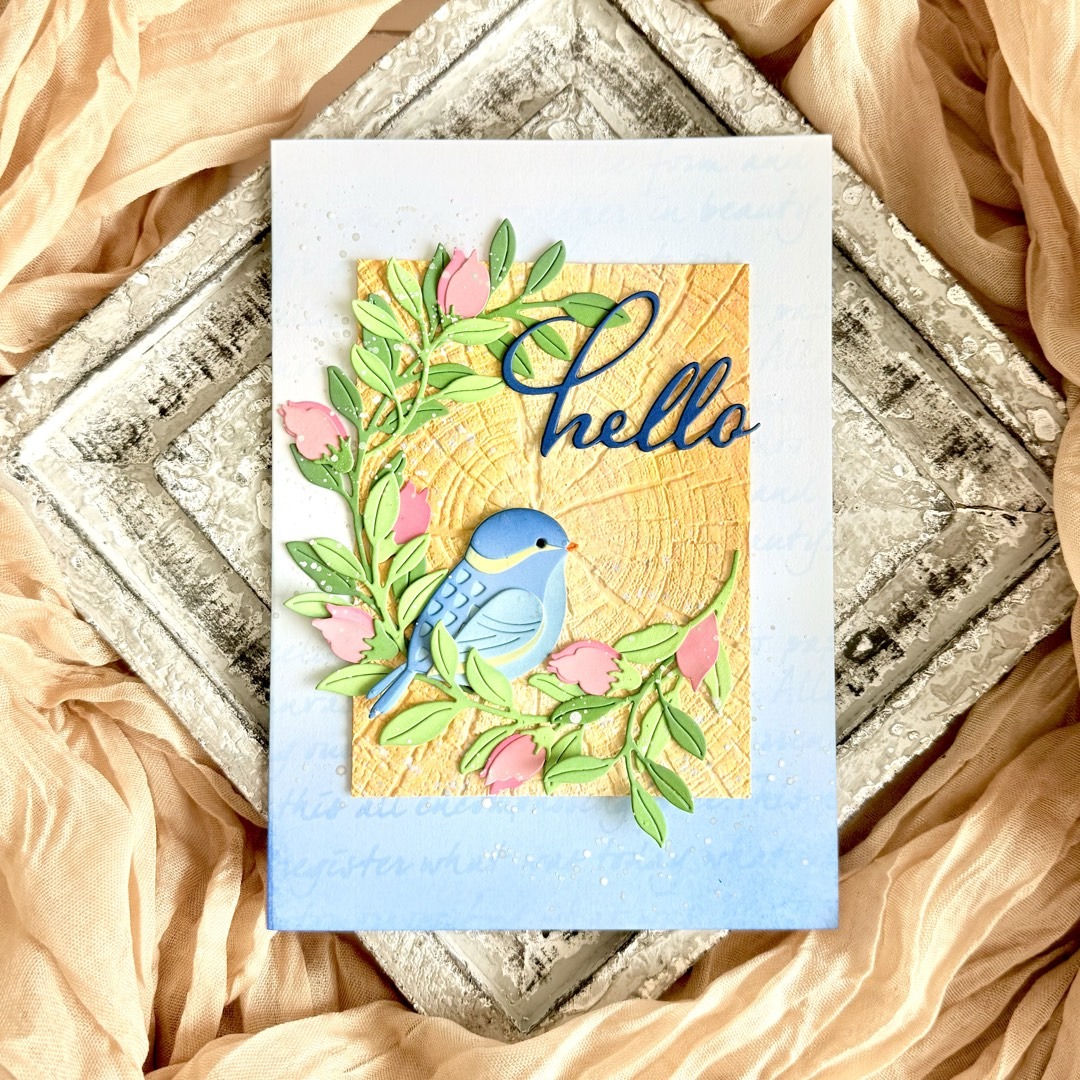
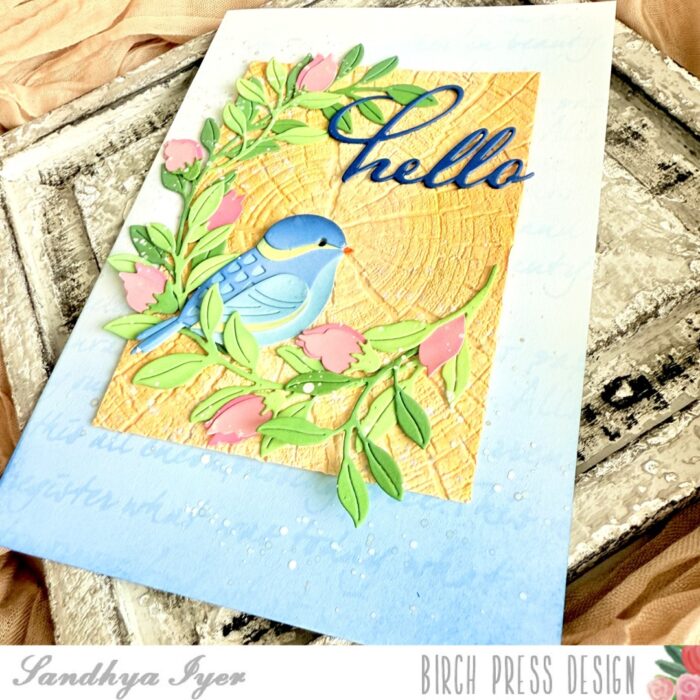
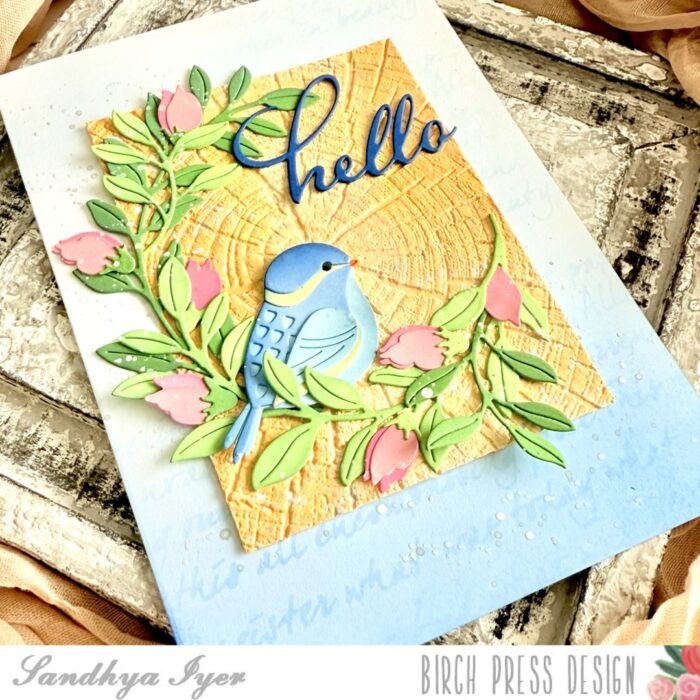
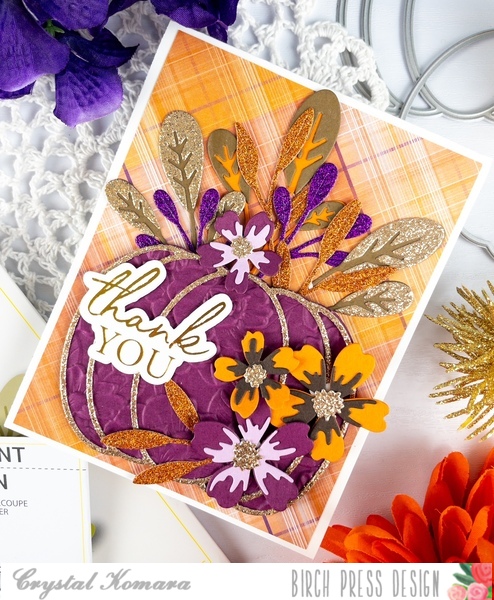
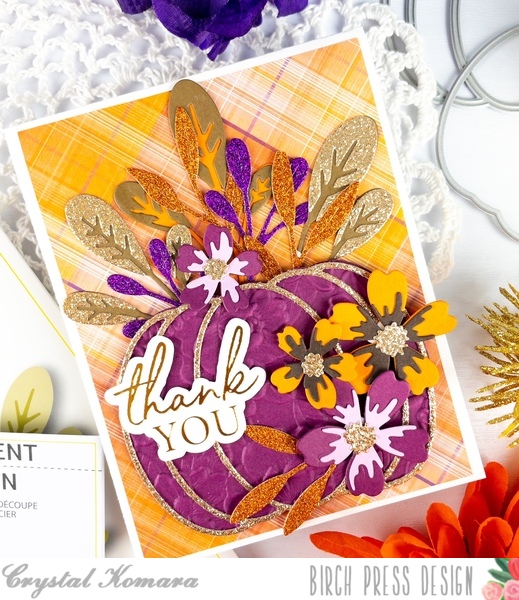
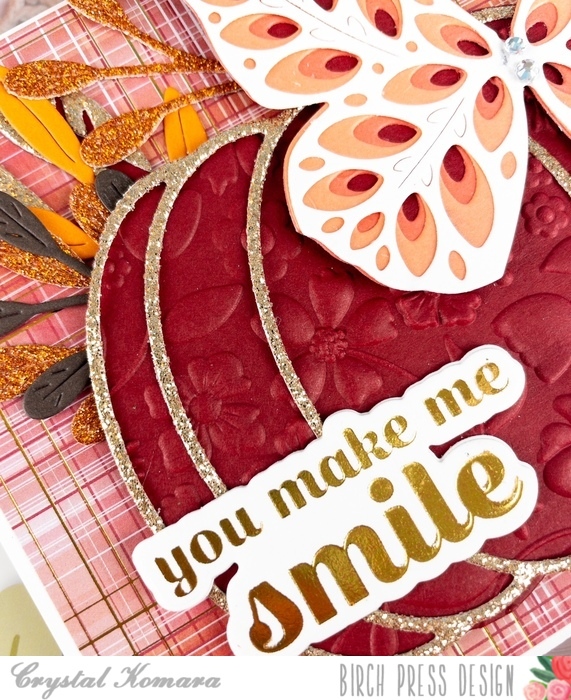
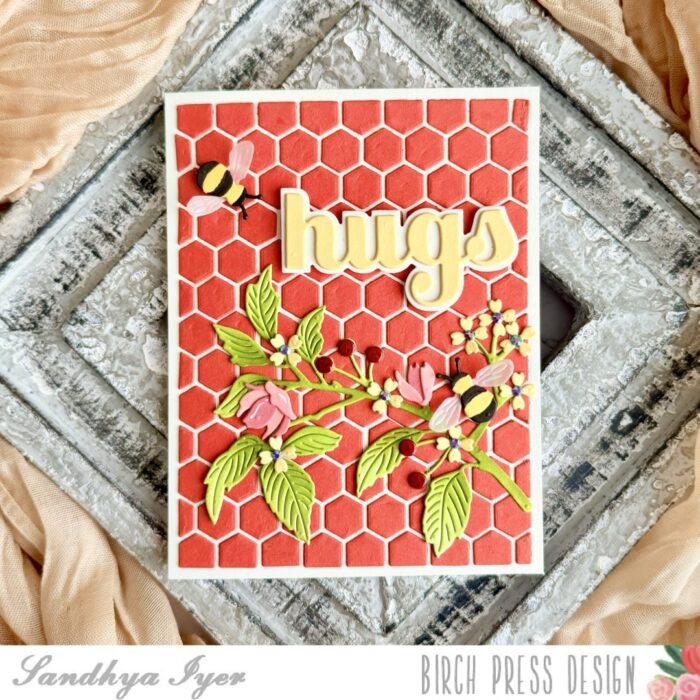
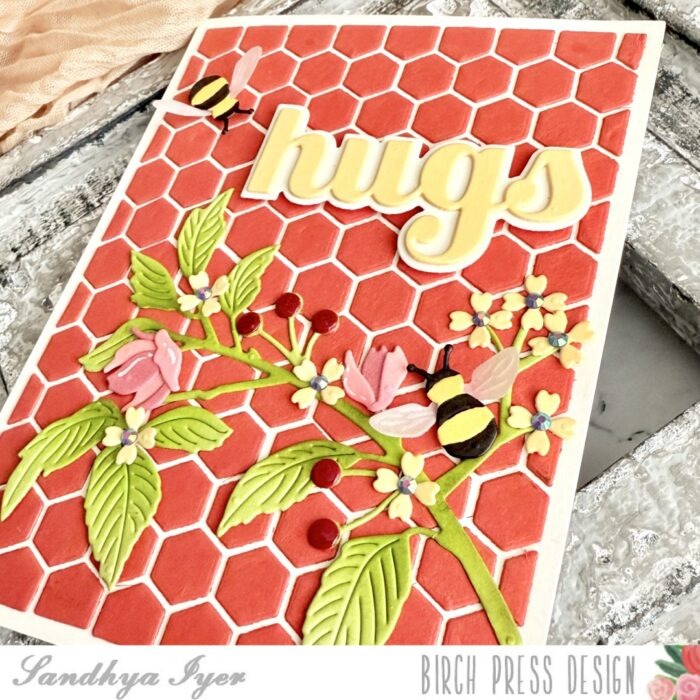
To create the background, I die-cut the Honeycomb Plate in deep orange-red and layered the cut out pieces over cream cardstock. The bold contrast really makes everything pop! I then cut and assembled the Abundant Branch in fresh greens and soft pinks, placing it diagonally to guide the eye across the card.I added gems to the flower centers and some glossy accents over the berries for extra interest.
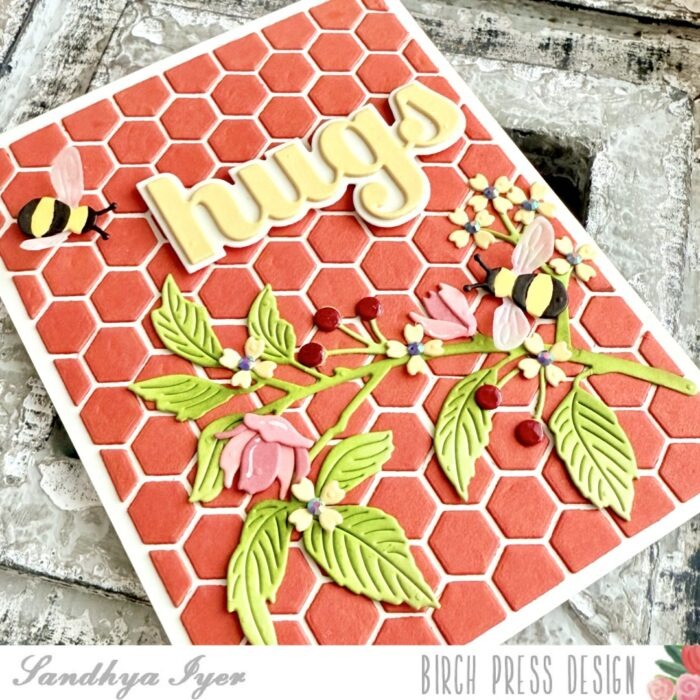
Next came those buzz-worthy bees—die-cut from yellow and vellum—and a quick touch with a black marker to create the stripes. I topped the design with the Big Hugs sentiment in buttery yellow, which feels like sunshine in word form.
This card is perfect for sending love, encouragement, or just a little hello across the miles.
Thanks for visiting the blog today—I hope this card brings a smile to your face and a spark of inspiration to your craft table.
Until next time,
Sandhya