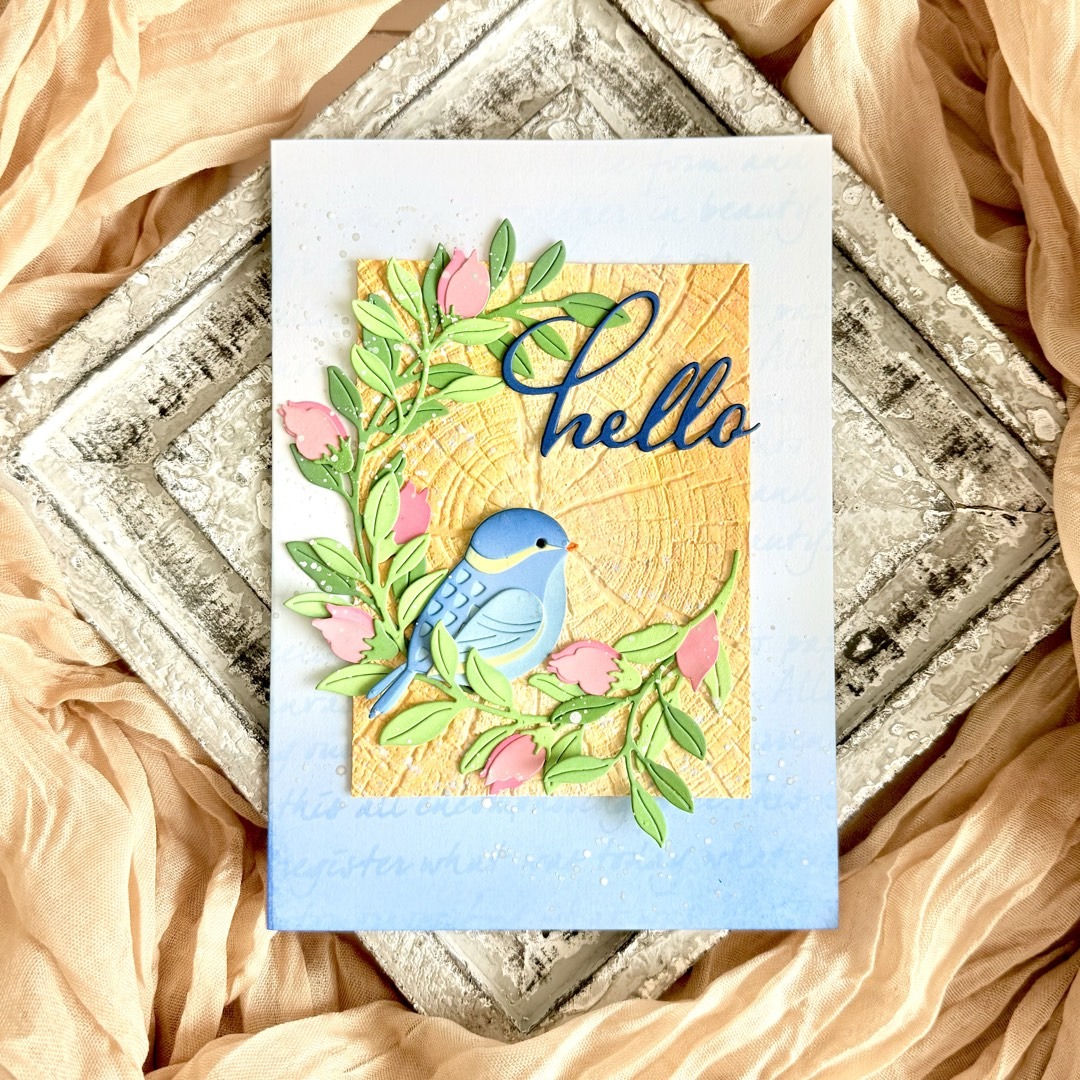
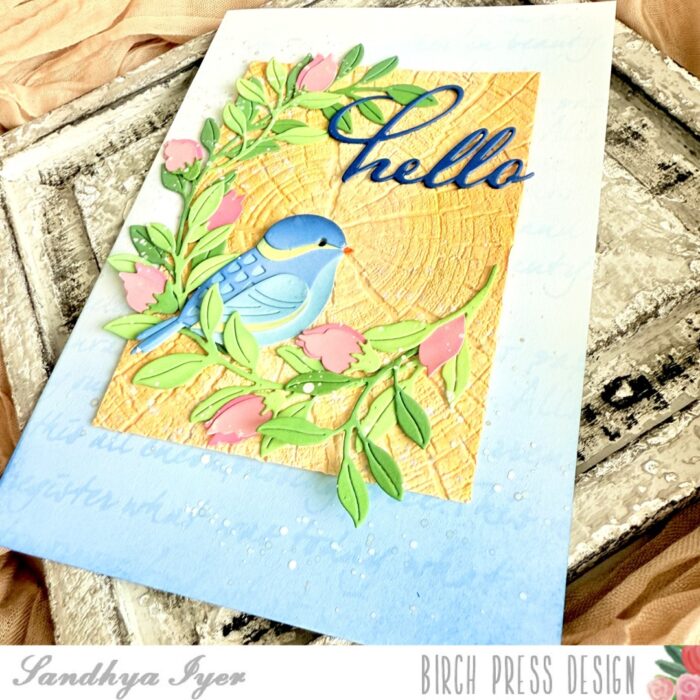
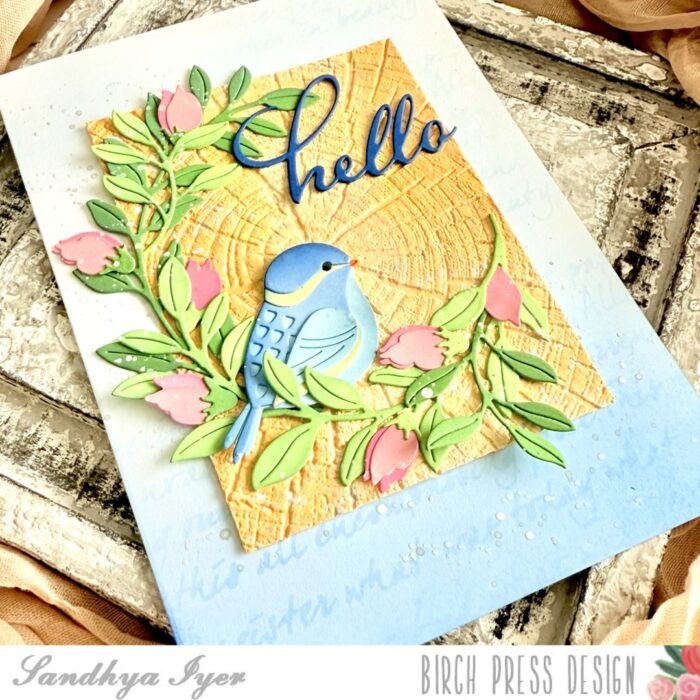
Hi, crafty friends! Sandhya here, and I’m excited to share a card I created using some gorgeous Birch Press Design dies and Memory Box cardstock. This card was a joy to make, combining intricate layering, soft ink blending, and a little ink splatter to bring this charming bluebird to life.
I started with a white card base and lightly ink-blended blue Distress Ink around the edges to create a soft, dreamy effect. I also added subtle script details using a stencil from my collection. Next, I embossed a piece of gel-printed cardstock from my stash with a woodgrain pattern to add texture and warmth.
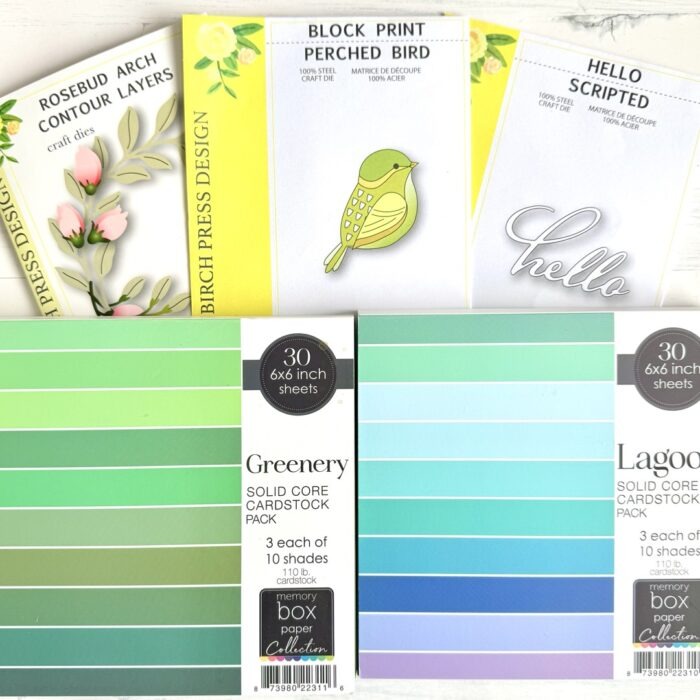
I used the Block Print Perched Bird die to cut out my adorable bluebird, layering different shades of blue and gray from the Lagoon cardstock pack. The result? A dimensional, eye-catching bird with intricate details!
The Rosebud Arch Contour Layers die set was perfect for adding a graceful frame around the bird. I die-cut the leaves in varying shades of green from the Greenery cardstock pack and the flowers in soft pinks, lightly inking the edges for added depth.
The Hello Scripted die provided a delicate yet bold sentiment. I cut it from deep blue cardstock and adhered it near the top for balance. I then arranged all the elements—bird, floral frame, and sentiment—onto the woodgrain panel, ensuring a harmonious composition. To bring everything together, I splattered some white ink across the background for a subtle artistic effect. This step adds a hint of whimsy and enhances the overall dreamy vibe of the card.
I love how this project turned out—full of dimension, texture, and soft, natural beauty. I hope this inspires you to experiment with layering, color palettes, and die-cutting to create your own nature-inspired cards. Happy crafting!
Supplies:
Rustic Thank You Tags | By Sandhya Iyer
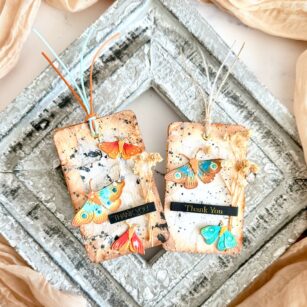
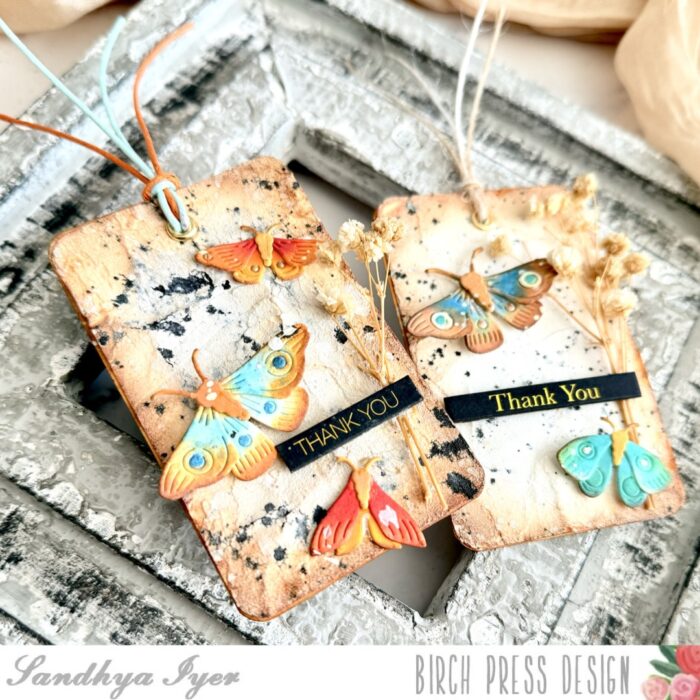
Hello, friends! This is Design Team member Sandhya Iyer and I am sharing a pair of rustic thank you tags. These tags feature the Evening Moths die set and Thank You Foil Greetings Black tabs.
I used Index flash cards to create my tags. First, I added a generous layer of crackle paste on 2 flashcards and set them to air-dry. What I had in my stash was ‘Golden’ brand, the cracks were very fine and barely noticeable. So after the tags dried, I crumpled them and added more interest. I ink blended around the edges with Rustic Hinge and Vintage Photo Distress inks and added black and white splatters to create an interesting background.
Next, I die-cut the Moth Layers out of watercolor cardstock. I pulled out Distress Oxide inks and used detail blending brushes to ink the wings and body layers of the moth. I have a picture showing the colors I used to create my rustic and vibrant color combos. Then I assembled the little moths and added some detail to the wings using gel pens.
Next, I inked the edges of another pair of index cards and adhered them to the back of the prepared backgrounds to make them more sturdy. I also added gold eyelets to the tags to harmonize with the sentiment tabs’ gold.
I arranged the moths to my liking and adhered them with some foam tape. Finally, I added the sentiment tabs and colorful/jute twine to my tags. I finished off with a few little sprigs of dried baby’s breath tucked under the sentiment tabs.
This brings us to the end of today’s post. Thank you so much for stopping by and I hope you have fun crafting today!
Supplies:
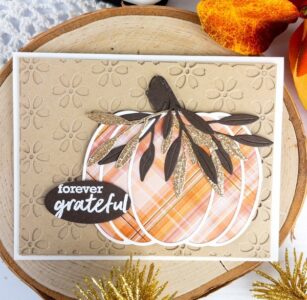
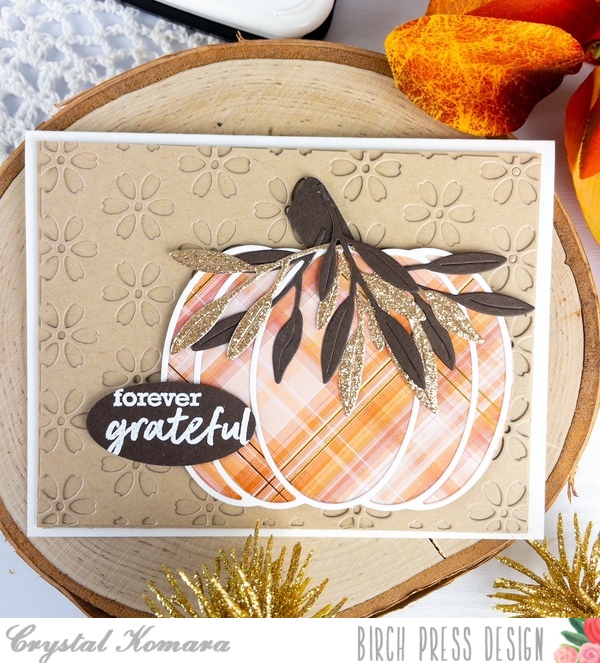
Plaid Adornment Pumpkin | by Crystal Komara
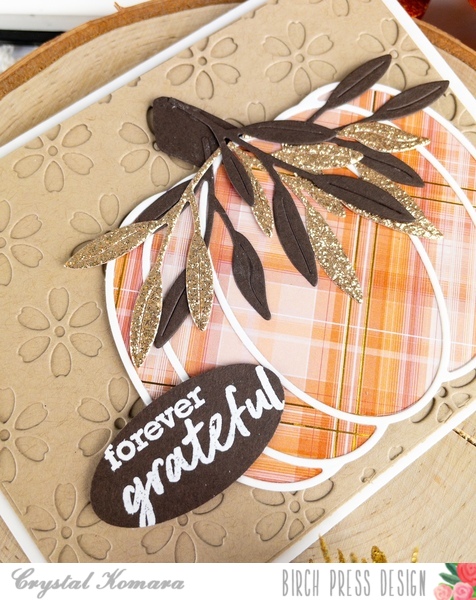
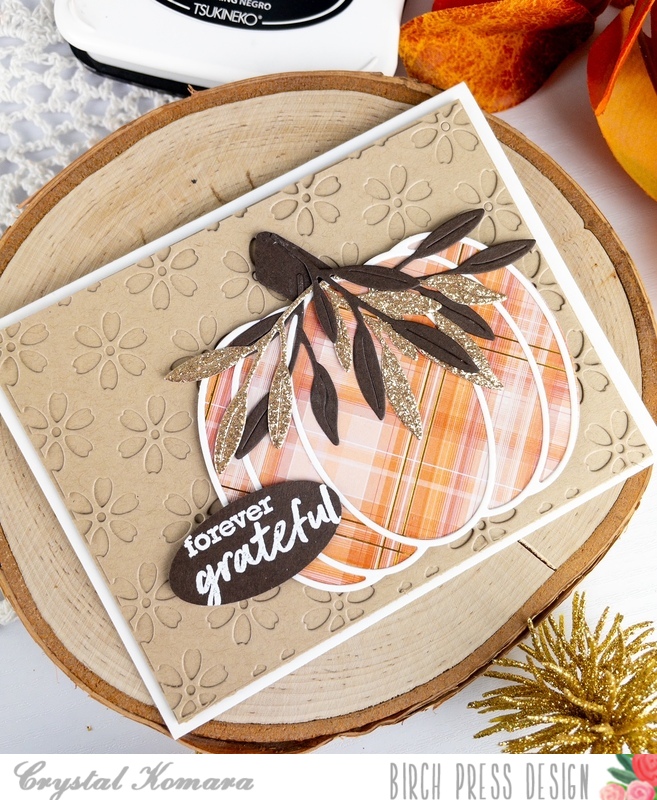
Hello fall friends! This is Design Team member Crystal Komara here to inspire you today! I have been sharing a lot of detailed intricate die cut cards lately, so today I thought I would keep my card a little more simple. I know that those intricate contour dies can be intimidating to some (as they were to me at first), but Birch Press Design makes so many gorgeous products, that you can cater the level of detail to your own personal taste.
Card details:
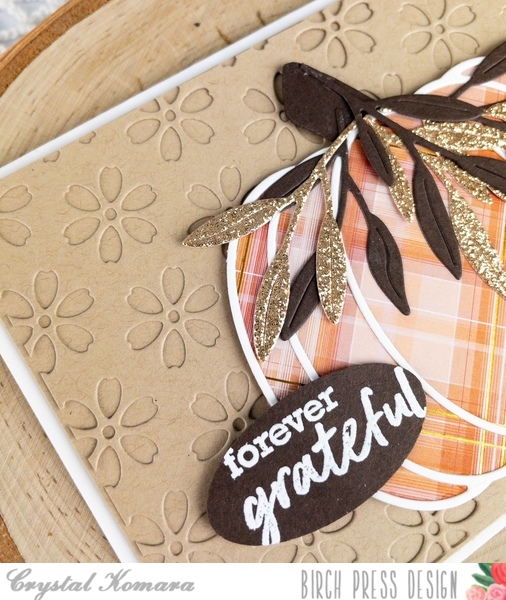
The base of this A2 sized card is made from 80 lb. Neenah Solar White smooth cardstock. I cut a 5 1/4 x 4″ piece of Kraft cardstock and adhered it directly to the card base. Then, using Layer Plate B of the Flora Plate Layer Set, I die cut that from Kraft cardstock and adhered it directly to the previous Kraft layer (so it’s kind of see through).
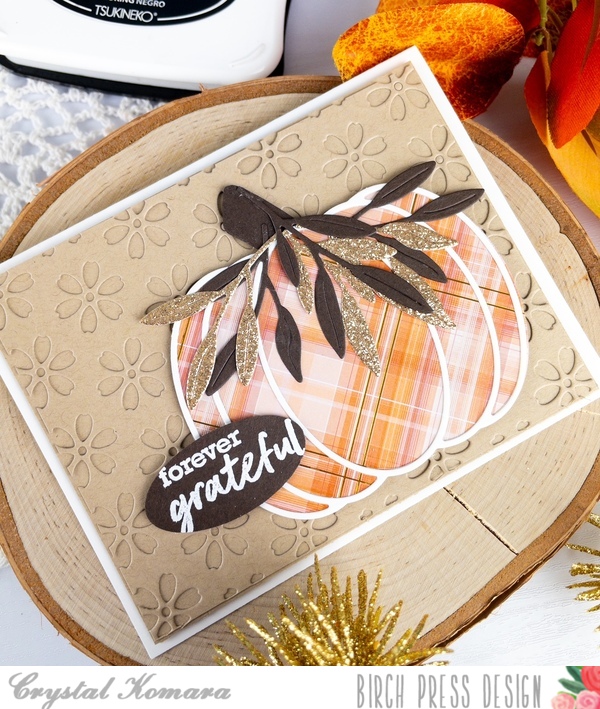
I die cut the base of Adornment Pumpkin from plaid cardstock from the Gladiola paper pack by Memory Box Company (a sister company of Birch Press Design). I LOVE their paper packs, they are all stunning. I cut the outline of the Adornment pumpkin from white cardstock. I layered the two together using a fine-tip liquid glue before adhering the pumpkin to the card with 3M foam adhesive for dimension.
I die cut a bunch of leaves using the Tiny Tufts Leaves and Flowers contour set. I die cut these leaves in both a dark brown and gold glitter cardstock. I adhered the leaves to the top stem of the pumpkin. Lastly, I stamped the sentiment “forever grateful” from the Brush Sentiment clear stamp set. I stamped the sentiment in Versamark ink on dark brown cardstock and heat embossed the sentiment with white embossing powder. I then used an oval punch to punch out the sentiment. I adhered the sentiment to the pumpkin using 3M foam adhesive.
Fall is one of my favorite seasons to make cards for. I promise you will be seeing lots more ways to use this Adornment Pumpkin in the very near future!
Thanks for visiting and have a wonderfully creative day!
Supplies
Supplies
105 days until Christmas | by April Antonio
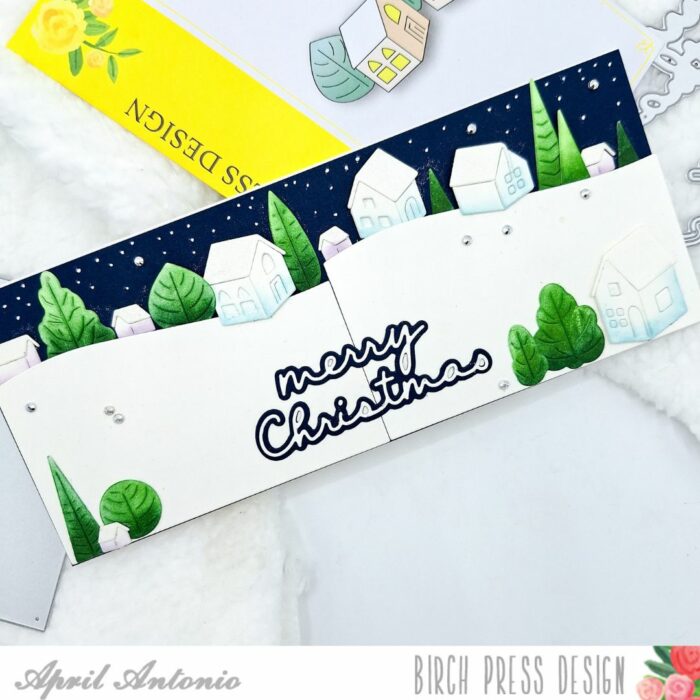
Hello friends! Design Team member April here today sharing an early Christmas card using some of the products from the new holiday release. With Autumn almost upon us, everything is about to speed up, so why not start on creating some holiday cheer?! Also, these new dies are just too cute to put down!
Here’s how I pulled this card together:
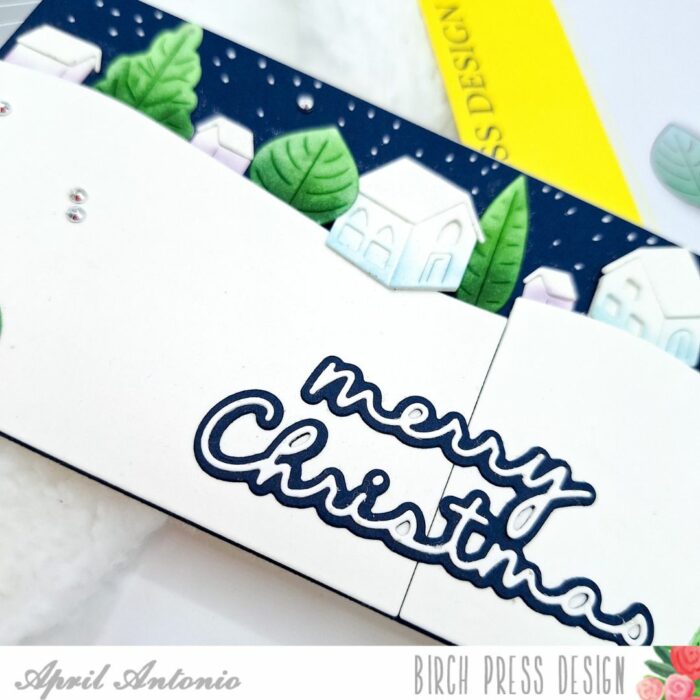
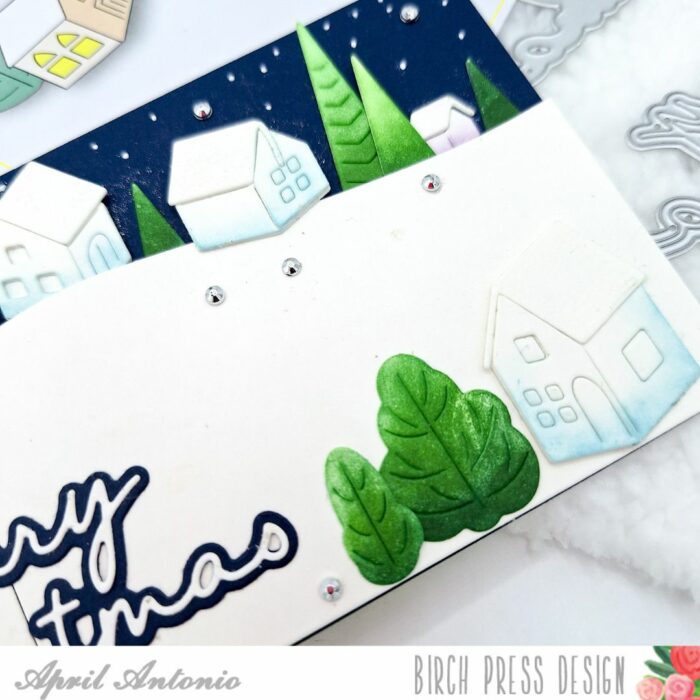
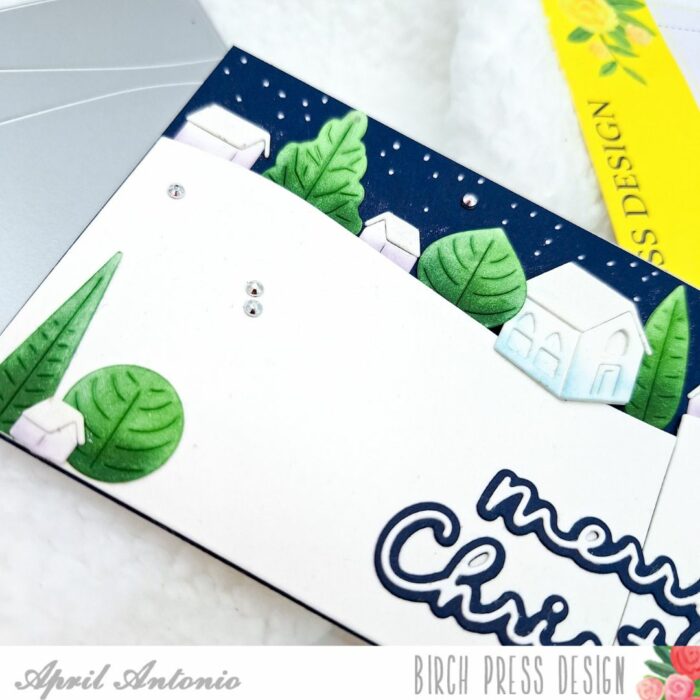
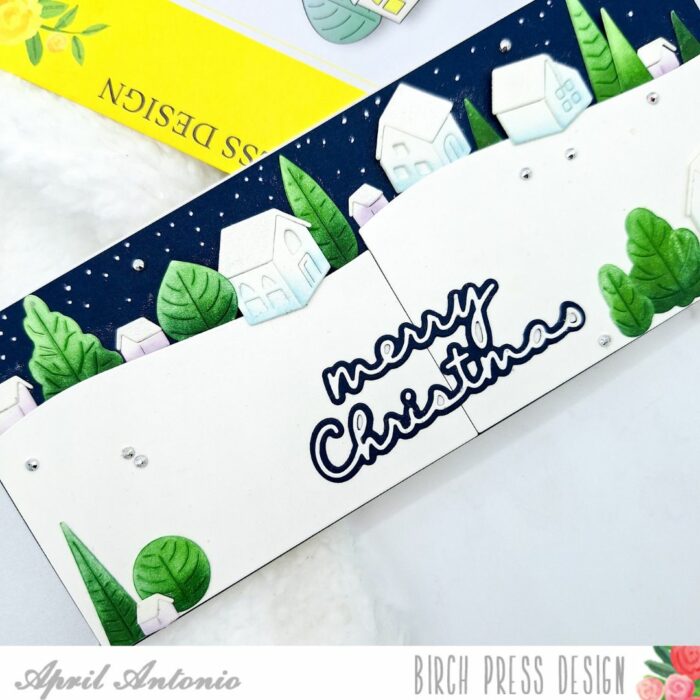
I grabbed a pre-cut slimline card base in white, and glued a dark blue cardstock mat to the background to represent the night sky. I used the new Wavy Hillside die set and cut the largest die from white cardstock twice. I glued the die cuts twice to the front of the slimline card using foam tape, and made sure to leave a little room at the top so that I could later tuck in some of the houses and trees.
I cut the Littletown Village, Littletown Church, and Littletown Home die sets all from white card stock, and assembled them accordingly. I then did some light ink blending in blue and purple on the bottom of each building, and did some darker ink blending in green on the trees. I then arranged the trees and houses across the hillside tucking some behind the ‘snow’ and placing some on top. I also added some to the bottom of the card front in either corner.
For my sentiment I used the Merry Christmas Confection Script die with the shadow in the same dark blue as my background and the letters cut out from white cardstock.
Finishing touches: I used a white gel pen to add some ‘falling snow’ to the dark blue background. I also added some silver jewels from the Memory Box Christmas Fairy Jewels set, and used a glitter pen to add some sparkle to the roofs of the buildings.
Supplies
Best Wishes Tag | by Sandhya Iyer
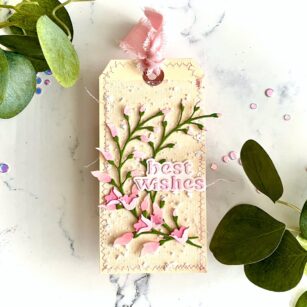
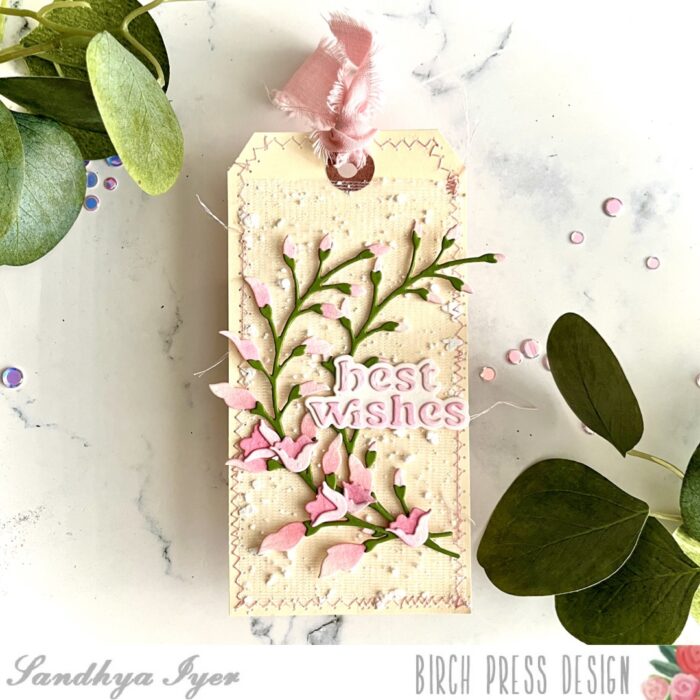
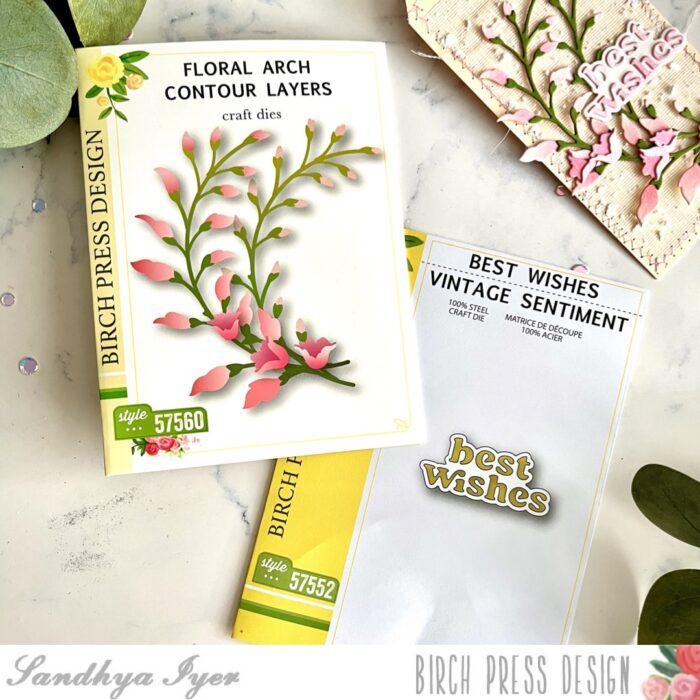
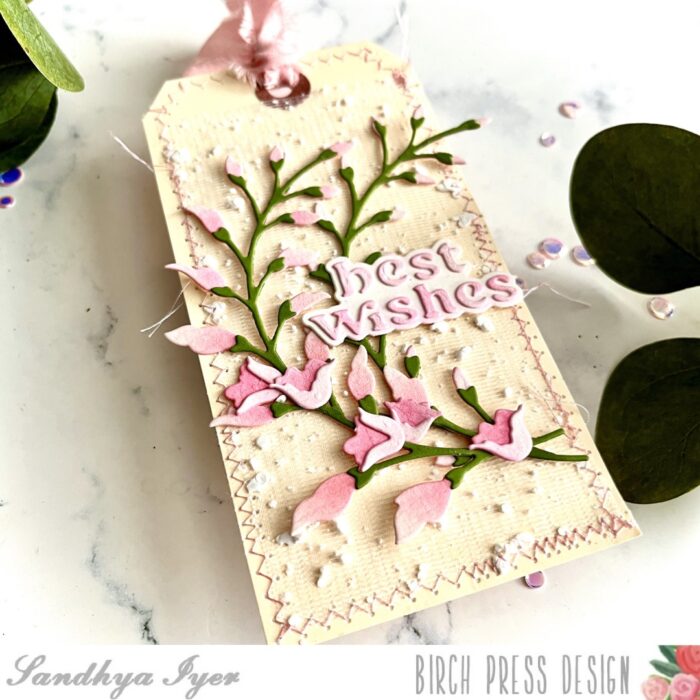
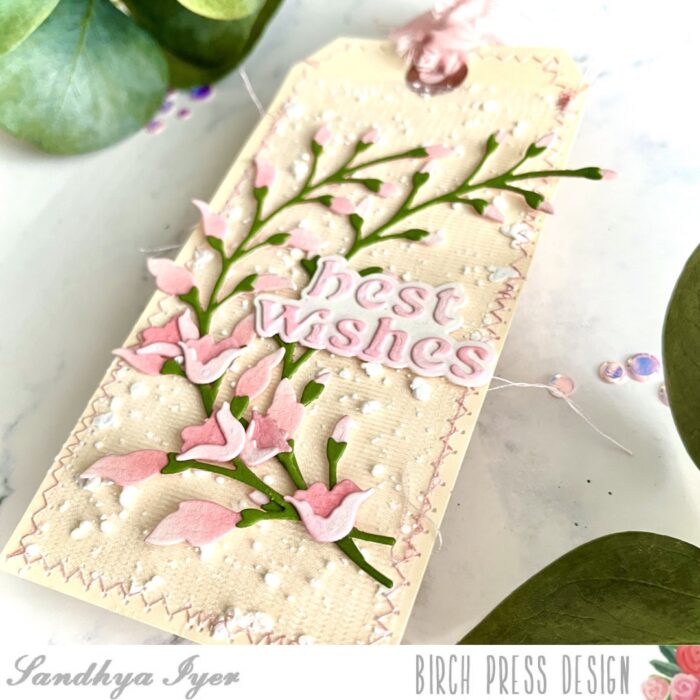
Hello, friends! This is Design Team member, Sandhya Iyer, and today I am sharing a mixed media tag using dies from Birch Press Design. I used the Floral Arch Contour Layers and Best Wishes Vintage sentiment dies for my project today.
I started by die-cutting the layers for the floral arch and the sentiment out of watercolor cardstock. For the stem layer, I used green cardstock. Next, I pulled out dye inks in shades of pinks and inked up the floral layers and the letters in the sentiment.
Next, I trimmed a piece of snow tulle fabric to create a background for my die-cut layers. I used a manila tag as the base and sewed the fabric to the tag. I did a mix of zig-zag and straight stitches to amp up the mixed-media effect.
Next, I adhered the die-cut floral arches and the sentiment to the tag. Finally, I finished off with a piece of linen ribbon to tie the top of the tag.
This brings us to the end of today’s post. Thank you so much for stopping by and I hope you have fun crafting today!
Supplies:
Supplies
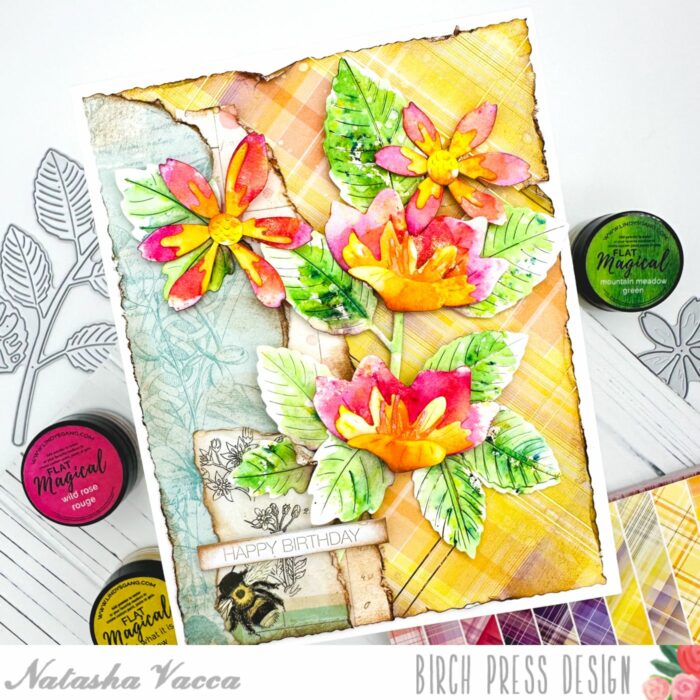
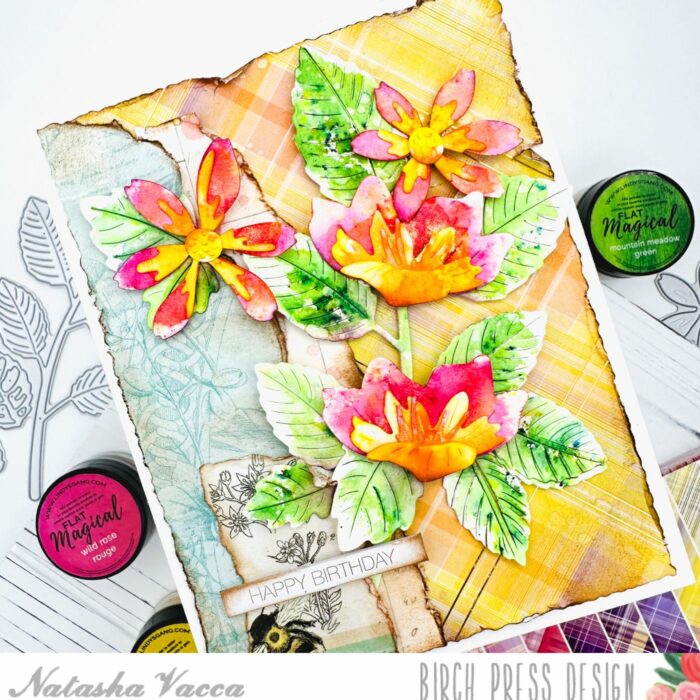
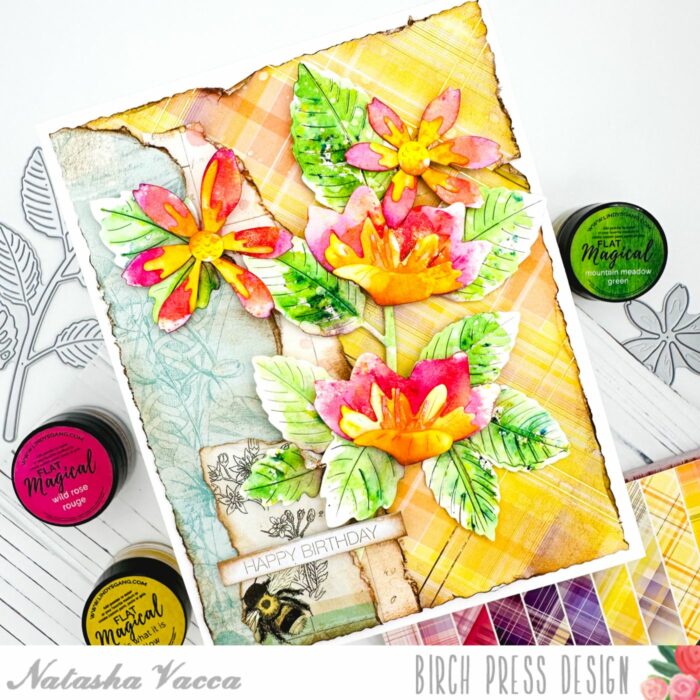
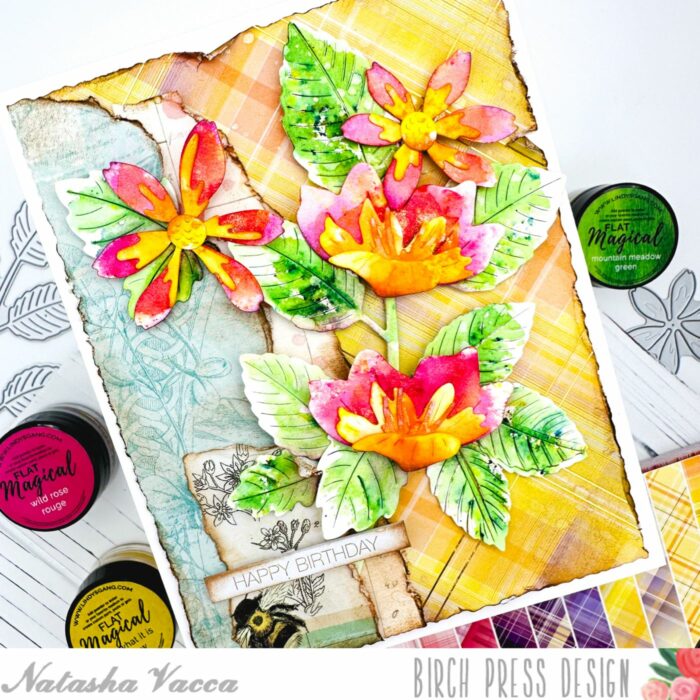
Bold and Bright Florals | By Natasha Vacca
Hello Birch Press friends, it is design team member Natasha back on the blog today. Today I am sharing a colorful floral design with you using a few favorites from Birch Press! So let’s get started!
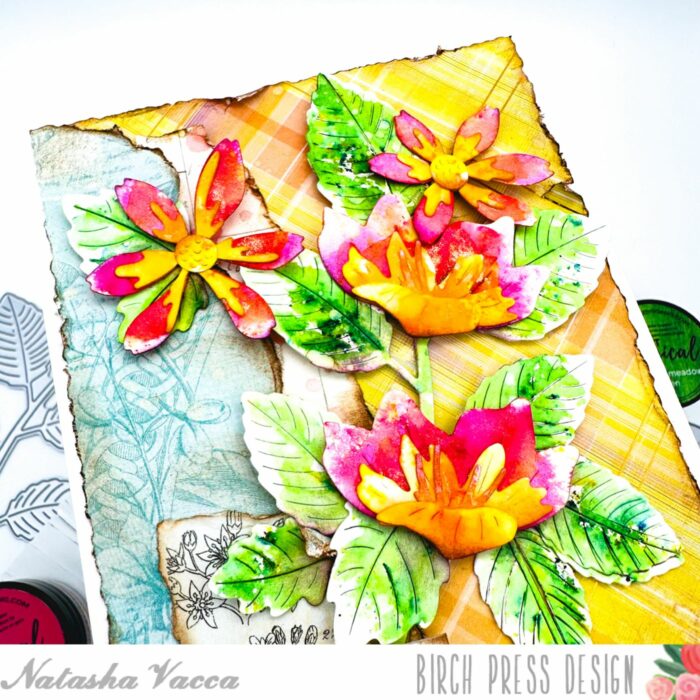
I started by die cutting 3 die sets: Star Flowers Contour Layers, Rose Leaves Contour Layers, and the Peeking Flower and Leaves set. I die cut each of these sets using watercolor cardstock. Once they were die cut I added color to each of the florals and leaves using Lindy’s Magicals. I allowed each layer to dry before adding more color. I then added shine to each of the layers using gold magicals.
I made sure each layer was completely dry, then I added more depth to each layer by adding dye ink to the edges of the leaves, as well as the floral layers. I then adhered all the layers together using liquid glue. I added foam tape behind the large leaves and then set these aside to work on my card panel background.
I started with a piece of pattern paper from the Gladiola Plaid paper pad from Memory box. I then found 2 coordinating pieces of paper from my stash. I ripped each of these peices for a distressed look and inked the edges using Vintage Photo distress ink. I adhered the layers of pattern paper together using liquid glue and then trimmed the panel with my deckle trimmer. I inked the edges using Vintage Photo Distress ink and then adhered the panel onto a top folding card base.
I then arranged the florals and leaves onto the card panel and once I was happy with the layout I adhered the layers using foam tape and liquid glue. I chose a Happy Birthday sentiment from the Happy Birthday Foil Greetings White Tabs set. I also inked the edge of the sentiment with Vintage Photo and then adhered this with foam tape. I had a lot of fun putting today’s card together and I hope this card inspires you to combine your die sets!
Thank you so much for stopping by! I will be back soon with more crafty inspiration!
Supplies
Supplies
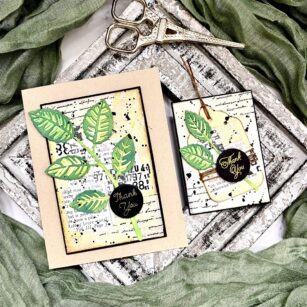
Thank You Card and ATC Duo | By Sandhya Iyer
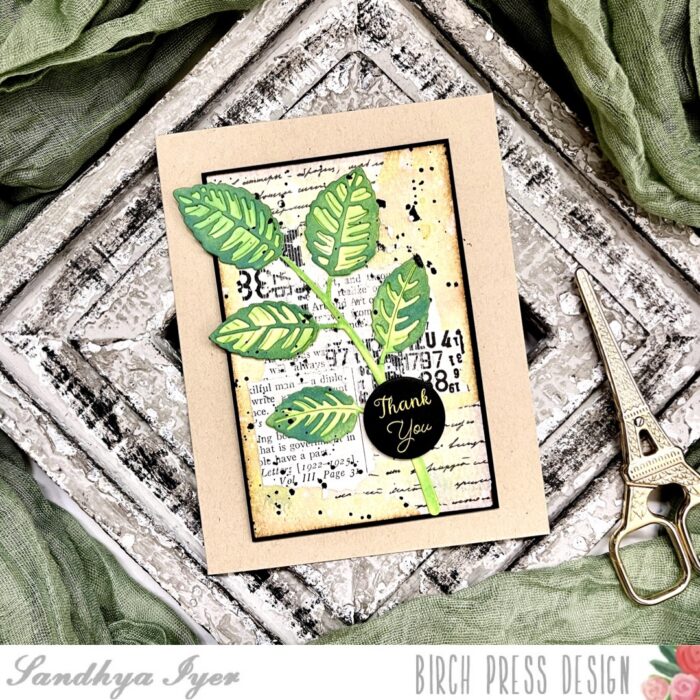
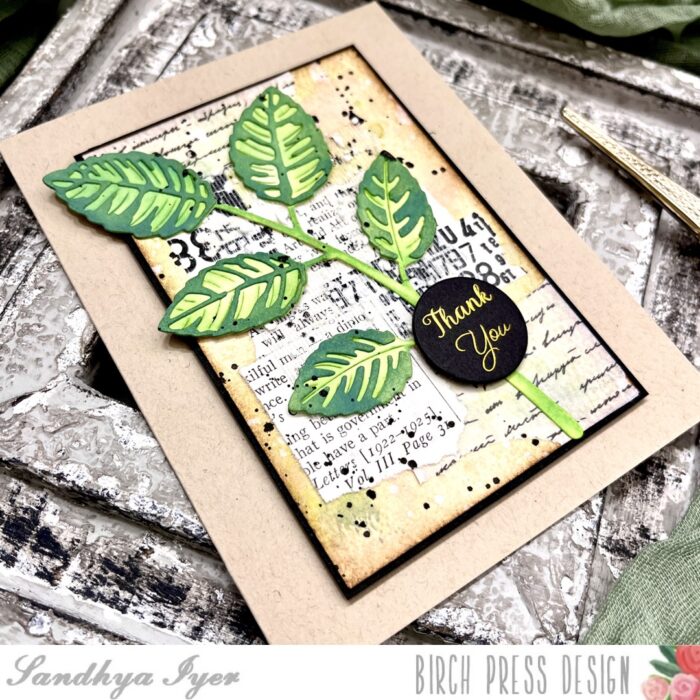
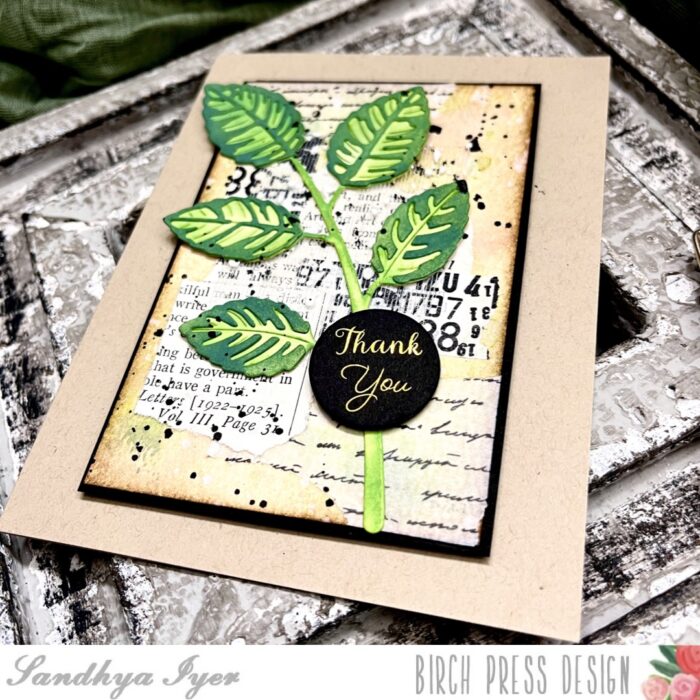
Hello, friends! This is Design Team member Sandhya Iyer and I am sharing a thank you card and Artist Trading Card (ATC) duo. For my focal point, I chose the Rose Leaves Contour Layers die set. I used the Thank You Foil Greetings black circle tabs for the sentiment.
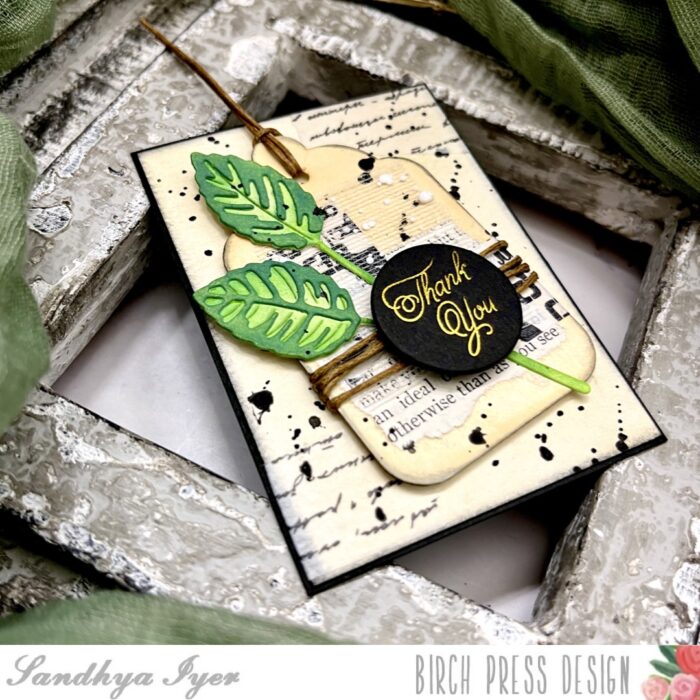
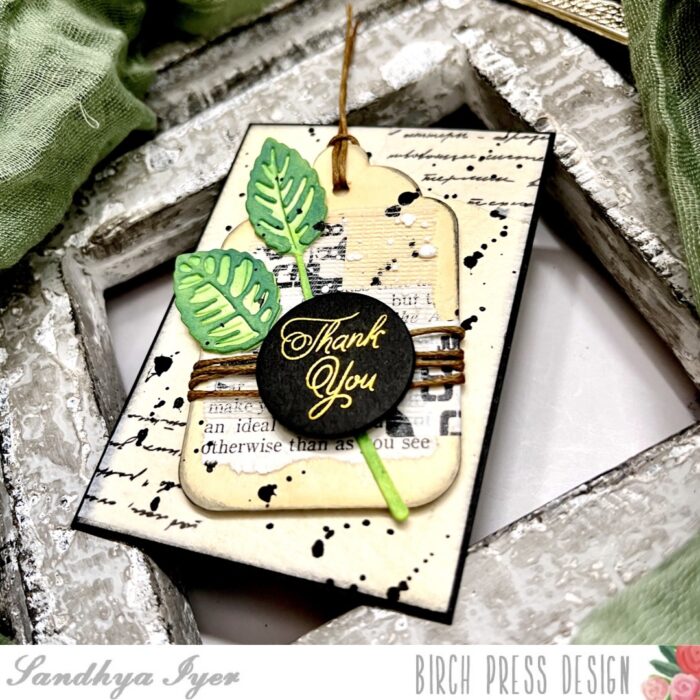
I started by die-cutting the Rose Leaves Contour Layers out of watercolor cardstock. Next, I pulled out Distress Oxide inks in varying shades of green and used a blending brush to ink the leafy layers. For the delicate and more detailed pieces, I leave them attached to the area around them after die-cutting and ink them before popping them out.
Next, I smooshed some green and pink ink on my craft mat and inked a watercolor panel. I layered on Antique Linen Distress ink over that for a vintage look. Then I added more interest and texture to the background using pages from an old book, washi tape, and snow gauze.
I adhered the larger leaf to the panel and added the thank you sentiment tab. Then I added a generous splatter of black ink. Finally, I added a black mat to the panel and attached it to a kraft card base.
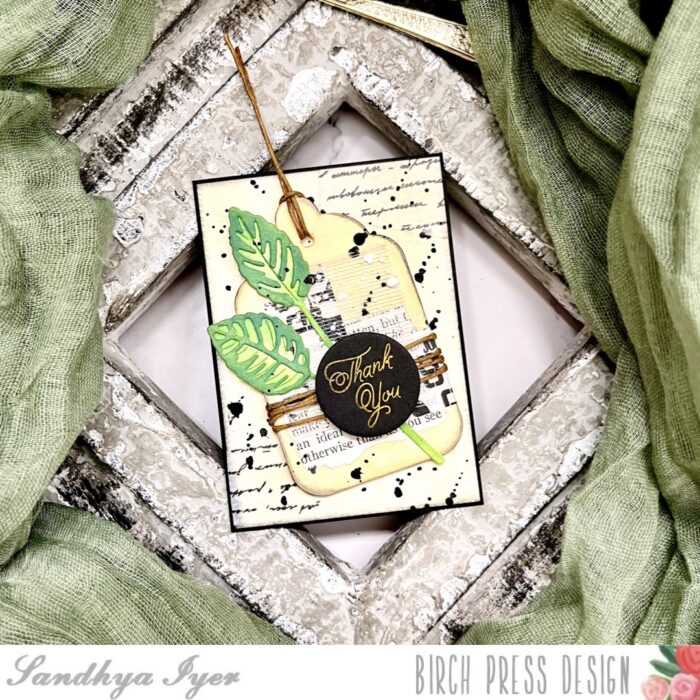
I repeated the same process with tiny variations to create my ATC. Instead of the watercolor panel, I picked a small tag from my stash and inked it with Distress ink.
As this is a mini tag, I added some twine for added interest and assembled the focal cluster with the mixed media tag, the inked die-cut leaves, and the sentiment tab.
This brings us to the end of today’s post. Thank you so much for stopping by and I hope you have fun crafting today!
Supplies:
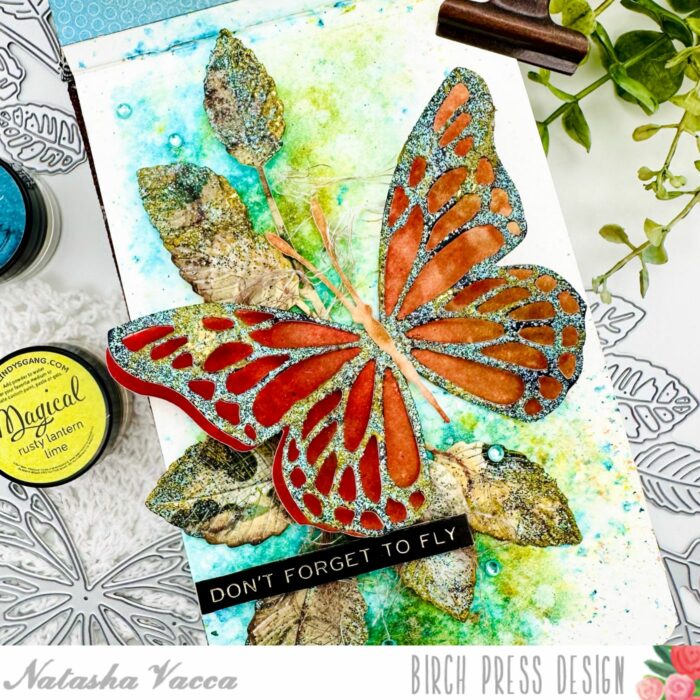
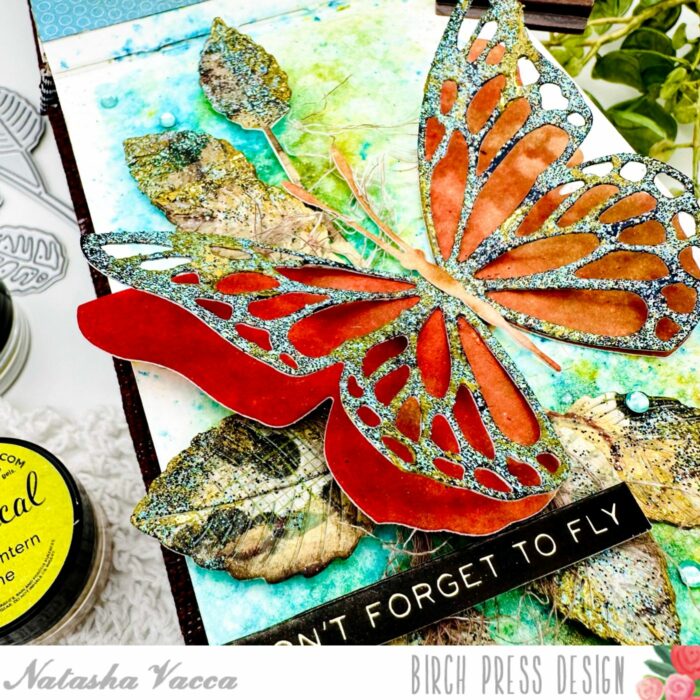
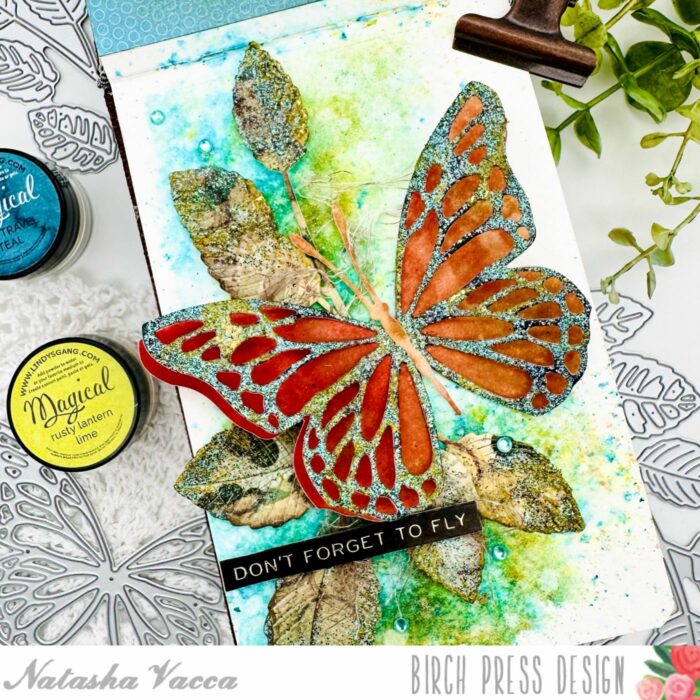
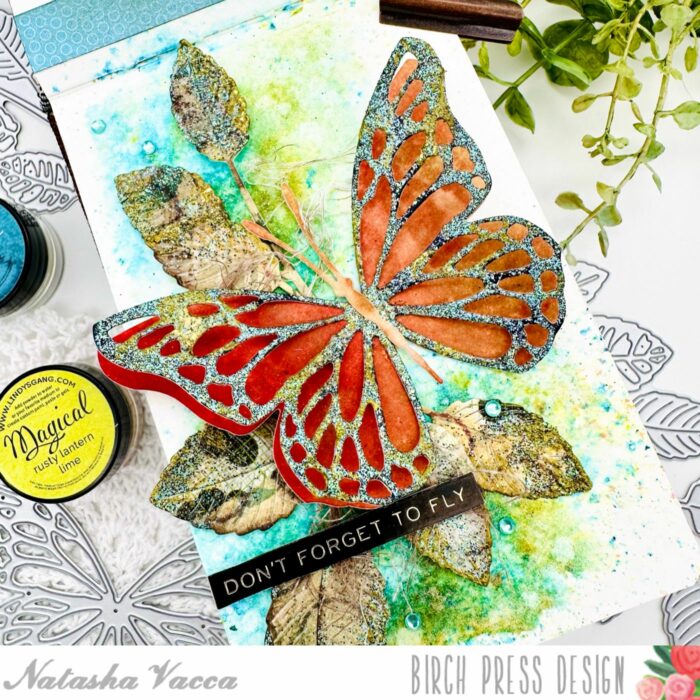
Butterfly Mixed Media Journal | By, Natasha Vacca
Hello Birch Press friends, it is Natasha here today on the blog! Today I am sharing a mixed media page in my journal! I love using dies in my journal! Today I am using 2 die sets from Birch Press Designs: Butterfly Basics and Rose Leaves Contour Layers die sets! Let’s get started!
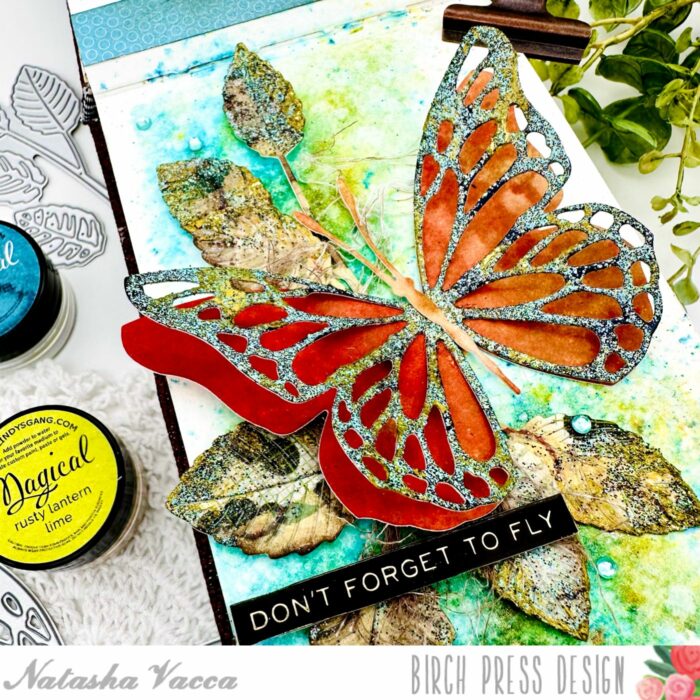
I started by die cutting the Butterfly using the Butterfly Basics die set. I die cut the background using a premade panel from my stash. Next I die cut the top layer using the Memory Box Rainbow Reflections paper pad. Once the top layer was die cut I added embossing ink to the top layer, then added embossing powder. Once the embossing powder was completely dry, I added a paper glaze to sections of the butterfly. I allowed this to dry a bit, then added foil to sections for added texture. I die cut the antennae for the butterfly using the same background panel. I then adhered the layers together using liquid glue.
Next I created a background panel using a gelli print from my stash. On the gelli print I added a few pieces of handmade tissue in various sections. I applied this with glue. Once this was dry, I ran the gelli print background through my die cutting machine using the Memory Box Ringadings embossing folder. I then added dye ink to some sections of the dry embossed background. Next I die cut the panel using the Rose Leaves Contour Layers die set. Once the leaves were die cut, I distressed the edges using Distress Ink. I allowed this to dry, then added embossing powder to sections of the leaves. I then added additional texture using paper glaze and foil again.
Next I started to work on my background in my journal. I used Lindy’s Magical Powders to create a colorful background. You can create a colorful background using inks, watercolors, distress inks, as well as pigment powders! I encourage you to look through your stash! I work in layers when creating a background. I allow each layer to dry (I also use my heat tool to speed up the process), spritz the panel with water, pick up color with a paper towel, then I repeat the process until I have the color and texture I am looking for.
I completed my journal page by adhering the leaves with foam tape. I added a piece of cheesecloth, then adhered the butterfly with liquid glue. I added a sentiment from my stash, as well as gems from the Pastel Jewels collection.
I had a lot of fun creating today’s project! I will be back soon with more inspiration!
Supplies
Supplies
Forest Canopy Layer: Mixed Media Tag | By, Natasha Vacca
Hello Birch Press friends, I am excited to be back up on the blog today! I am sharing a fun mixed media tag using the Forest Canopy Layer die set to create a fun tag! So let’s get started!
I started today’s project with a pre-made tag base. Next I chose gelli prints from my stash to create a layered background on the tag. I chose several prints, ripped them, then adhered them using liquid glue. Next I chose washi tape from my collection with a printed text. I added this to several sections of the tag background. I then added White Gesso to the background using a paintbrush to sections of the gelli print. I then used a brayer to spread the gesso a bit more.
Next I die cut Layer B and C of the the Forest Layer Canopy die set. I used white cardstock to die cut each layer. (On today’s project I did only use Layer C). I then added color using Distress Oxide ink in Peeled Paint and Forest Moss. I added water droplets to the leaves and picked up the color with a paper towel. I then darkened the edges of the leaves using Espresso Ink. I applied the ink using a finger dauber. I also added gold metallic ink splatters, as well as an ink spray from my collection. I set these aside to dry.
Next I die cut 2 dragonflies using the Magnolia Plaid paper pad with the Simple Dragonfly Contour Layers die set. I added embossing powder to the small section of the dragonflies. I then adhered all the layers together using liquid glue.
To complete my tag I added Distress Ink to the edge of tag using Distress Ink. I then added more texture using a spray in my stash. I added this to the tag background. Once this was dry, I added a piece of small cardboard to the bottom right of the tag. I added a bit of gesso and purple spray to the cardboard for added color and texture. I then adhered all the layers onto the tag using liquid glue (leaves, dragonfly). I added a Greeting Tab and gems to complete my tag, as well as twine, and ribbon.
Thanks so much for stopping by today! I will be back soon!
Supplies
Supplies
ATC Duo | By Sandhya Iyer
Hello, BP friends! Sandhya here. Today, I am sharing an ATC duo I created featuring the Peeking Flower and Leaves Contour Layers die set from Birch Press Designs. I also used the Anemone Grove 6×6 pattern paper pack from Memory Box. In case you don’t already know, ATC is an acronym for artist trading cards, which are typically small cards measuring 2.5″X 3.5″. It is a tiny canvas to express any form of art (stamping, painting, mixed media, etc) to share with fellow artists and collectors. However, it is totally up to an artist to make them in different shapes and sizes of their choosing.
So when I first my hands on the adorable little peeking flowers, I was inspired to make it the focal point of an ATC. I derived color inspiration from the Anemone Grove pattern paper pack. I started by creating a few shimmery inky backgrounds on watercolor paper using Distress Mica Stains. Then, I die-cut the flowers and leaves and assembled them.
Next, I trimmed down some white cardstock to create 2 ATC bases a smidge smaller than the standard 2.5″ X 3.5″. I ink blended over these with Villanous Potion Distress Ink and splattered with a few water drops. Next, I picked out a few pattern papers from the pack and ripped them into strips with jagged edges. I layered the strips on the ATC base and adhered them down. Then, I trimmed down to size and inked around the edges.
I matted the base with black cardstock and trimmed down a couple of pre-printed words to add to the ATC. Then, I adhered the die-cut flower and words to the base using foam tape. I also added some gold thread on one ATC and a piece of snow gauze on the other for added interest.
Finally, I added few black enamel dots to one of the ATCs for added interest. This brings us to the end of today’s post. Thank you so much for stopping by and I hope you have fun crafting today!