Tag: diecutting

  • You Are Loved | by Colleen Balija

    You Are Loved | by Colleen Balija

    Hi friends,

    I took a short break from the blog here, and now I’m happy to be back with you, sharing the love of Birch Press Designs! With Valentine’s Day around the corner, I wanted to share a lovely card using Banner Heart dies and You Are Loved Sugar Script die and hot foil plate. Also, I’ll be using Bevel Plate layering dies, Phlox Blooms & Leaves dies, Memory Box Vintage Pastel paper, and Flora Plate (A only). All of the products used will be listed at the end of my blog post!
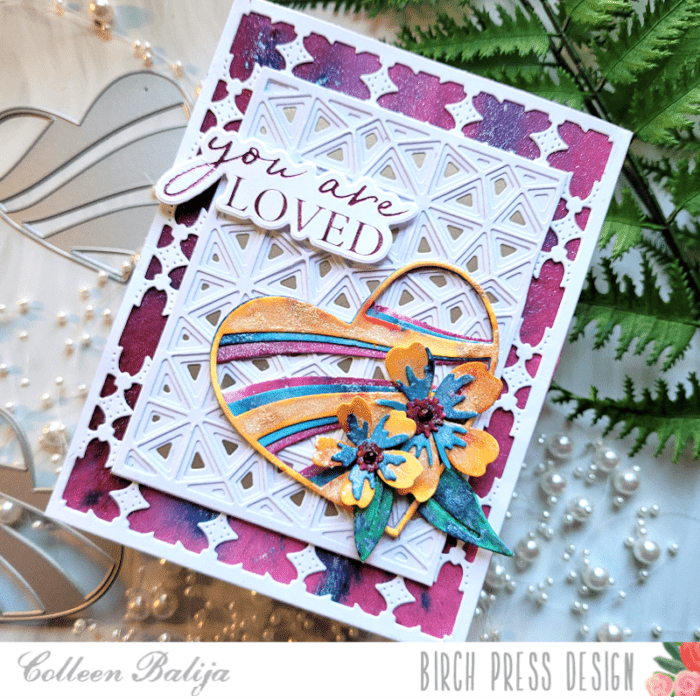
    First, I die cut the Heart Banner and Phlox Blooms & Leaves onto white watercolor paper. I planned to add a lot of color and water, and watercolor paper holds water well. I sprayed the heart and flowers with Lindy’s Magicals in shades of blue, yellow and pink. I love the shimmer these magicals add! I also created a background using pink, red, and blue magicals. Then I set everything aside to dry. When they were dried, I adhered the layers together. In the photo below, you can see a closer look at the heart die and flowers! These are PERFECT for Valentine’s Day!!!
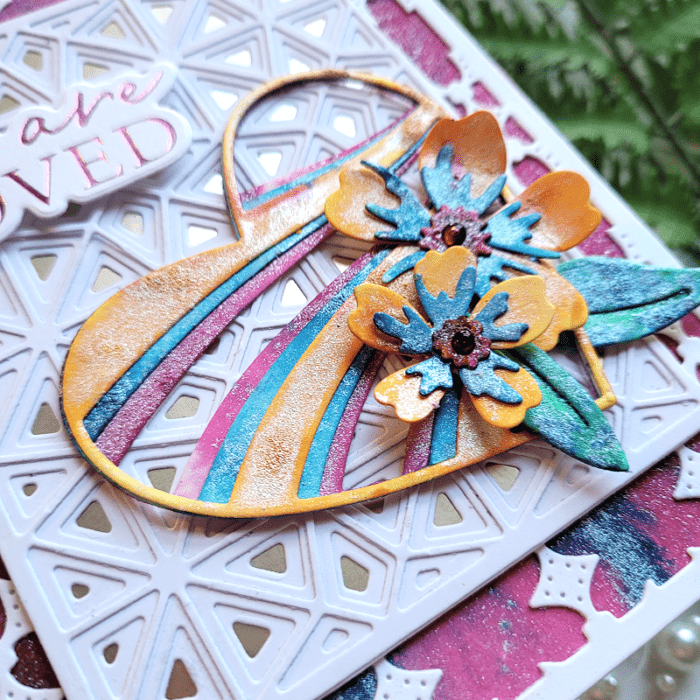
    Next, I focused on adding the layering designs to my card, using Flora Plate Layer A and Bevel Plate layering dies. I die cut all of the dies onto white cardstock. I layered the Flora Plate A over the colorful background to soften the intense color just a bit. I adhered all the layers from the Bevel Plate and placed them over gold cardstock from Memory Box. Then I adhered that over the background panel. The touch of white to the card panel will help the colorful heart, flowers, and sentiment stand out! Plus, the Bevel and Flora dies add beautiful texture!
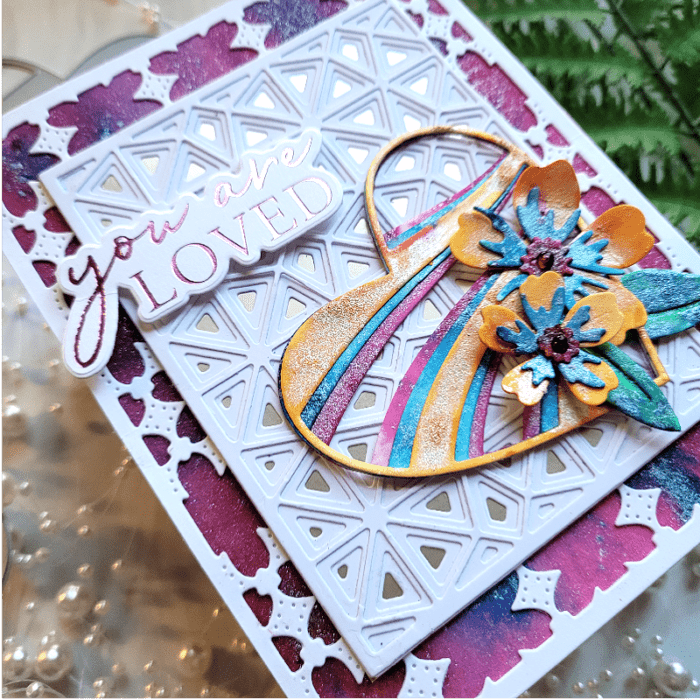
    The next step was to work on the sentiment using You Are Loved sugar script. I hot foiled the sentiment in pink foil over white to coordinate with the background, and then die cut the sentiment using the coordinating die. You can see the lovely, shiny sentiment in the photo above!
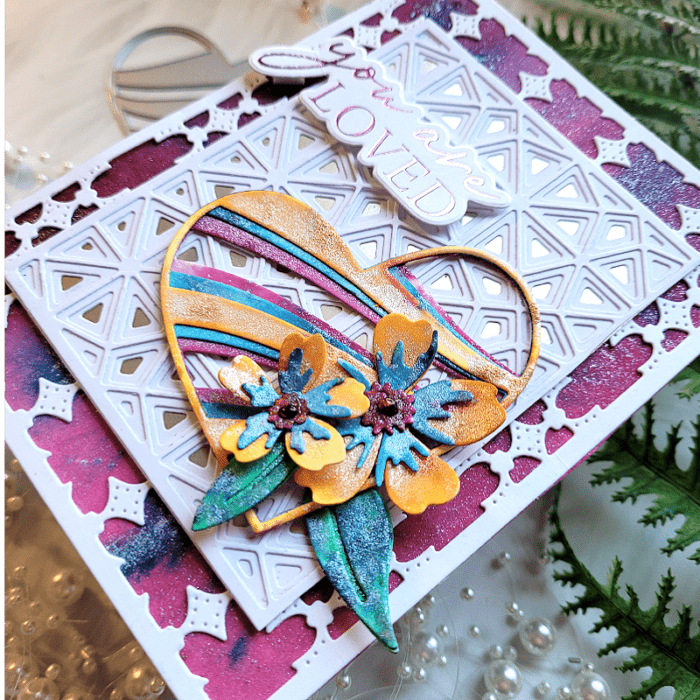
    Now I was ready to put it all together into a Valentine’s Day card! I adhered the Banner Heart layers over the Bevel Plate dies in the lower right corner. Then I added the flowers and coordinating leaves to the corner of the heart using foam tape for the smaller flower. I love how the colors blend so beautifully! Then I placed the sentiment to the upper left corner using foam tape. I finished with a couple of clear drops over the center of the flowers! Below is one more look at the finished product!
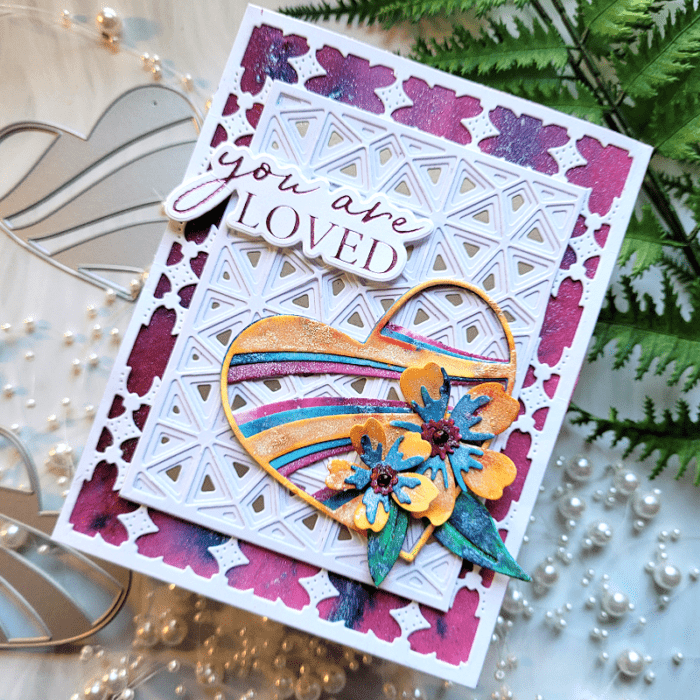
    I’m so happy you stopped by today!

     

    Supplies
     

  • Warm Wishes | by Sandhya Iyer

    Warm Wishes | by Sandhya Iyer

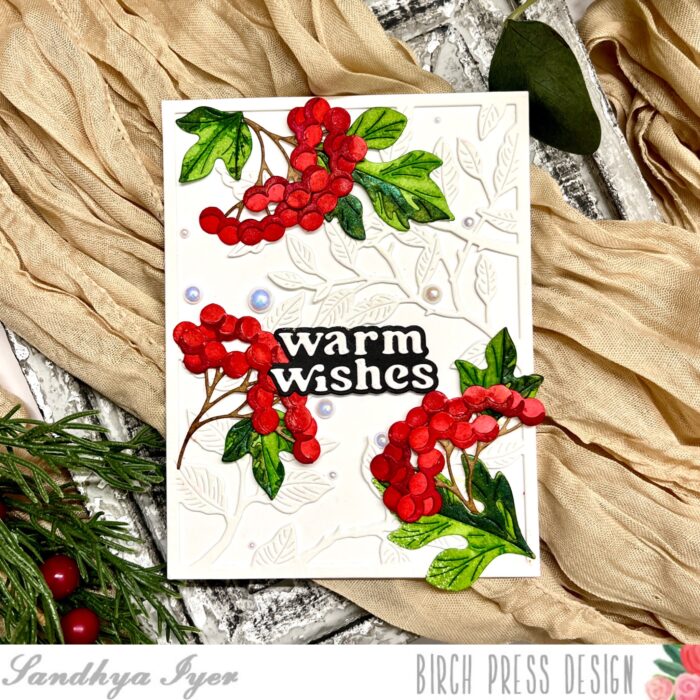
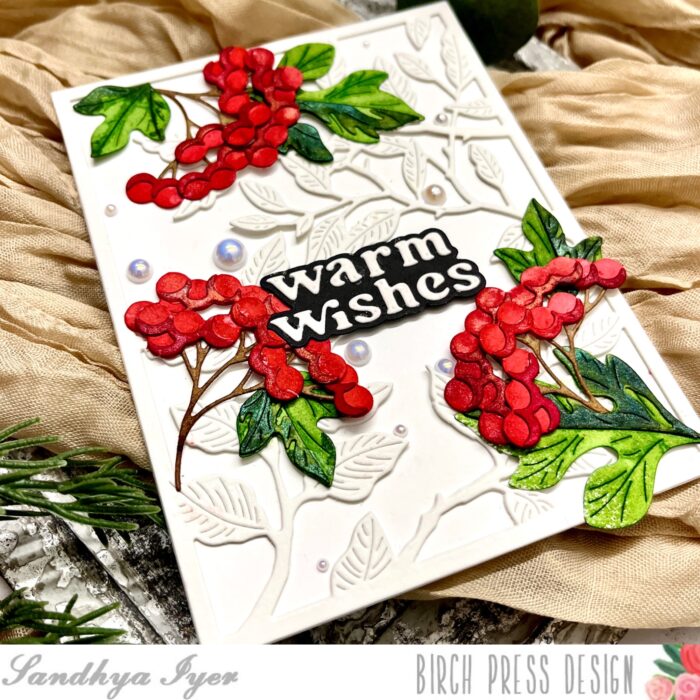
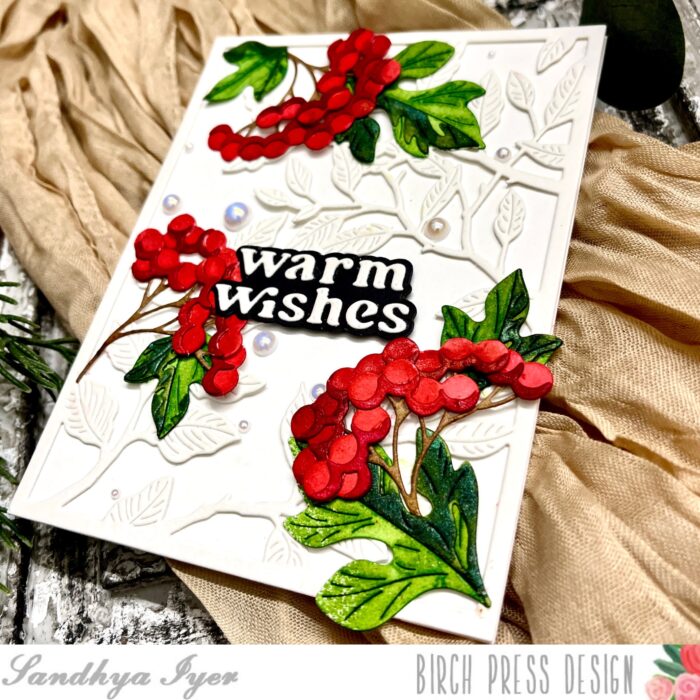
    Hello Birch Press friends! This is Sandhya here with a fresh card to send warm wishes. It is kind of festive, more winter-like. I used the Forest Leaf and Berries Contour Layers and The Forest Canopy Layer C die sets for this card. For the sentiment, I grabbed the Warm Wishes Vintage Sentiment die.

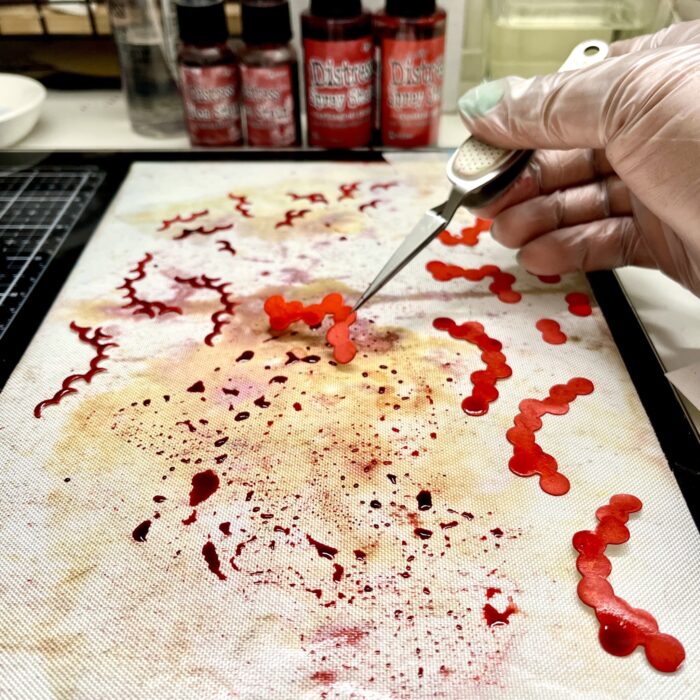
    I started by die-cutting all the pieces from the Forest Leaf And Berries Die set out of watercolor paper. Next, I used Distress Spray Stains and Distress Mica stains to color the pieces. For the smaller pieces like the berries, it is easier to use tweezers and dip them into a buddle of color and then lay them out on a craft mat to dry.

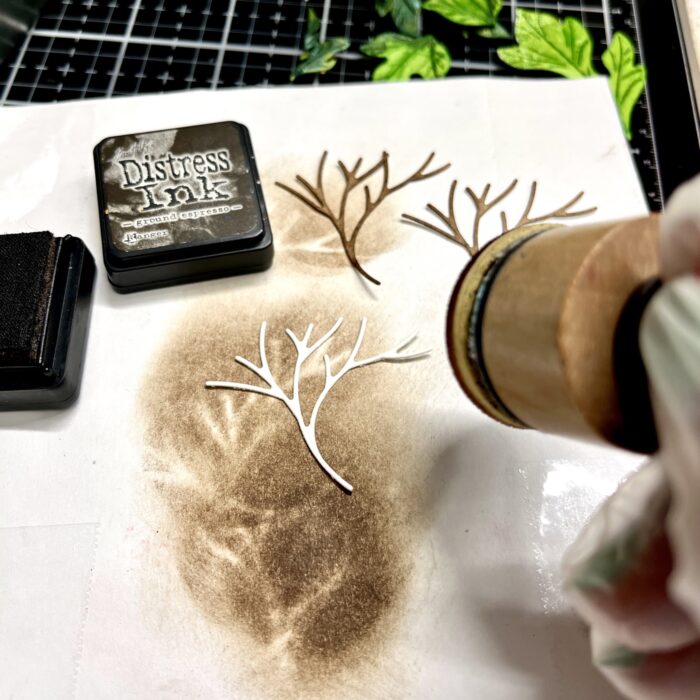
    For the delicate branch, I used an ink blending tool and dabbed over it with Ground Expresso Distress Ink. Once all the colored pieces were dry, I assembled the berries and leaves per the instruction leaflet.

    Next I die-cut the Forect Canopy Laver C out of Watercolor cardstock 2 times. I adhered the 2 layers together to create more dimension and then adhered it down on a white A2 card base. Then, I die-cut my sentiment and placed it towards the entre of the background.

    Finally, I arranged the berry clusters and leaves around the sentiment and adhered them down with liquid adhesive. I also added a few flatback pearl embellishments to tie it all together. While it is hard to see the shimmer in the pictures, this card is a lot more shiny and attractive in real life.

    This brings us to the end of today’s post. Thank you so much for stopping by and I hope to be back soon with more new card ideas.

    Supplies:

  • Autumn Hugs | by Sandhya Iyer

    Autumn Hugs | by Sandhya Iyer

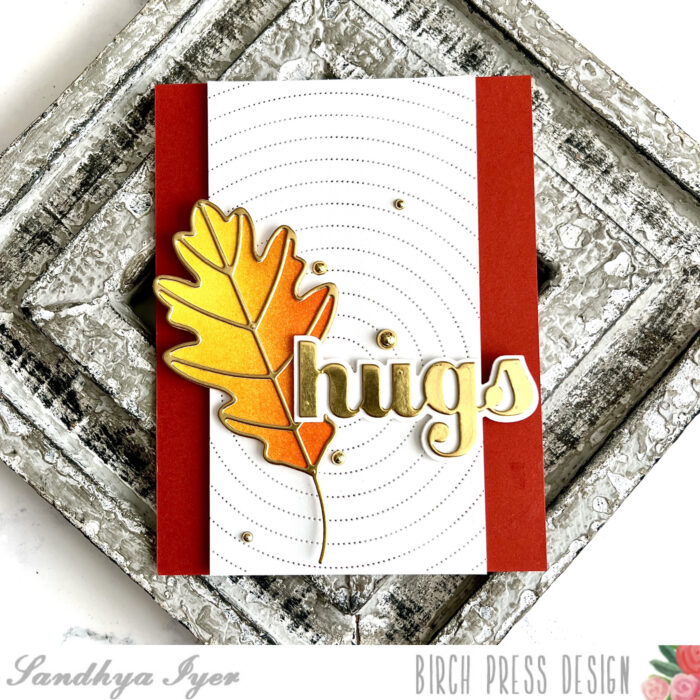
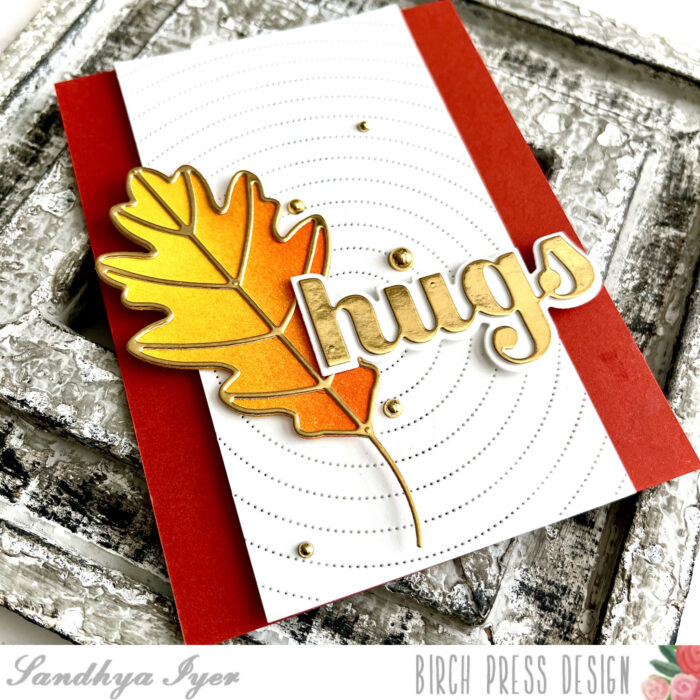
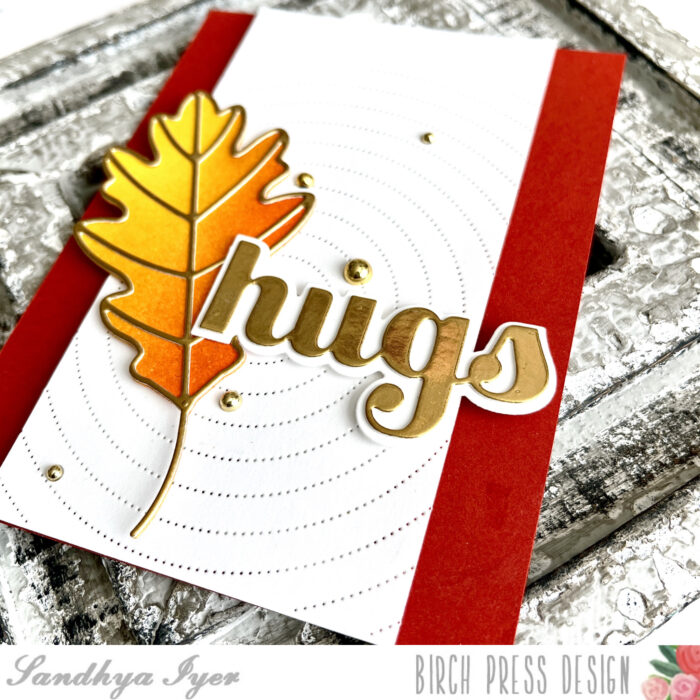
    Hello Birch Press friends! This is Sandhya and I am back with a fall card featuring the Adornment Oak Leaf die set. It was a fun card with just die-cutting all the way and no stamping at all!

    I started by die-cutting the detailed layer of the oak leaf out of gold cardstock from the Memory Box Rainbow Reflection Mirror pad. Then, I used the Big Hugs Sugar Script die to cut out my sentiment from the same gold cardstock and set it aside. Next, I cut out the shadow layer of the leaf as well as the sentiment out of white cardstock.

    I used Distress inks in yellow and orange to ink blend an ombre effect on the solid layer of the leaf. Then, I adhered down the gold leaf over the ink-blended layer. Next, I trimmed a panel out of white cardstock to measure 3″x 5.25″ and die-cut it using the Pinpoint Radial Plate. For the card base, I chose a deep orange cardstock from my stash.

    Finally, I assembled the card using liquid adhesive and foam tape to pop up the sentiment die-cut. I also added a few flatback gold embellishments to tie it all together. This brings us to the end of today’s post. Thank you so much for stopping by and I hope to be back soon with more new card ideas.

    Supplies: