Tag: floral card

  • Bright Summer Hugs | Sandhya Iyer

    Bright Summer Hugs | Sandhya Iyer

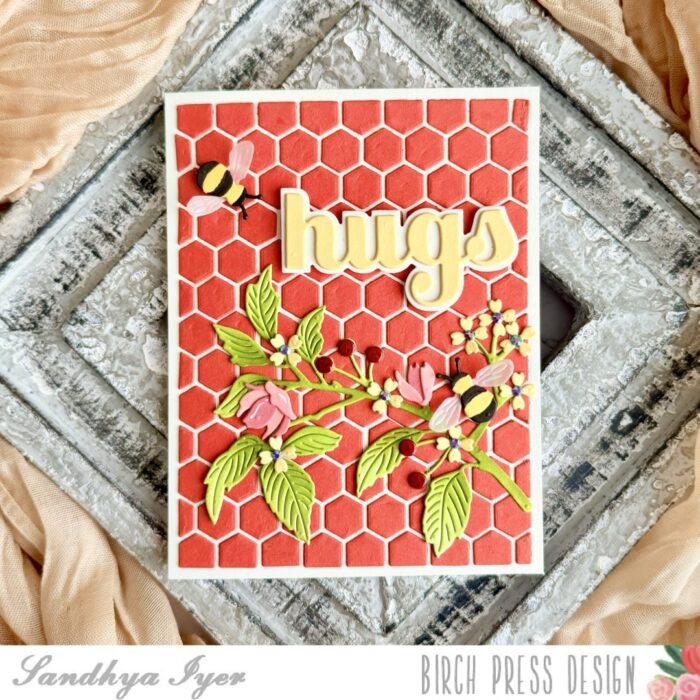
    Hello crafty friends! I’m back on the Birch Press Design blog with another vibrant summer-inspired project! Today’s card is full of warm colors, bold texture, and cheerful florals—with a couple of bees buzzing in to say hi! 🐝

    This time, I used a rich orange-red background paired with layers of delicate florals and a bold sentiment to create a card that radiates sunshine and warmth.
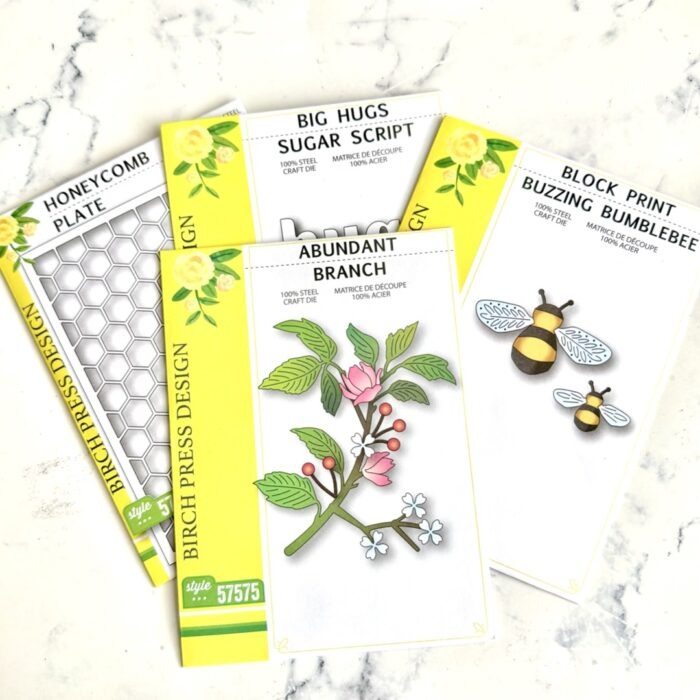
    Here’s a quick rundown of the featured products:

    Honeycomb Plate – for that stunning dimensional background

    Abundant Branch Die – the layered branch, leaves, and florals that add softness and movement

    Block Print Buzzing Bumblebee Die Set – adorable bees with layered wings for a fun, summery vibe

    Big Hugs Sugar Script Die Set – the perfect bold-yet-sweet sentiment to bring it all together
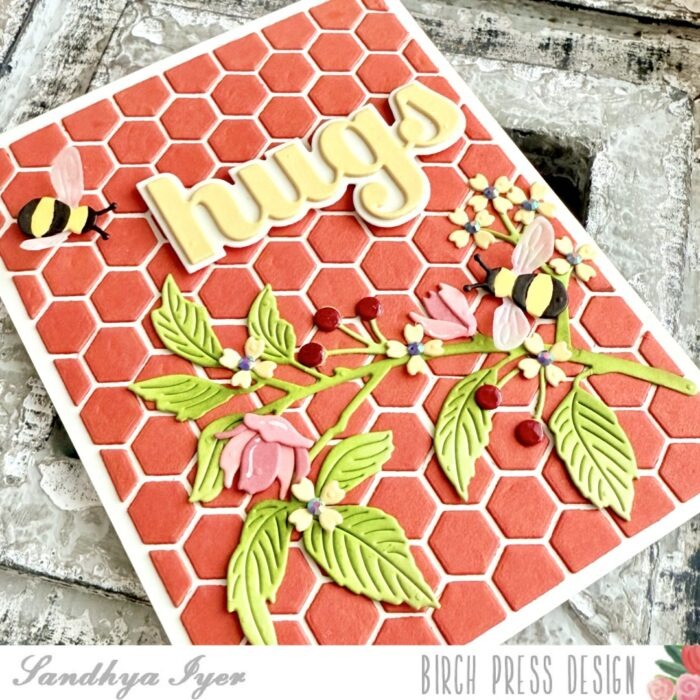
    To create the background, I die-cut the Honeycomb Plate in deep orange-red and layered the cut out pieces over cream cardstock. The bold contrast really makes everything pop! I then cut and assembled the Abundant Branch in fresh greens and soft pinks, placing it diagonally to guide the eye across the card.I added gems to the flower centers and some glossy accents over the berries for extra interest.
    Next came those buzz-worthy bees—die-cut from yellow and vellum—and a quick touch with a black marker to create the stripes. I topped the design with the Big Hugs sentiment in buttery yellow, which feels like sunshine in word form.
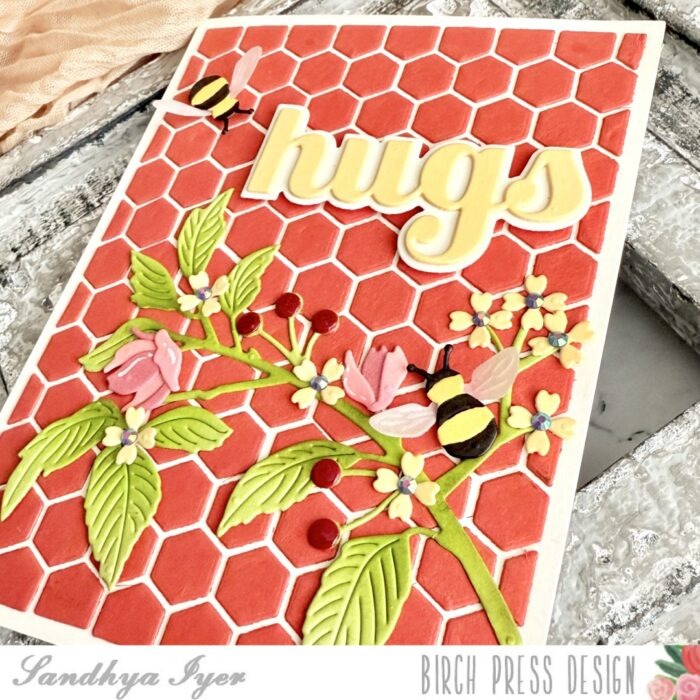
    This card is perfect for sending love, encouragement, or just a little hello across the miles.

    Thanks for visiting the blog today—I hope this card brings a smile to your face and a spark of inspiration to your craft table.

    Until next time,
    Sandhya
    Supplies:


  • Floral Wishes | by Sandhya Iyer

    Floral Wishes | by Sandhya Iyer

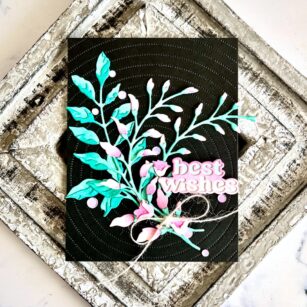
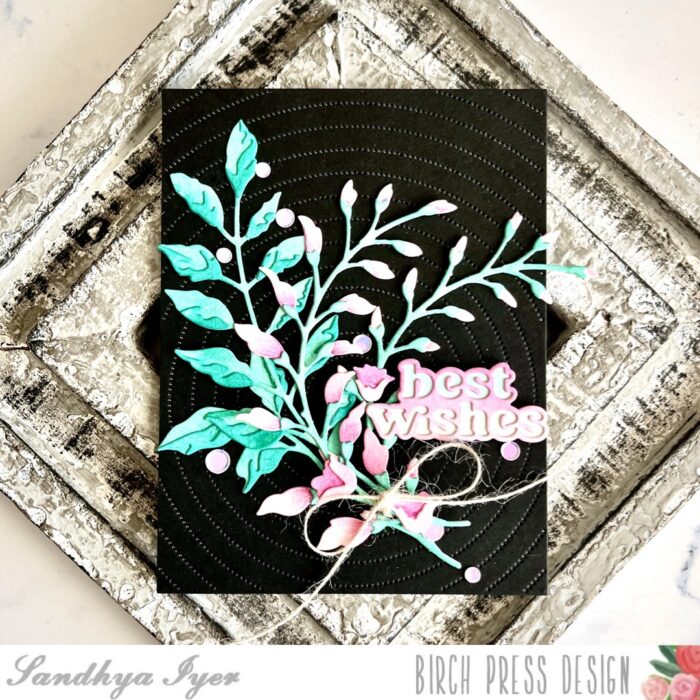
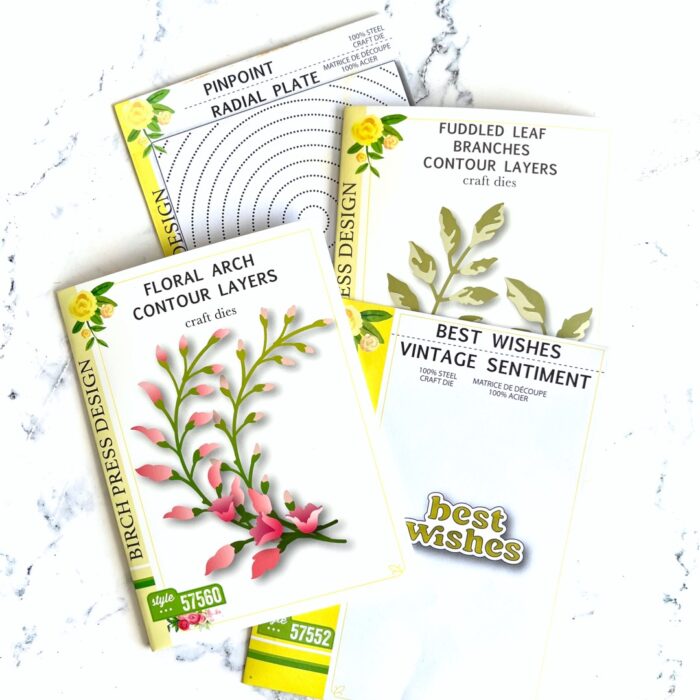
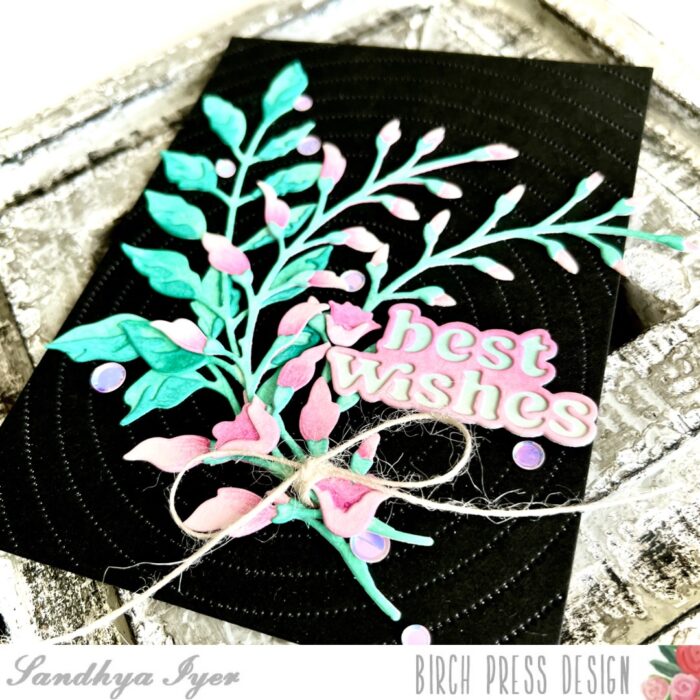
    Hello, friends! Design Team member, Sandhya Iyer here with a contrast-filled floral card to send best wishes to loved ones. I used the Floral Arch Contour Layers, Fuddled Leaf Branch Contour Layers, Pinpoint Radial Plate and Best Wishes Vintage sentiment dies for my project today.

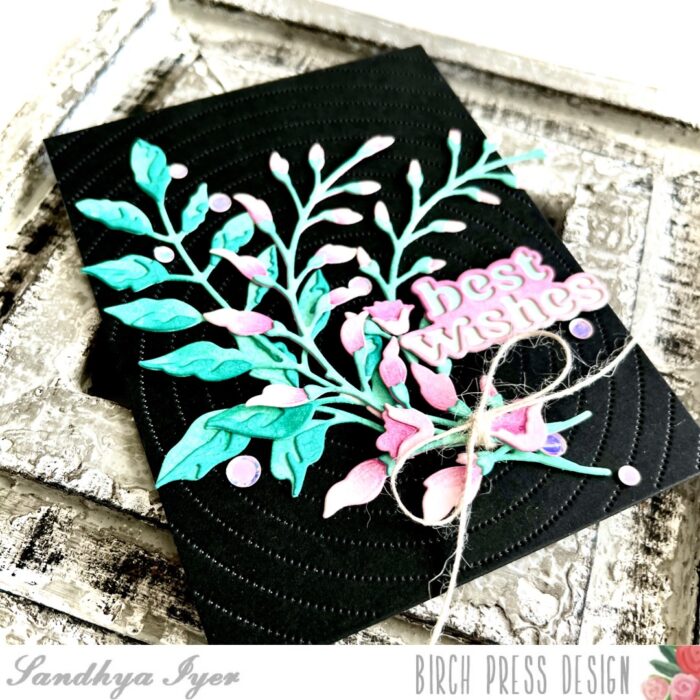
    I started by die-cutting the layers for the floral arch, leaf branch and the sentiment out of watercolor cardstock. Next, I pulled out dye inks in shades of pinks and inked up the floral layers and the letters in the sentiment. I chose a minty cool green for the stems and leaves.

    Next, I die-cut black cardstock using the Pinpoint Radial Plate to create a background panel for my card. I bunched the die-cut foliage and tied a bow with jute twine.

    Next, I adhered the die-cut floral and leaf bundle and the sentiment to my black panel. Finally, I finished off with a sprinkling of iridescent pink sequins.

    This brings us to the end of today’s post. Thank you so much for stopping by and I hope you have fun crafting today!

    Supplies:


    Supplies


  • You are the Best | by Sandhya Iyer

    You are the Best | by Sandhya Iyer

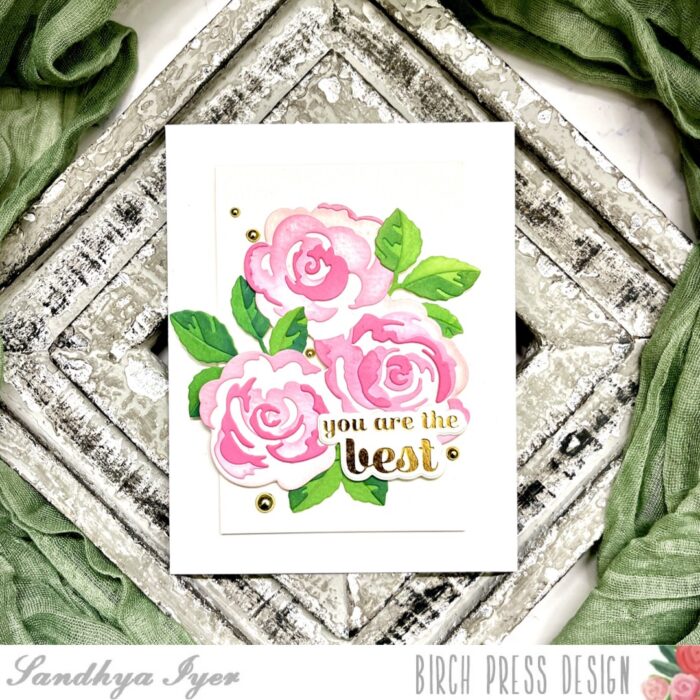
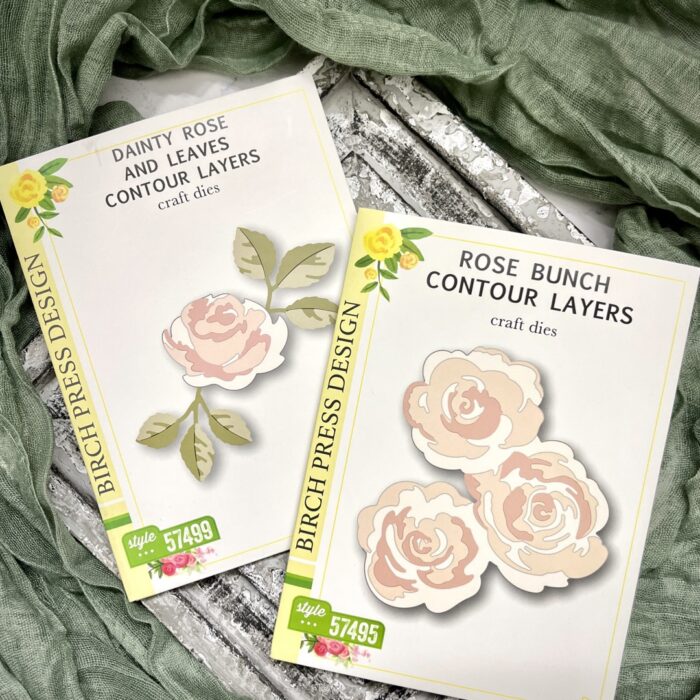
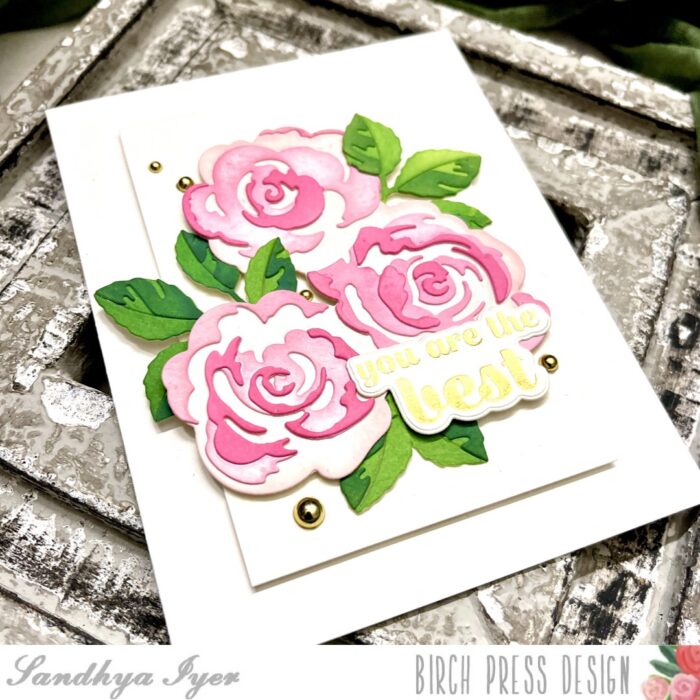
    Hello, friends! This is Design Team member, Sandhya Iyer, and today I am sharing a floral card featuring the gorgeous Rose Bunch Contour Layers and the Sugar Script Sentiments 2 Hot Foil Plate and Die Sets. Oh! And I did grab the Dainty Rose and Leaves Contour Layers set to create my greens.

    I started by die-cutting the rose bunch contour layers out of watercolor cardstock. Next, I pulled out Distress Oxide inks in varying shades of pink and used a blending brush to ink up the rose layers. For the delicate and more detailed pieces, I leave them attached to the area around them after die-cutting and ink them before popping them out.

    I repeated the same process to create three sets of inked leaves from the Dainty Rose and Leaves Contour Layers. I arranged them to my liking and adhered them down to a small panel cut out of watercolor cardstock.

    Finally, I used the ‘you are the BEST’ sentiment from the Sugar Script Sentiments 2 Hot Foil Plate and Die Set to create a gold foiled sentiment die-cut. I popped it over the floral panel with some foam tape. Then, I attached the panel to a white A2 card base and finished off with a few gold embellishments.

    This brings us to the end of today’s post. Thank you so much for stopping by and I hope you have fun crafting today!

    Supplies:

  • Gladiolus Greetings | By Sandhya Iyer

    Gladiolus Greetings | By Sandhya Iyer

    Hello, friends! Design Team member, Sandhya here with a fresh pair of cards to share. The gorgeous new Vintage Sentiment dies pair beautifully with the foiled pattern papers. I chose to pair the two and added some vellum foliage for added dimension.
    I started with the gorgeous foiled pattern papers from the Glimmering Gladiola 6X6 paper pack. I picked the peach and purple colored papers and trimmed them down to make smaller panels. Next, I cut out mats for these panels with coordinating cardstock from my stash. I die-cut the Vintage sentiment words out of the center area of these panels before attaching the pattern paper to them.

    Then I went on to die cut the shadow layer for the sentiment dies out of white cardstock and assembled the sentiments. I used plenty of foam tape to attach the matted panels to white card bases. Before attaching the sentiment, I decided to add more dimension and movement. So I die cut some vellum leaves using the Lush Leaves Contour Layers Die set and the Oval Leaf Branches Die set.

    Finally, I attached the foliage and sentiment die-cuts to the cards and finished off with a few clear drop embellishments.

    Supplies:

  • Floral Birthday Wishes | By Sandhya Iyer
    Floral Birthday Wishes | By Sandhya Iyer
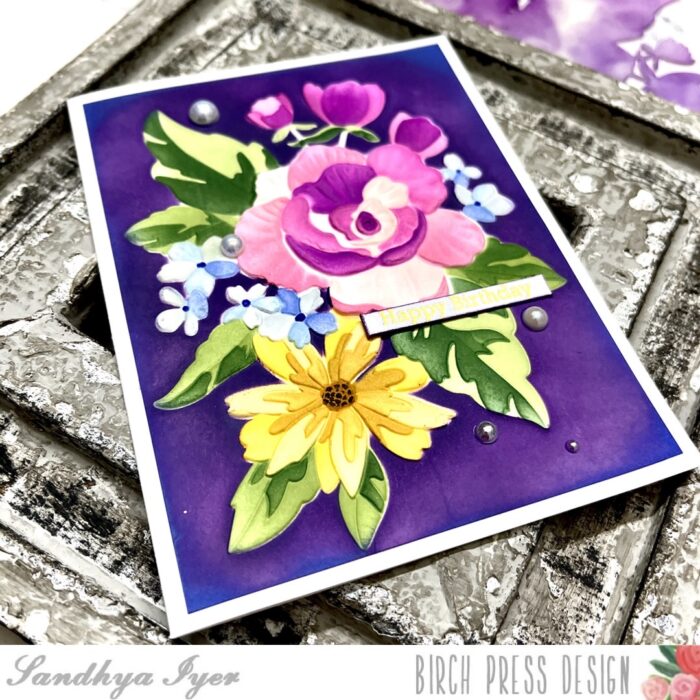
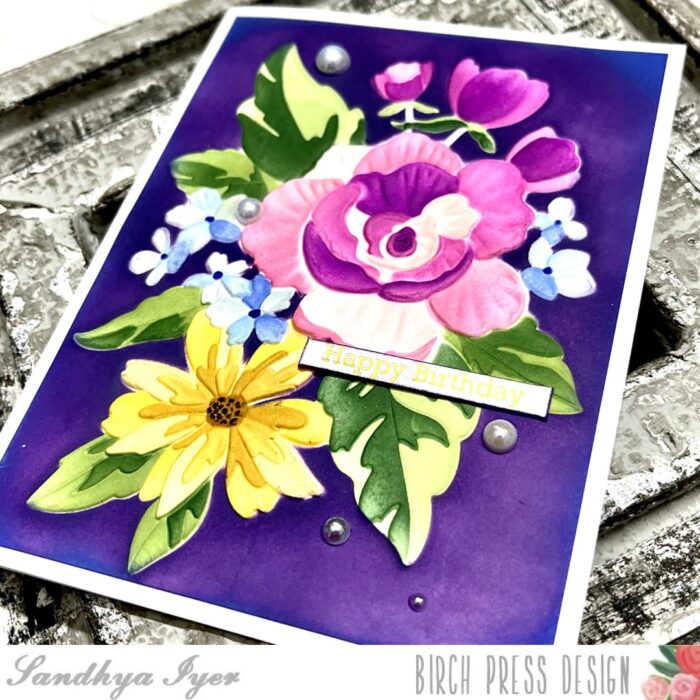
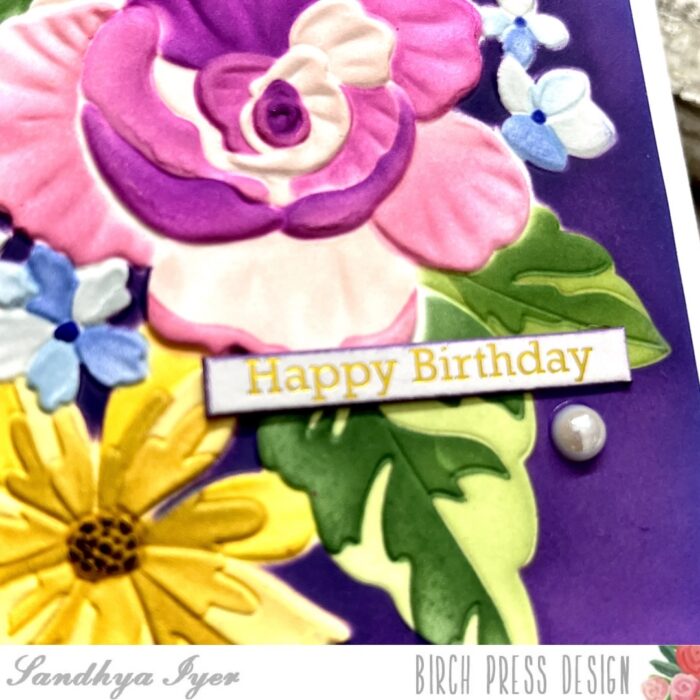
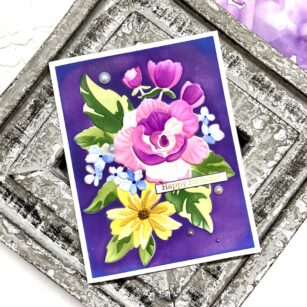
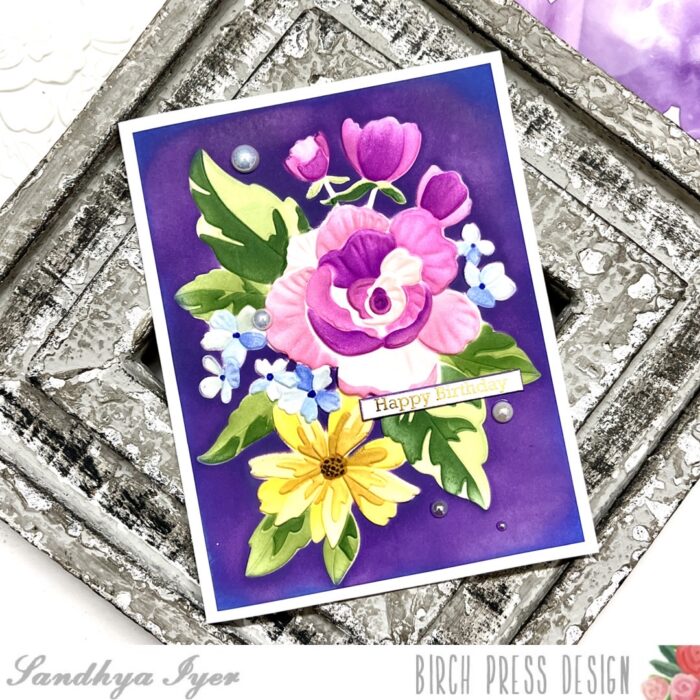
    Hello, friends! This is Design Team member Sandhya Iyer here today and I am sharing a floral birthday card featuring a gorgeous new coordinating embossing folder and stencil set. The Cheerful Floral 3D Embossing Folder and Die and coordinating Stencil set from Memory Box is fun to play with and creates gorgeous embossed florals for card fronts. Another fun new product I instantly fell in love with is the Happy Birthday Foil Greetings White Tabs. There are birthday and thank-you versions of these tabs as well as black and white versions.

    I started by gently spritzing a white card panel with water to make it damp. Then, I placed it inside the 3D embossing folder and ran it through my die-cutting machine. Next, I used the layering stencil set to ink blend my way through the layers. The floral swag looked amazing just like that.

    But then I saw the masking stencil and wanted to give it a go. So I masked the colored floral swag and ink blended a purple background with Distress oxide ink. Honestly, I was super nervous going over the background with such a dark color. But I secured my masking stencil with strong magnets and the background blending went pretty smoothly.

    Finally, I ink-blended around the edges with blue distress oxide to add more interest. I also inked around the edges of the birthday tab and adhered it to the panel. I attached the completed panel to a white card base and finished off with a few pearl embellishments.

    This brings us to the end of today’s post. Thank you so much for stopping by and I hope you have fun crafting today!

    Supplies:


  • A Watercolor Floral Card | By Sandhya Iyer

    A Watercolor Floral Card | By Sandhya Iyer

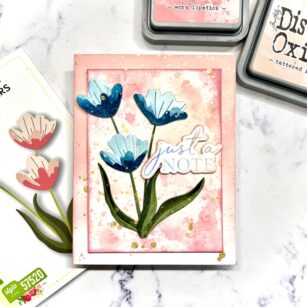
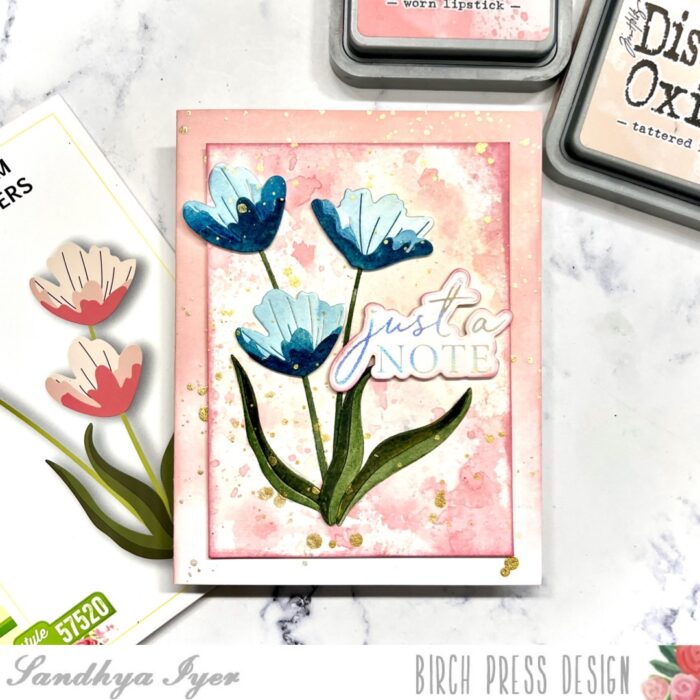
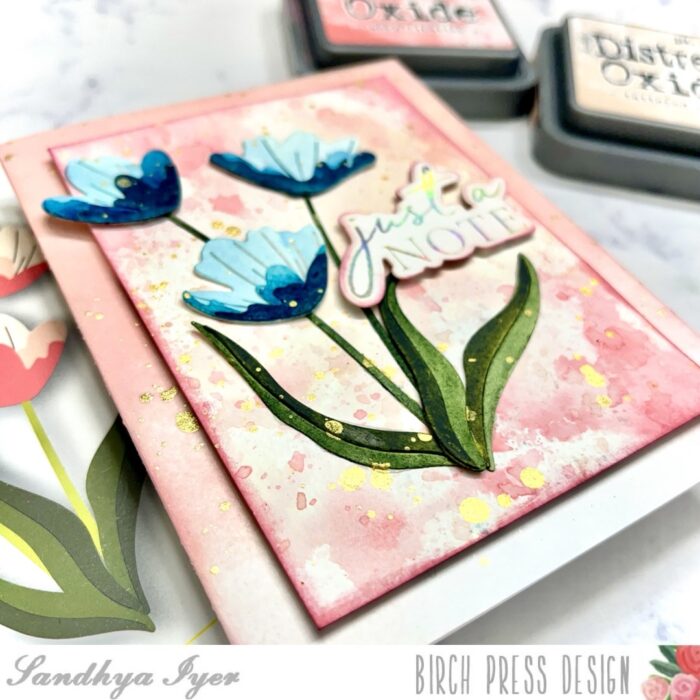
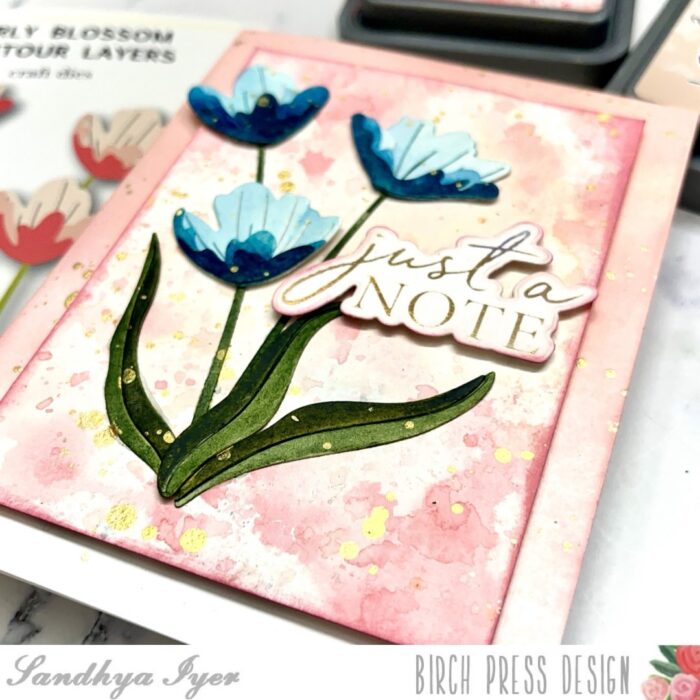
    Hello, friends! This is Design Team member Sandhya Iyer here today and I am sharing a floral notecard. I used the Early Blossom Contour Layers die set to create my watercolored florals. The sentiment is a gorgeous scripted hot foil plate and die set called Just a Note.

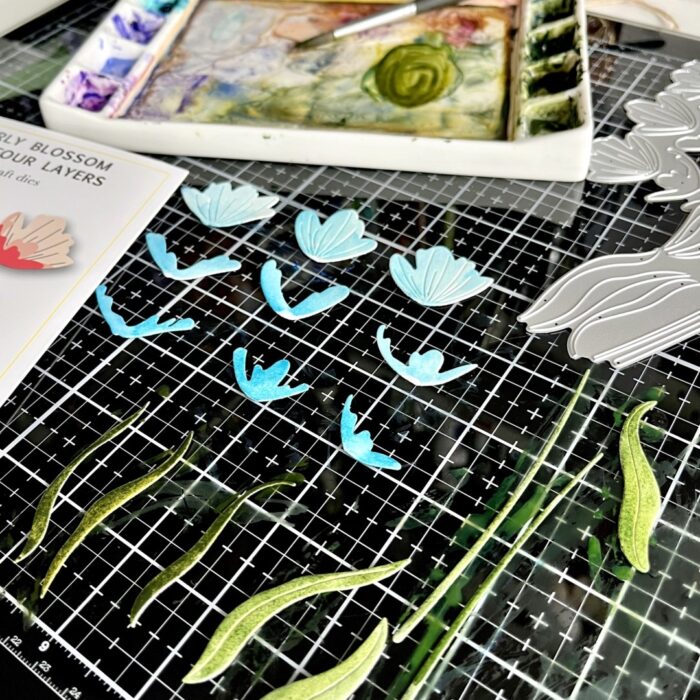
    I started by die-cutting the flowers and leaves out of Canson XL watercolor paper. Next, I used Rockwell Magic mineral watercolors to color the die-cut layers.

    I assembled the layers to create my flowers and leaves. Then, I created an ink-smooshed background using Worn Lipstick and Tattered Rose Distress Oxide Inks. Next, I used the foil plate to add the sentiment to a piece of Hammermill heavy cardstock and die-cut it out.

    Finally, I ink-blended using the same oxide ink combo on my card base and assembled the card. I also added gold splatters to add some glamour.

    This brings us to the end of today’s post. Thank you so much for stopping by and I hope you have fun crafting today!

    Supplies: